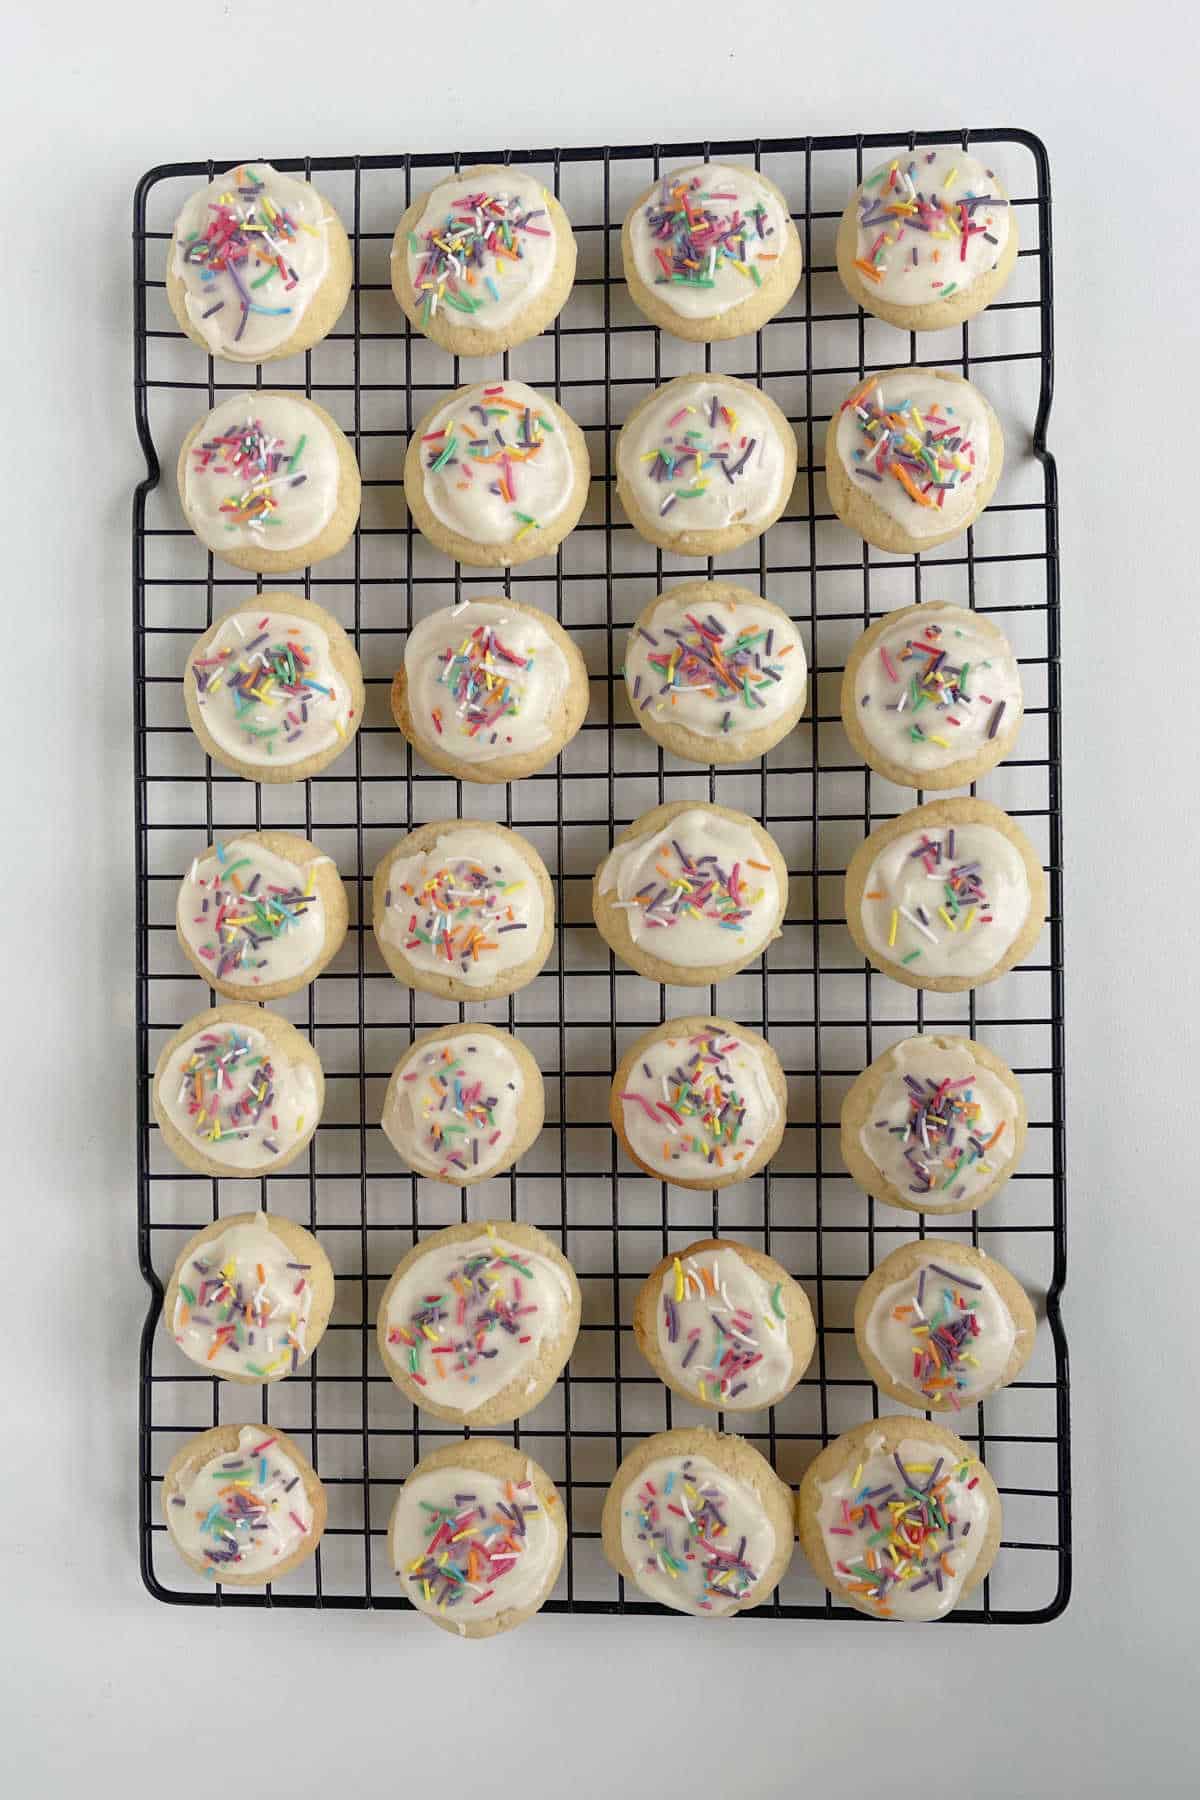
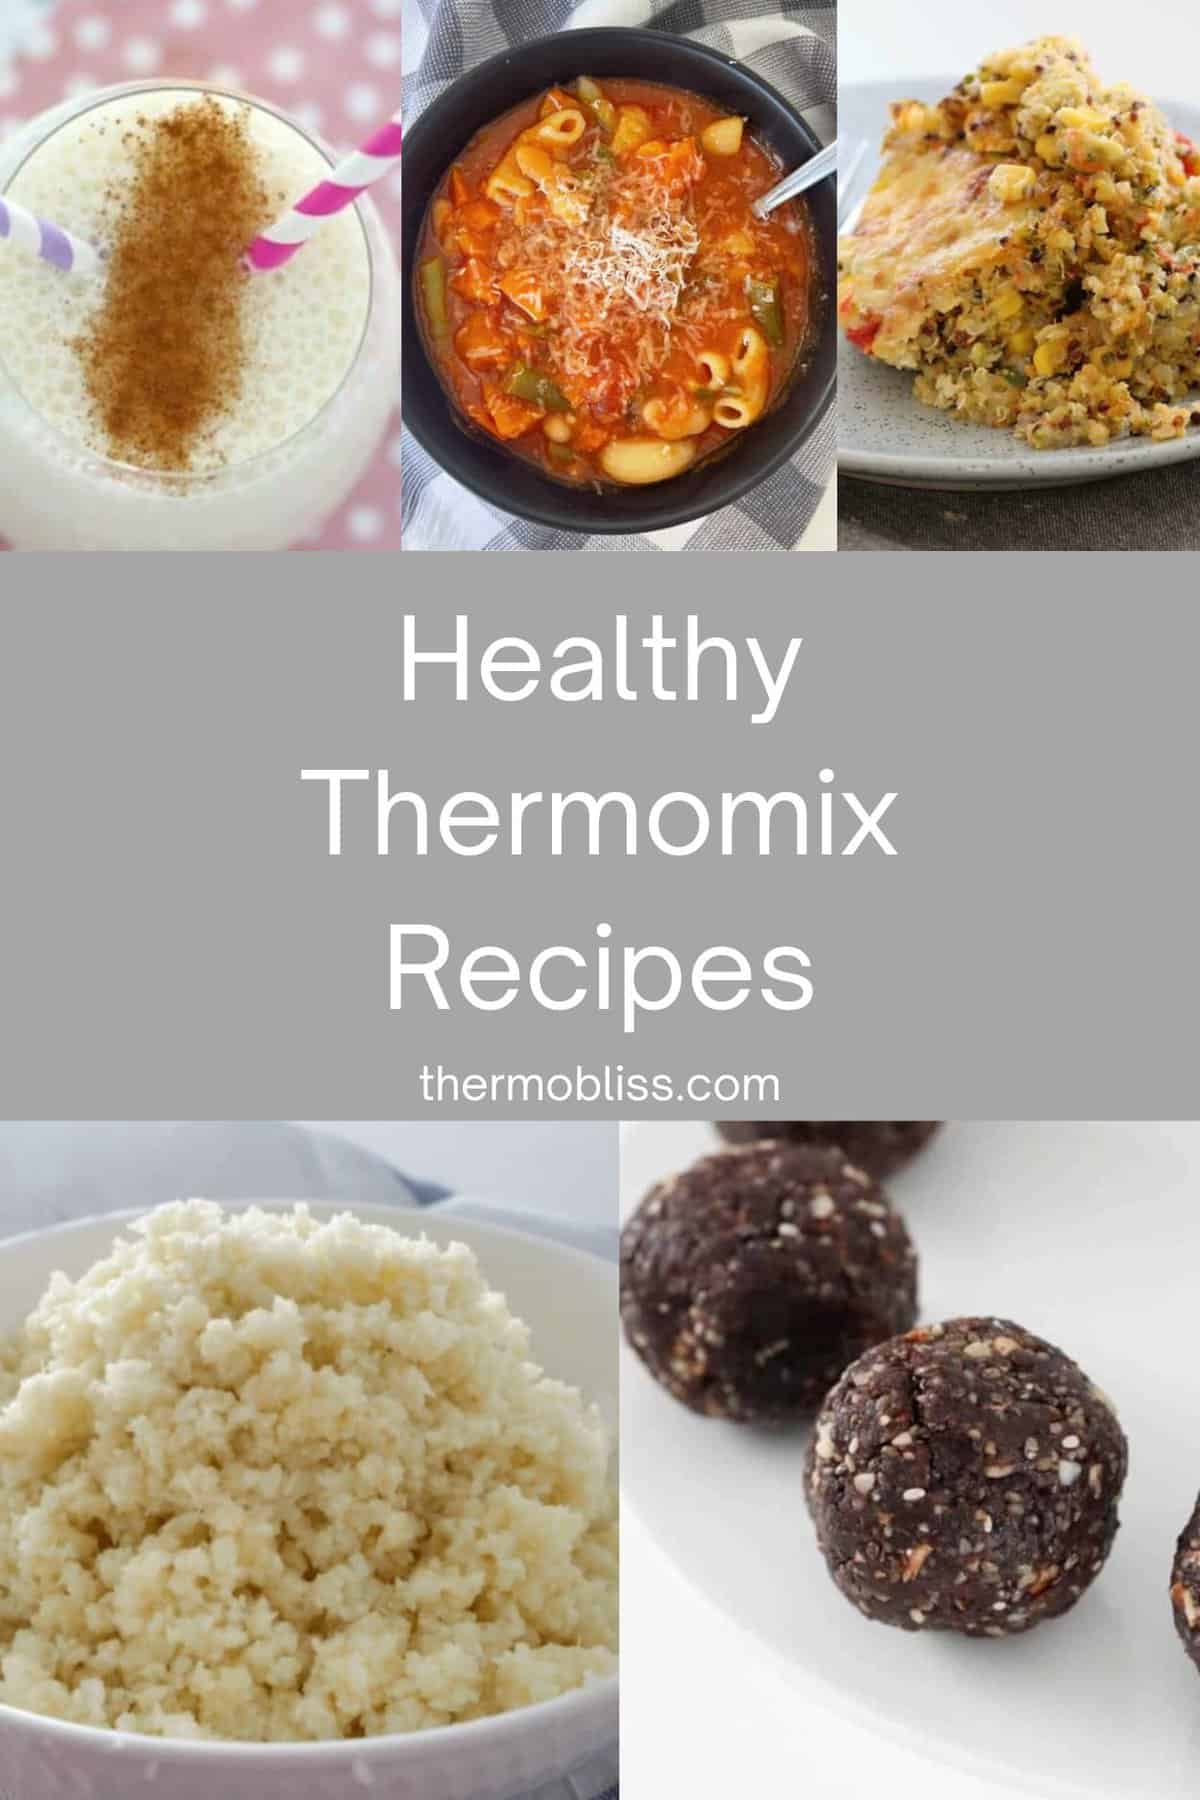
Looking for healthier recipes to make in your Thermomix? We've put together this collection of our favourite delicious and simple healthy Thermomix Recipes! In this collection you will find healthier snacks, meals and drinks - enjoy!
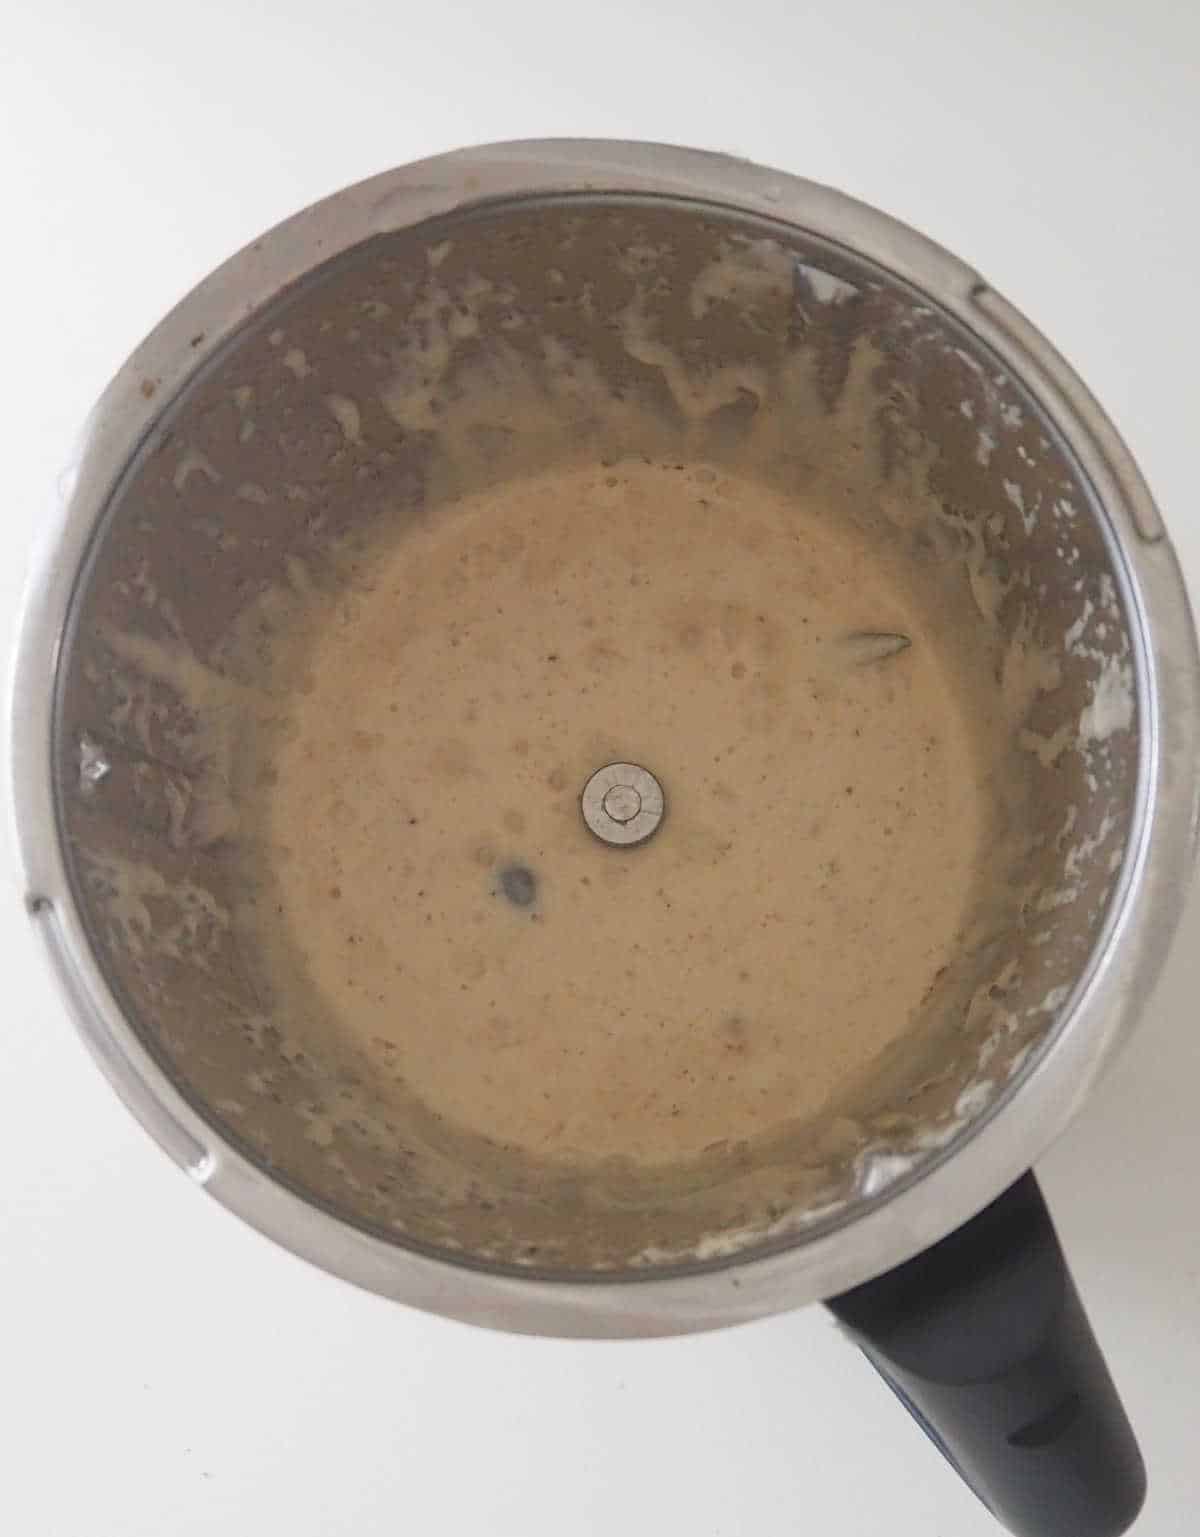
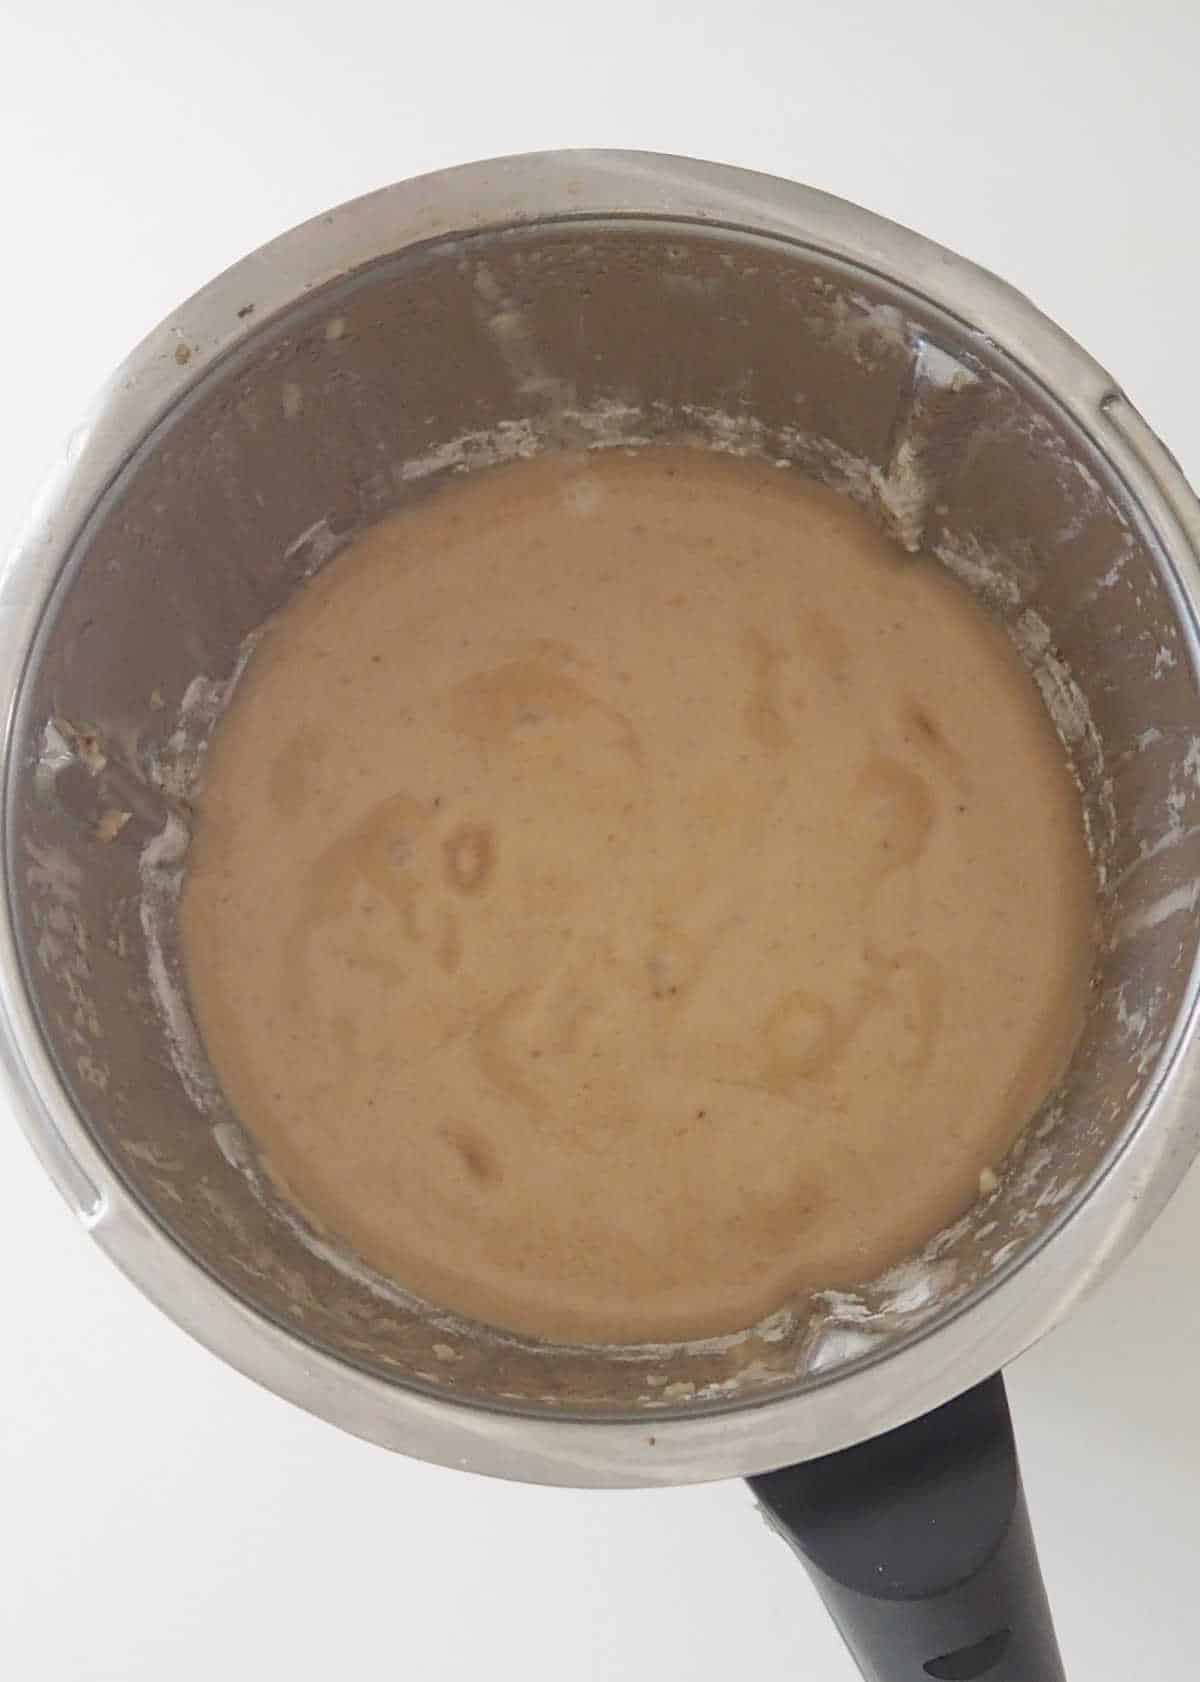
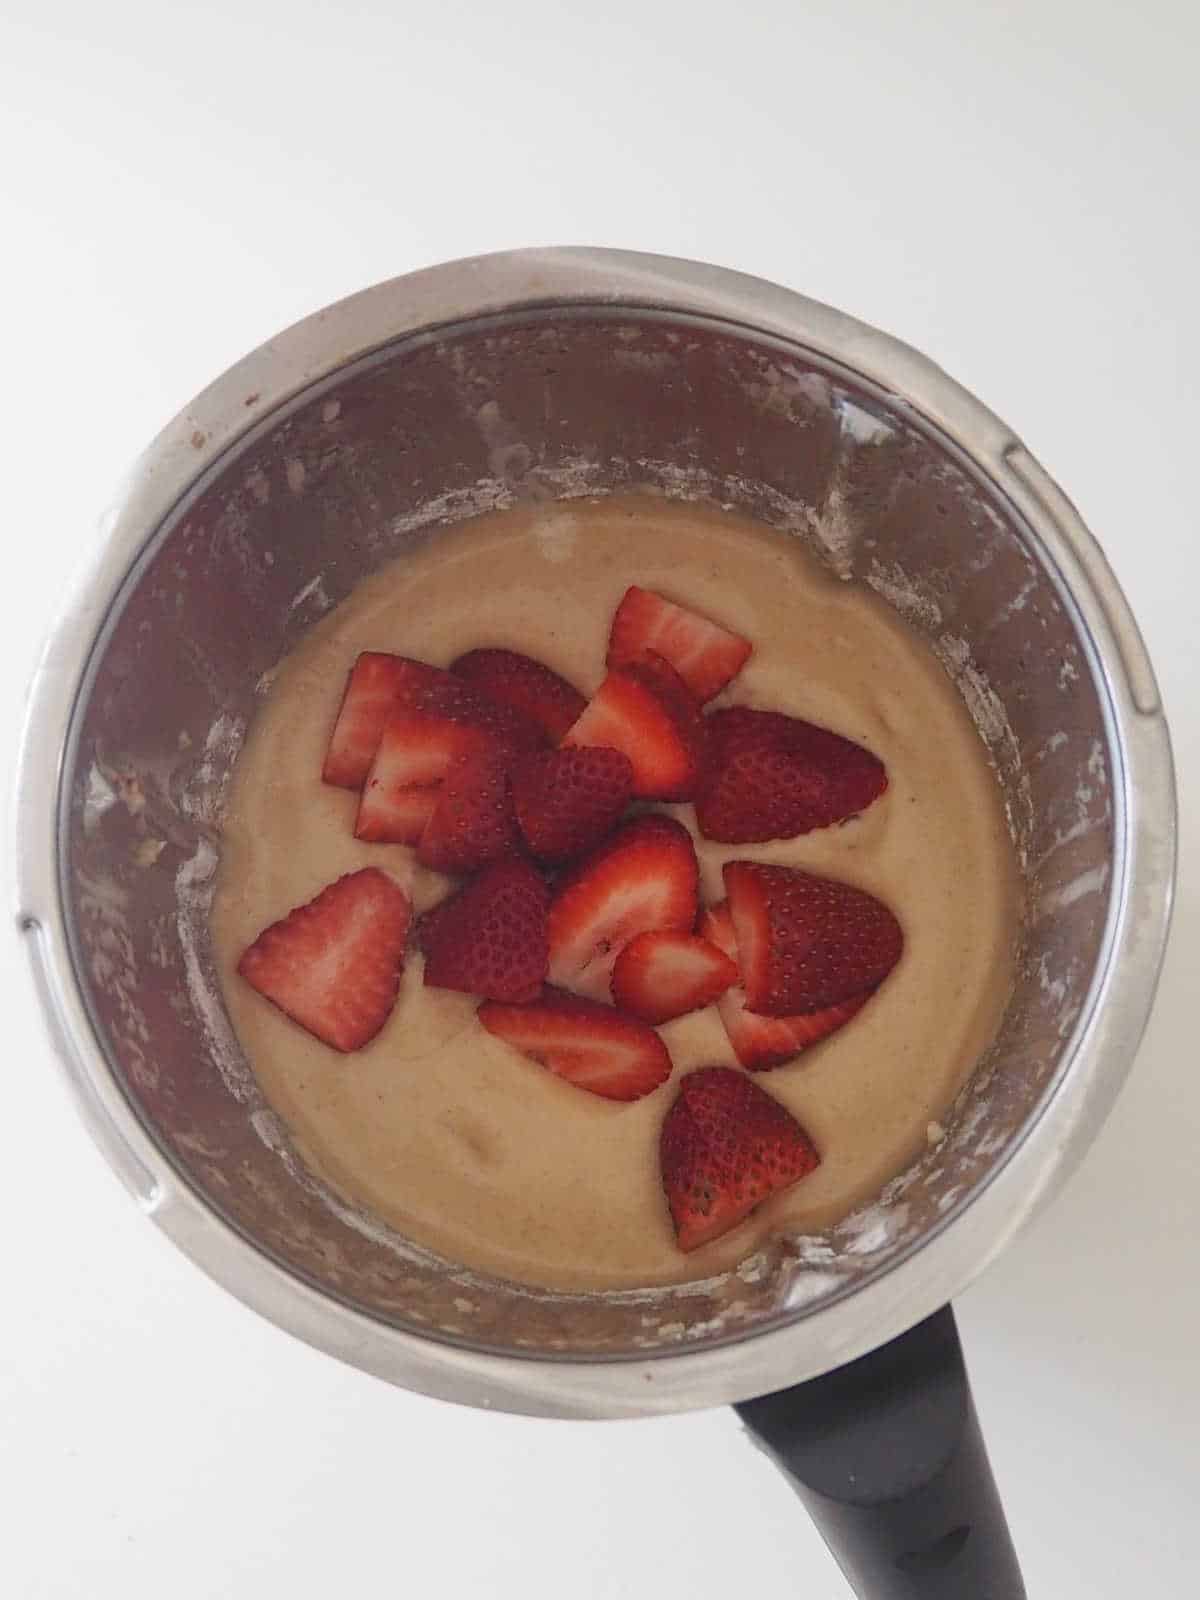
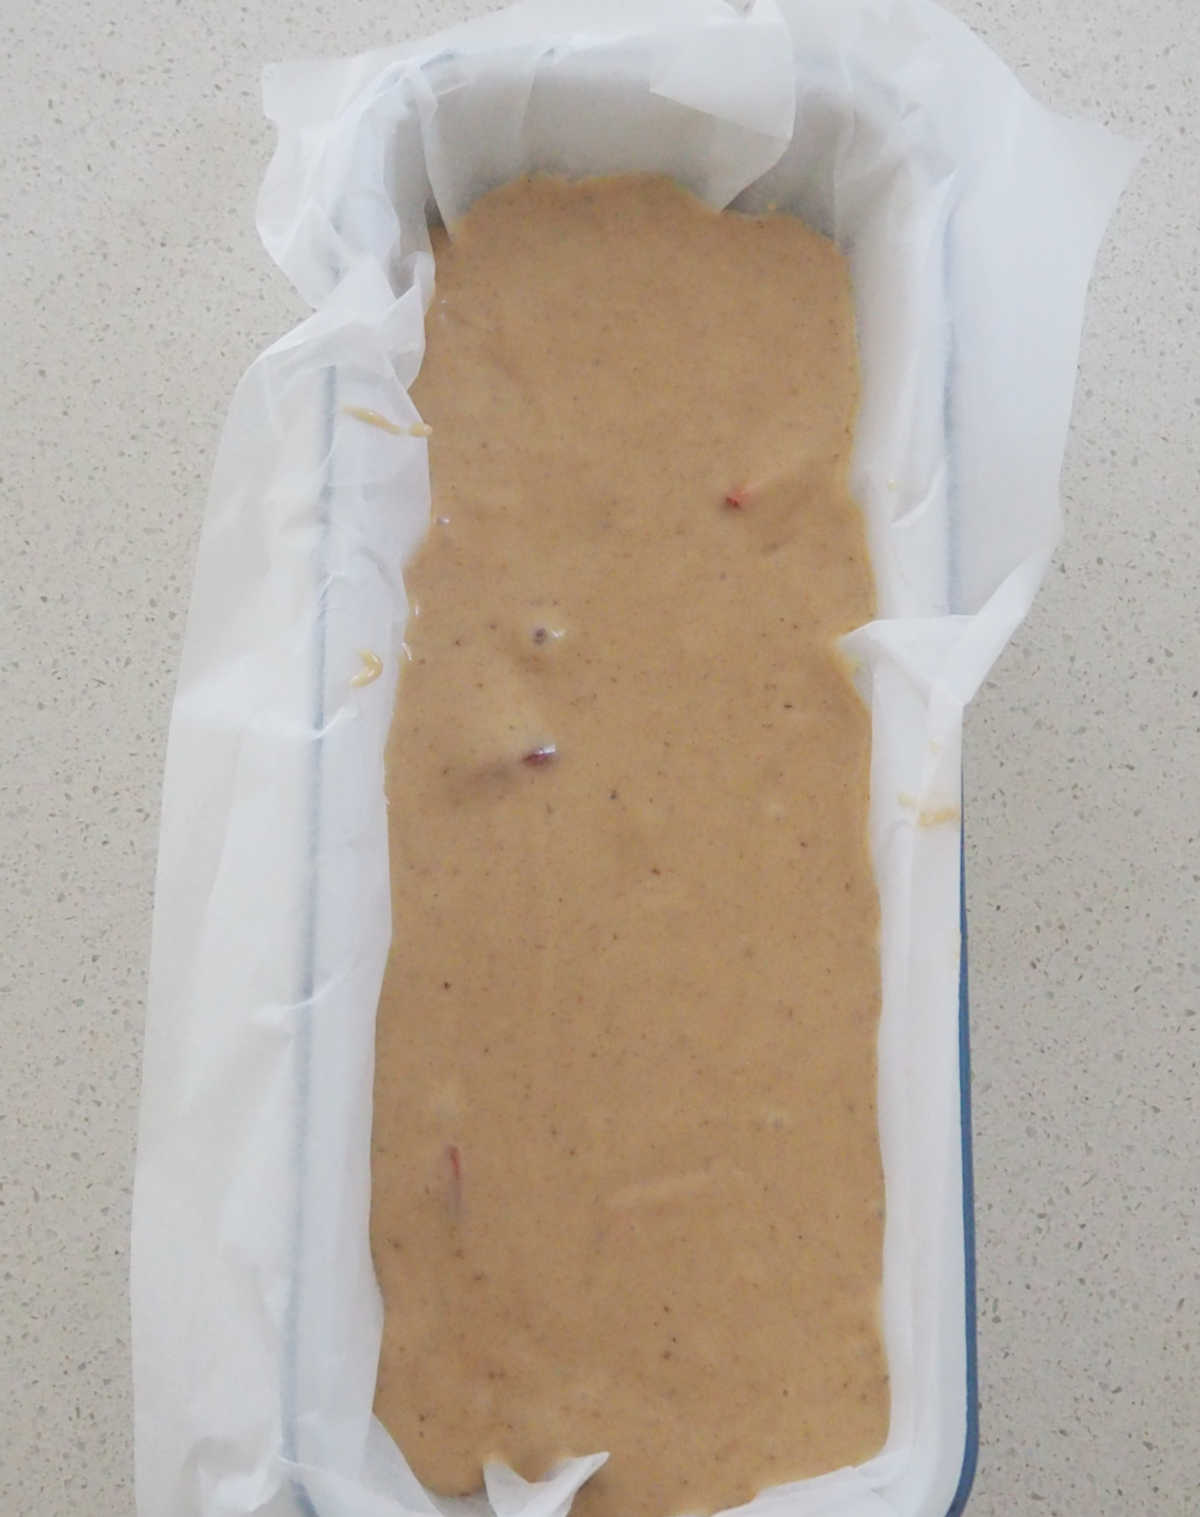
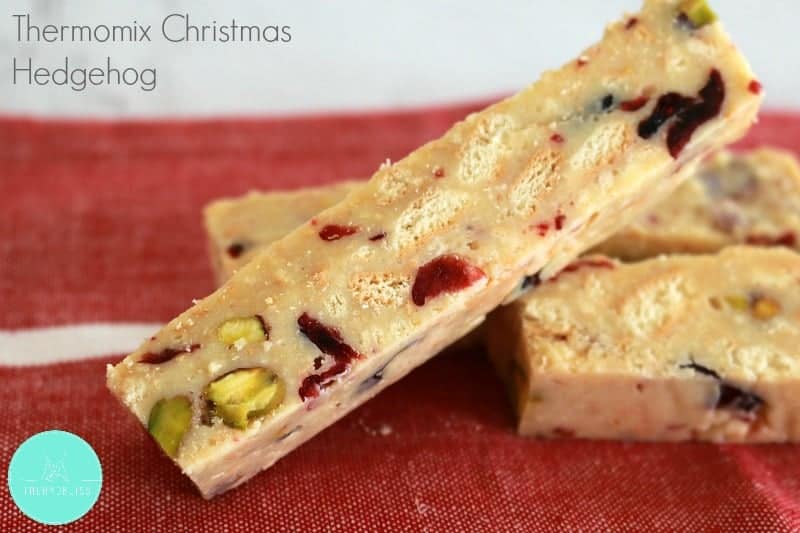
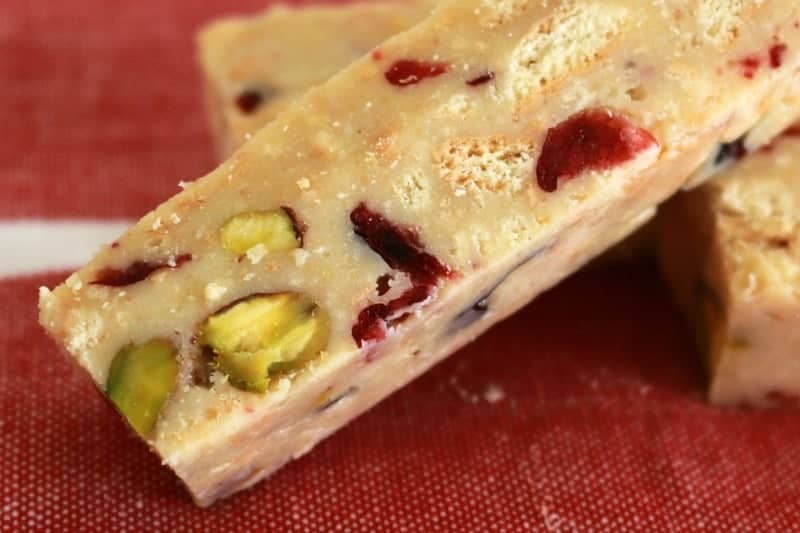
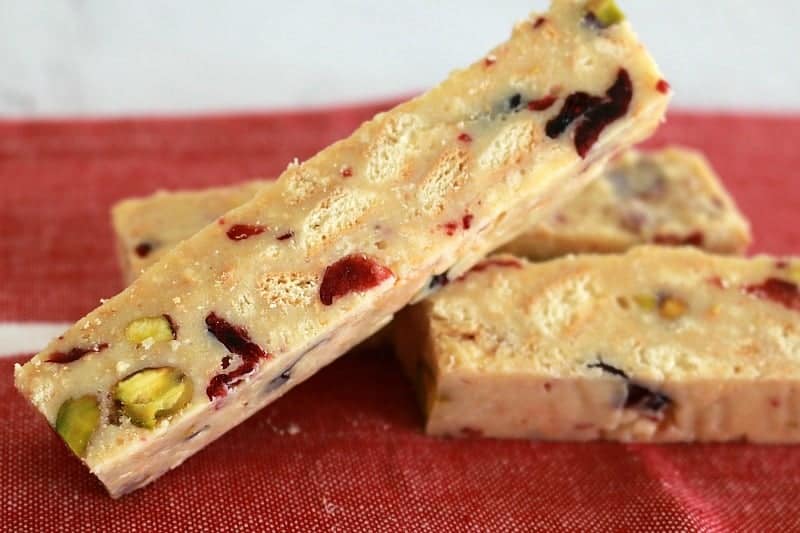
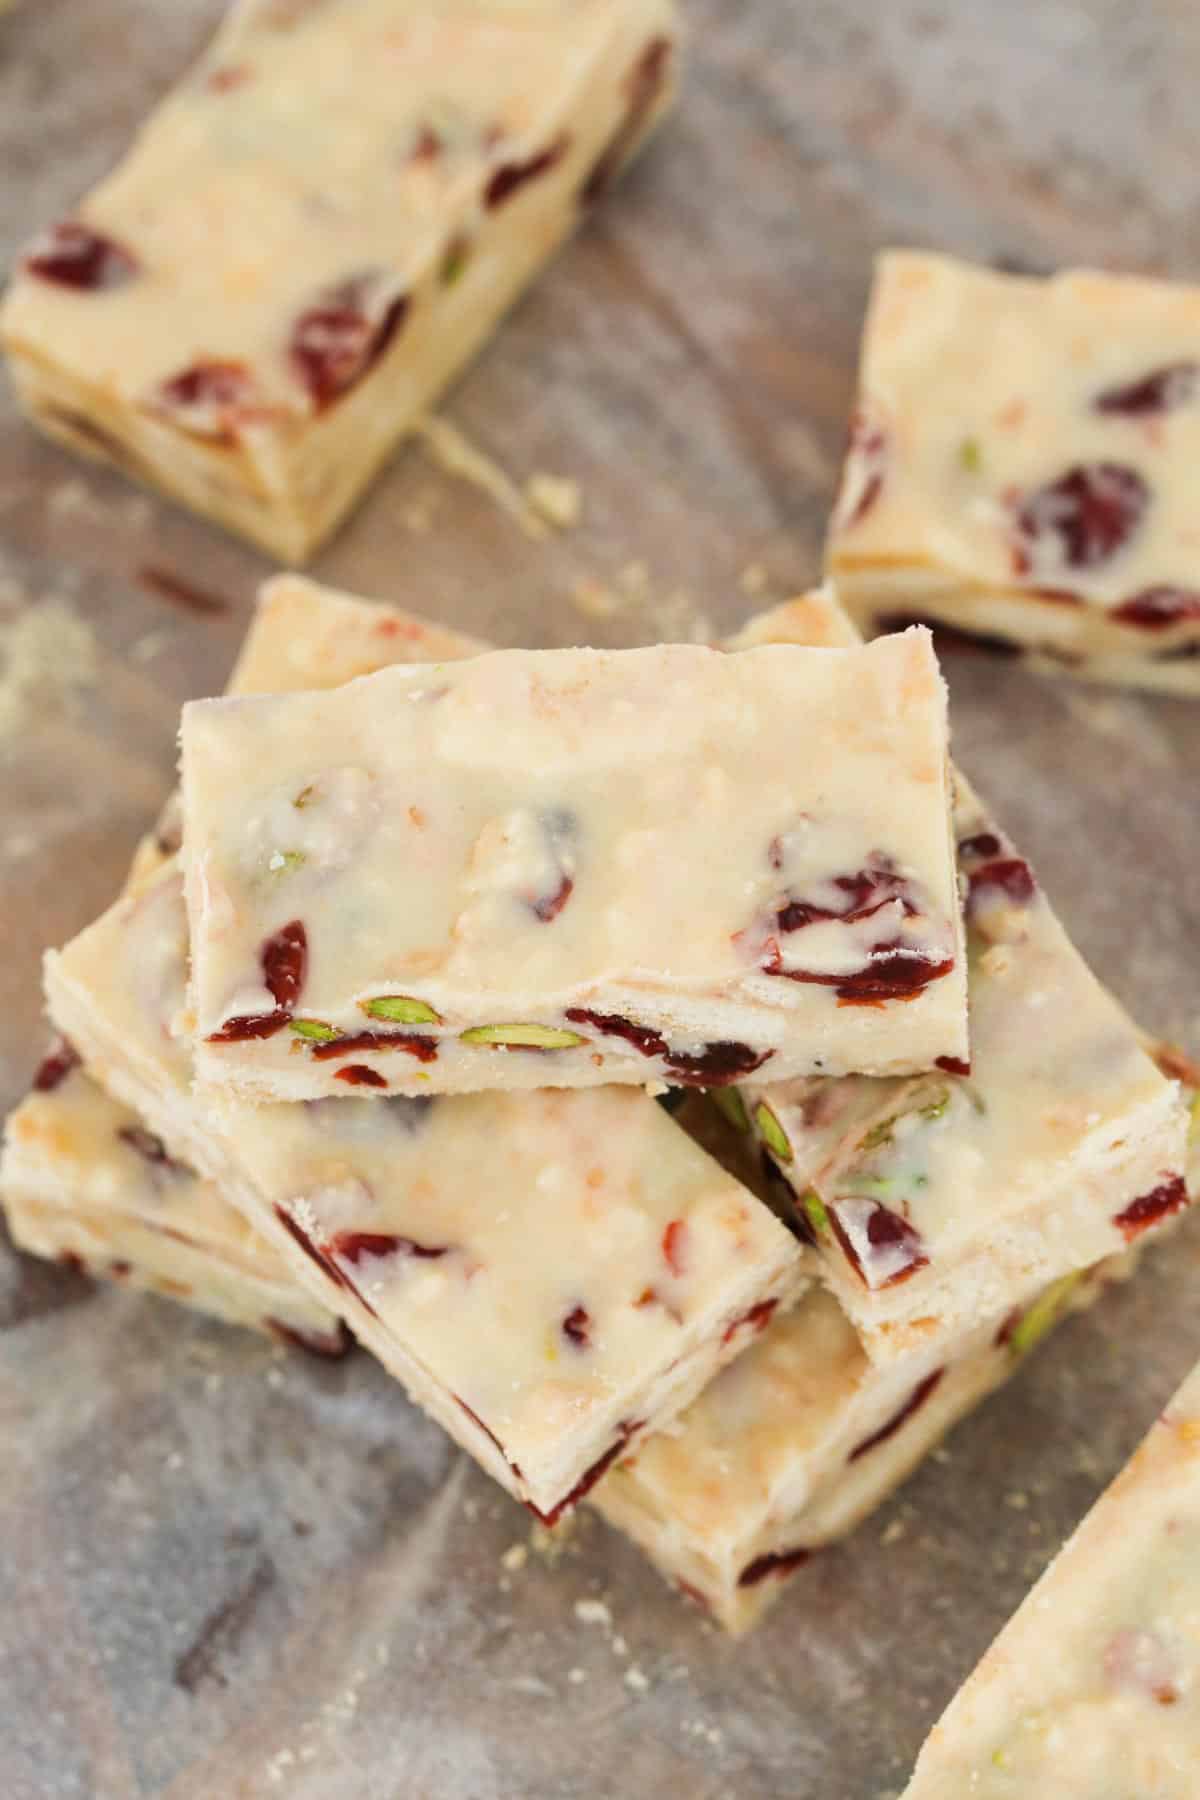
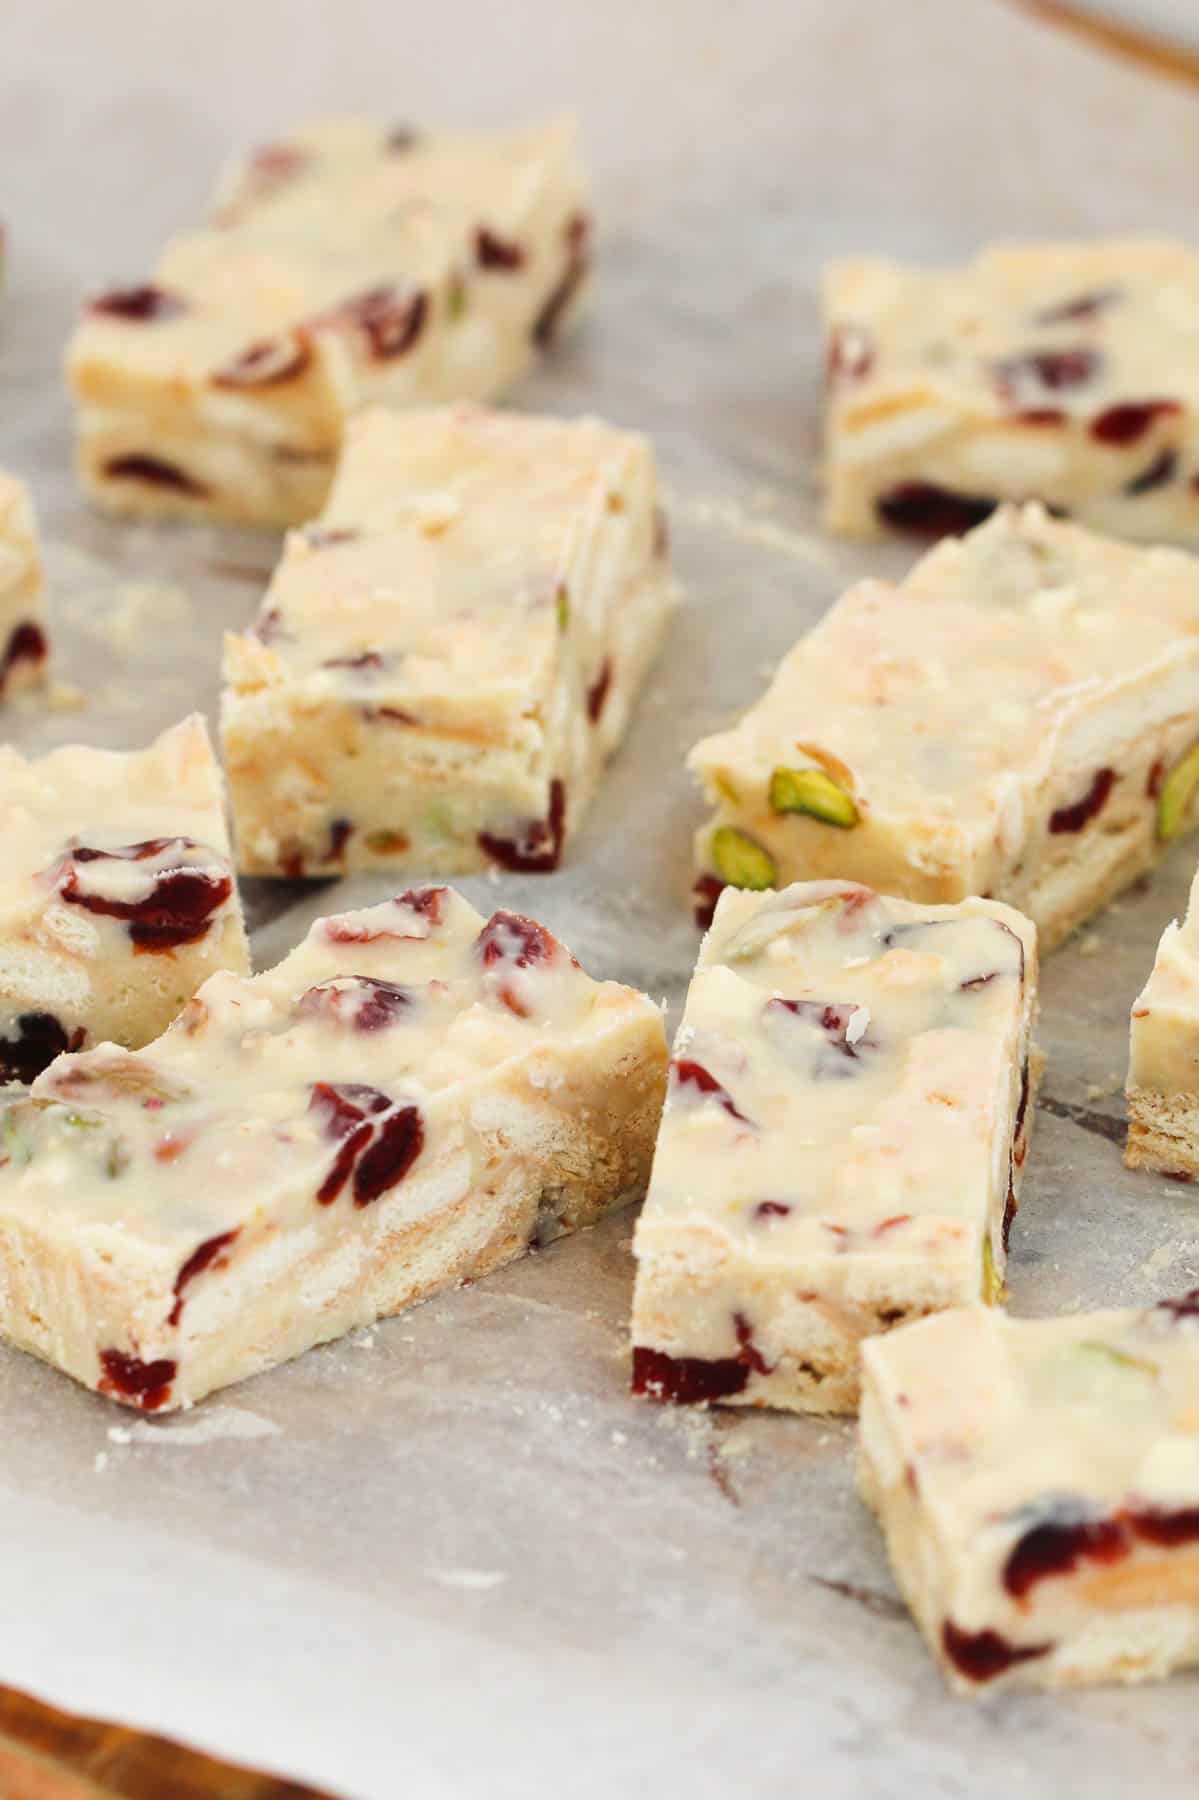
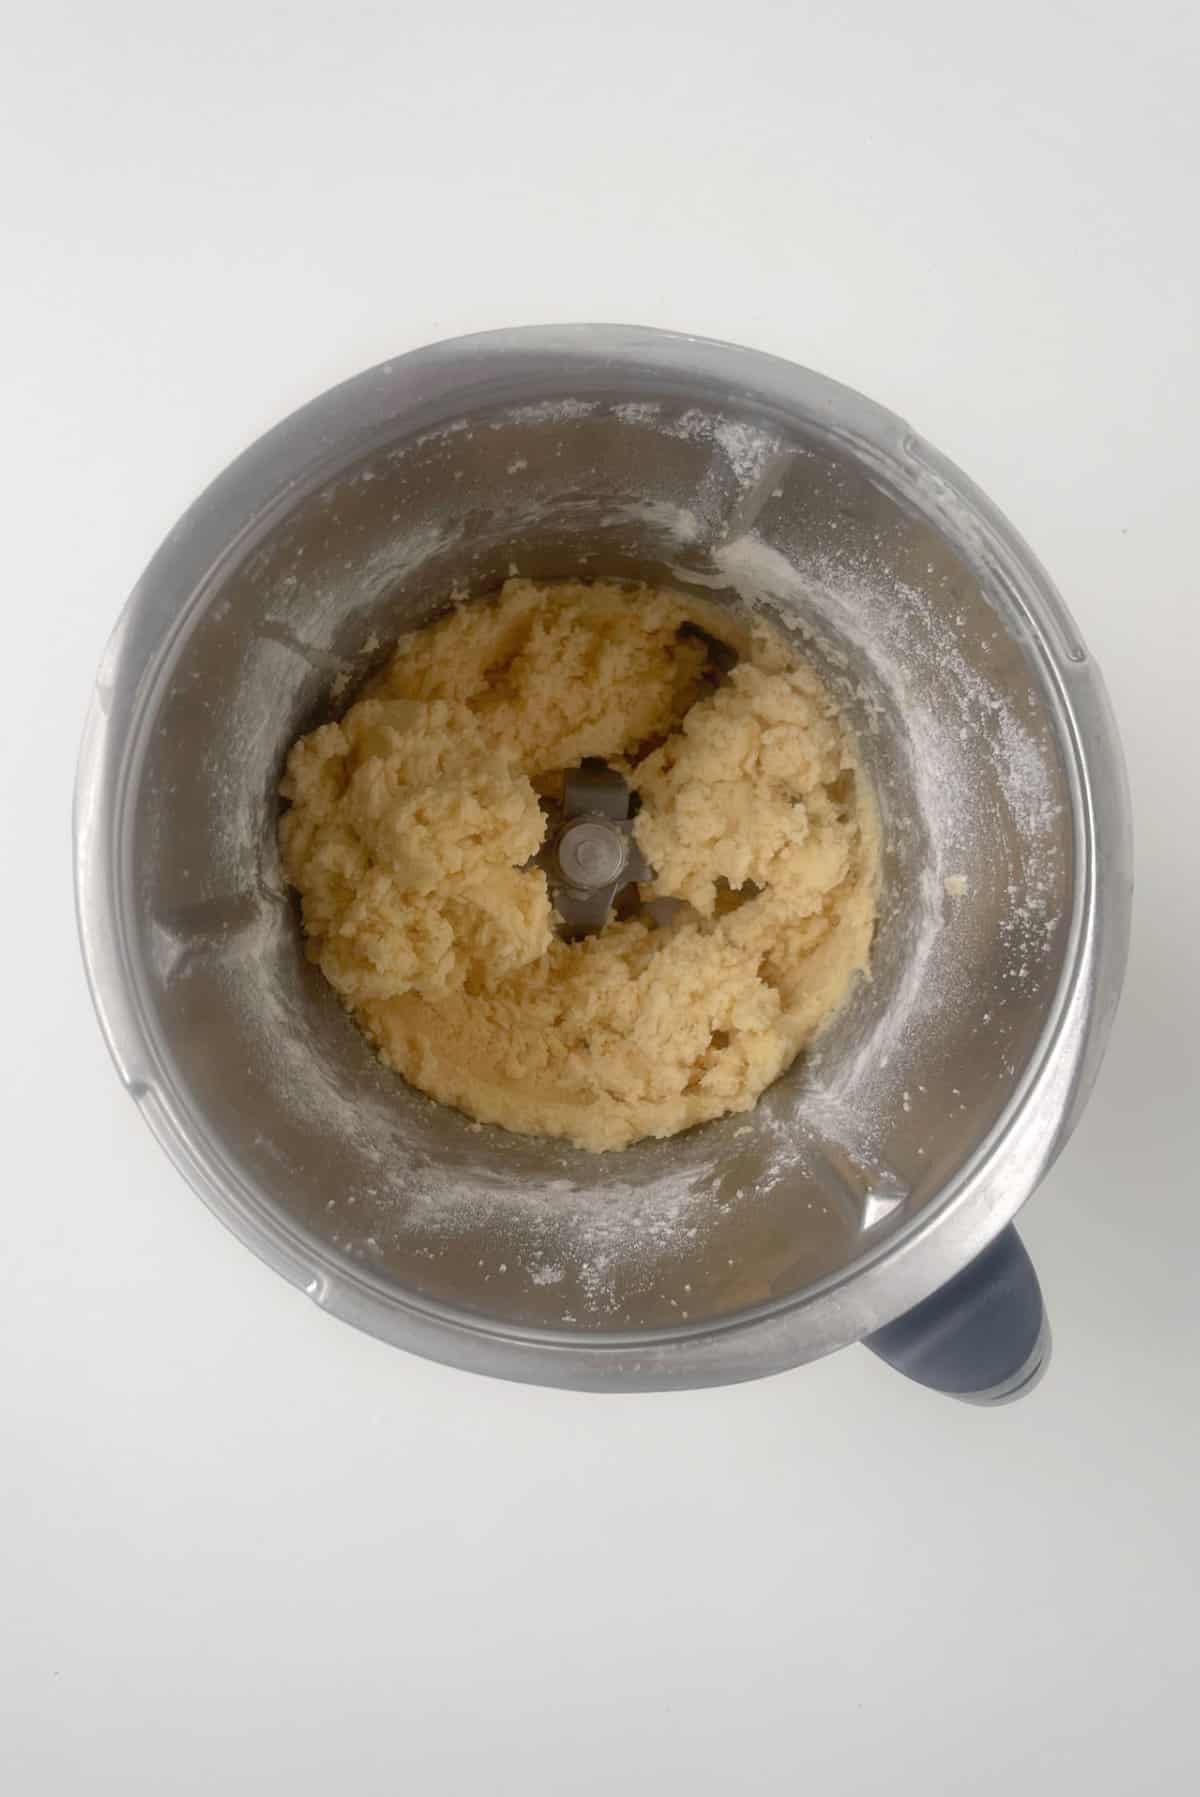
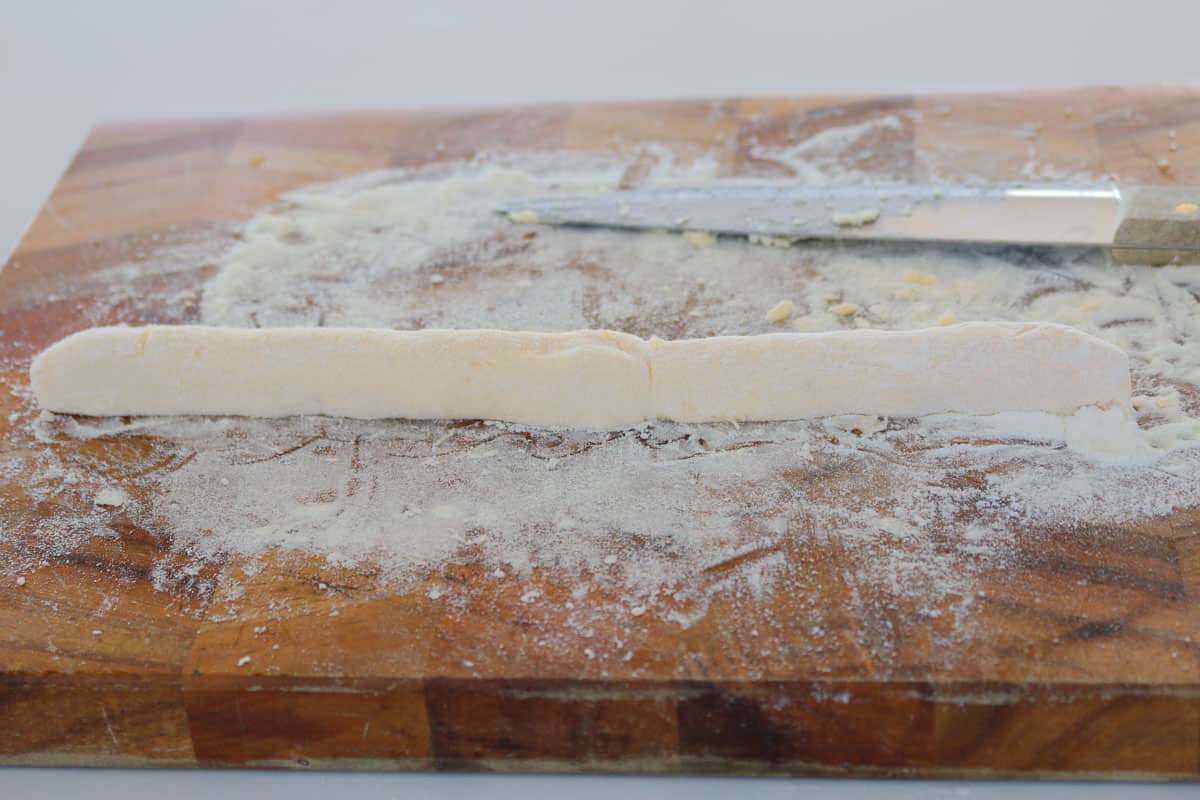
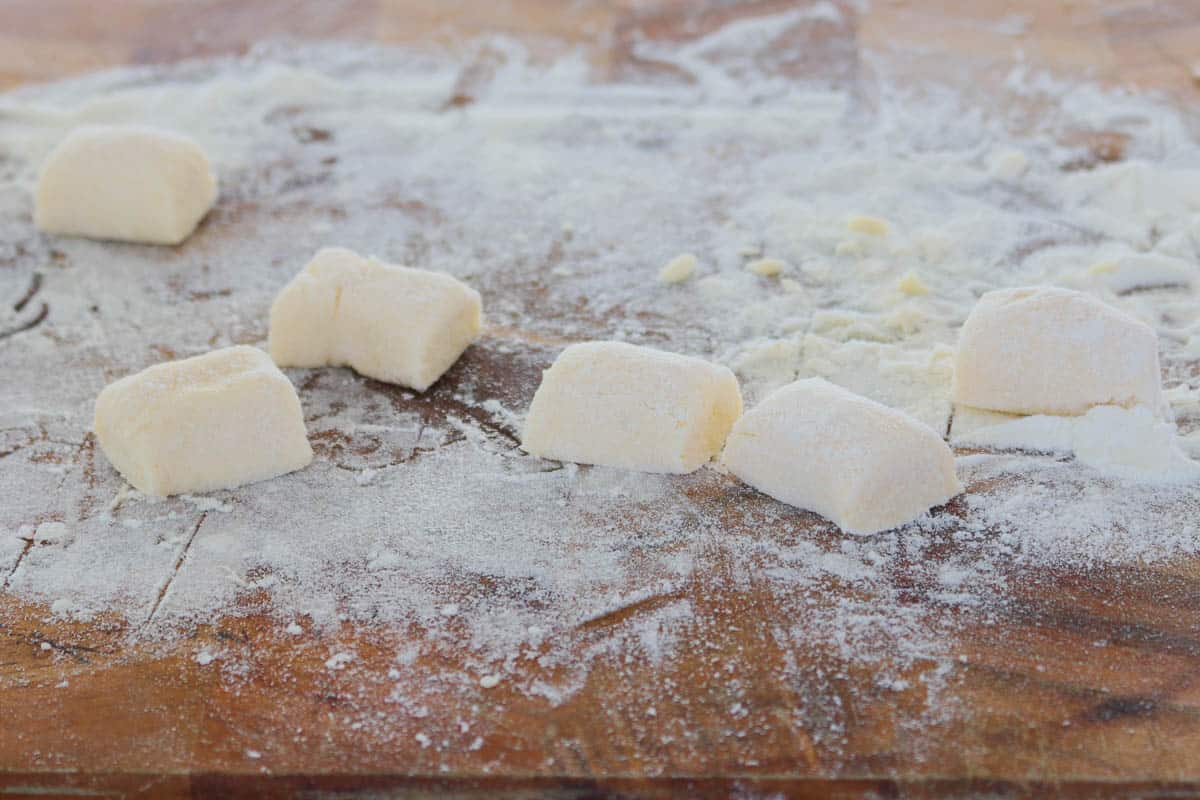
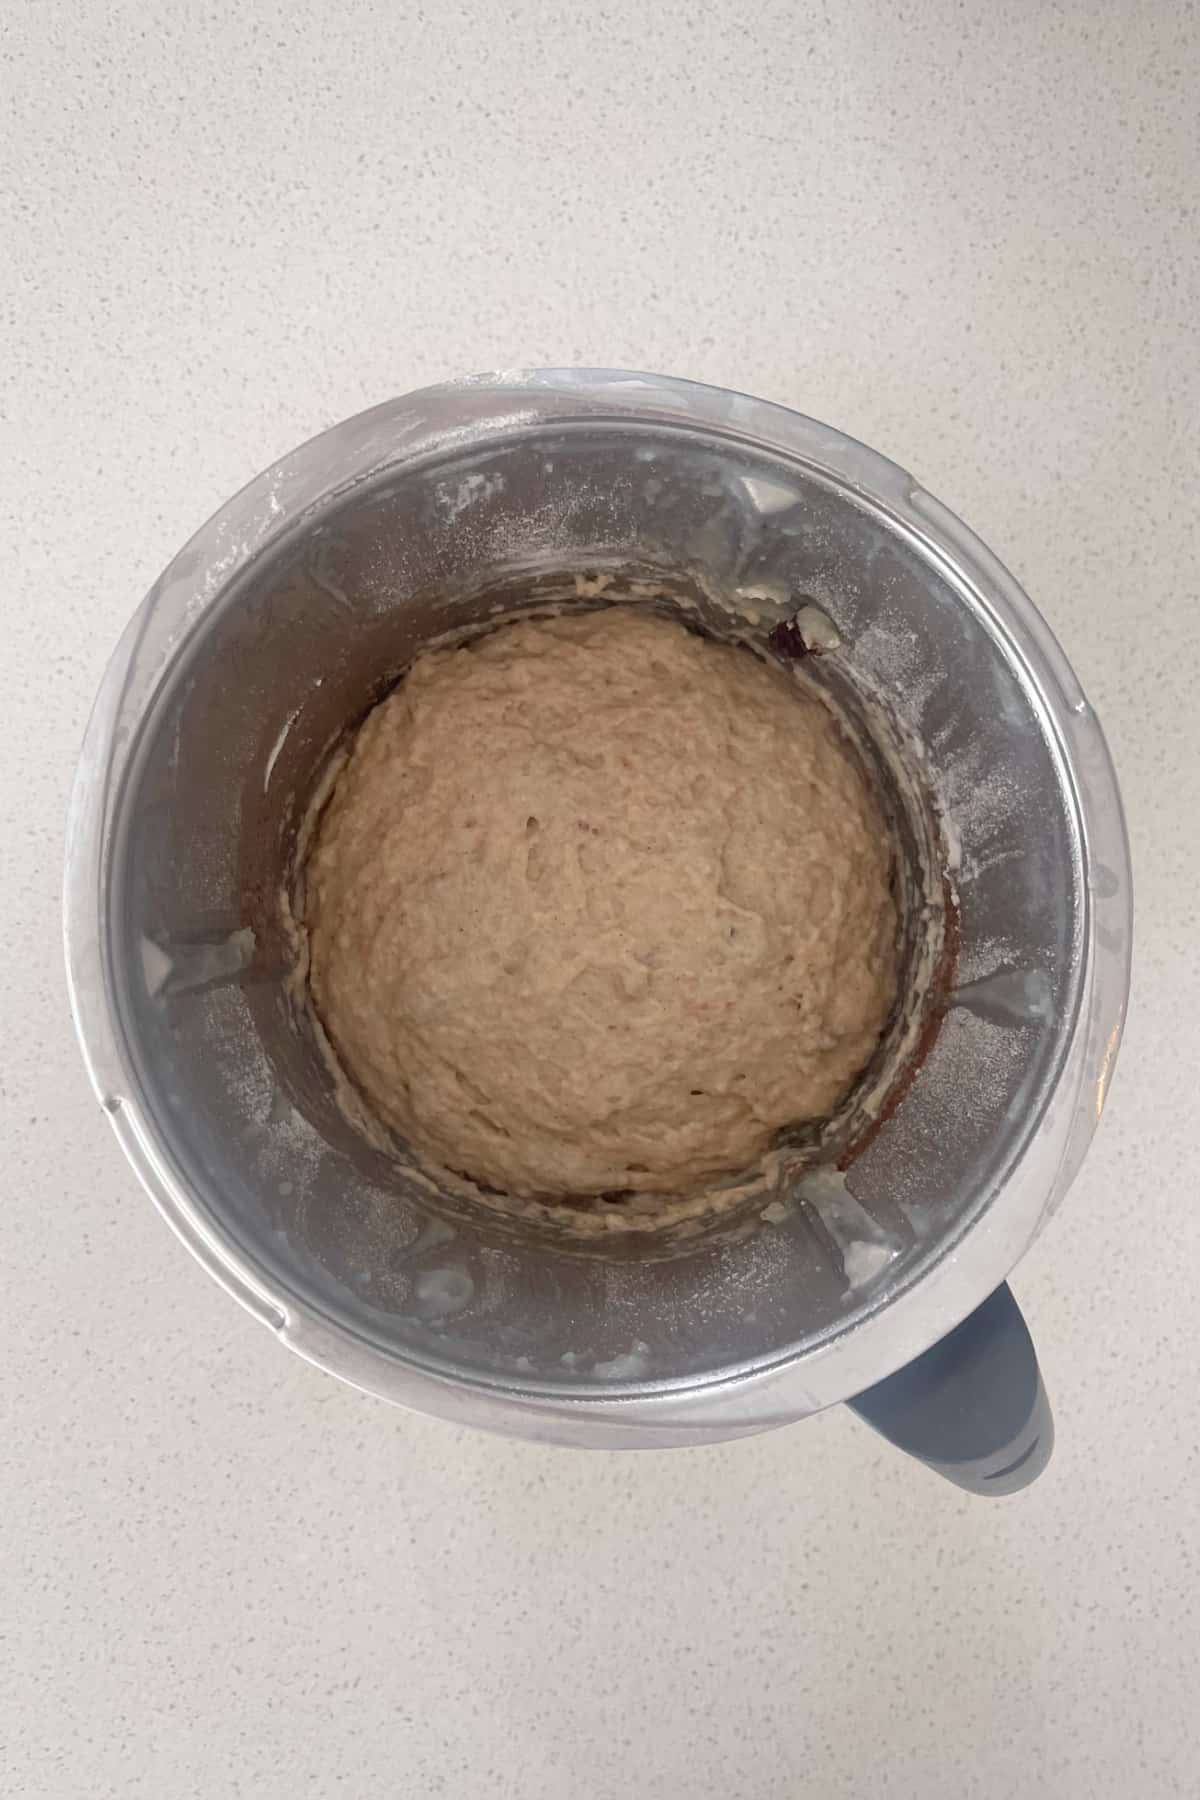
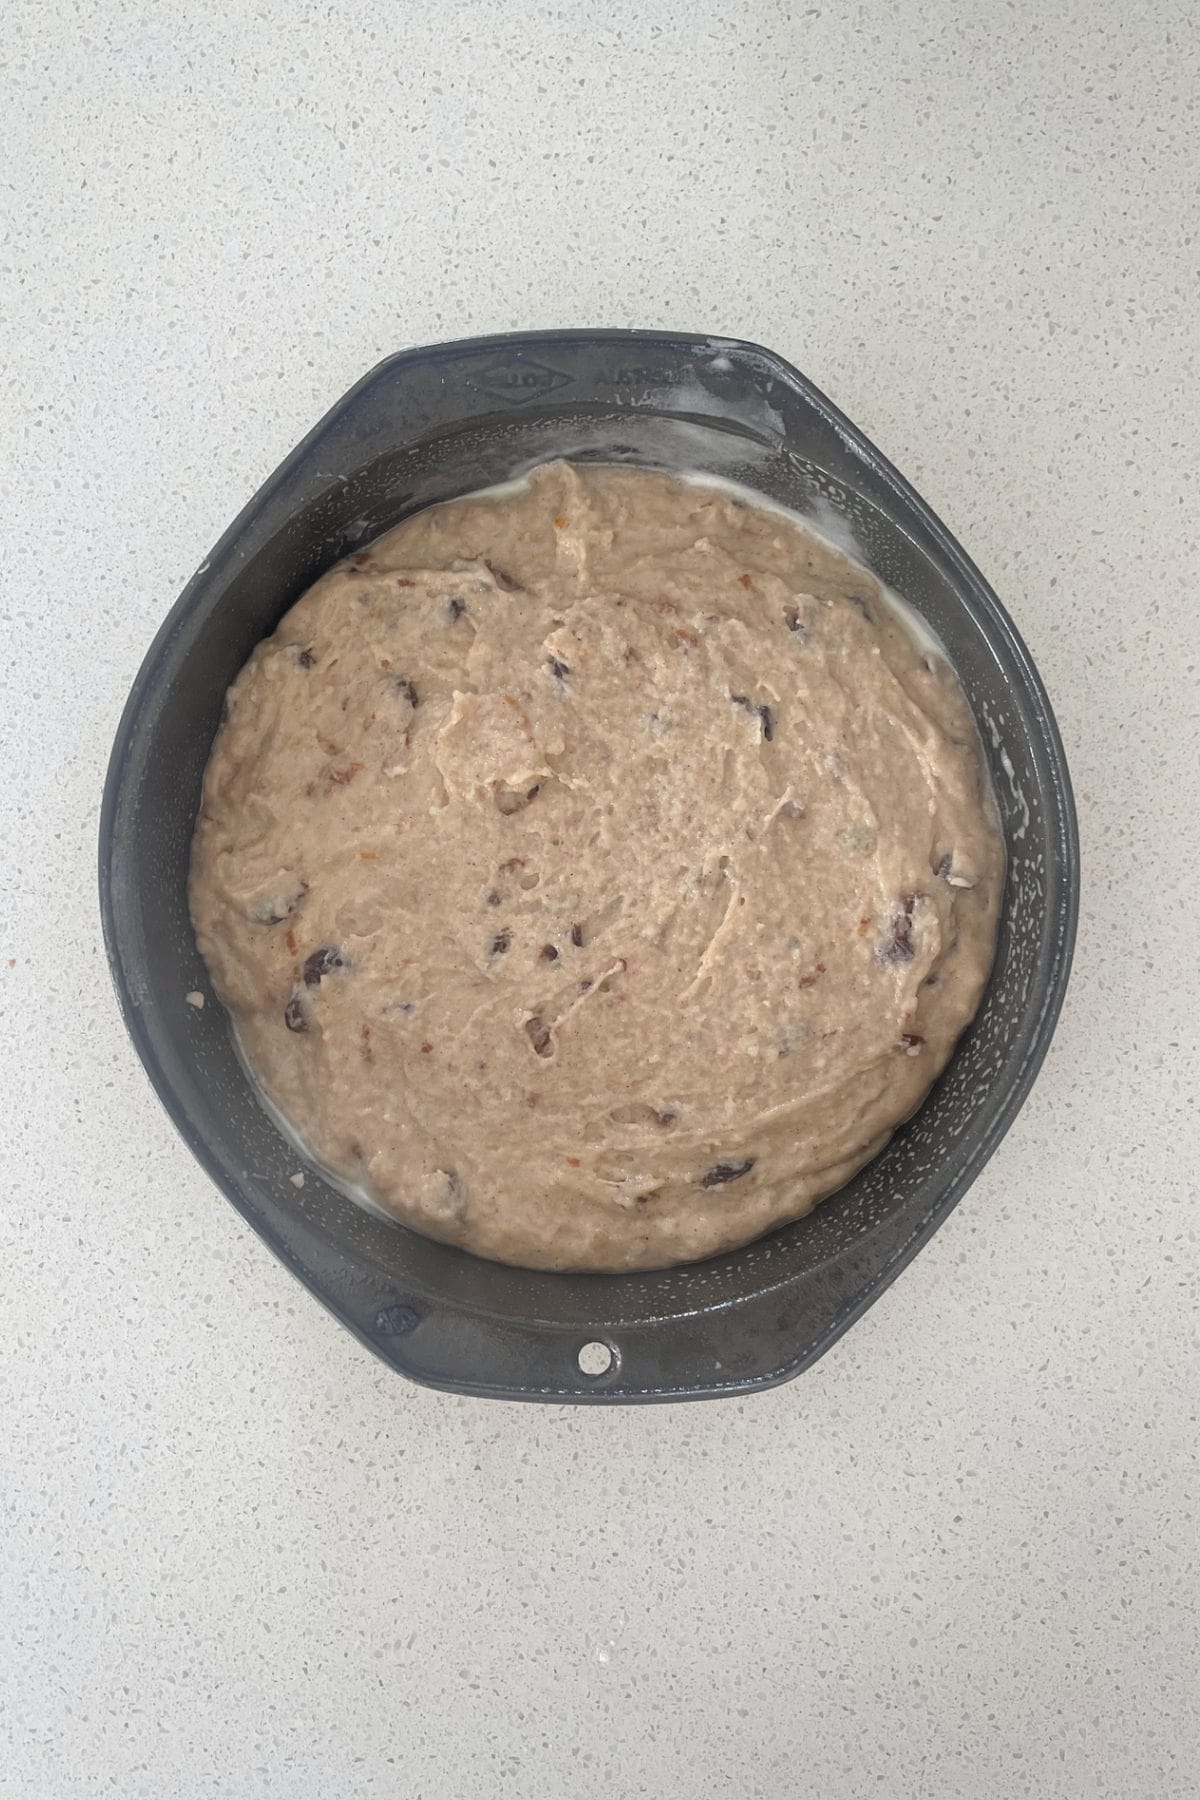
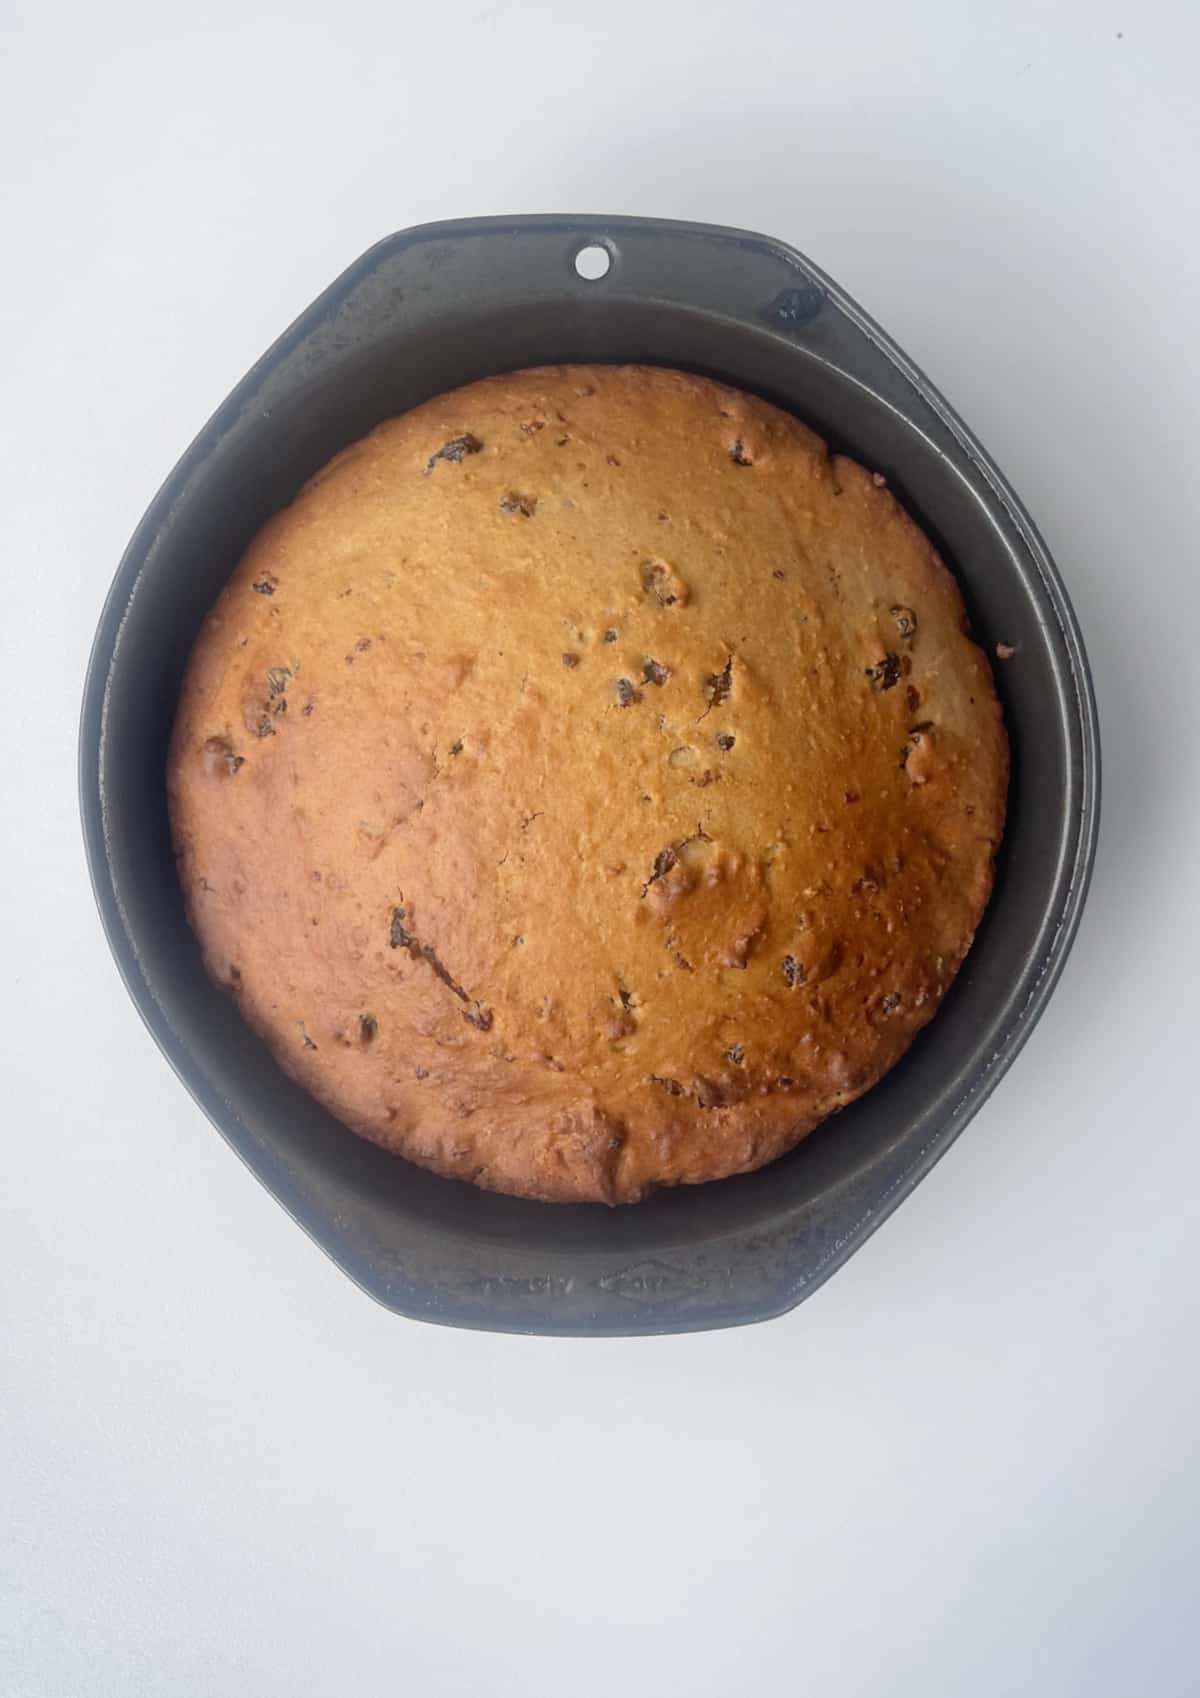
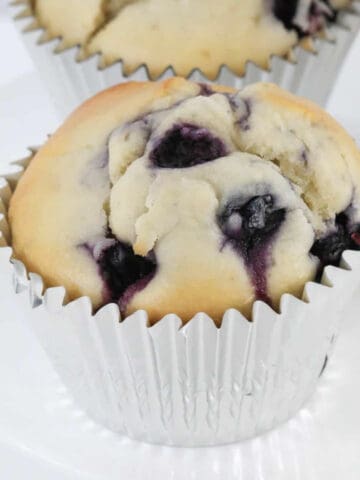
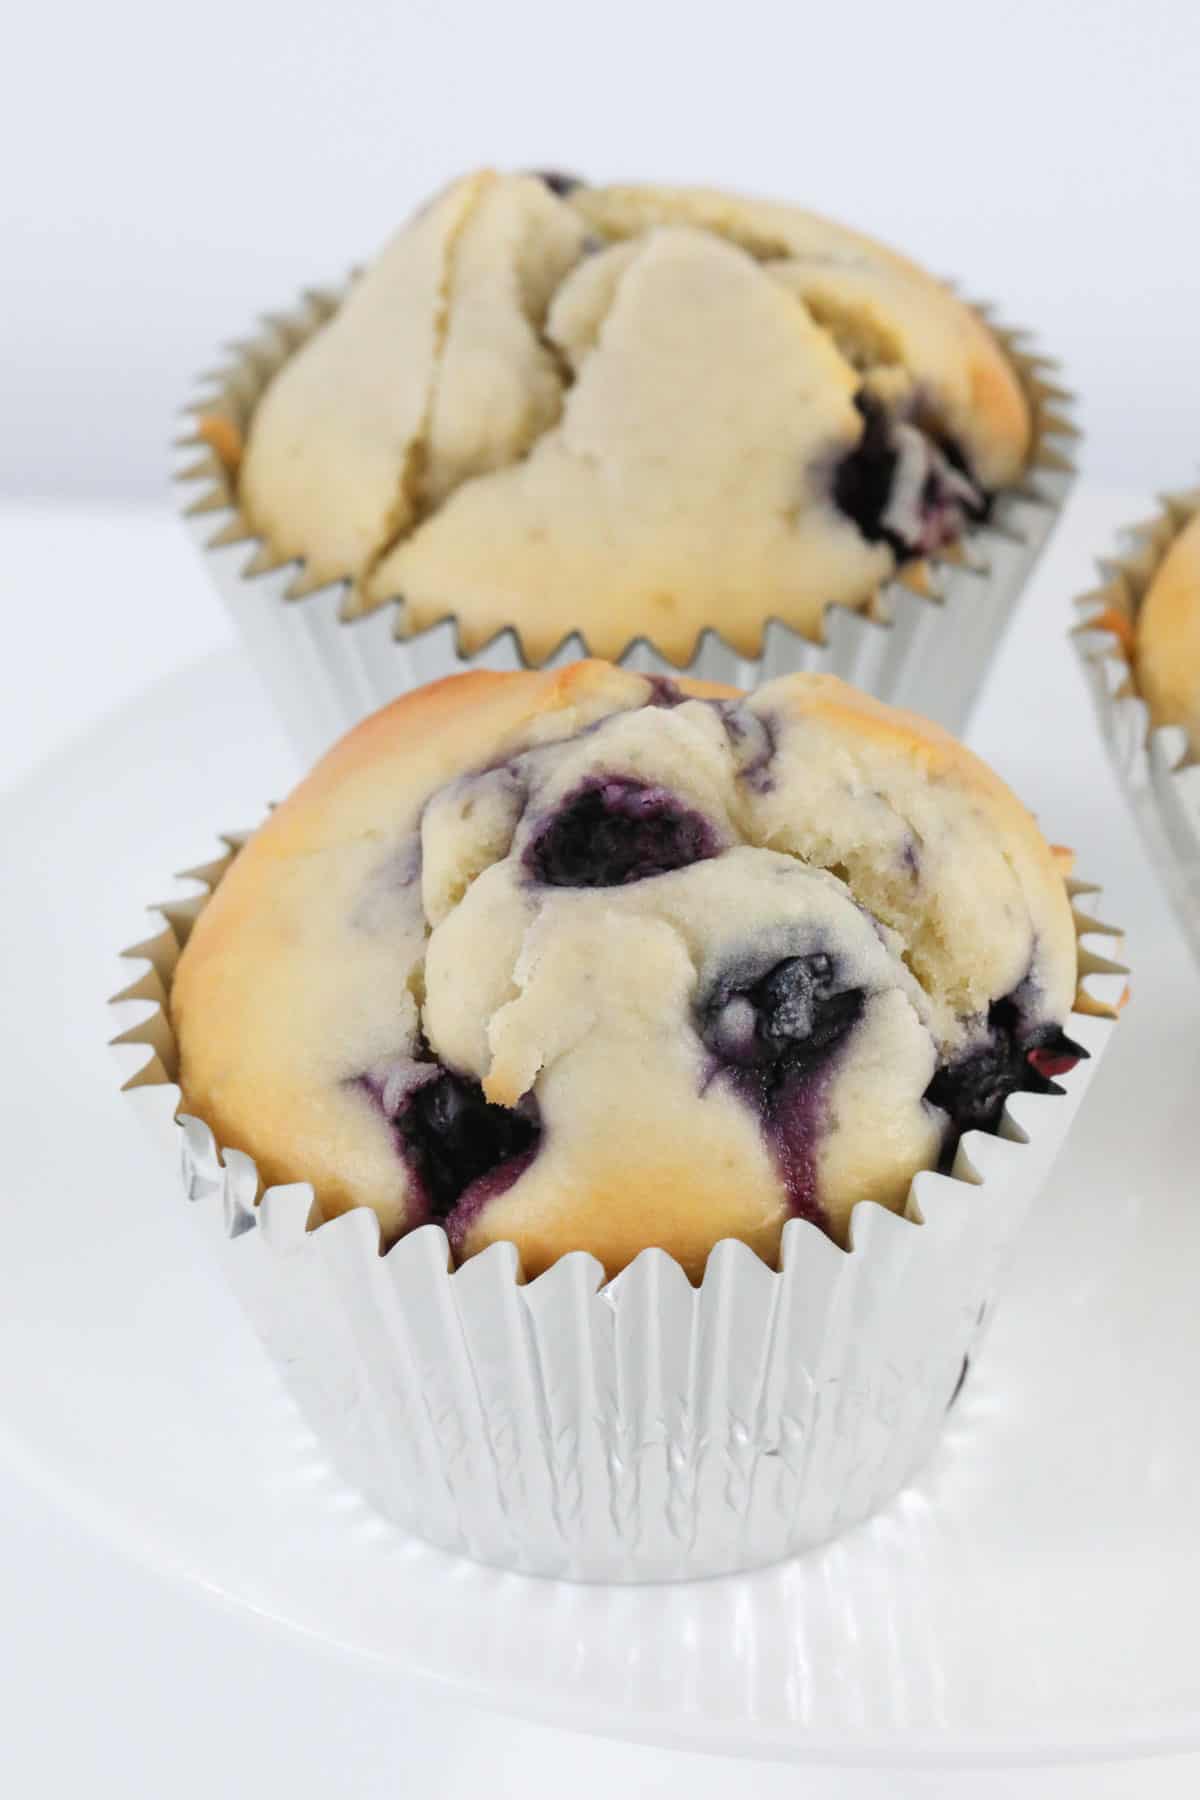
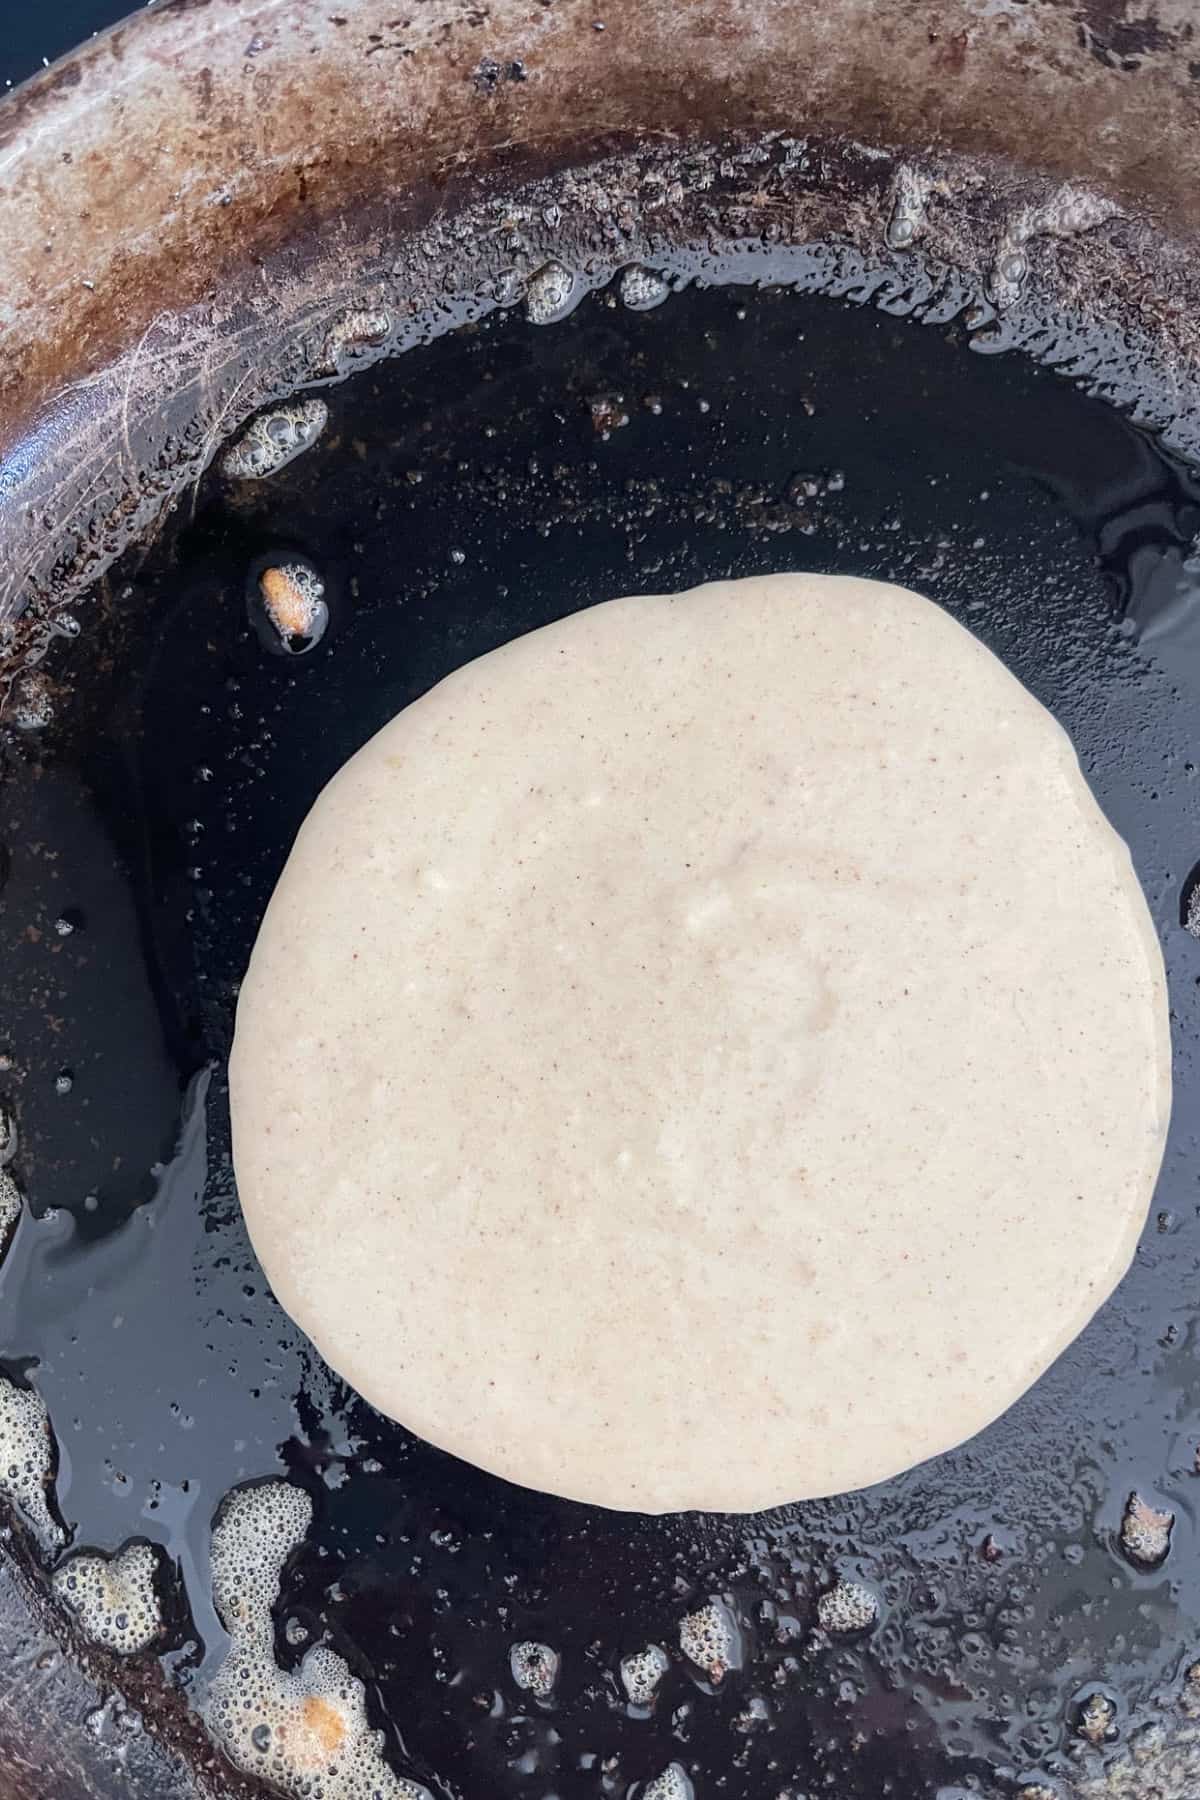
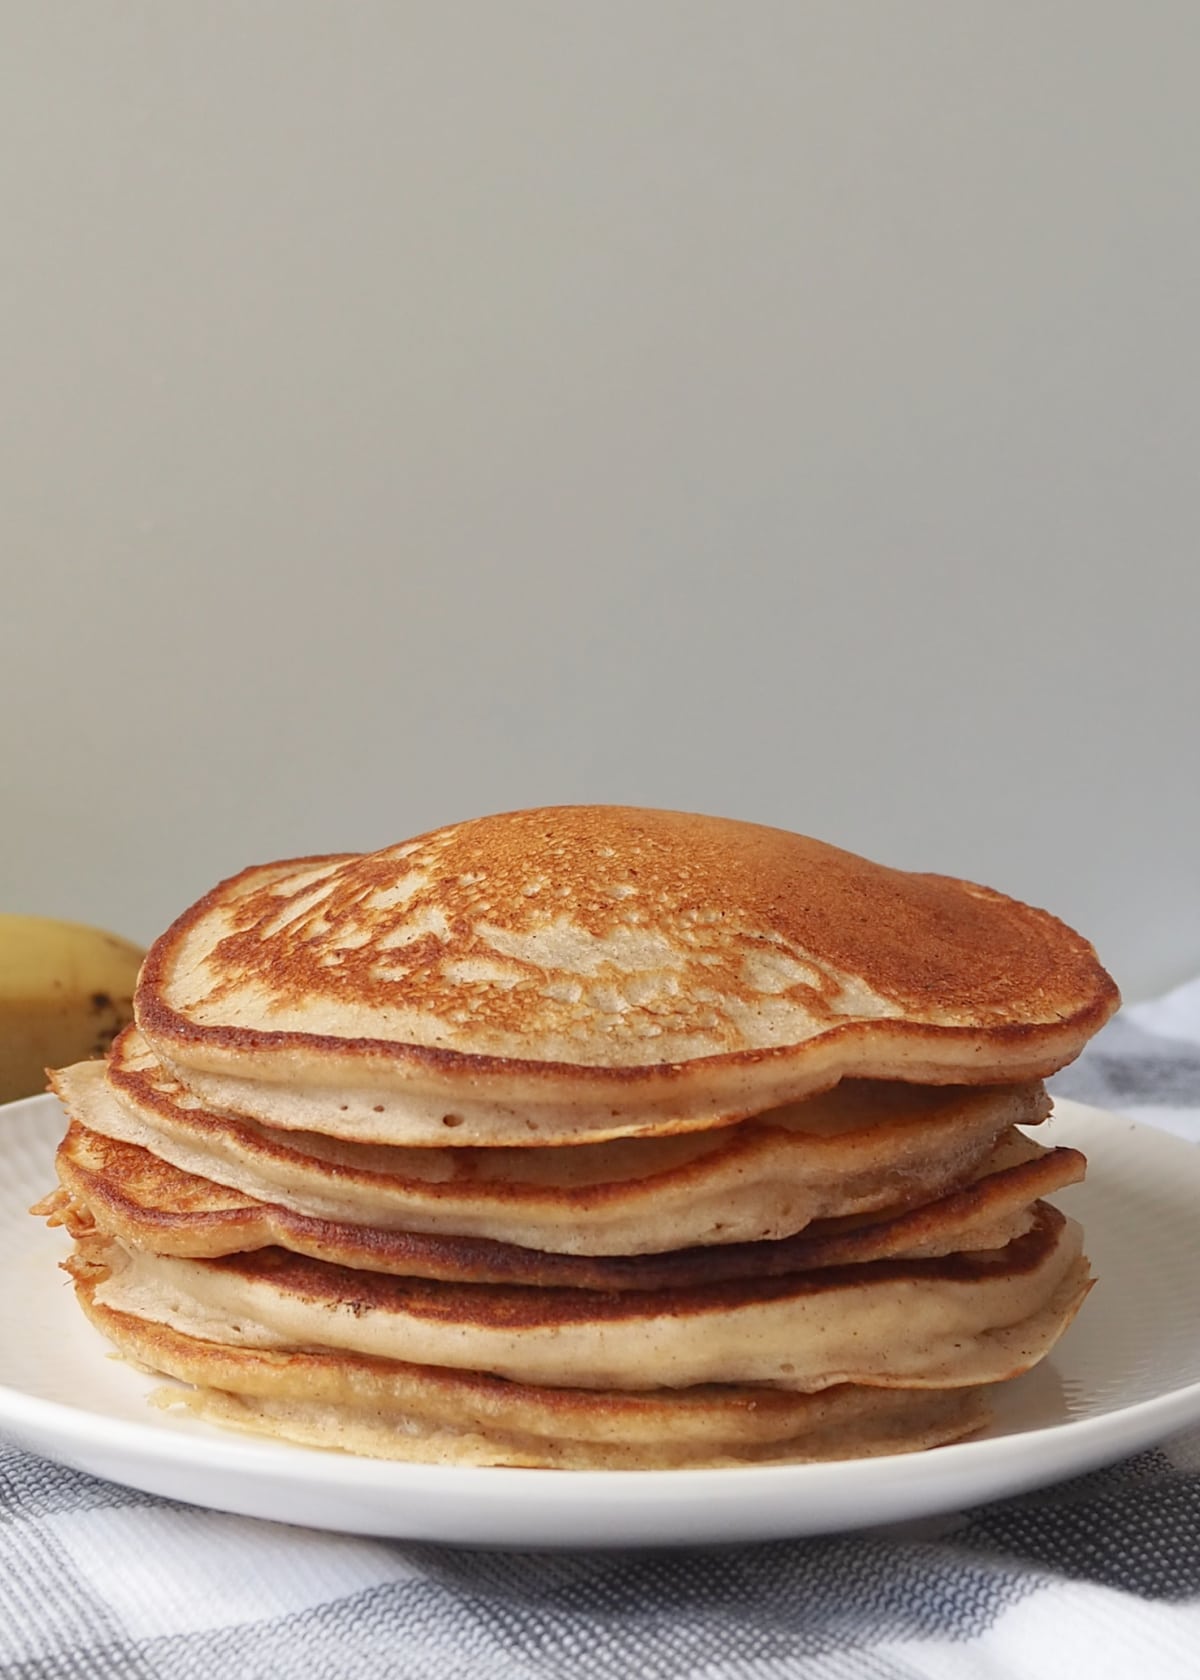
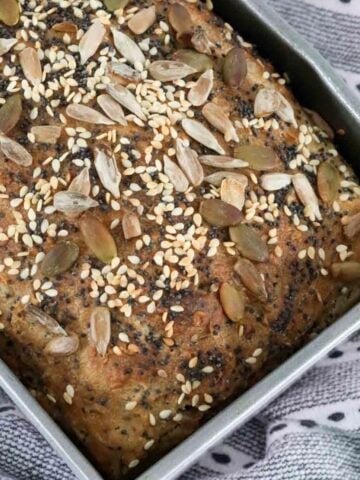
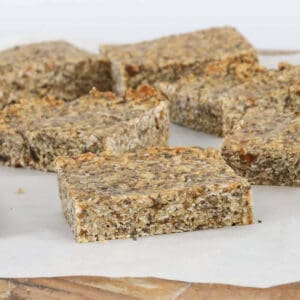
Healthy Thermomix Muesli Bars
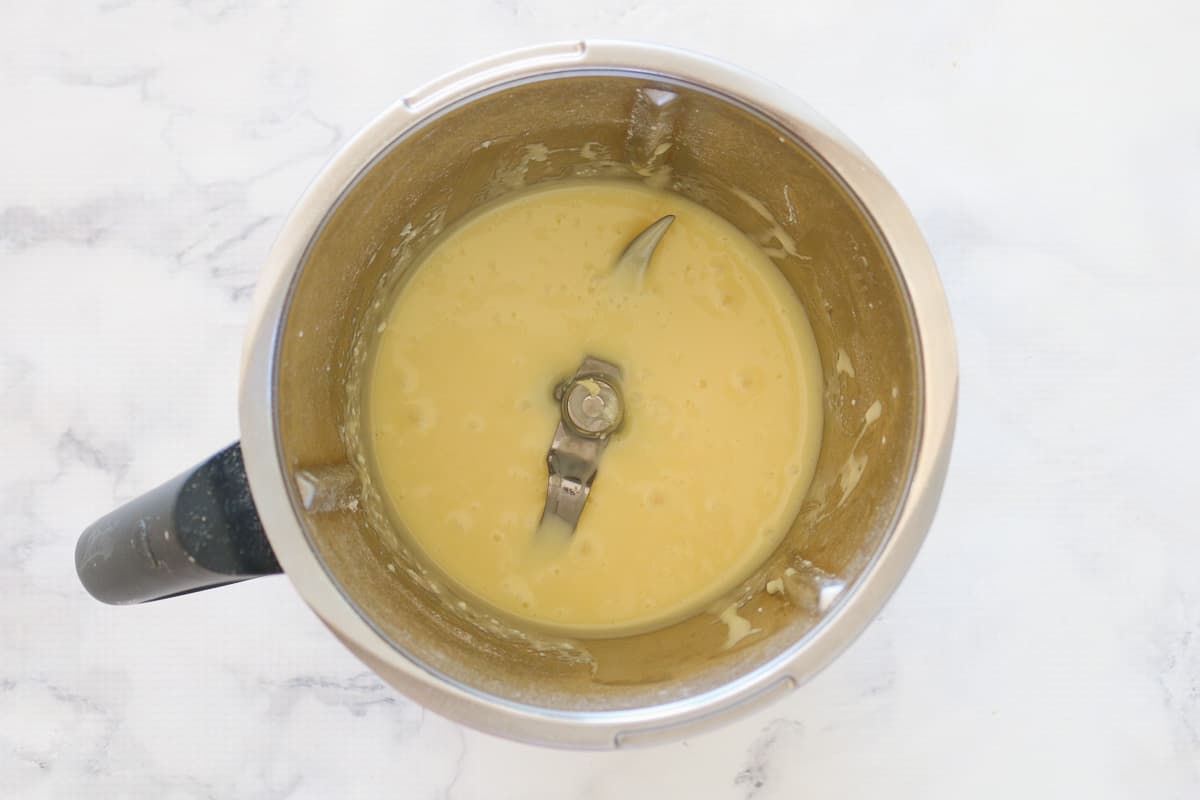
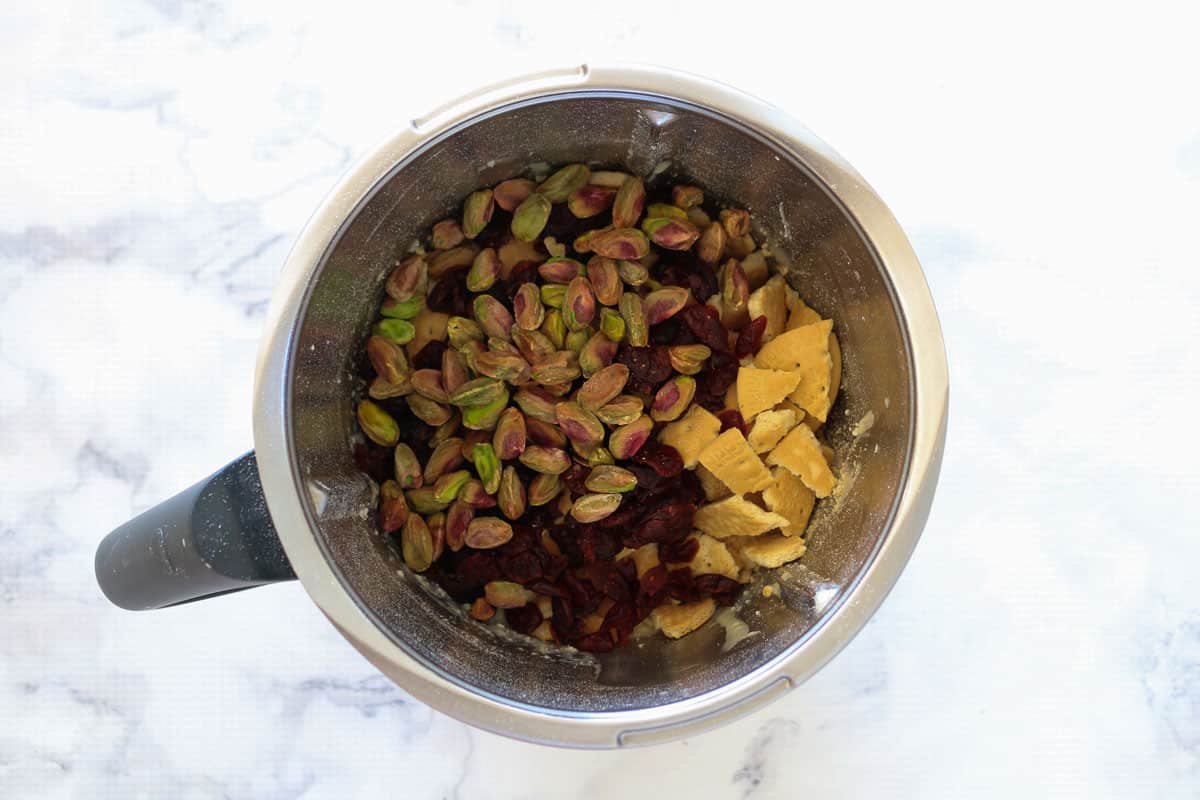
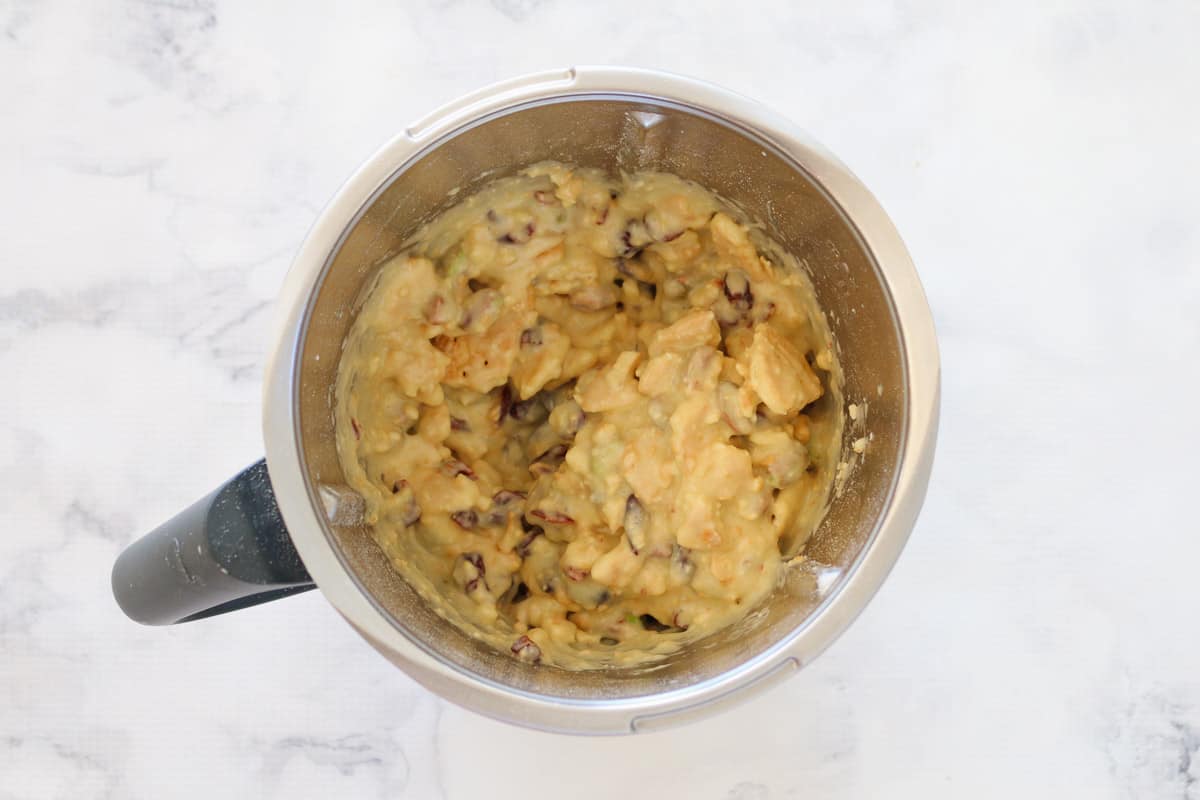
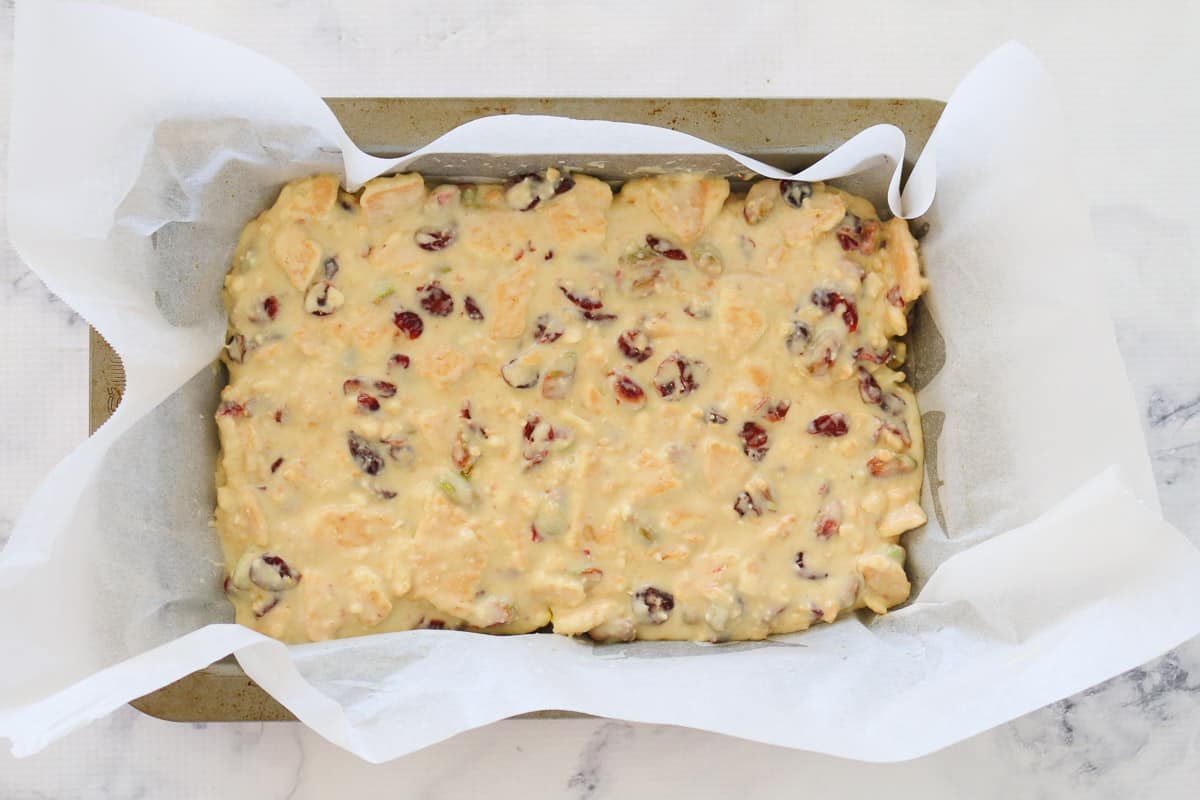
There is no need to buy Muesli Bars when it is so easy to make them yourself! Our healthy Thermomix Muesli Bars are packed with goodness and are a family favourite.
Healthy Thermomix Muesli Bars
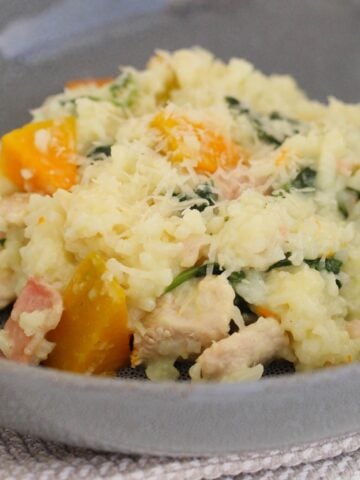
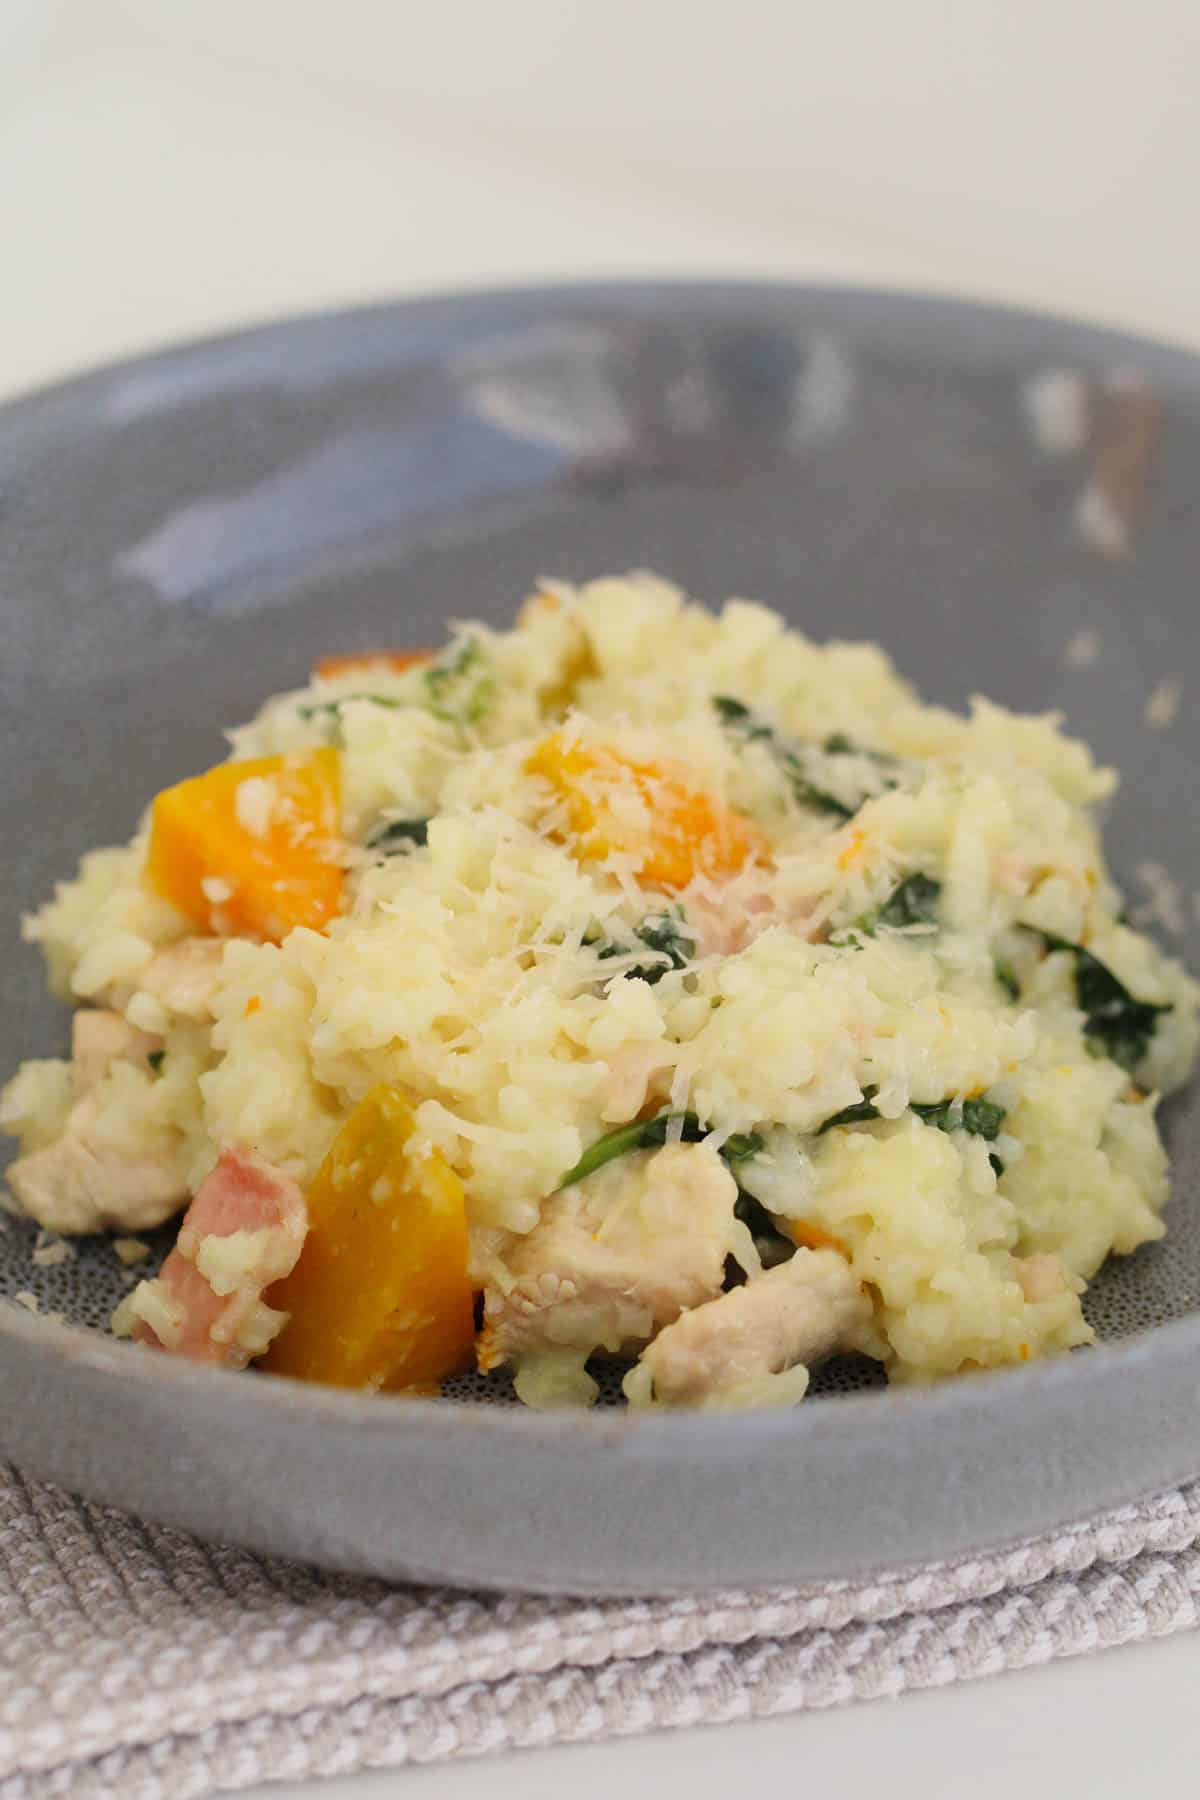
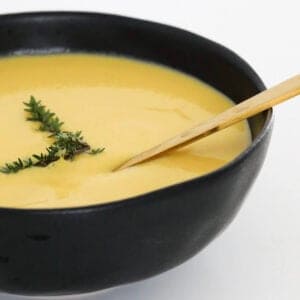
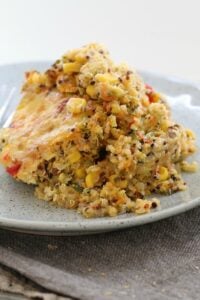
Thermomix Quinoa & Vegetable Bake
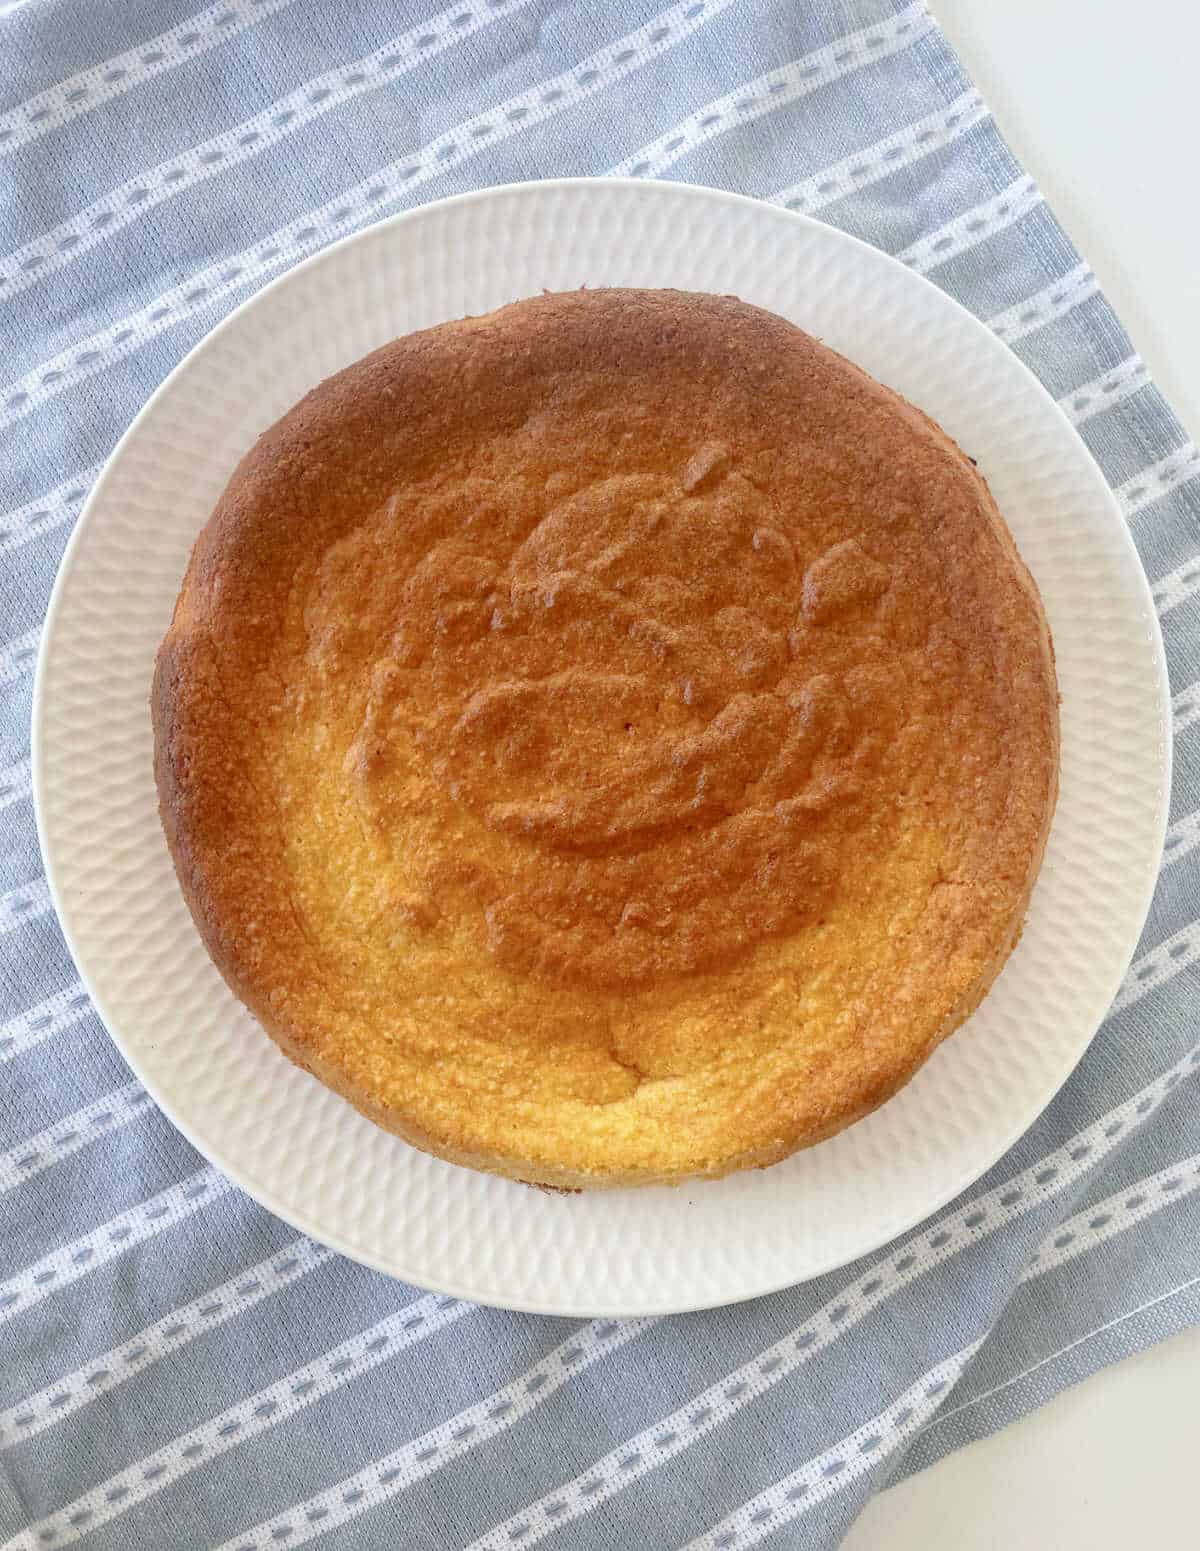
For a filling and delicious meal, you cannot go past our Thermomix Quinoa and Vegetable Bake. You can also substitute the vegetables in this recipe for what you already have at home, making this a great budget friendly recipe.
Thermomix Quinoa & Vegetable Bake
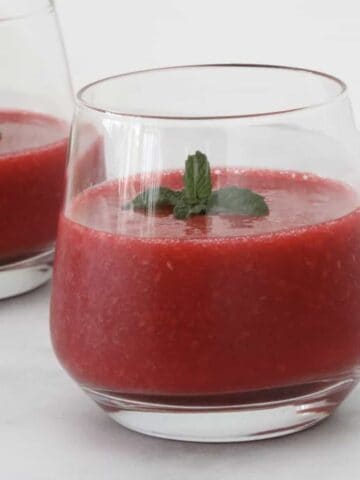
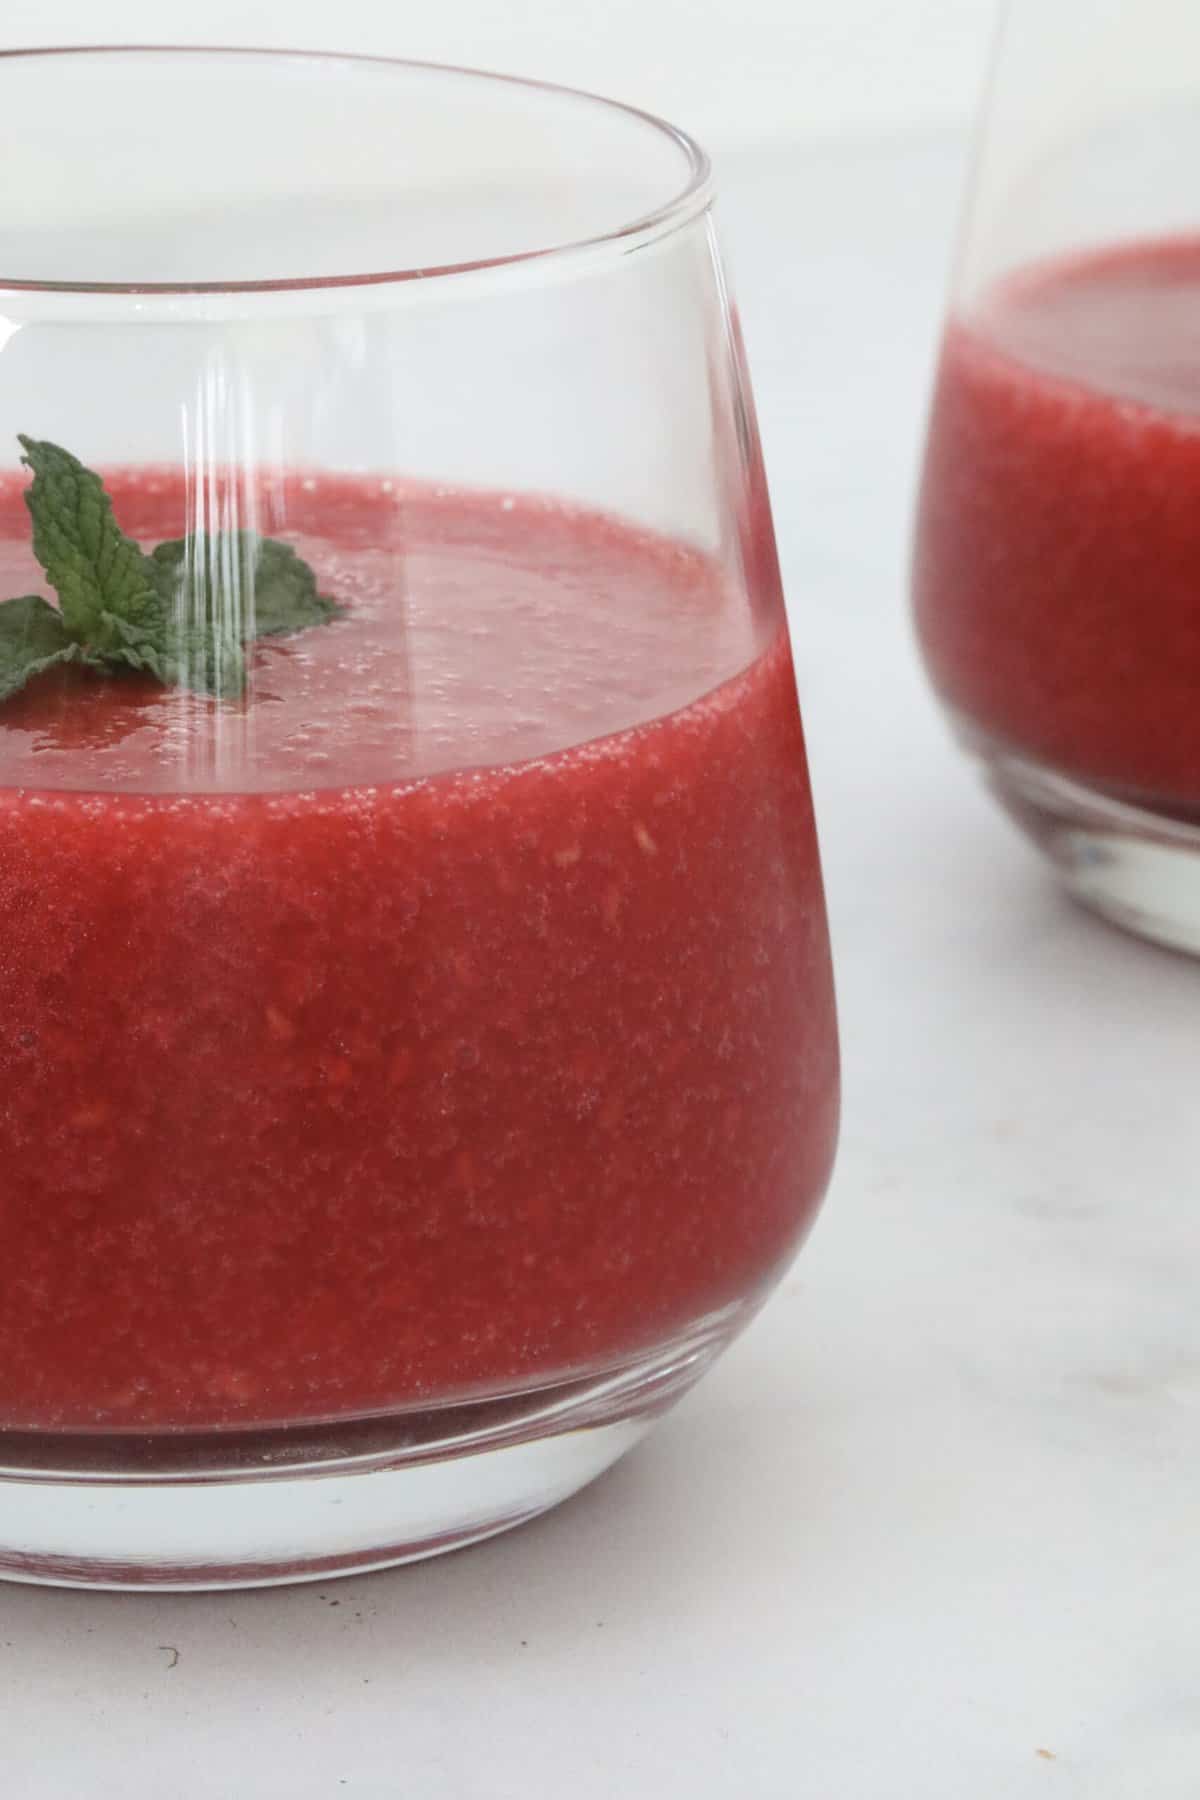
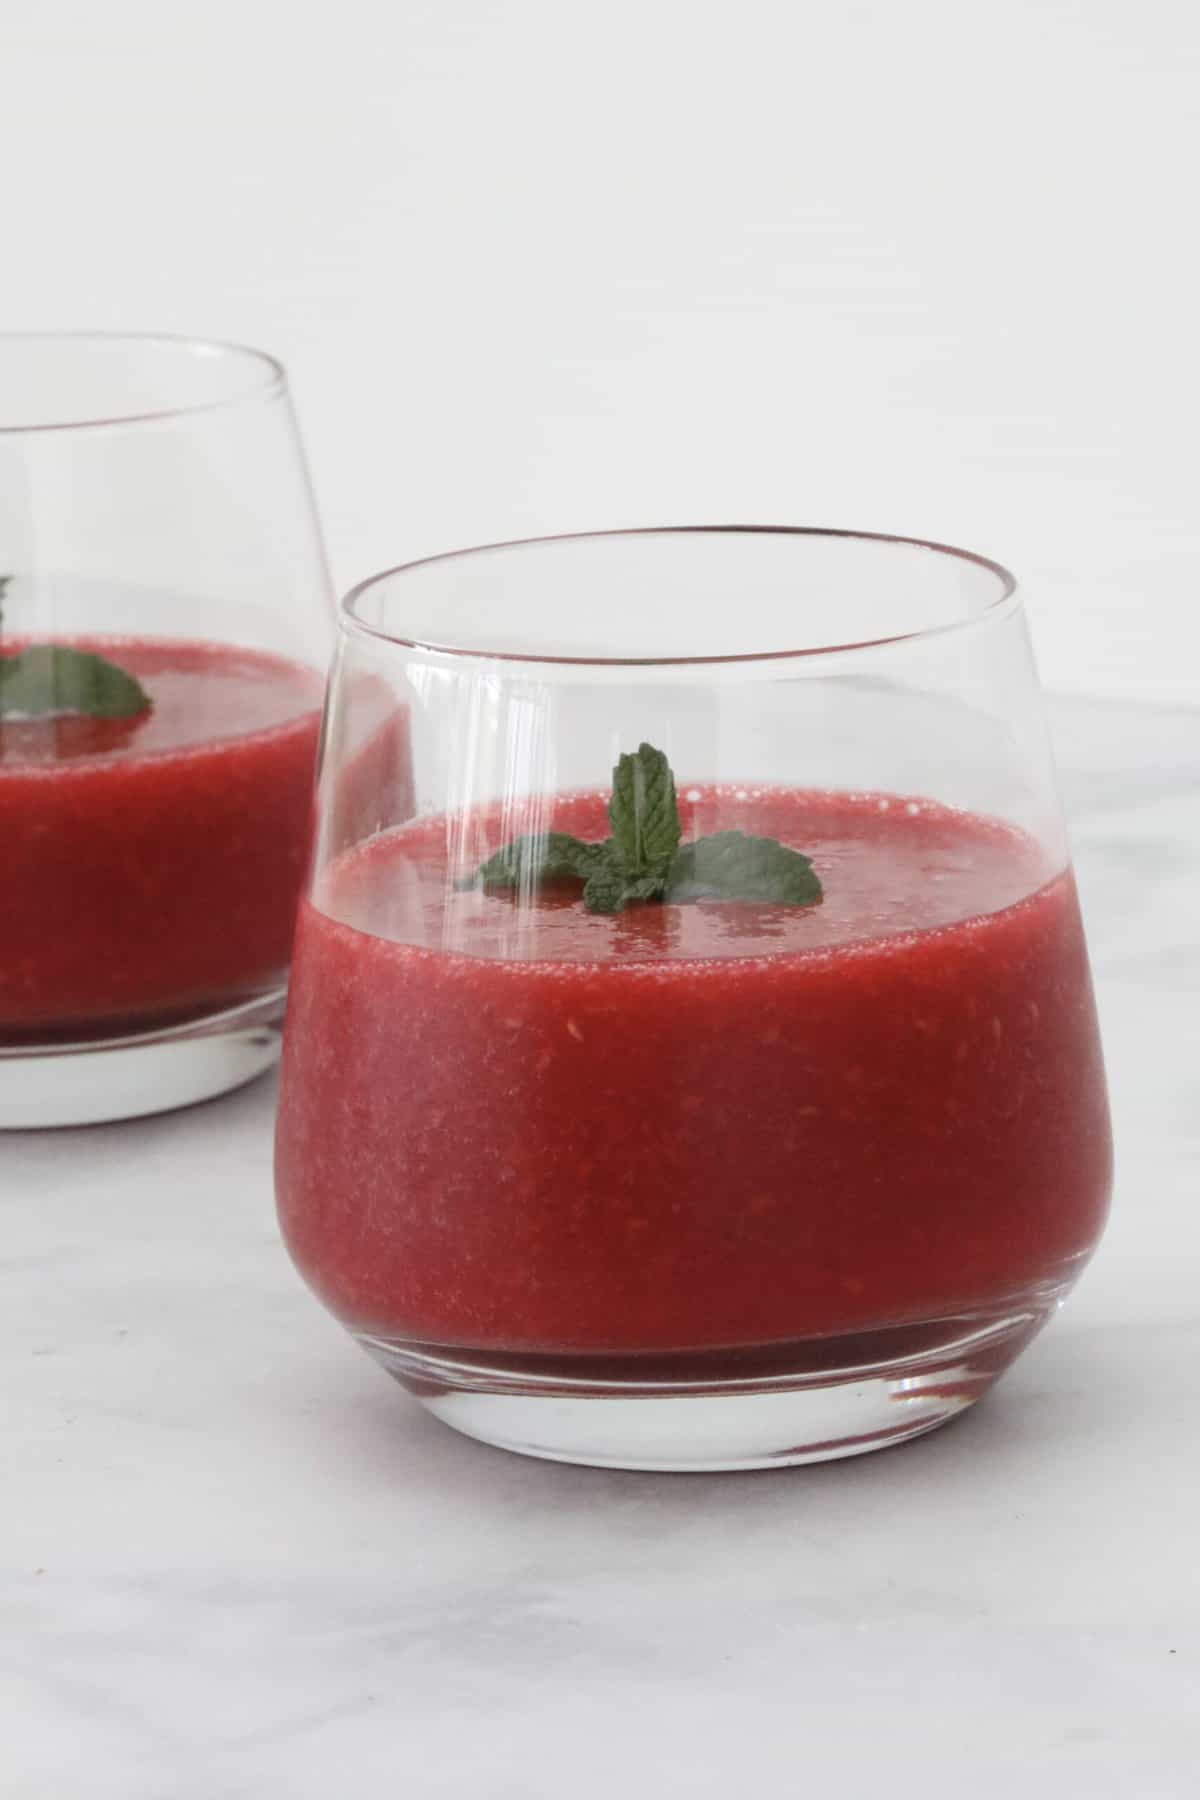
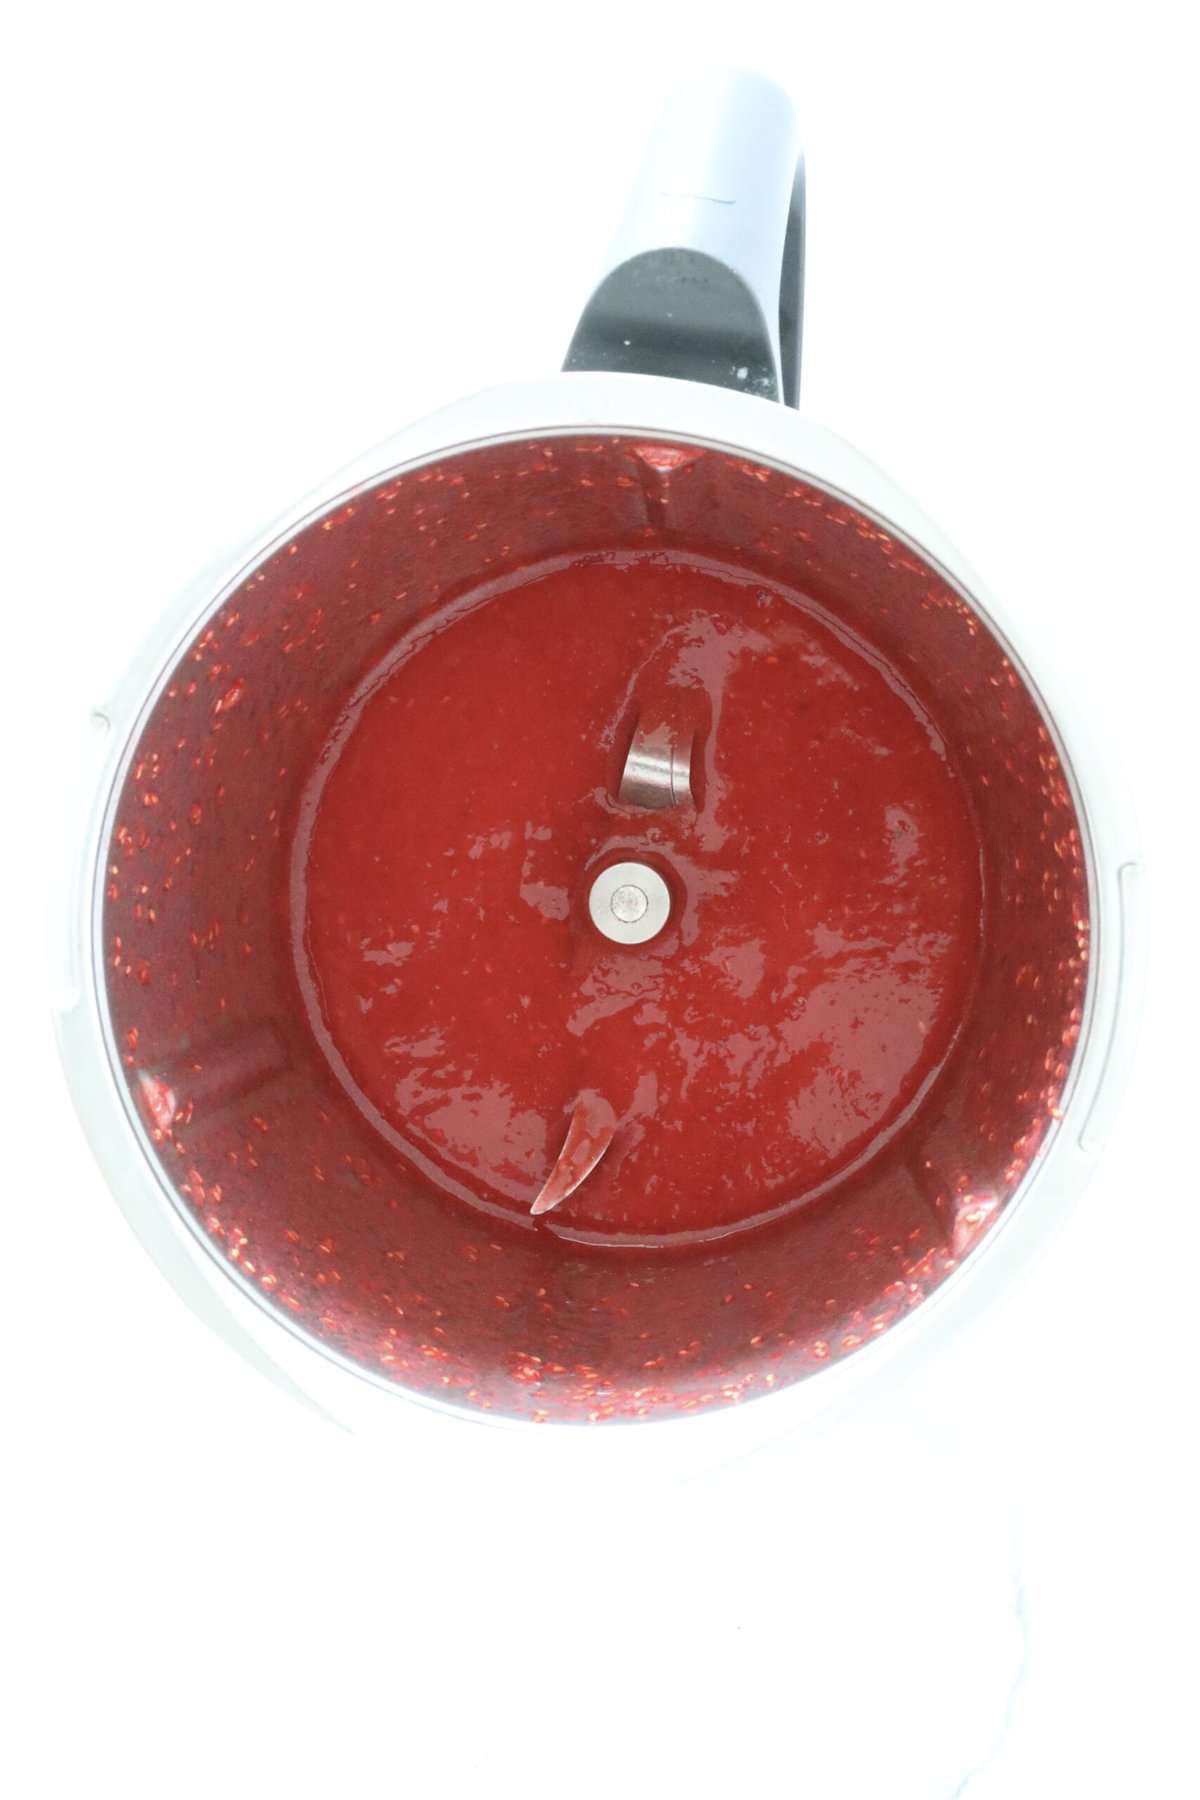
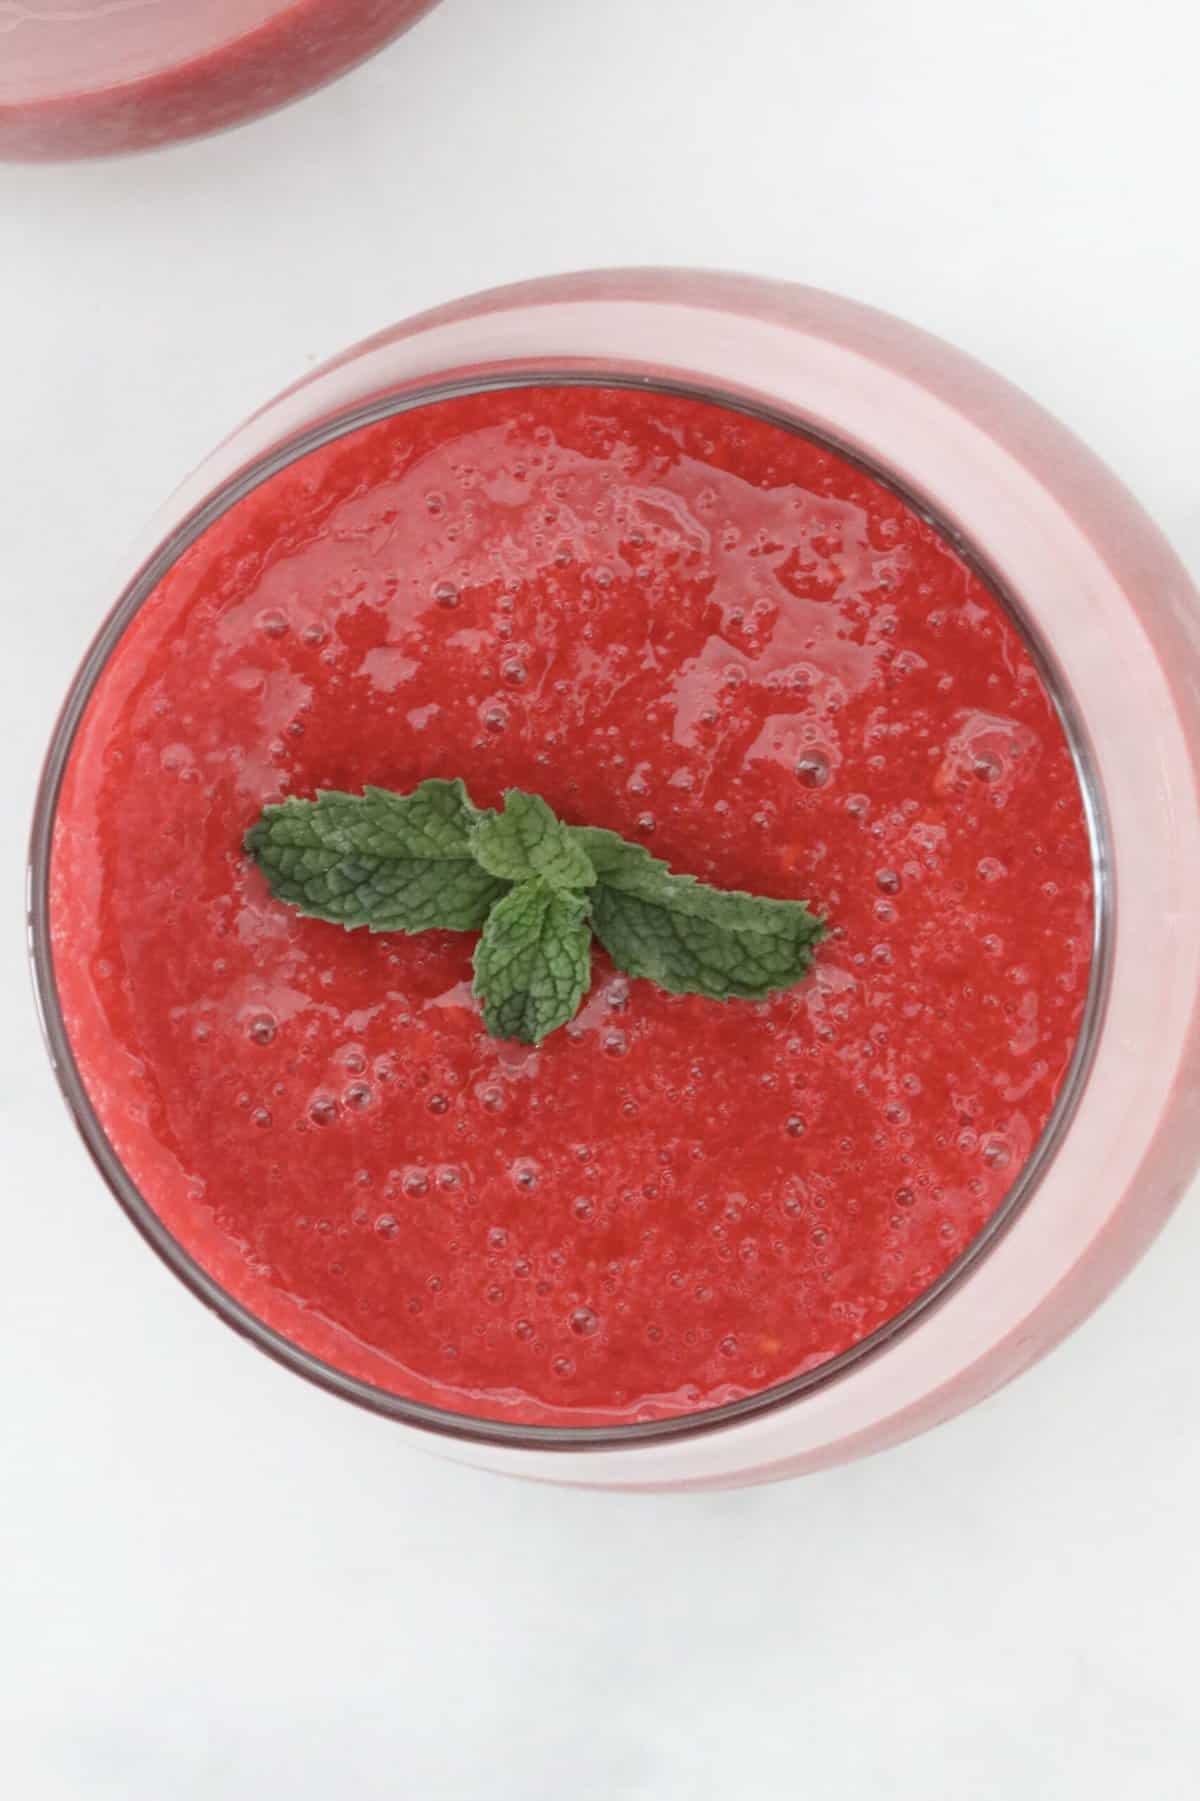
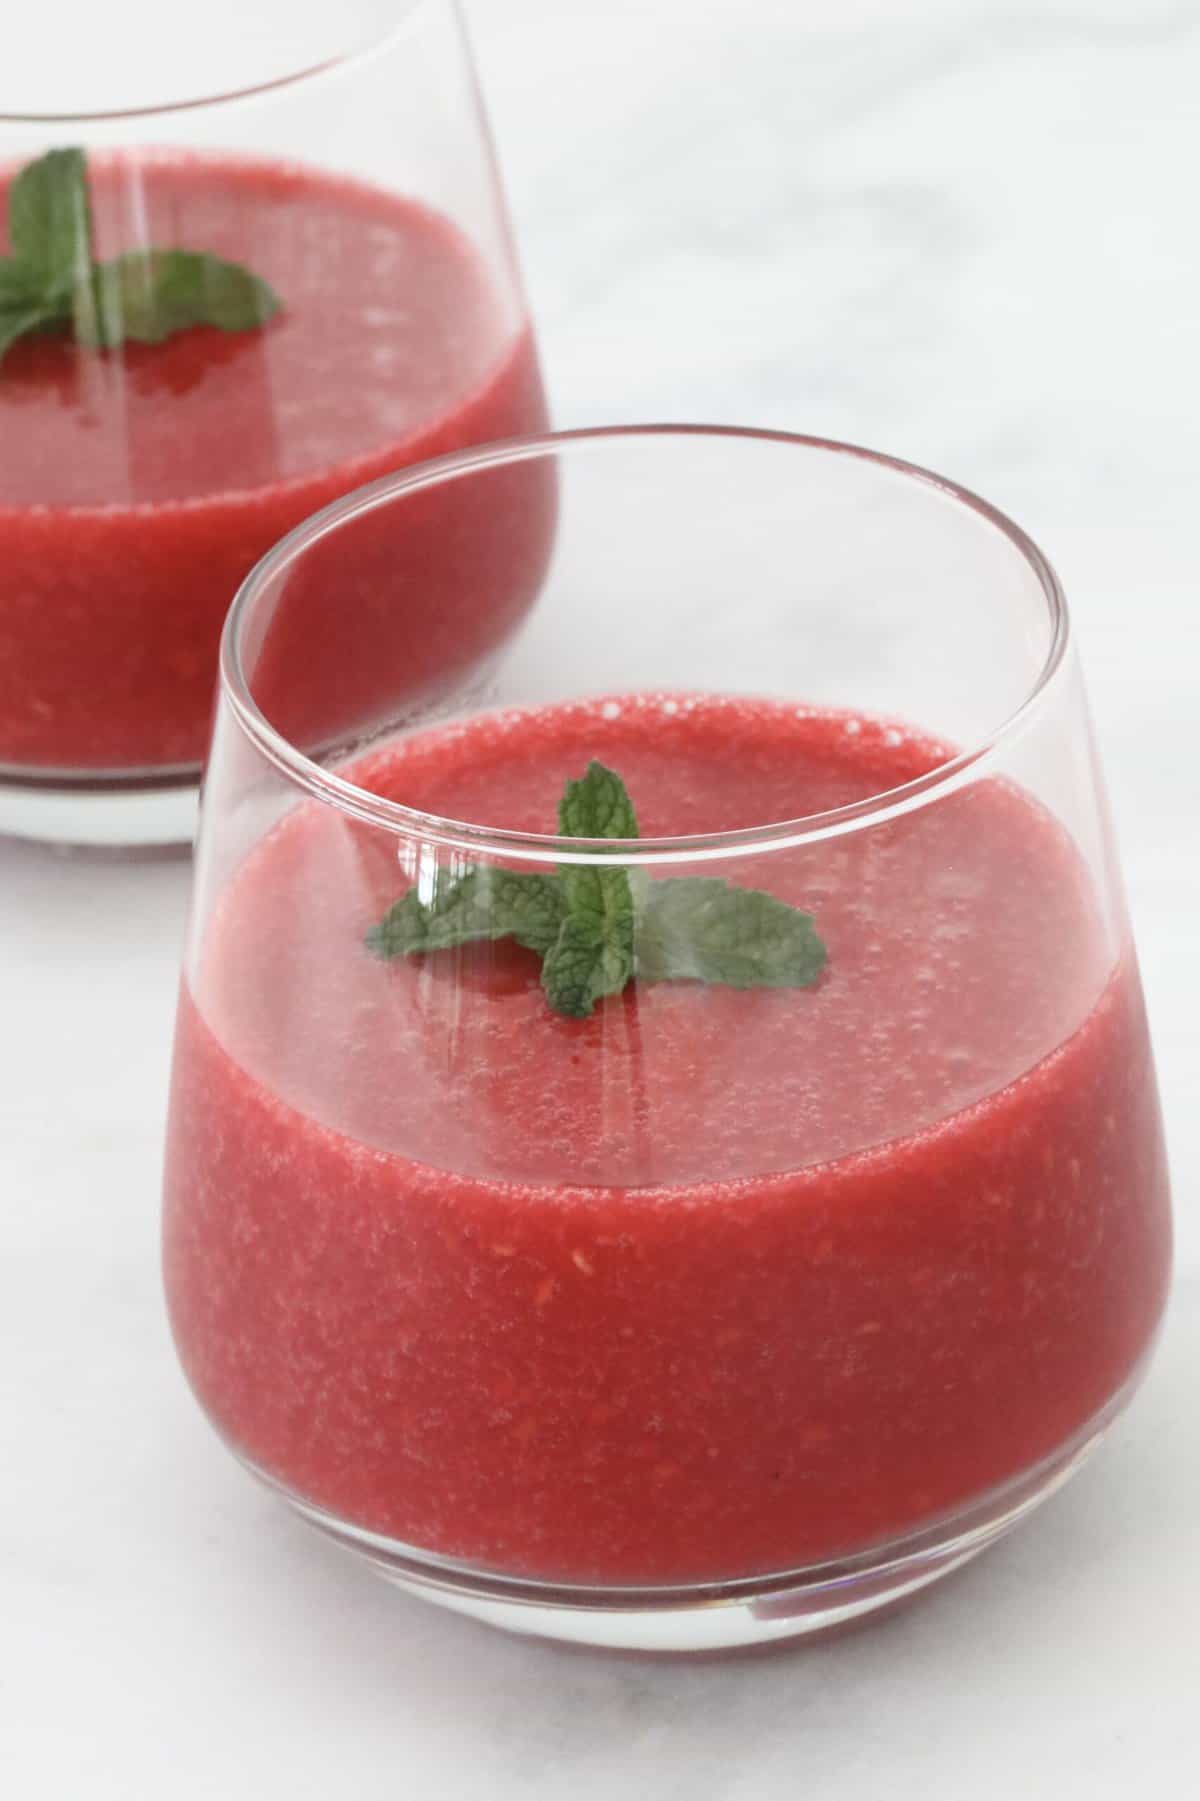
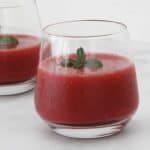
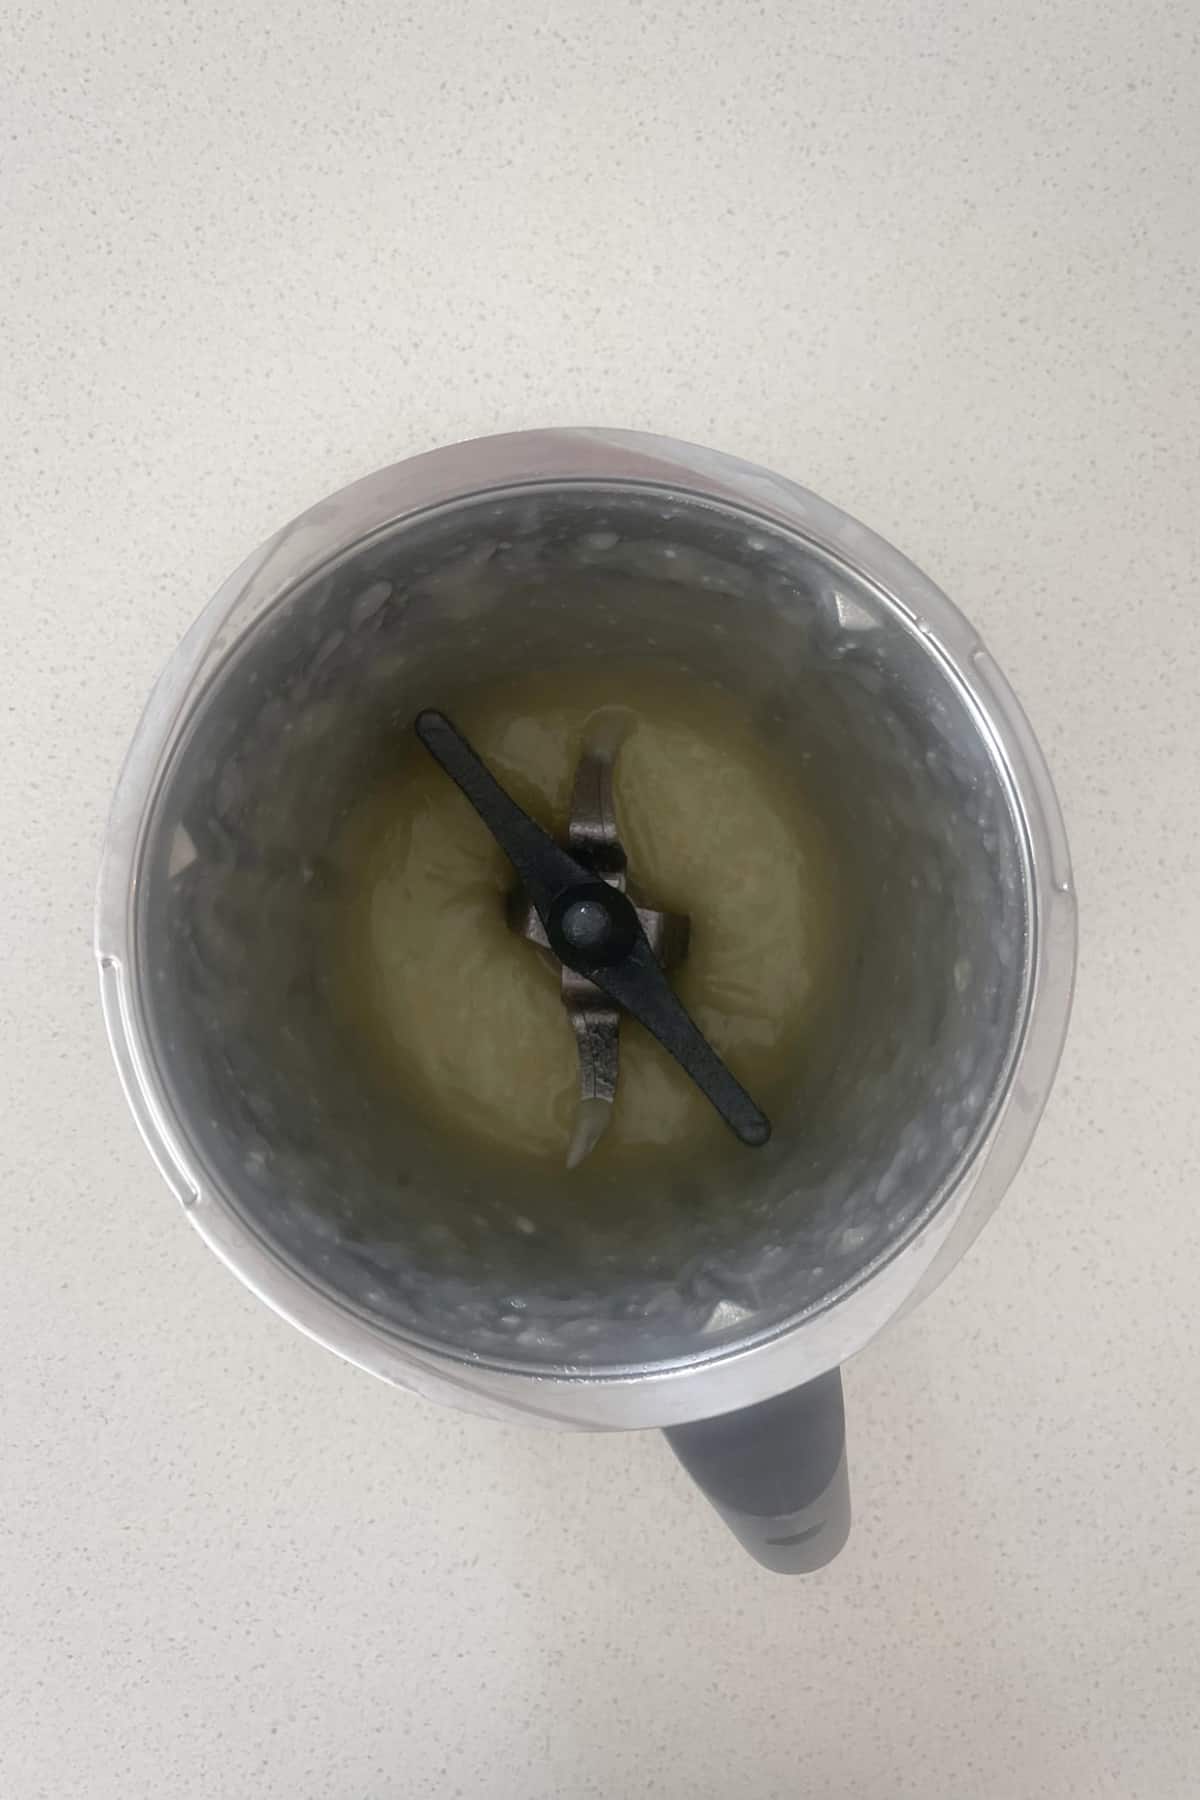
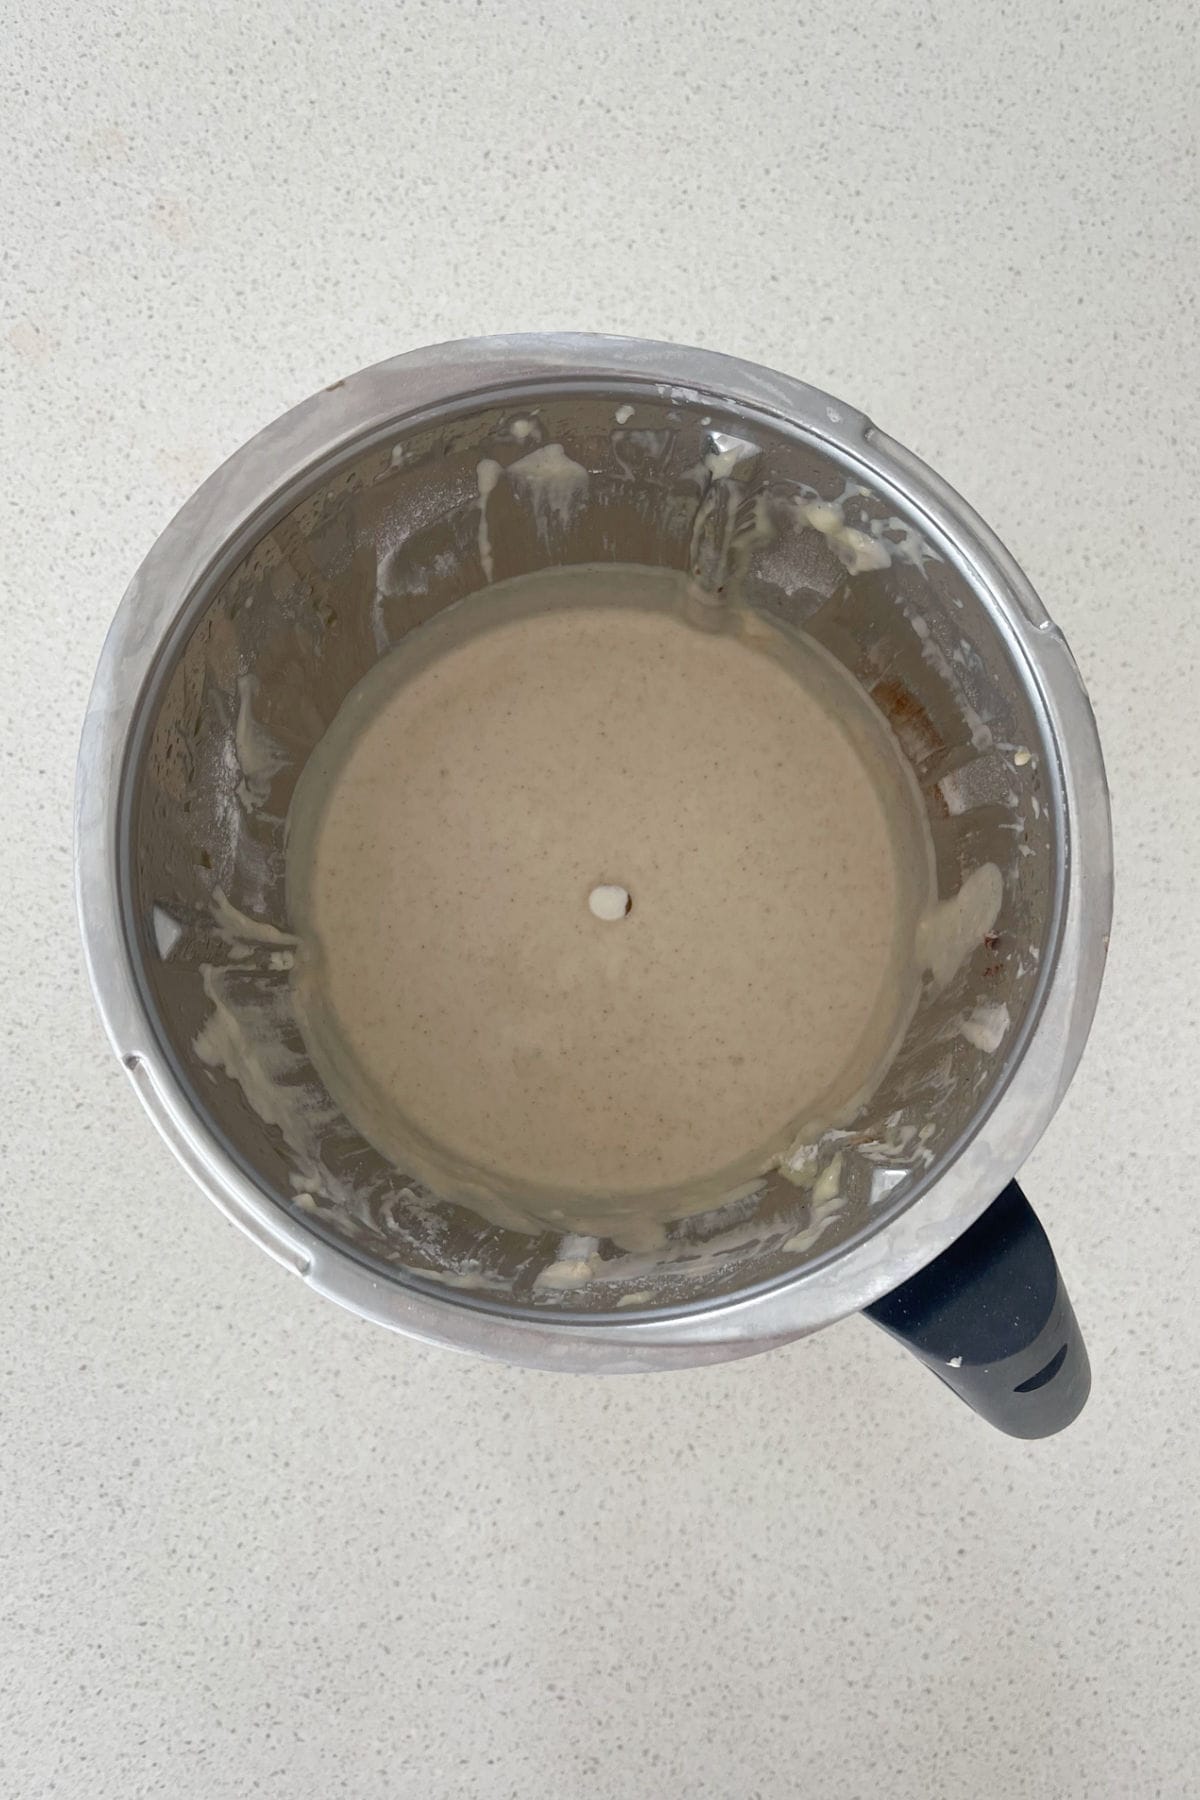
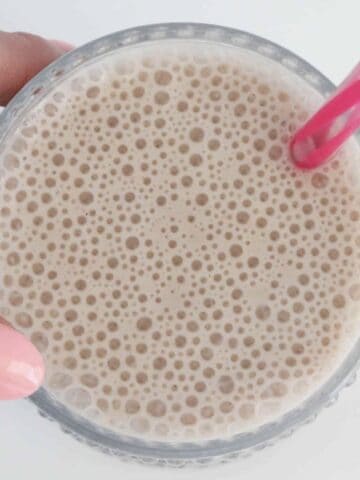
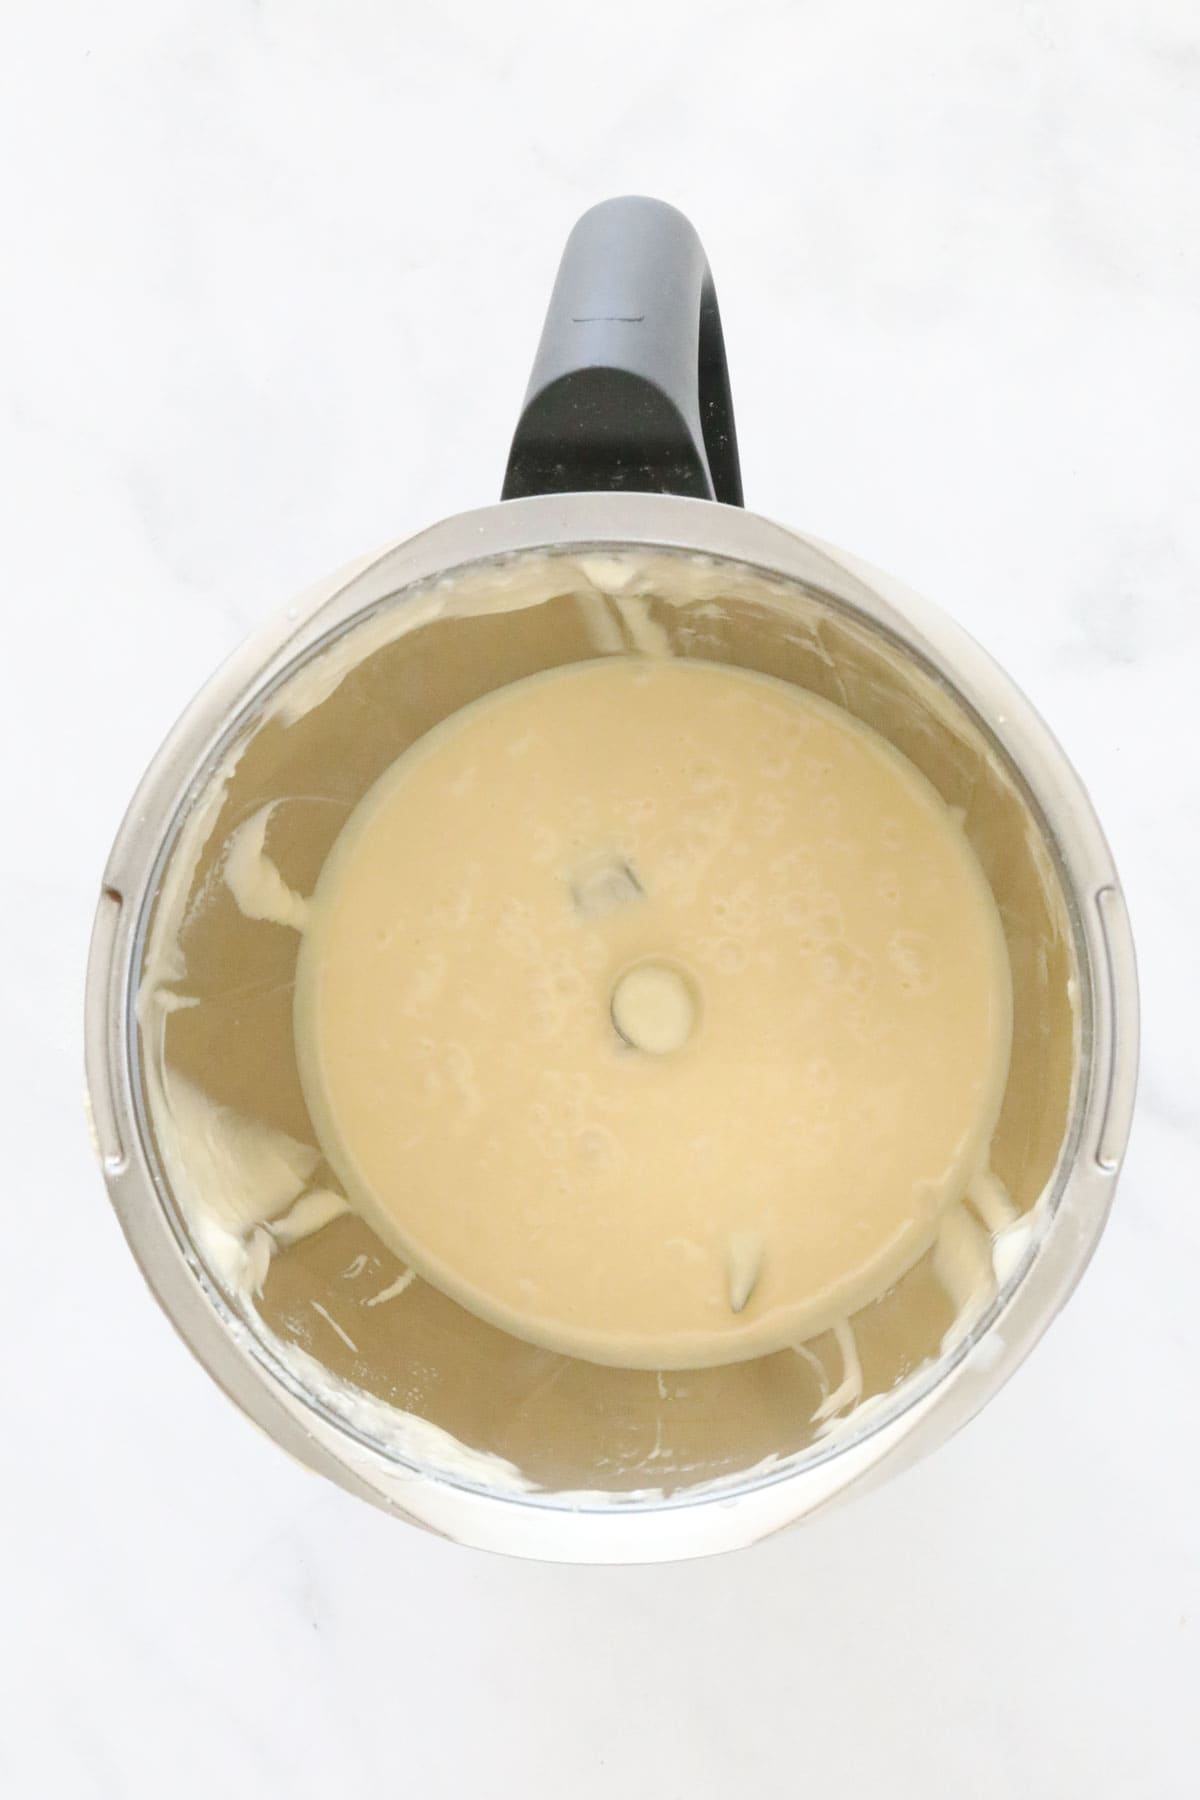
Thermomix Banana Smoothie
Our Thermomix Banana Smoothie makes the perfect snack or breakfast on the go! You can also use either fresh or frozen banana pieces to make it, making it a great way to use up leftover bananas.
Thermomix Banana Smoothie

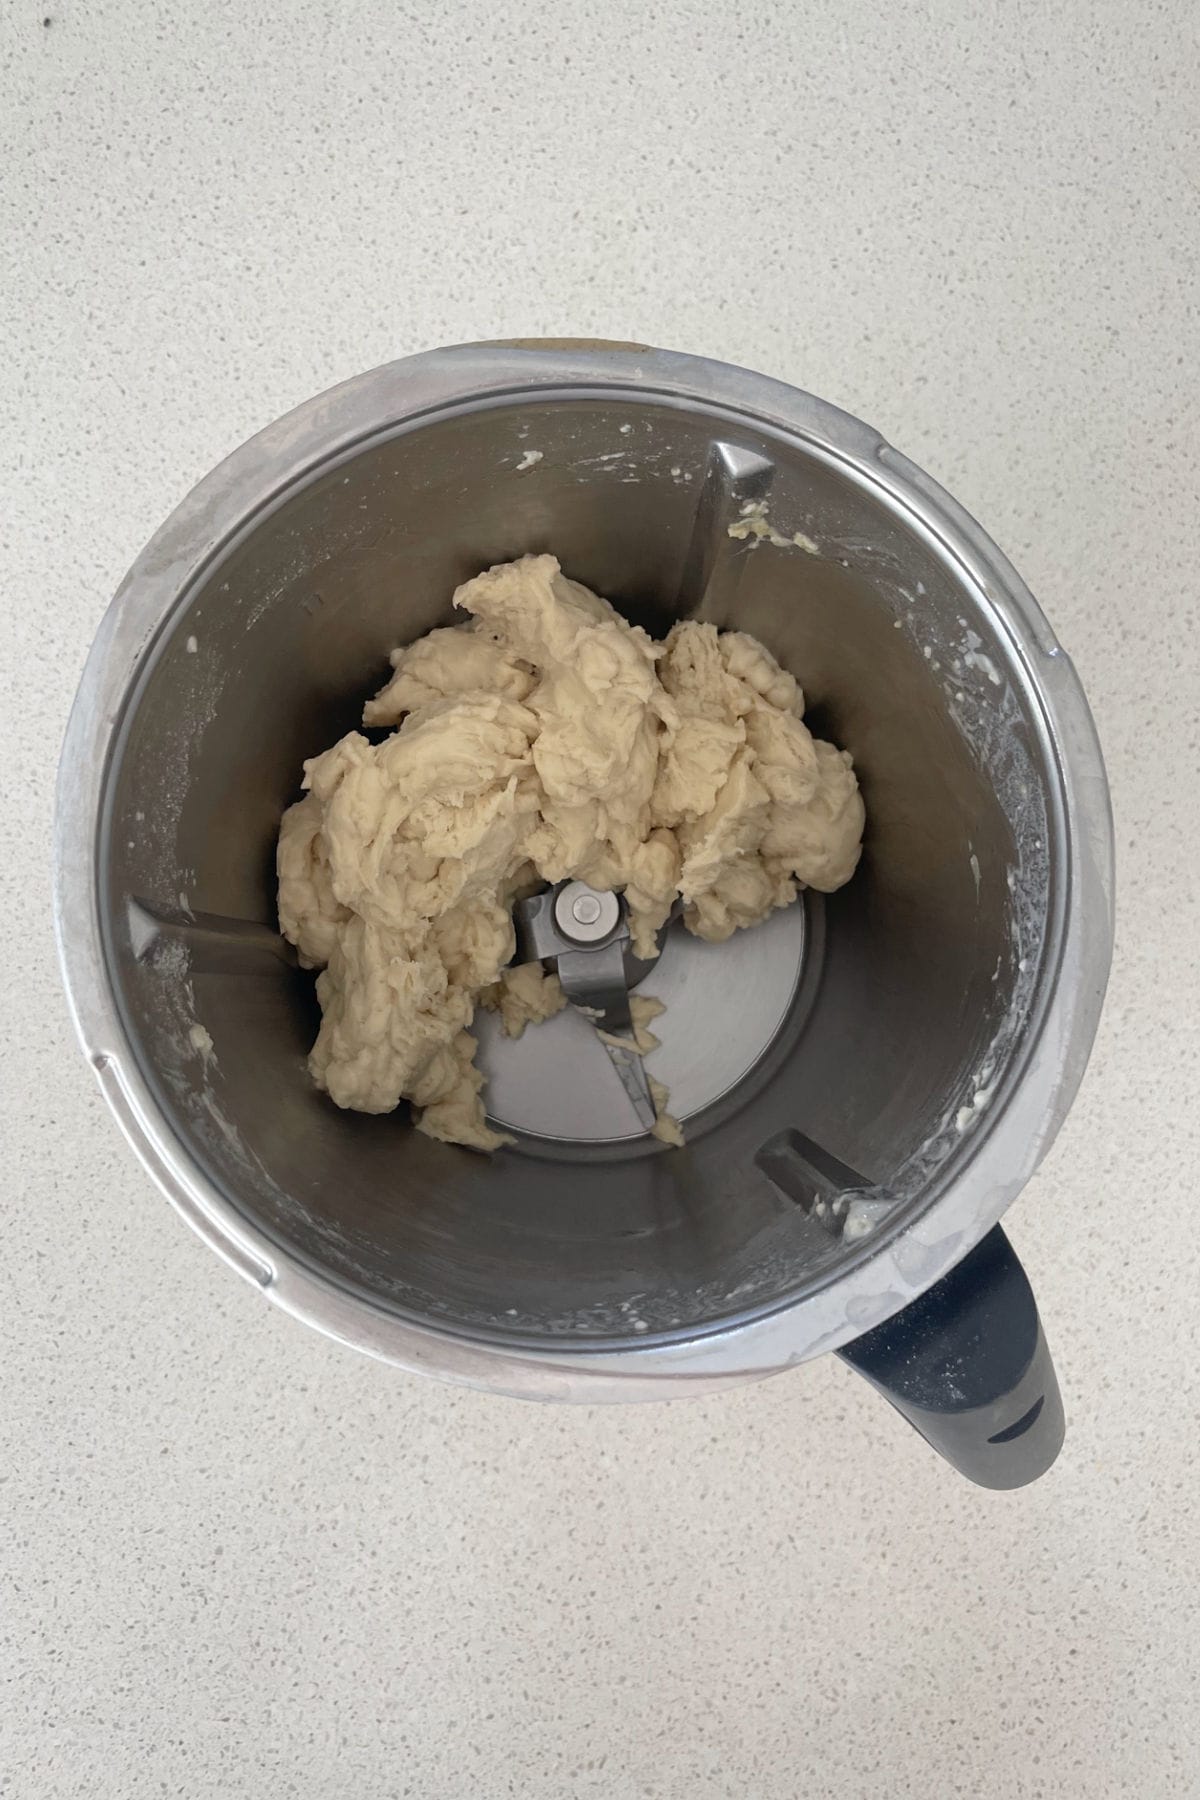
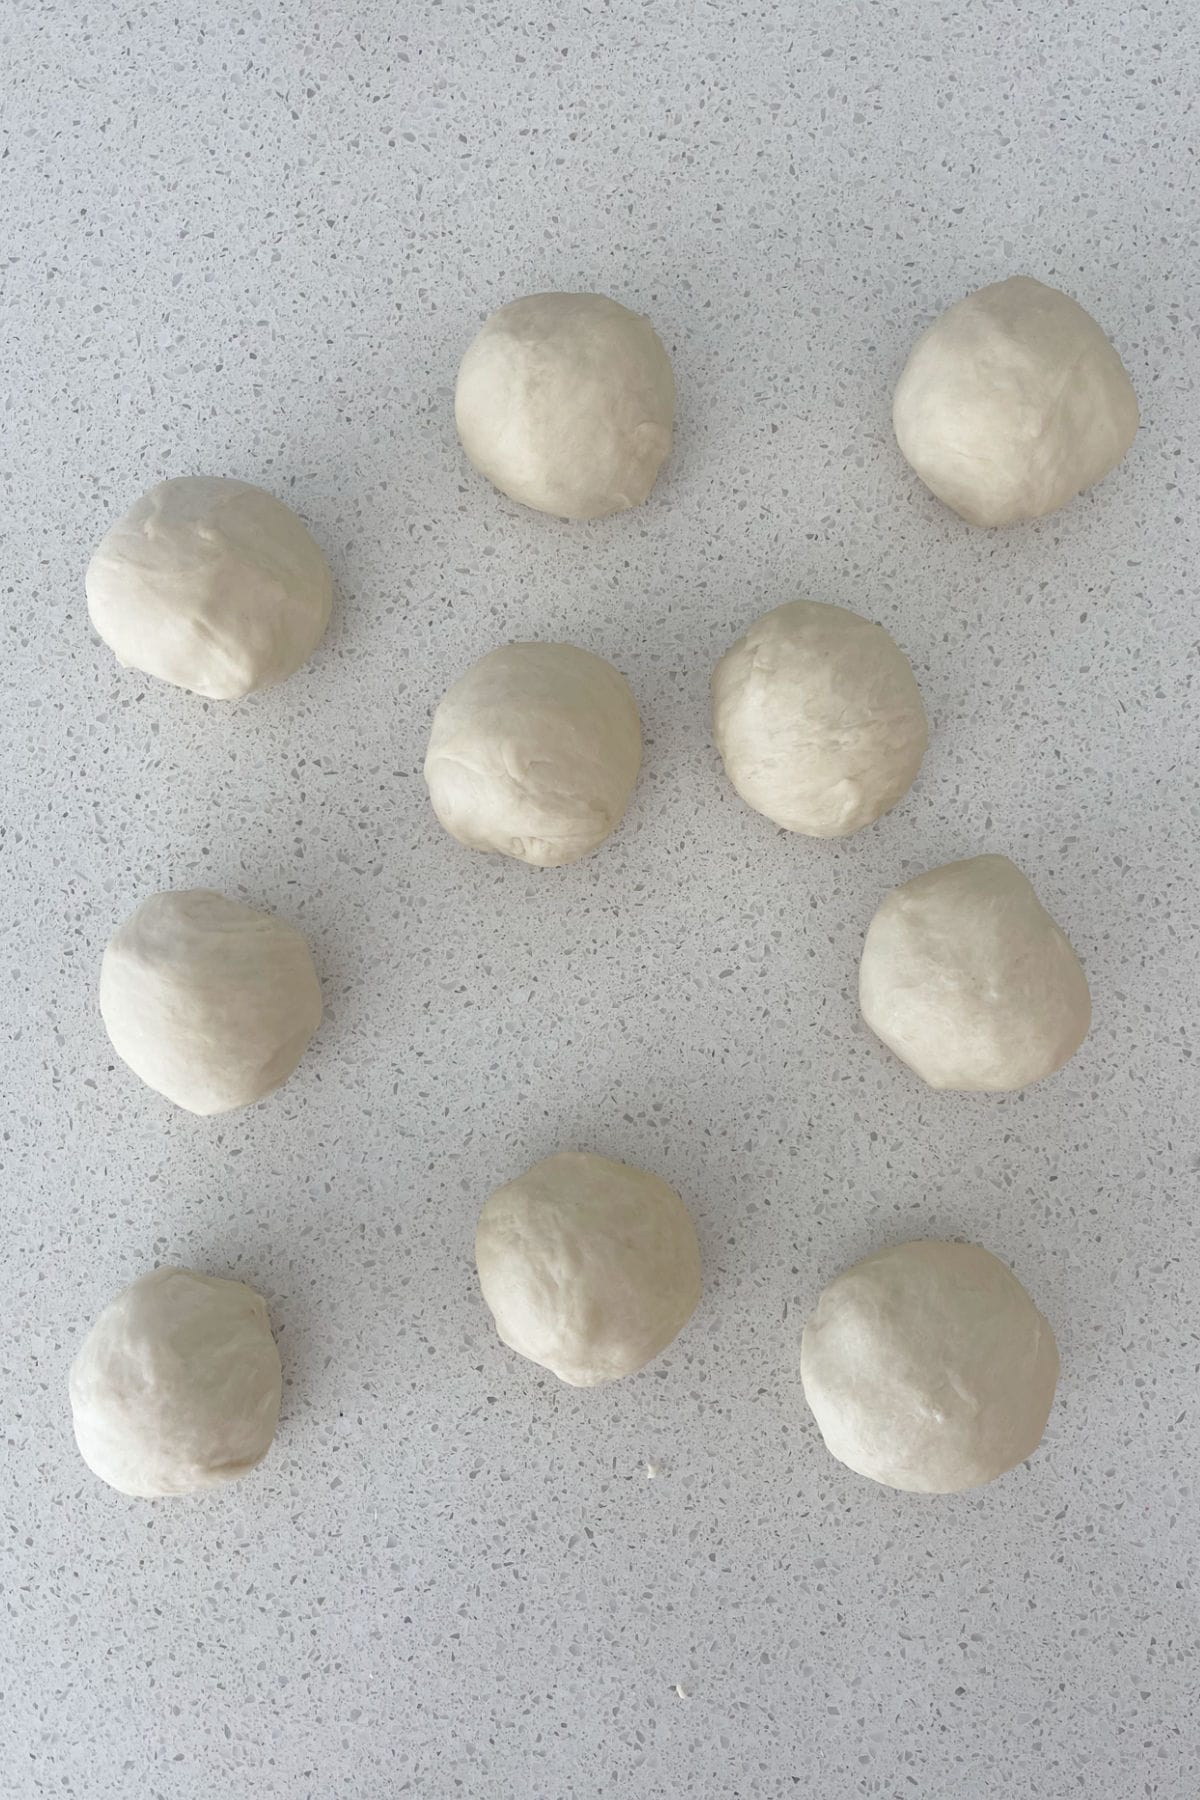
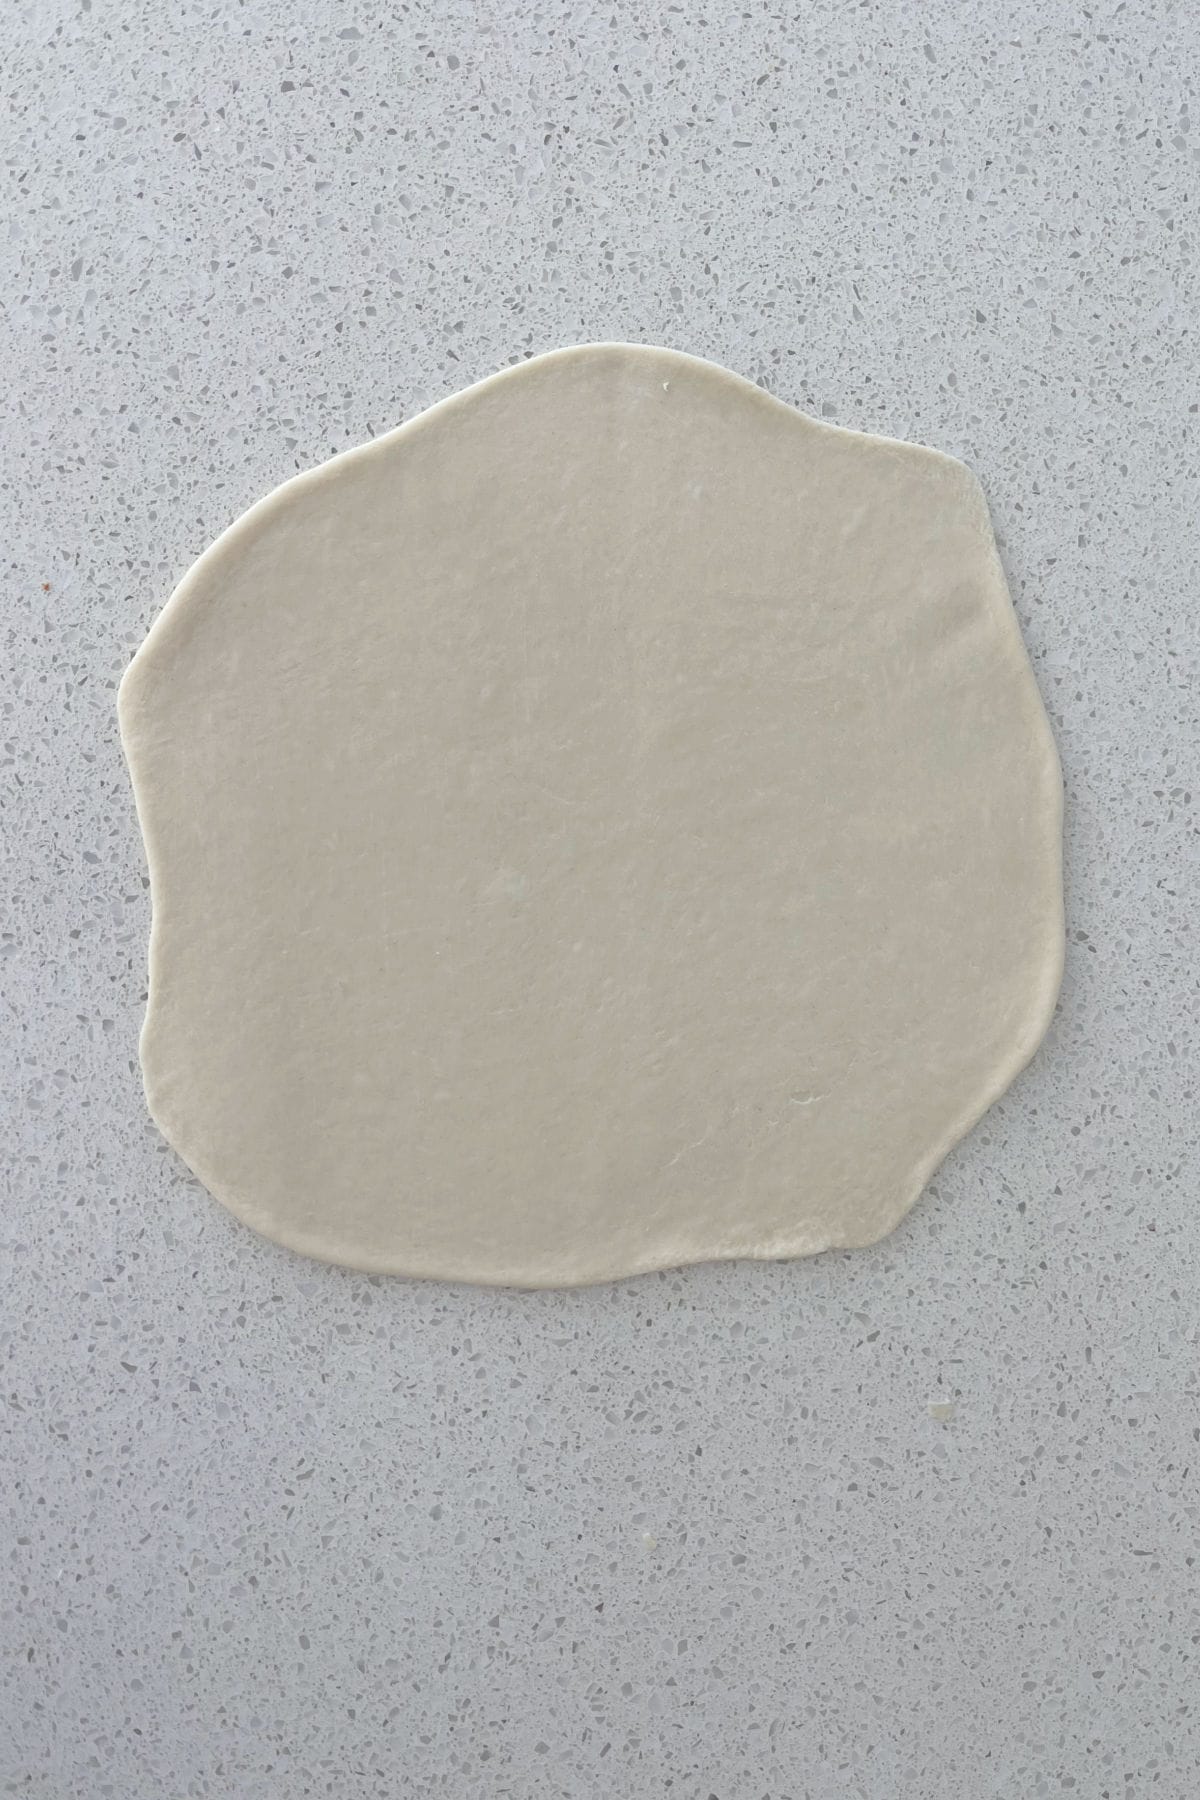
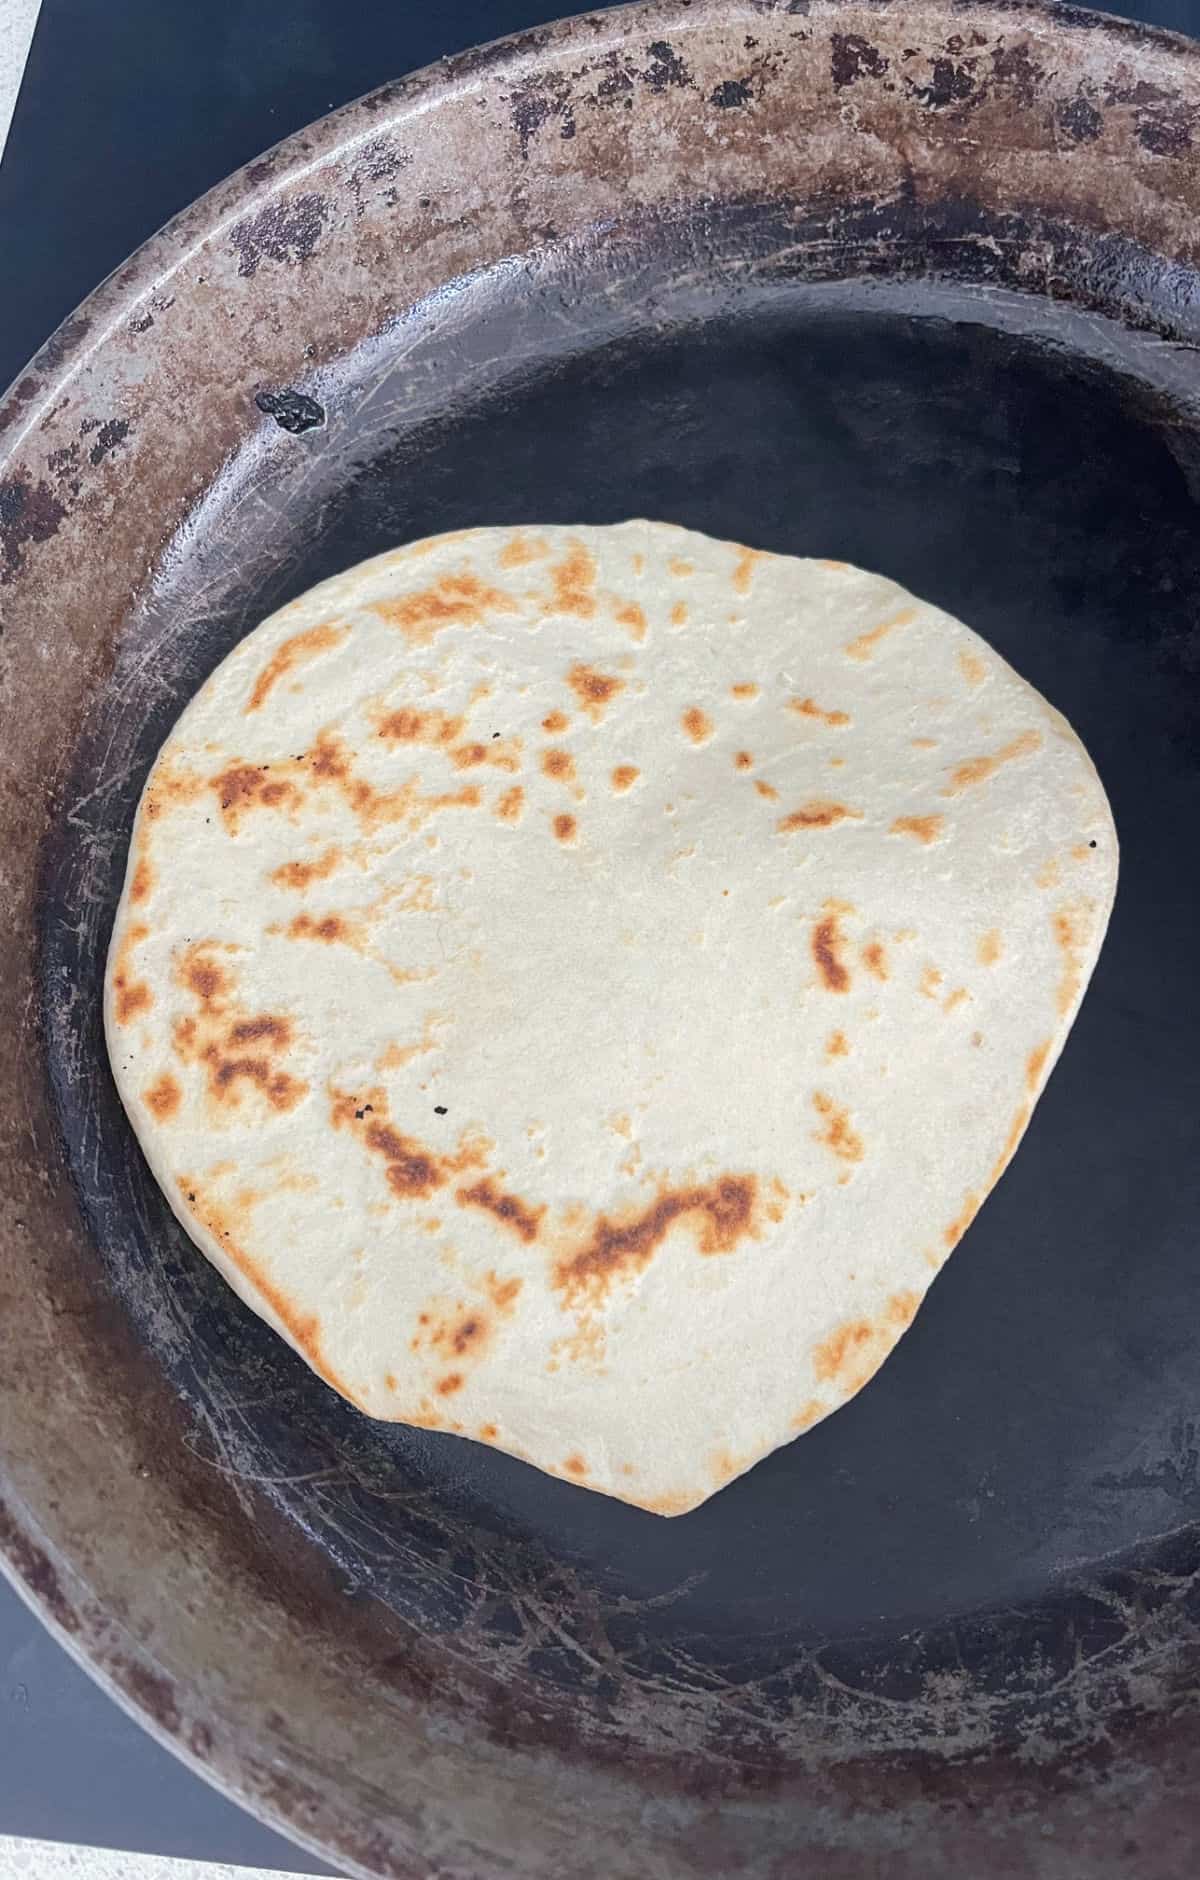
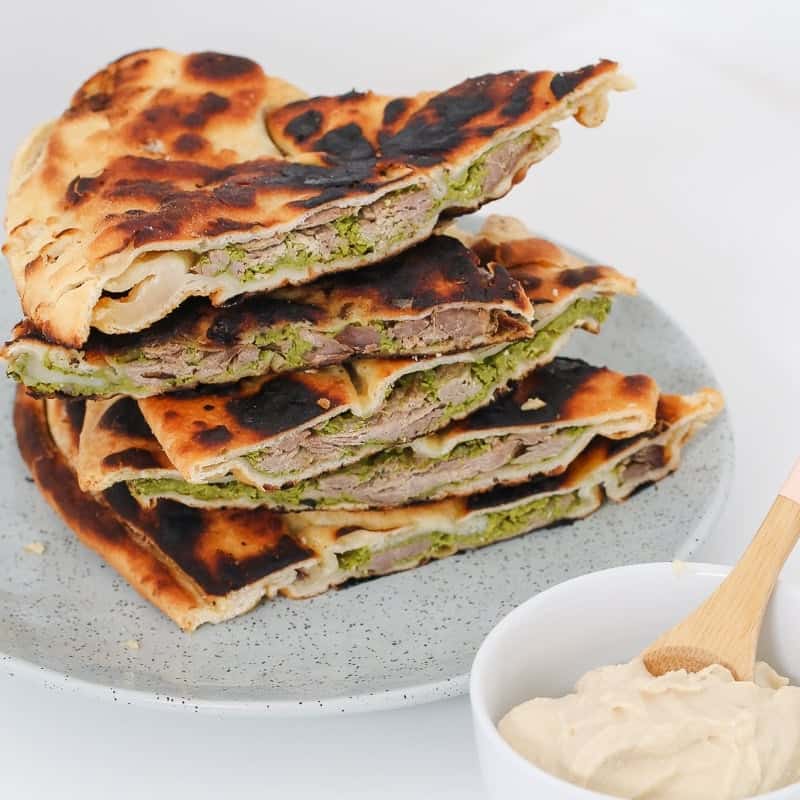
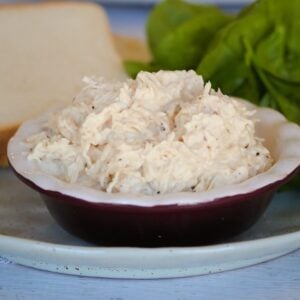
How to steam & shred chicken breasts in the Thermomix
There is no need to buy processed chicken for your rolls and sandwiches anymore! You are going to LOVE how simple it is to steam and shred chicken in your Thermomix.
How to steam & shred chicken breasts in the Thermomix
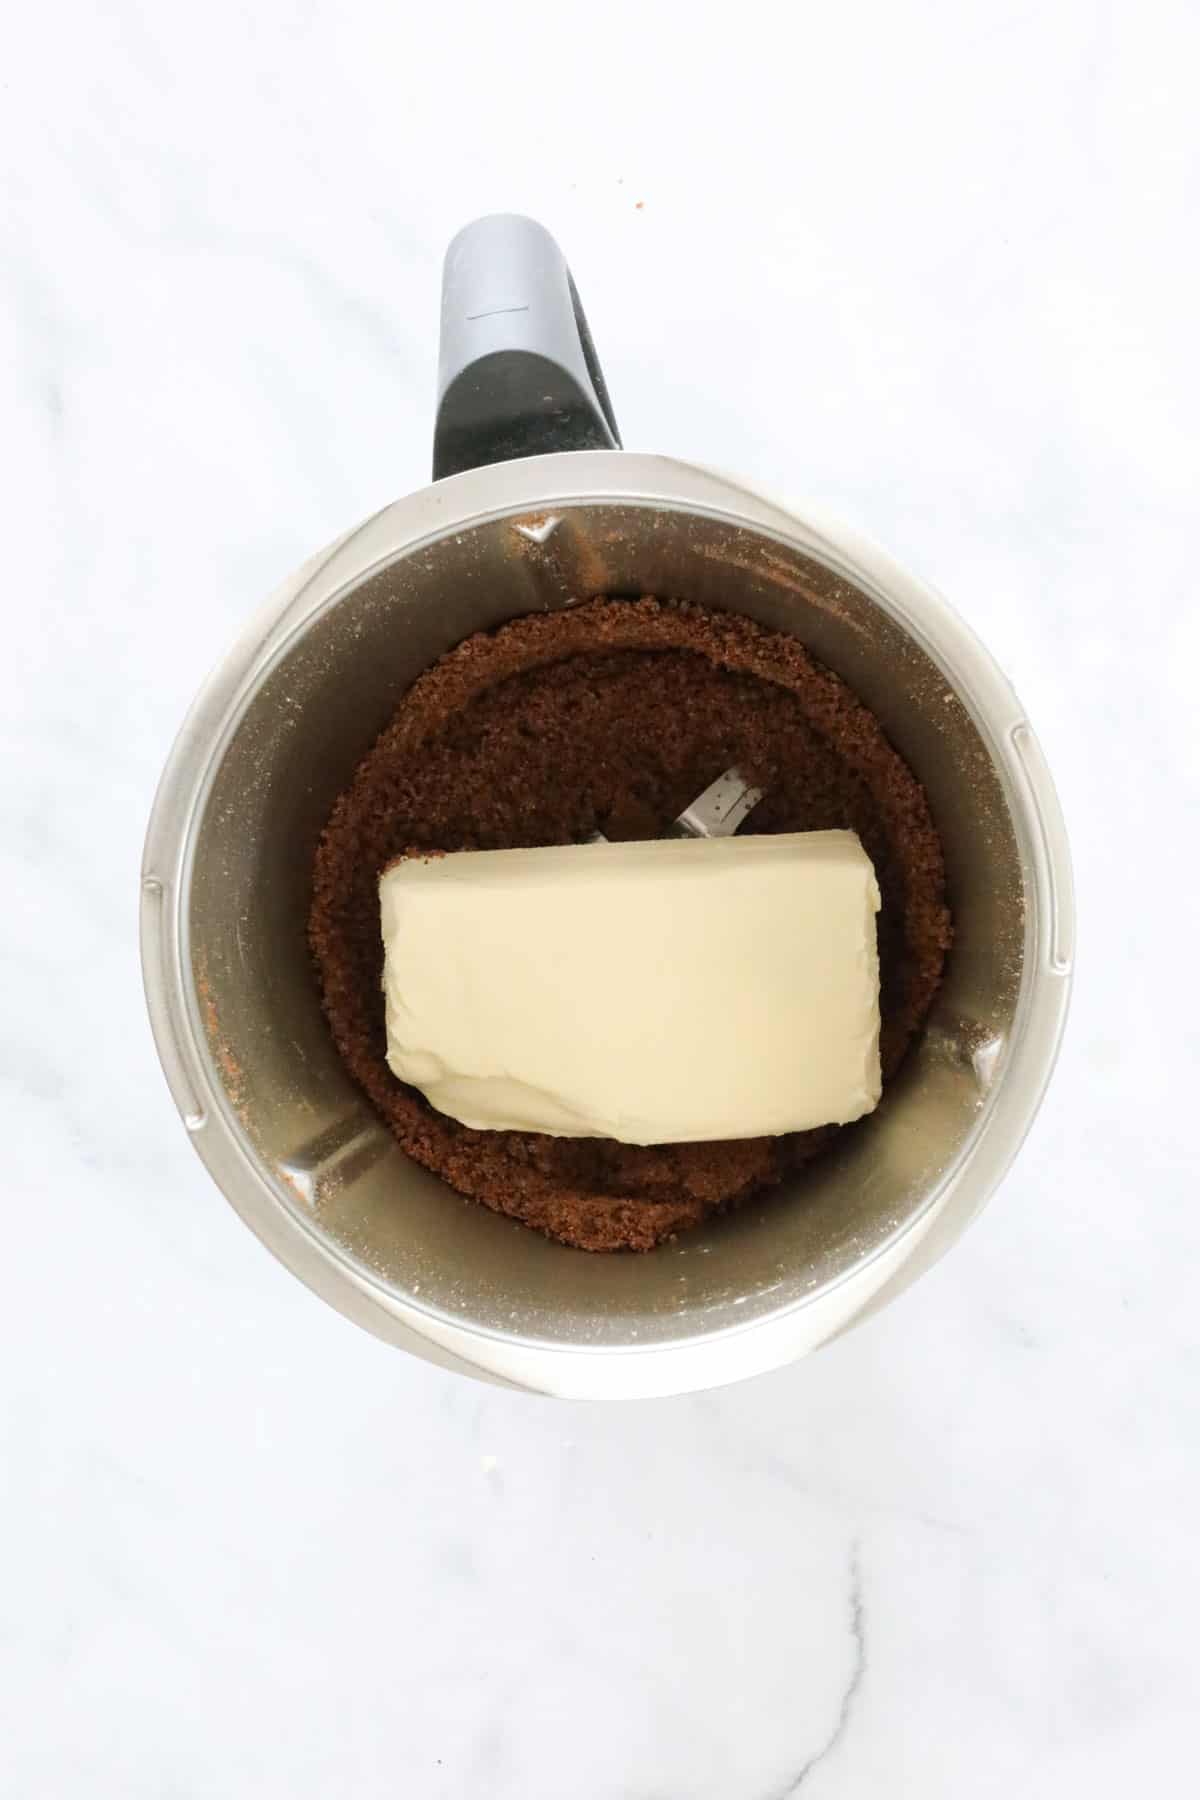
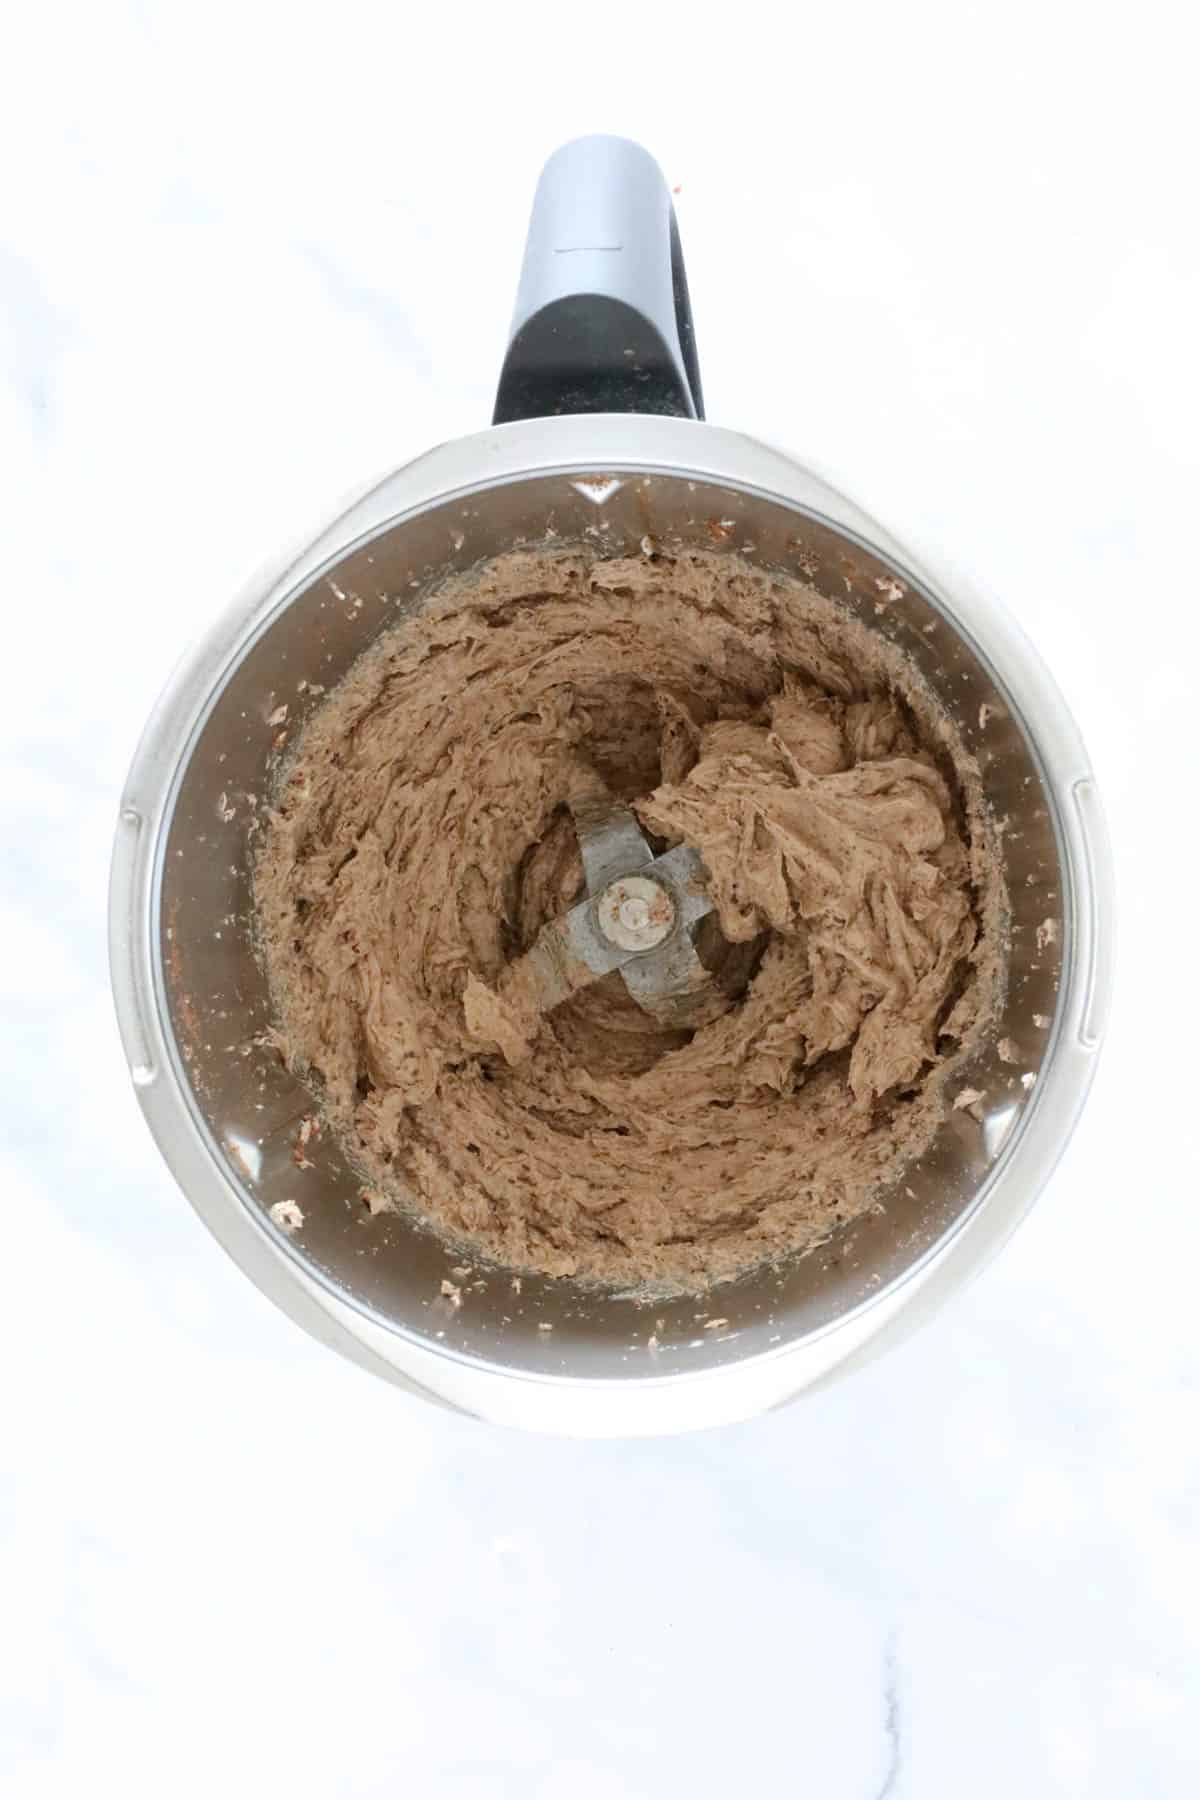
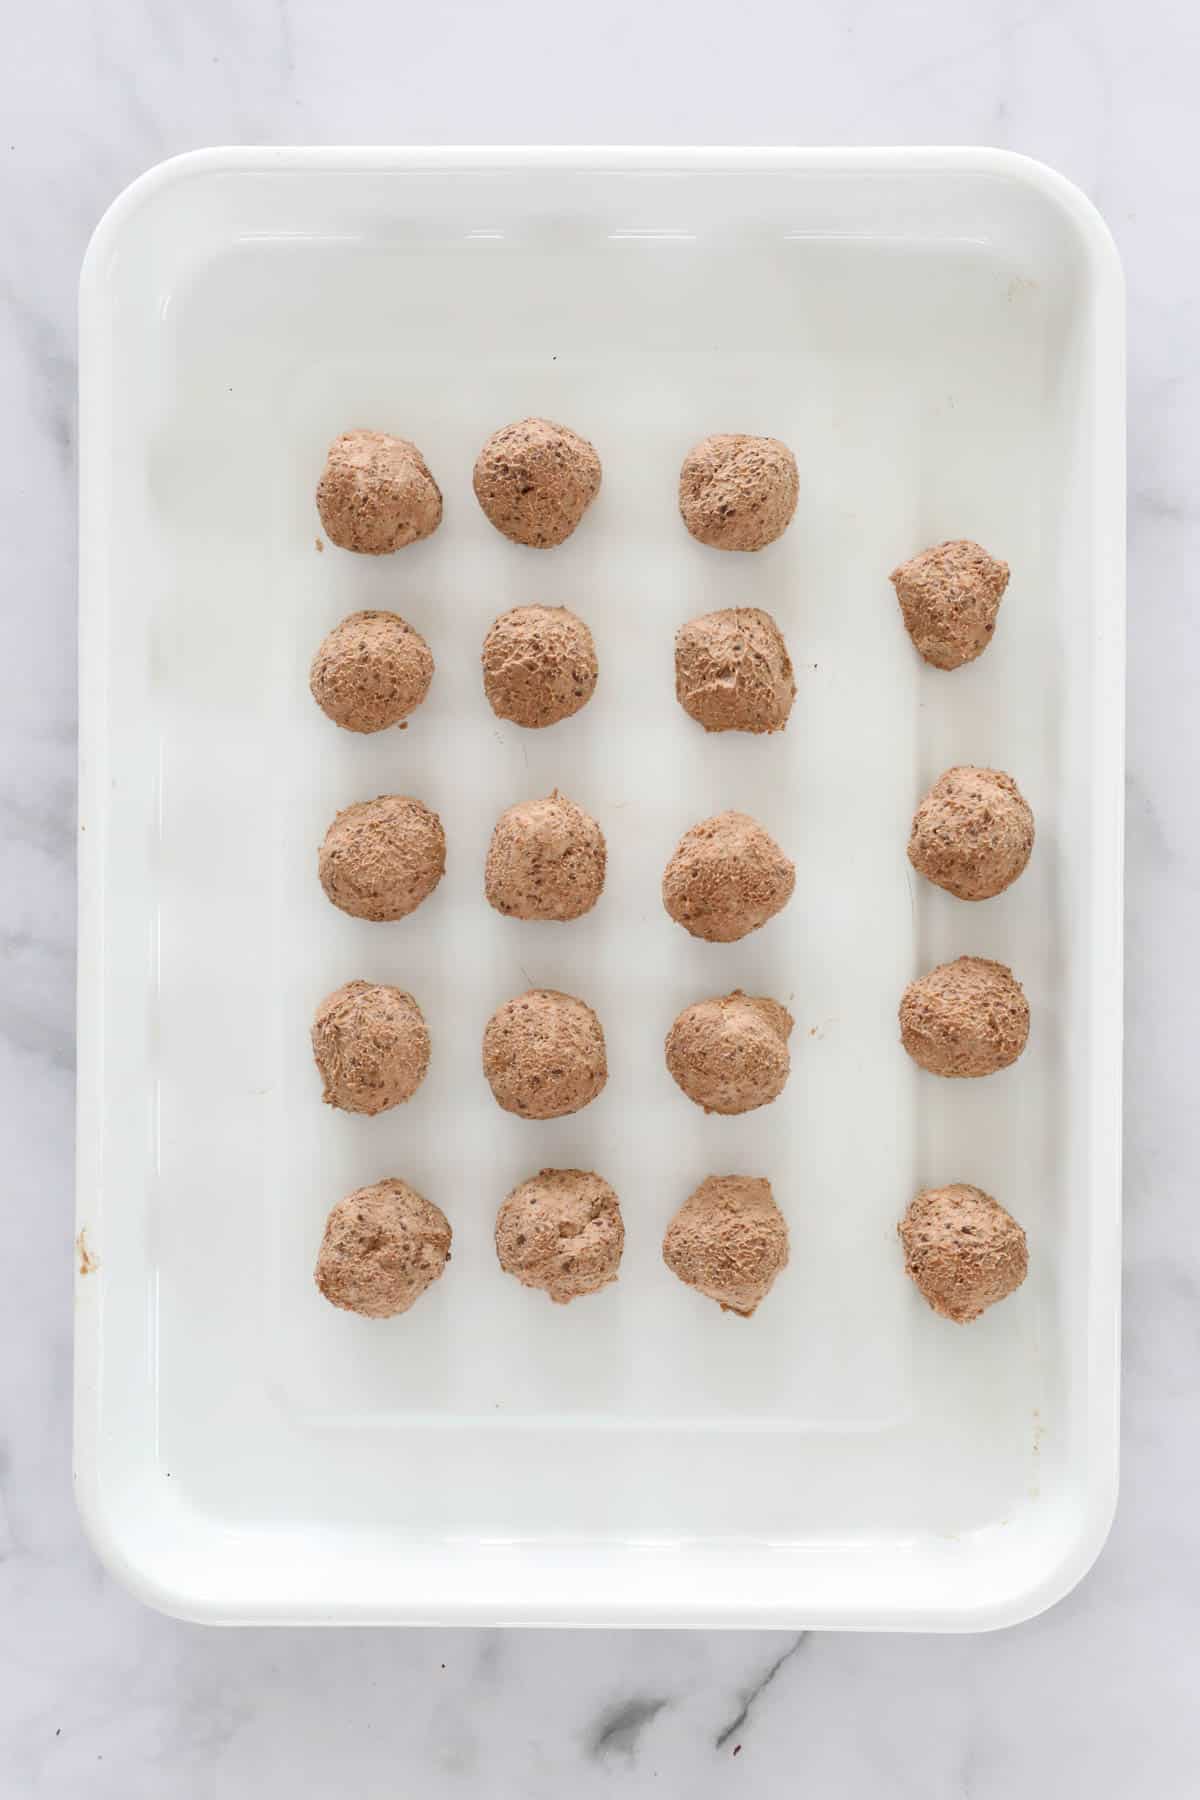
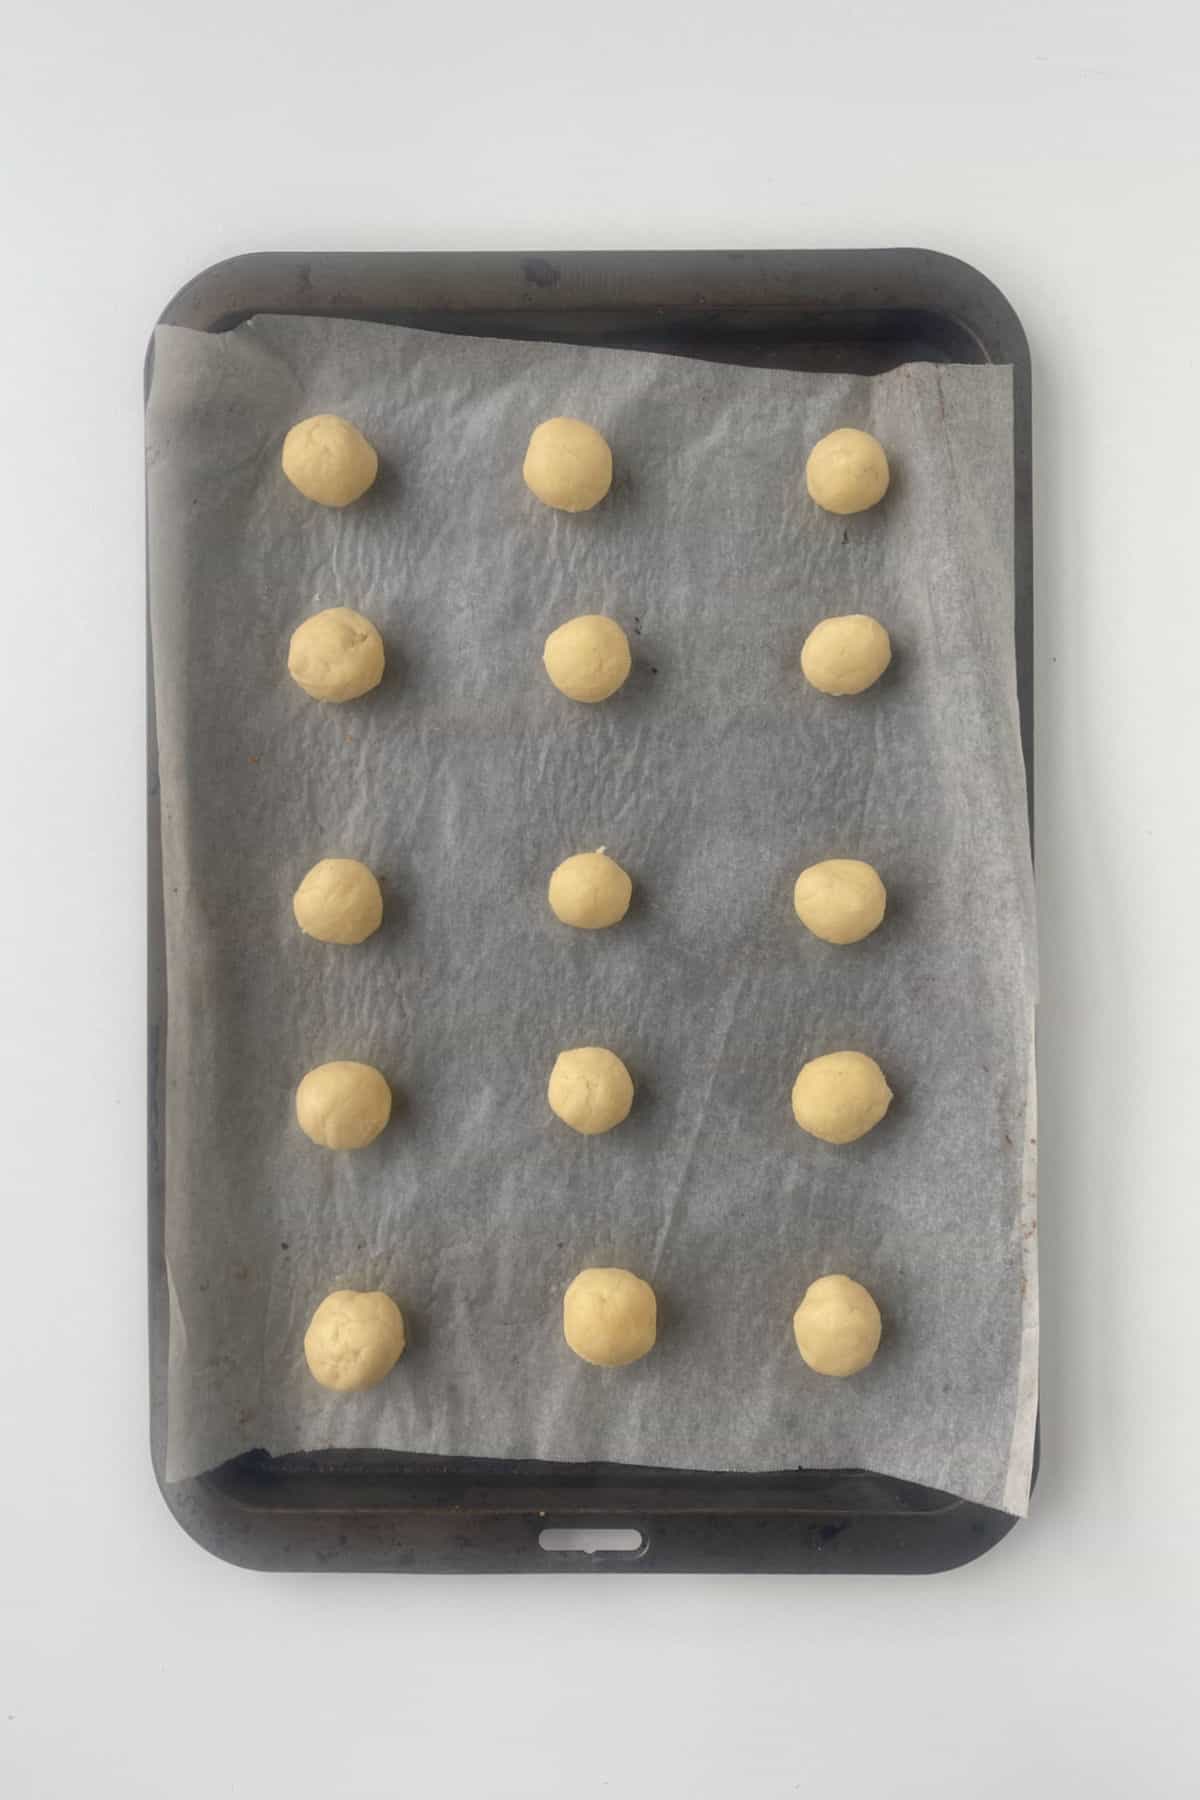
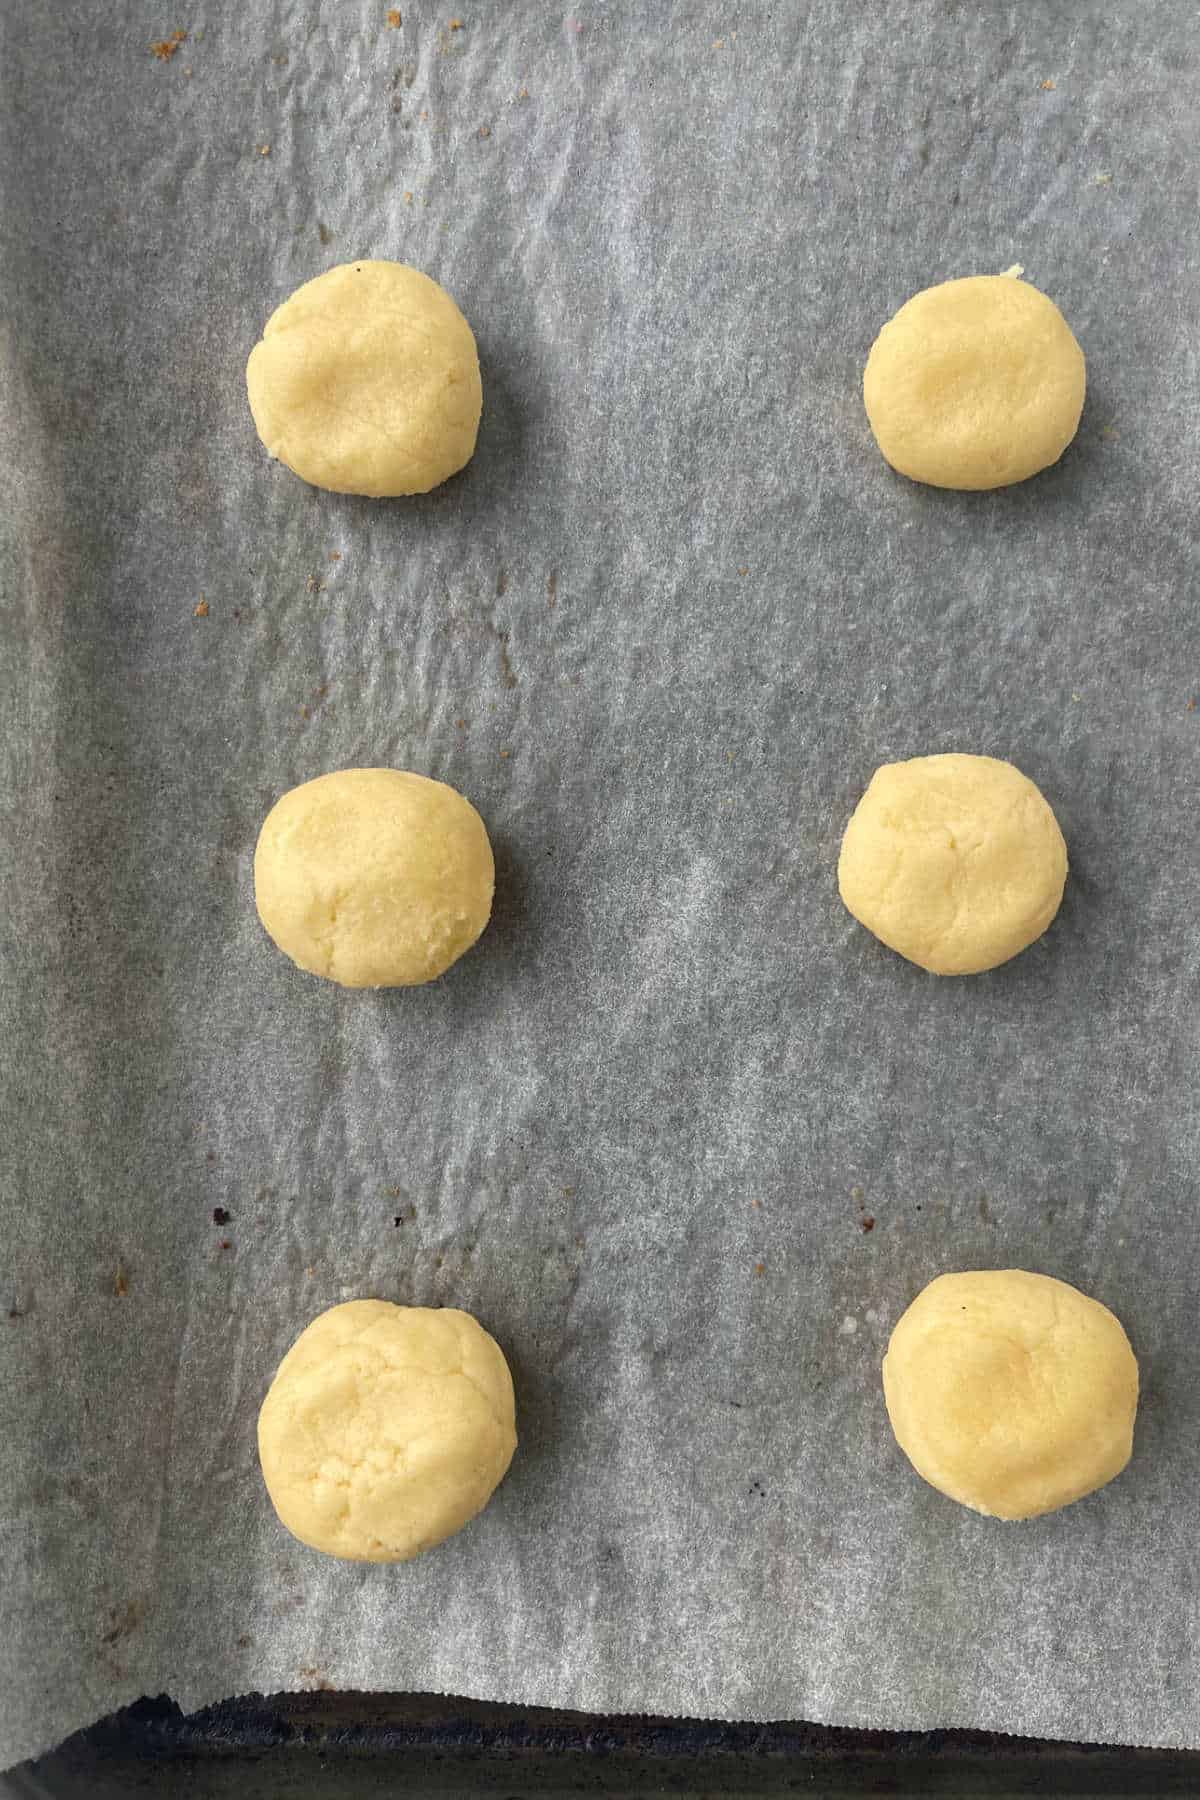
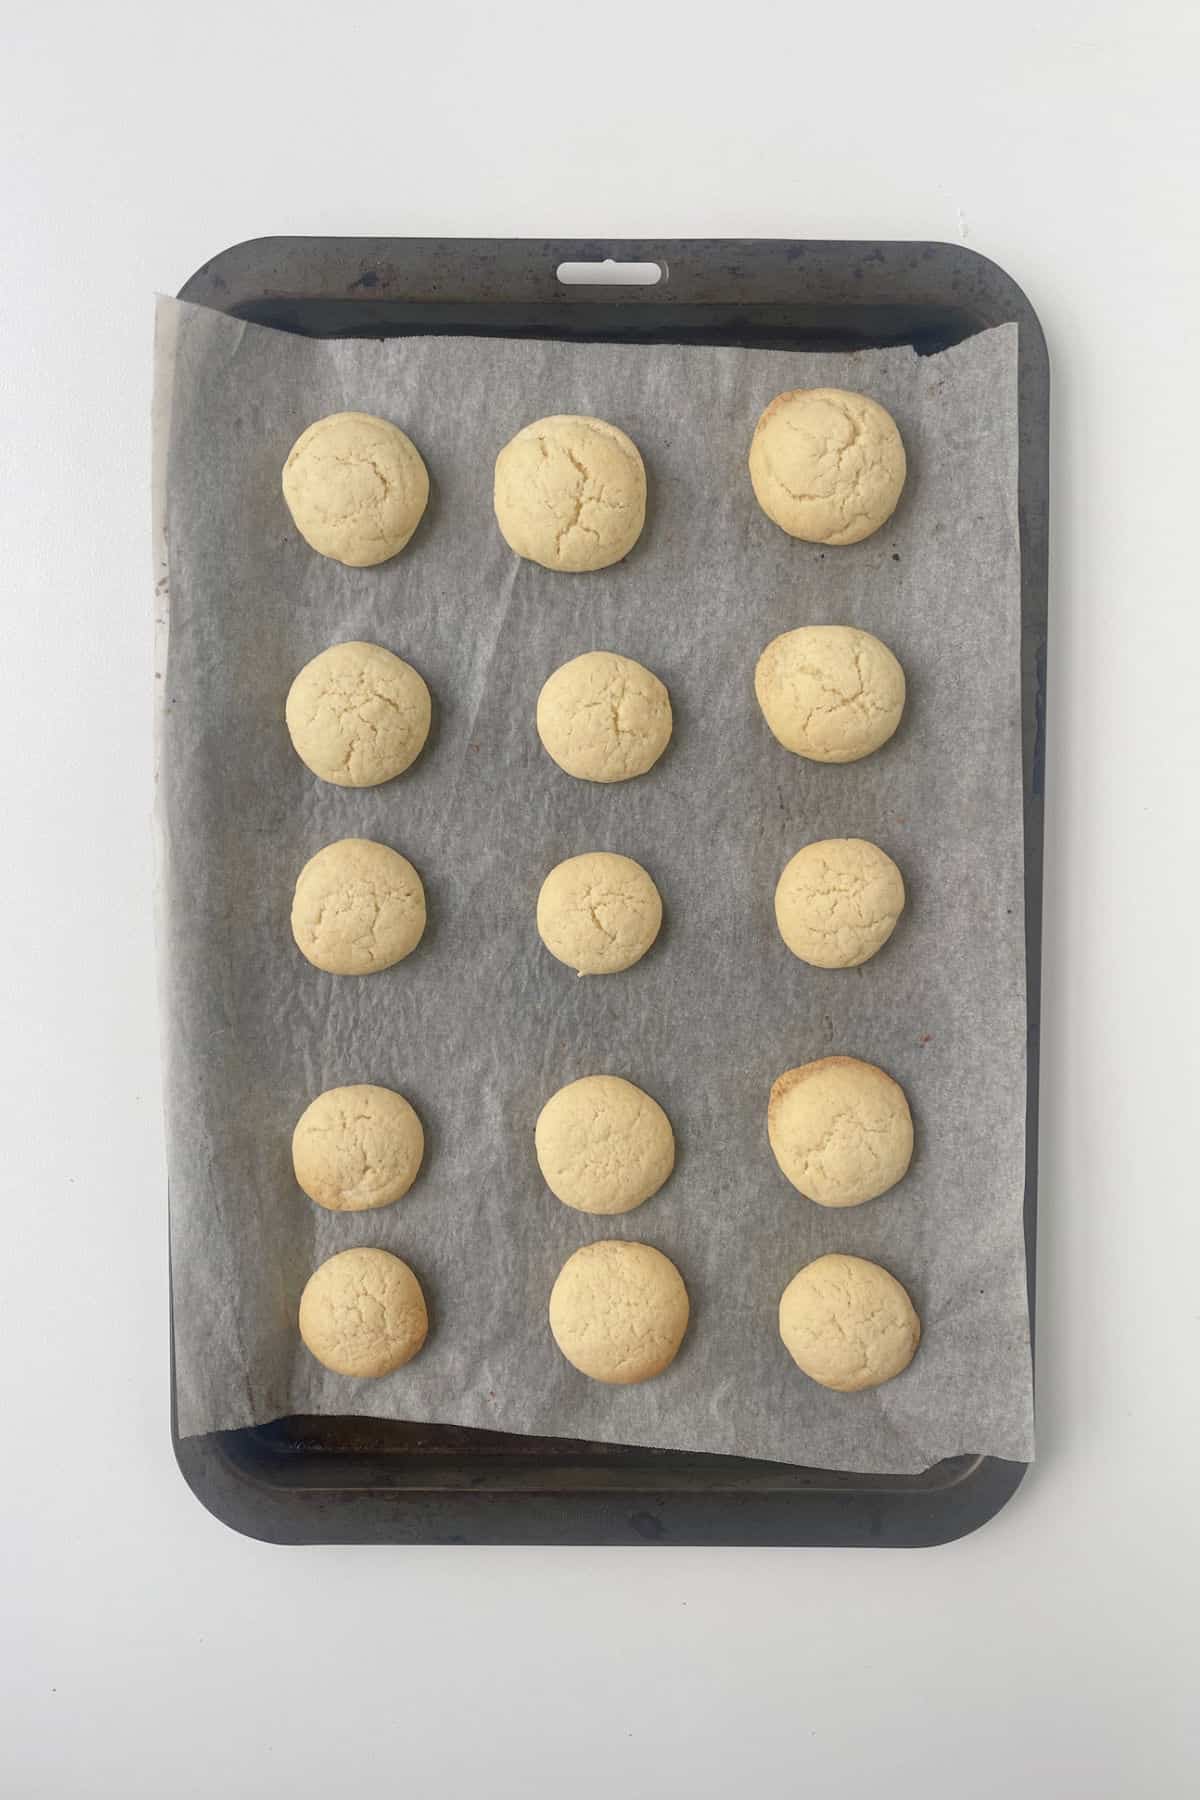
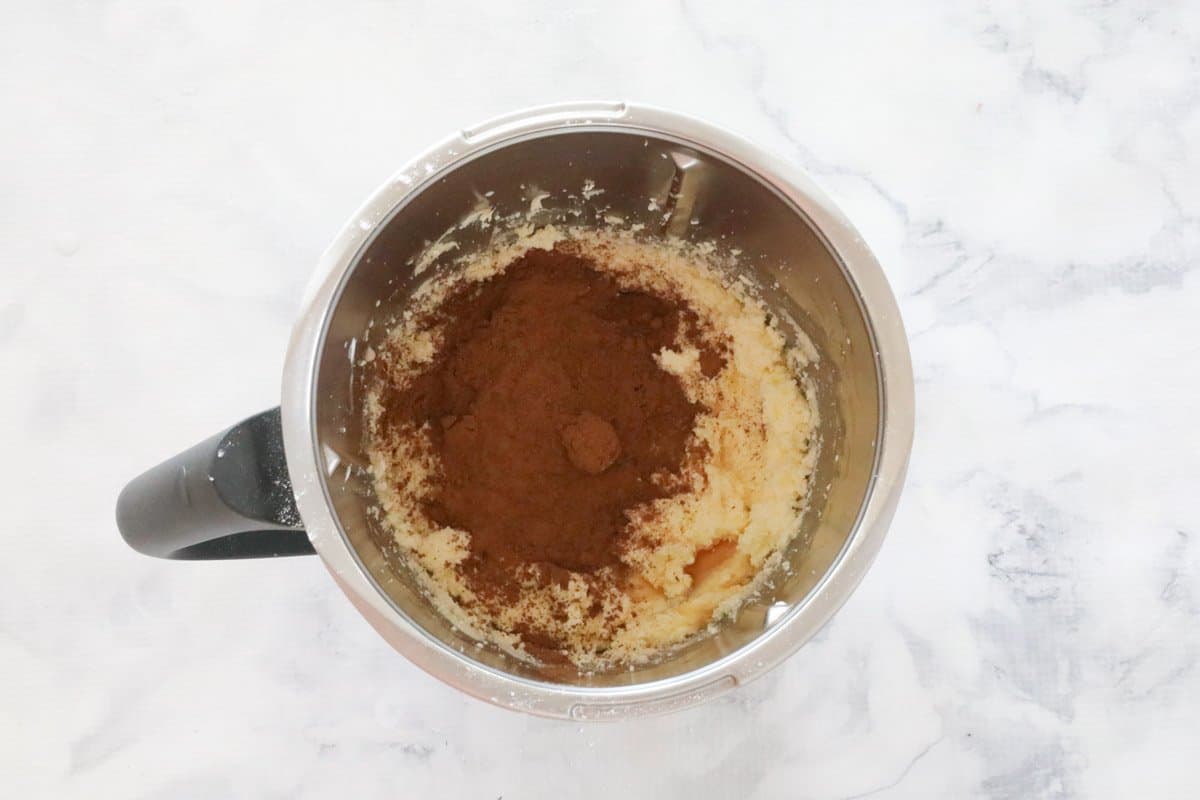
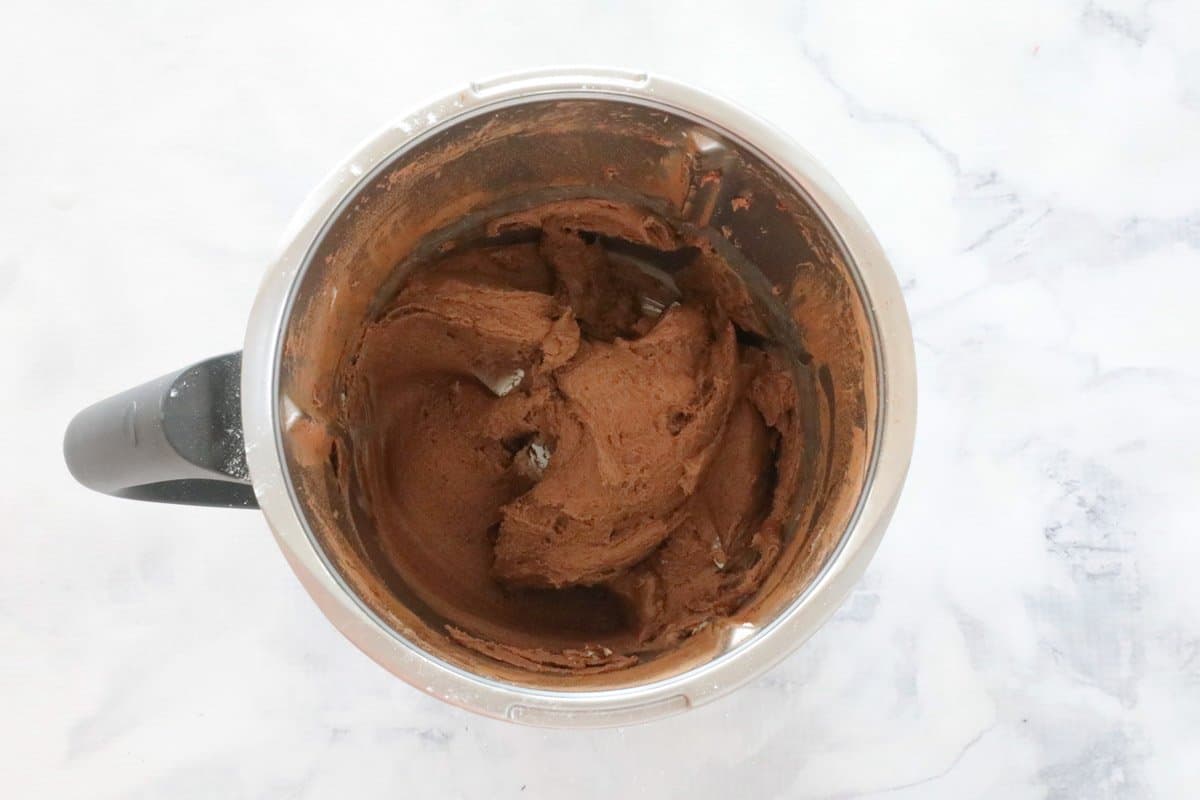
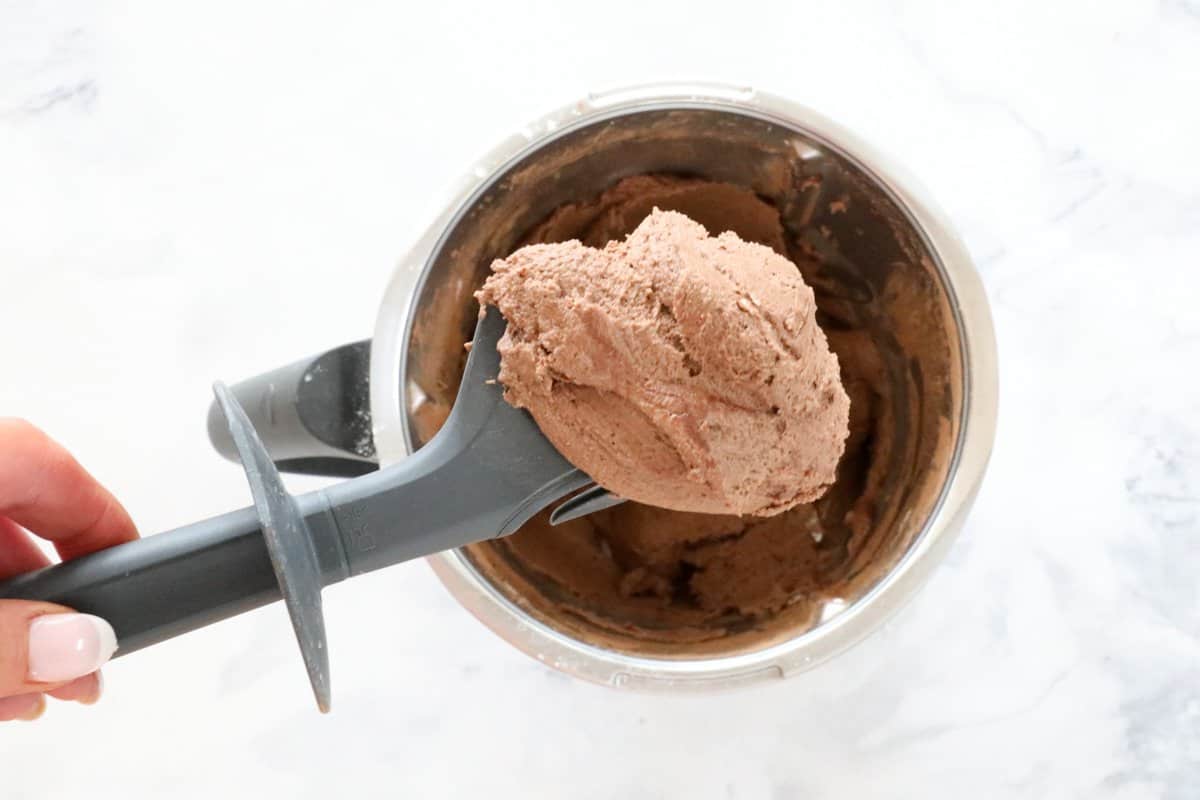
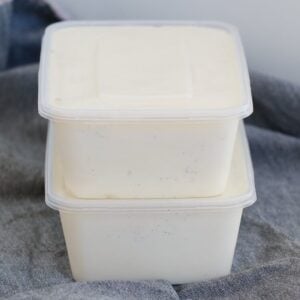
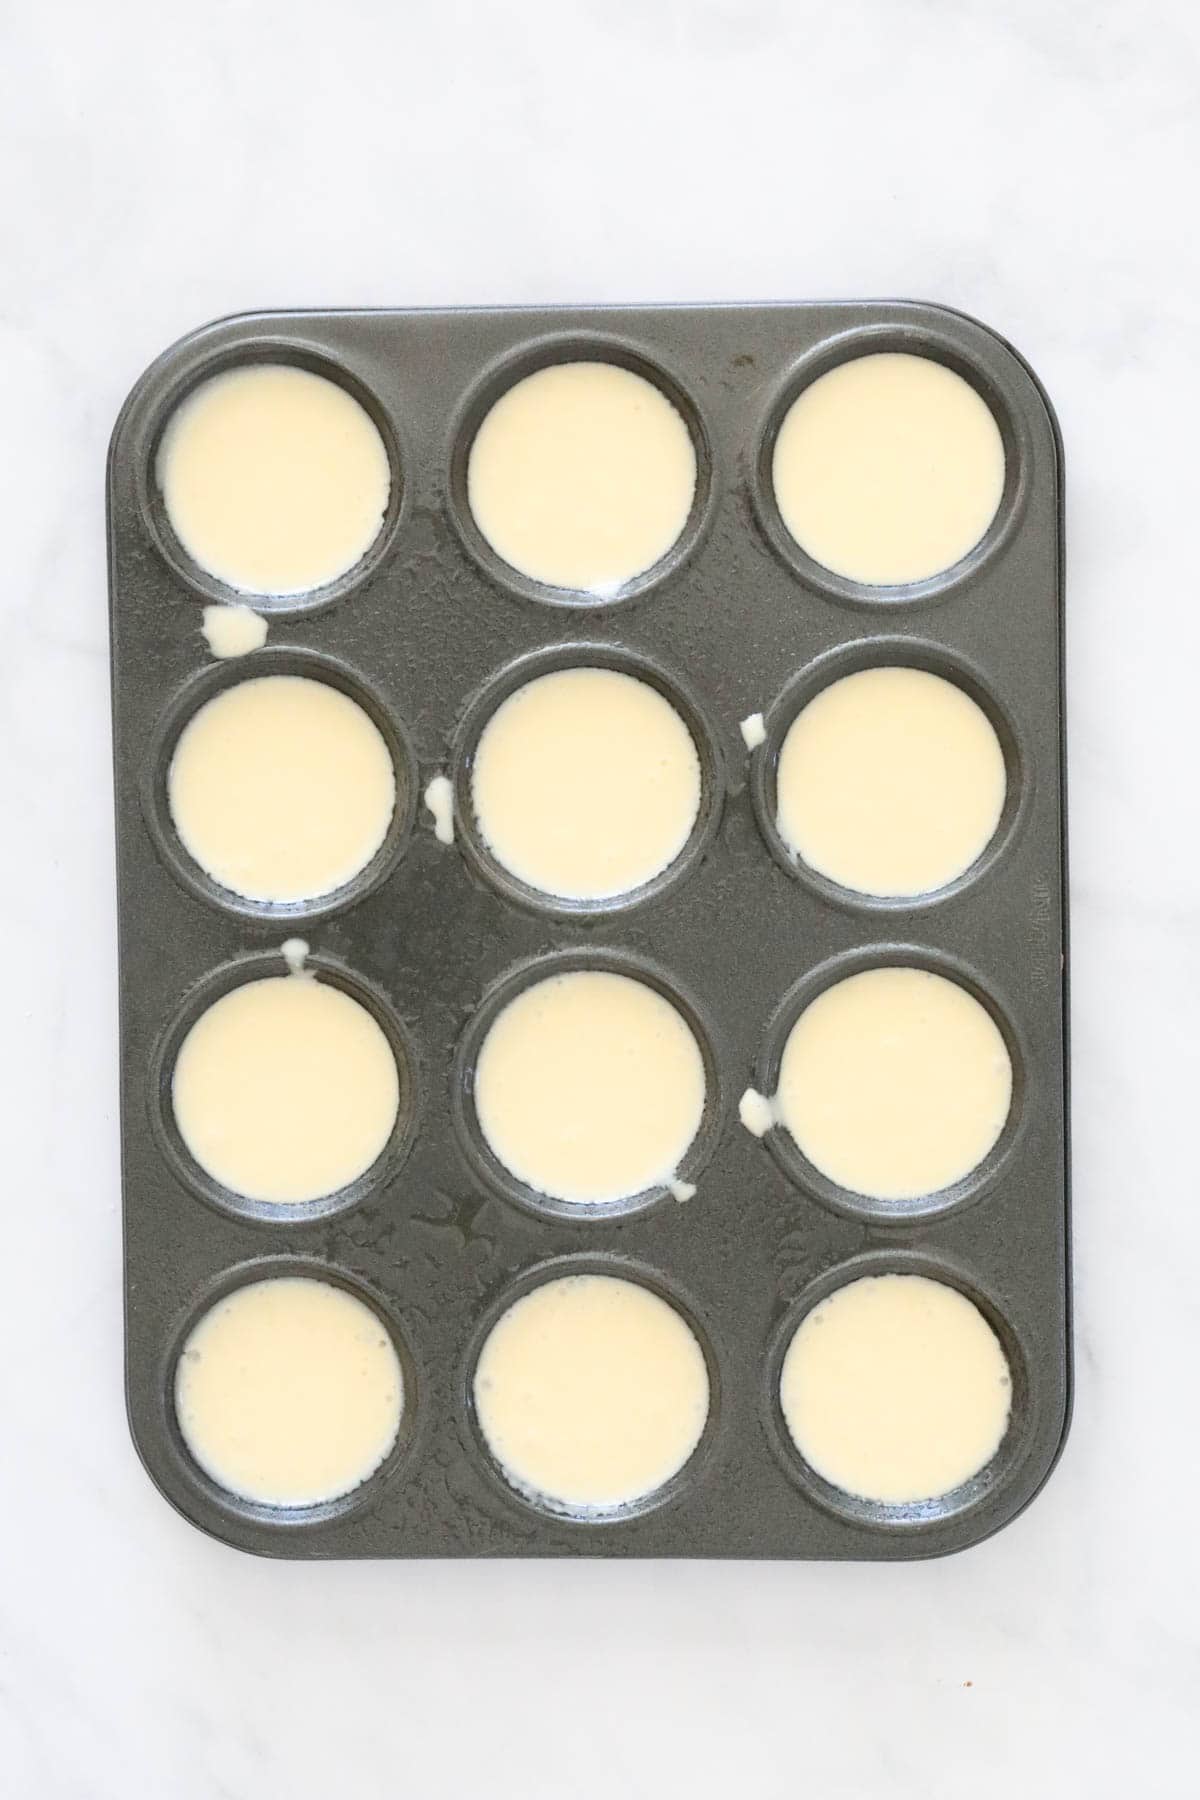
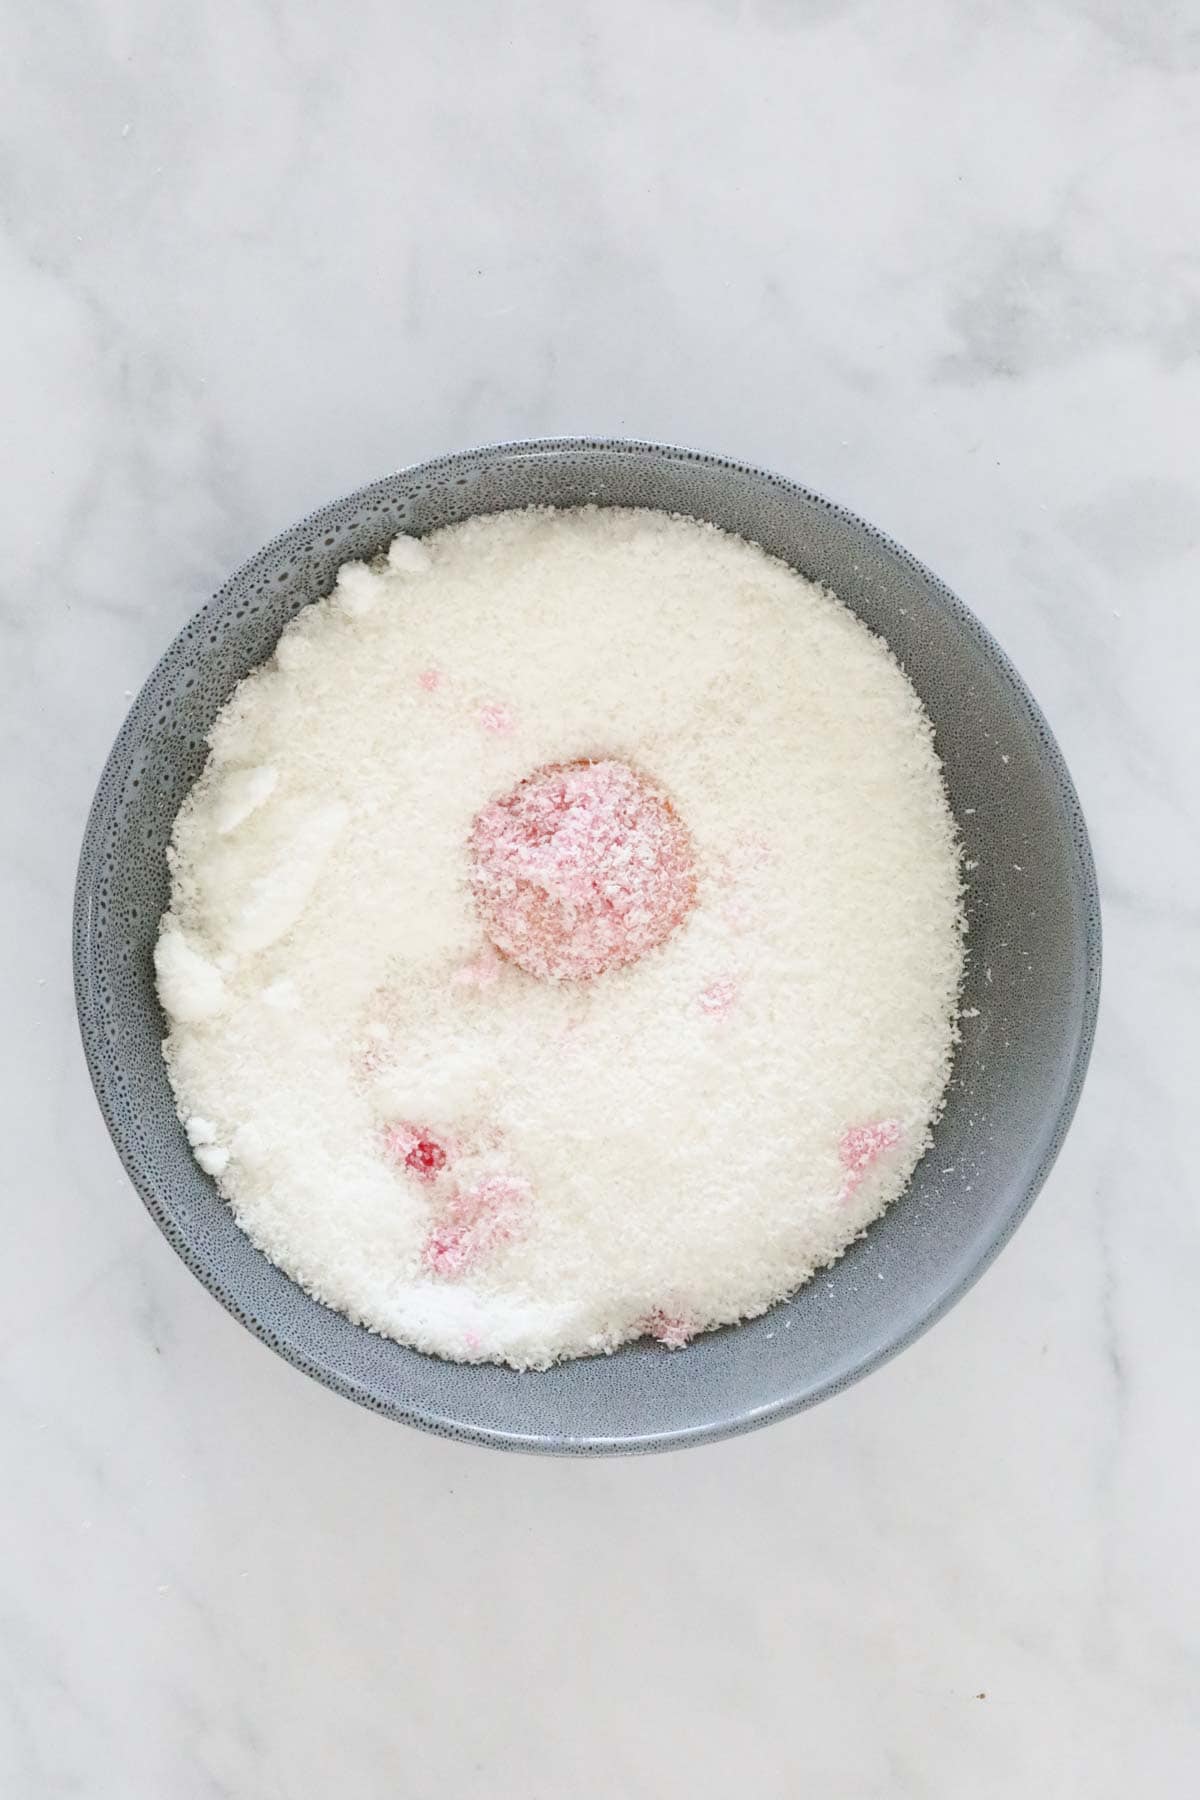
Thermomix Healthy Choc Bliss Balls
For a sweet but healthier snack, you cannot go past these yummy Choc Bliss Balls! You will love just how quick and easy they are to put together using your Thermomix too.
Thermomix Healthy Chocolate Bliss Balls

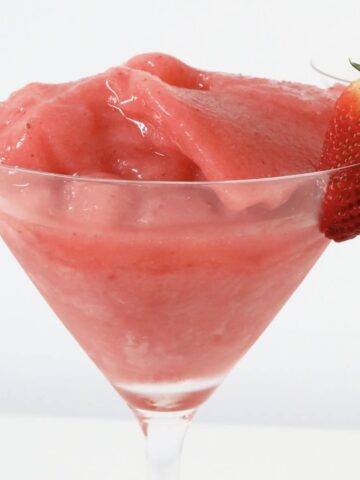
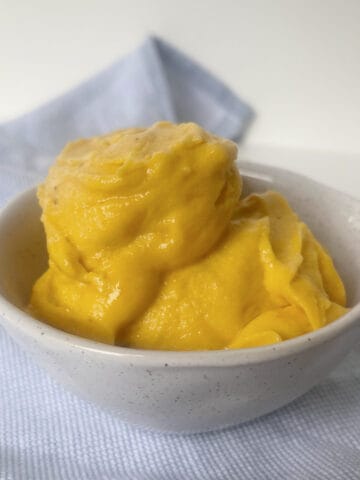
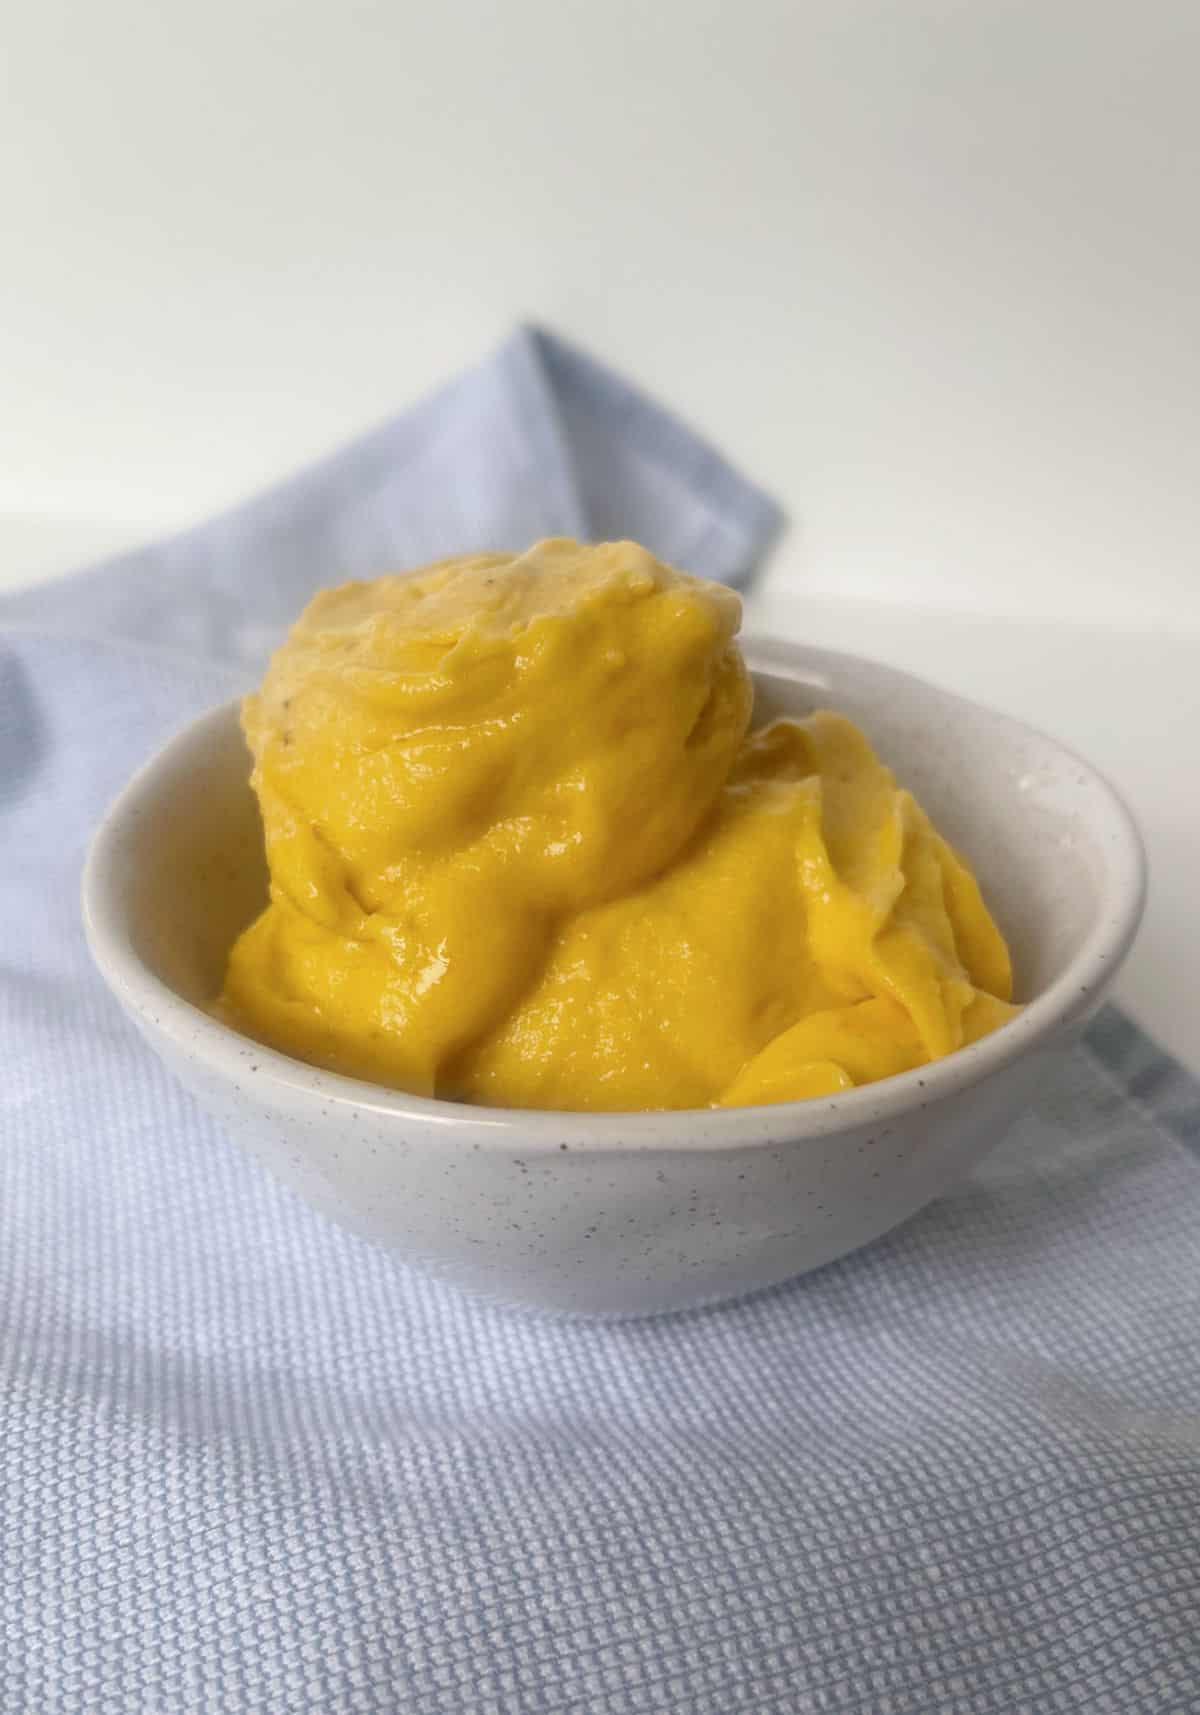
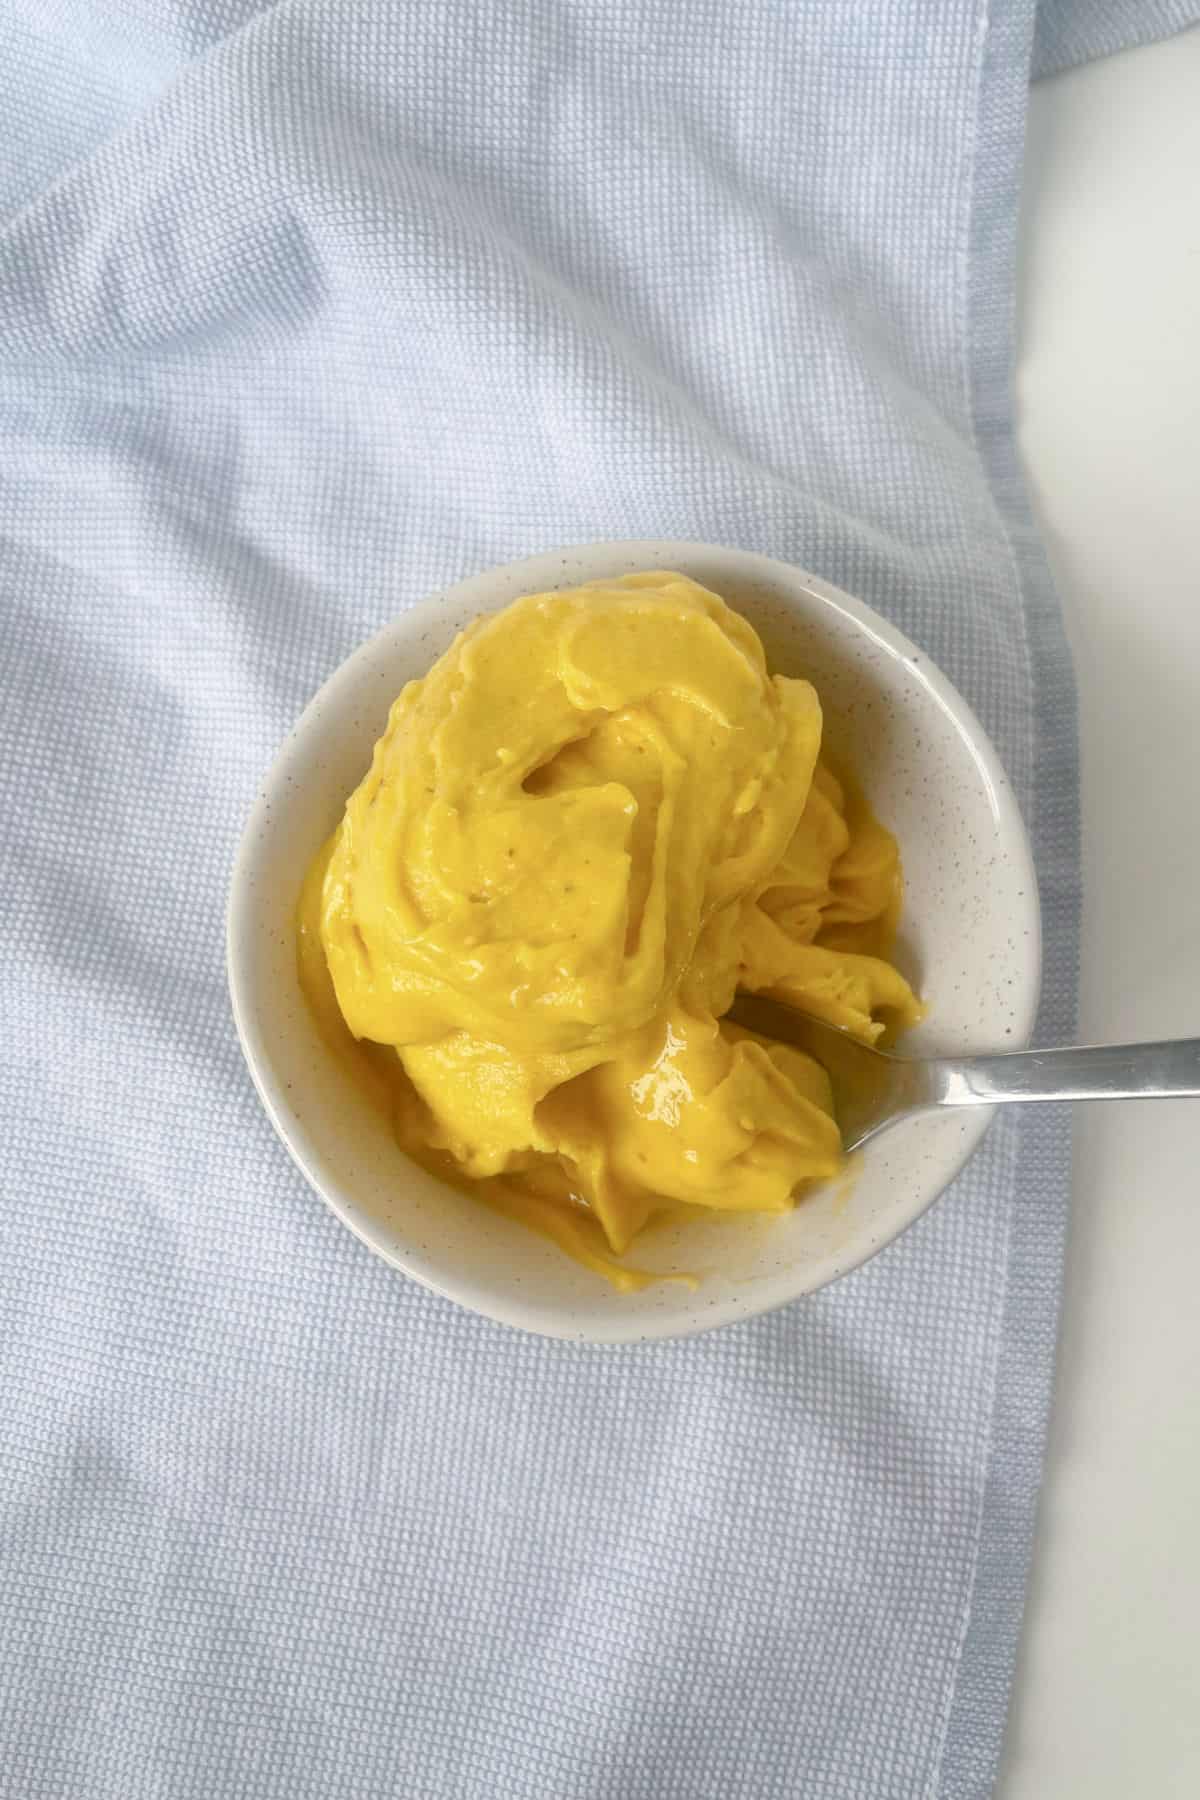
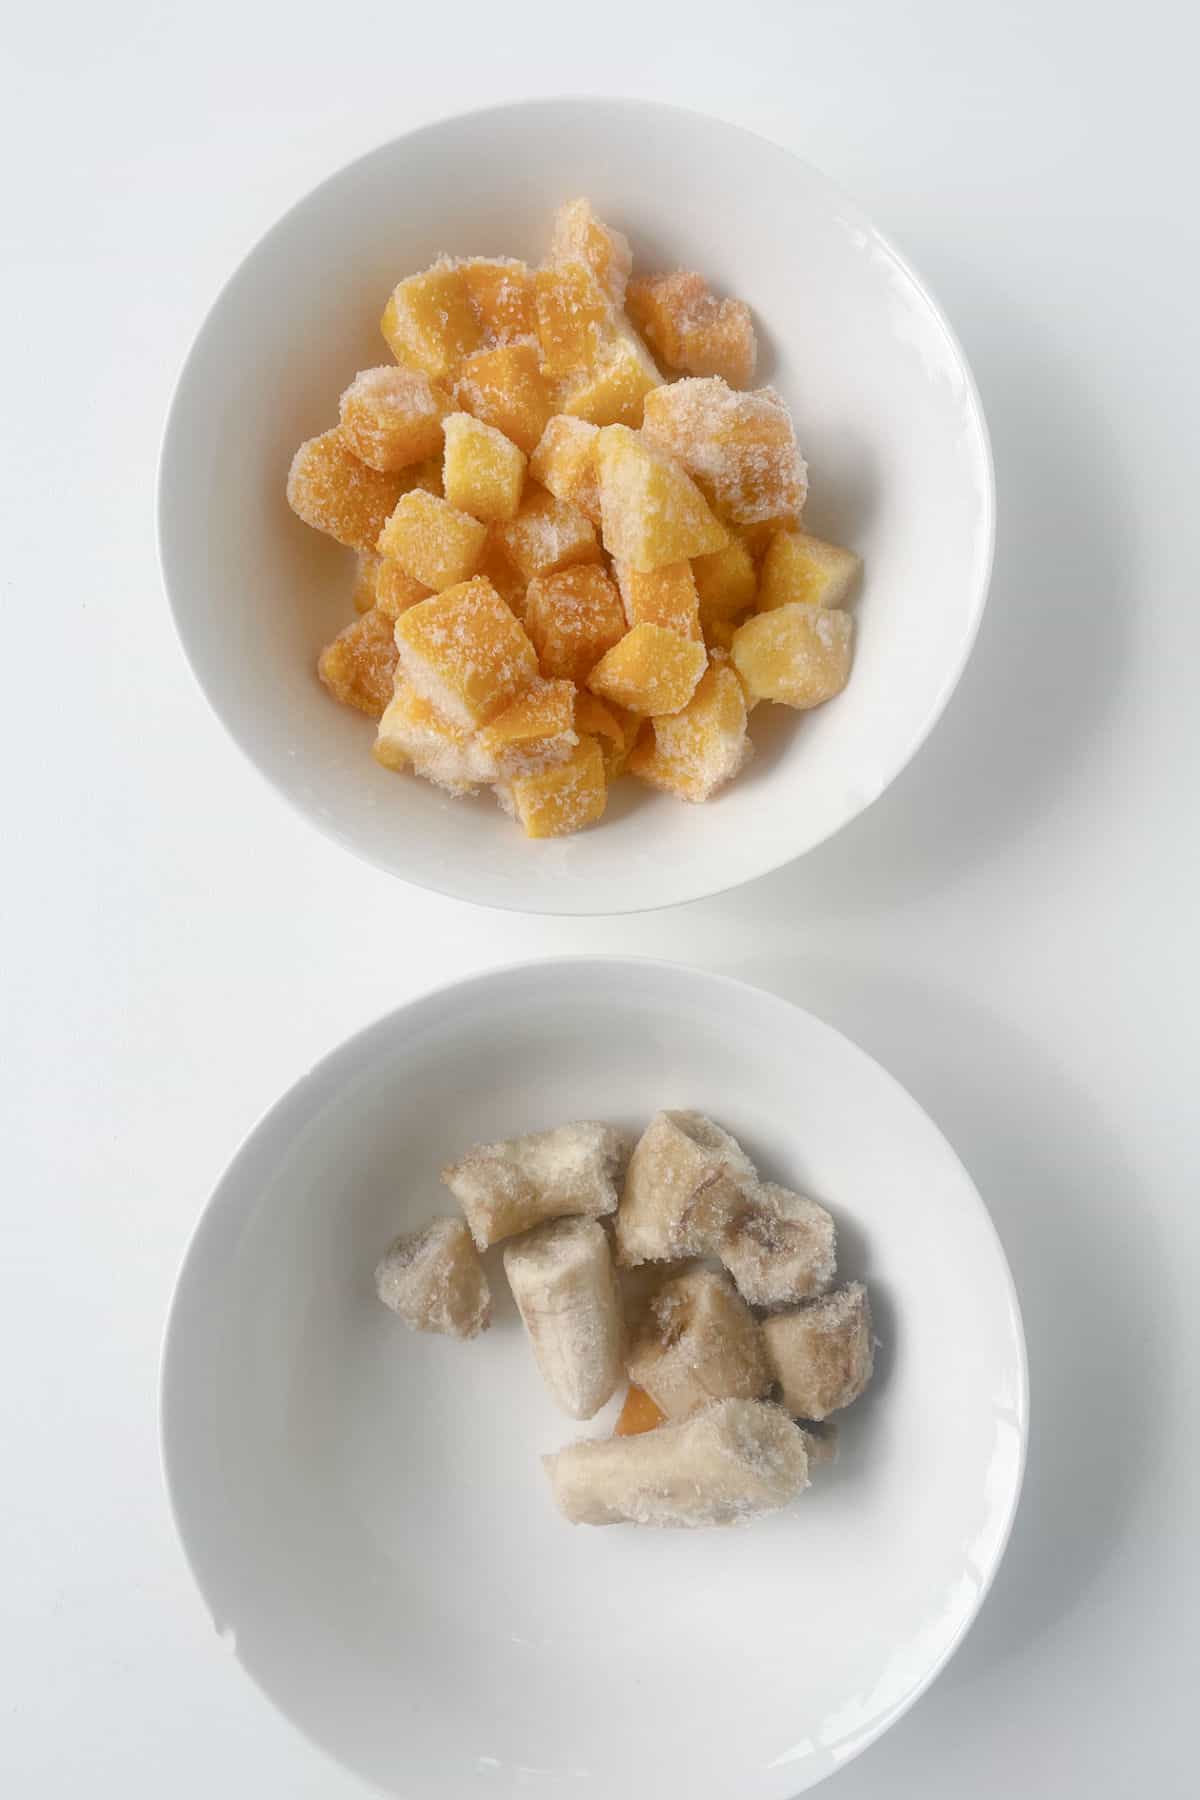
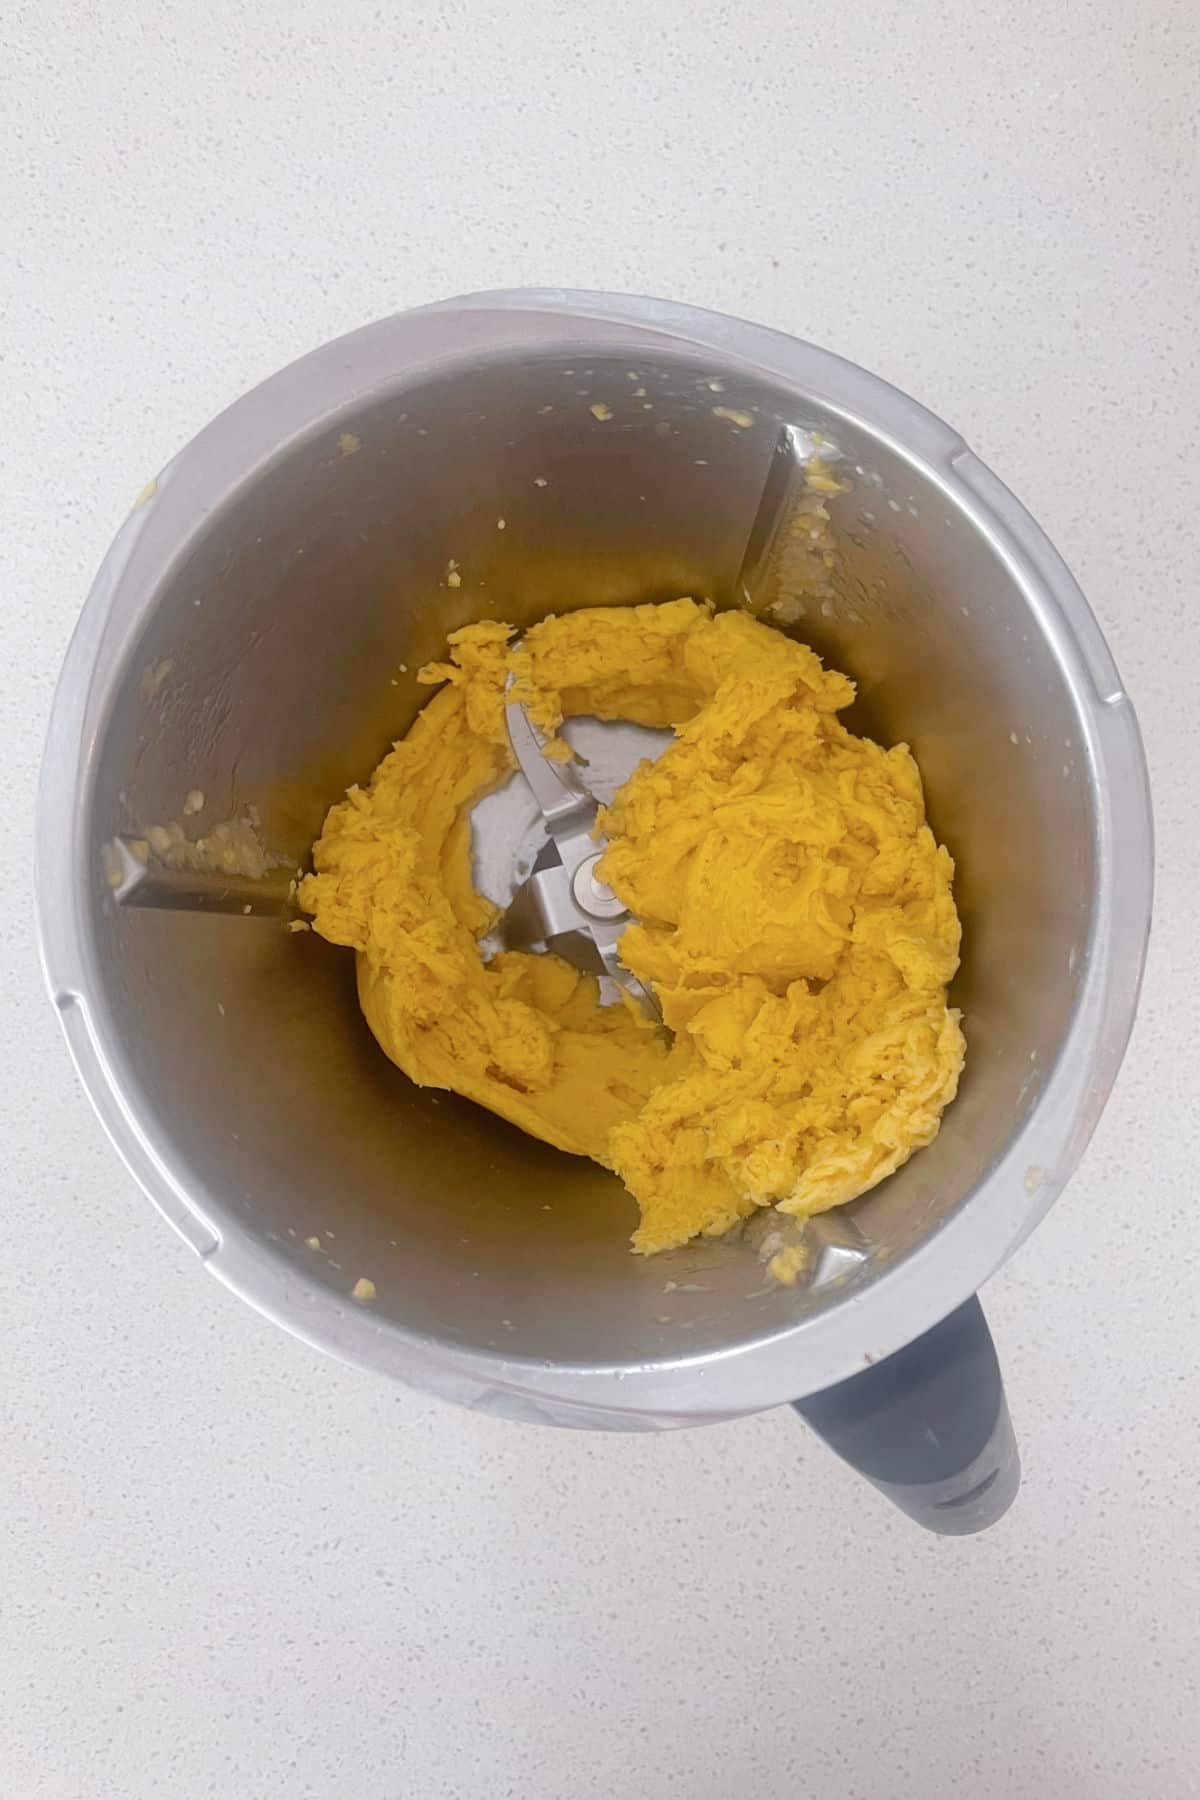
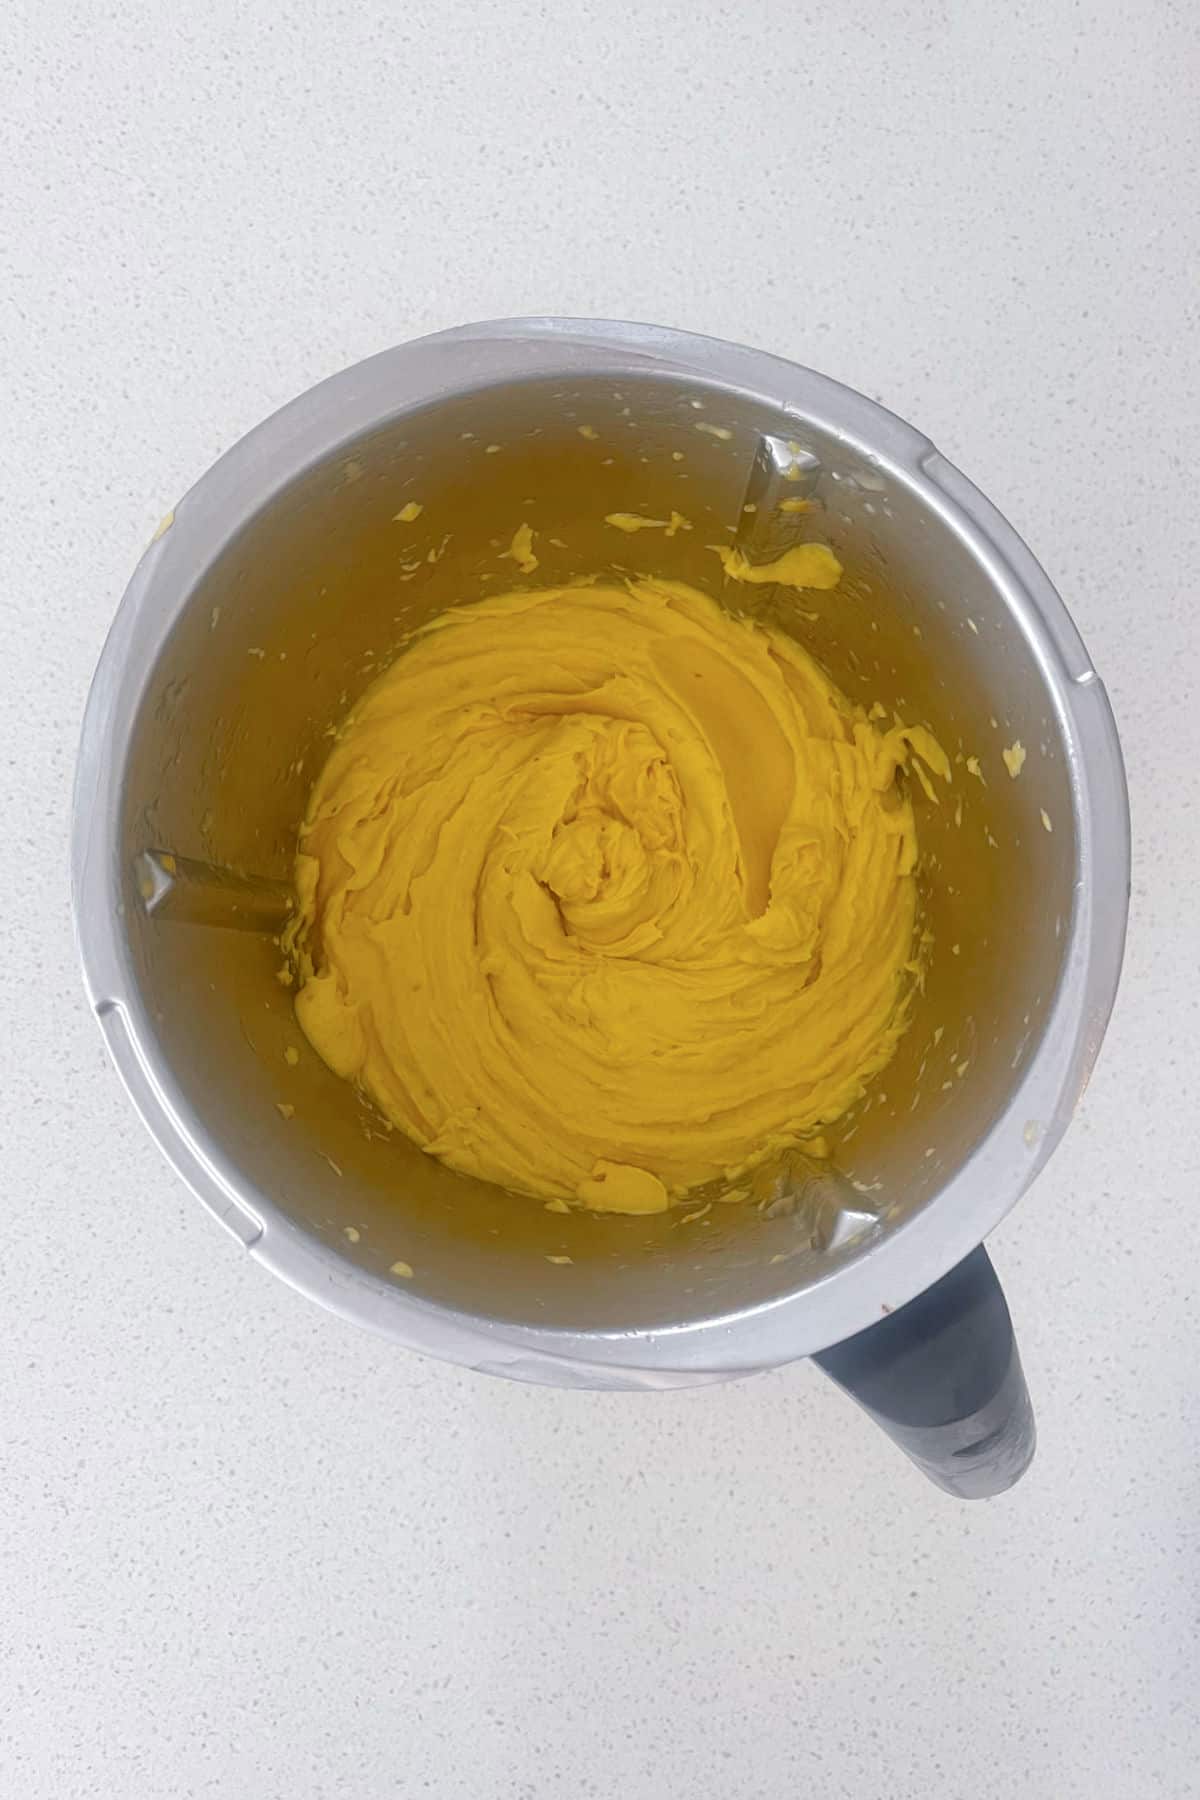
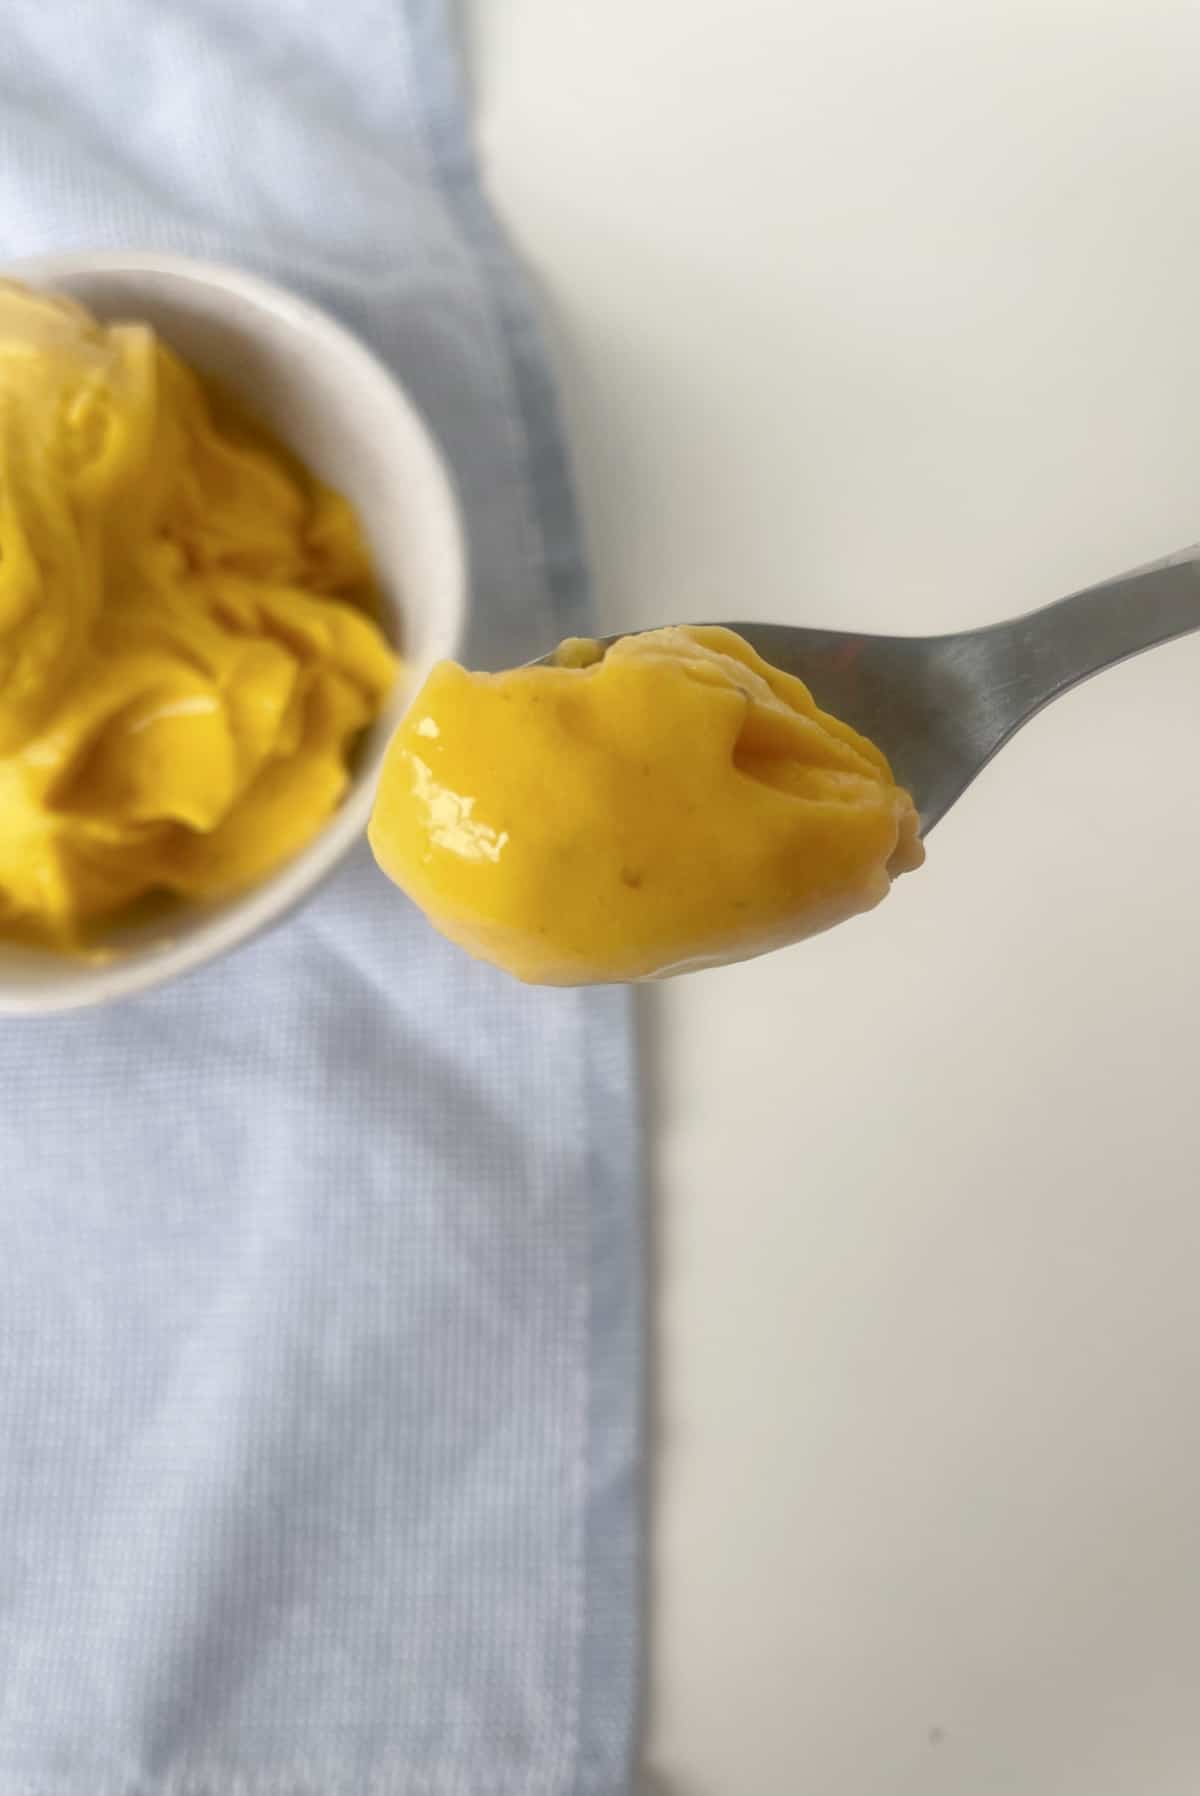
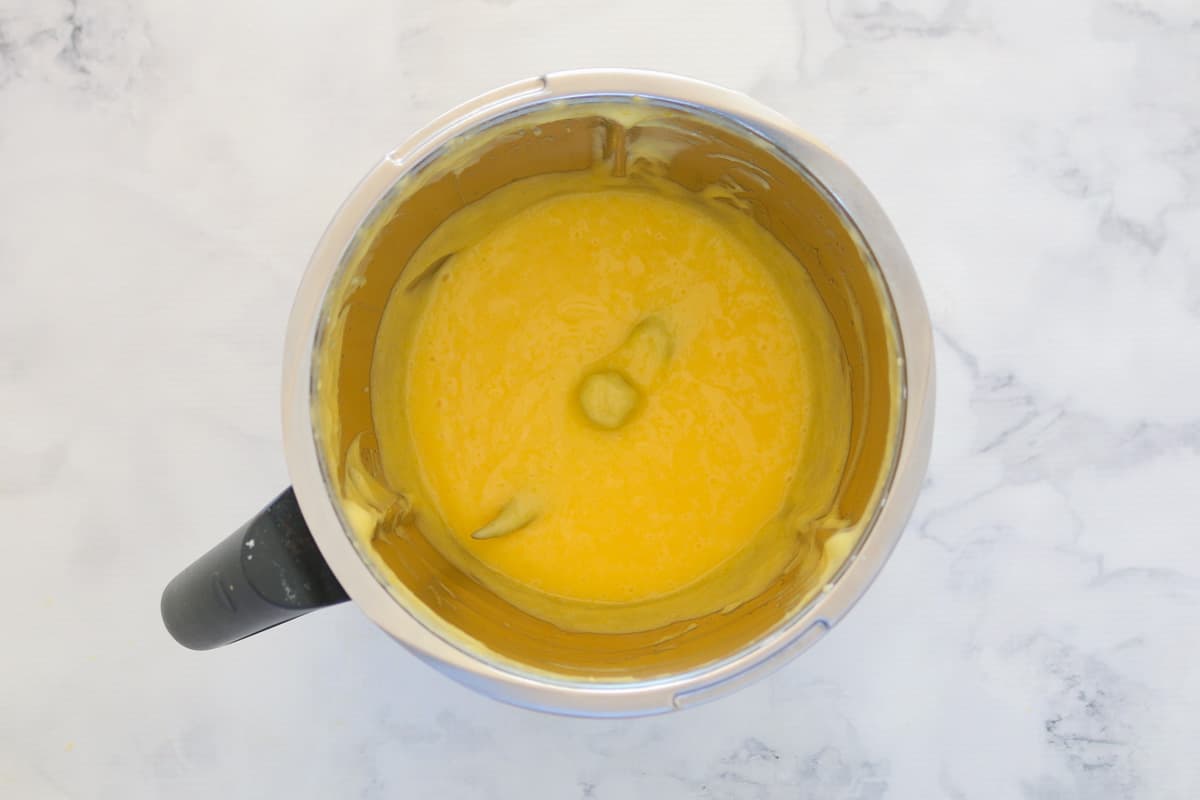
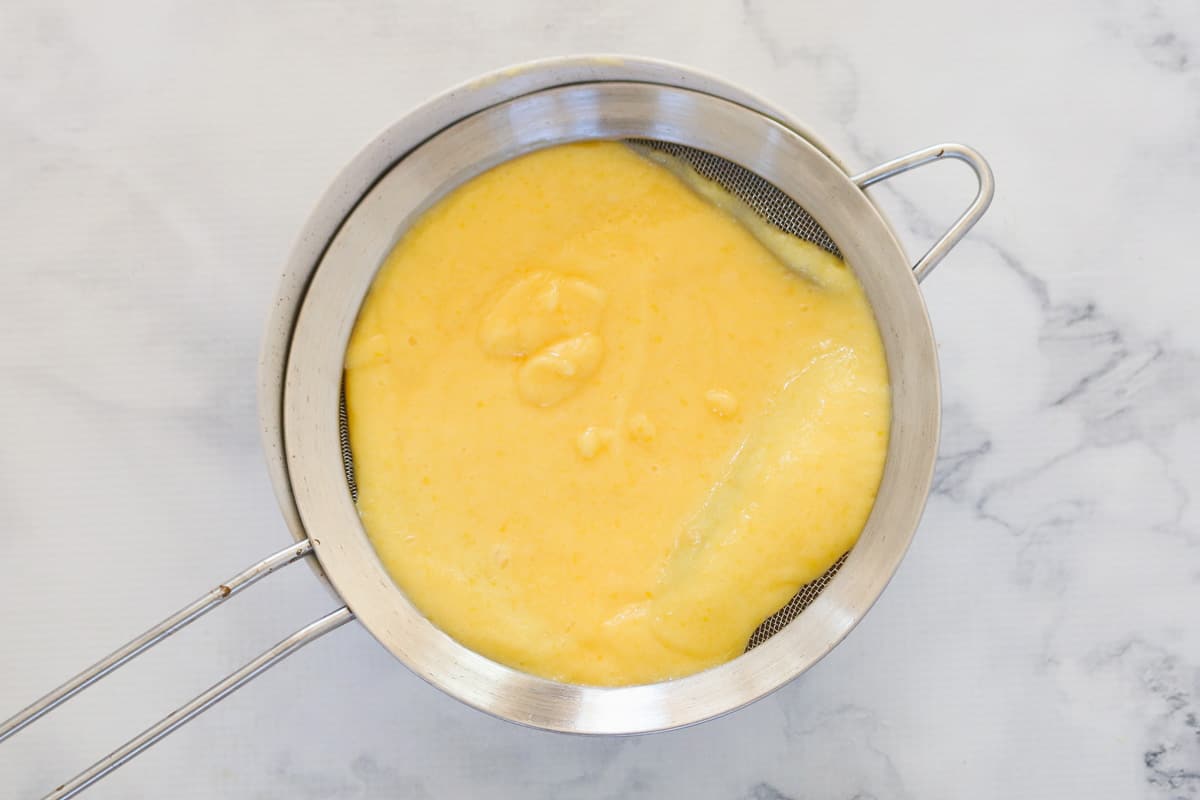
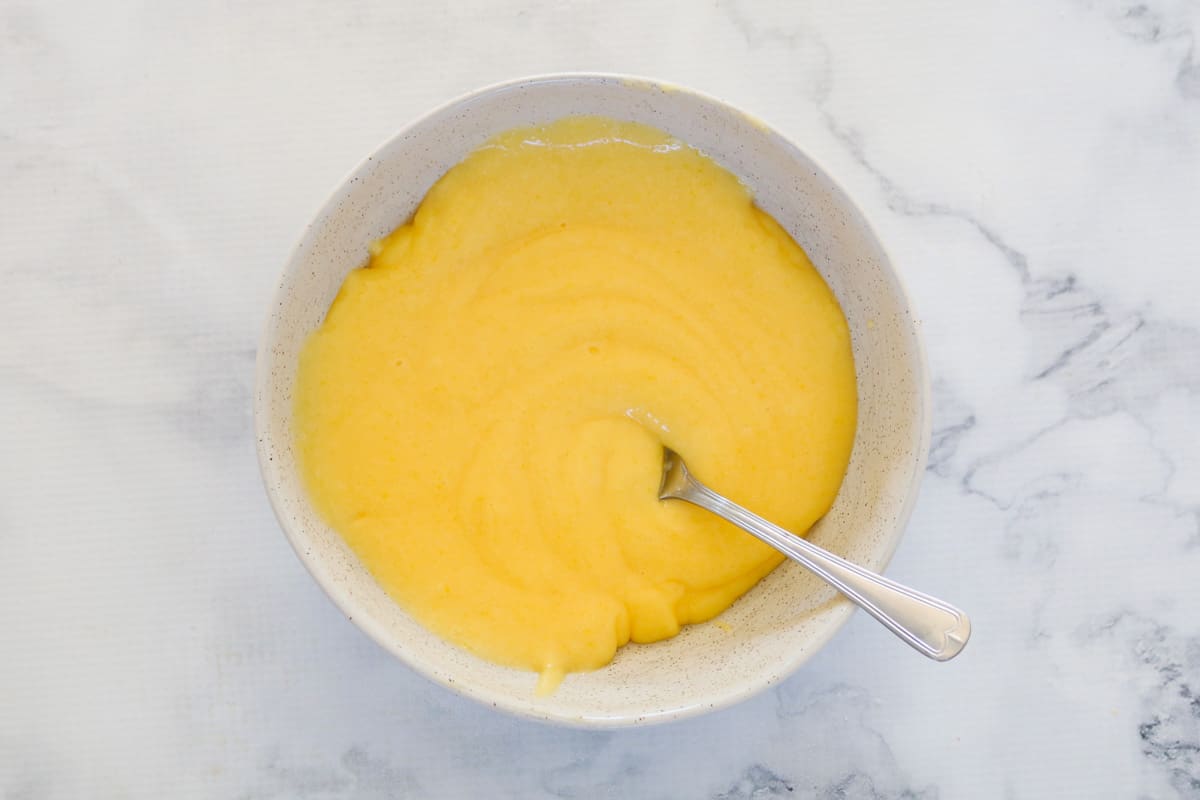
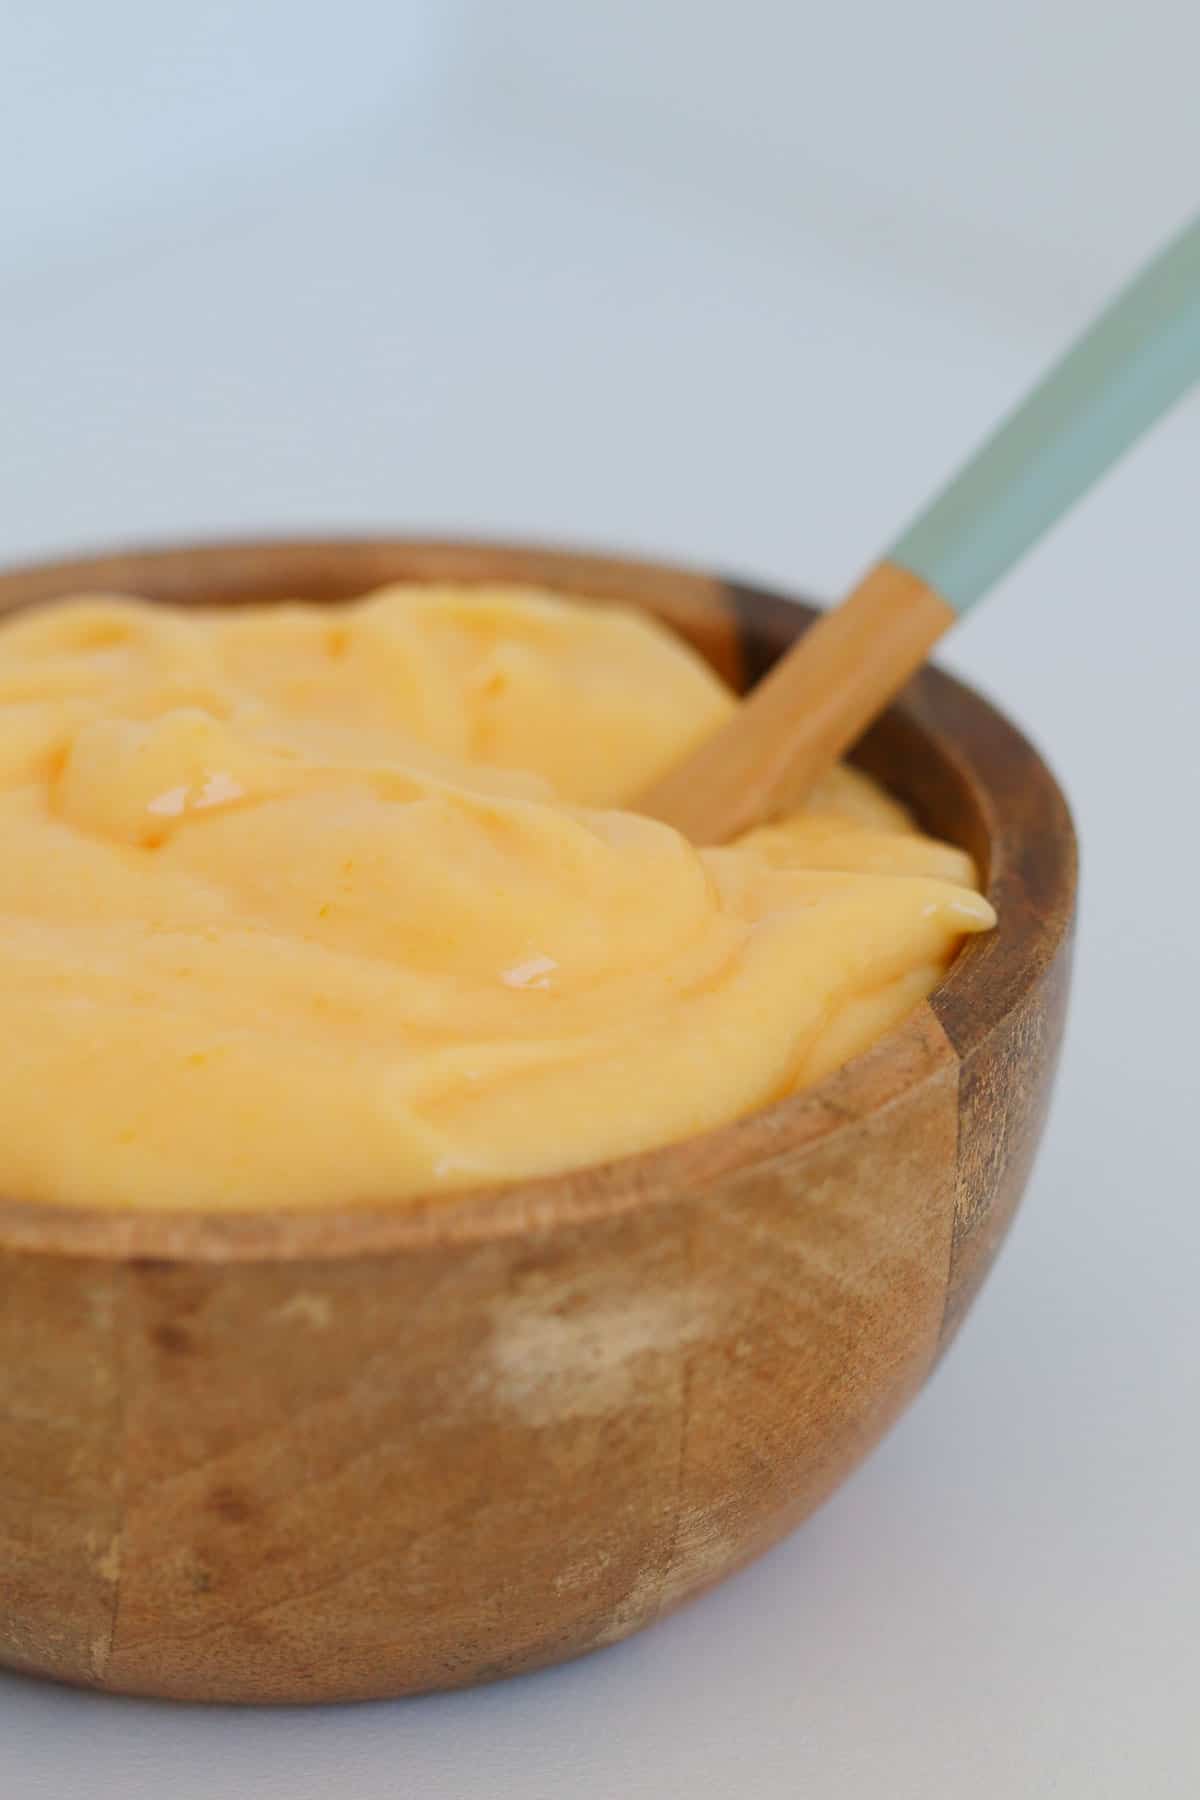
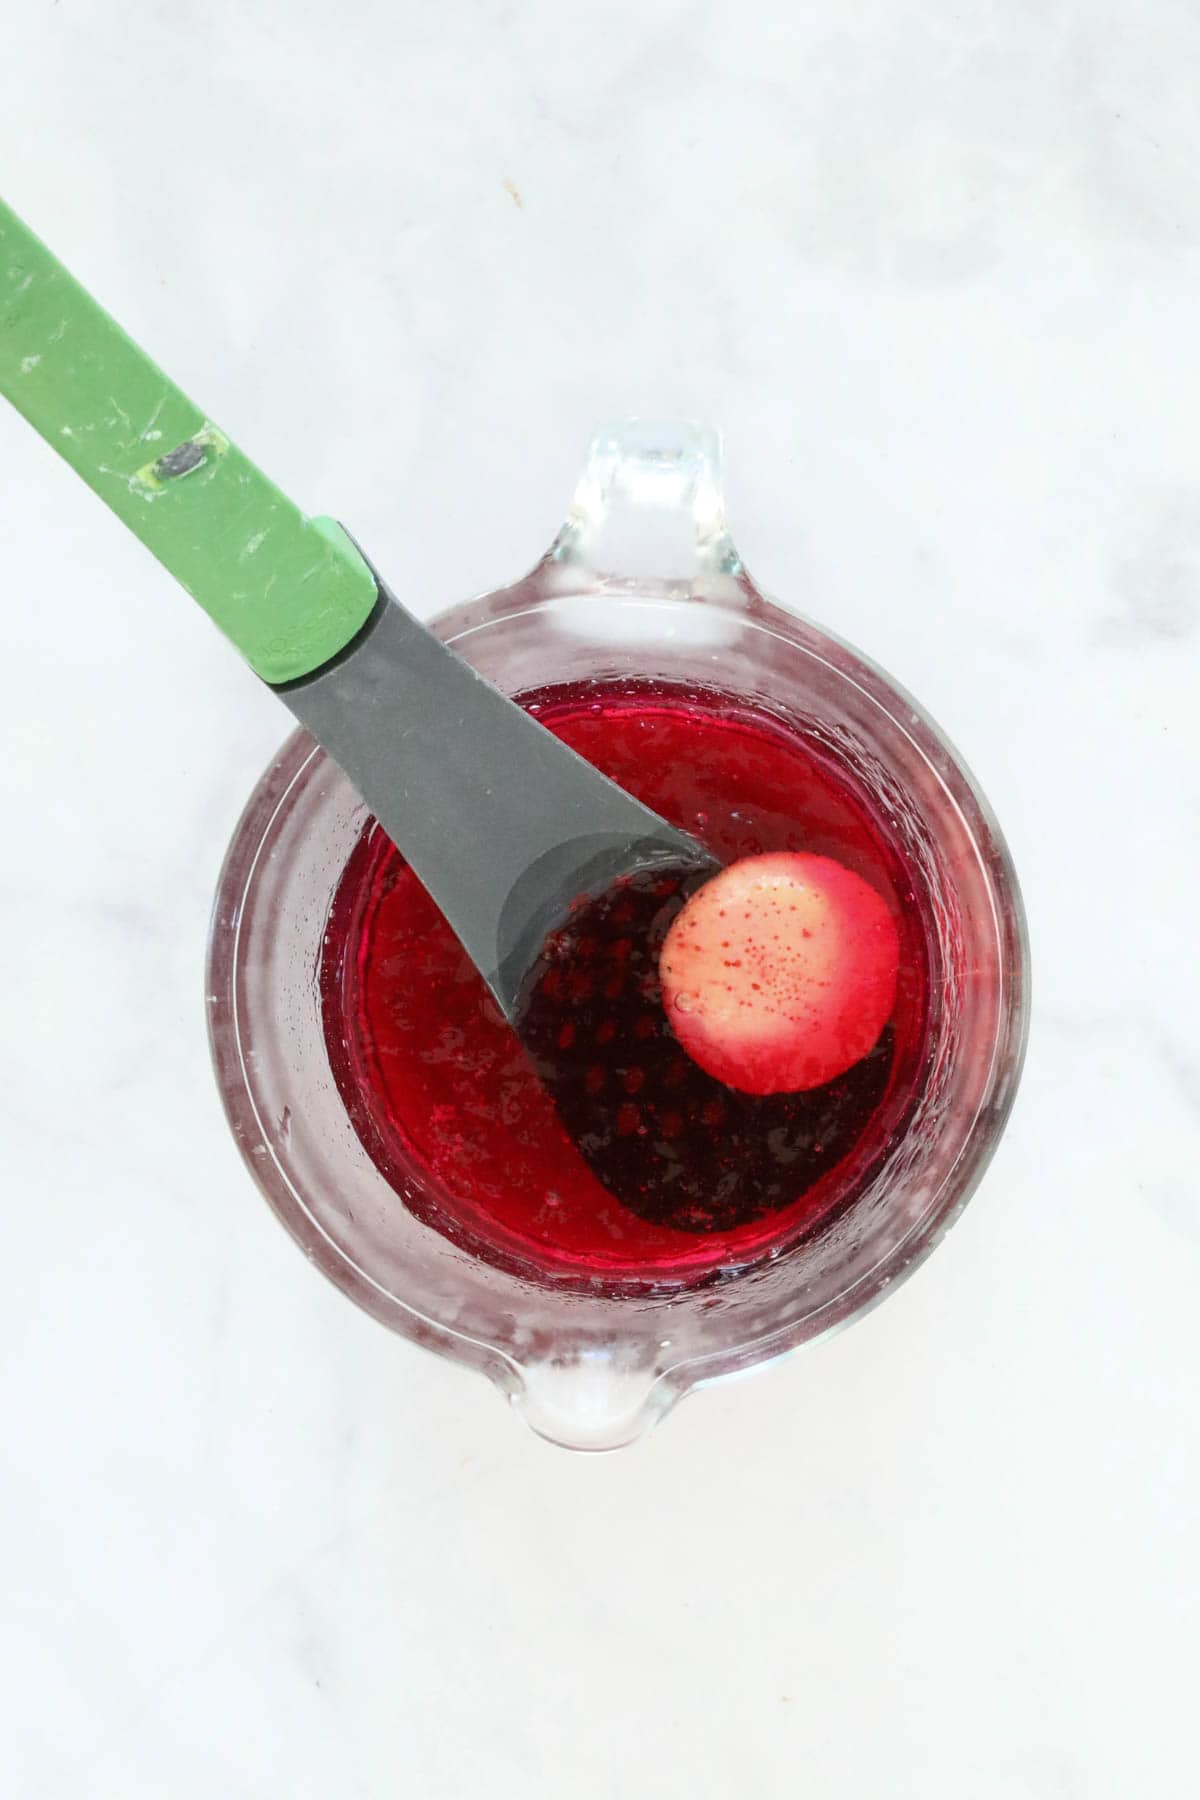
Thermomix 2 Ingredient Mango Ice Cream Recipe
Made with just TWO Ingredients, our Mango Ice-cream couldn't be easier to make! It is the perfect sweet treat and can be enjoyed immediately after preparing OR you can pop the mixture into ice-cream moulds.
Thermomix 2 Ingredient Mango Ice Cream Recipe

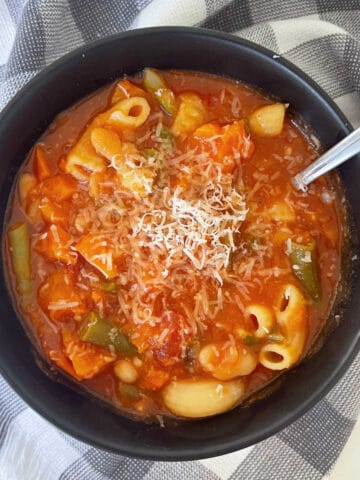
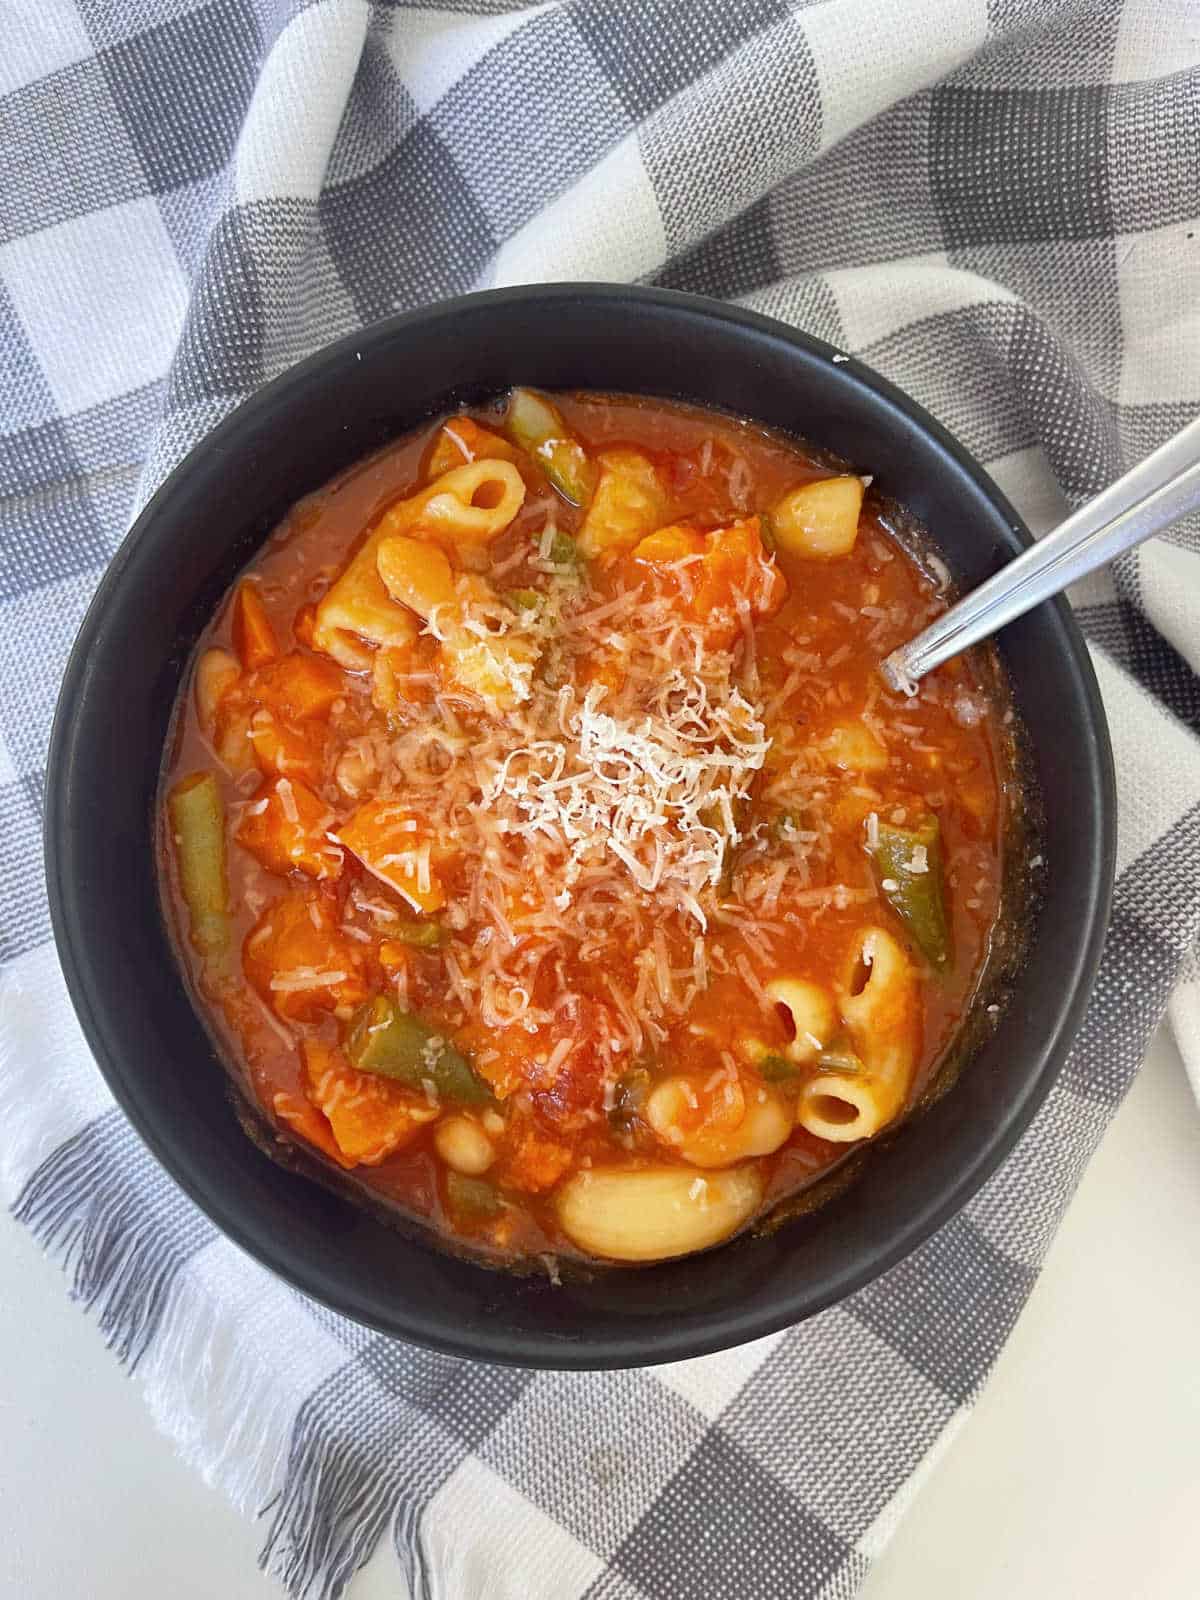
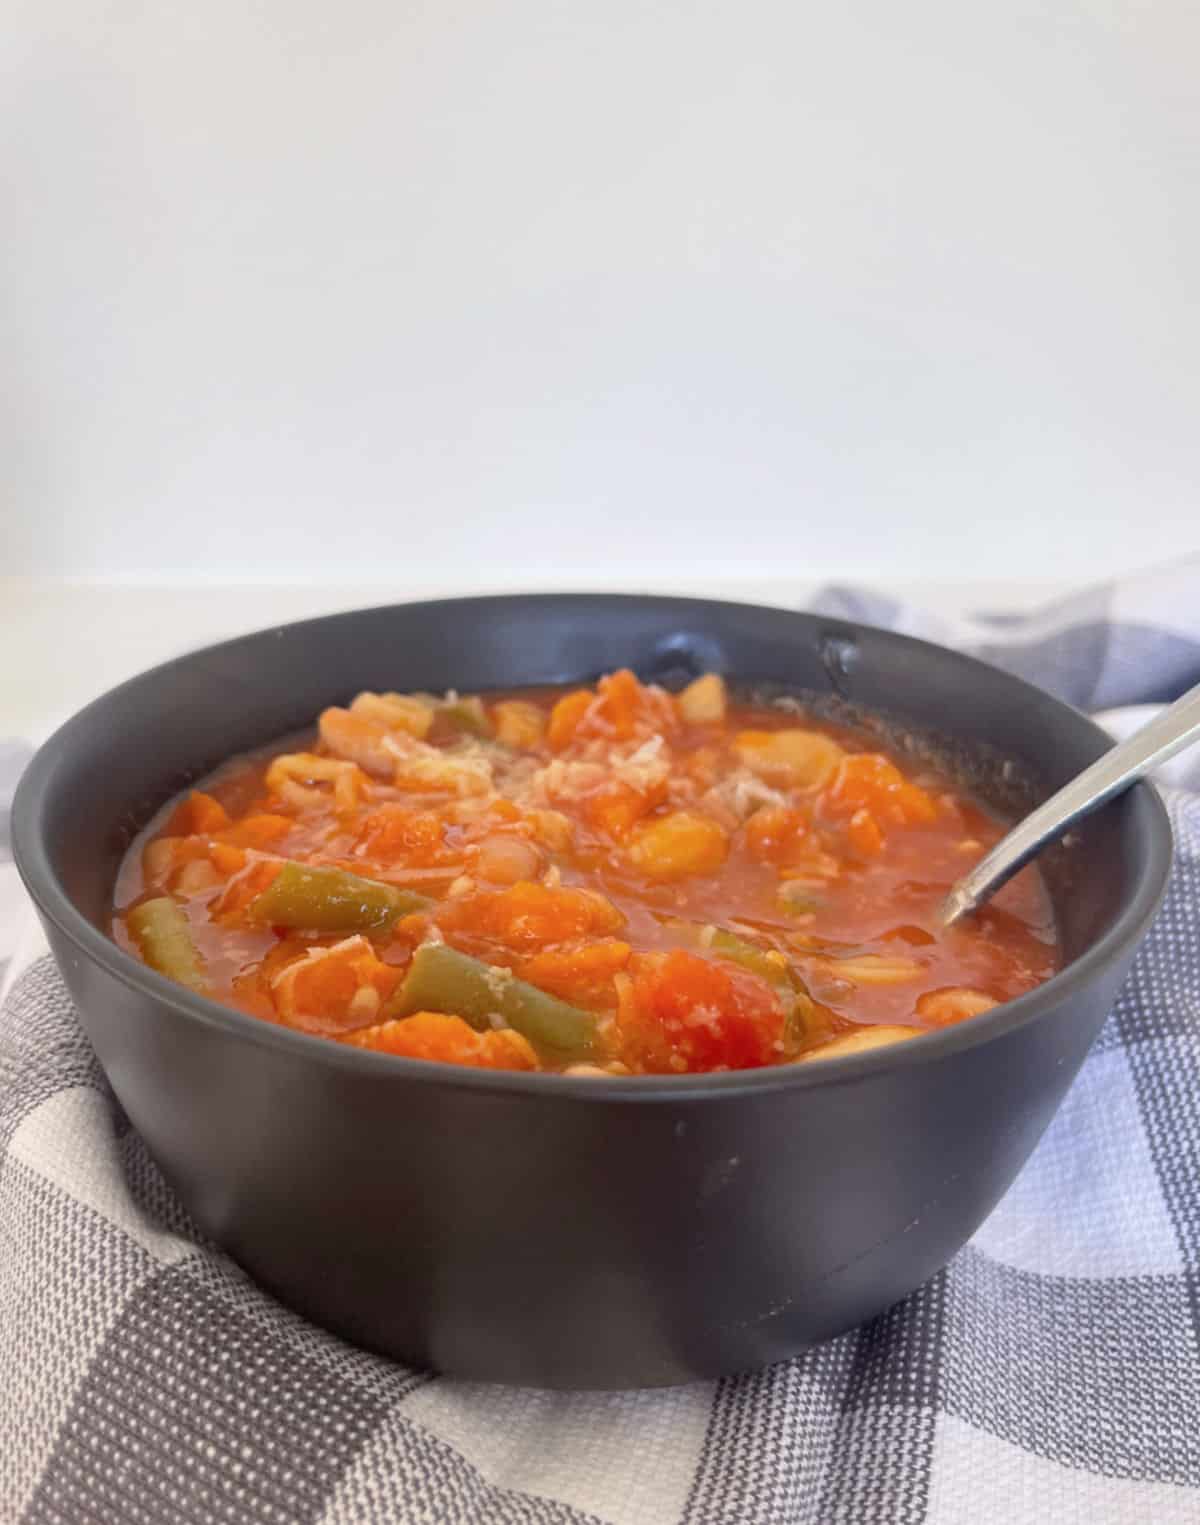
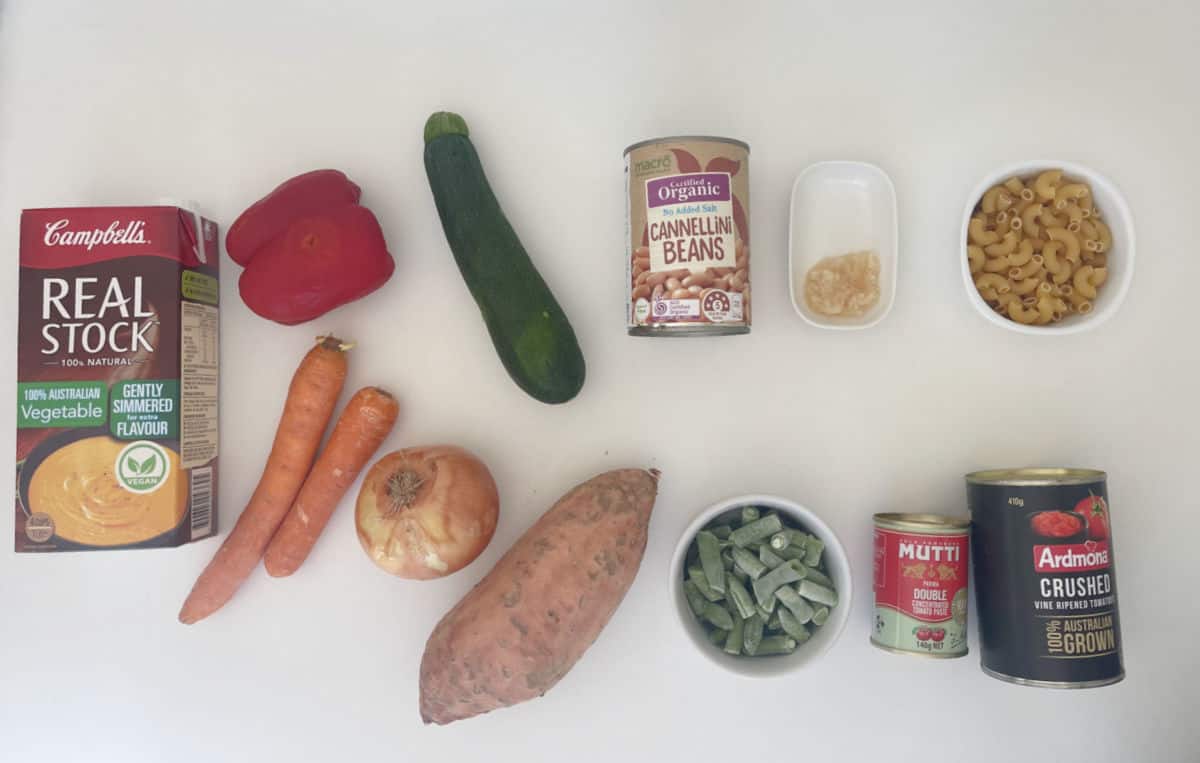
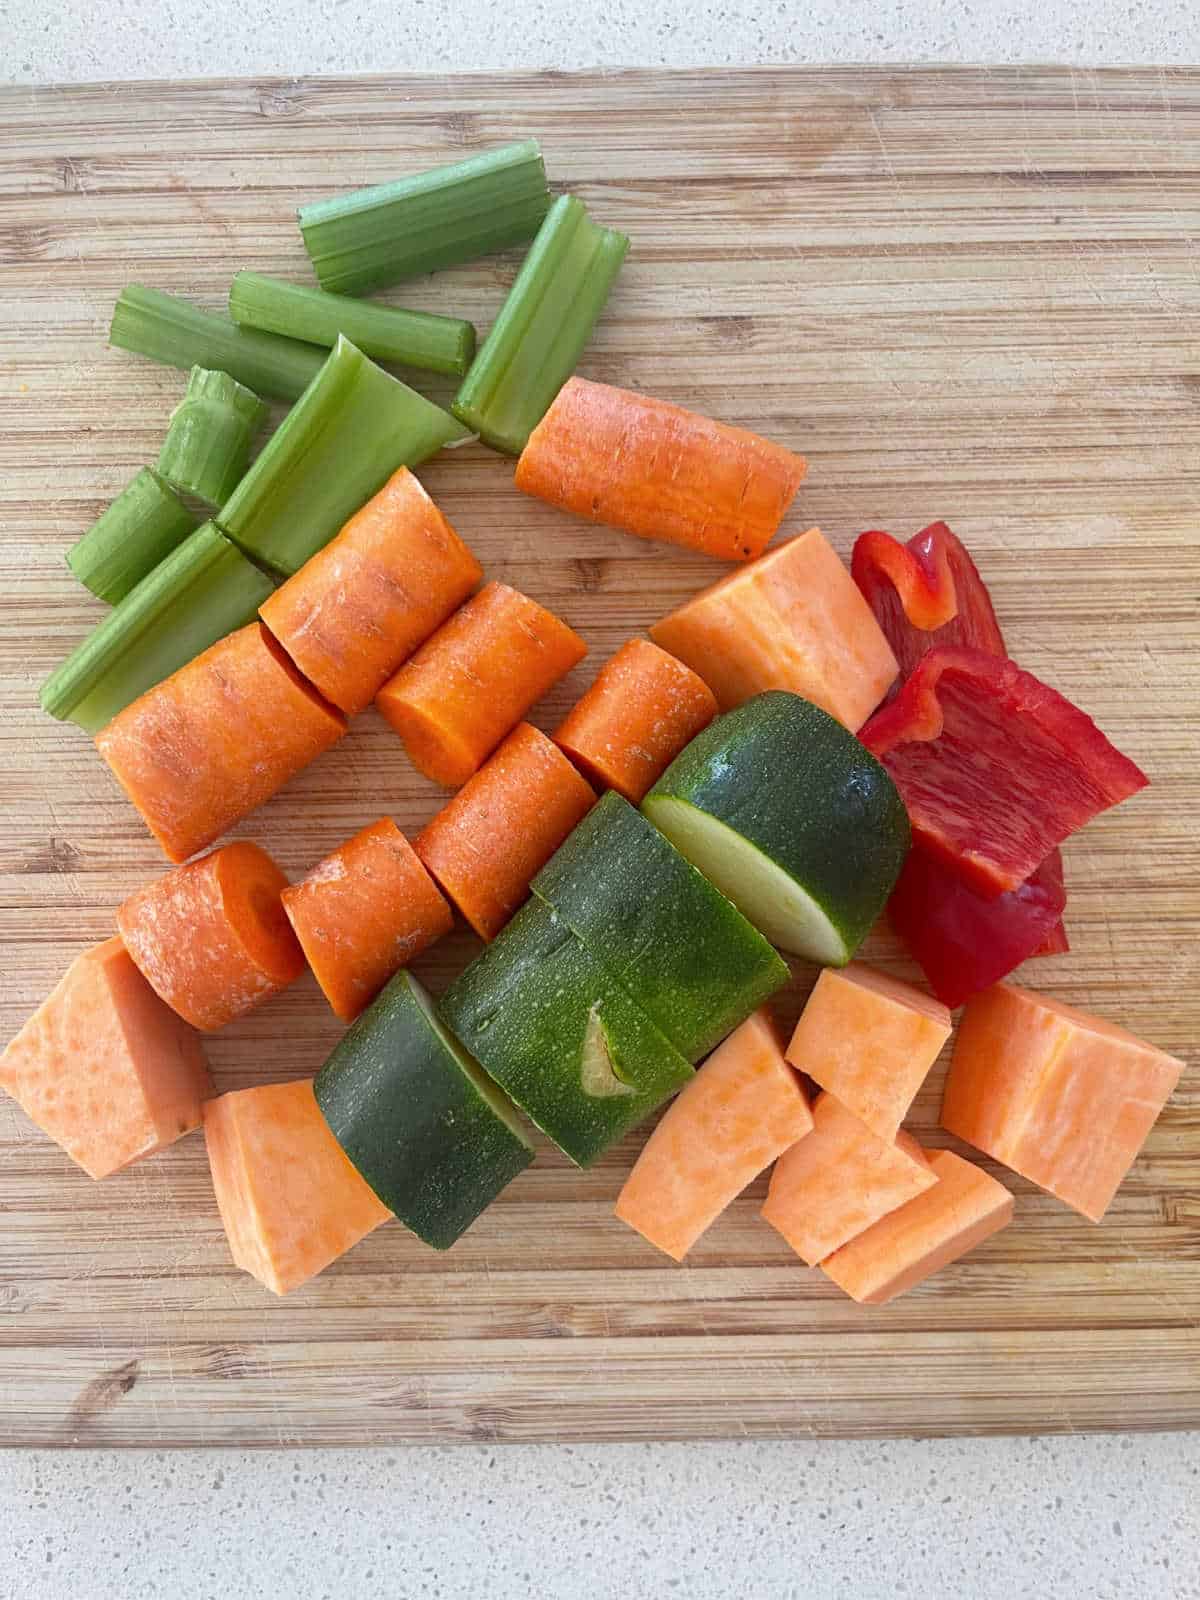
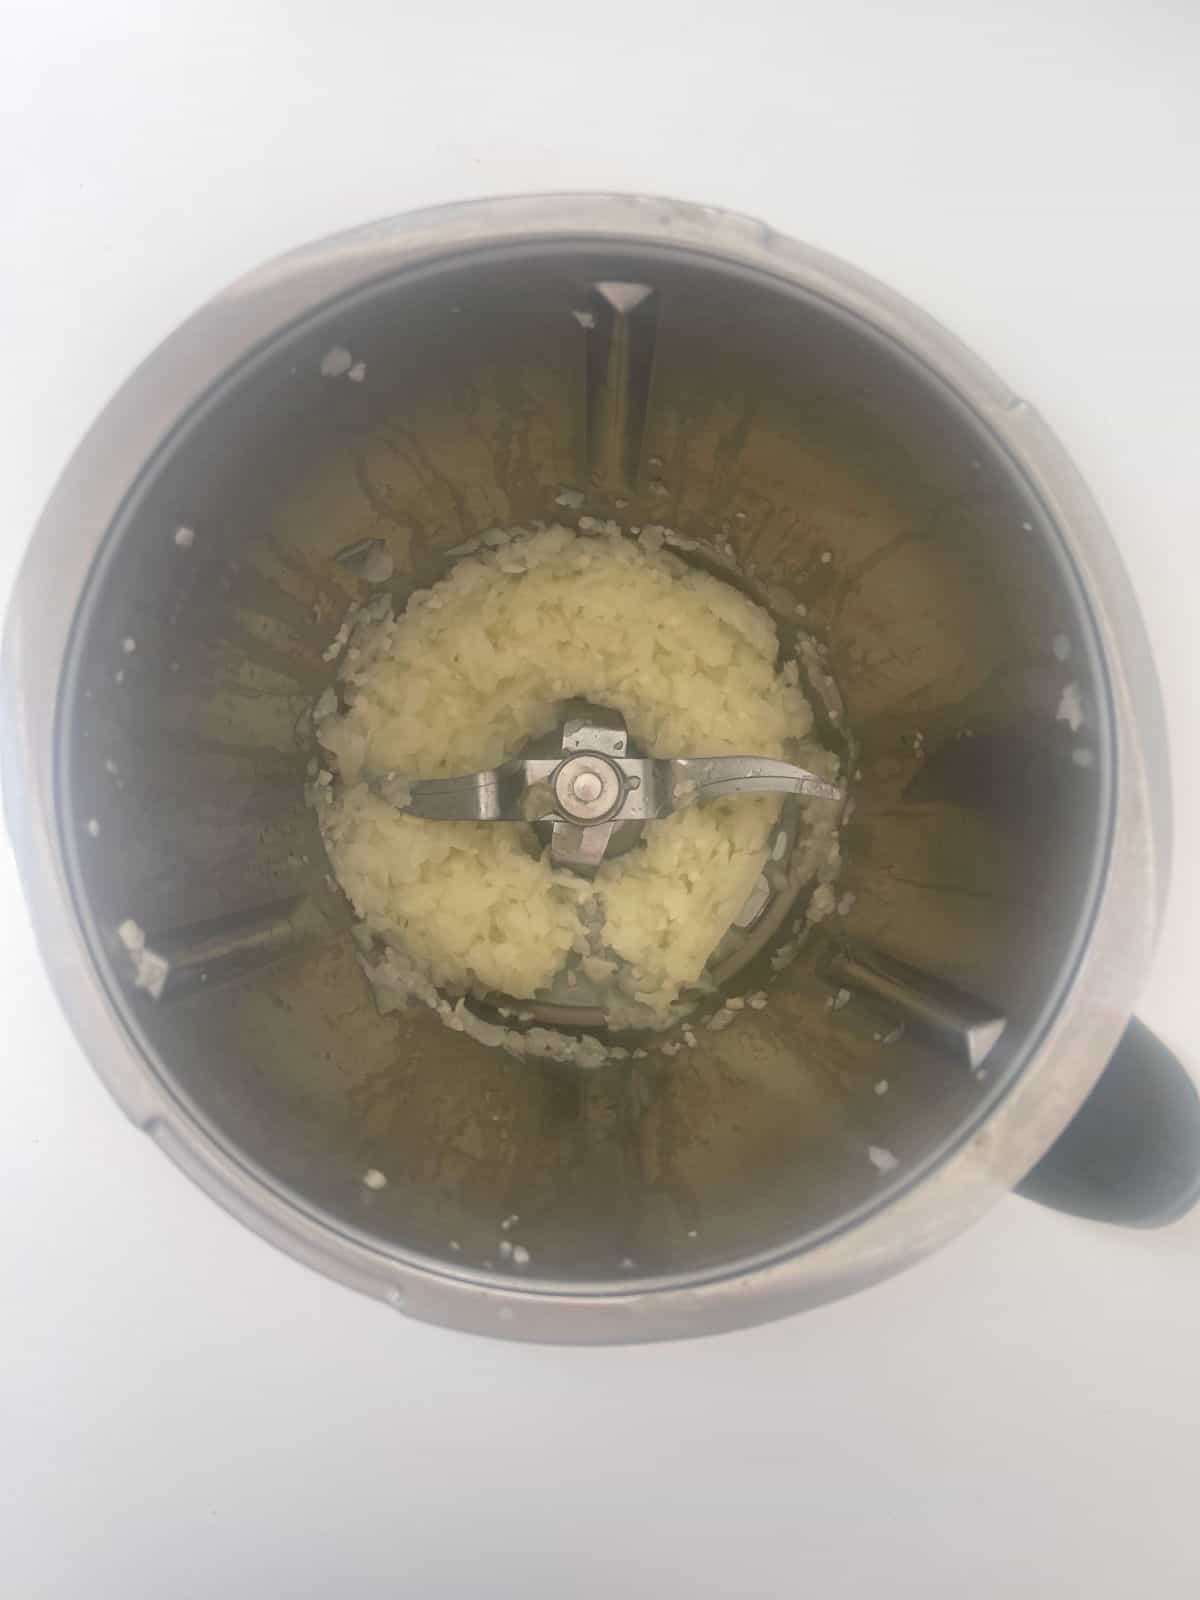
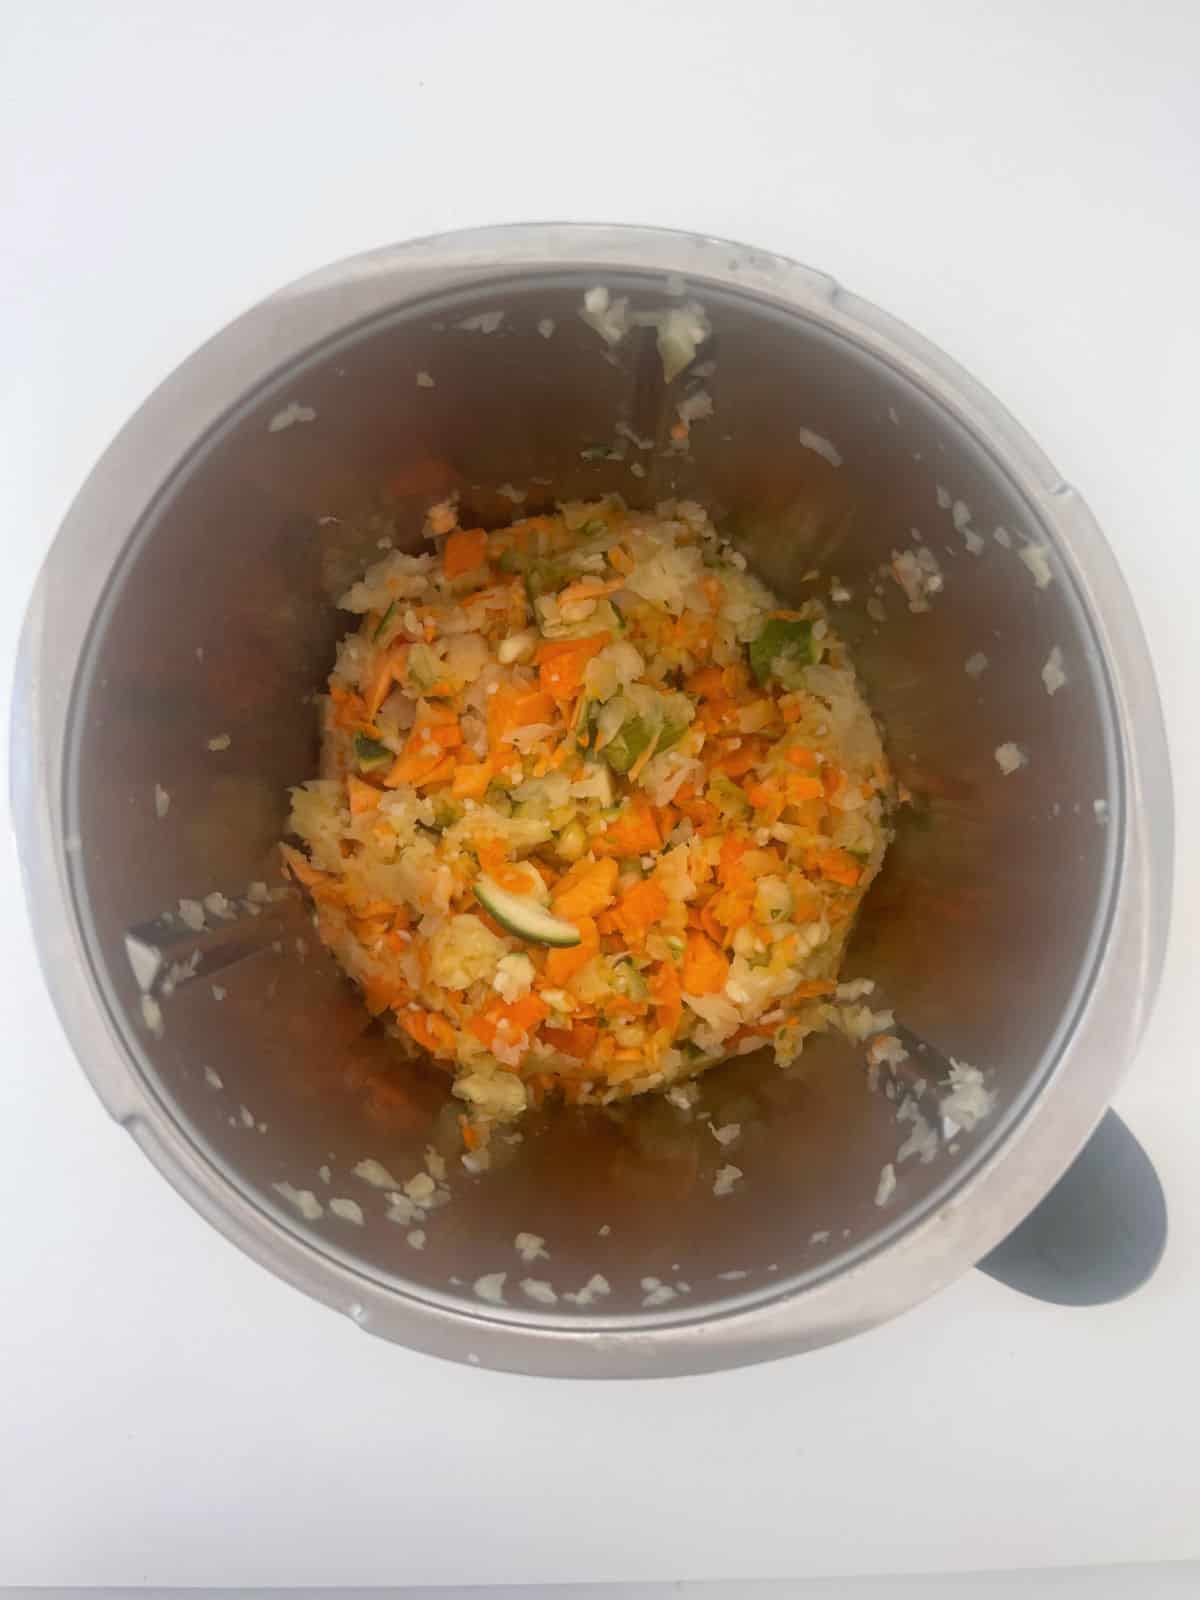
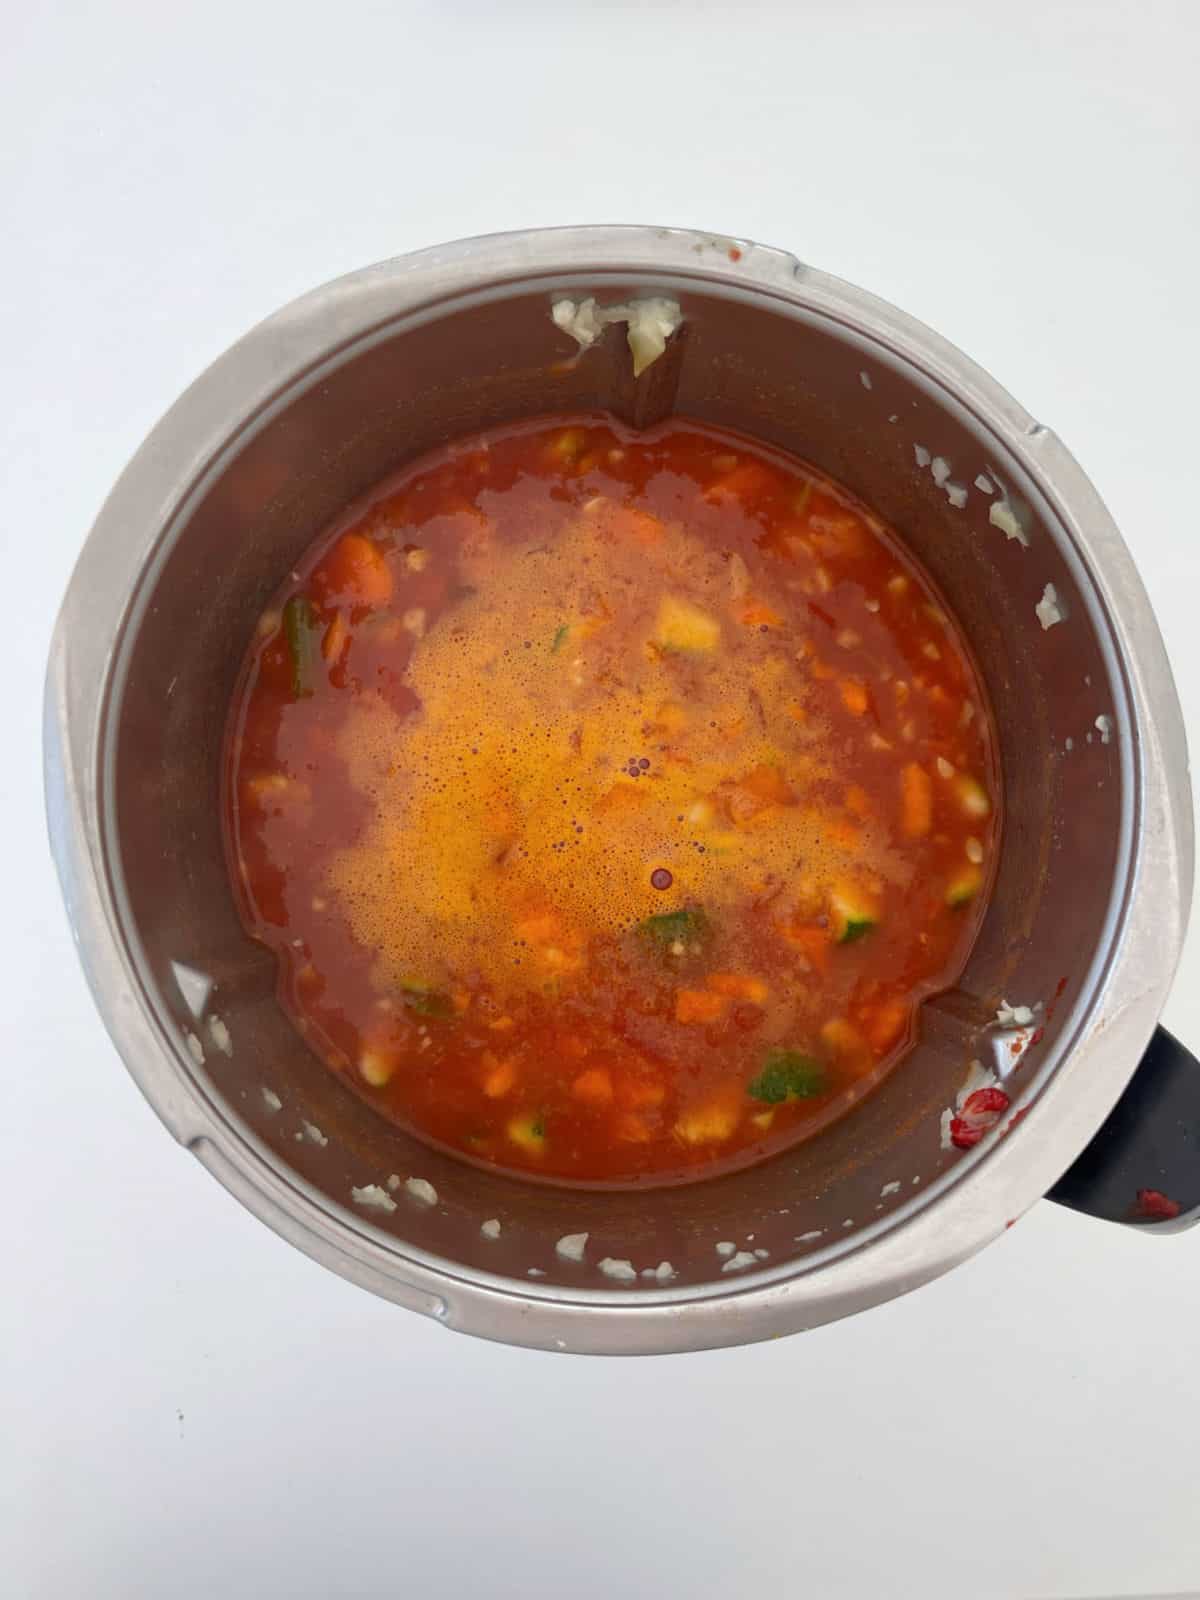
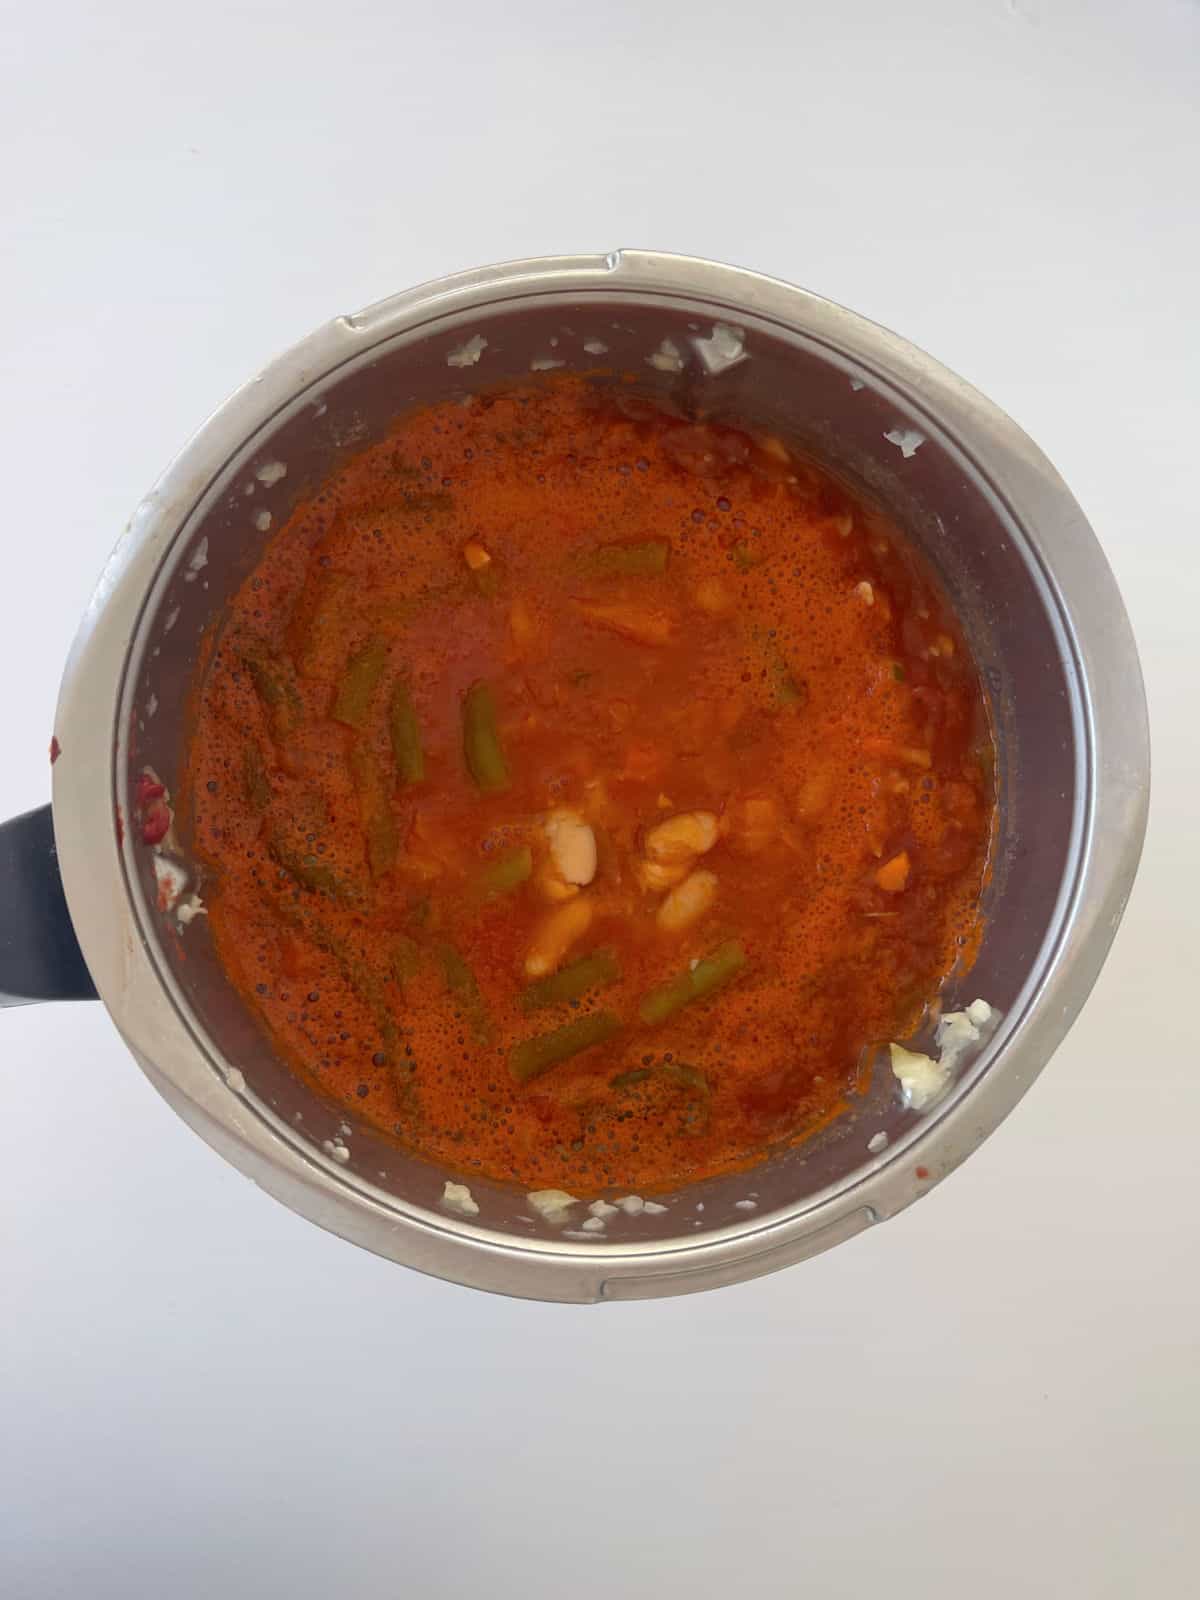
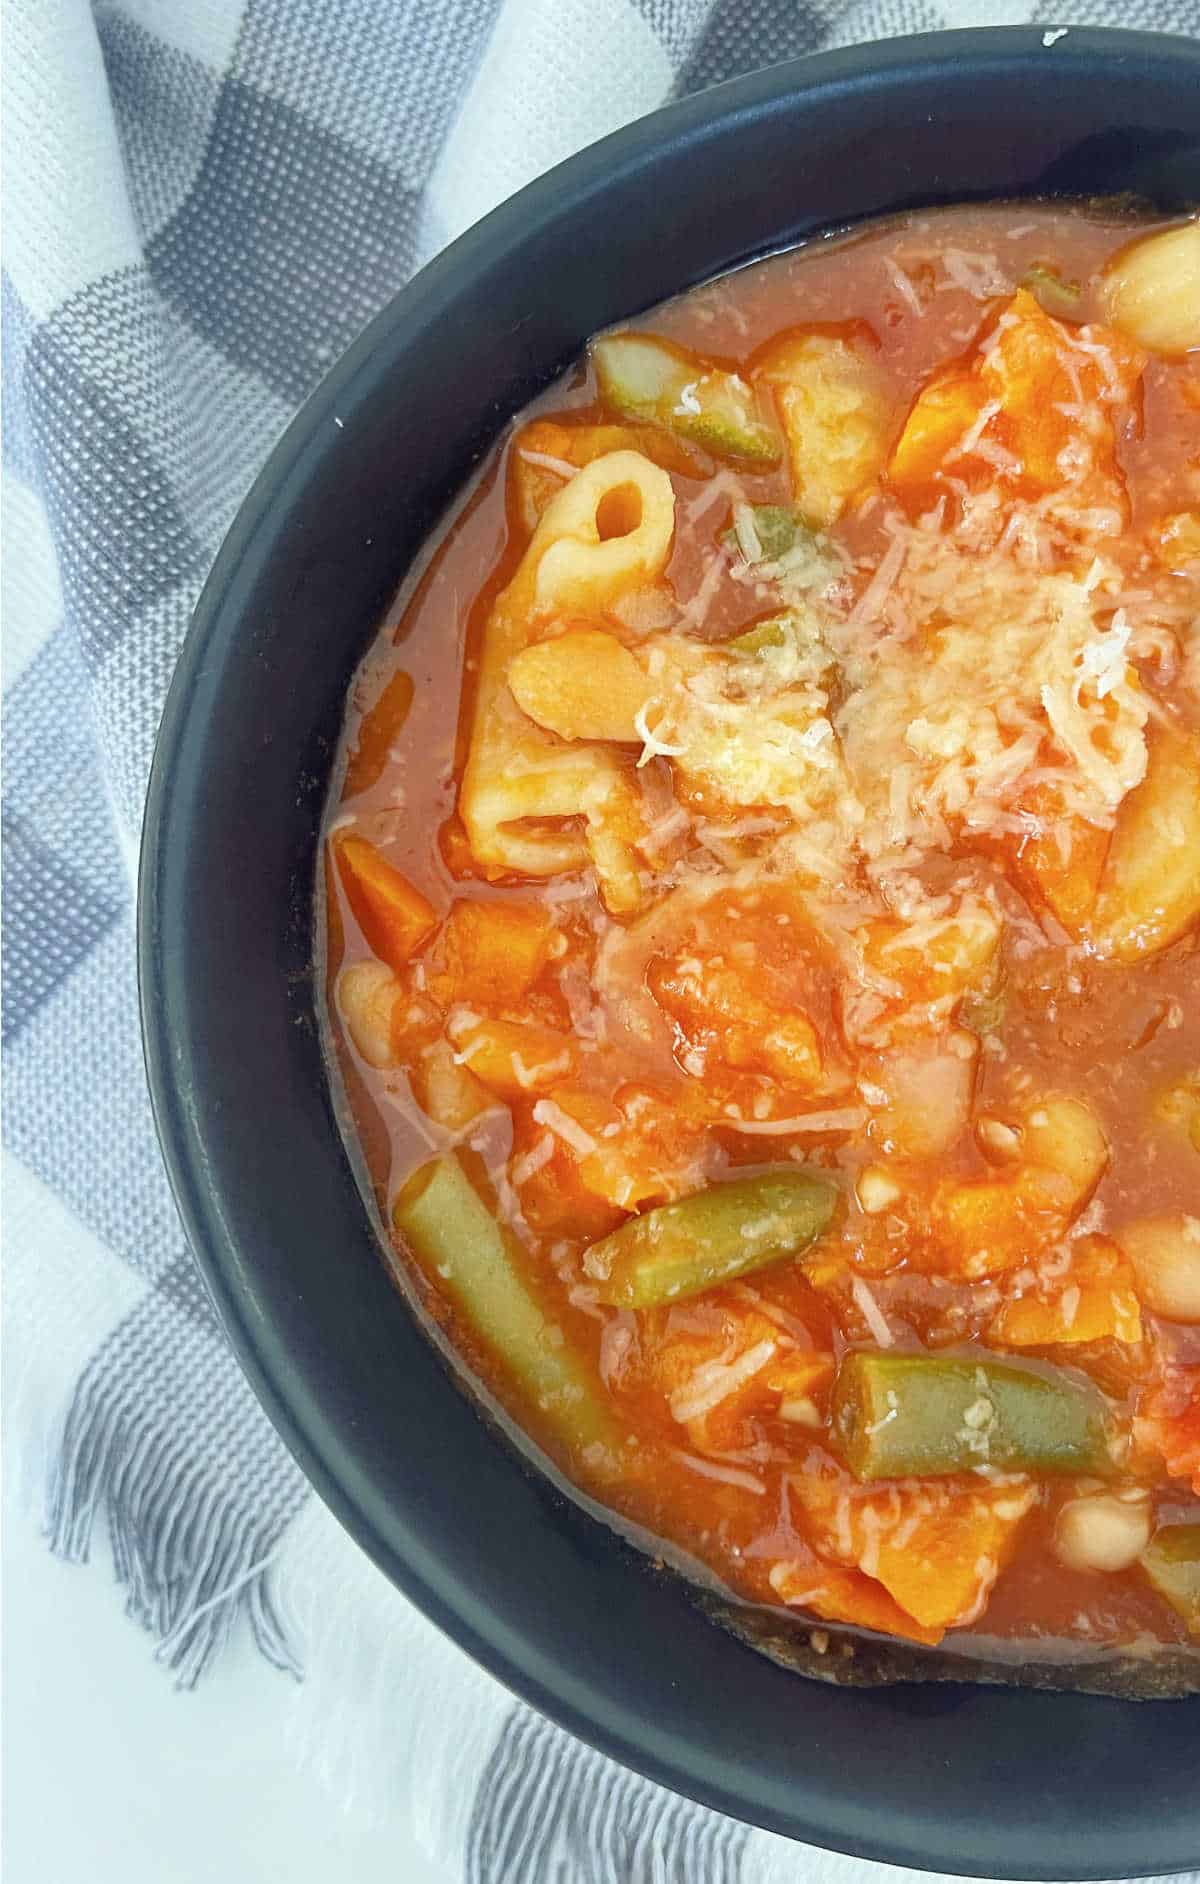
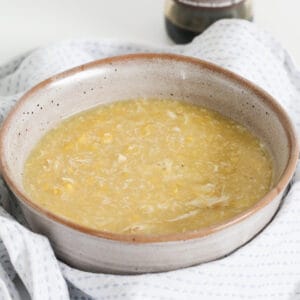
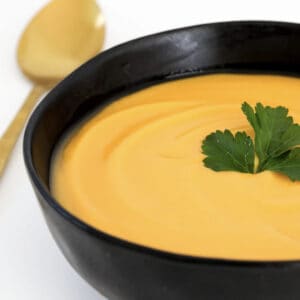
Thermomix Minestrone Soup
Packed with vegetables, our Thermomix Minestrone Soup is a great light lunch option. This recipe can also be frozen, making it a quick healthy lunch.
Thermomix Minestrone Soup Recipe

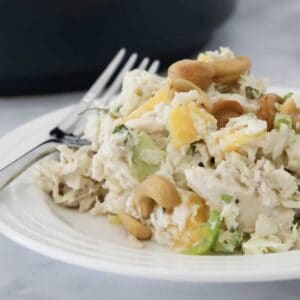
Thermomix Chicken & Mango Salad
Light and refreshing, our Thermomix Chicken and Mango Salad makes a great healthier meal choice.
Thermomix Chicken Mango Salad
Healthy Thermomix Acai Bowl
Start your day with this delicious and satisfying healthy Thermomix Acai Bowl! This recipe is also simple to adapt to make it family friendly.
Healthy Thermomix Acai Berry Bowl

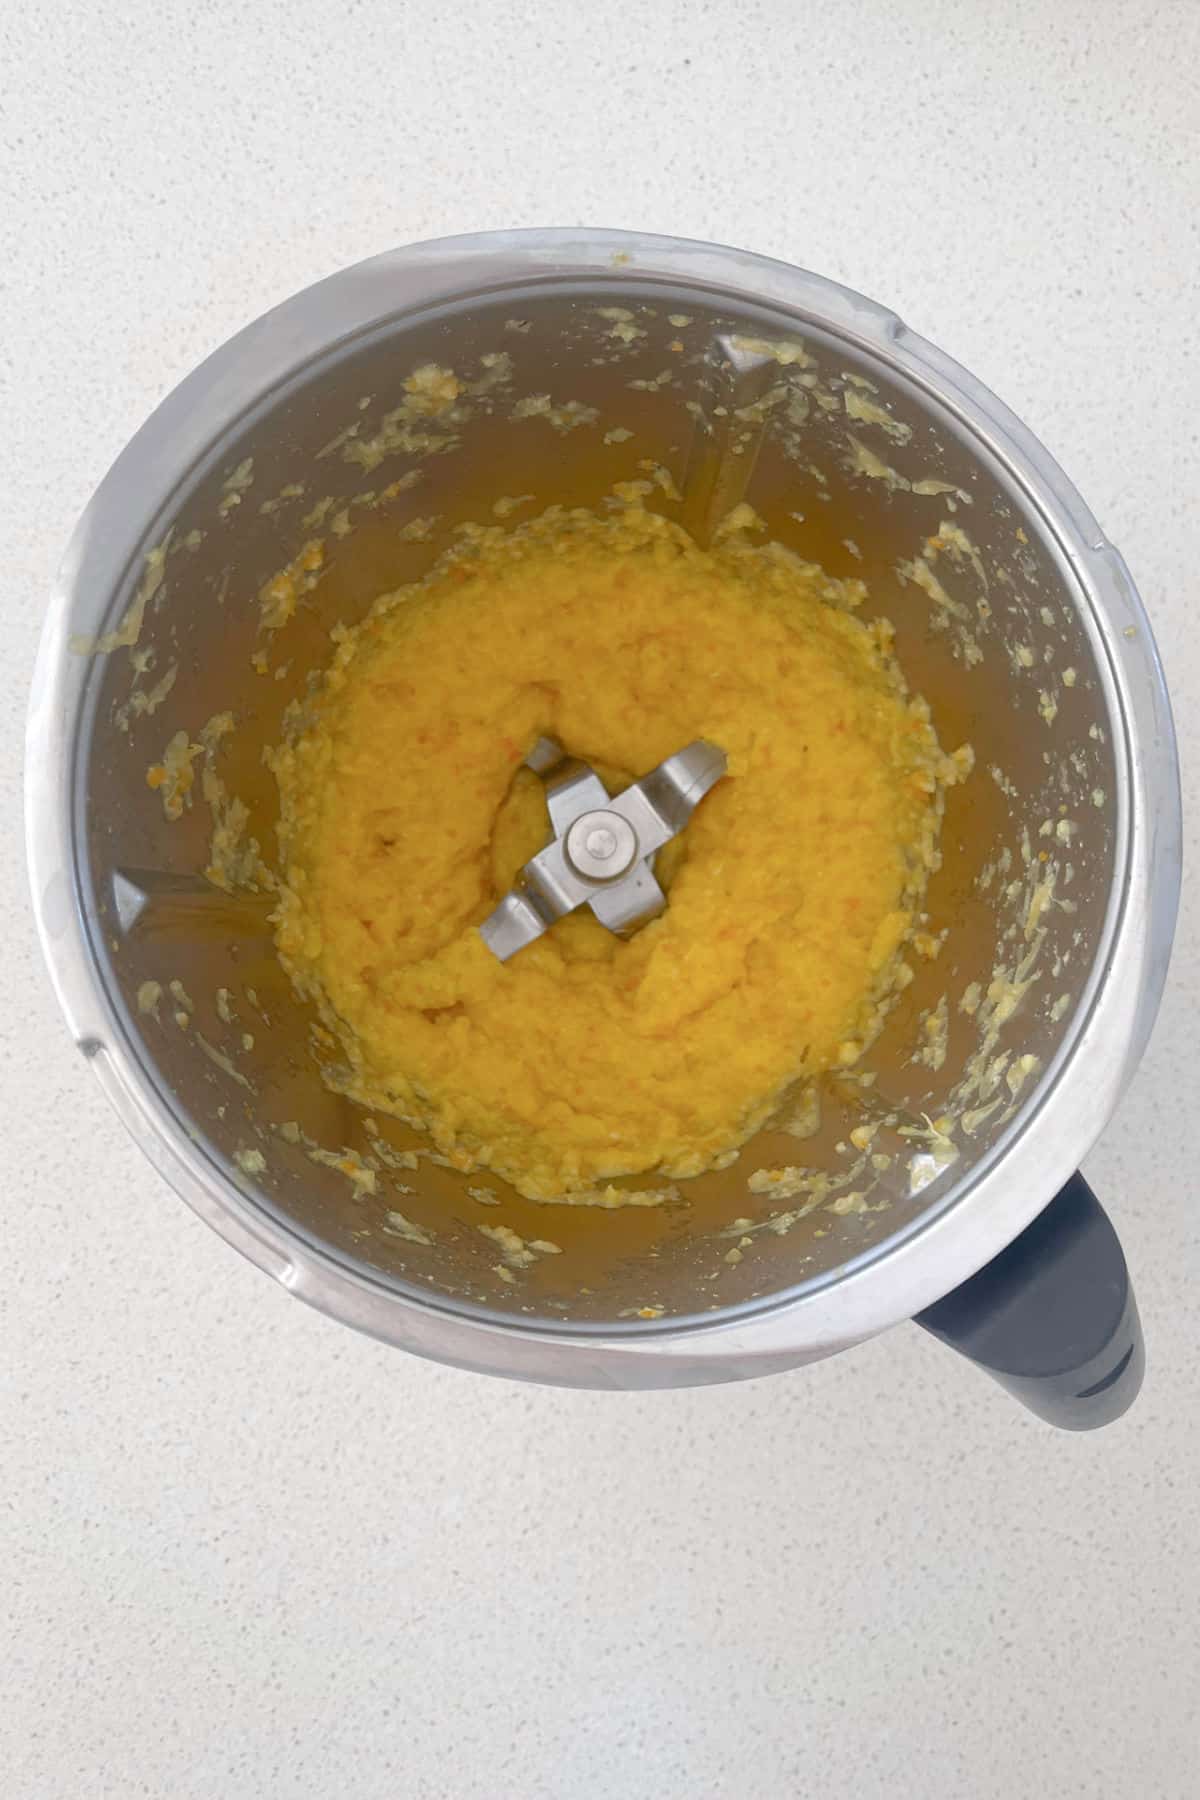
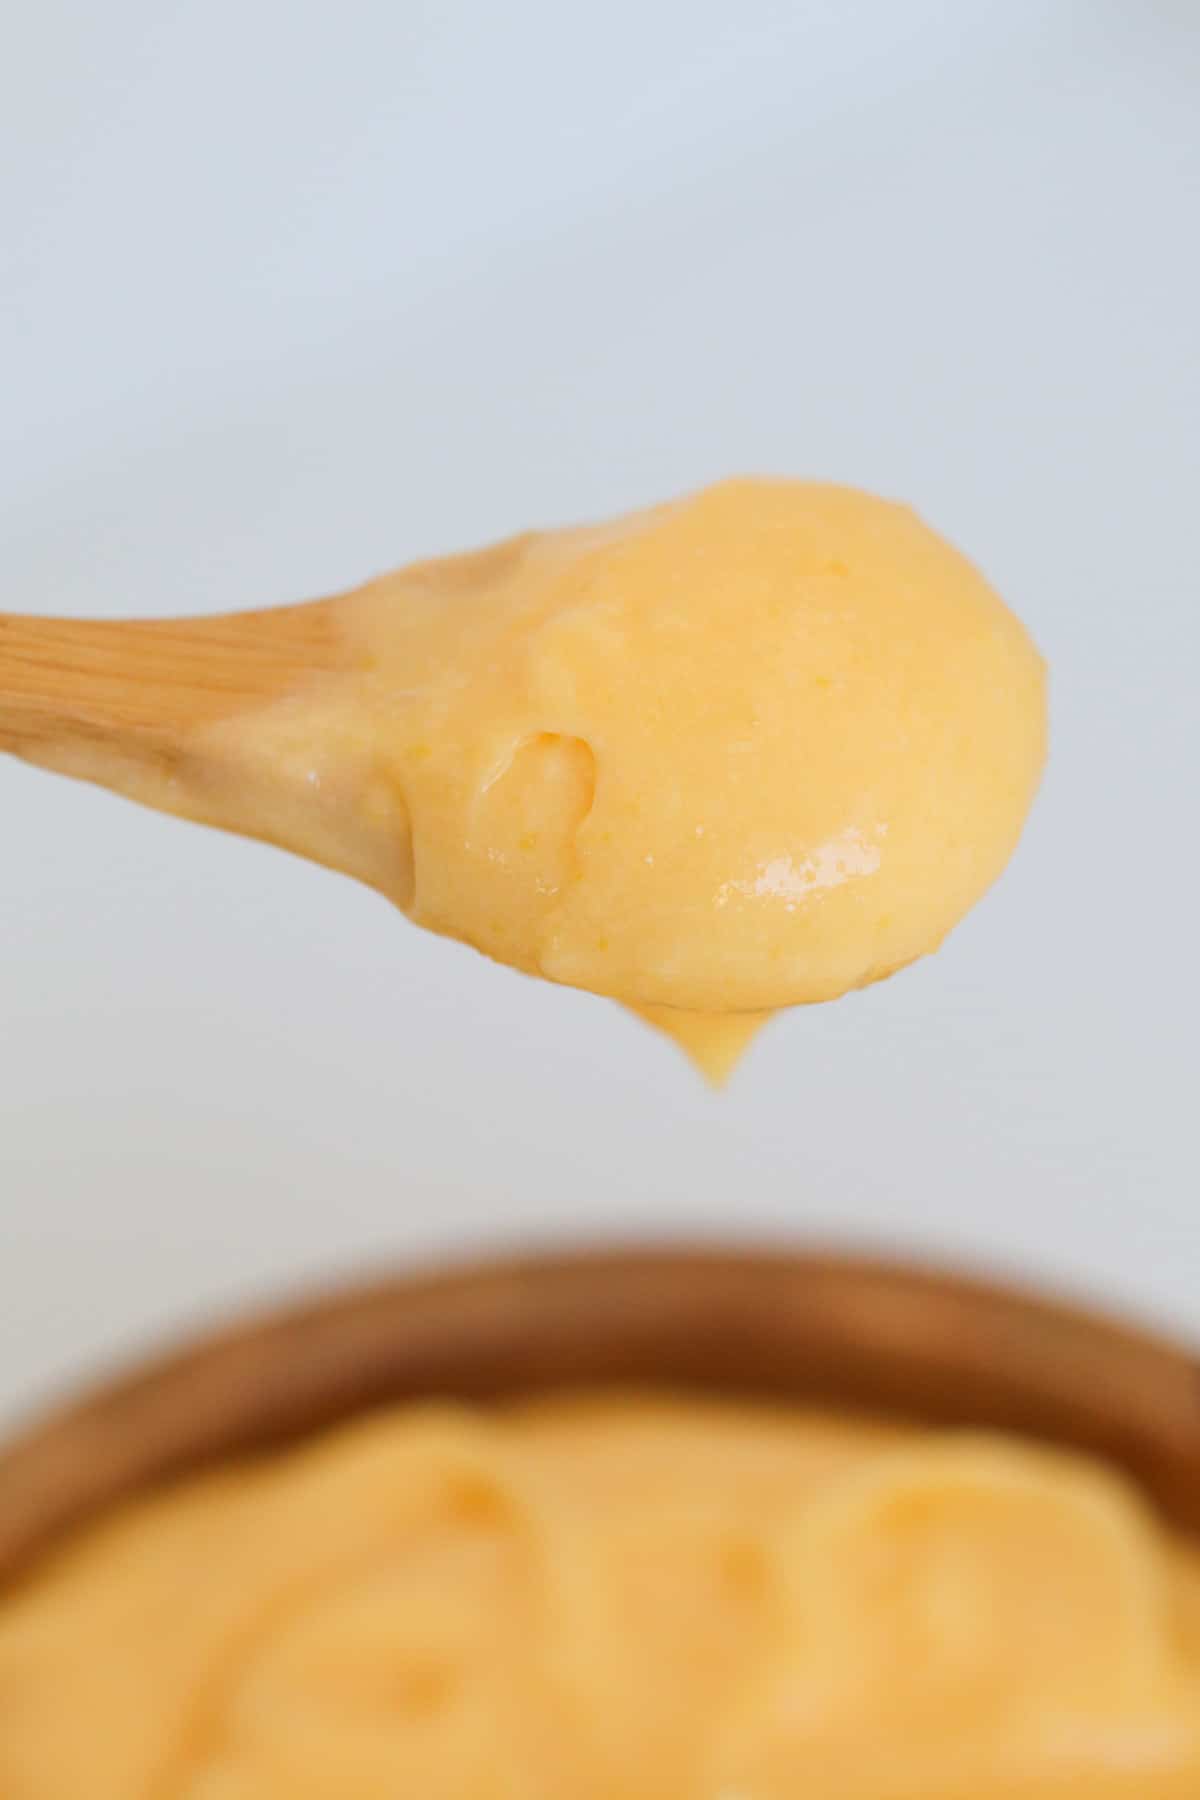
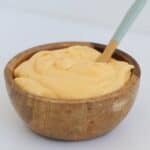
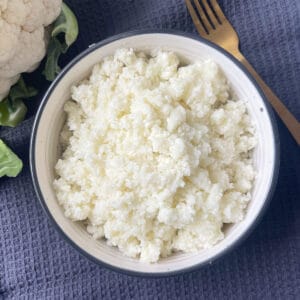
Thermomix Cheesy Cauliflower Rice
Looking for a lighter option to serve with your favourite curry? You really need to try our simple Thermomix Cheesy Cauliflower Rice!
Thermomix Cauliflower Rice
You may also like these recipes:
- The BEST Thermomix Smoothie Recipes
- Thermomix Healthy Apricot Balls
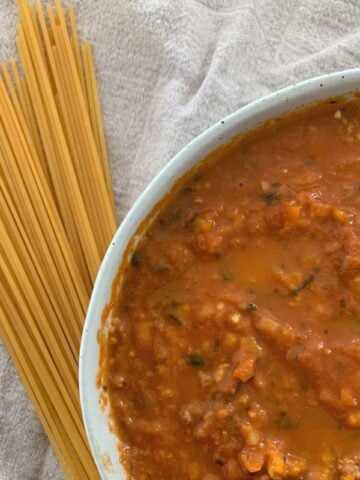
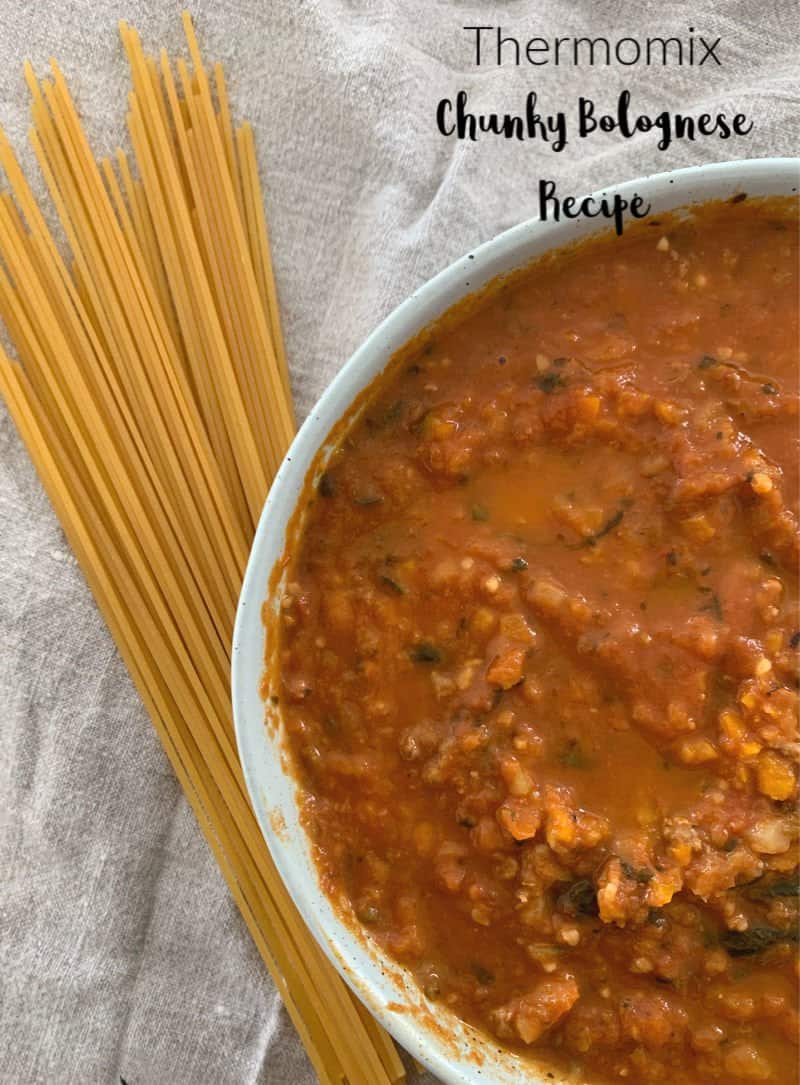
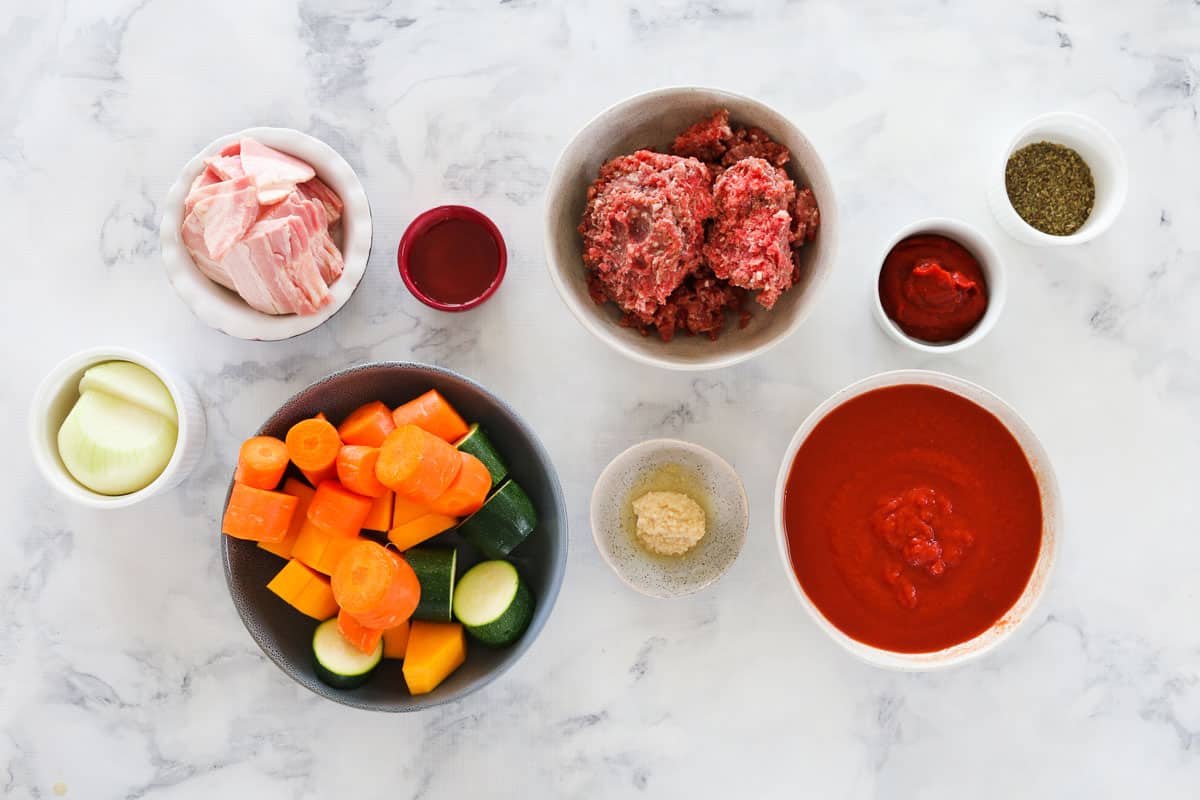
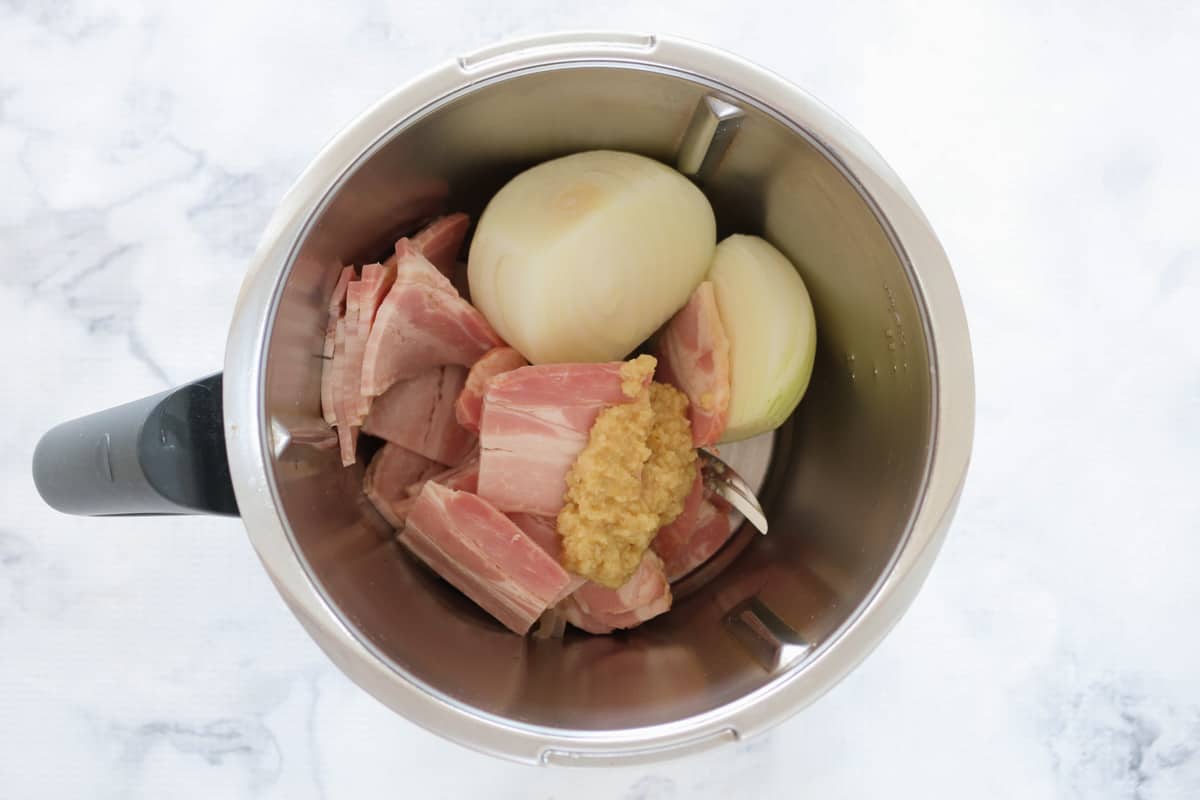
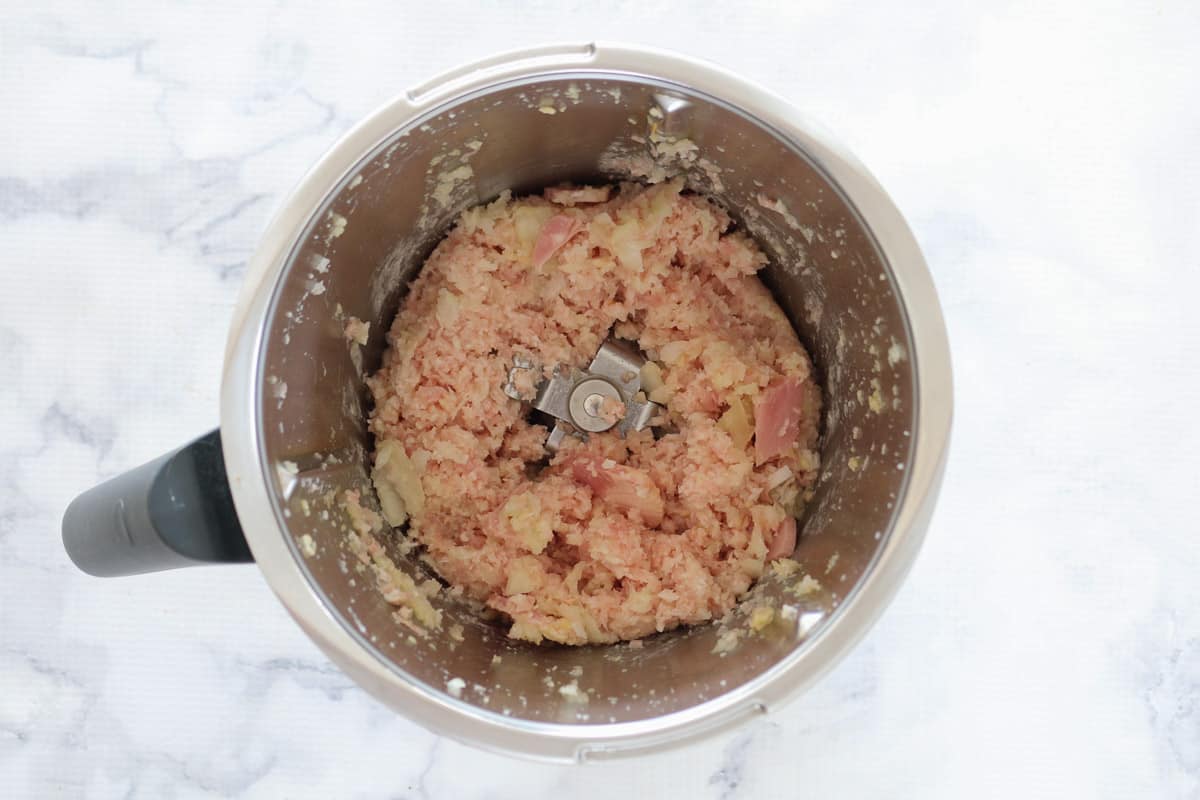
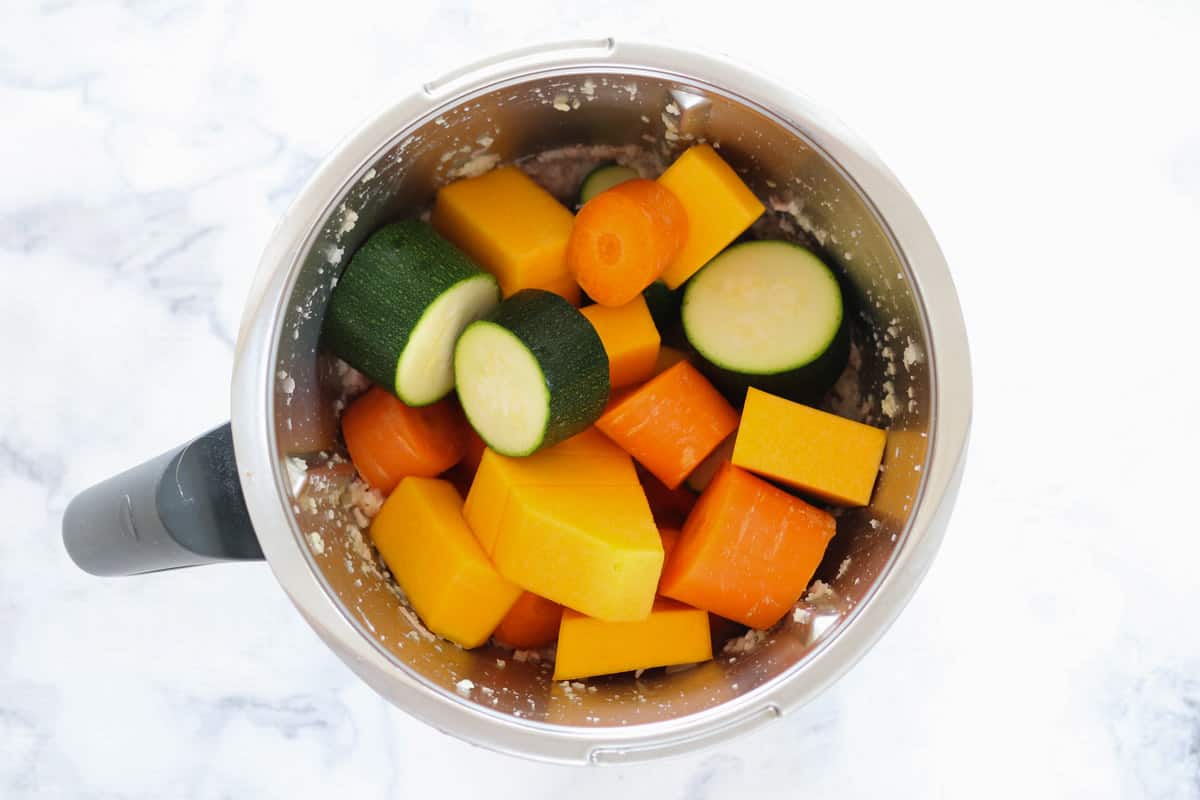
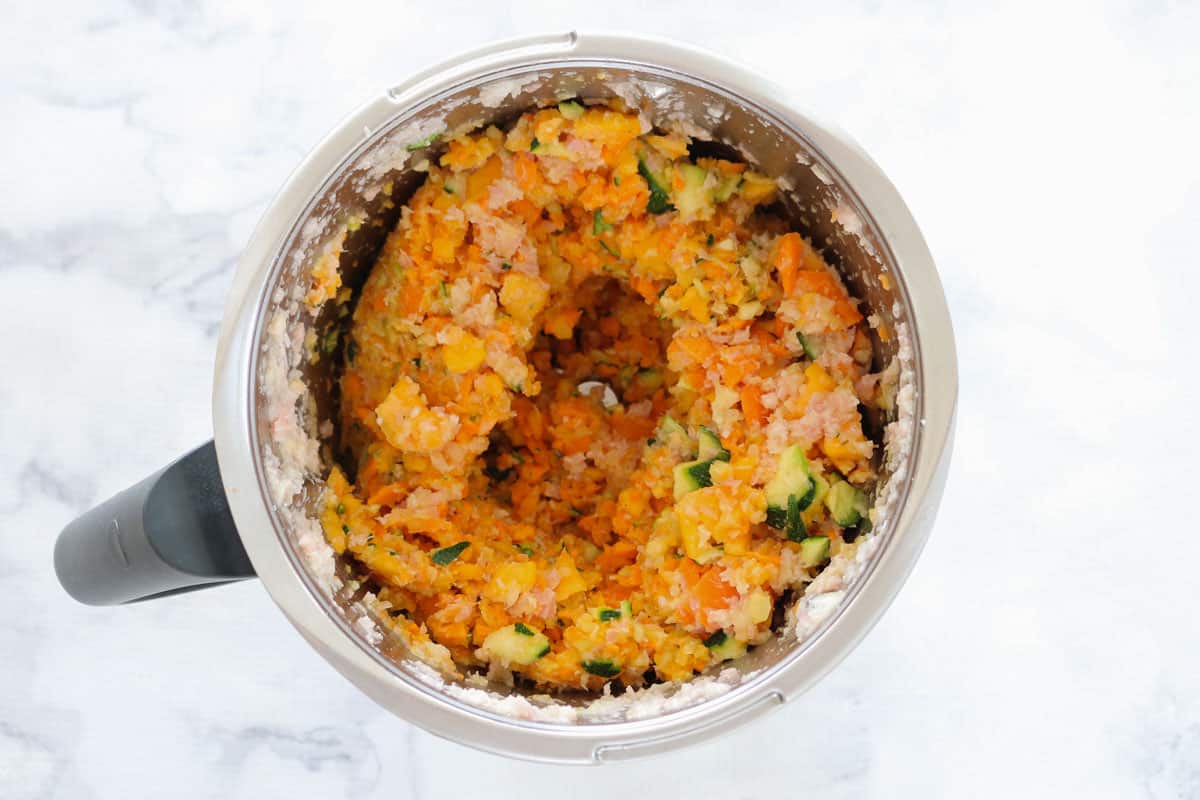
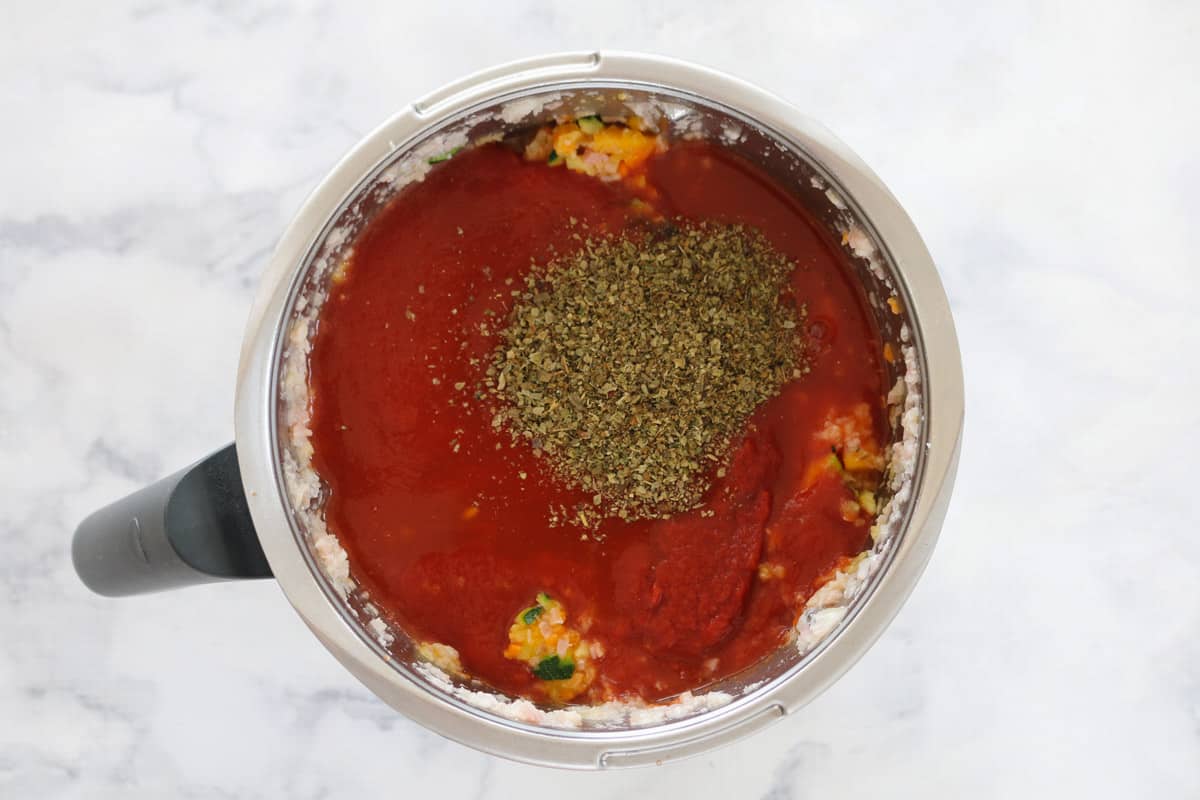
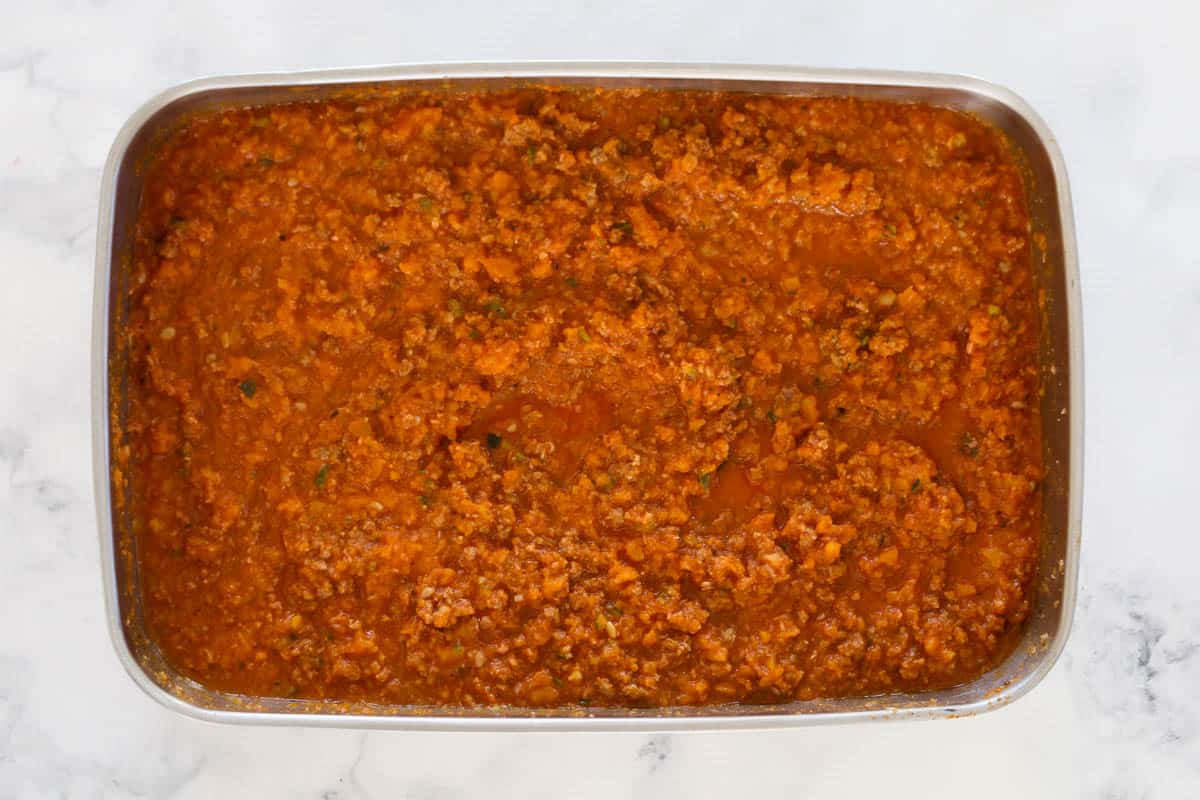
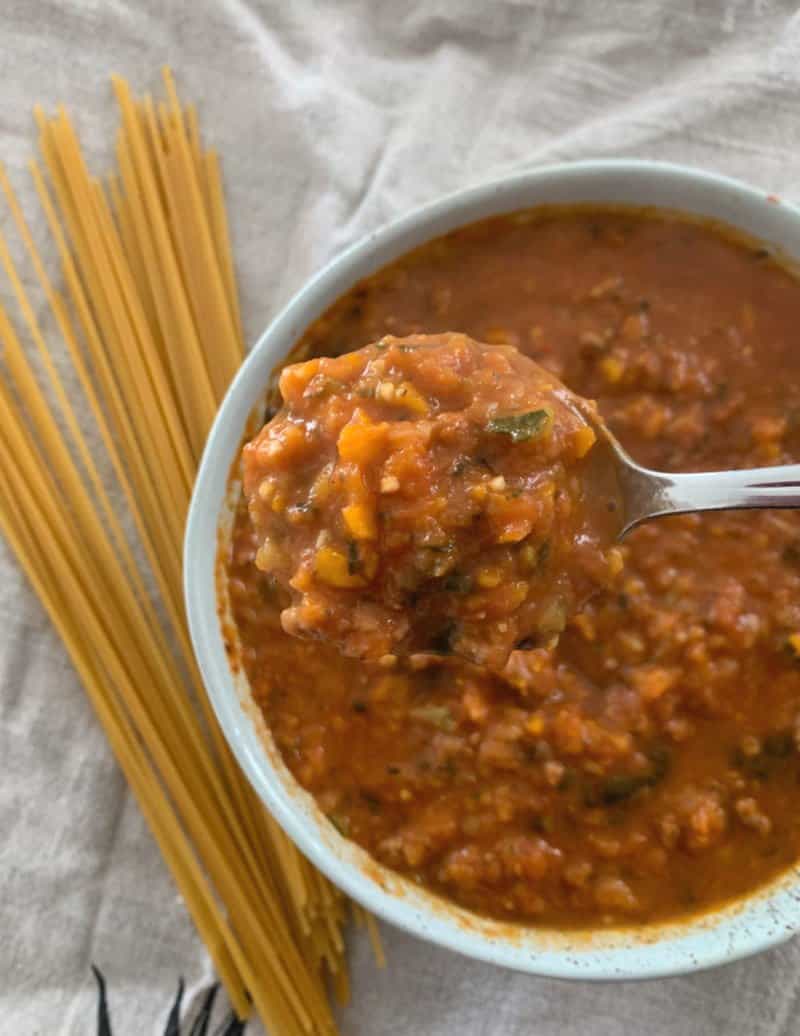
- Veggie Packed Thermomix Chunky Bolognese
- Thermomix Mango Smoothie
- Two Ingredient Thermomix Apricot and Coconut Slice
- Healthy Peanut Butter & Chocolate Ice Cream
- Thermomix Vegetable Fritters
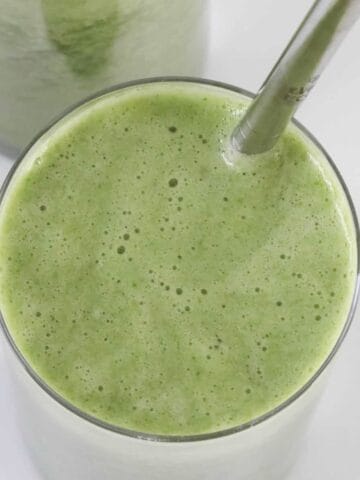
- Super Green Thermomix Smoothie
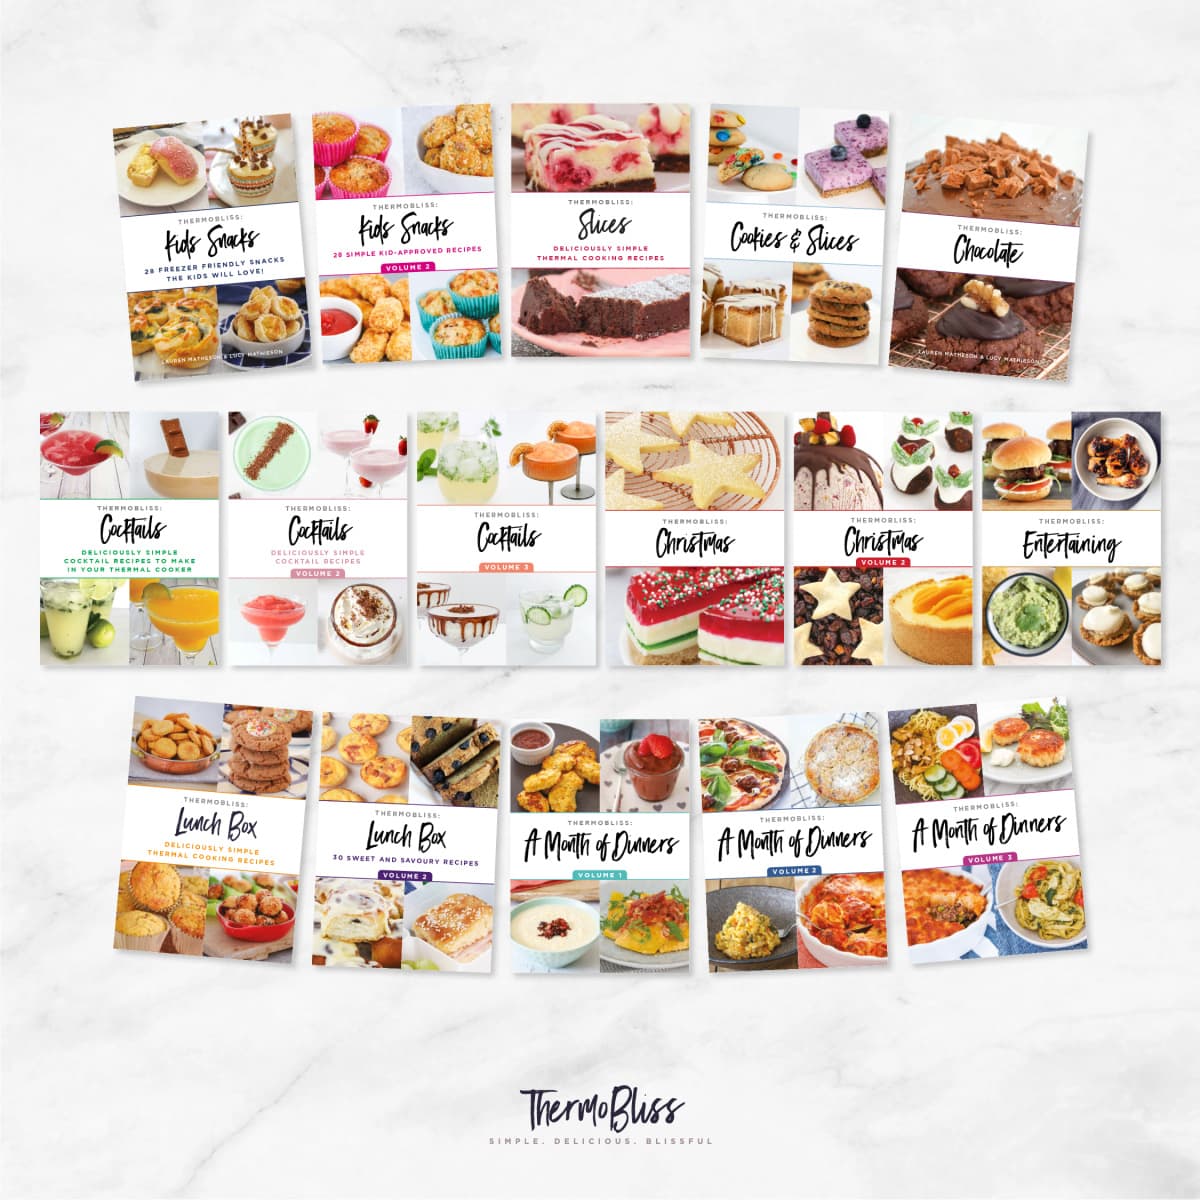
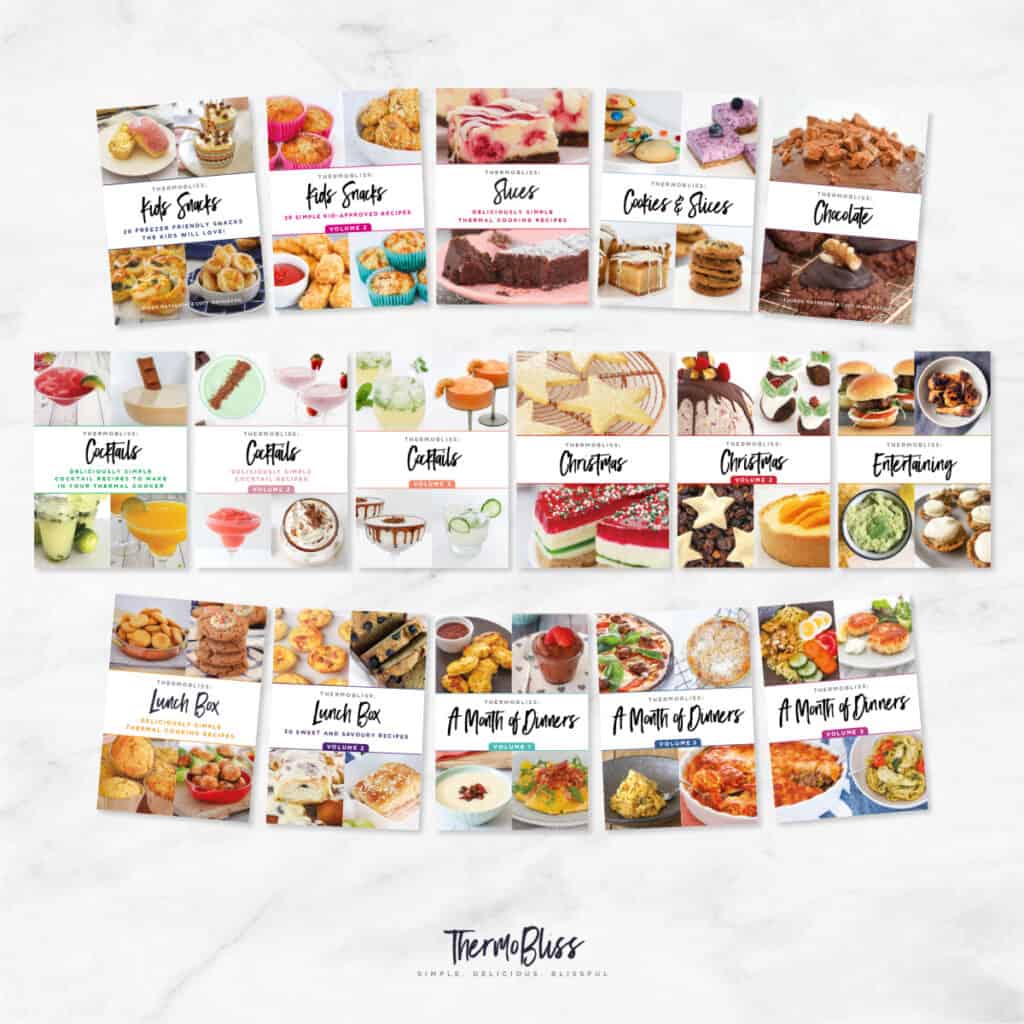
Looking for more?
You can find even more simple and delicious recipes in our books and eBooks. Shop the range here.