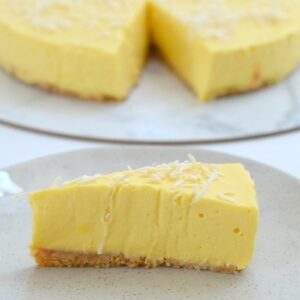
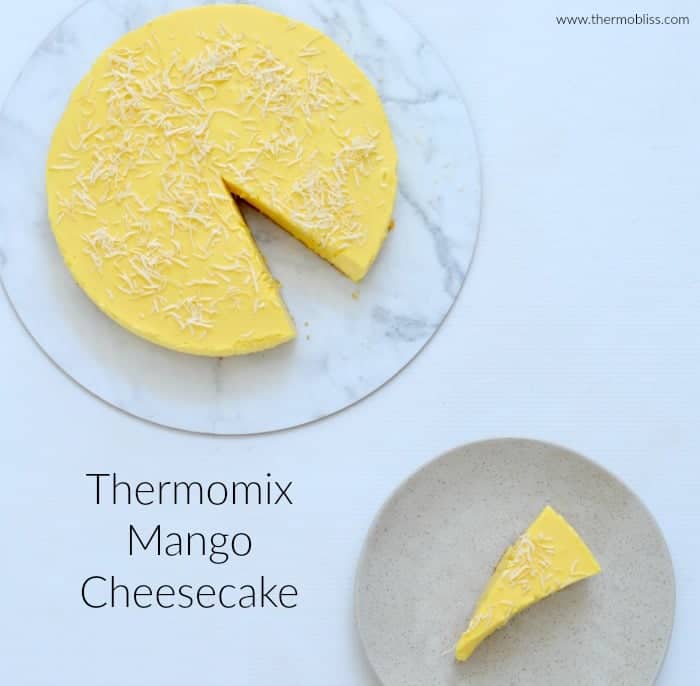
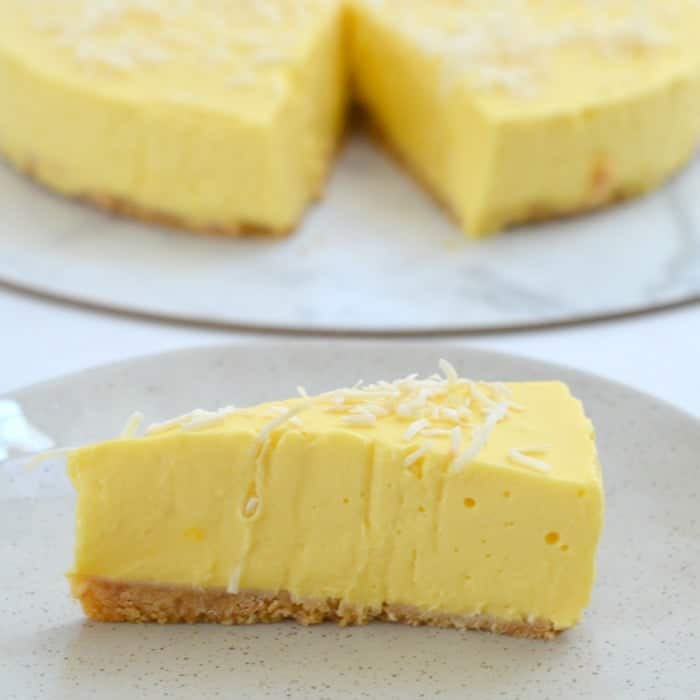
Our Thermomix Mango Cheesecake is the perfect no bake dessert!
Over the summer months we go through a crazy amount of mangoes in our house as the kids (and my husband and I!) just can't get enough of them! Although it's tempting to just eat them all, sometimes we end up with a few too many, which gives me the perfect excuse to turn them into this easy peasy Thermomix Mango Cheesecake.
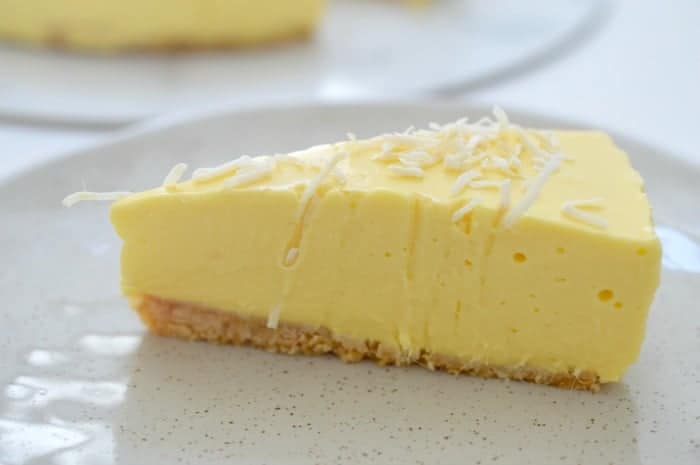
This is a deliciously soft cheesecake but is packed full of mango flavour. I like to decorate it with just a sprinkle of lightly toasted coconut on top, however you can also add some toasted macadamias or simply leave it plain if you prefer.
As this is a soft cheesecake, you do need to give it at least eight hours (preferably overnight) to ensure it's completely set, but I promise you that waiting to eat this cheesecake is the hardest part of the entire recipe!

Thermomix Mango Cheesecake
Equipment
- 1 x 22cm Springform Pan
Ingredients
- 150 grams butter
- 250 grams plain biscuits eg Arnott's Marie
- 500 grams cream cheese softened, chopped into large pieces
- 160 grams caster sugar
- 1 tablespoon gelatine powder
- ¼ cup boiling water
- 400 grams mango flesh chopped into pieces
- 300 mls thickened cream 1 small tub
Instructions
- Lightly grease the base of a 22cm springform tin and line the sides of the tin with baking paper. Set aside till needed.
- Place the butter into your Thermomix bowl and melt for 2 minutes, 60 degrees, Speed 2.
- Add the biscuits and blitz for 5 seconds, Speed 5 to crush and combine. Scrape down the sides of the Thermomix bowl and blitz for a further 4 seconds, Speed 5 or until the biscuits have completed crushed and have combined with the melted butter.
- Transfer the biscuit mixture to your prepared tin and push down with the back of a spoon to flatten the surface. Place the tin into the fridge until needed.
- In a clean and dry Thermomix bowl, add the cream cheese and caster sugar and mix for 20 seconds, Speed 3. Scrape down the sides of the bowl and mix for a further 15 seconds, Speed 4 or until smooth and creamy. Scrape down the sides of the bowl.
- Dissolve the gelatine in the boiling water and set aside until needed.
- Add the mango pieces and thickened cream and mix for 20 seconds, Speed 4 to combine.
- Scrape down the sides of the bowl and turn your Thermomix onto speed 4. Remove the measuring cup and slowly pour the gelatine mixture into your Thermomix with the motor running. Once you have added all the gelatine, mix on speed 4 for 20 seconds.
- Scrape down the sides of your Thermomix bowl and mix for a further 20 seconds, Speed 4. You want the mixture to be lovely and smooth.
- Transfer the cheesecake mixture to the prepared tin and gently smooth the surface. Place the Mango Cheesecake into the fridge for a minimum of EIGHT hours (preferably overnight) to set before cutting into pieces to serve.
Notes
Nutrition
For more great no bake recipes, check out our best selling 'No Bake Slices and Bars' ebook.
You can shop ALL of our ebooks and books here.


Glenda ferg says
A big thank you again so easy and so delicious 😋
Jacqui says
Made this last week as we had an excess of mangoes. I’m allergic to them so can’t comment personally but I took half to work and everyone wanted the recipe with one person saying it was ‘the best cheesecake’ they had ever eaten! No complaints from my household either abs have already been requested to make it again!
Yulia says
Tried this yesterday.
I put 120g of sugar and it was still too sweet.
The cheesecake was in the fridge for 12 hours and didn't set- can't even cut it, just spoon it, so it may need 2x gelatine.
Tash says
1 tablespoon of gelatine powder should have definitely been more than enough, even if there was a bit of extra moisture from the mango flesh. Most recipes use only 3 teaspoons to 500g cream cheese (instead of 4 tsp or 1 tbsp) so I'm surprised that this didn't set 🙁
Leonie says
I'm sure you wouldn't need the caster sugar. Would be too sweet for me. Actually I've never put sugar in a non bake cheesecake. (Just my opinion)
Lucy Mathieson says
Thanks for your opinion Leonie! 🙂