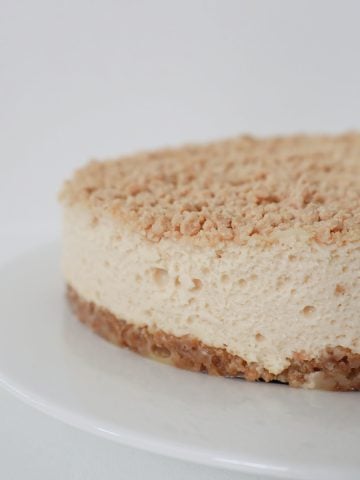
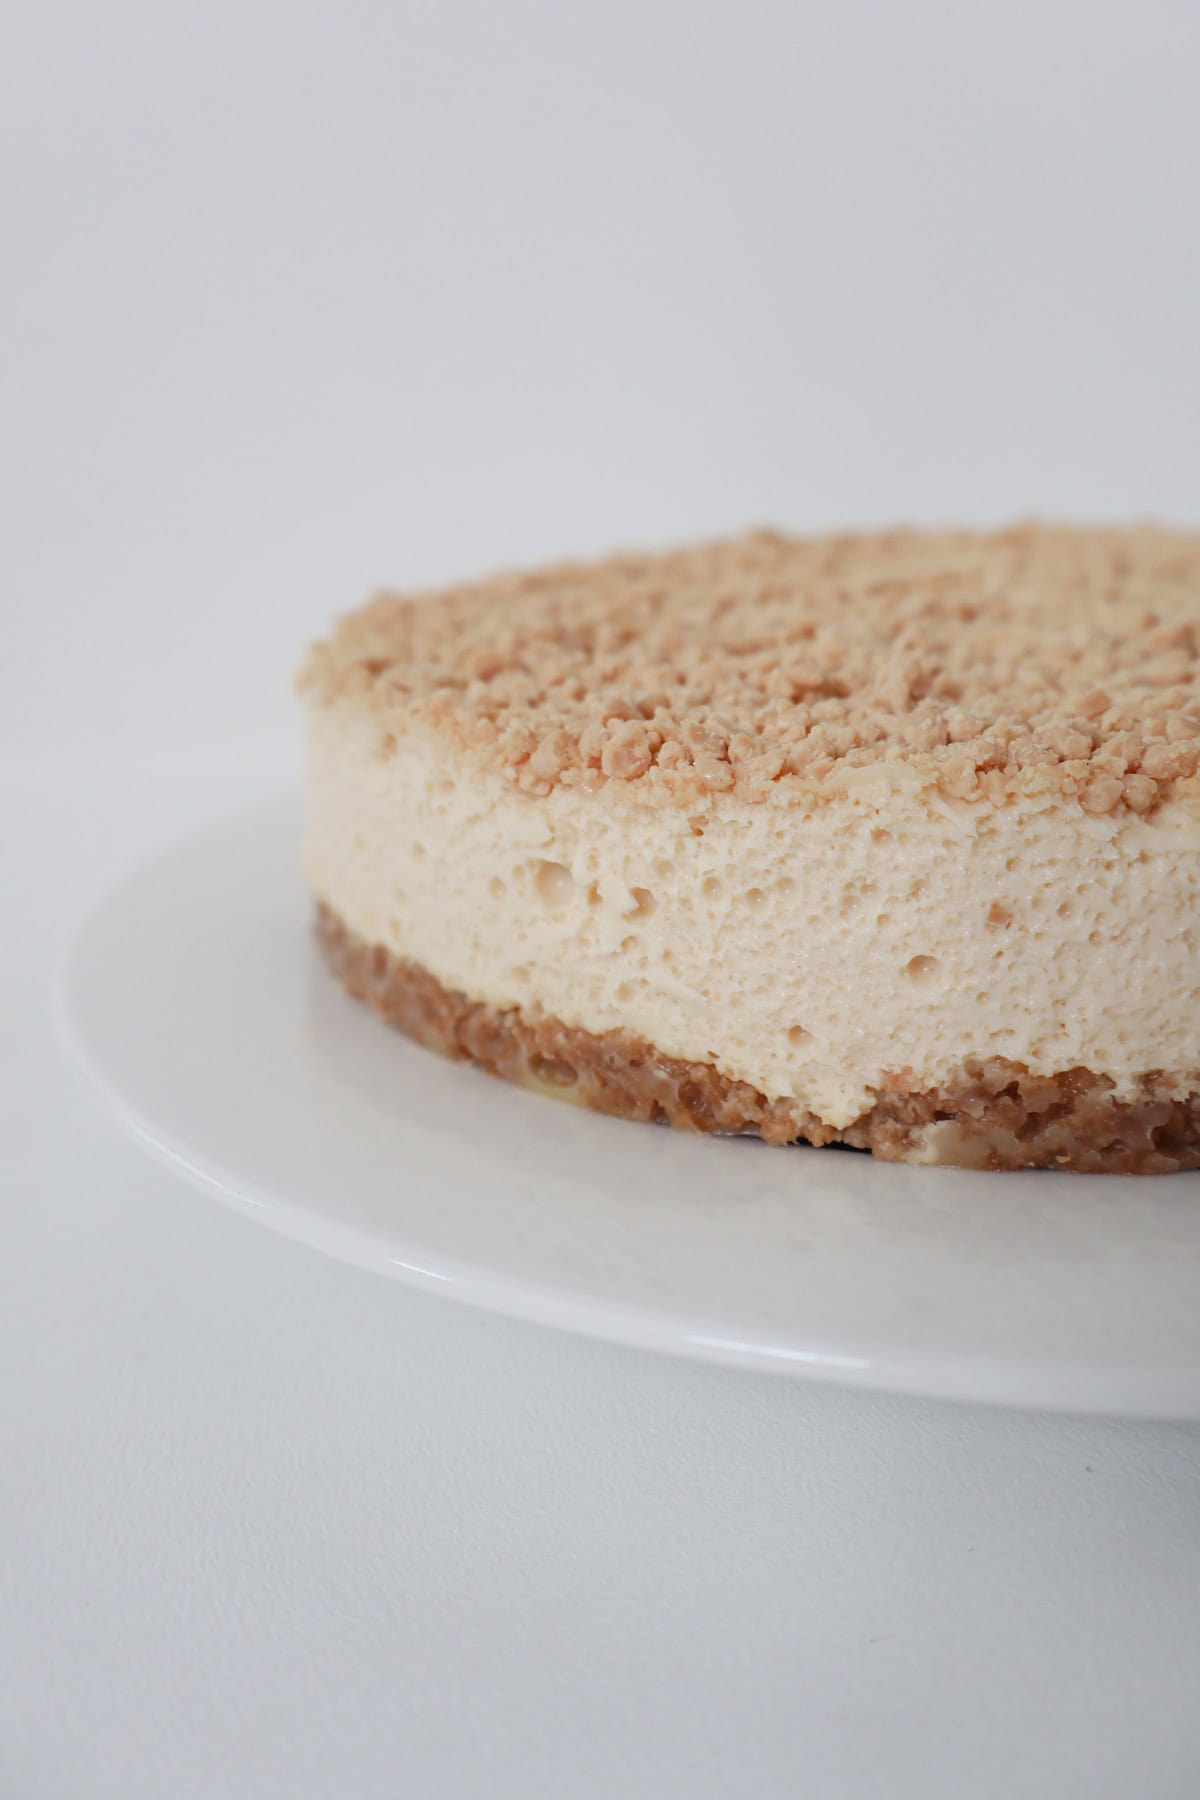
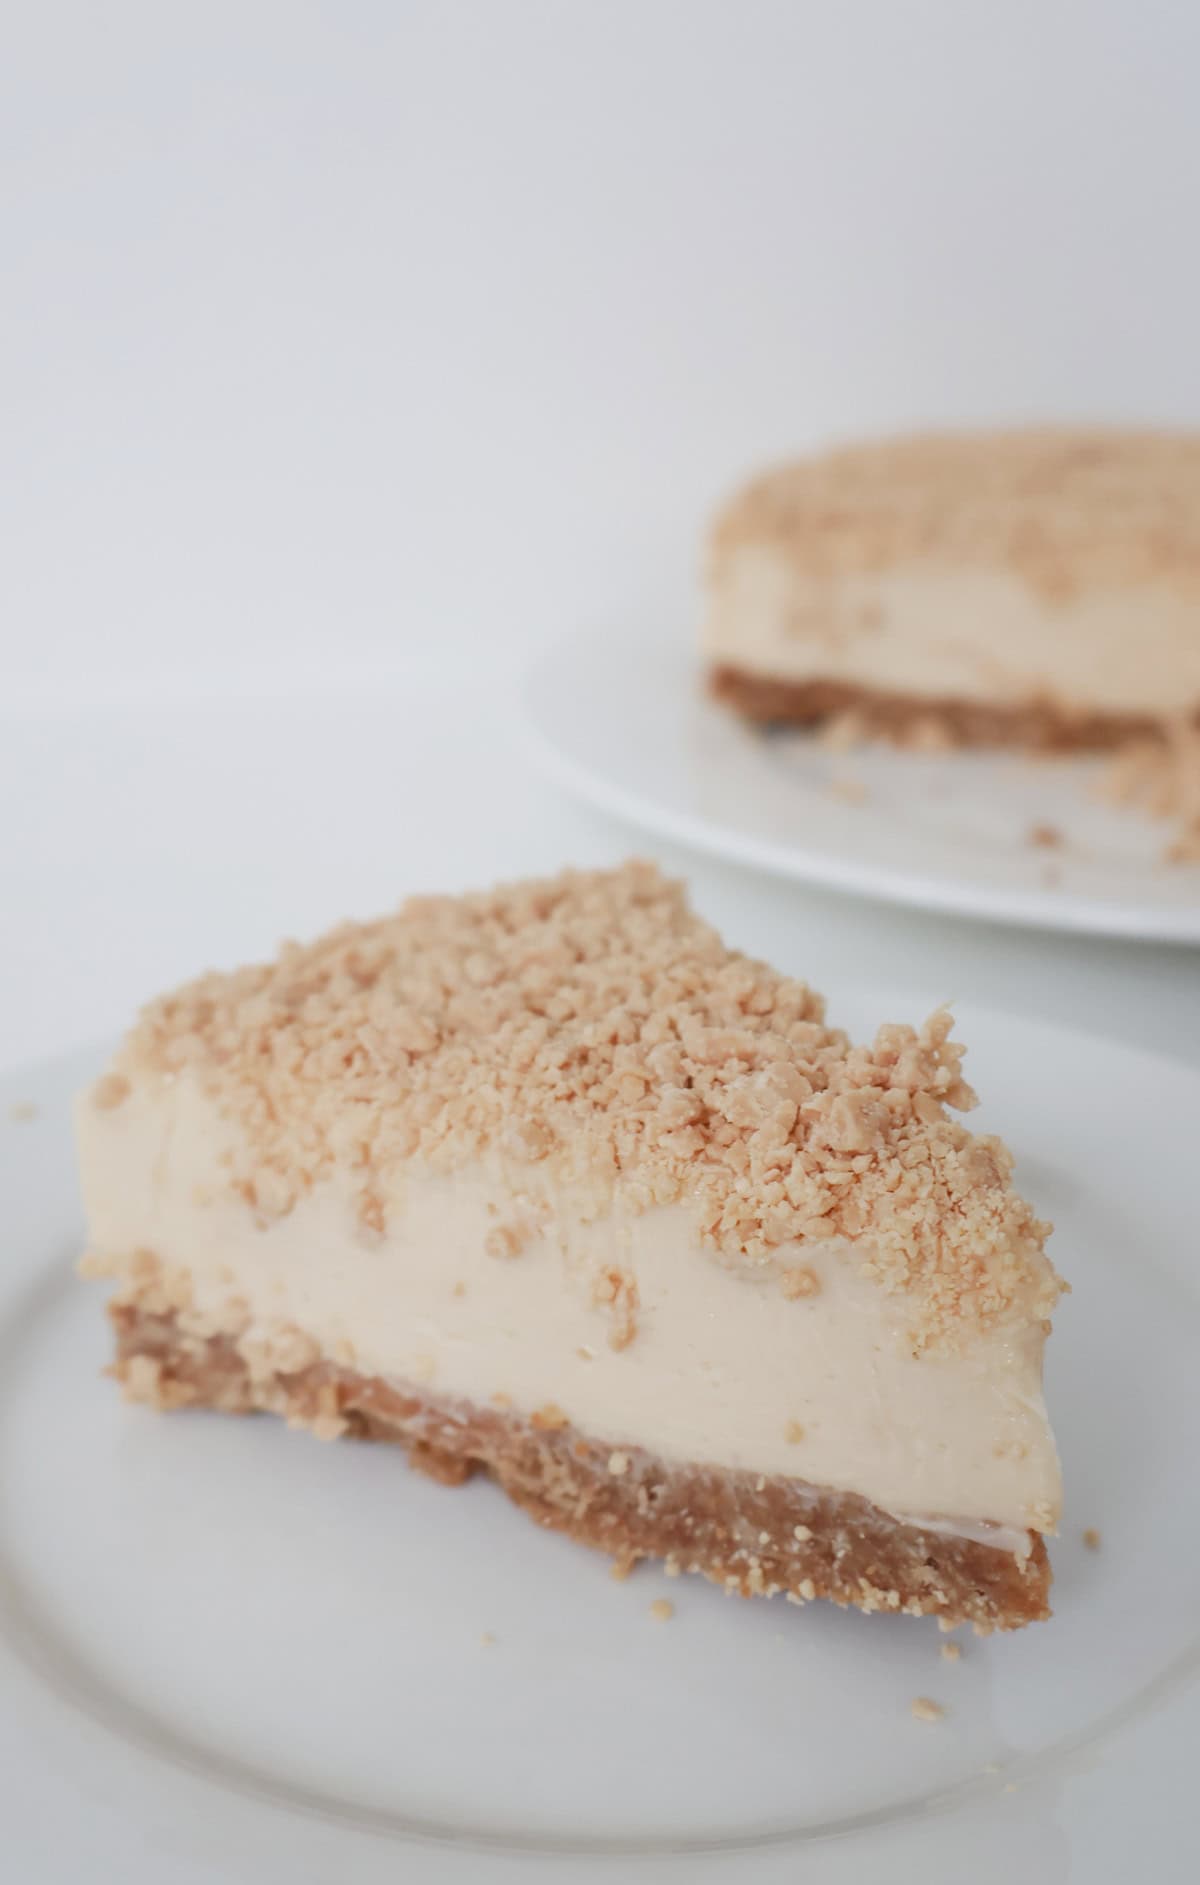
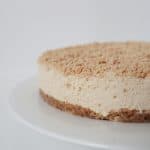
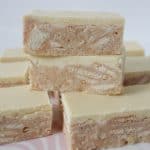
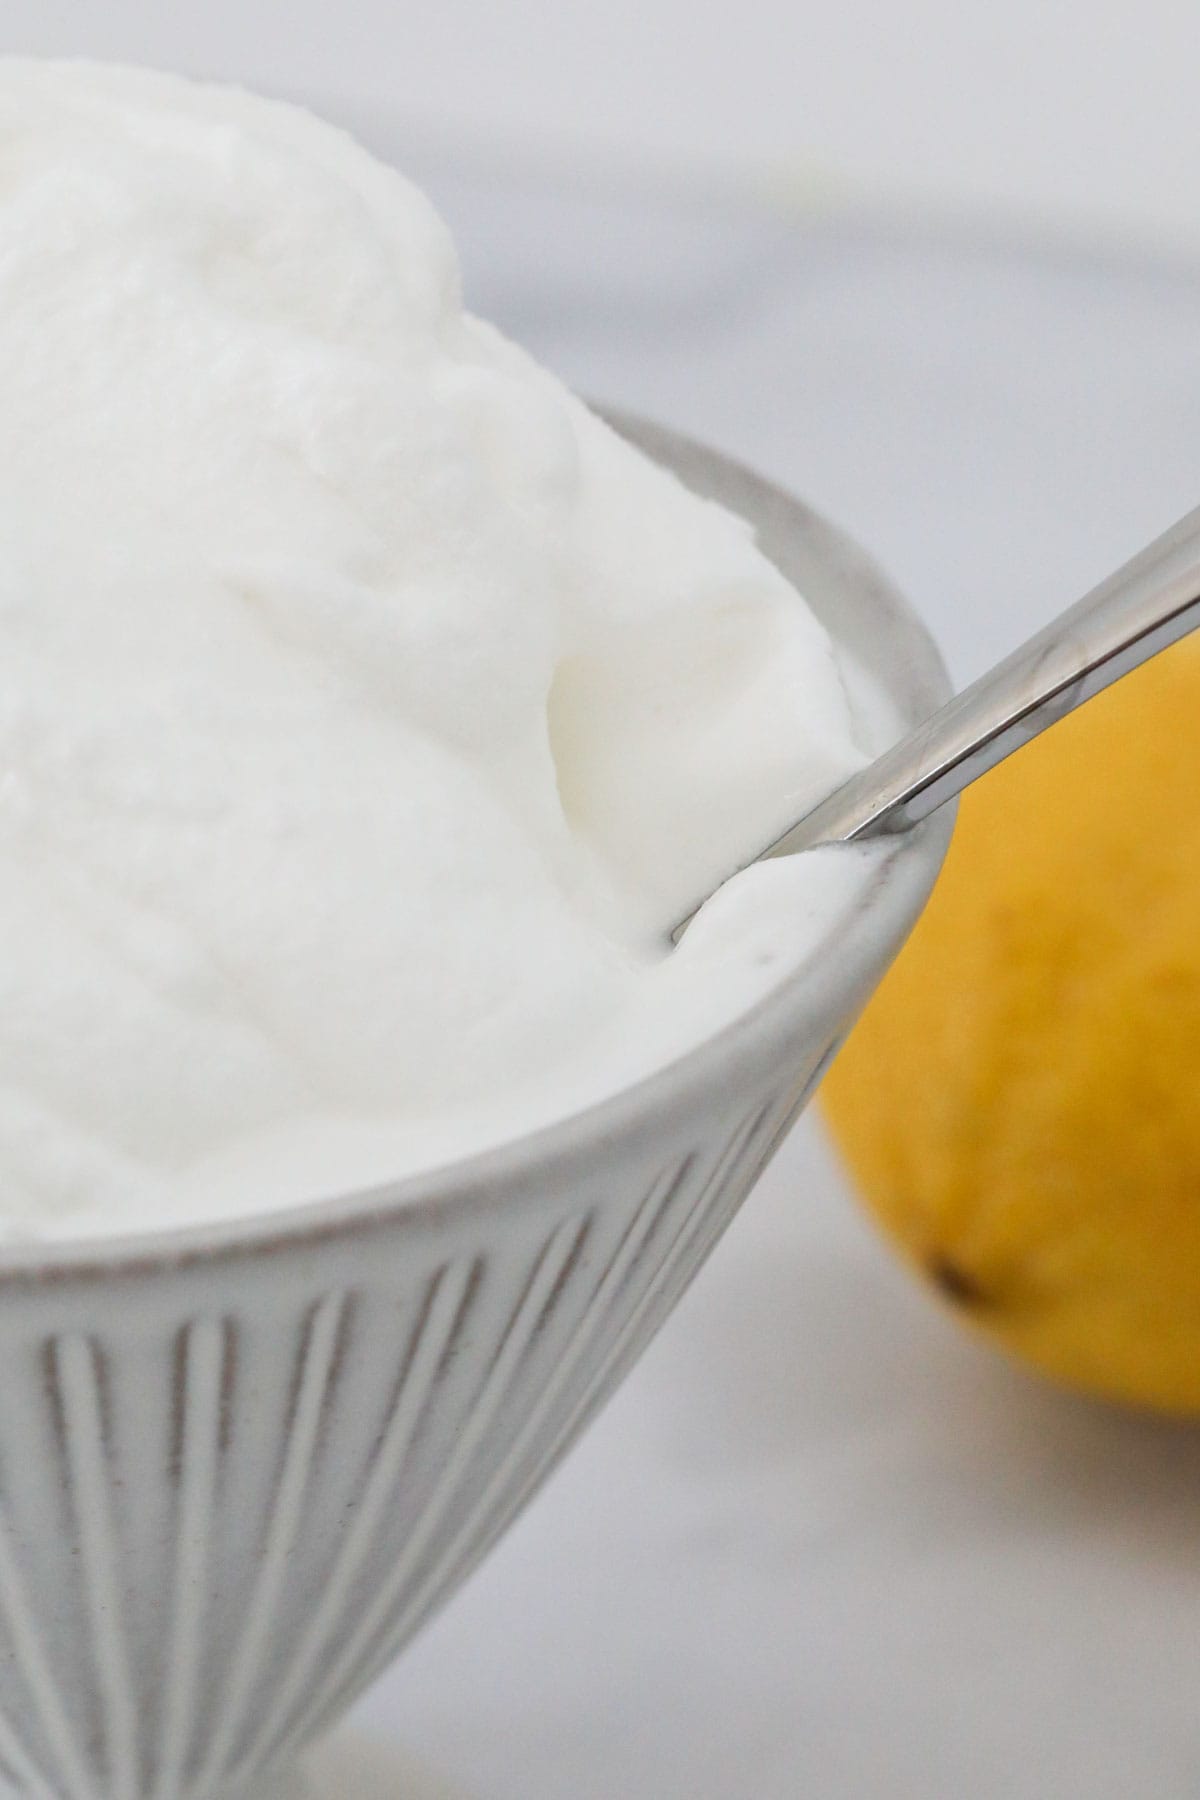
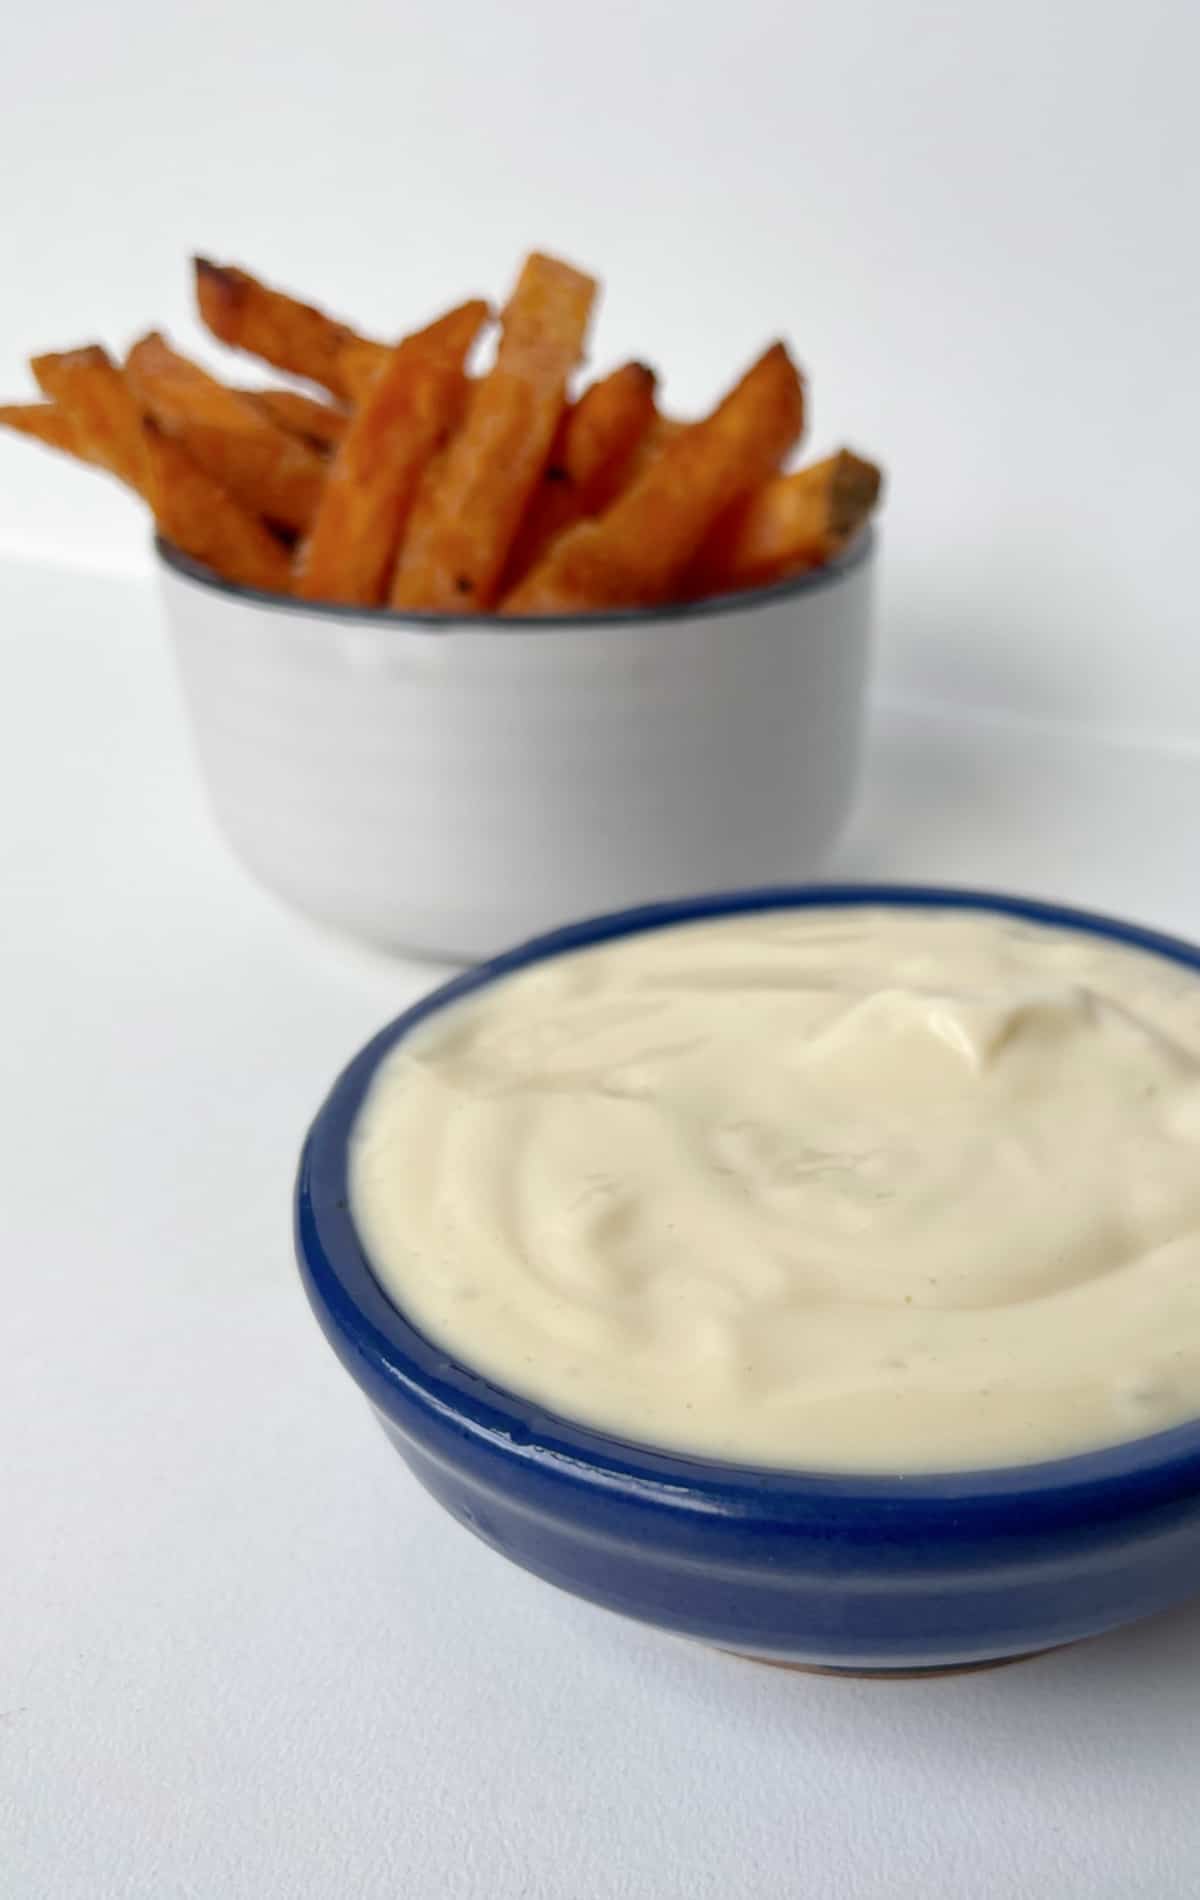
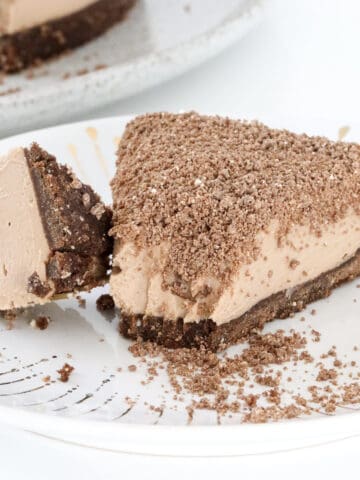
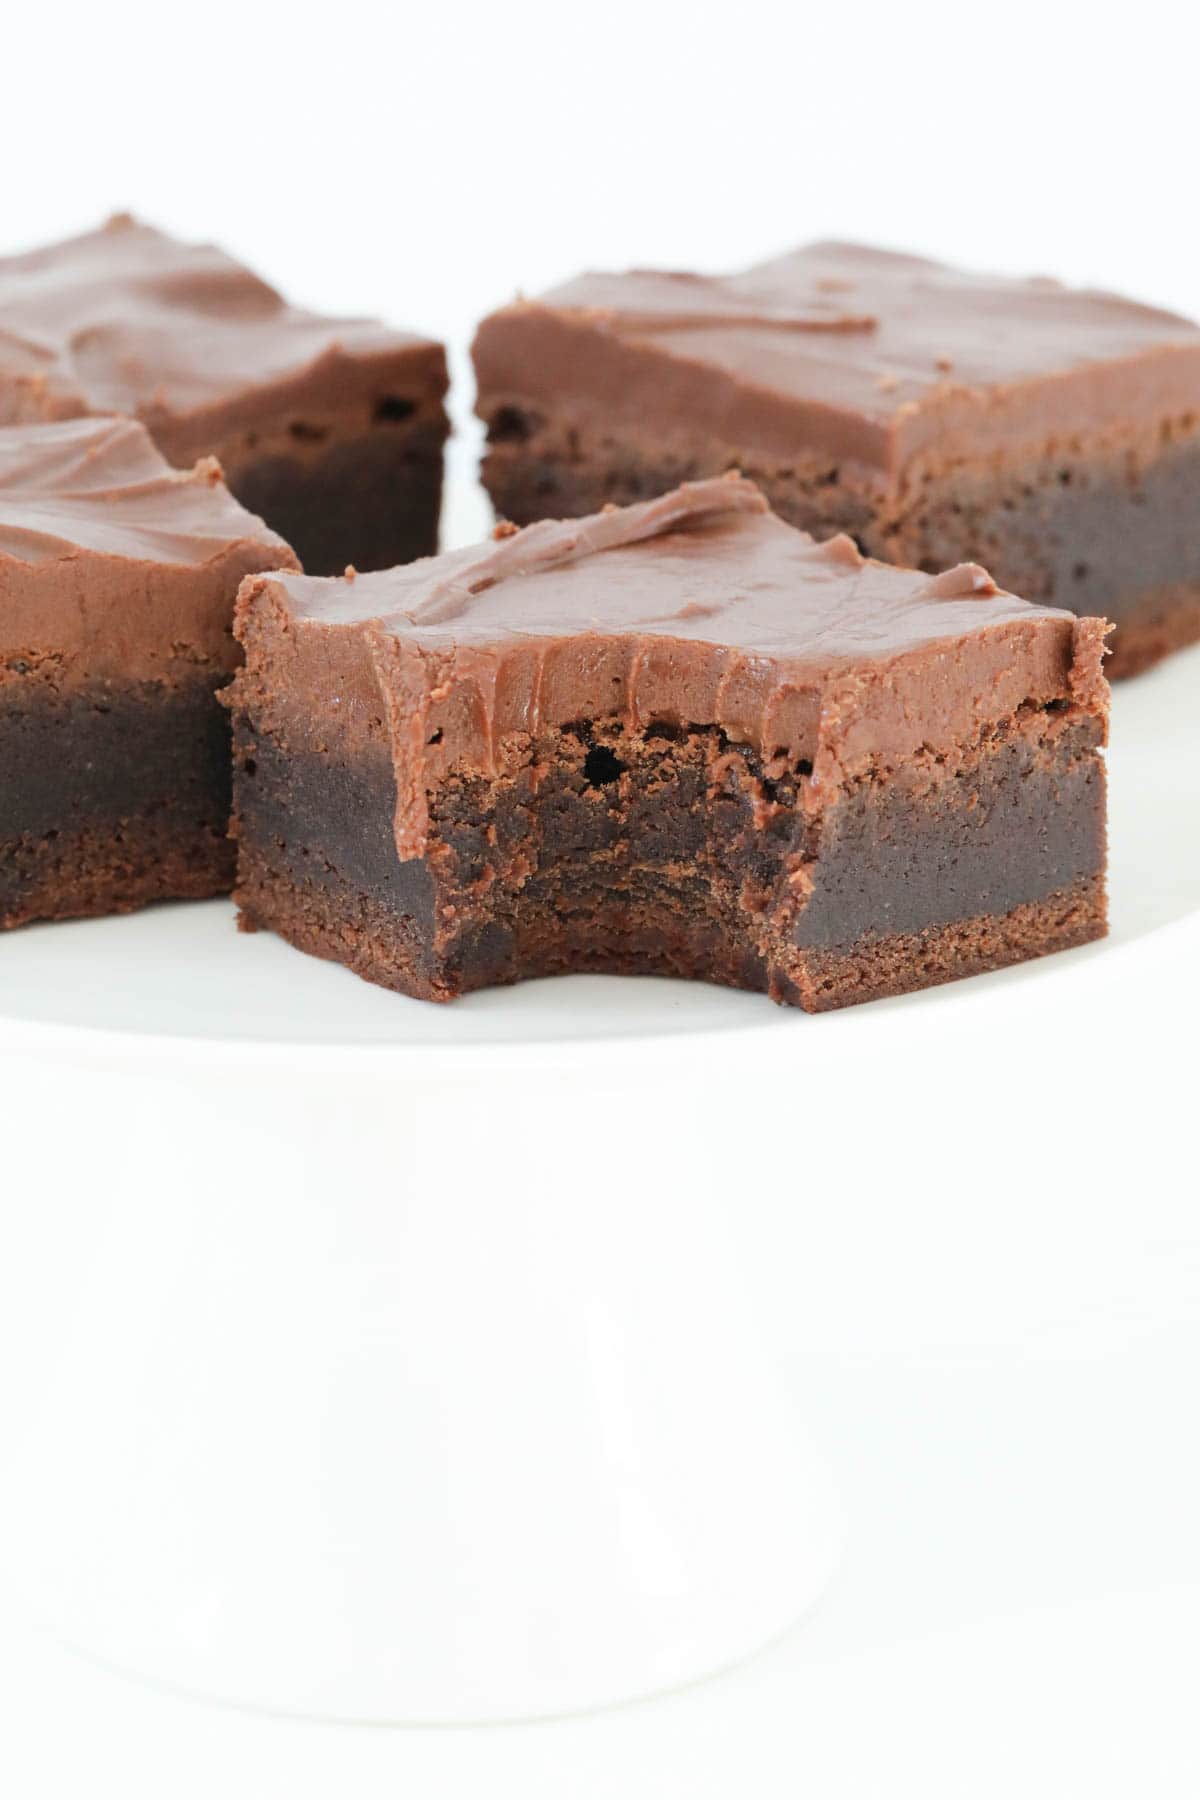
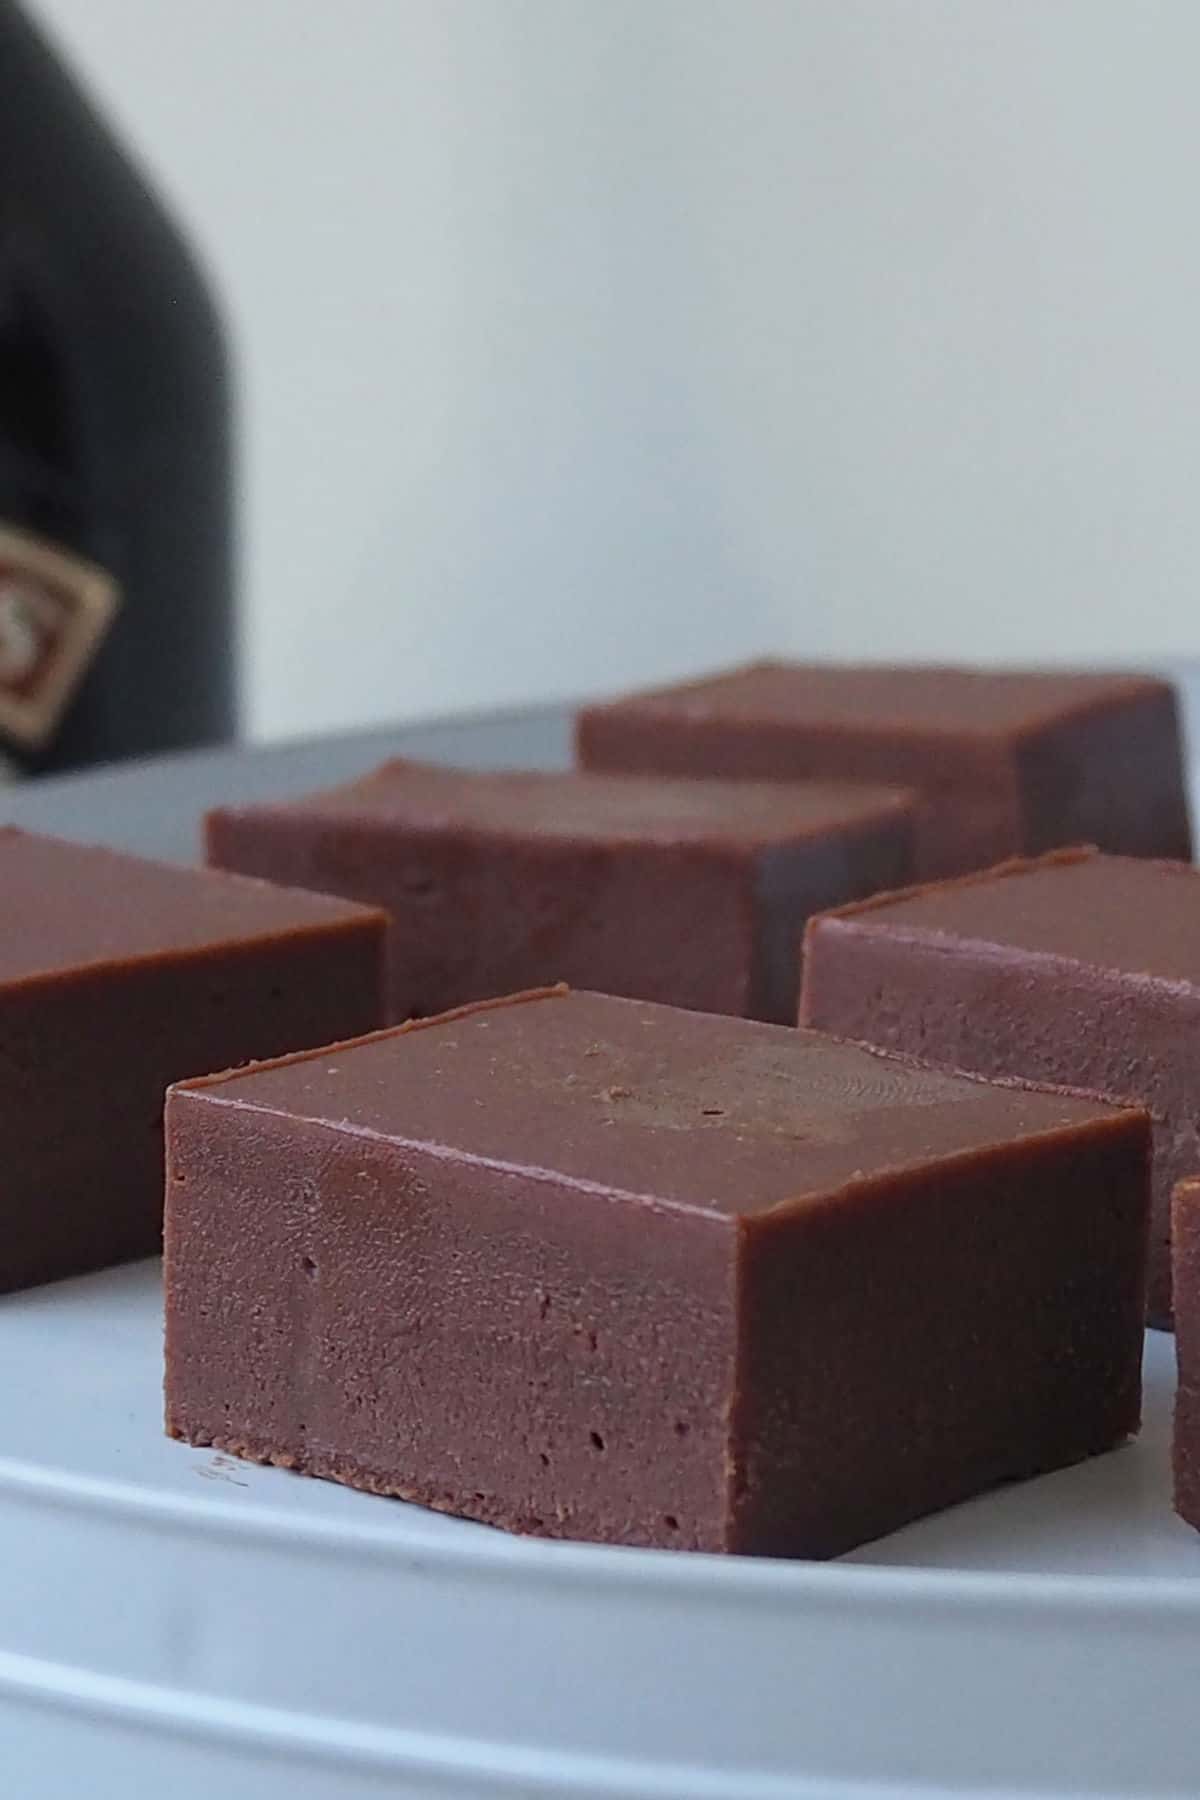
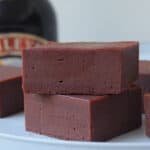
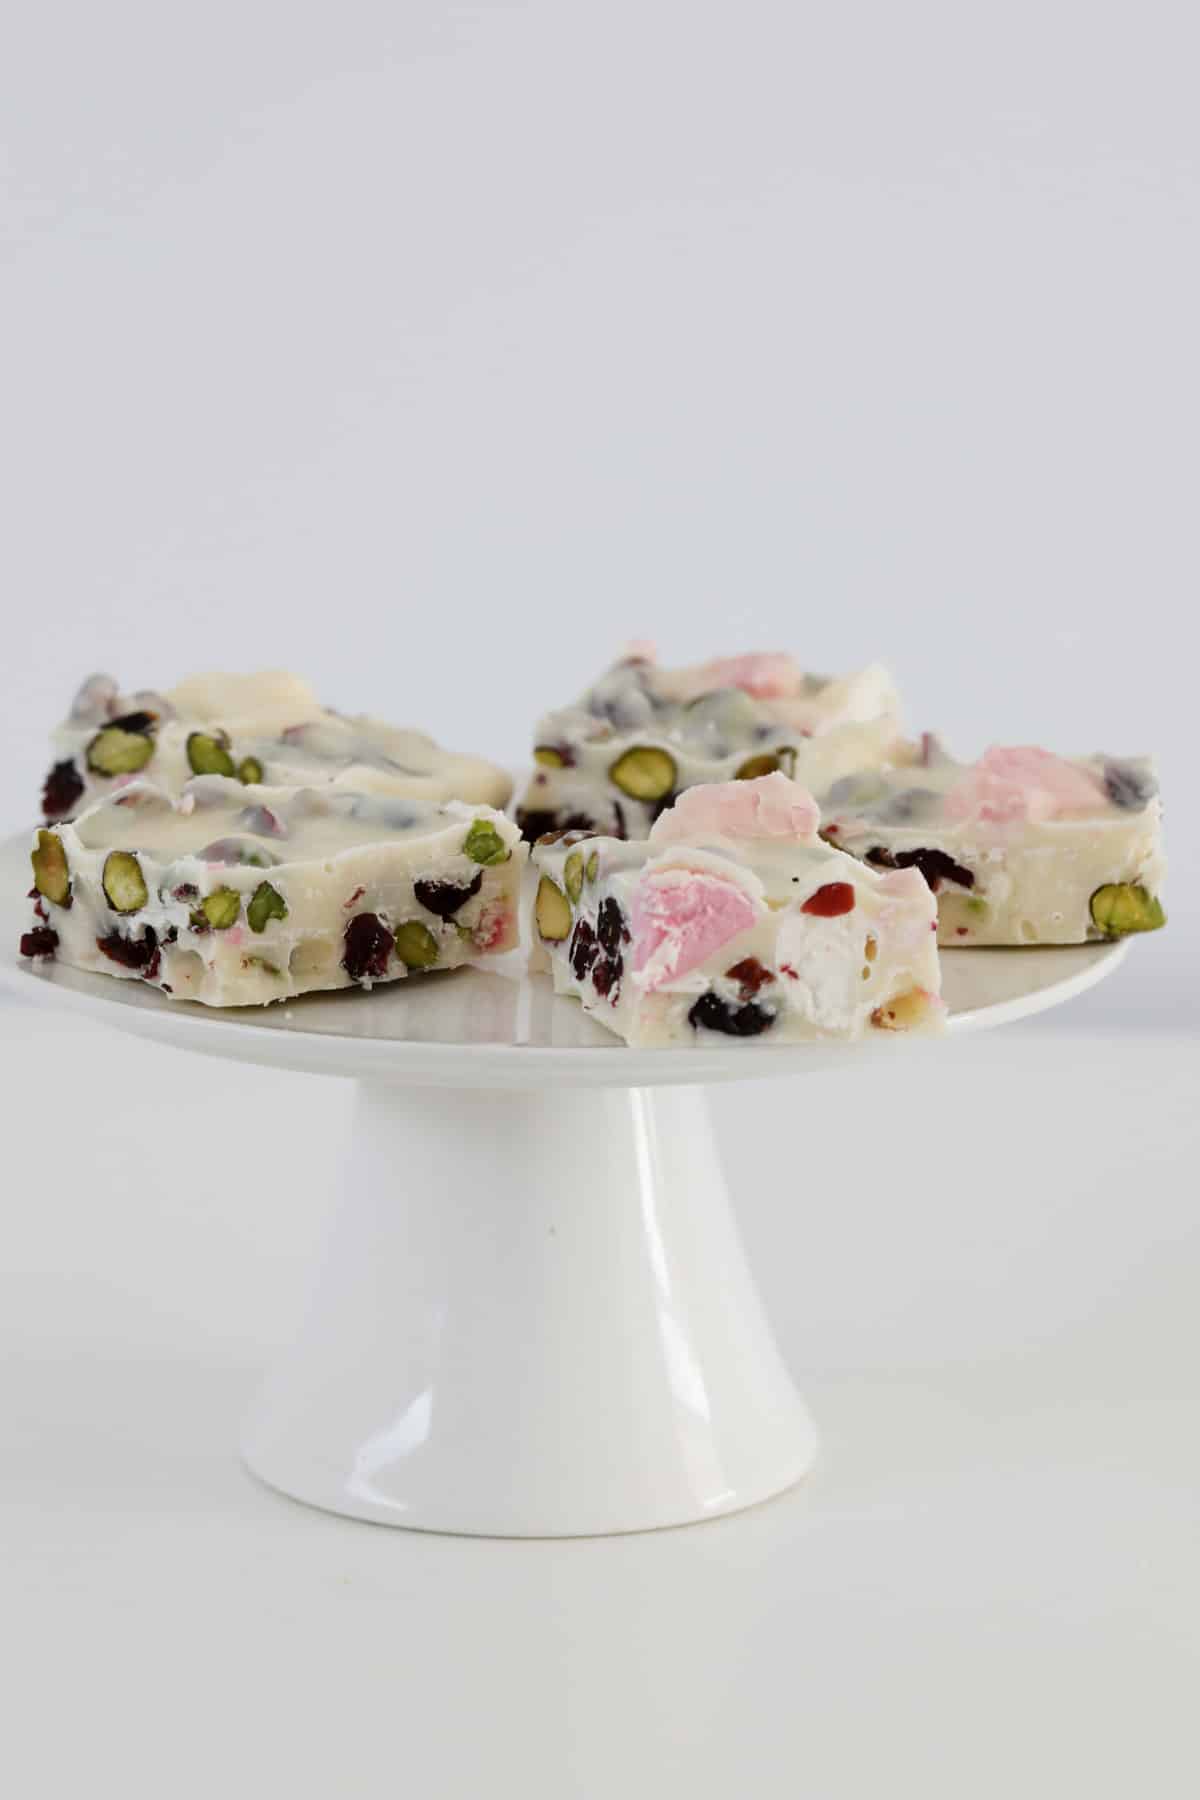
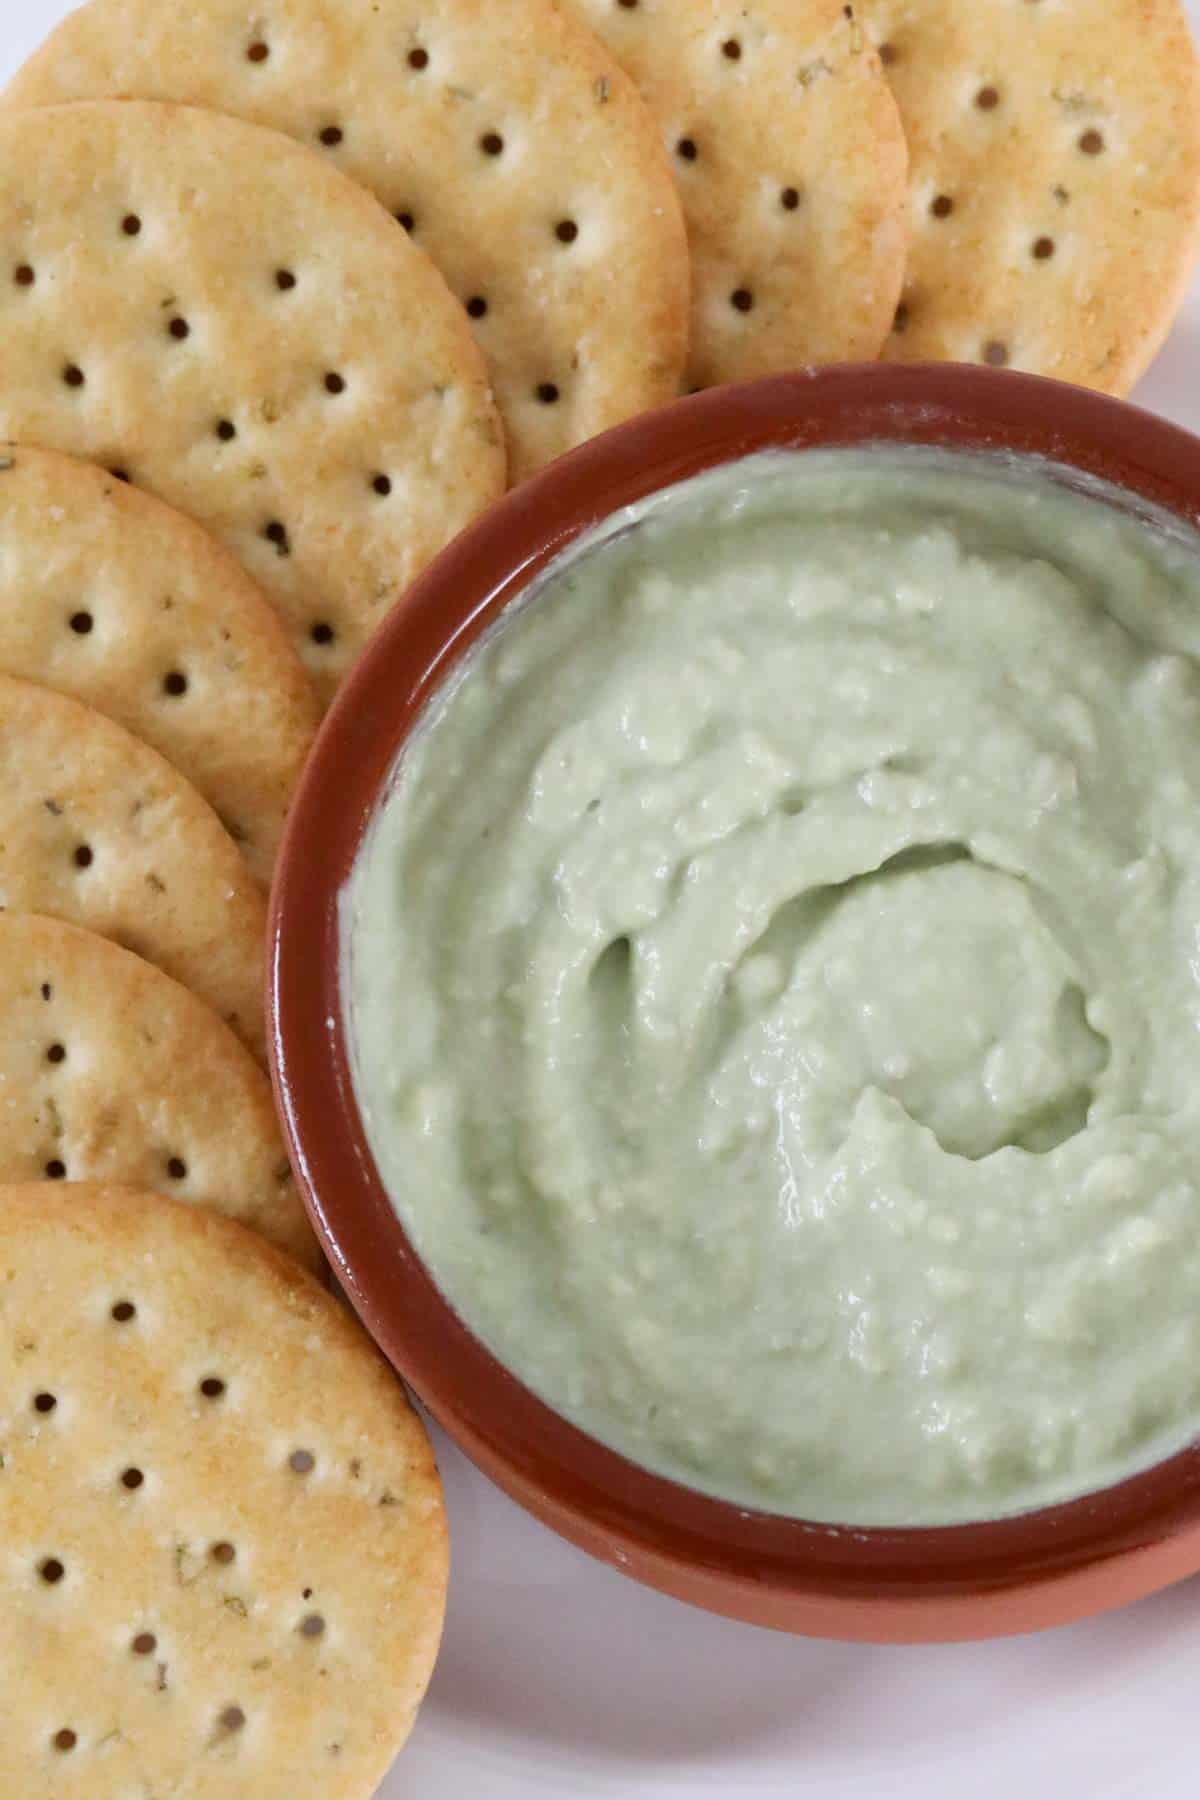
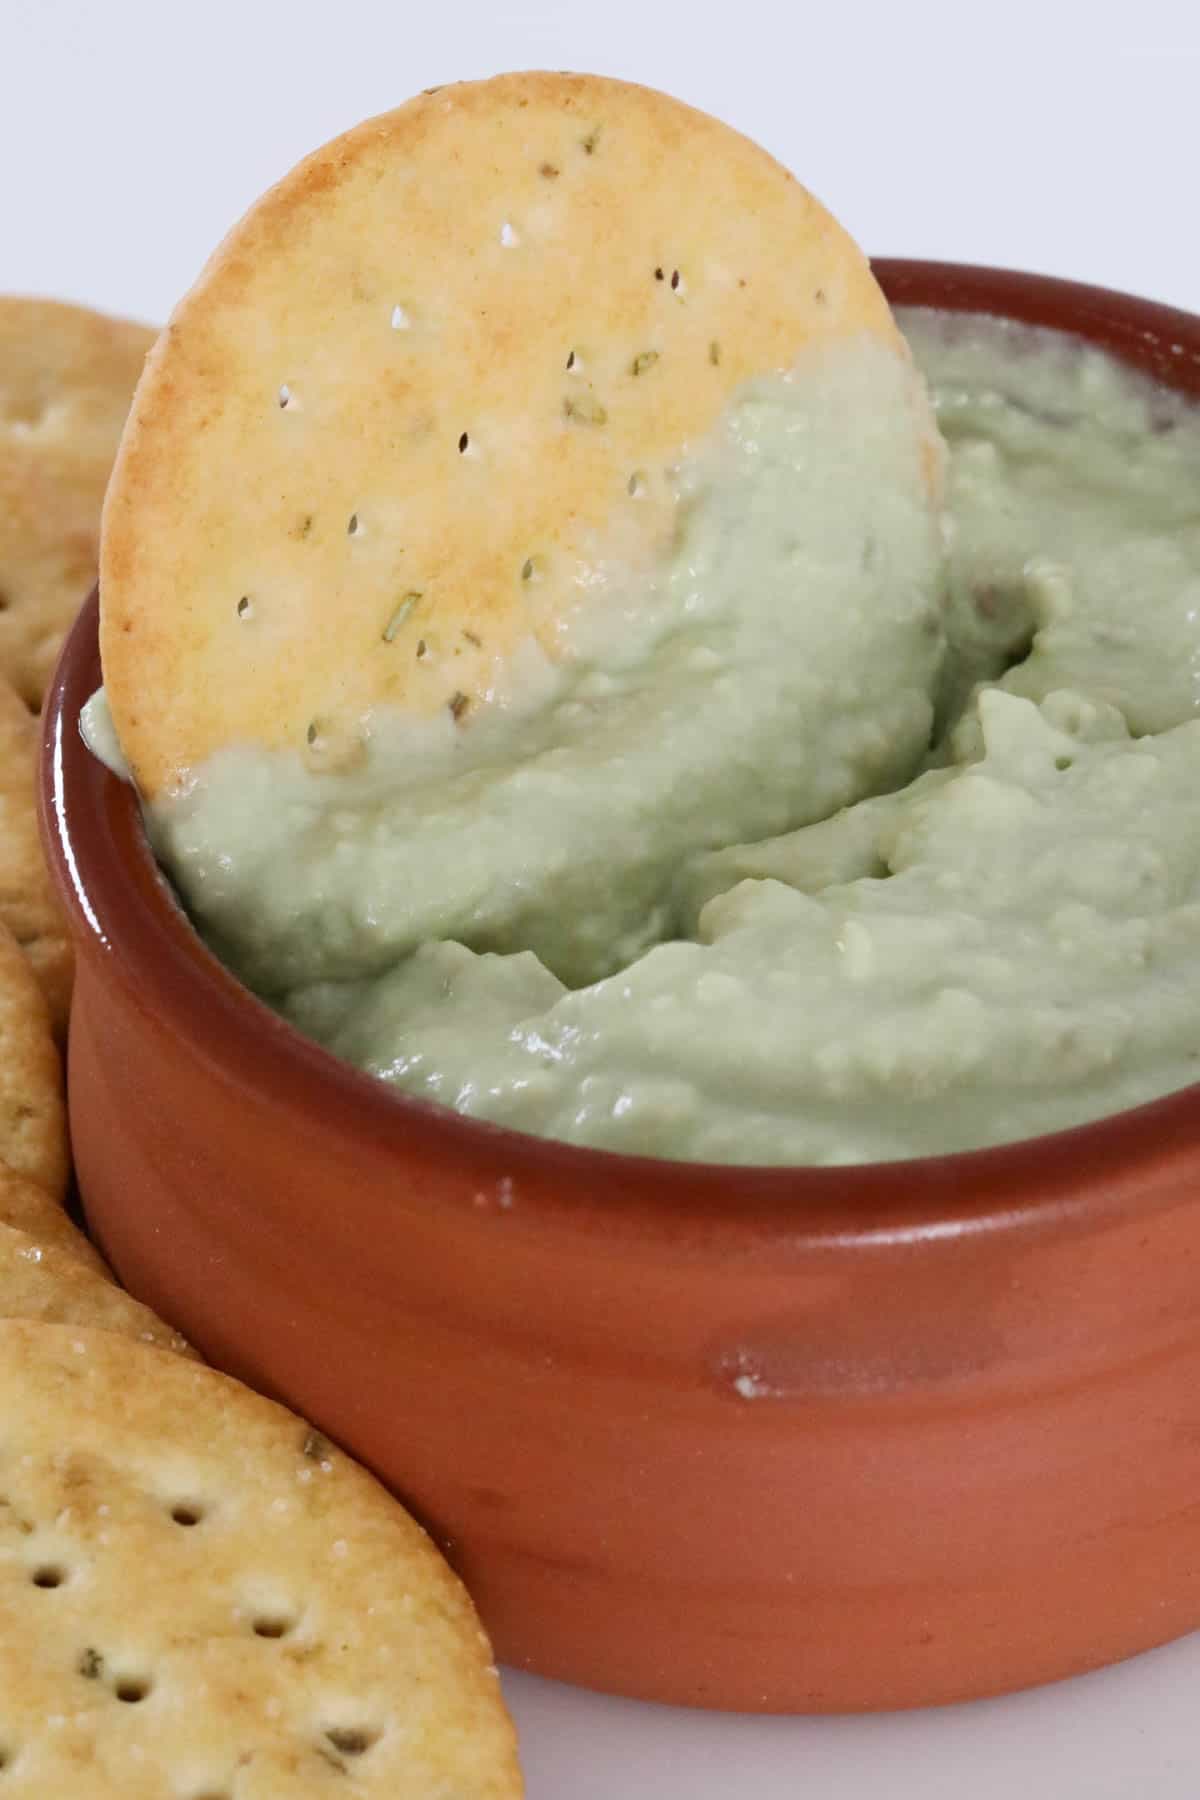
This sweet and creamy Thermomix Caramilk Cheesecake recipe is going to be your new favourite no bake dessert! This cheesecake recipe makes a great dessert for your next special occasion and couldn't be easier to make.
This cheesecake is made with super simple ingredients and really makes a stand out dessert. It can also be made in advance and will last in the fridge for up to five days - good luck for it to last that long though!
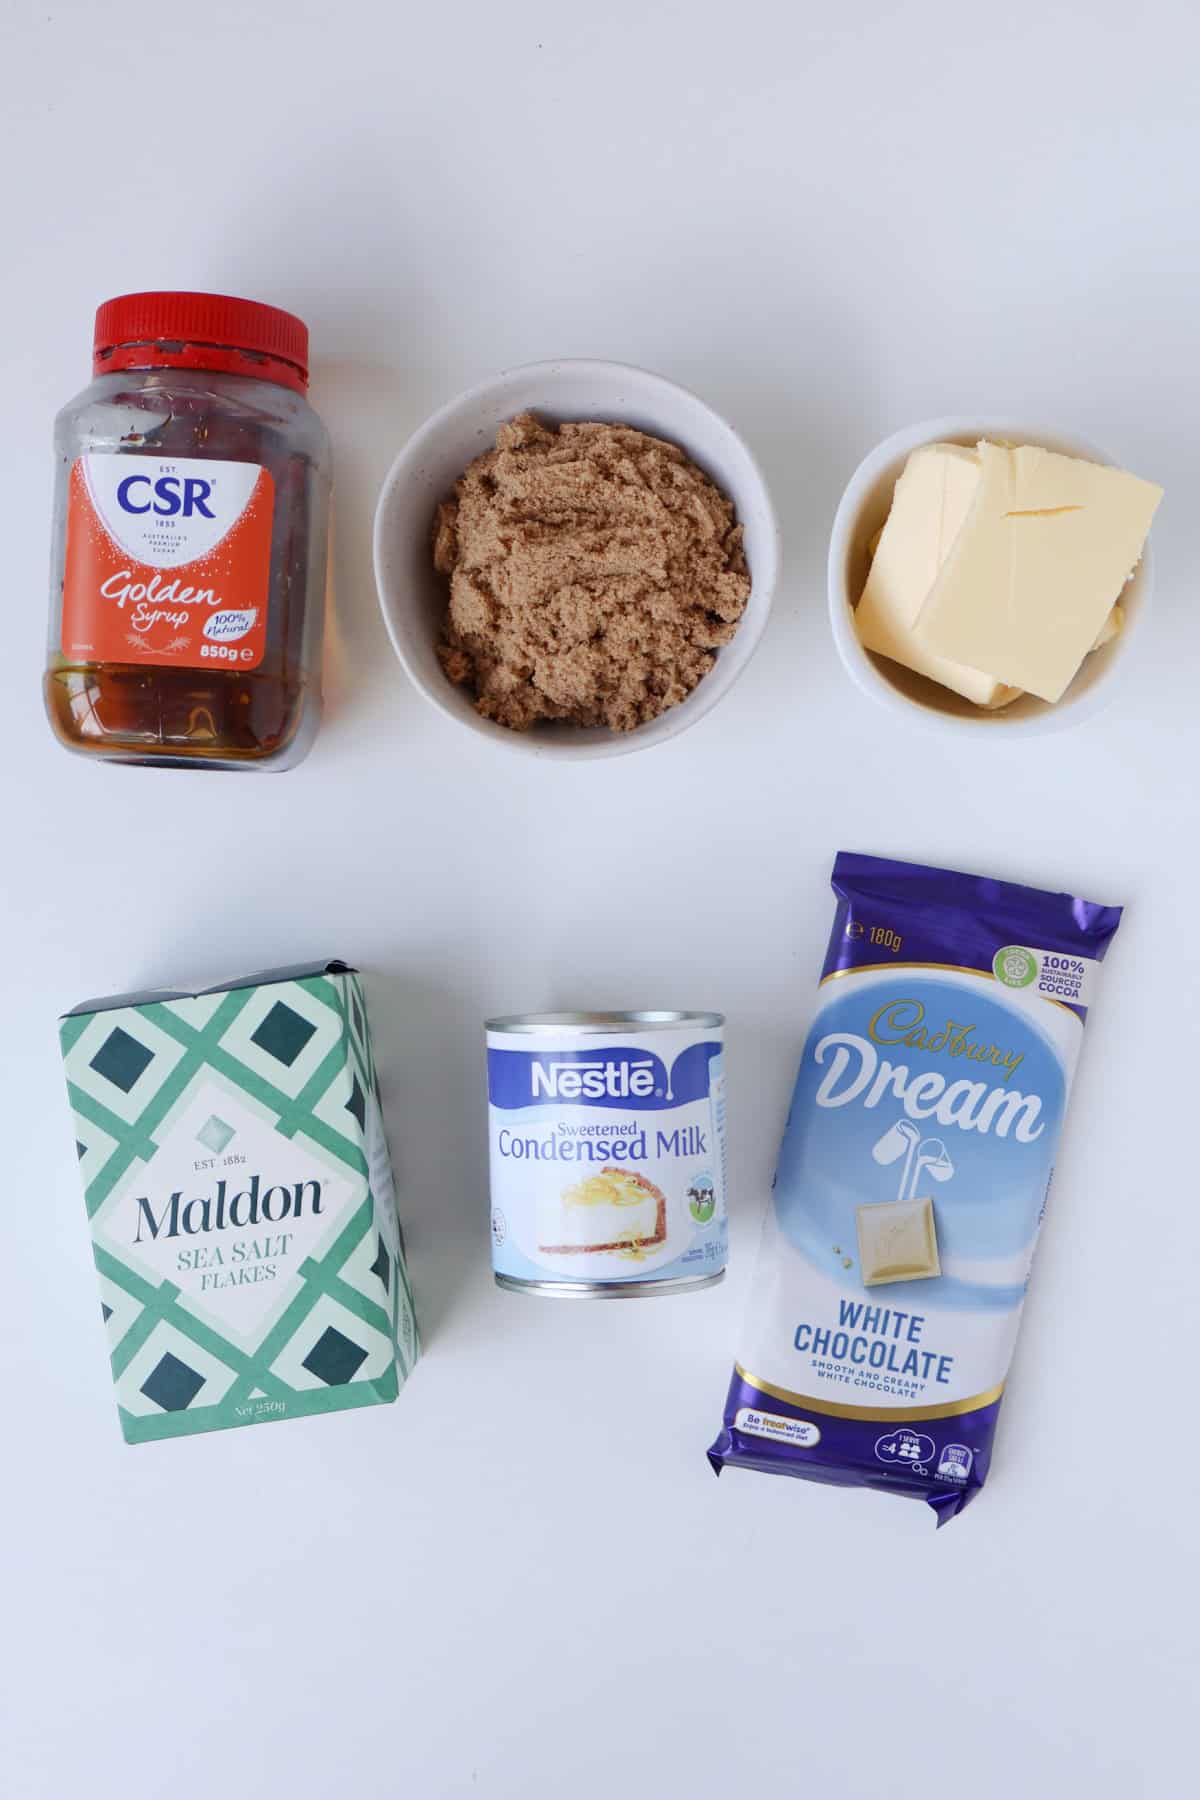
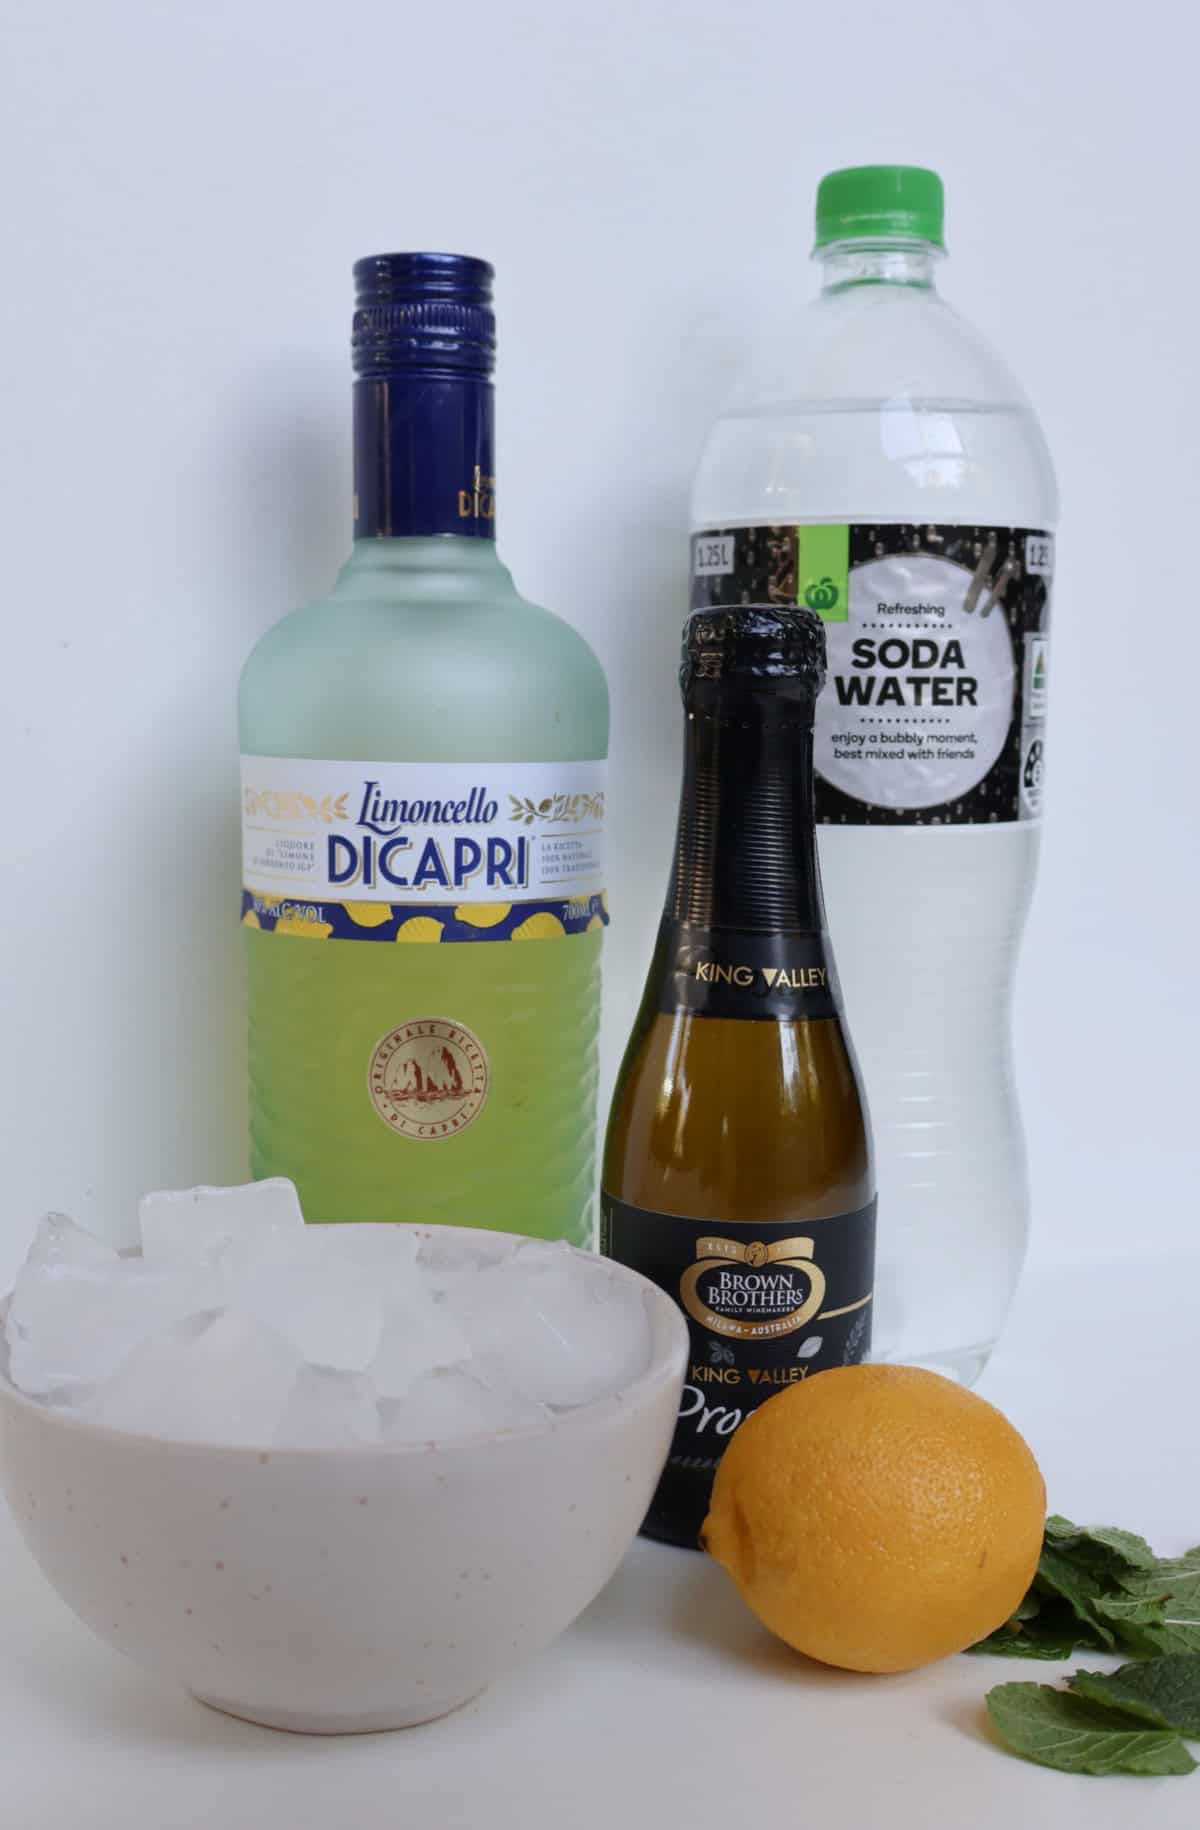
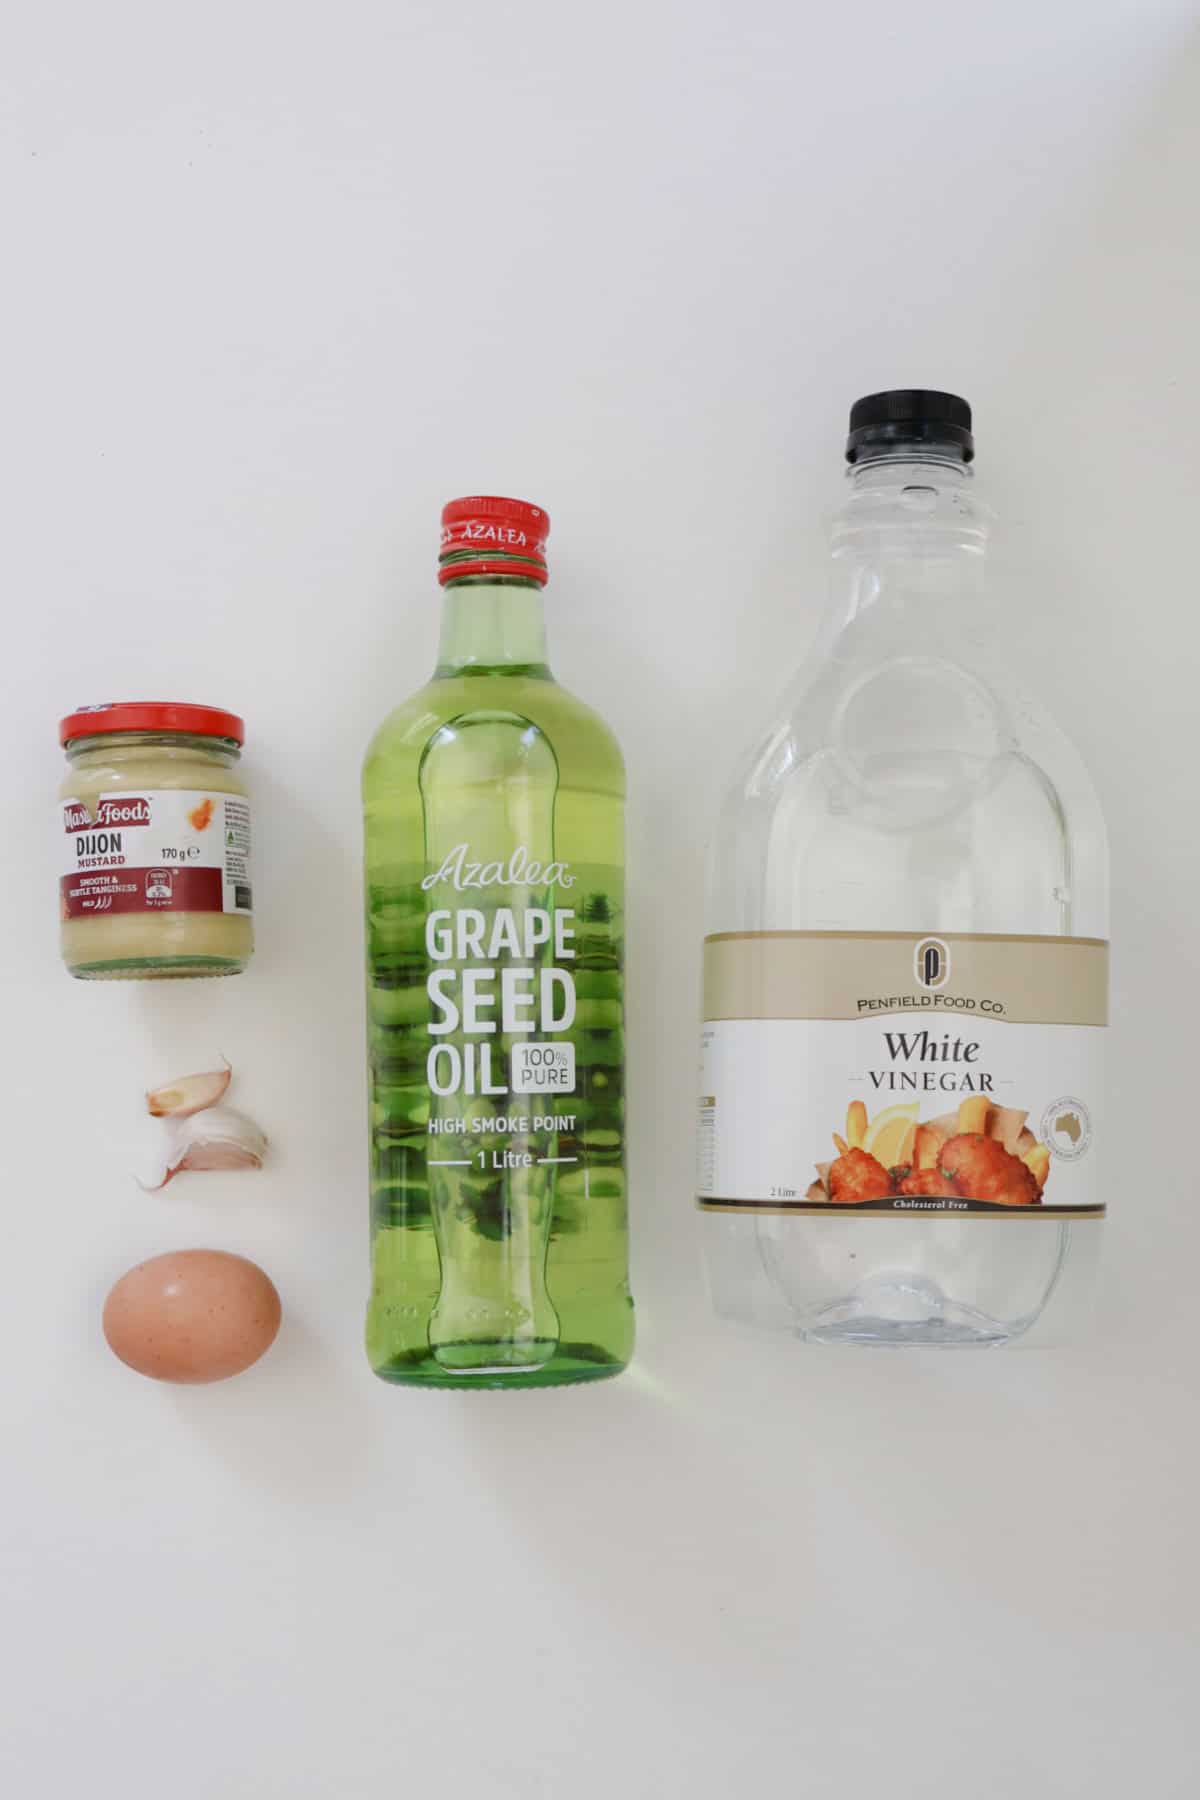
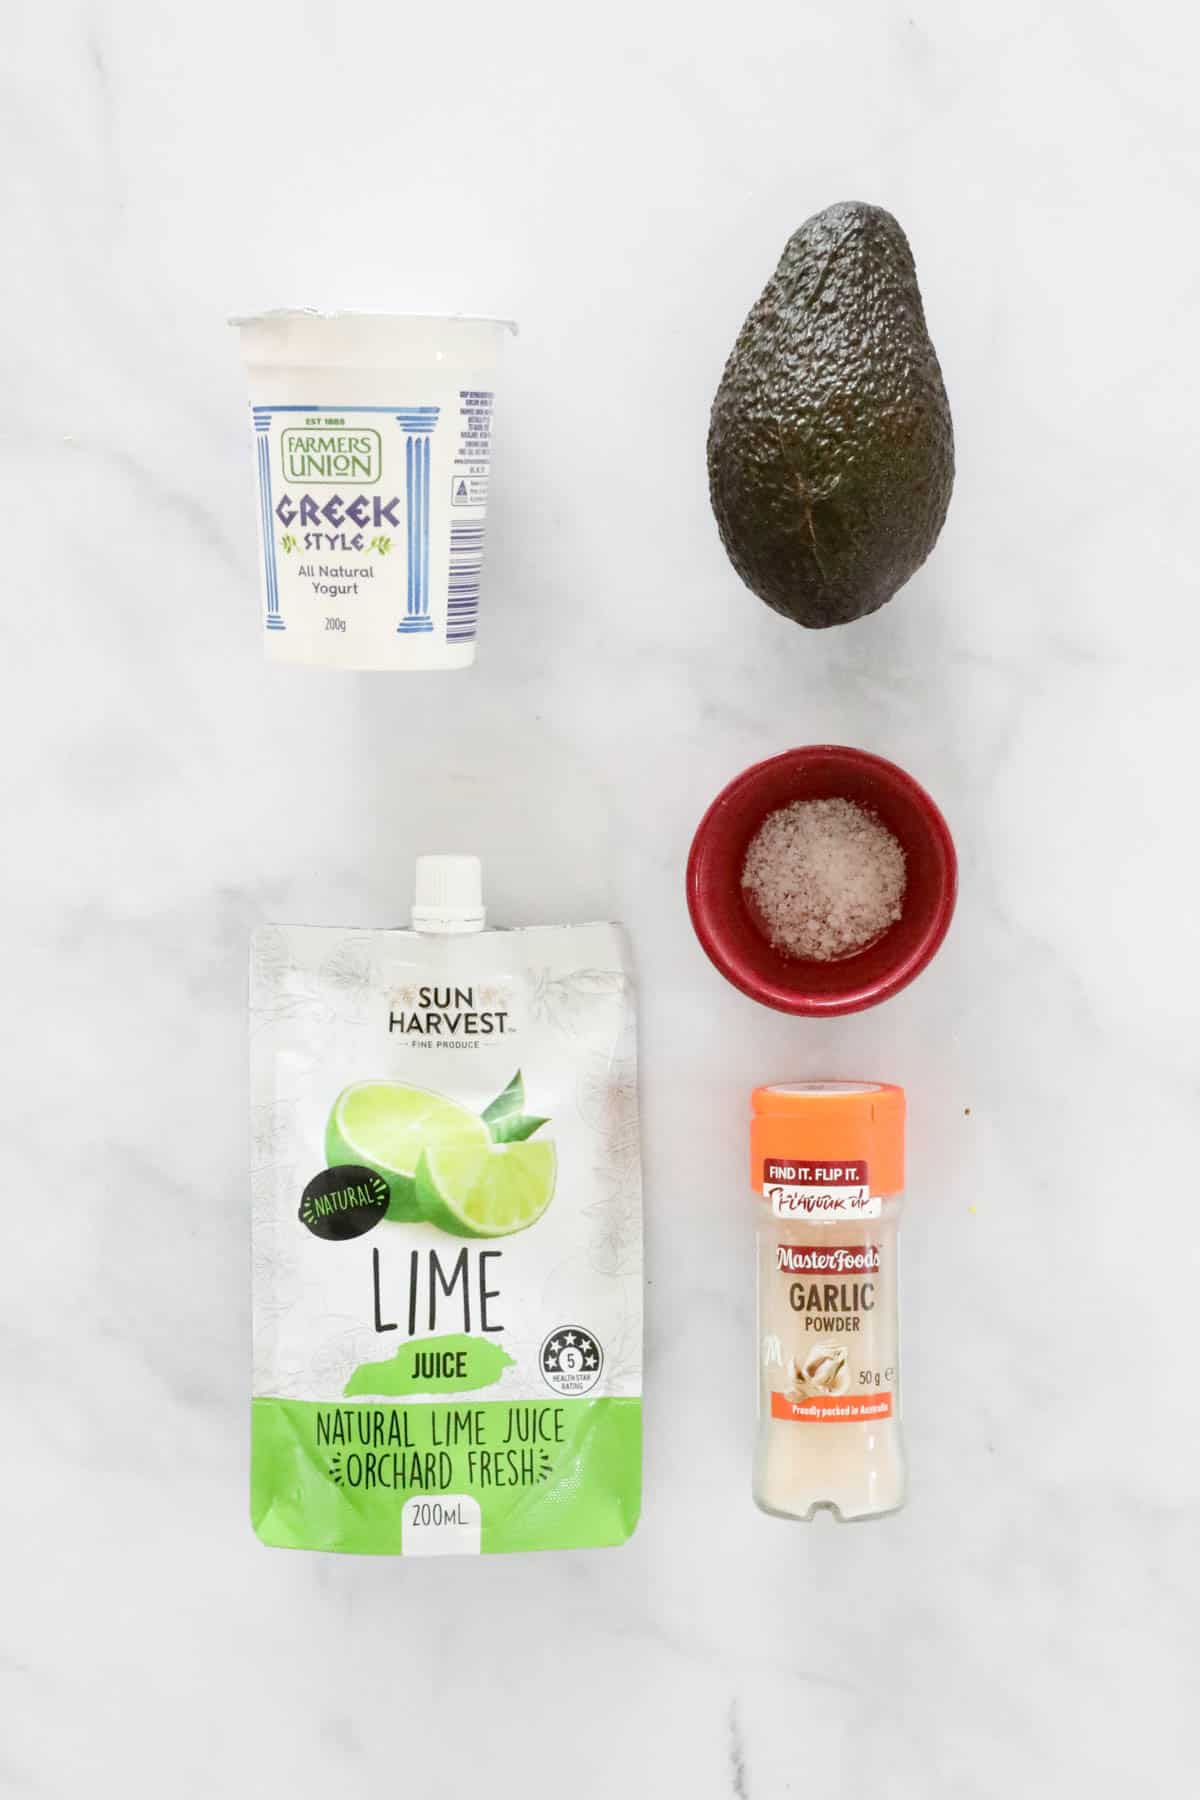
Ingredients
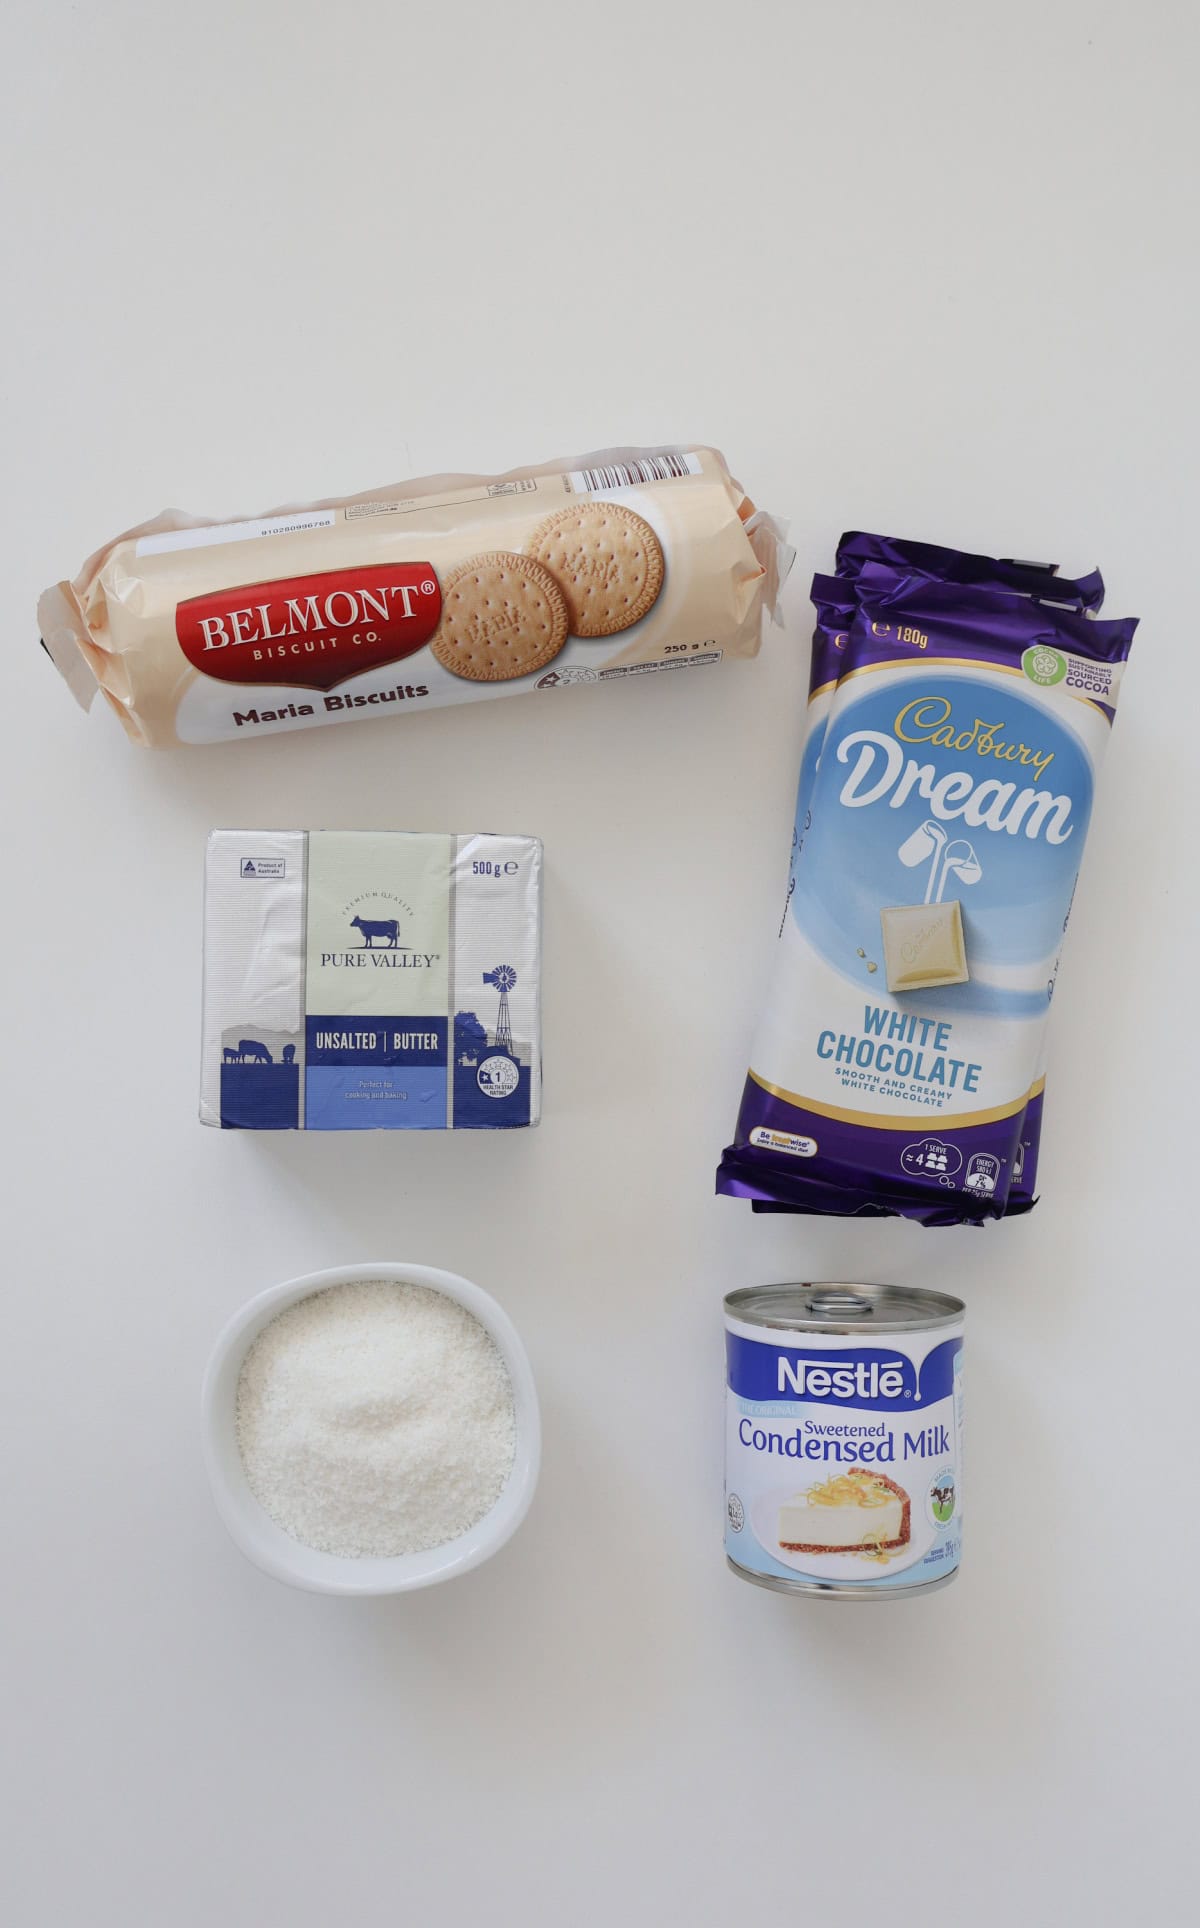
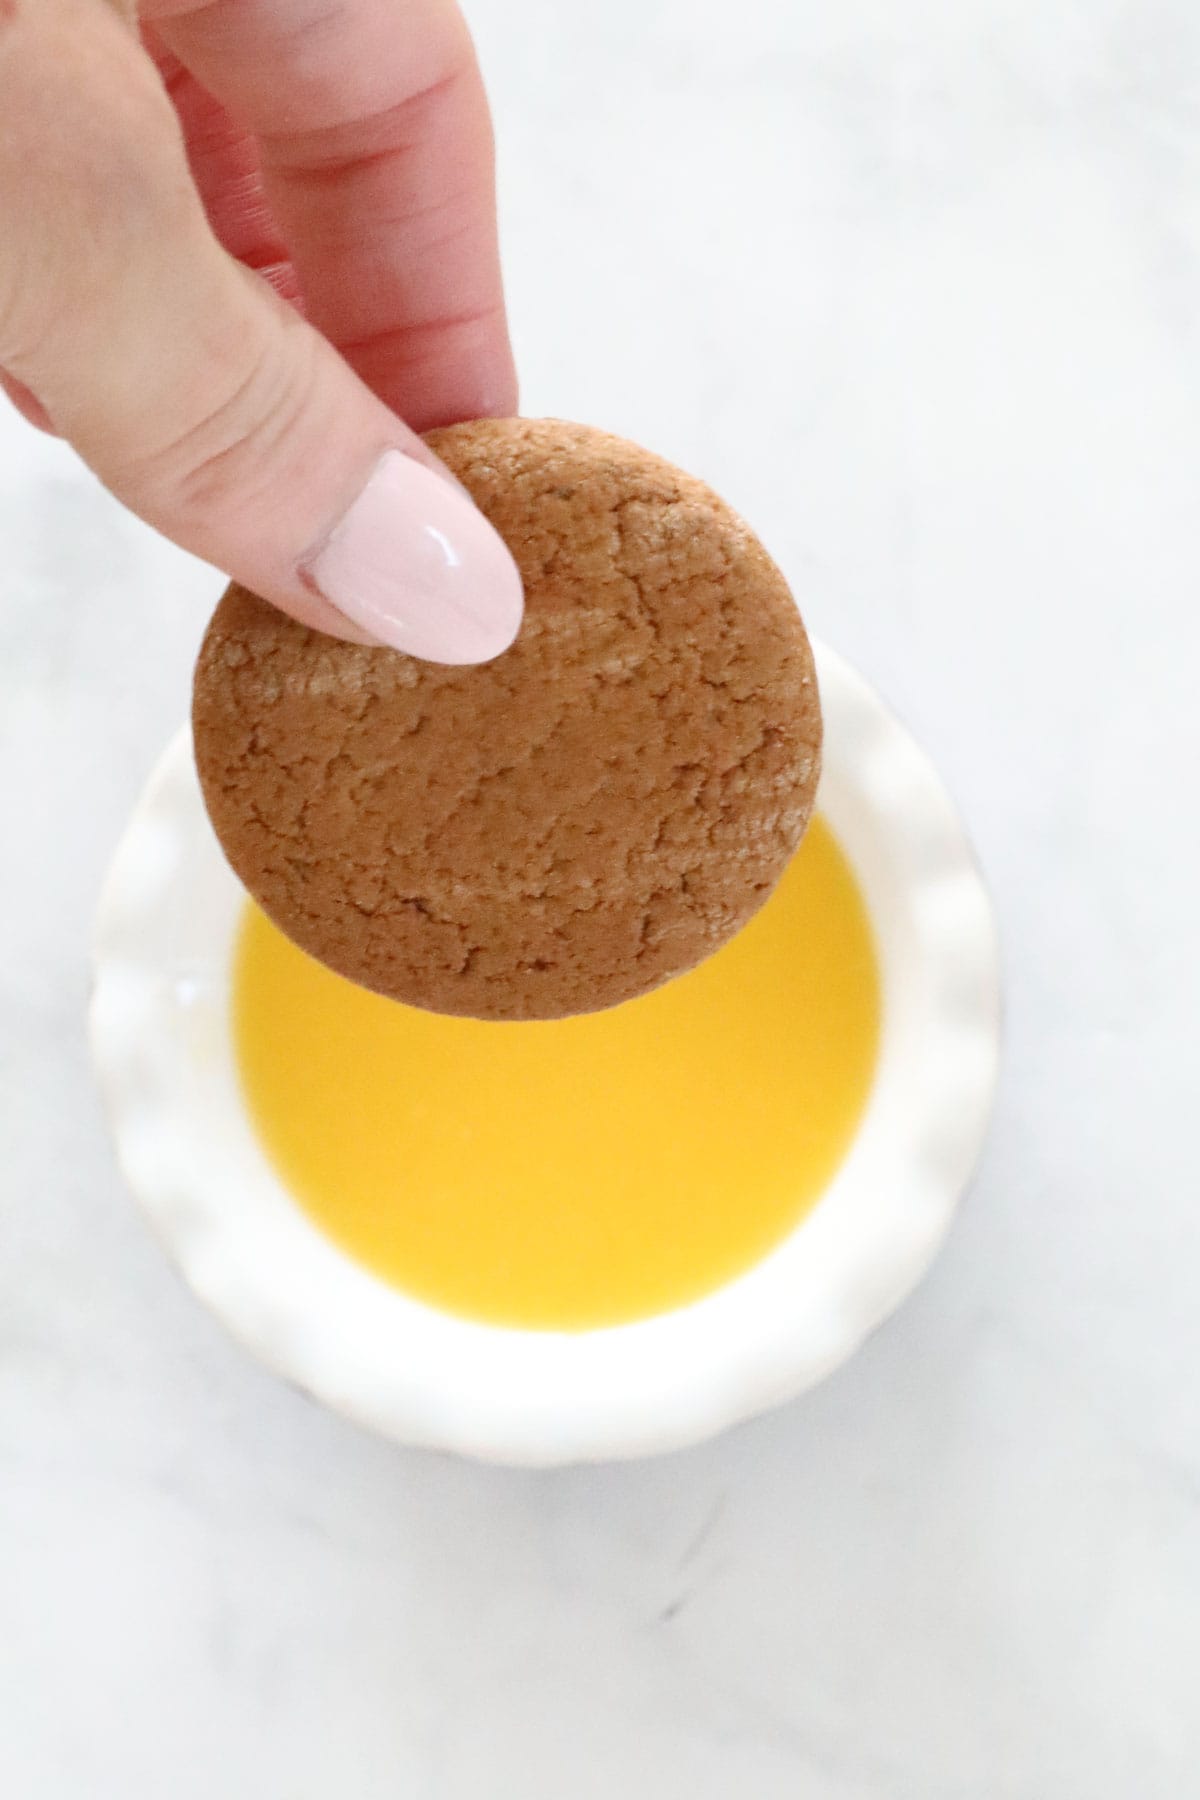
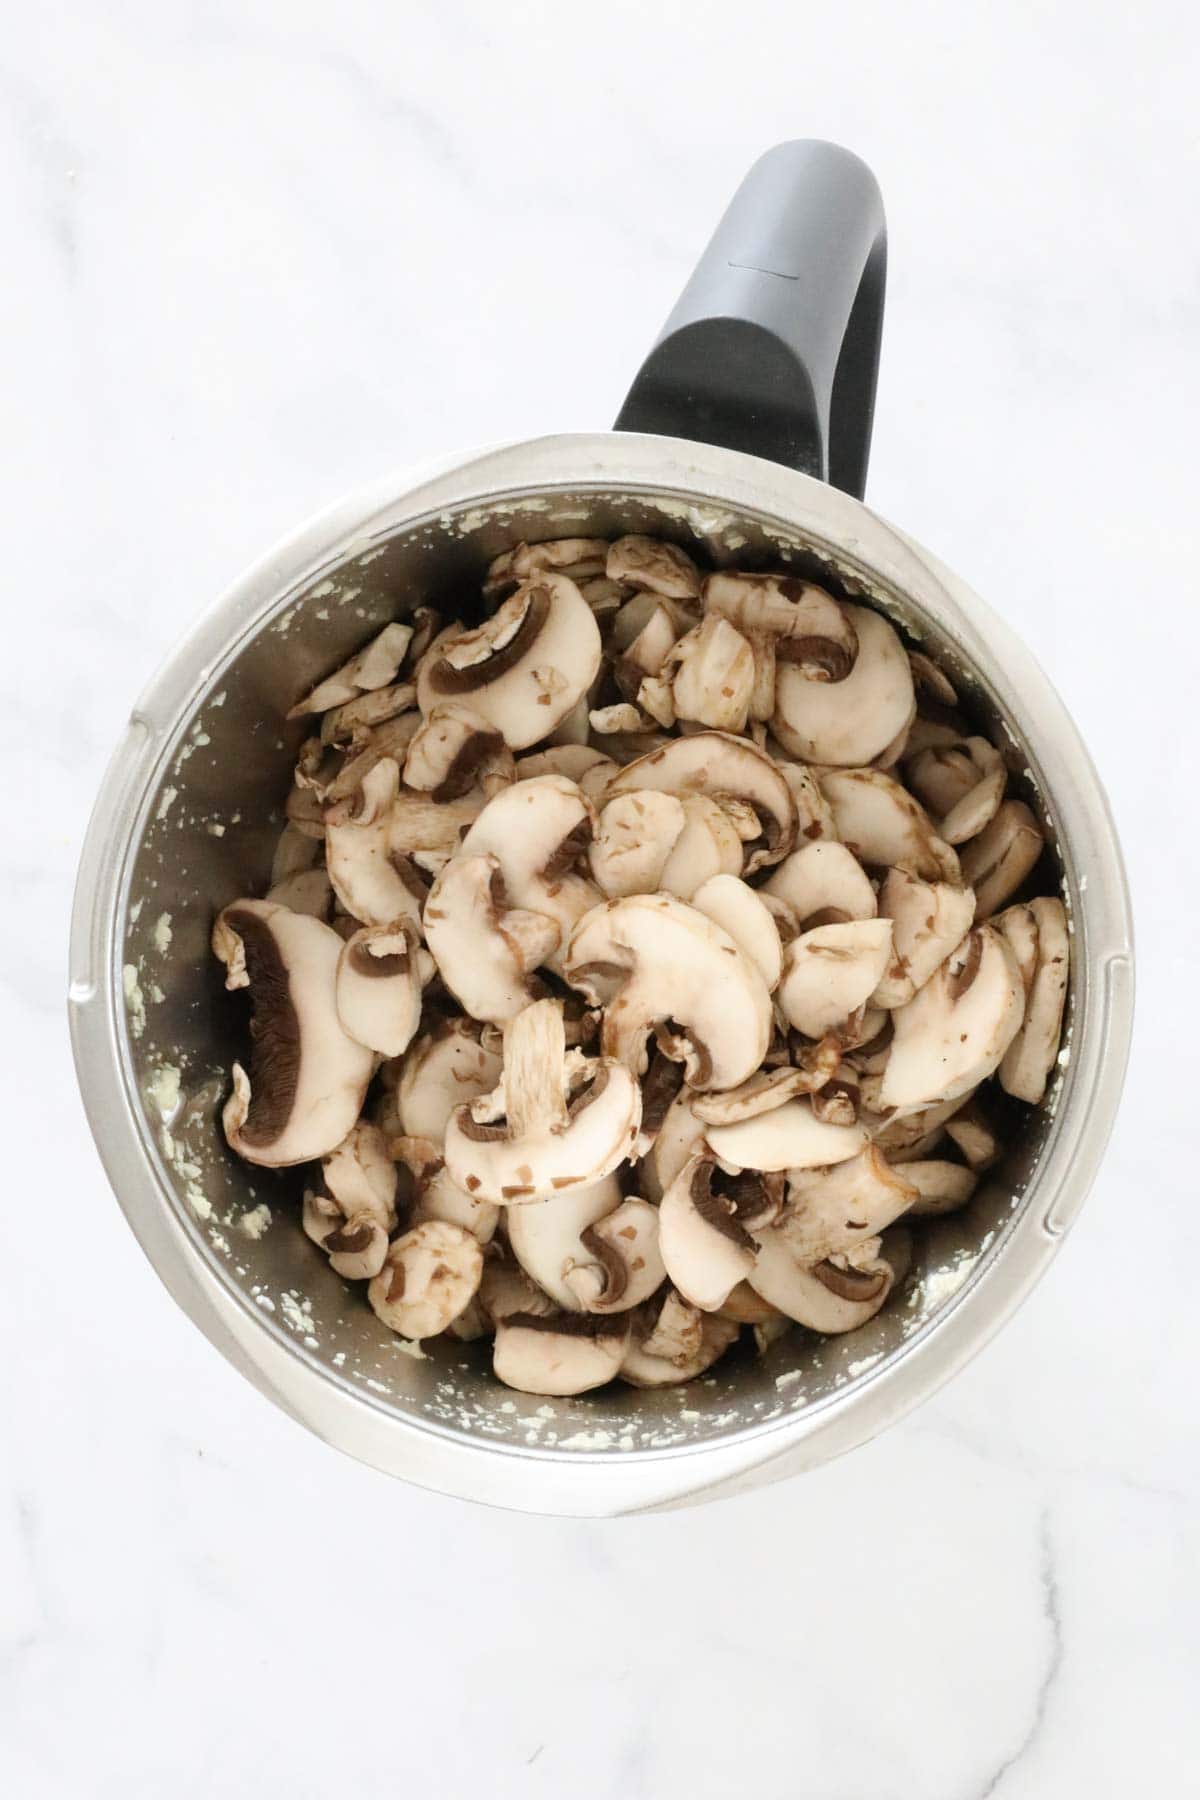
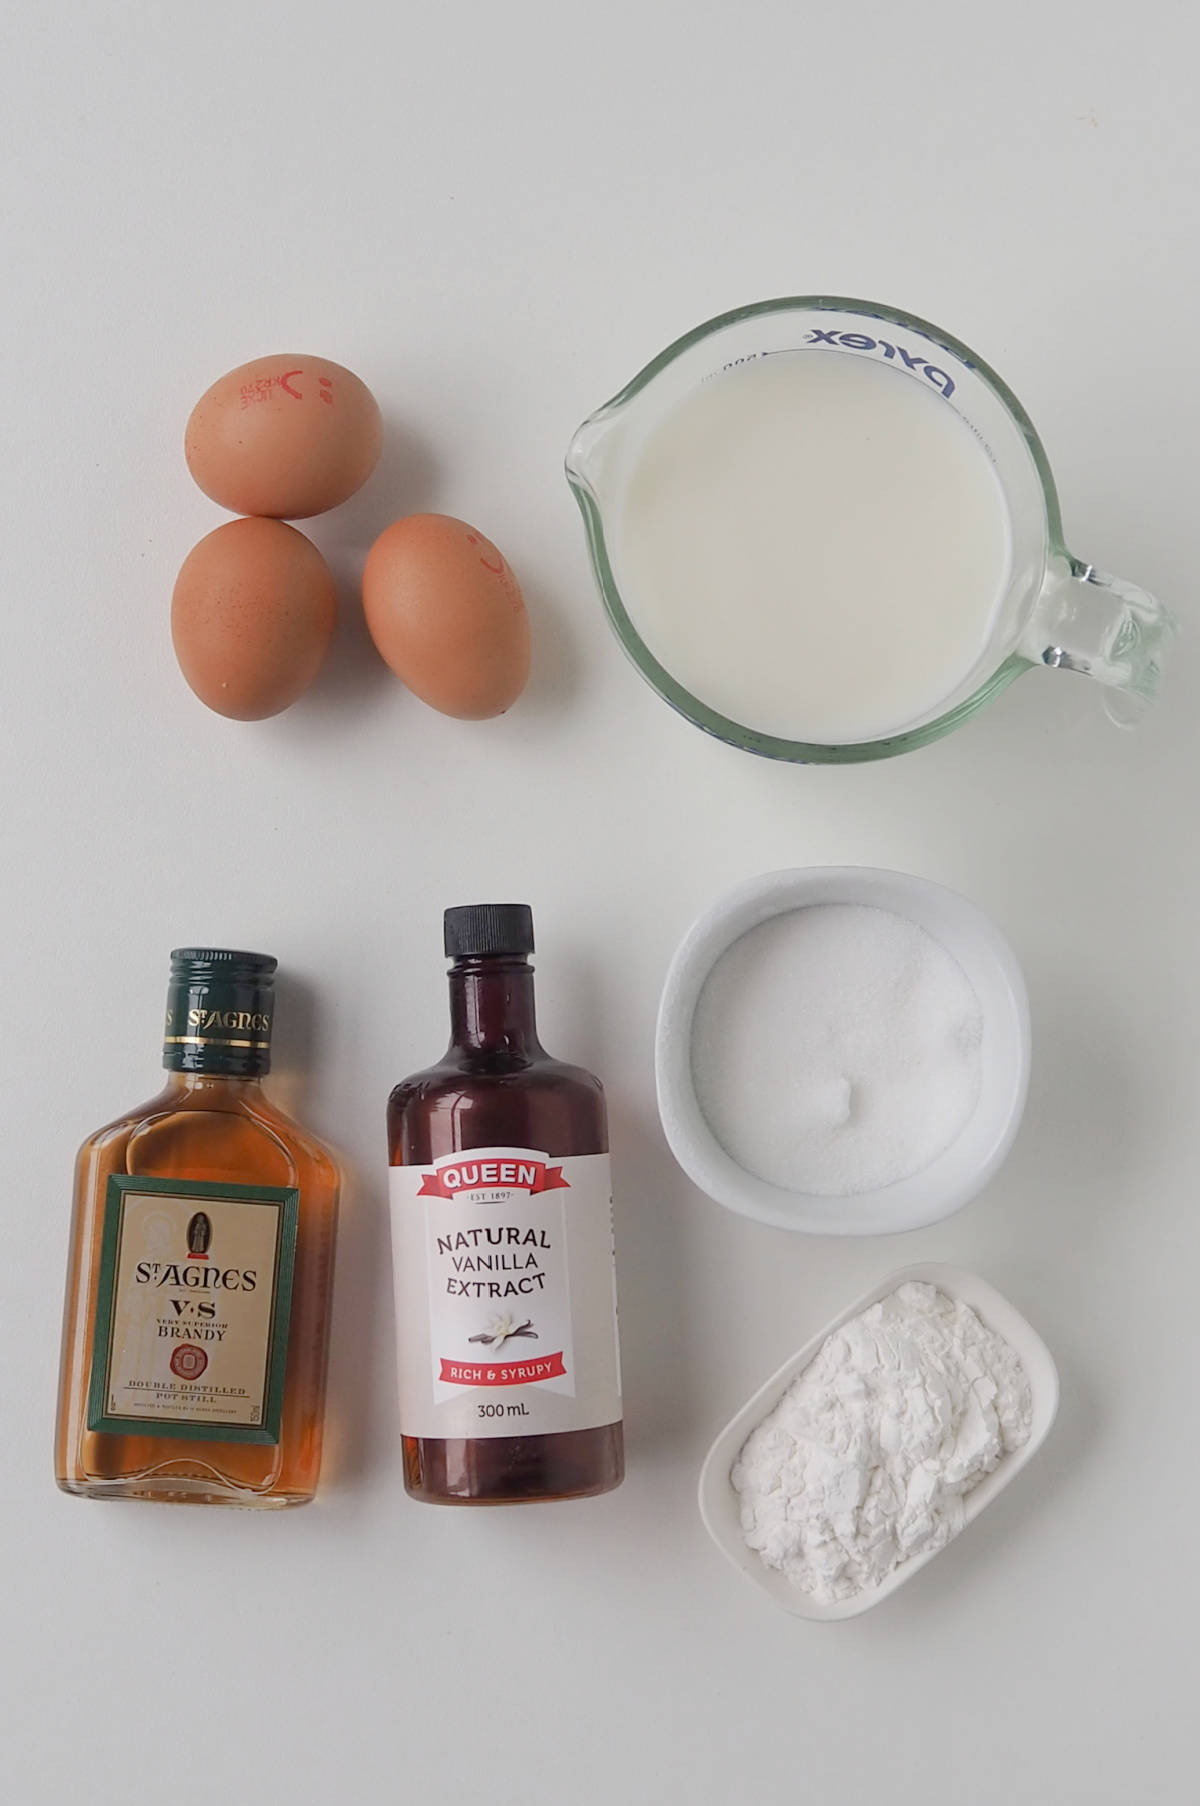
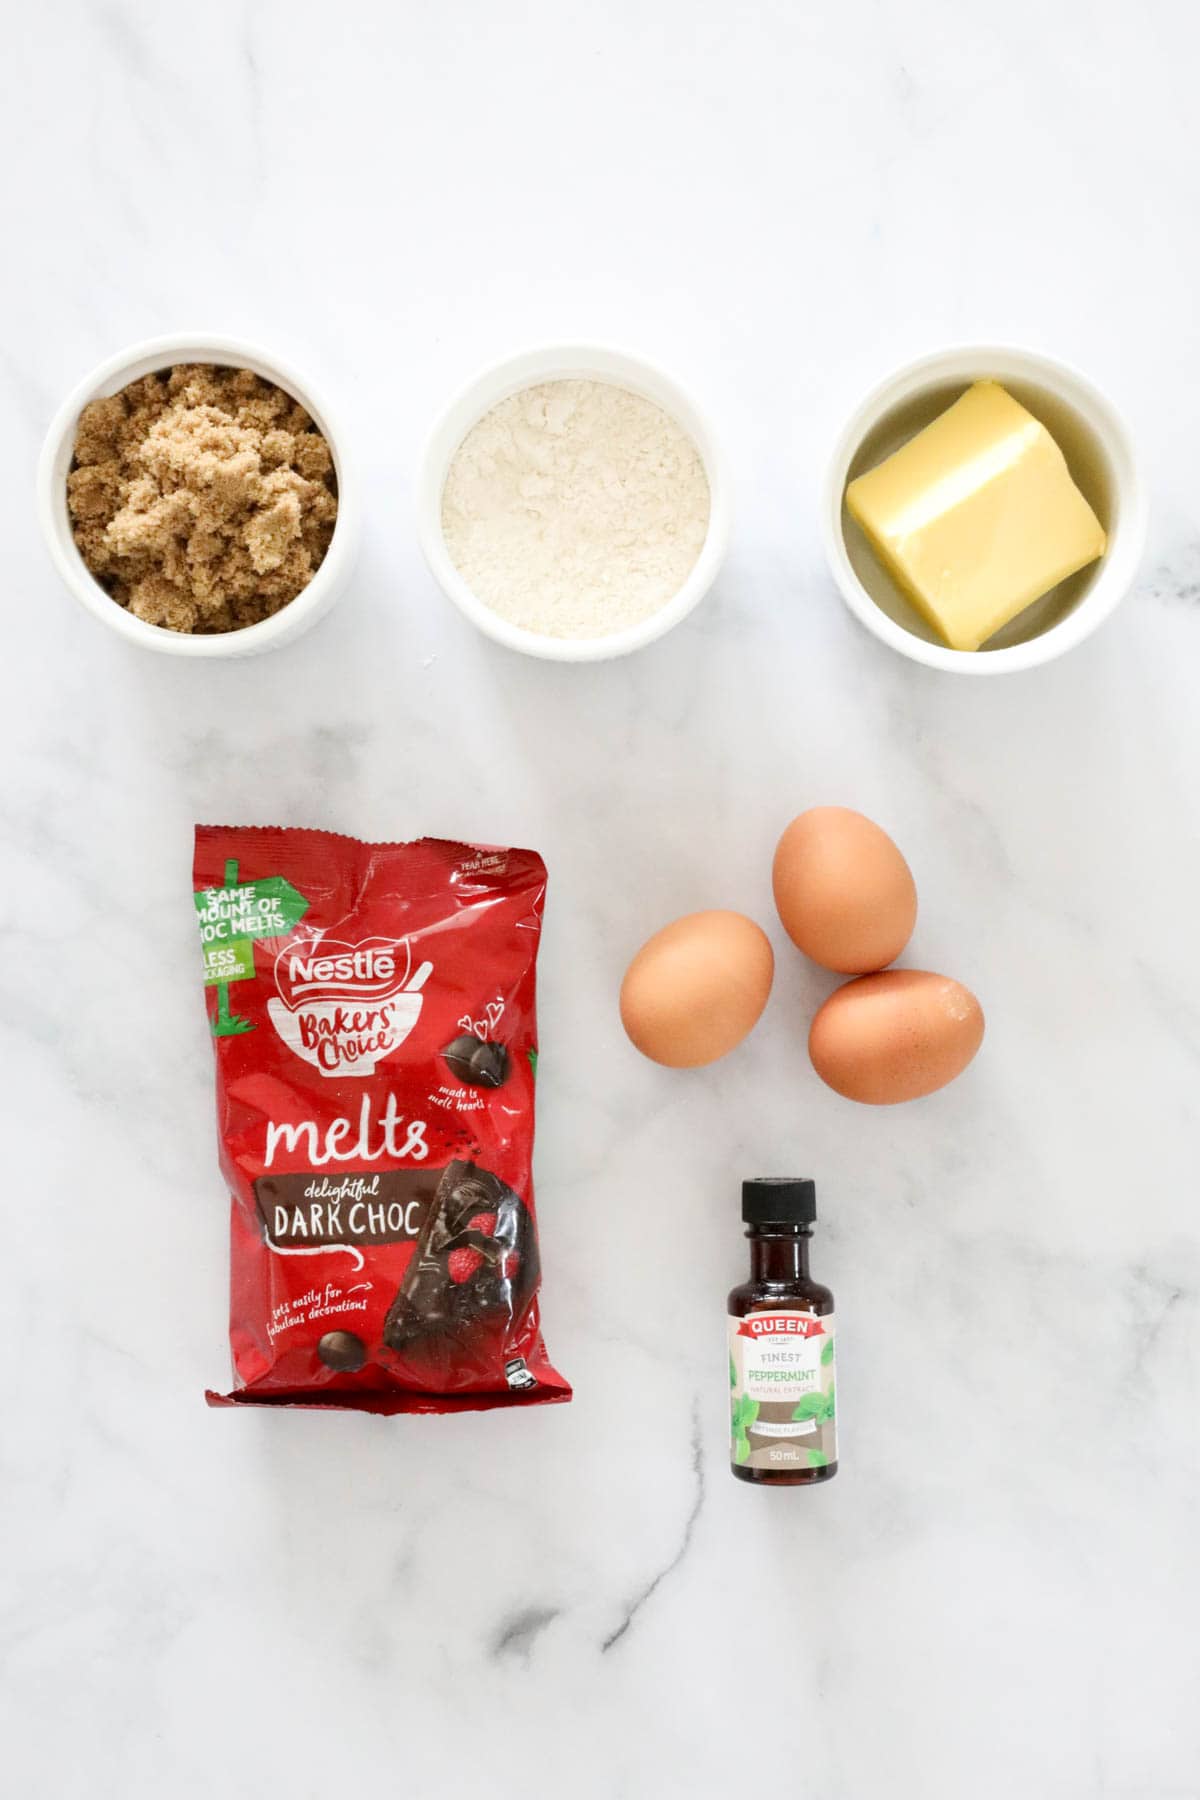
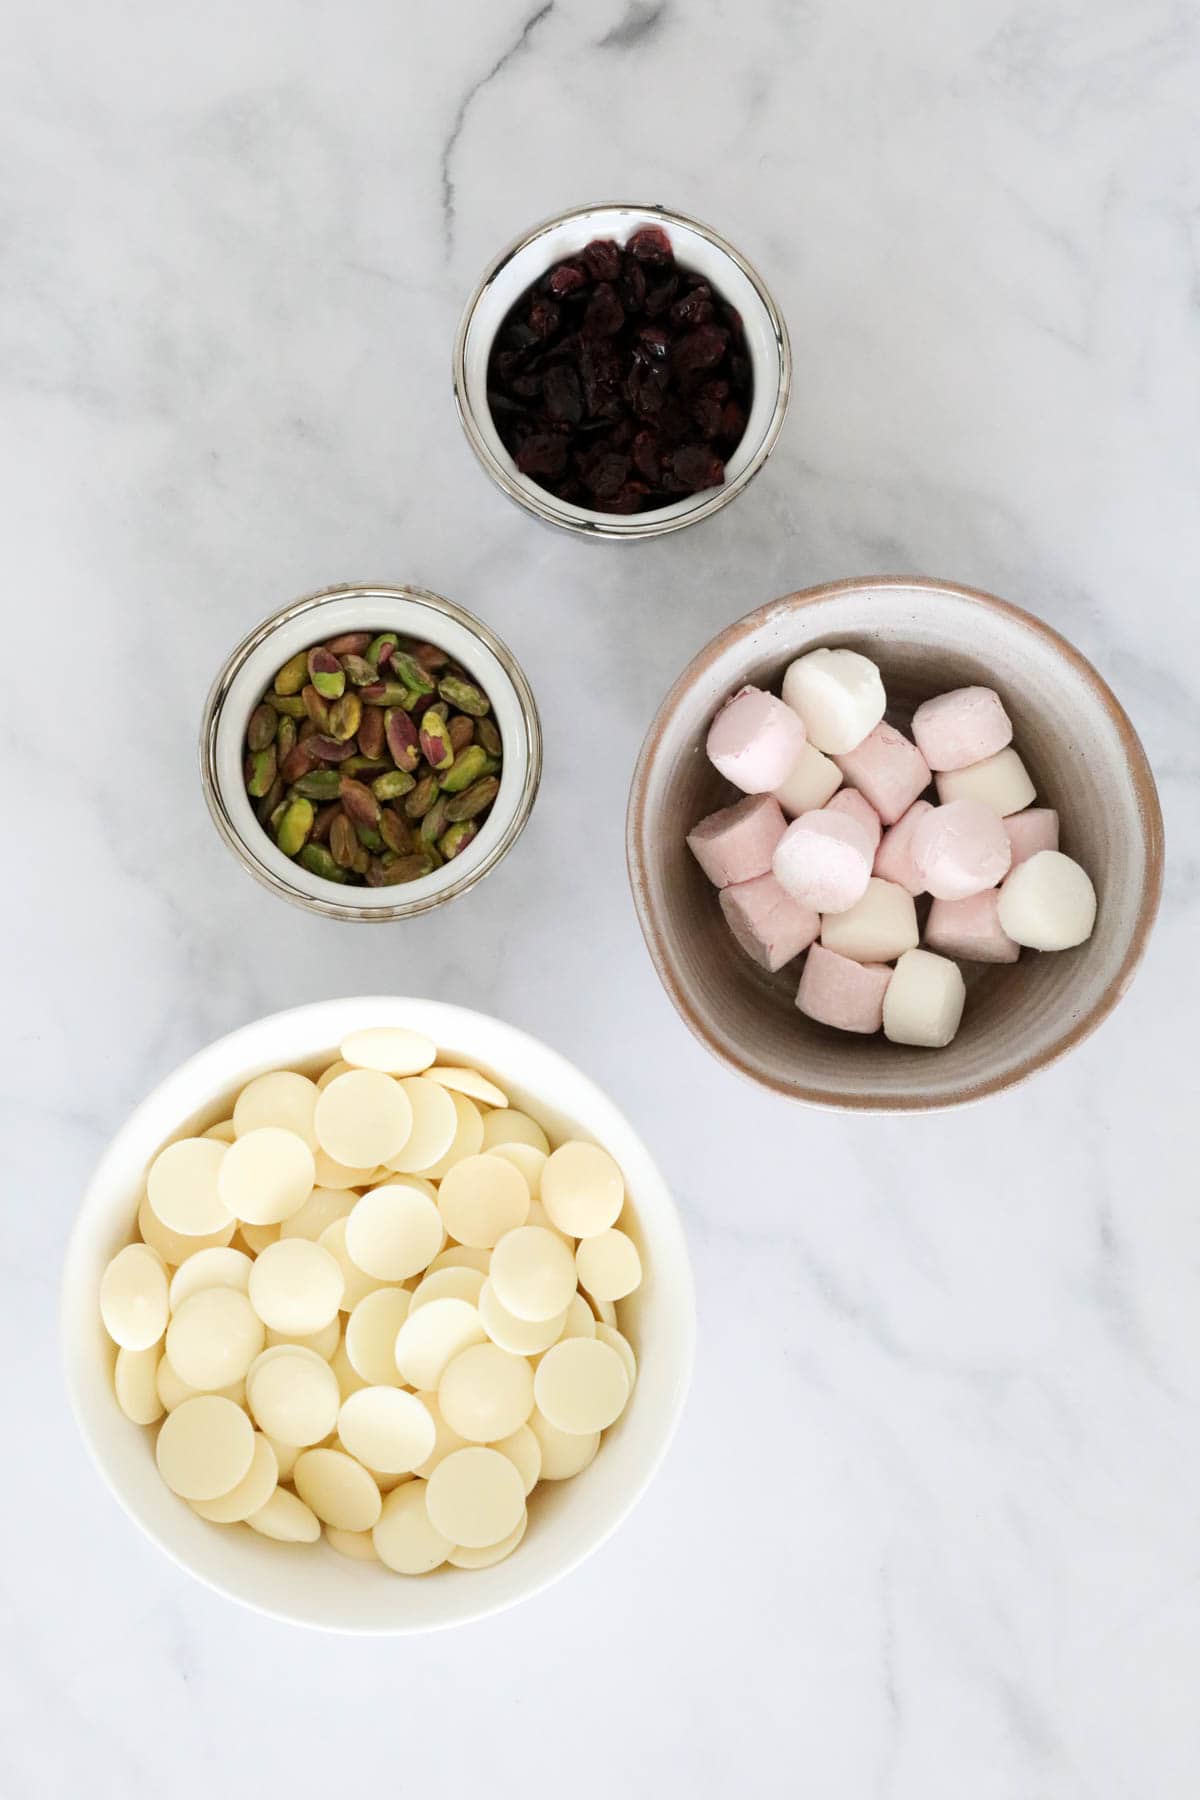
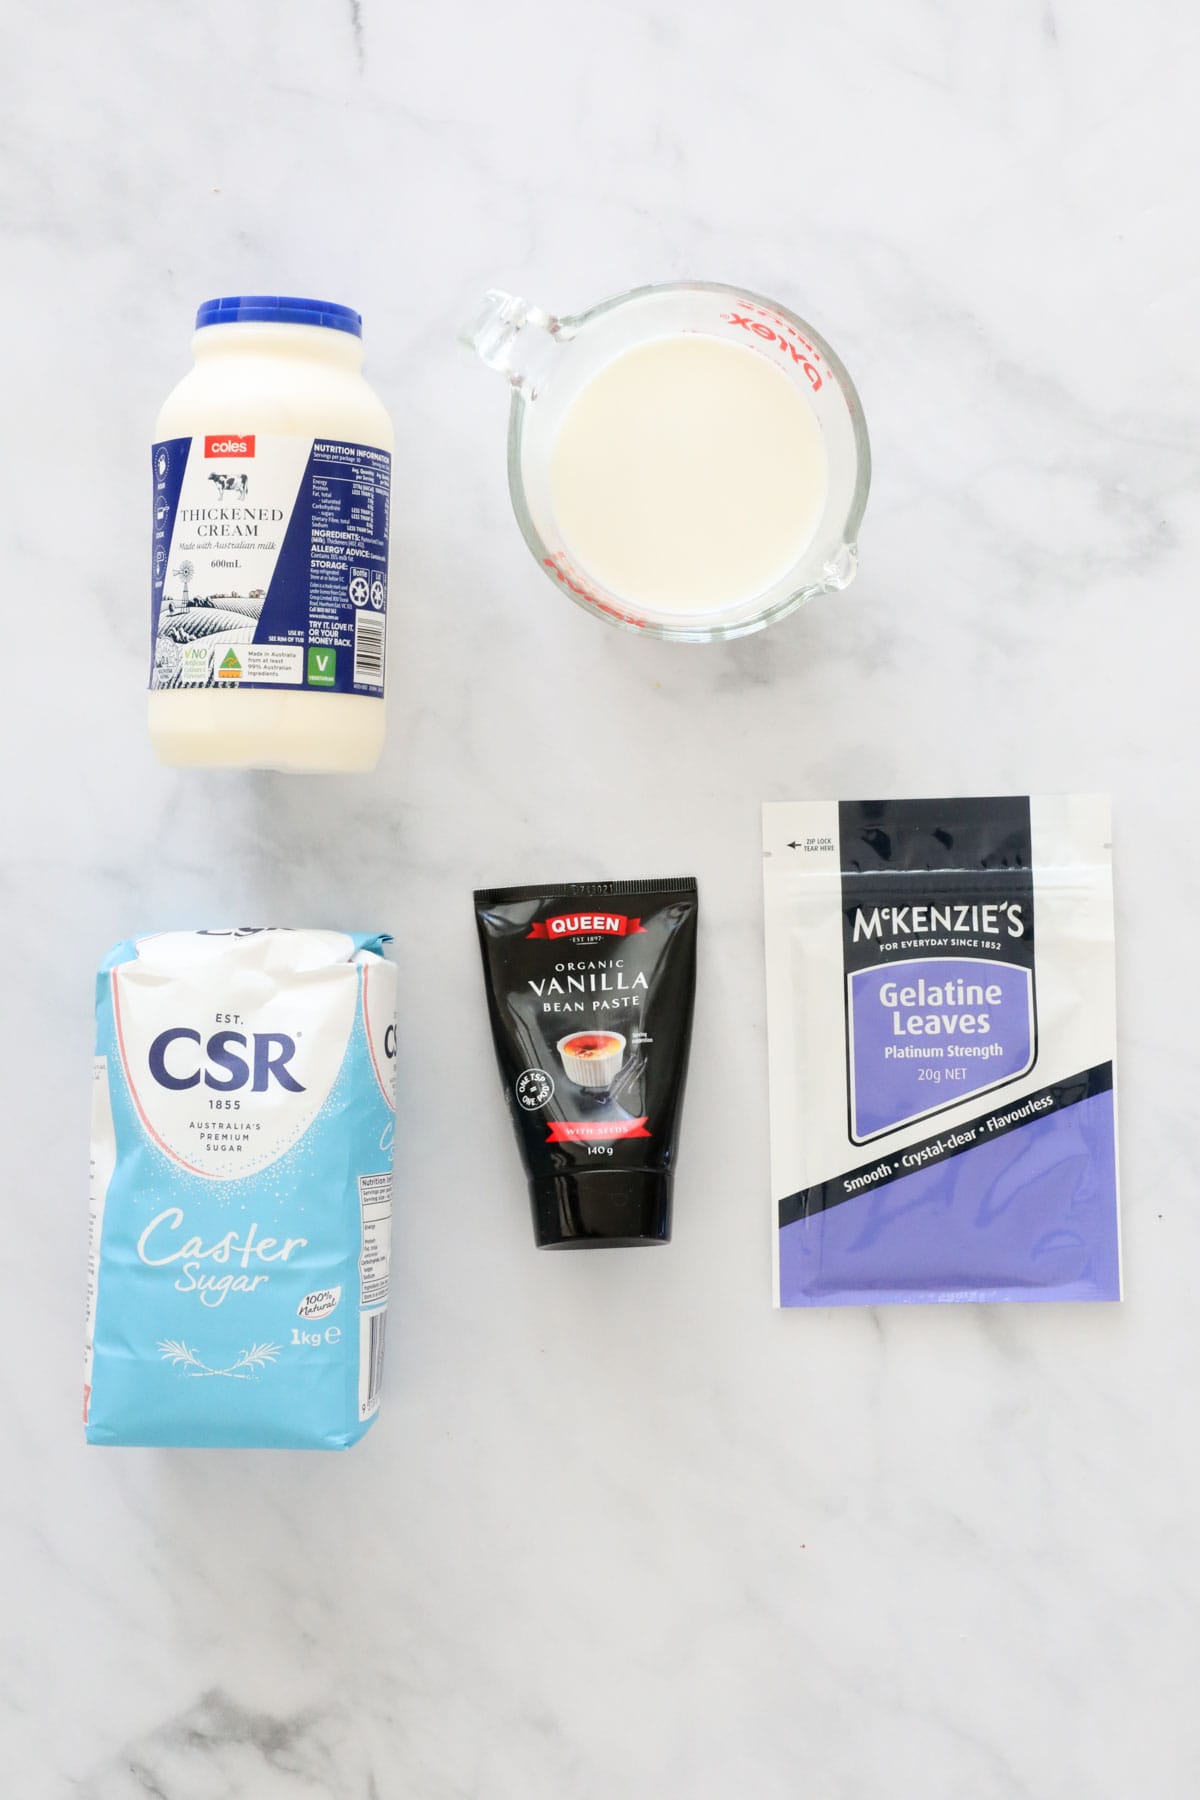
To make our no bake Thermomix Caramilk Cheesecake you will need: butternut snap biscuits (or similar), butter, 2 blocks of Caramilk Chocolate, thickened cream, gelatine and 2 blocks of cream cheese.
If you are unable to find butternut snap biscuits you can substitute with the same quantity of Marie or Arrowroot biscuits.
How to make a Caramilk Cheesecake
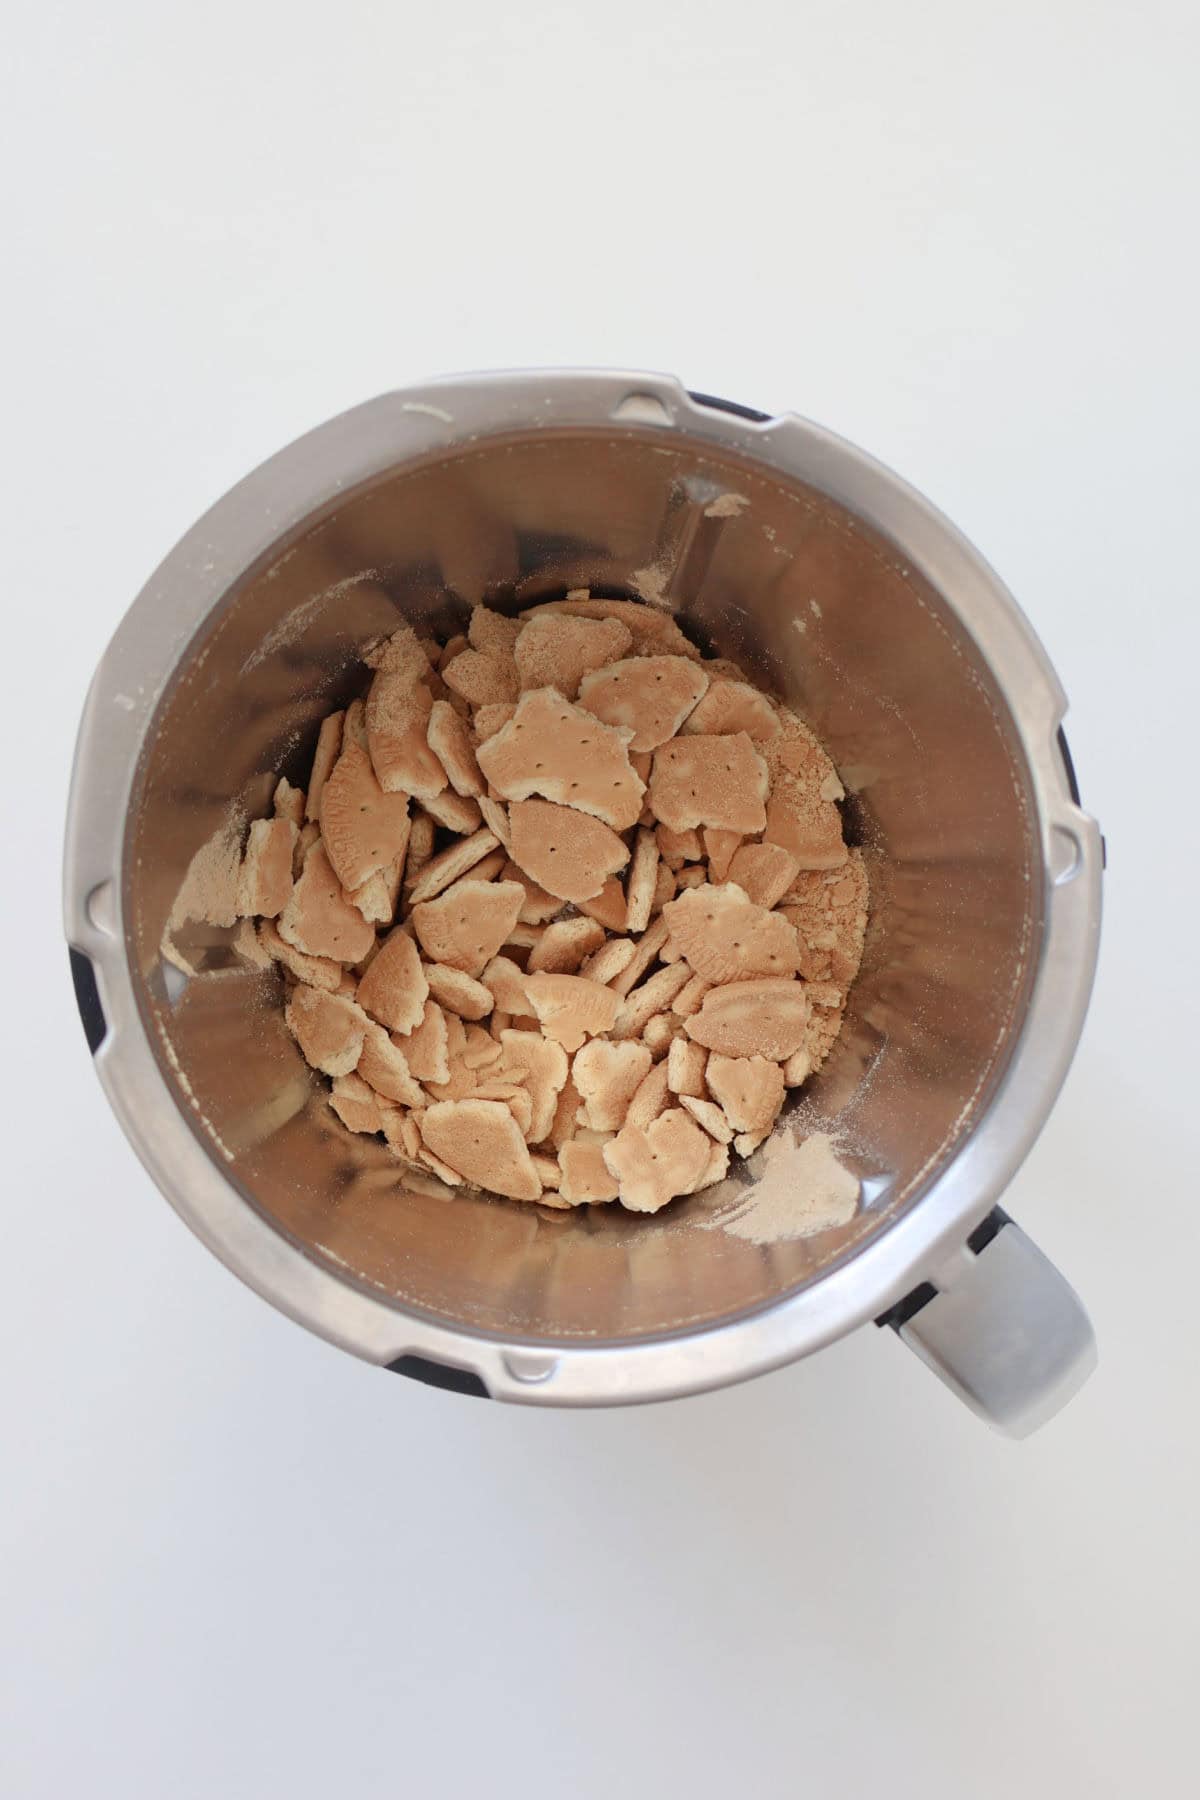
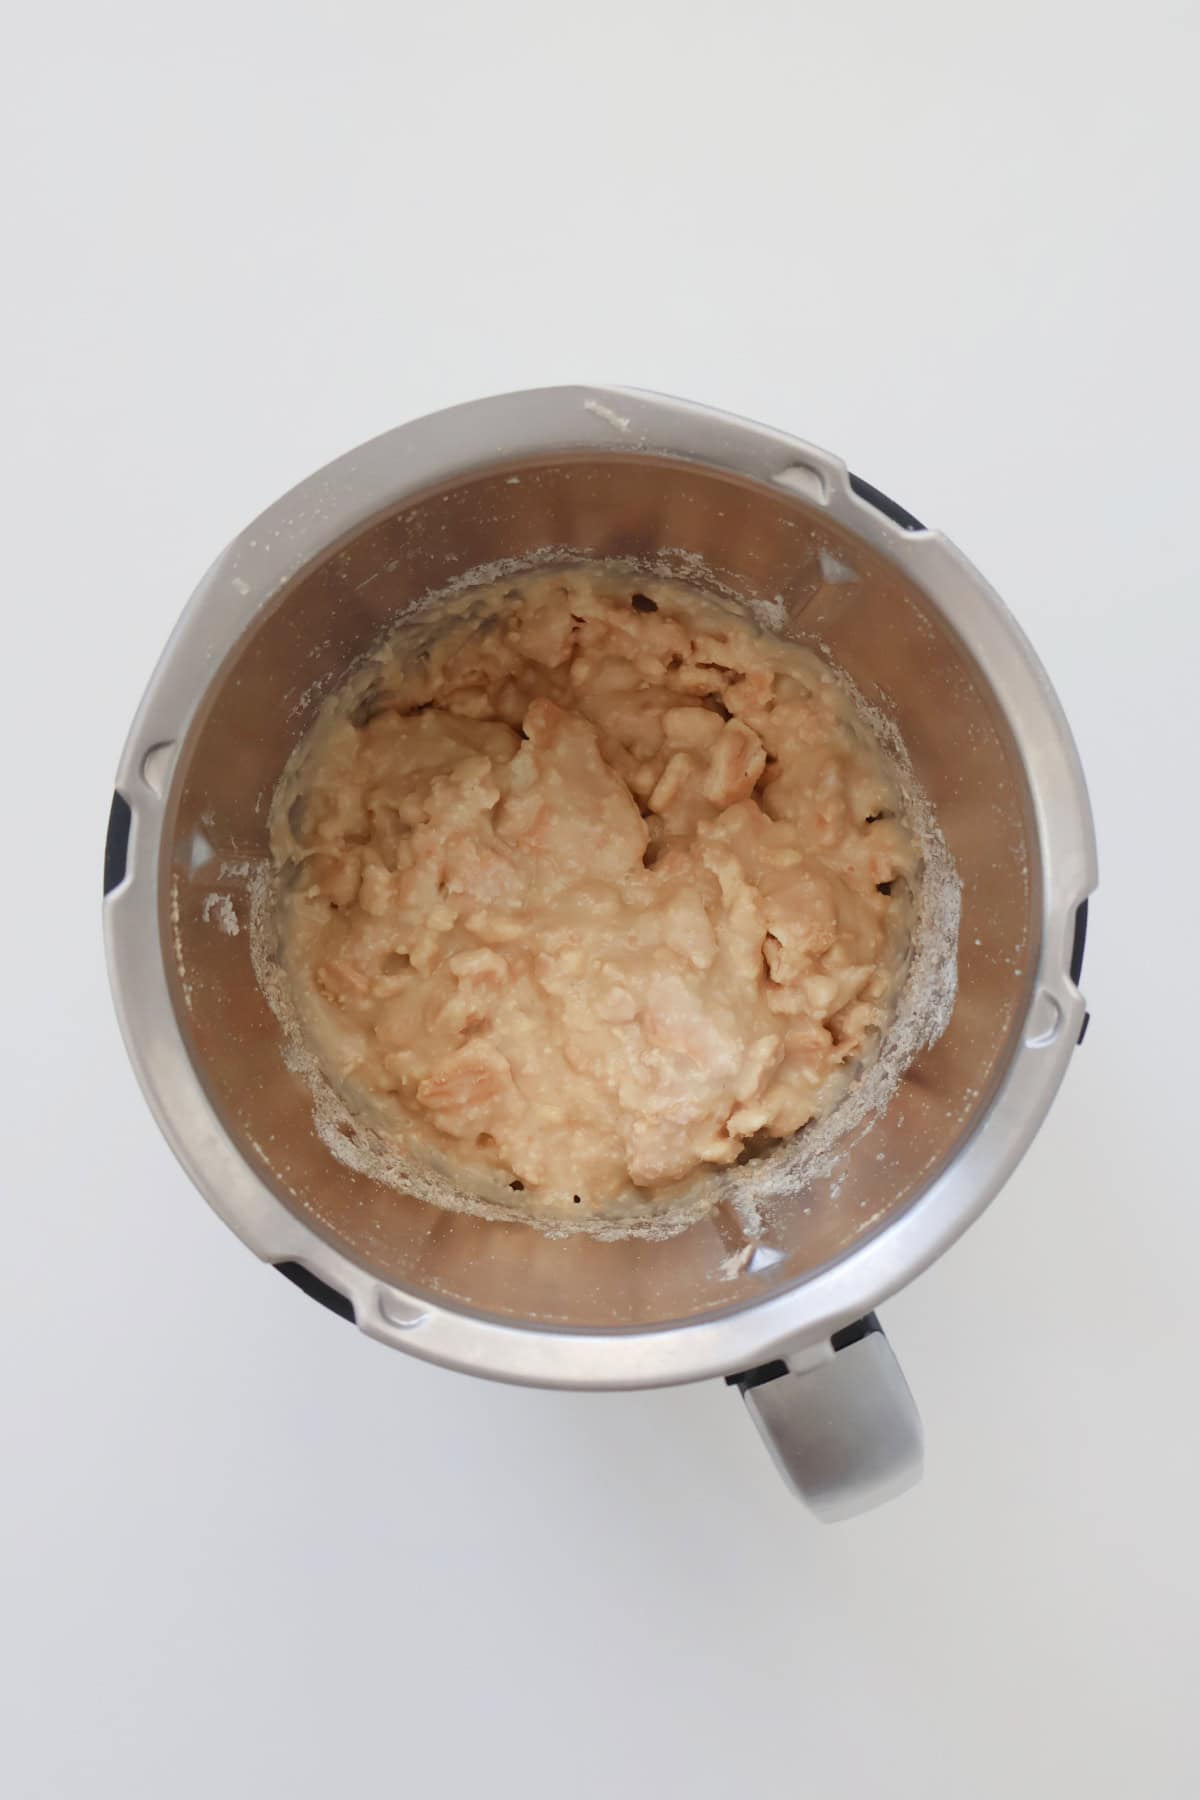
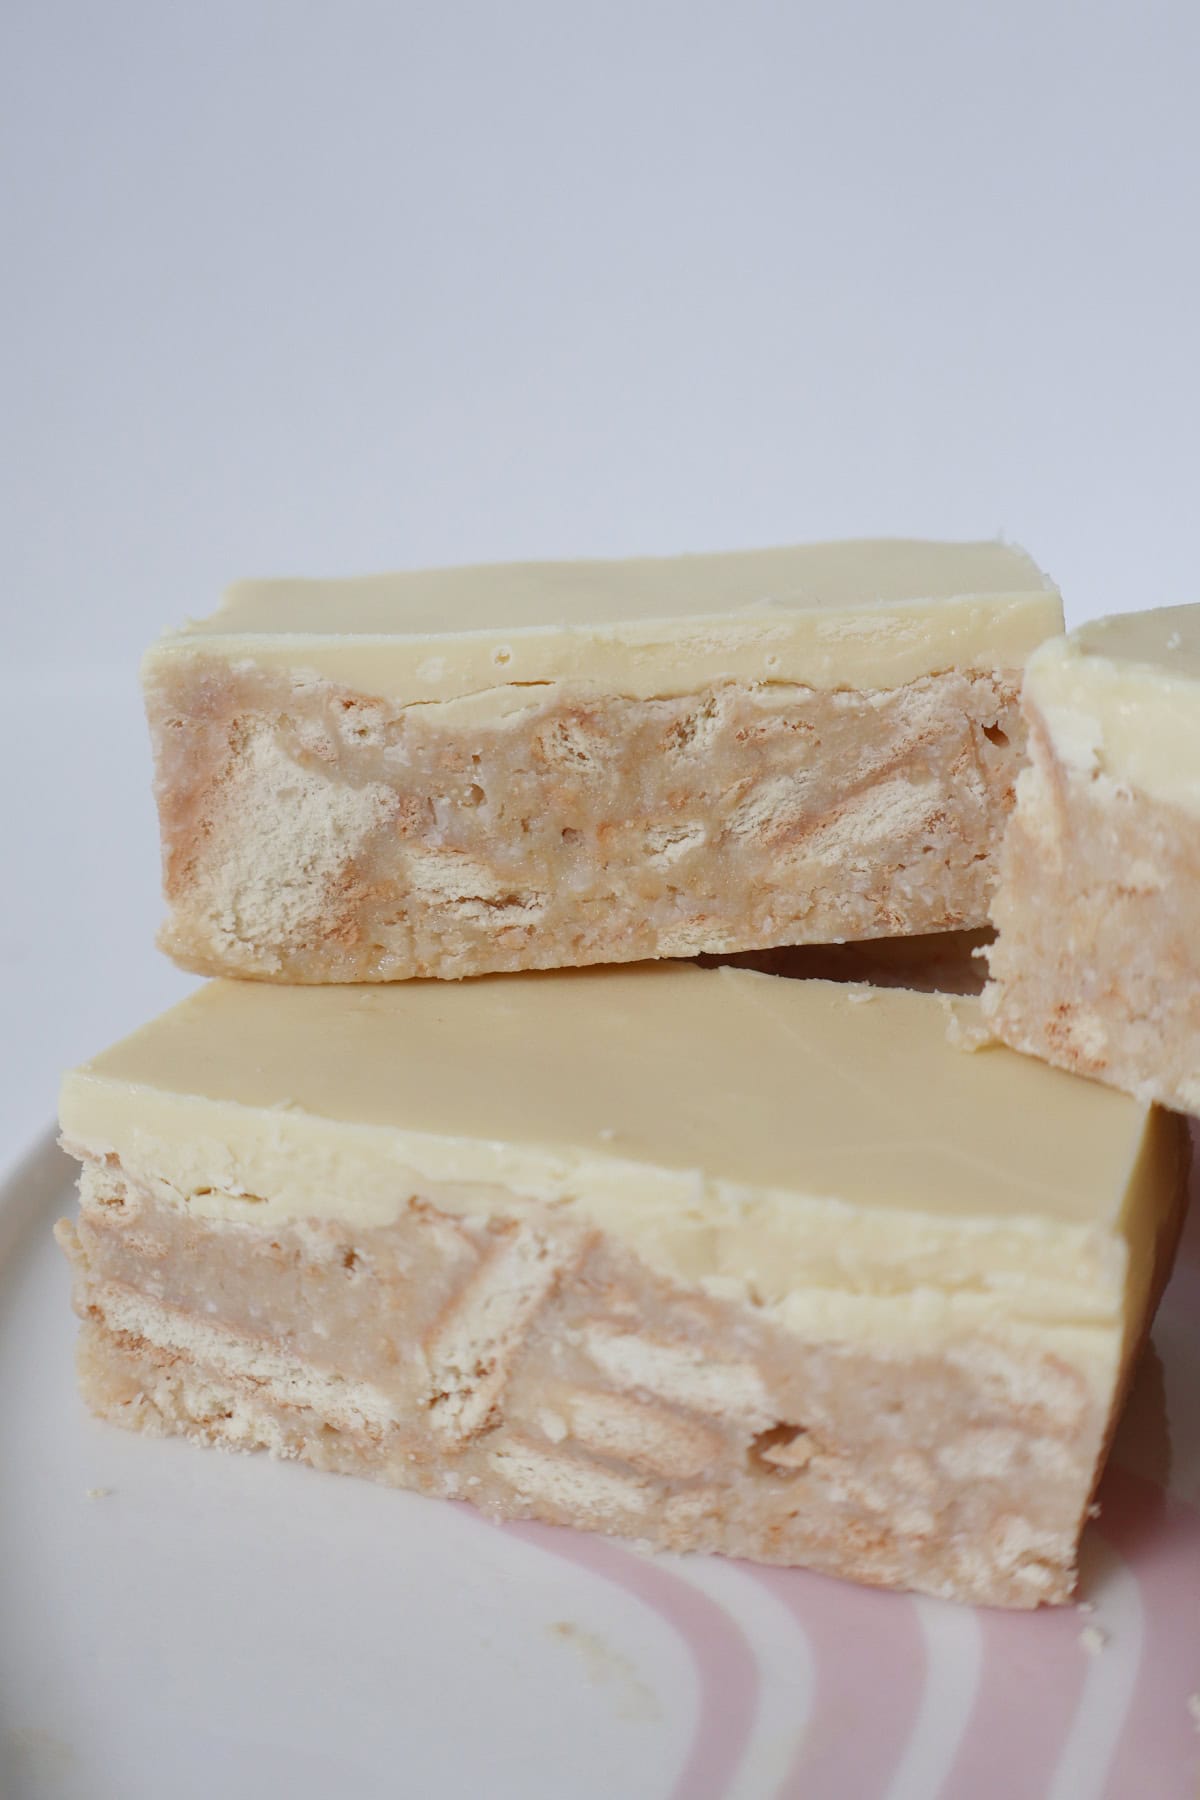
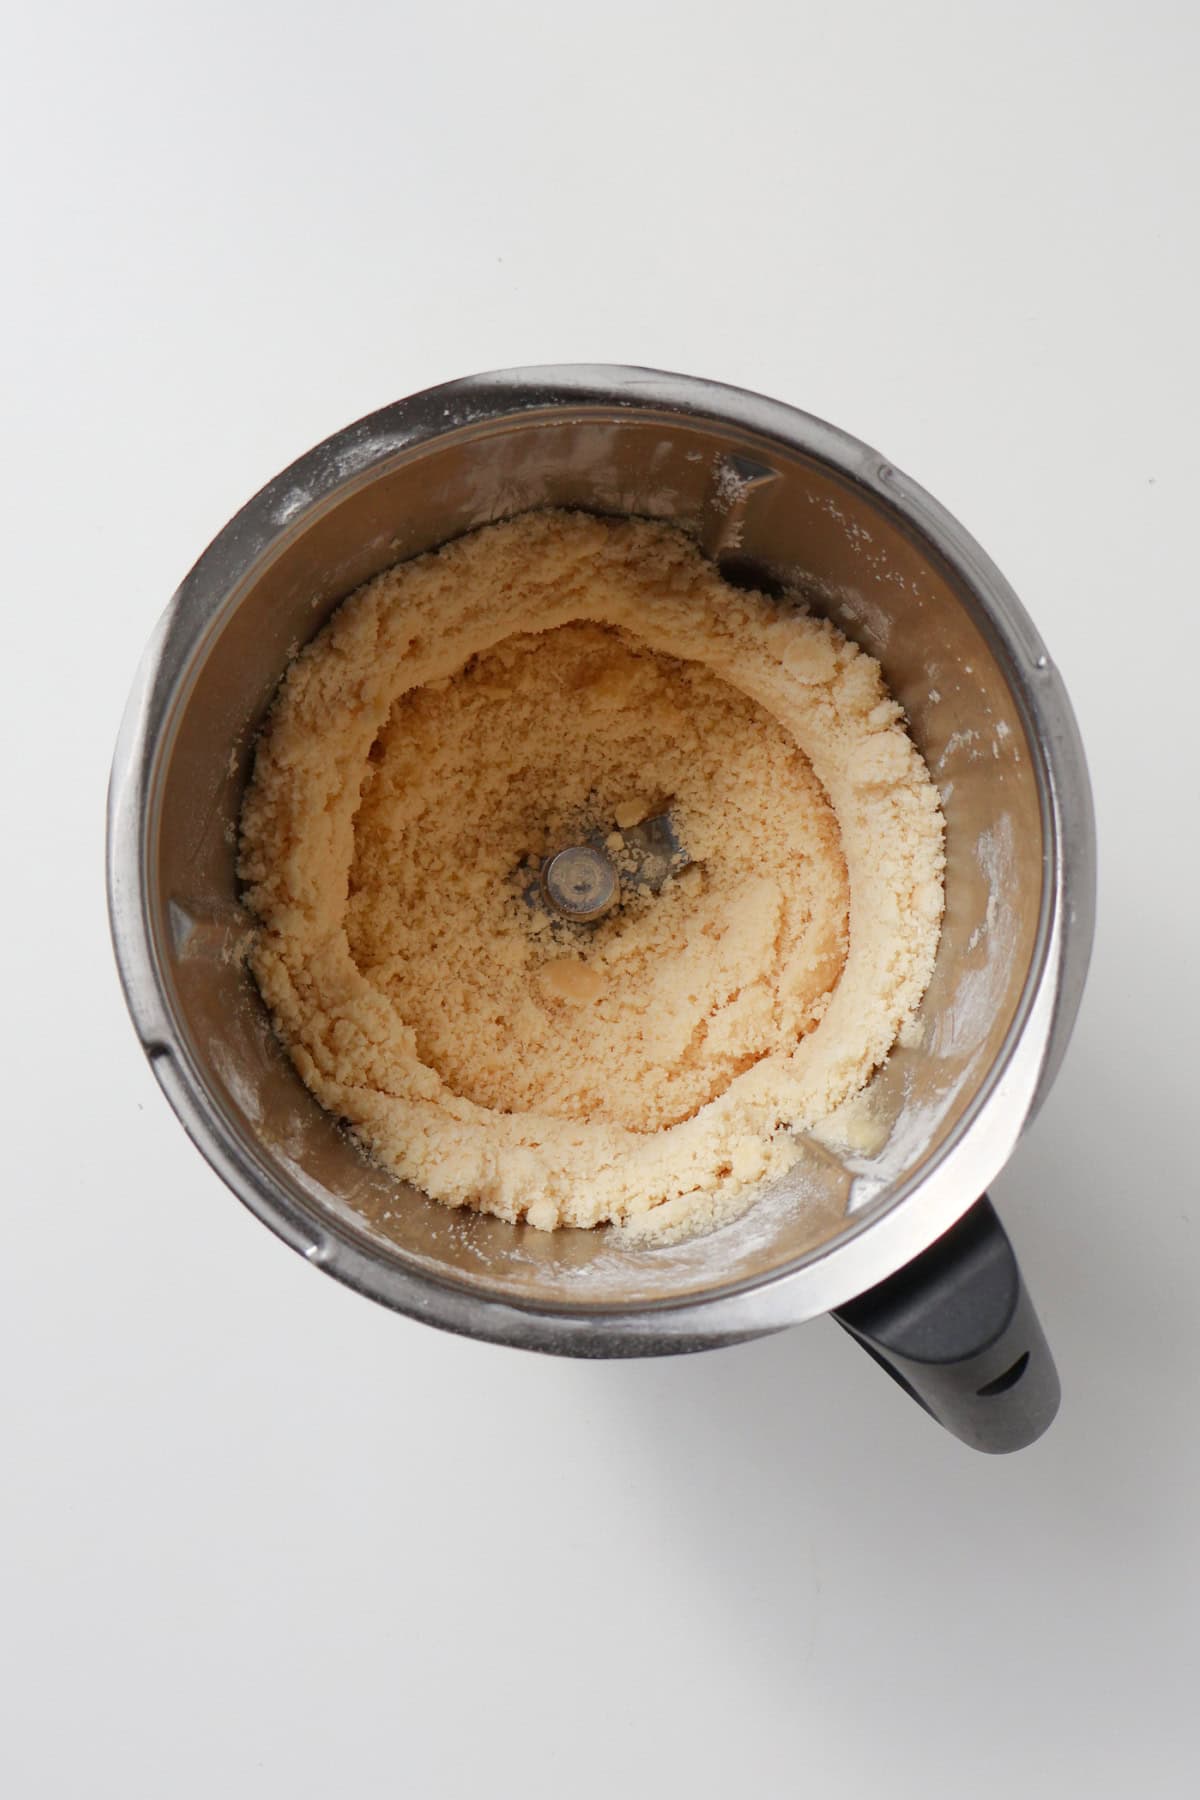
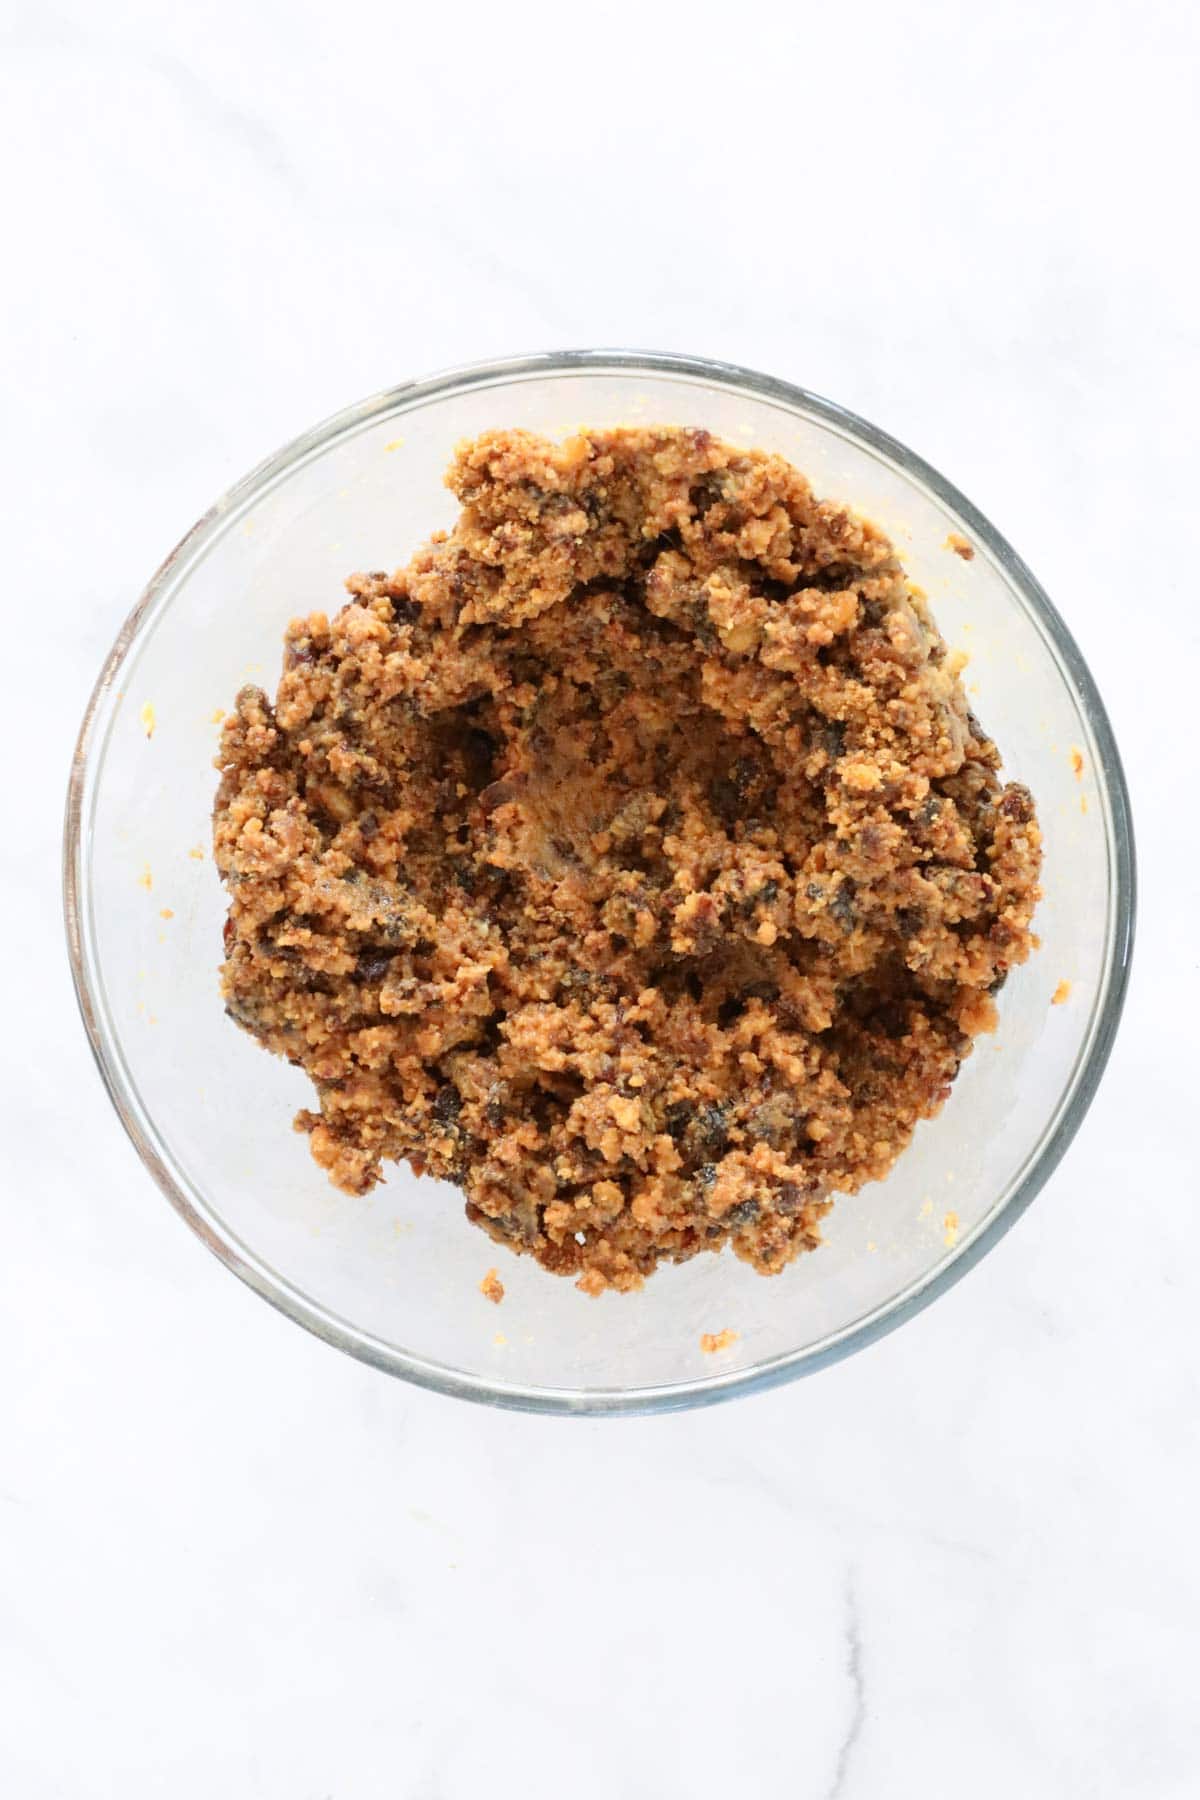
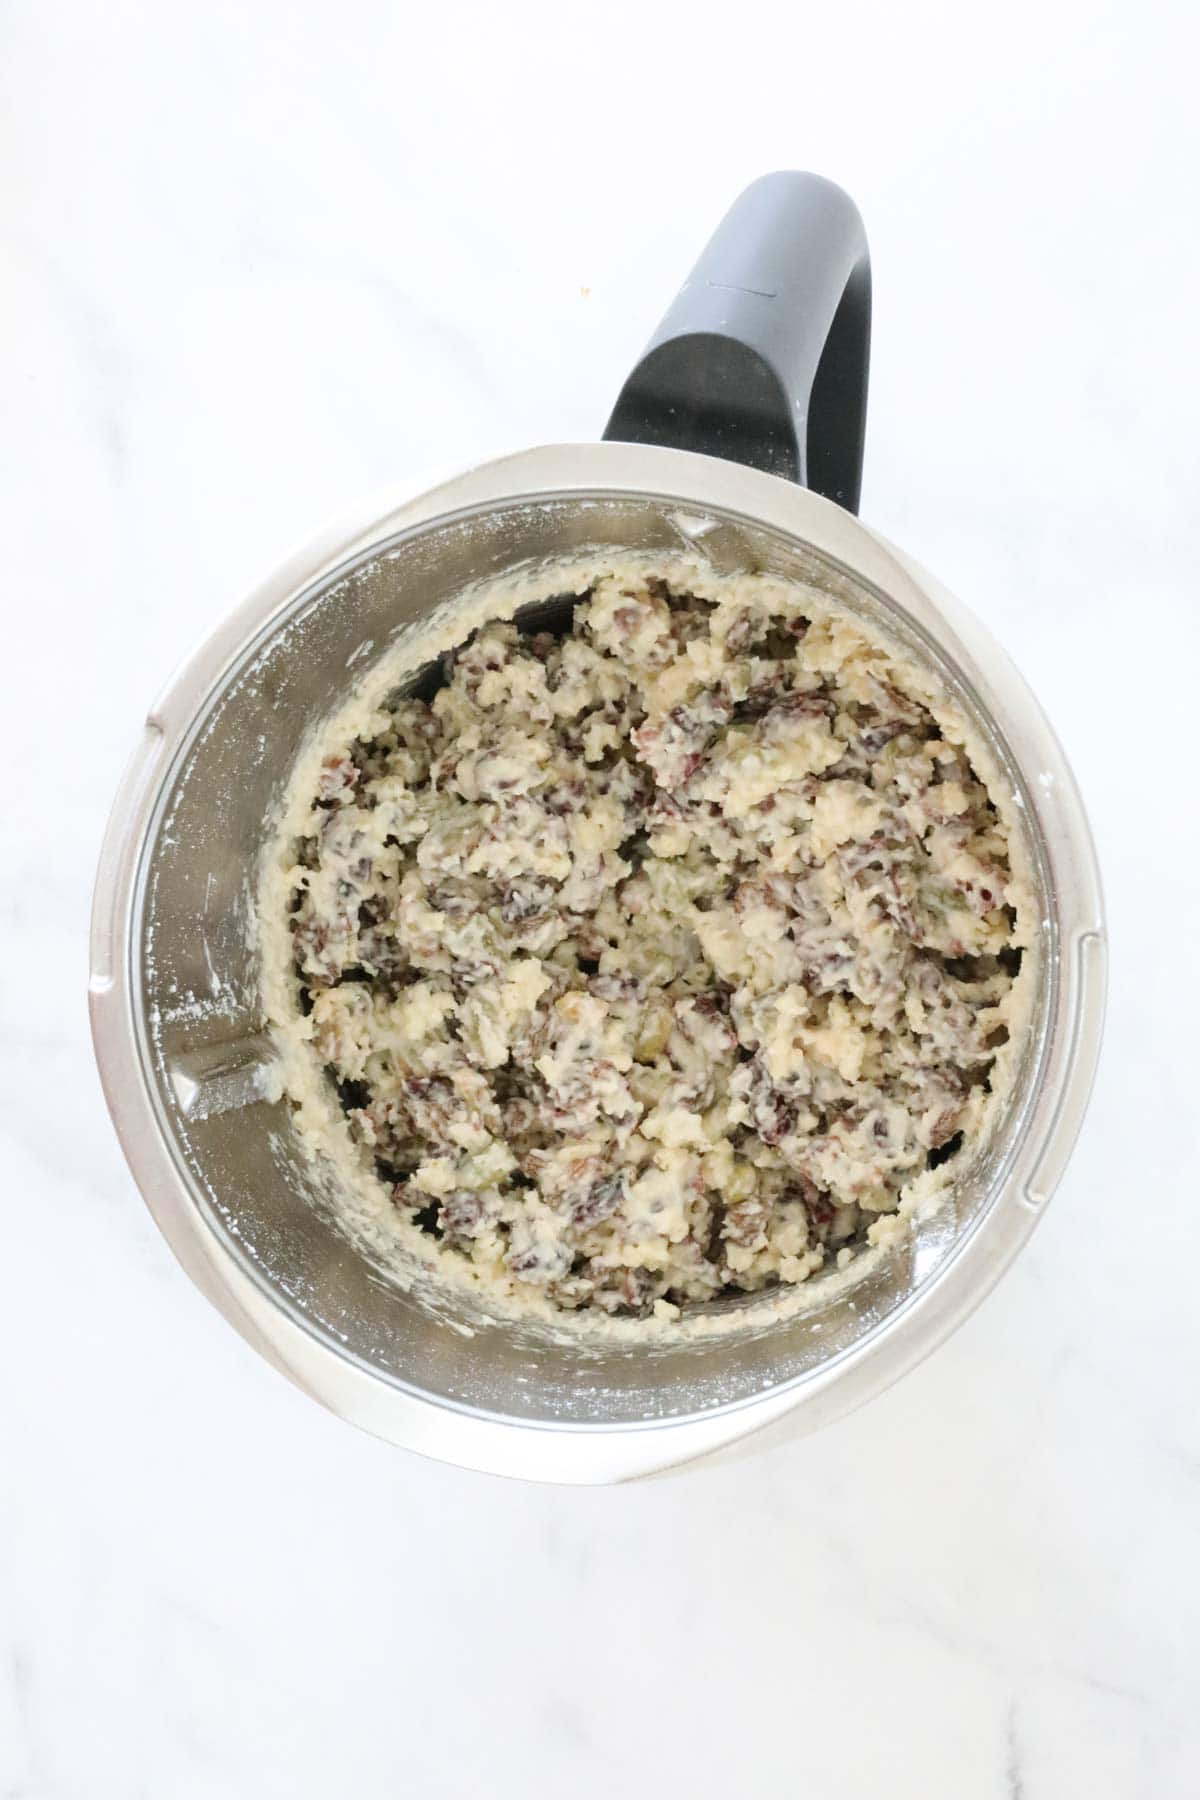
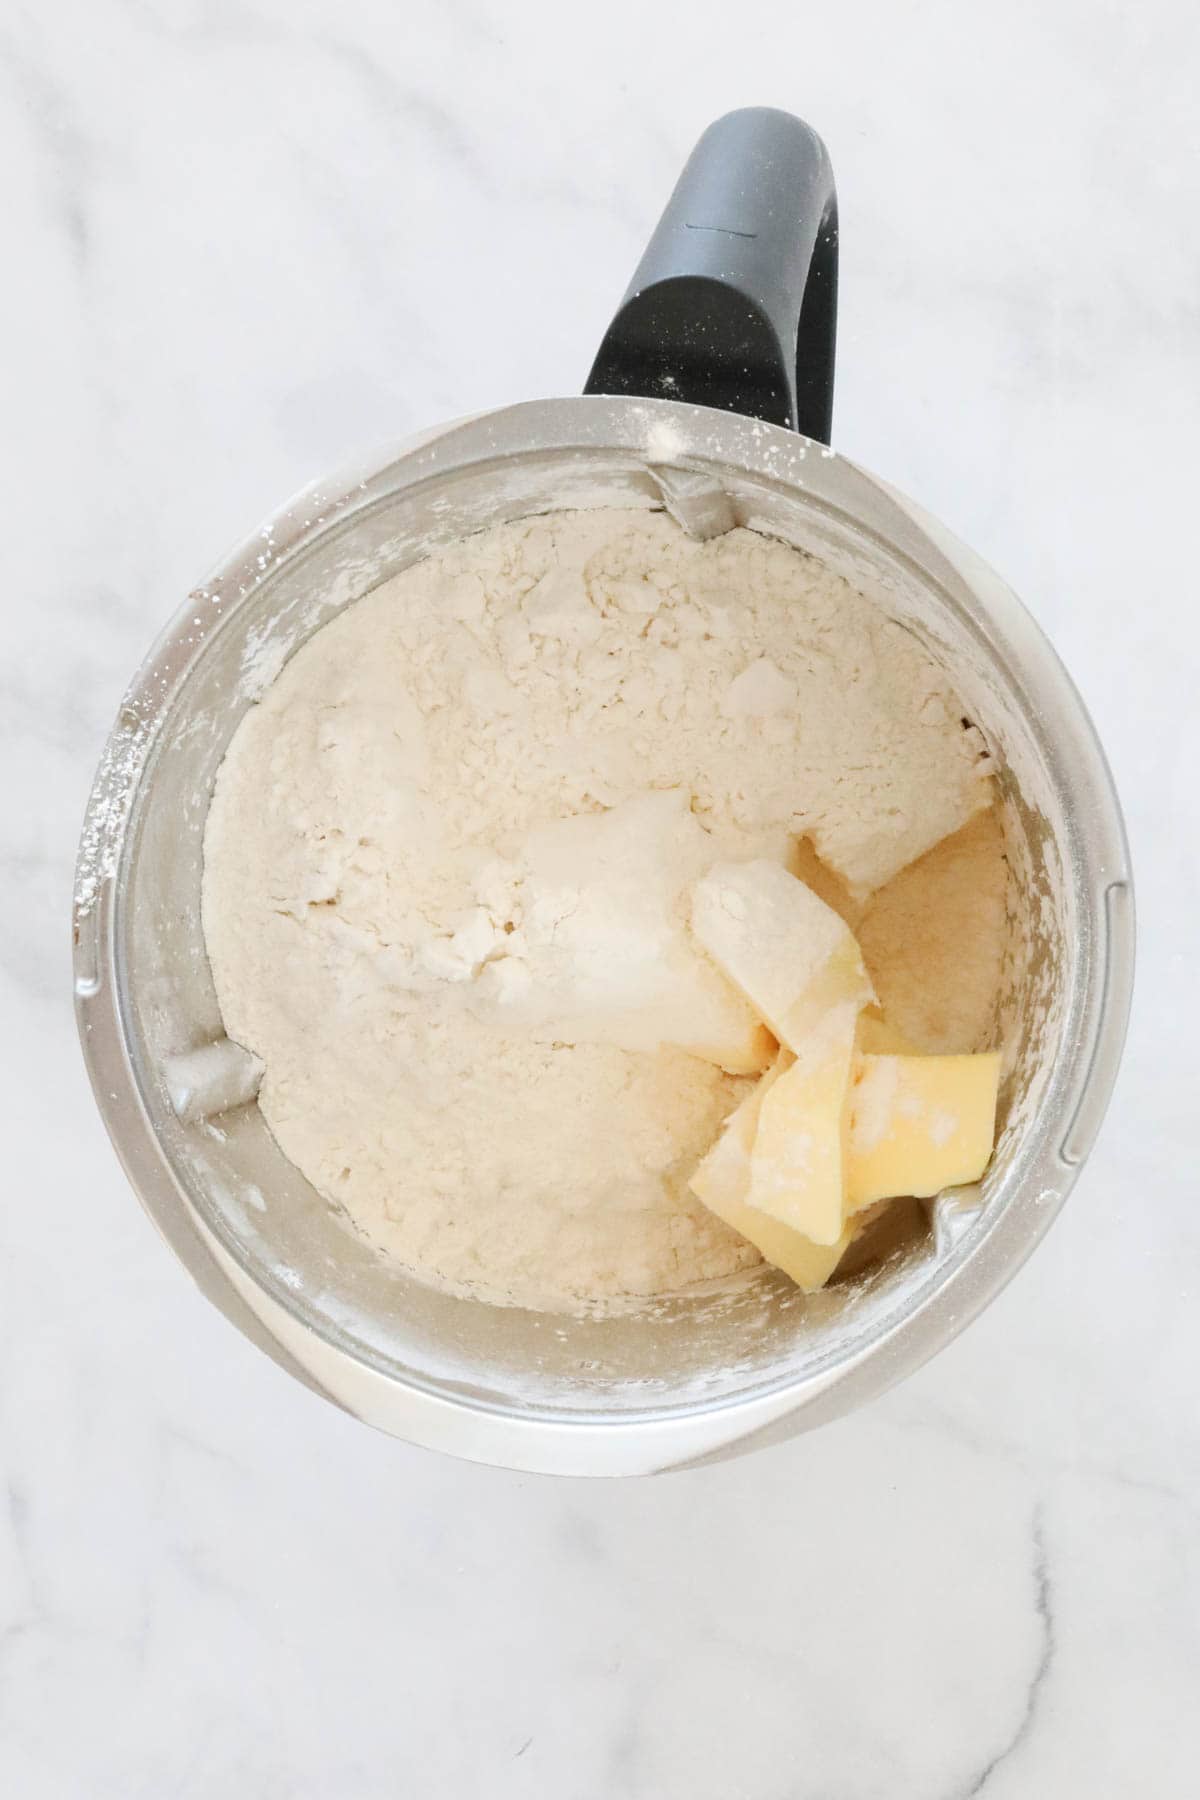
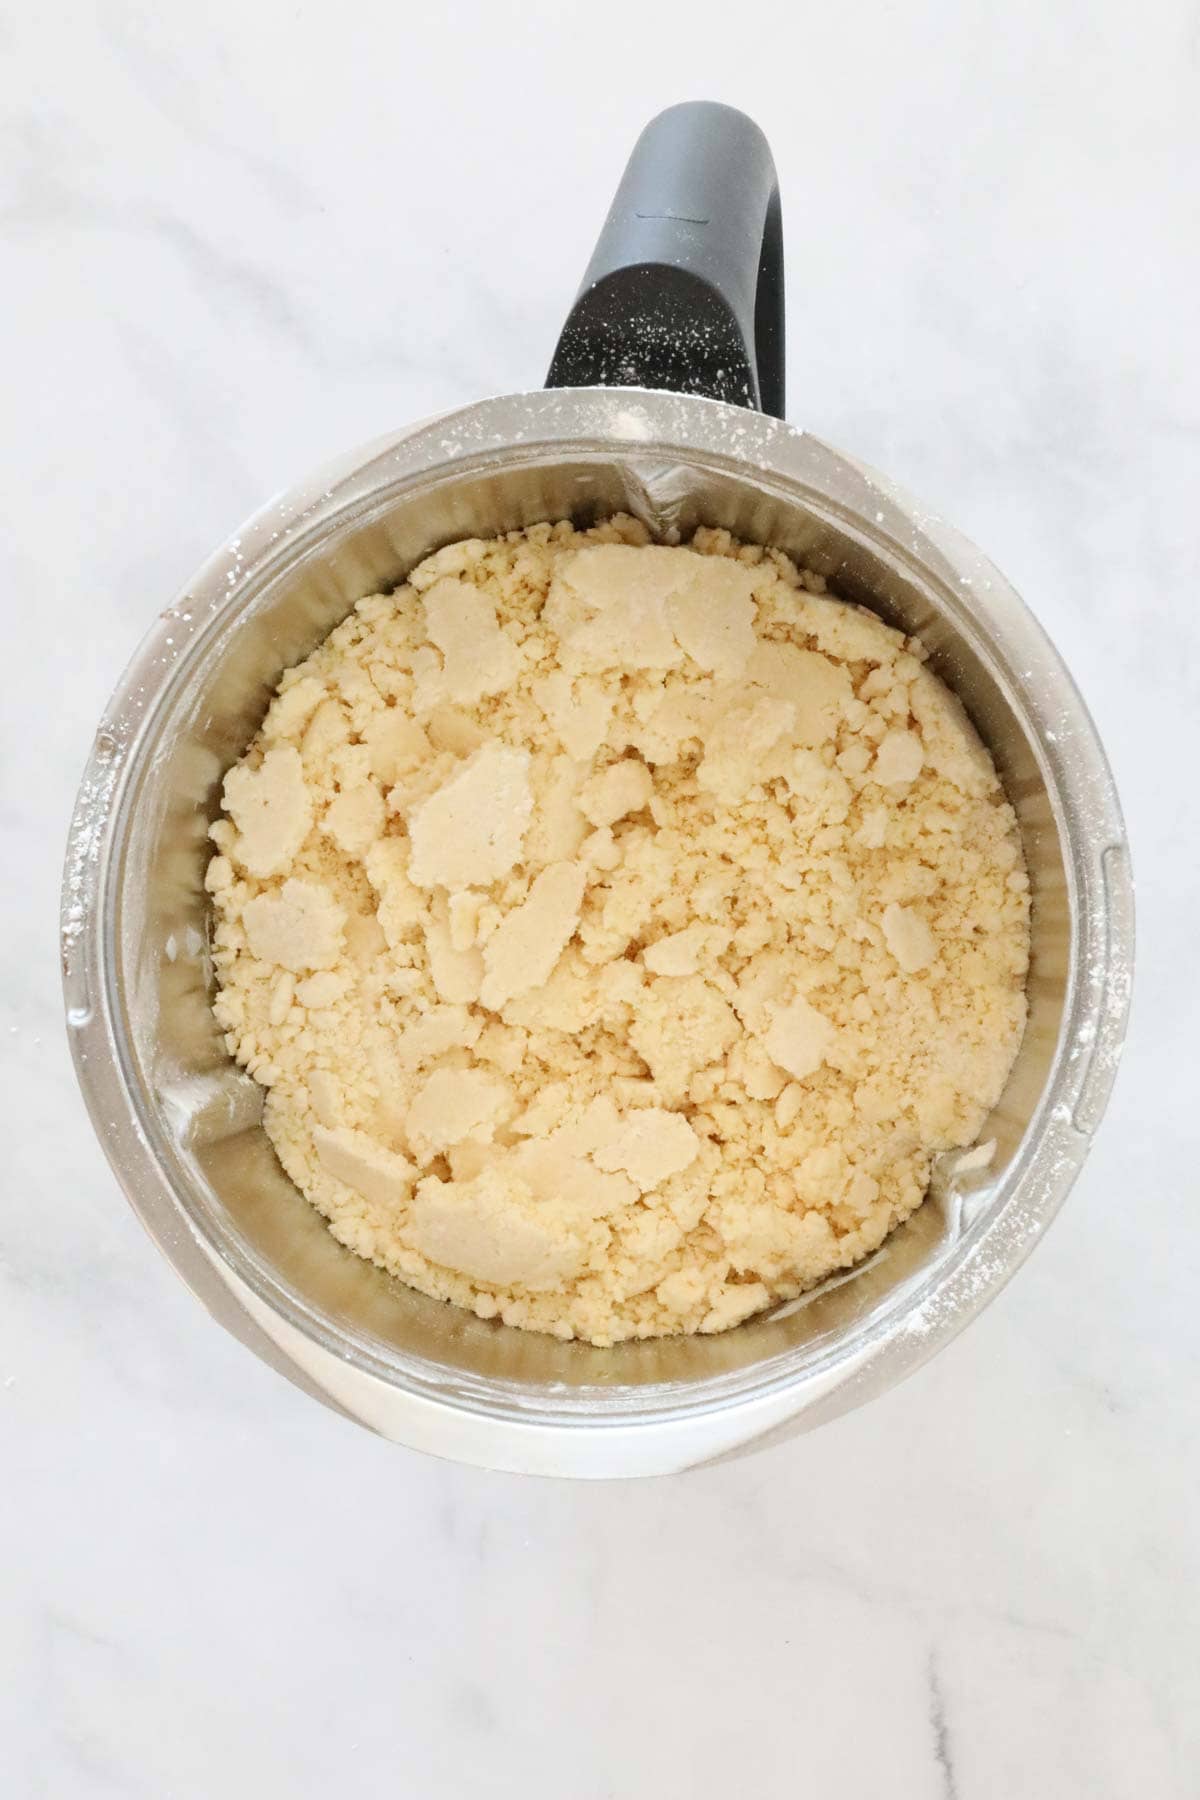
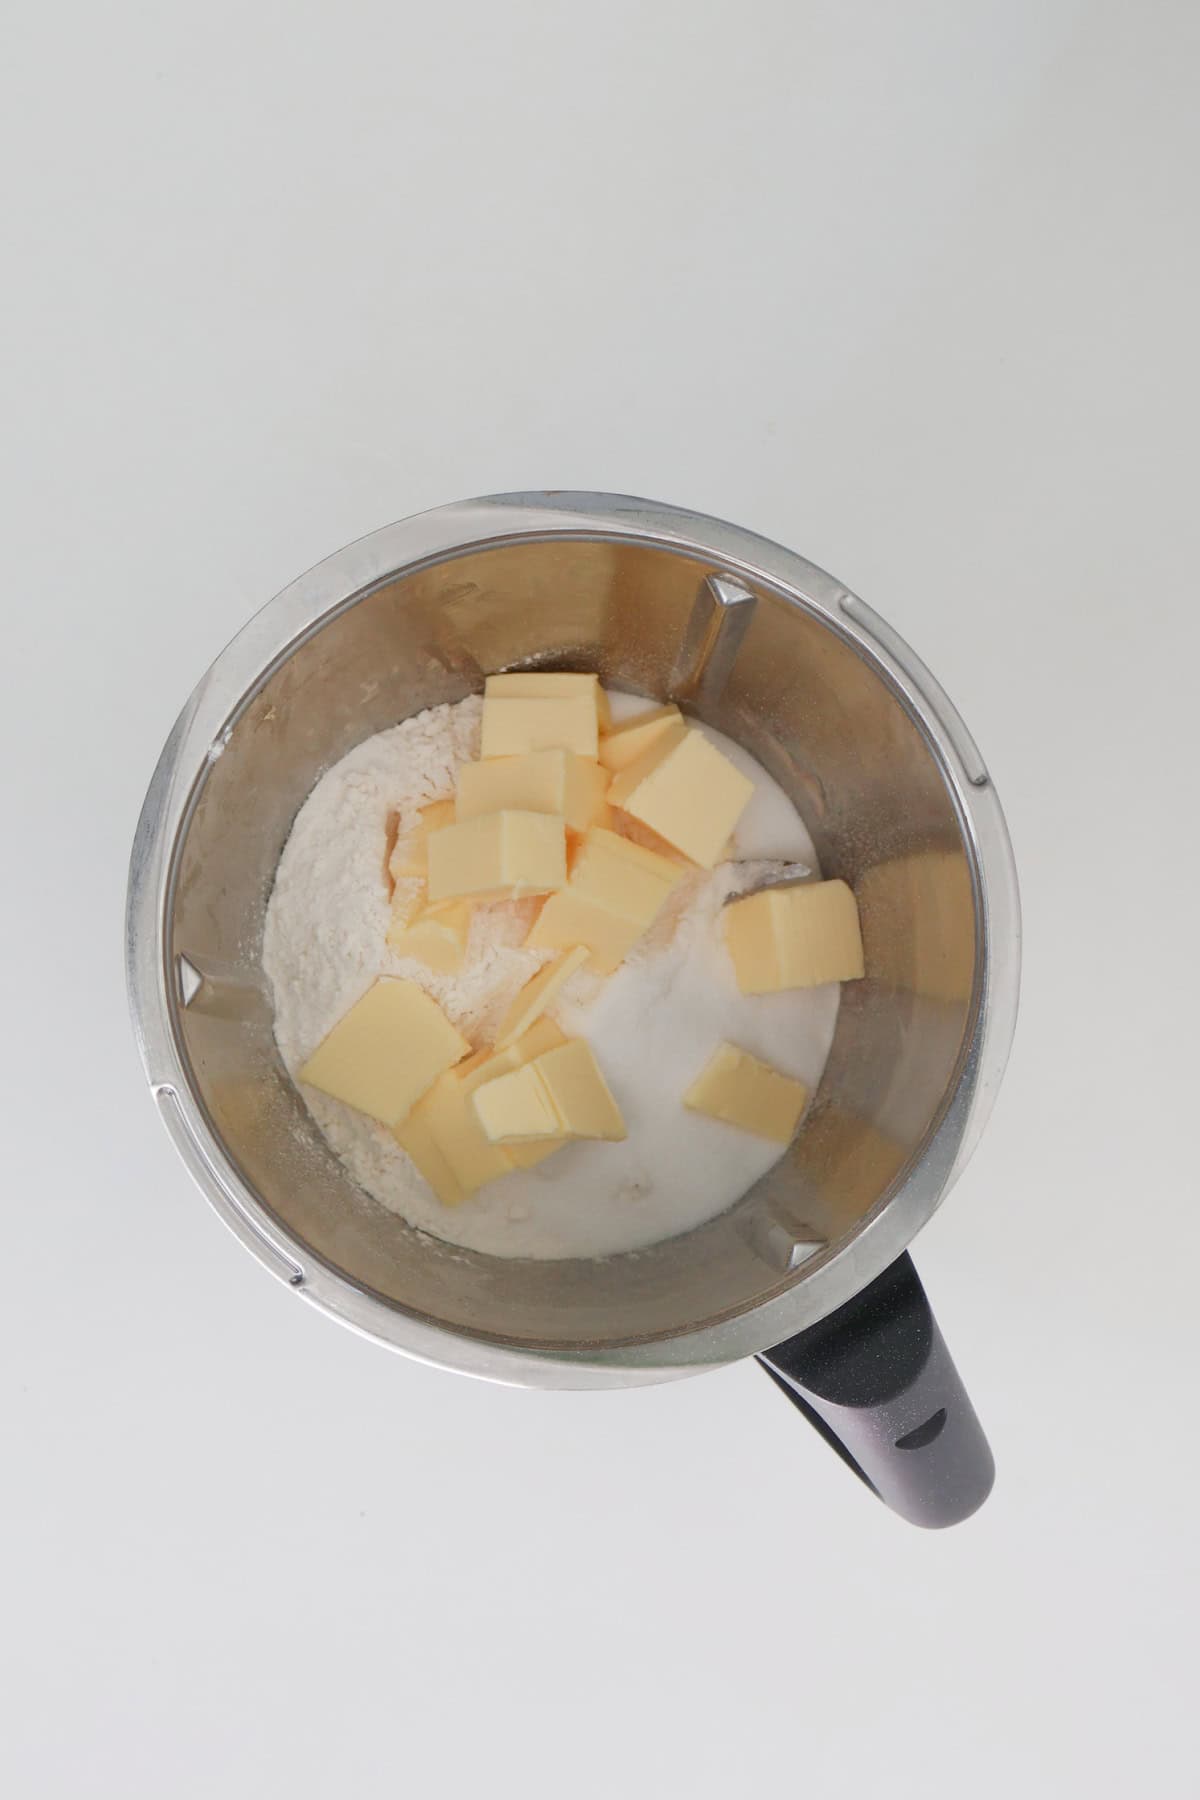
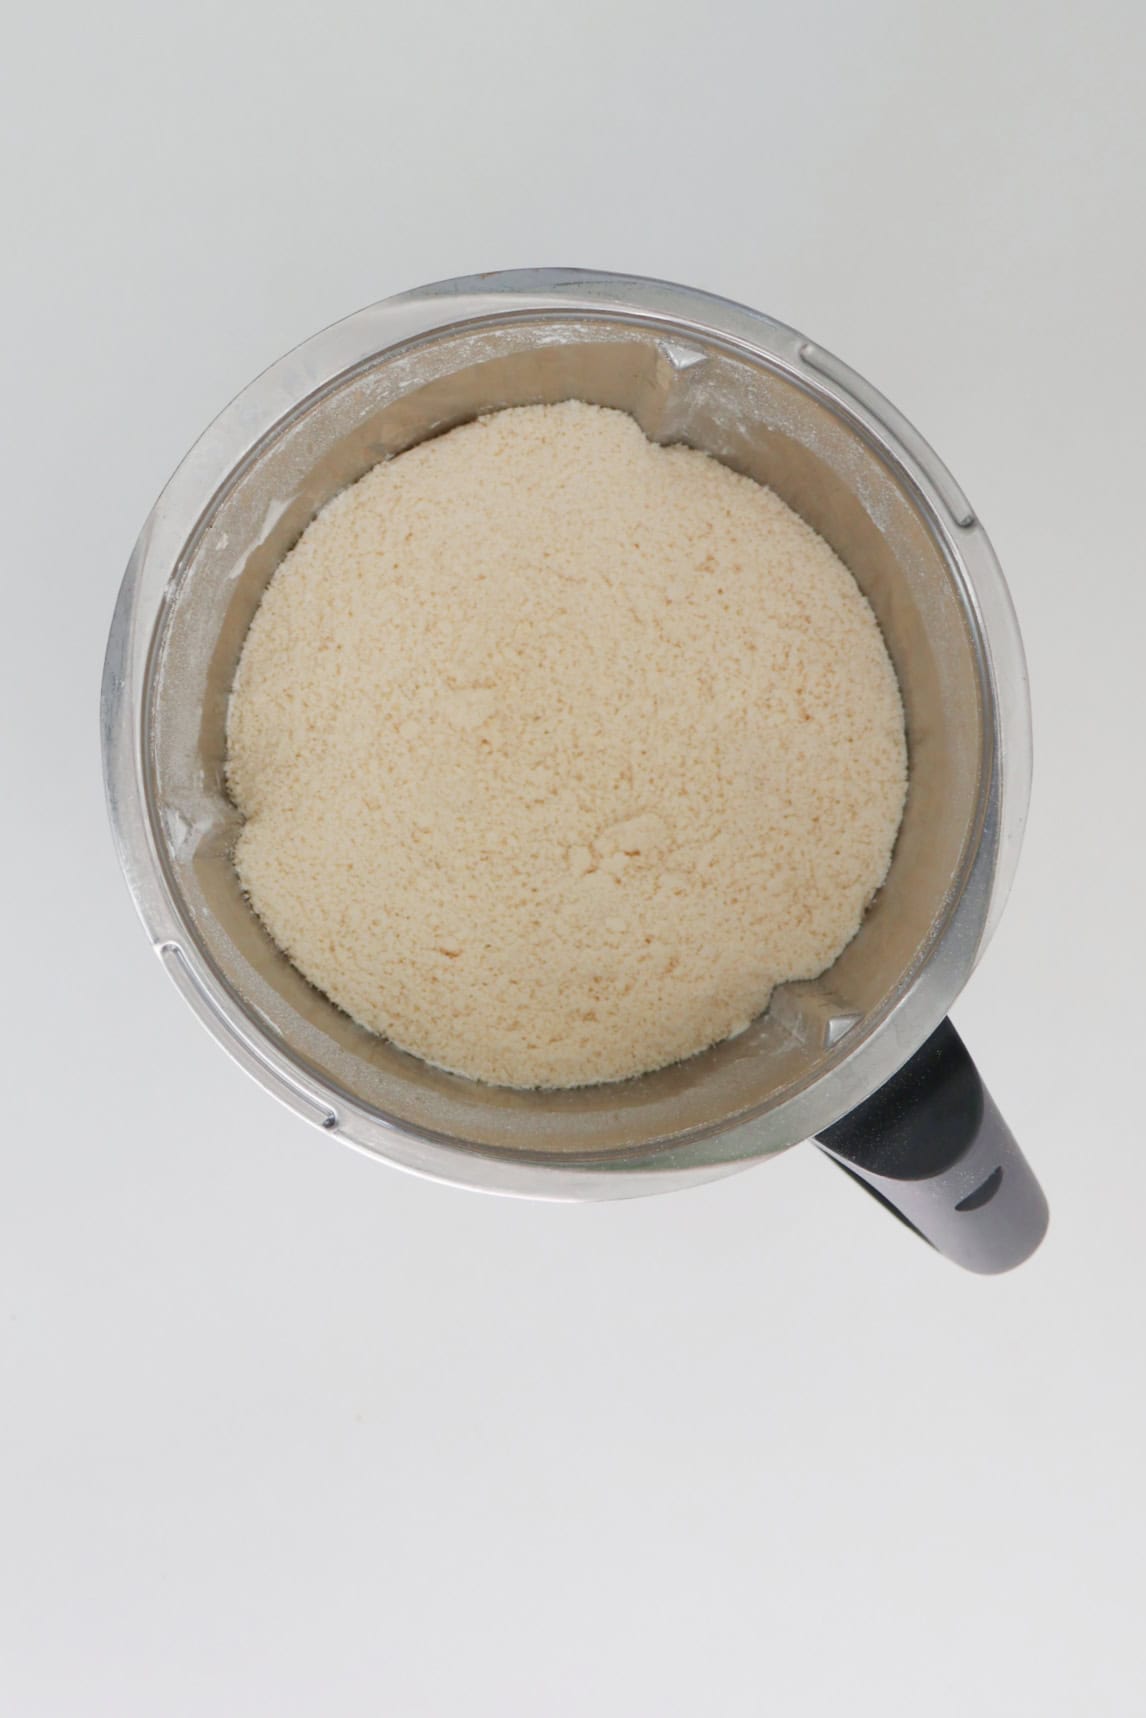
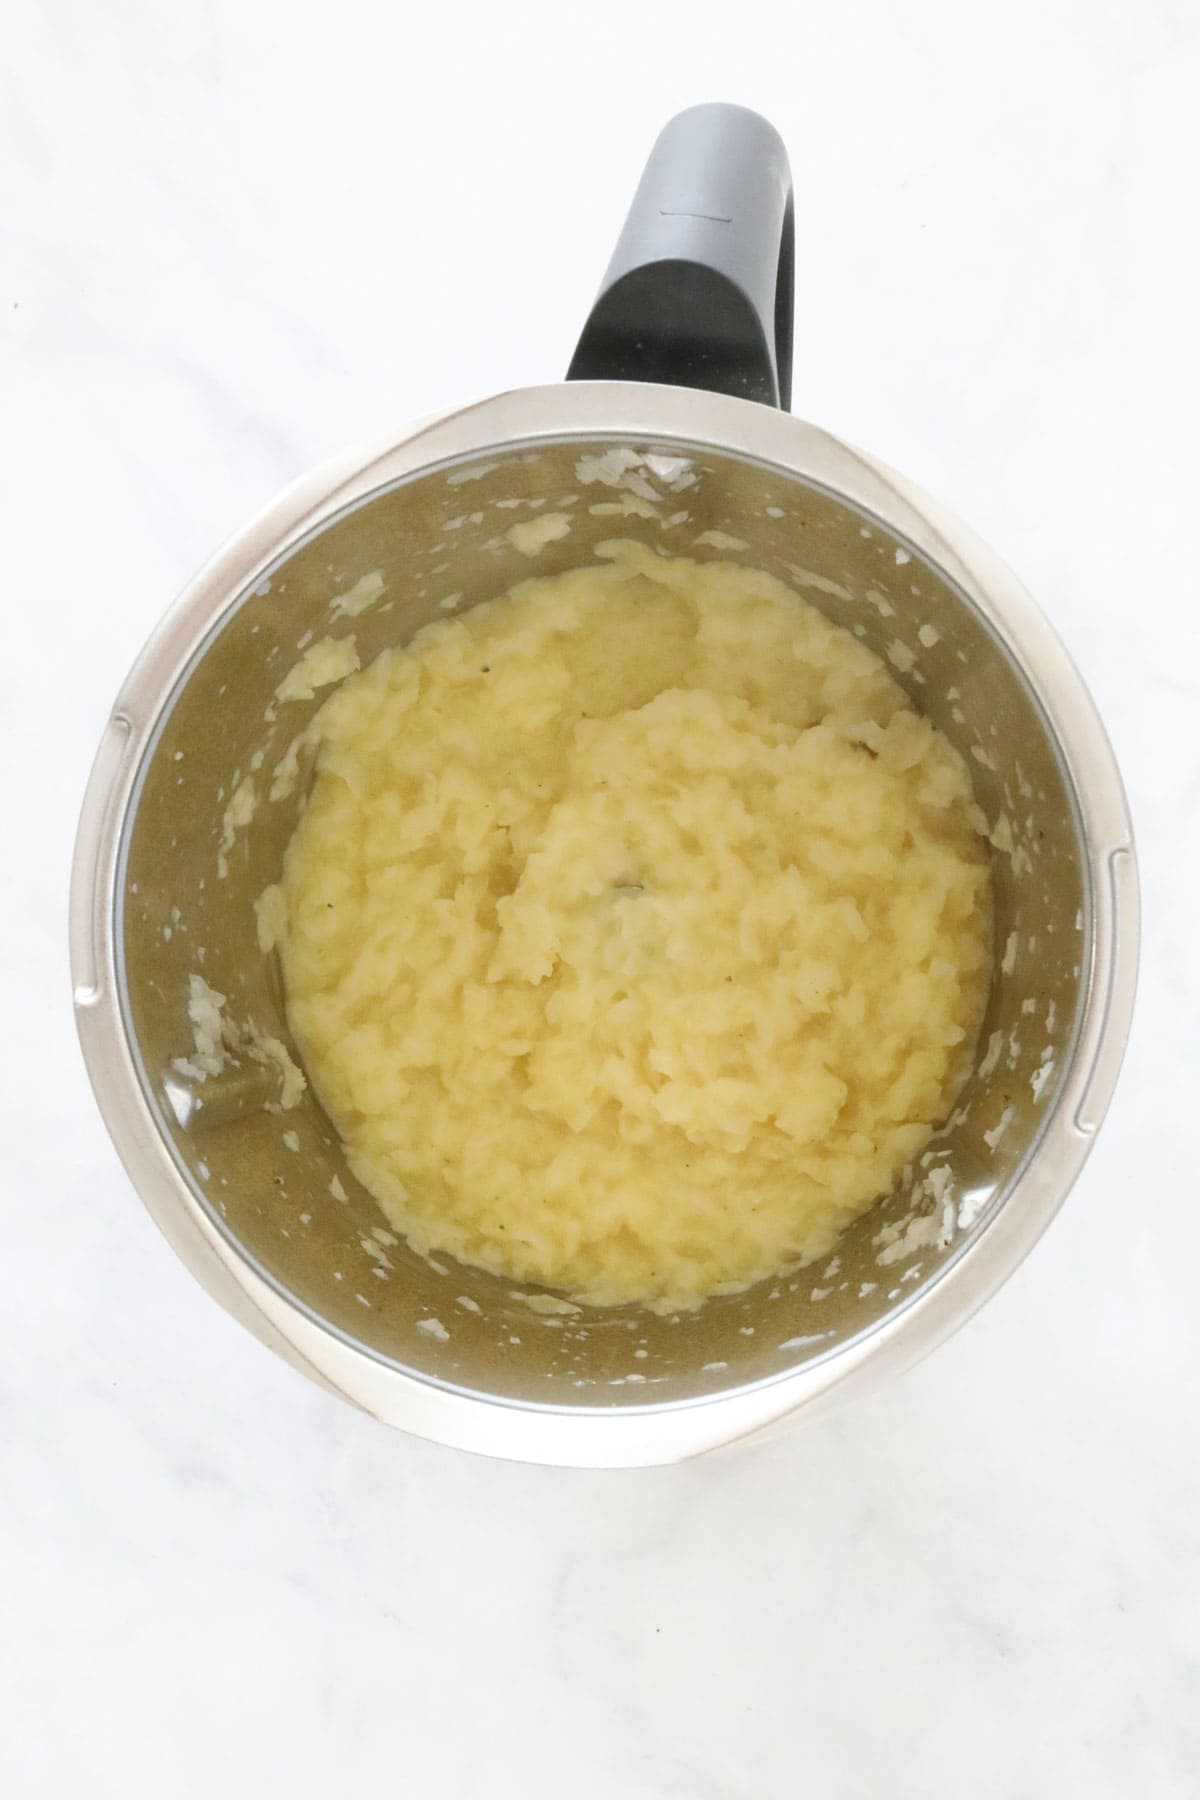
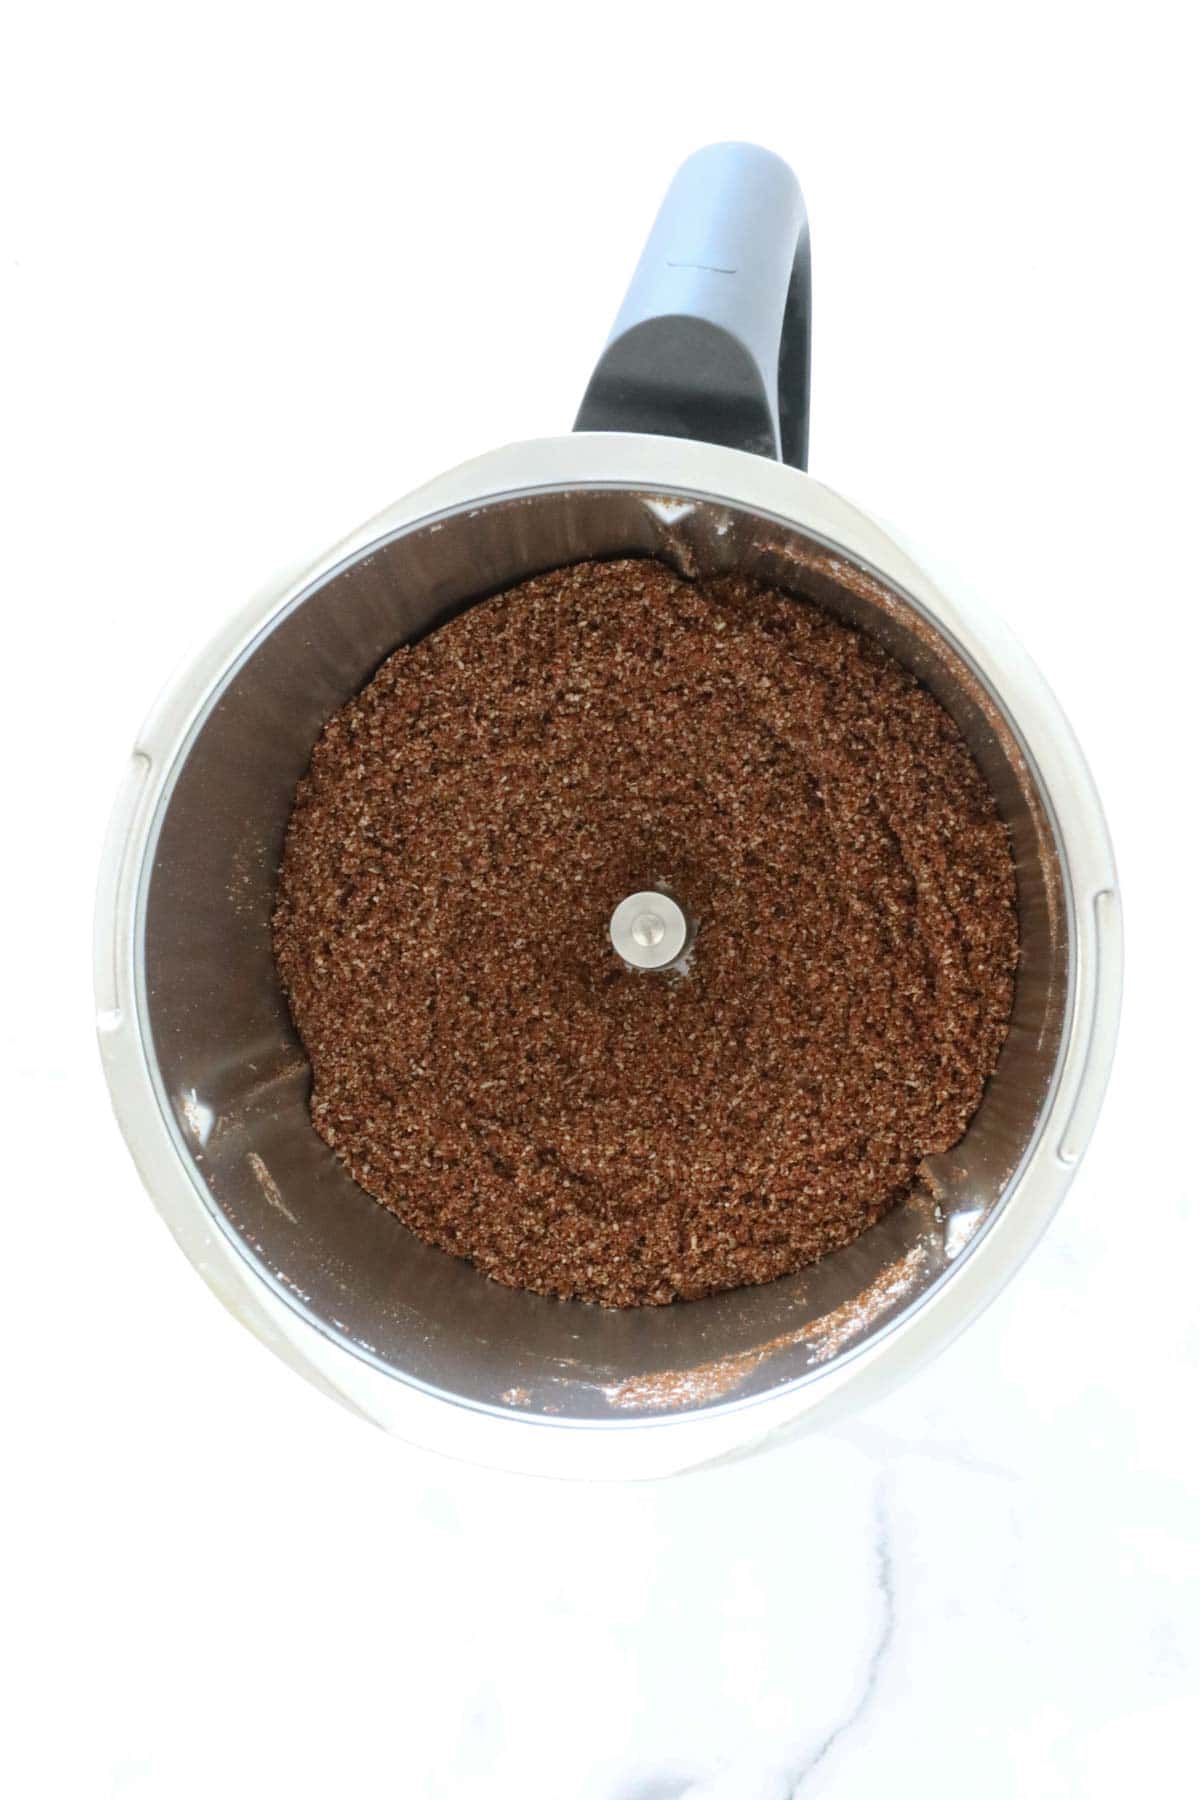
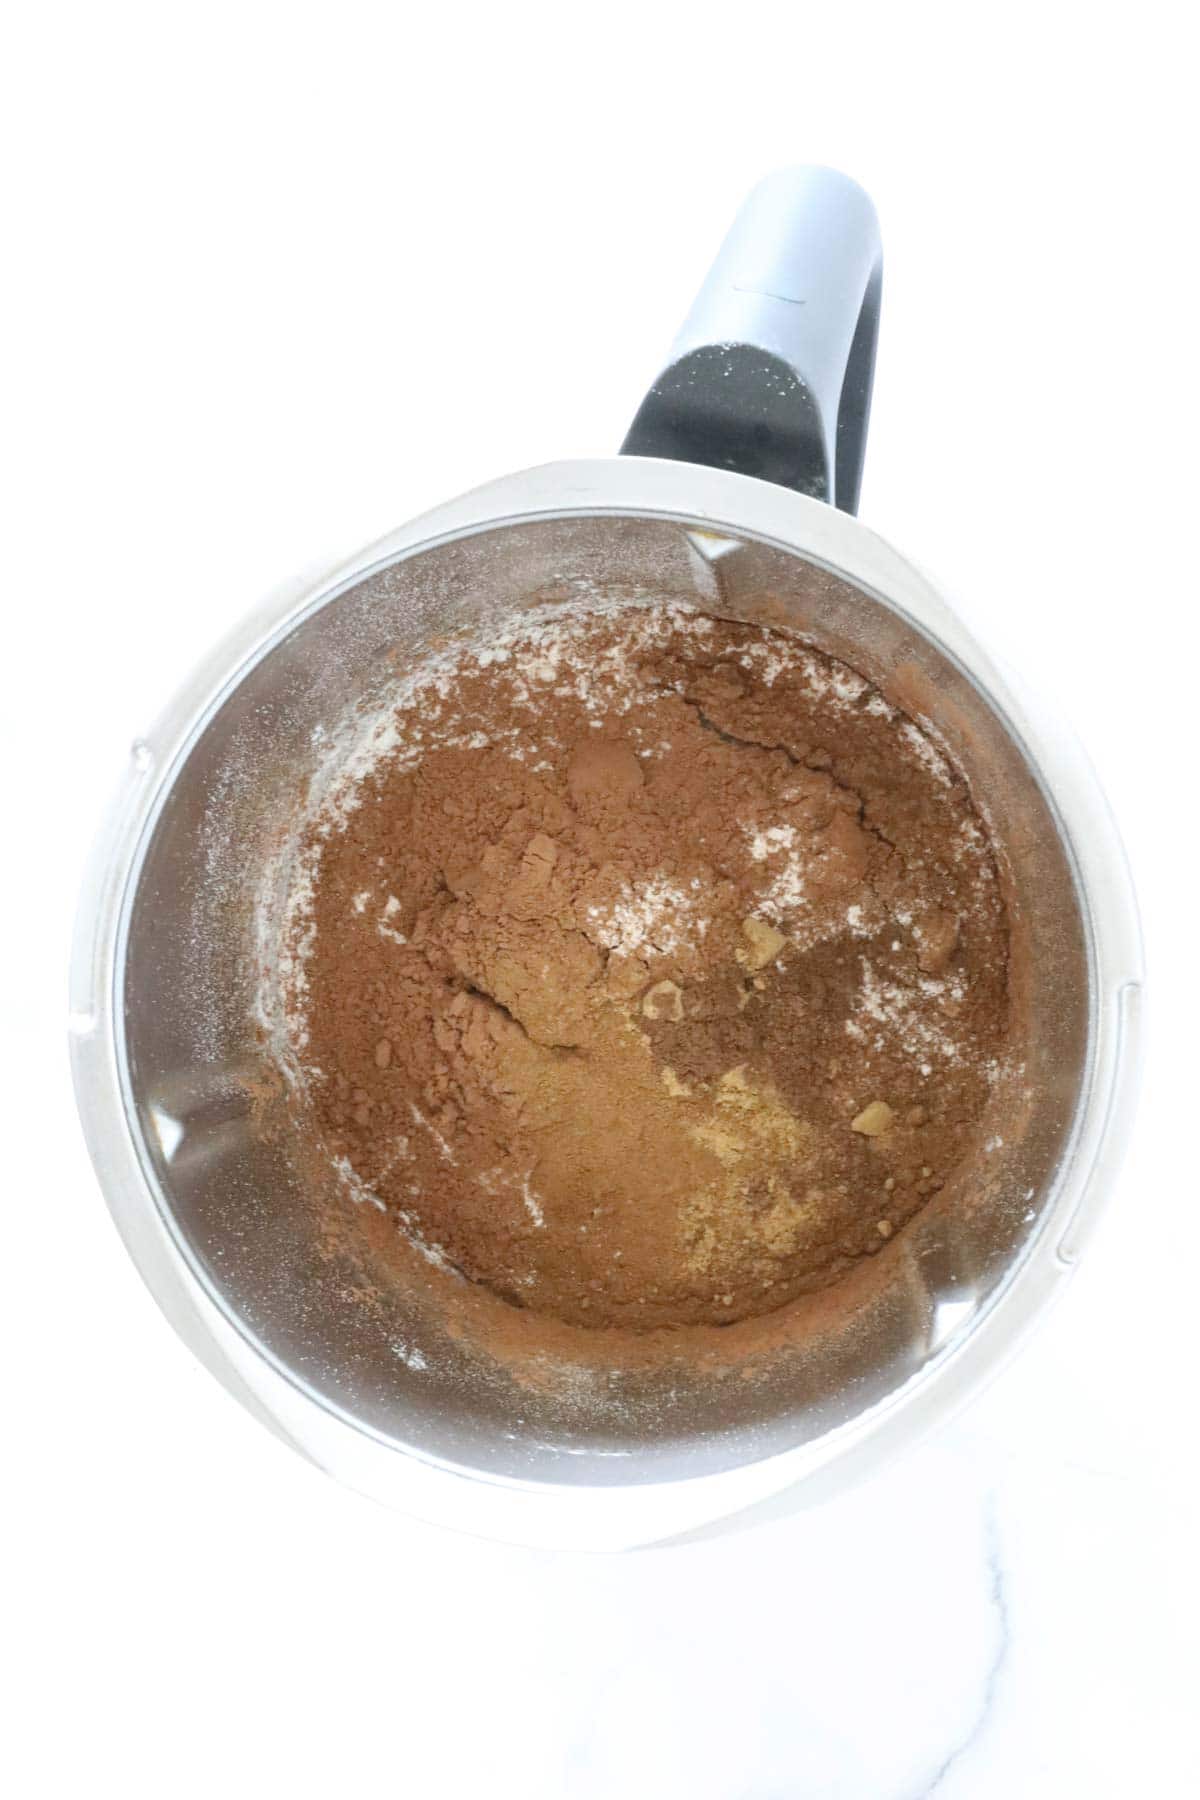
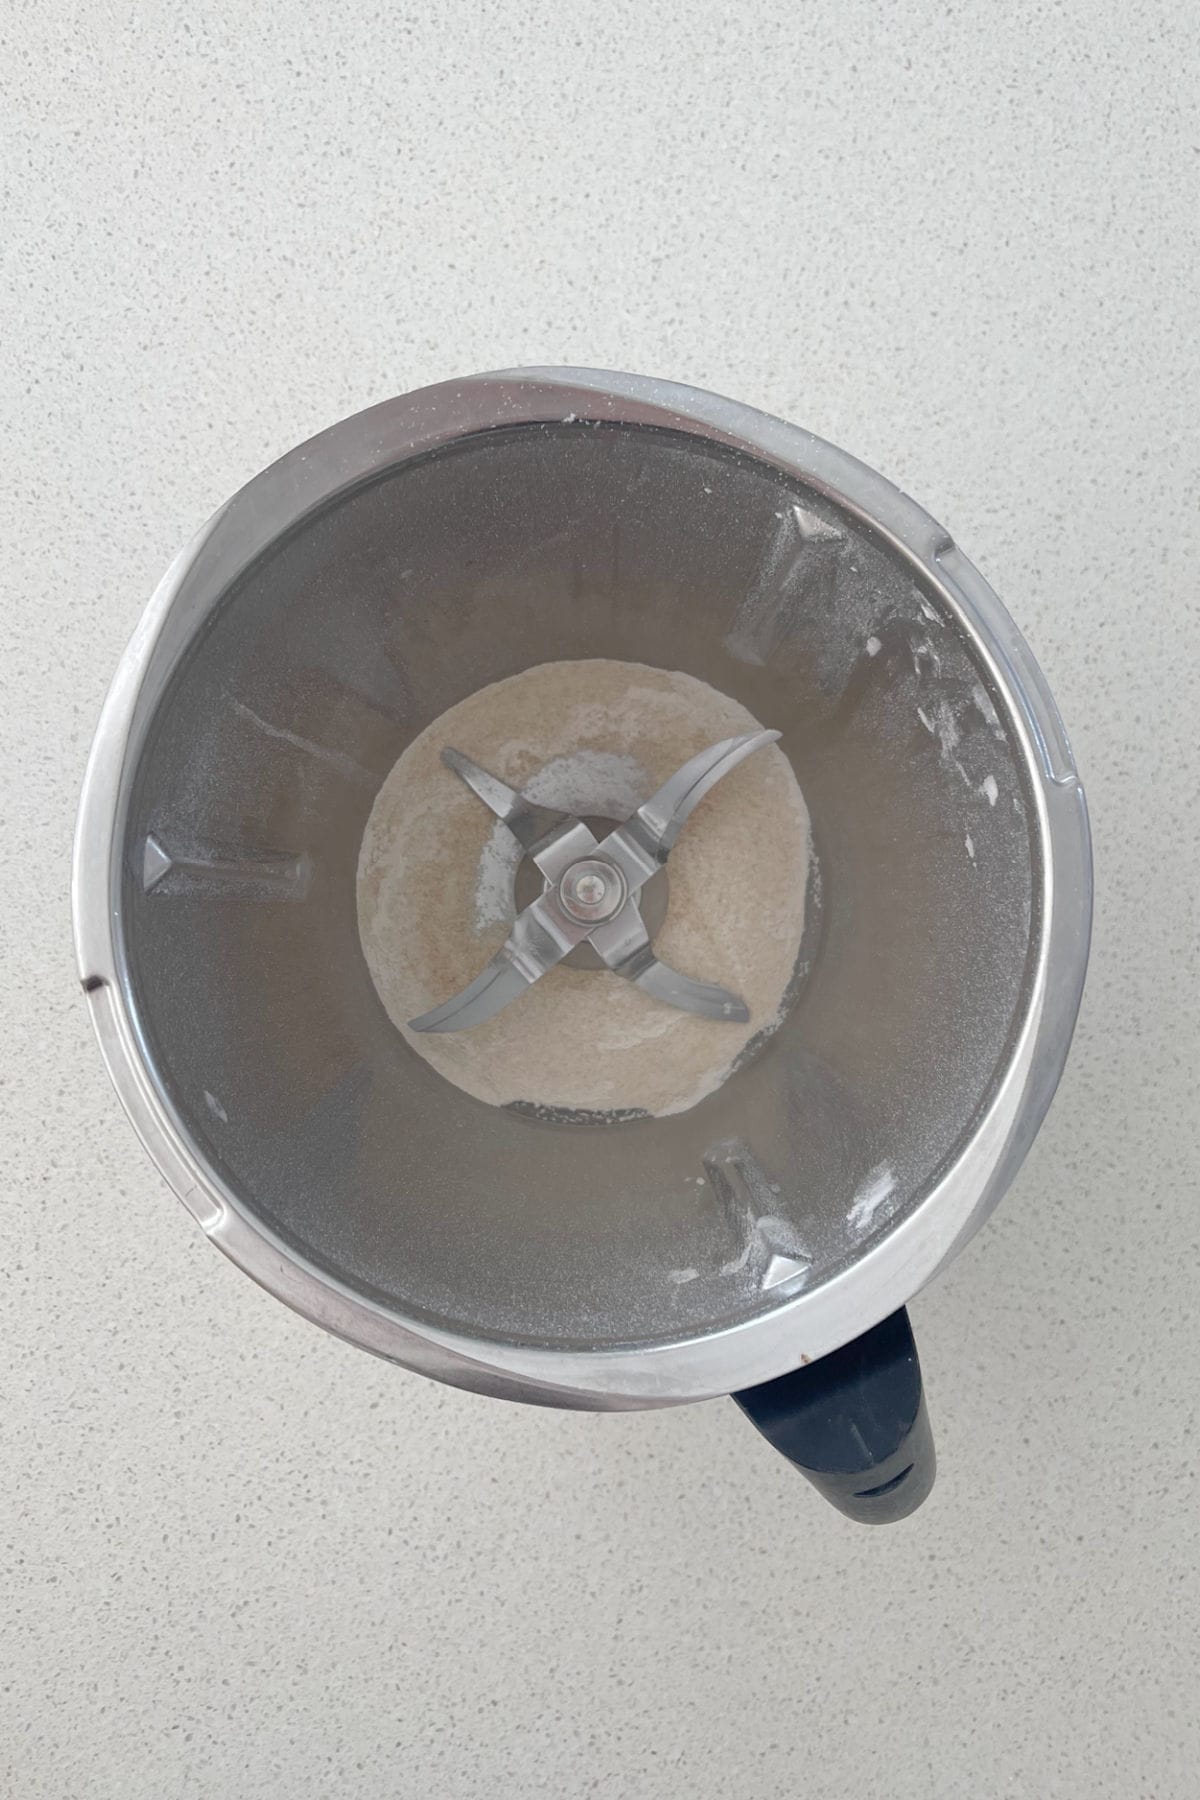
Step 1. Melt the butter and add butternut snap biscuits. Mix until biscuits are crushed and the mixture is combined.

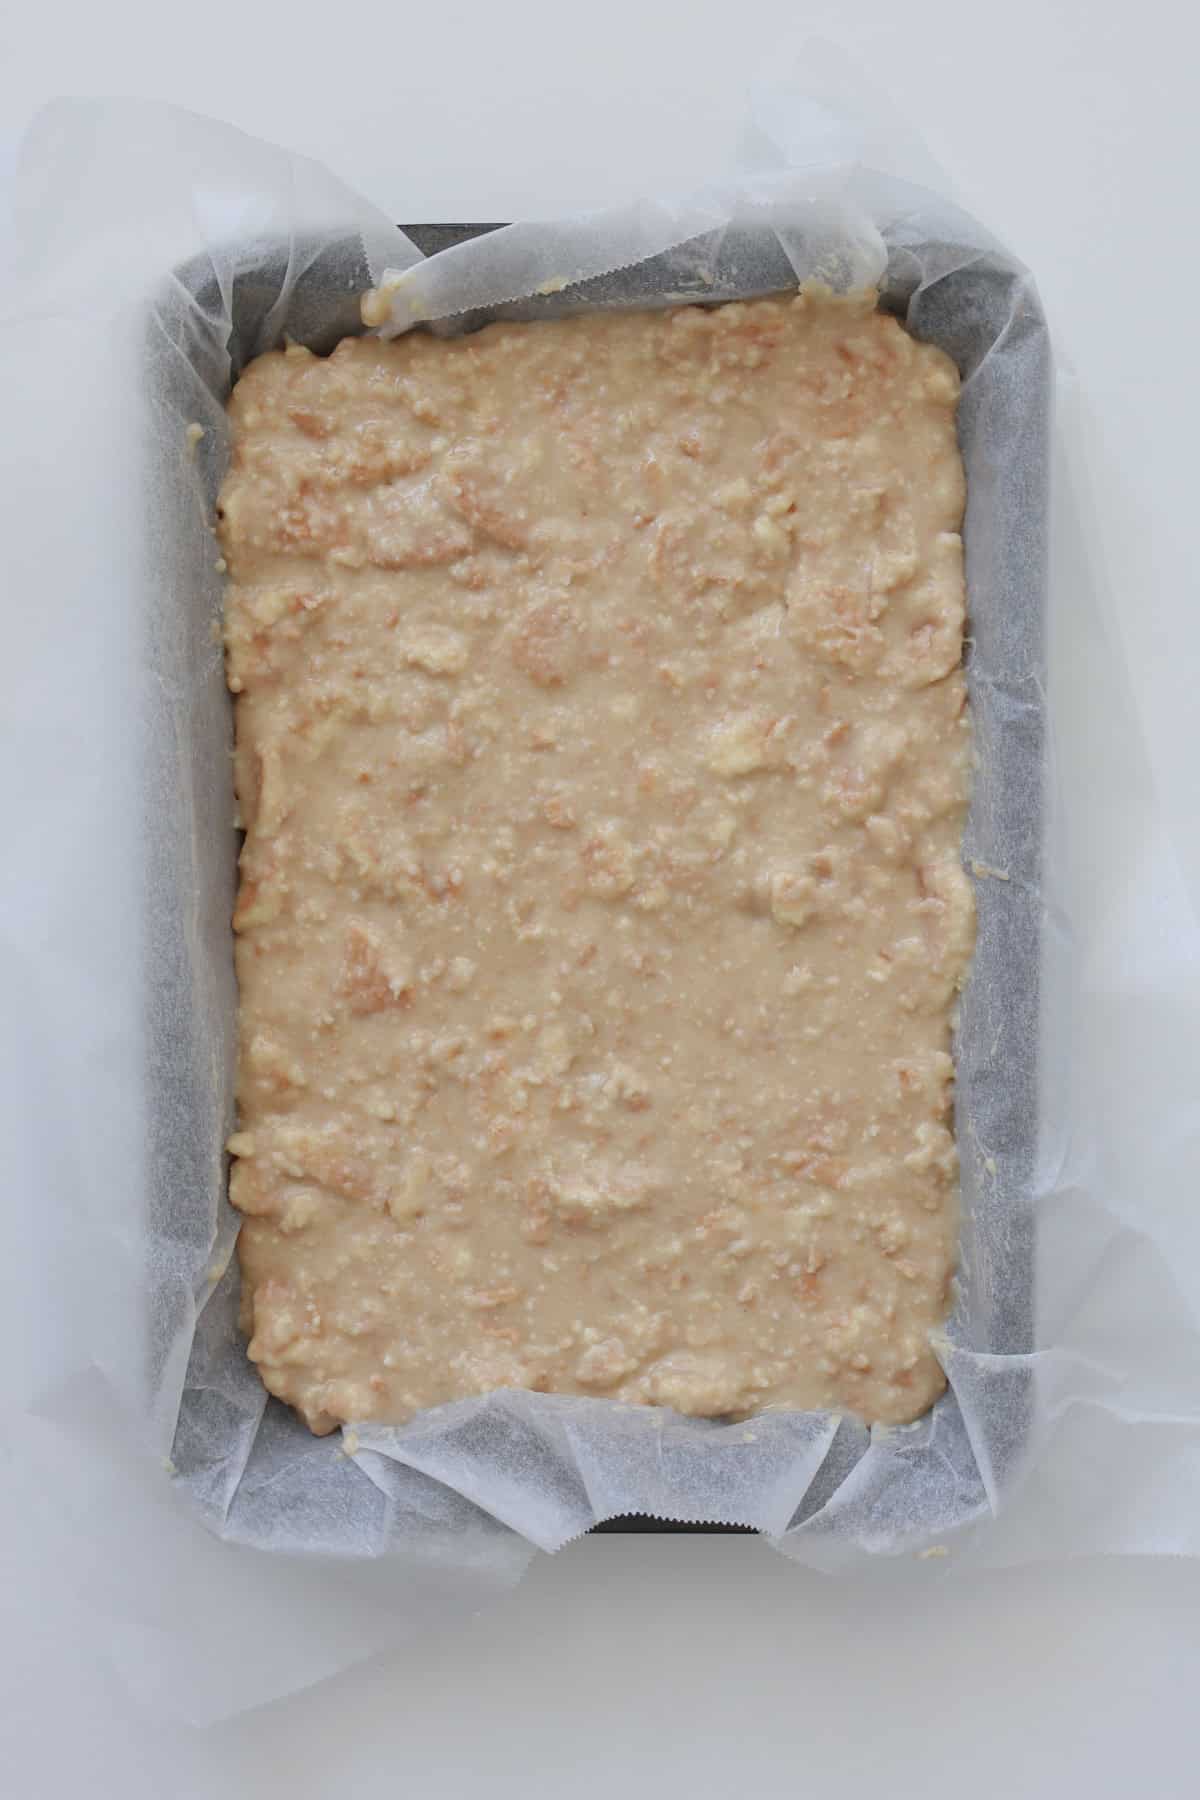
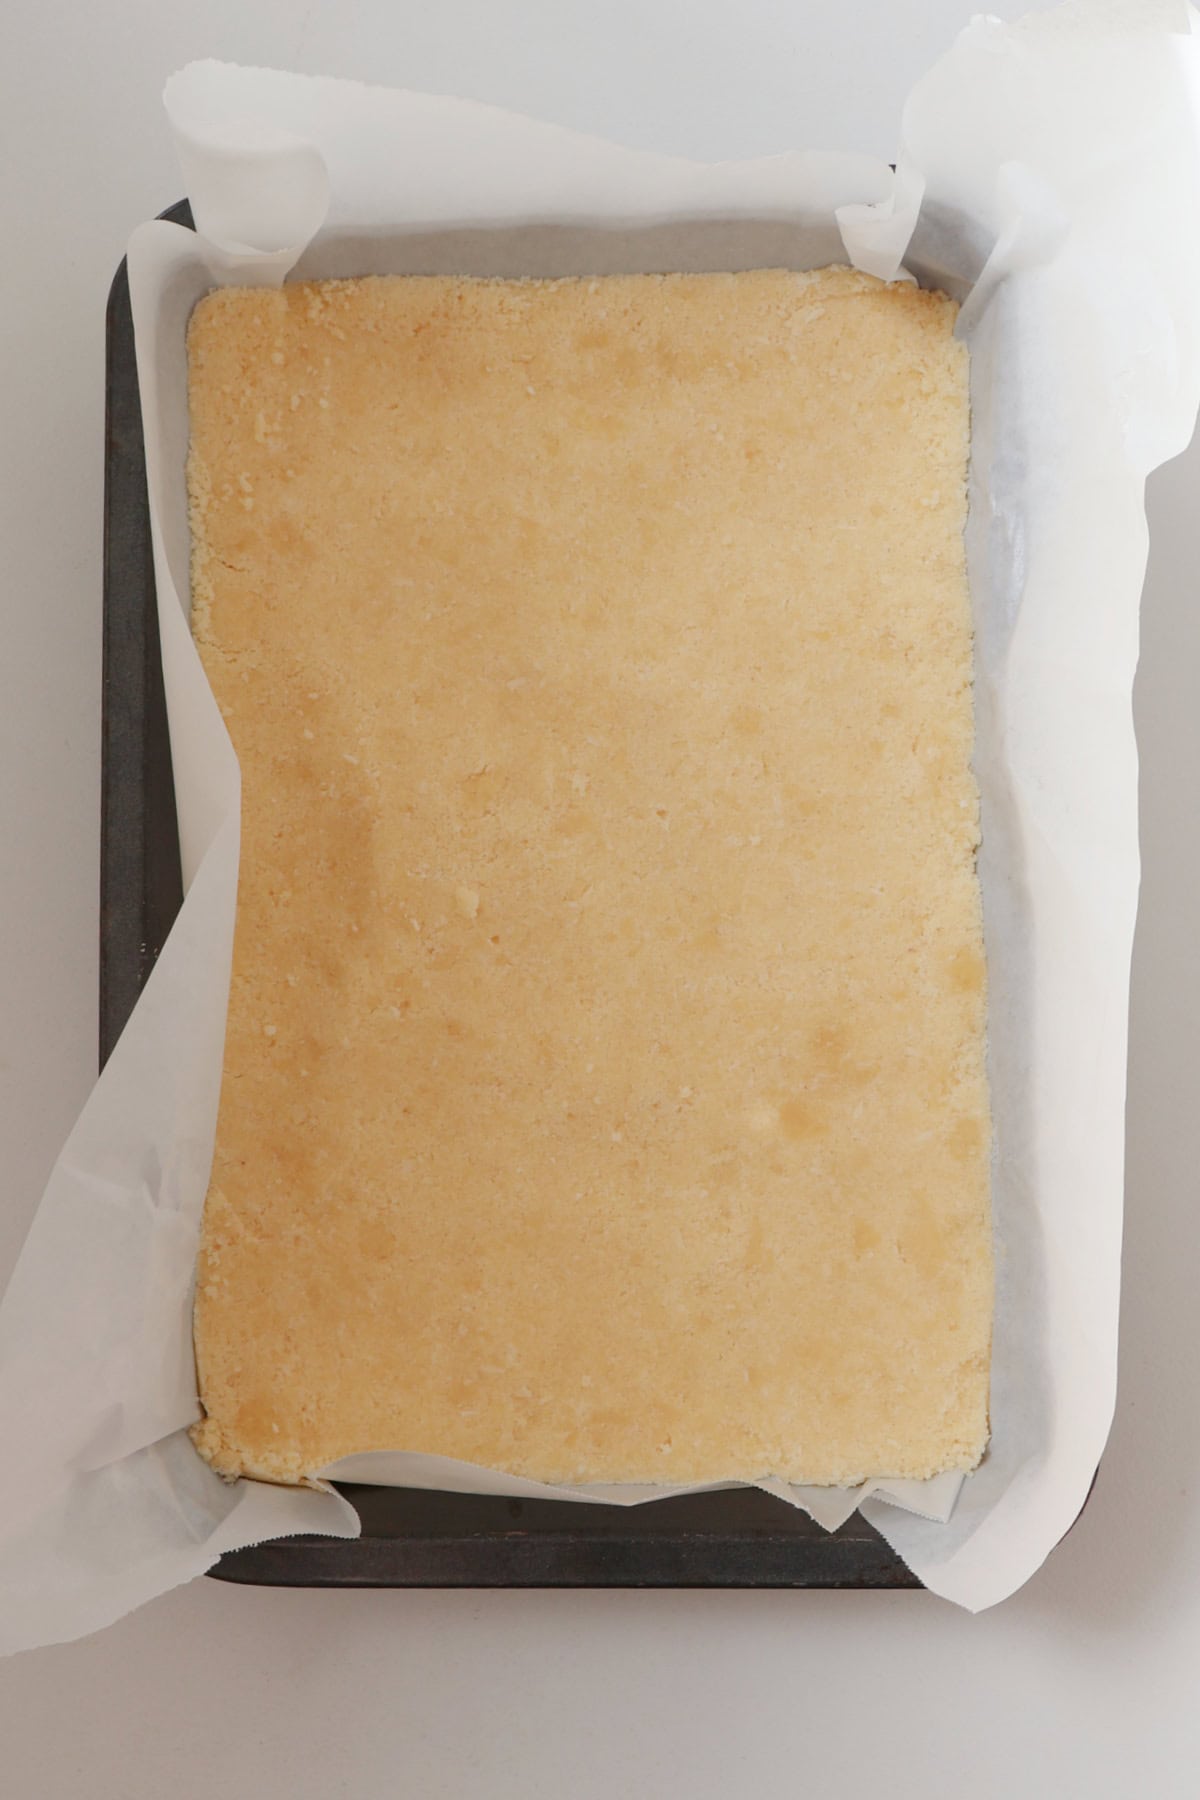
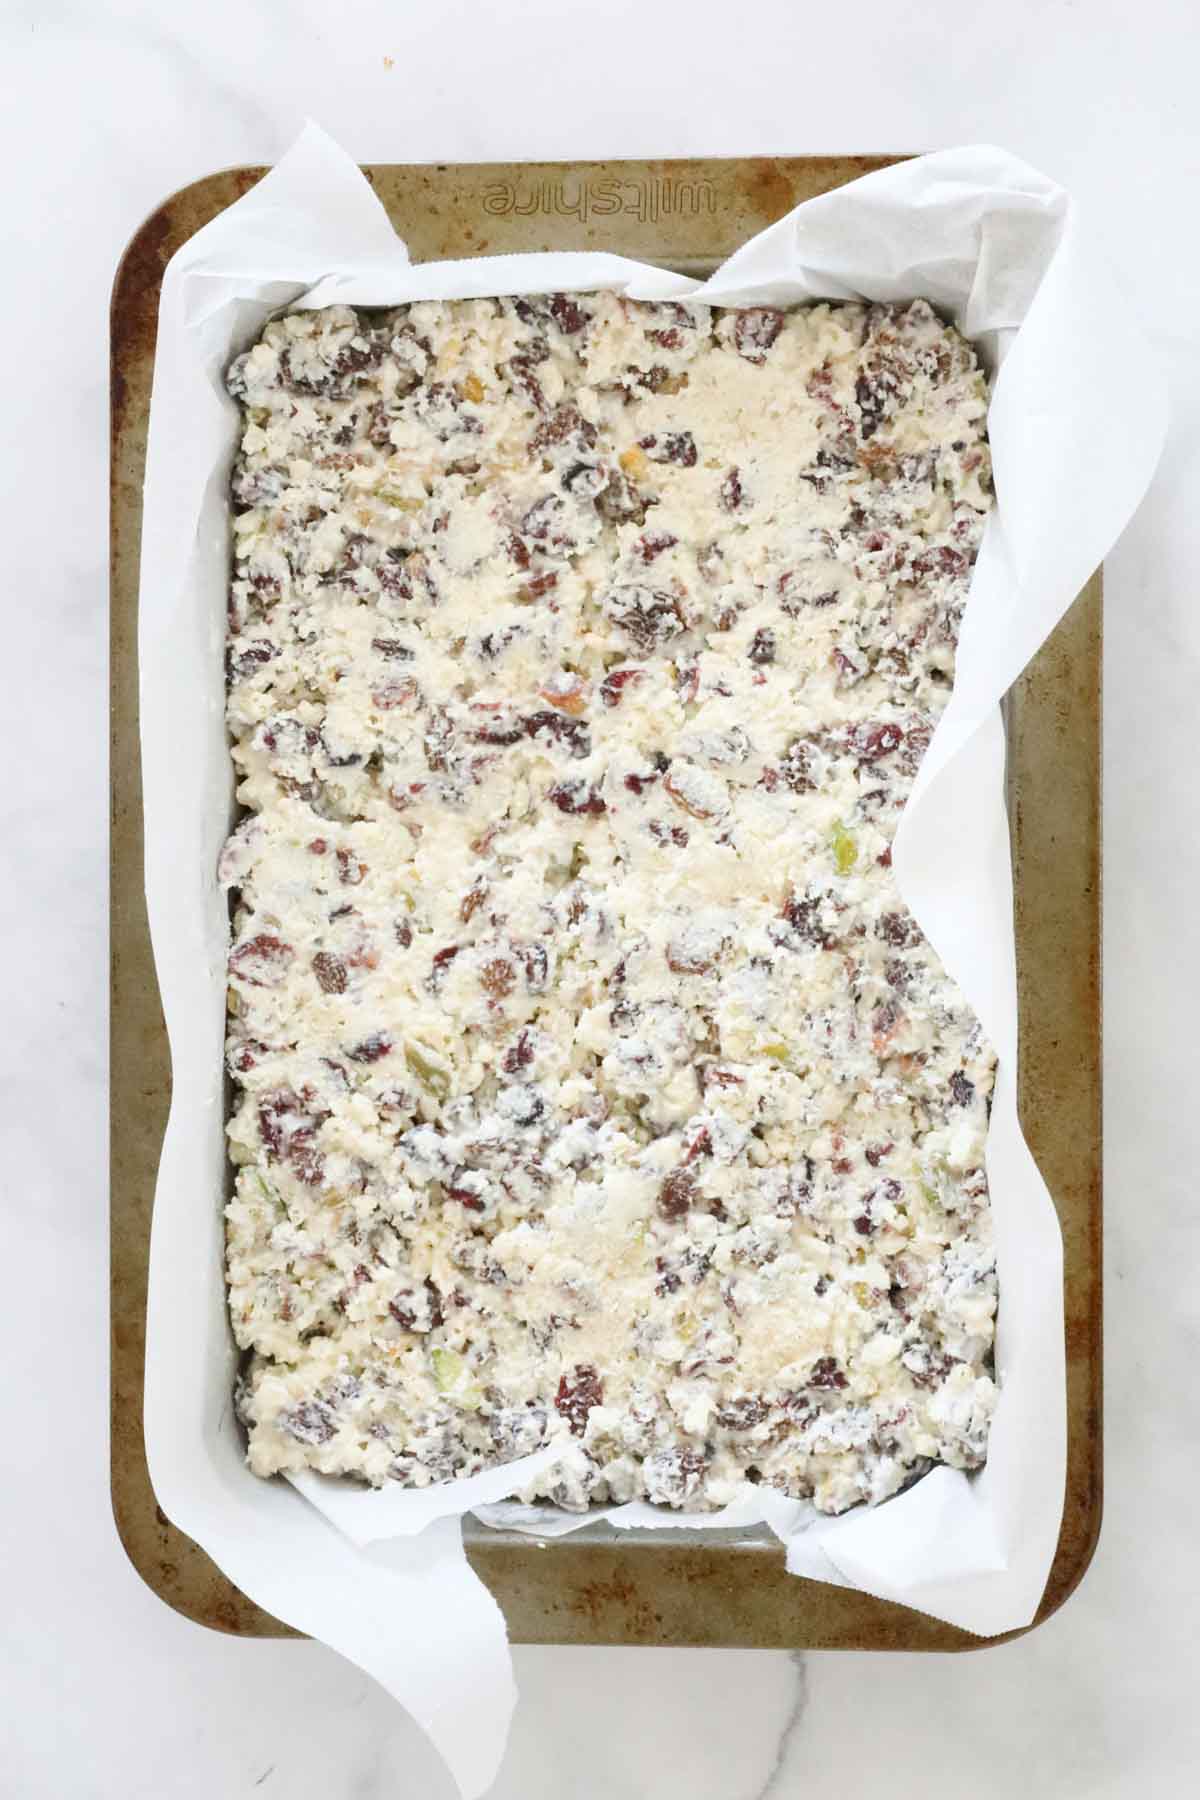
Step 2. Transfer the mixture to a prepared springform pan.
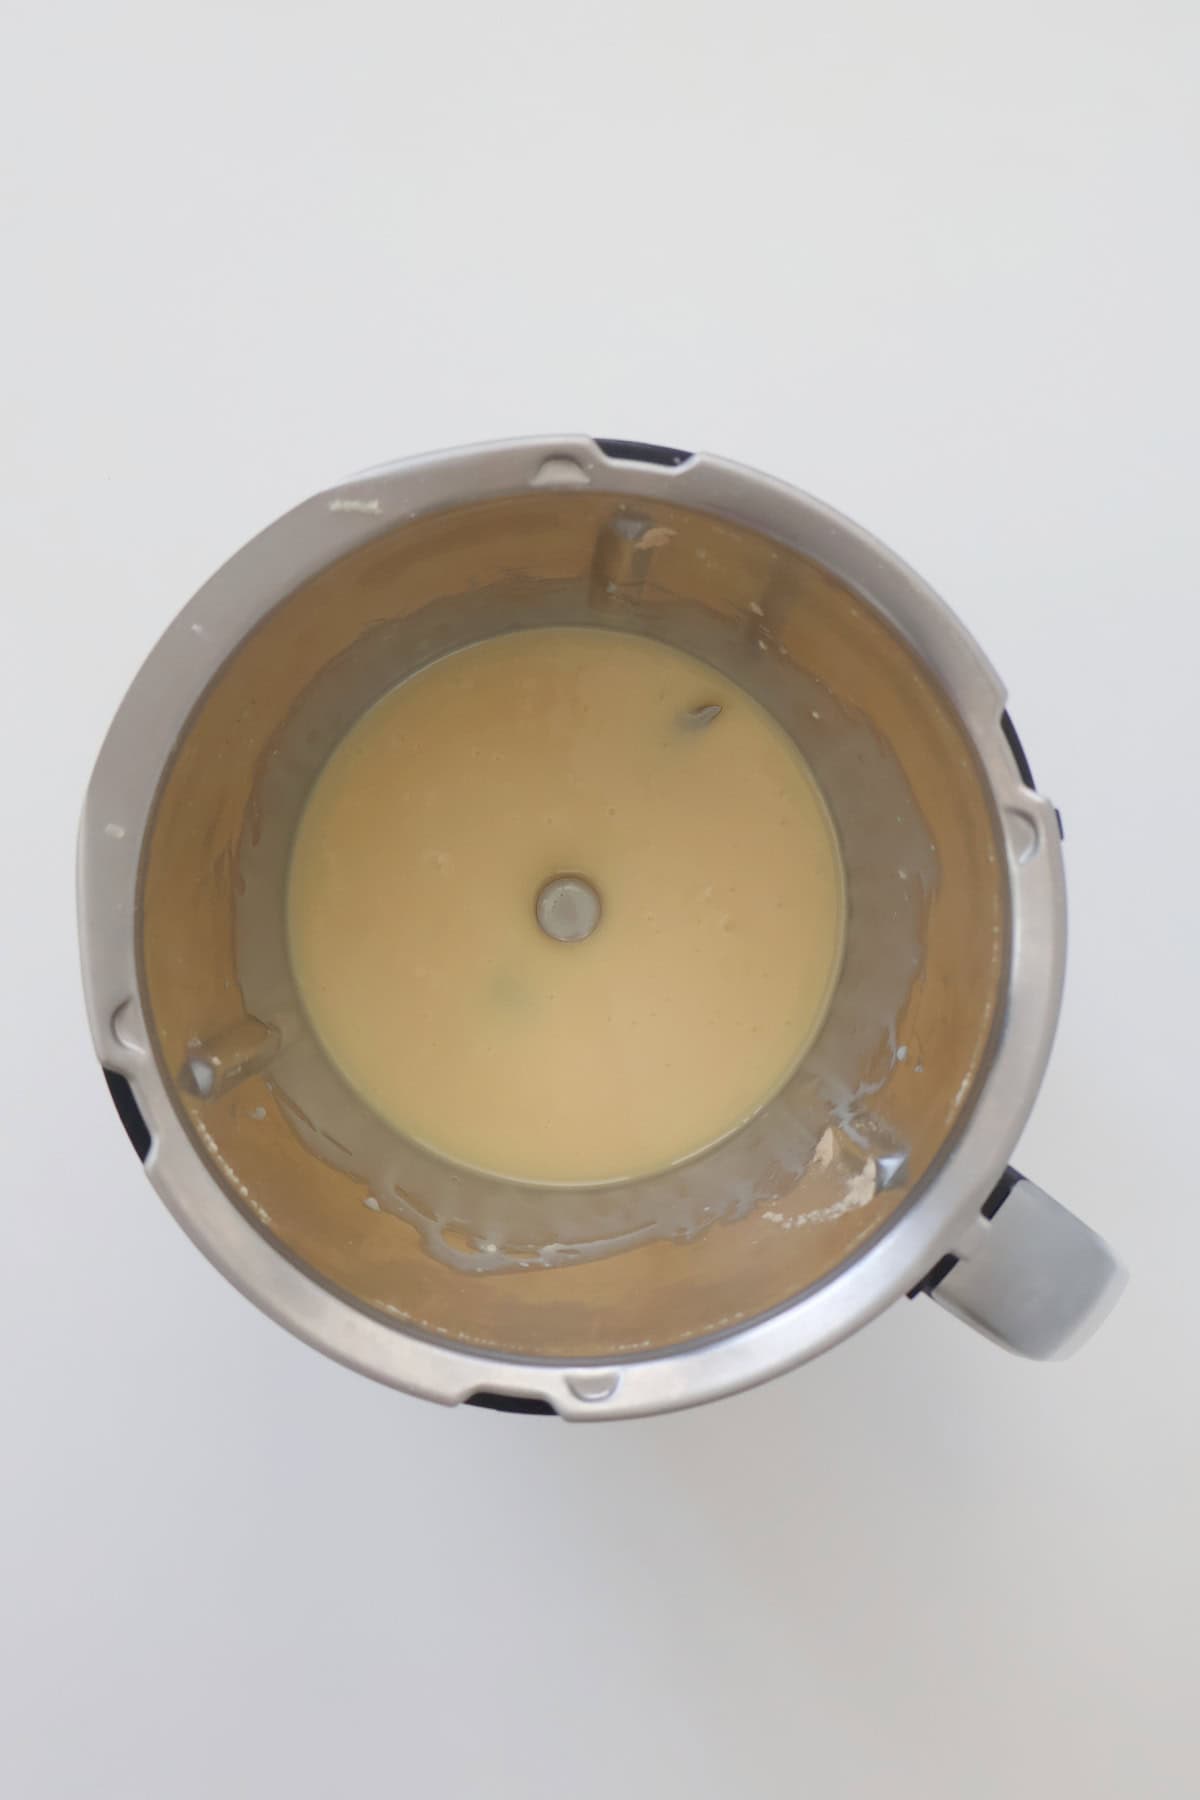
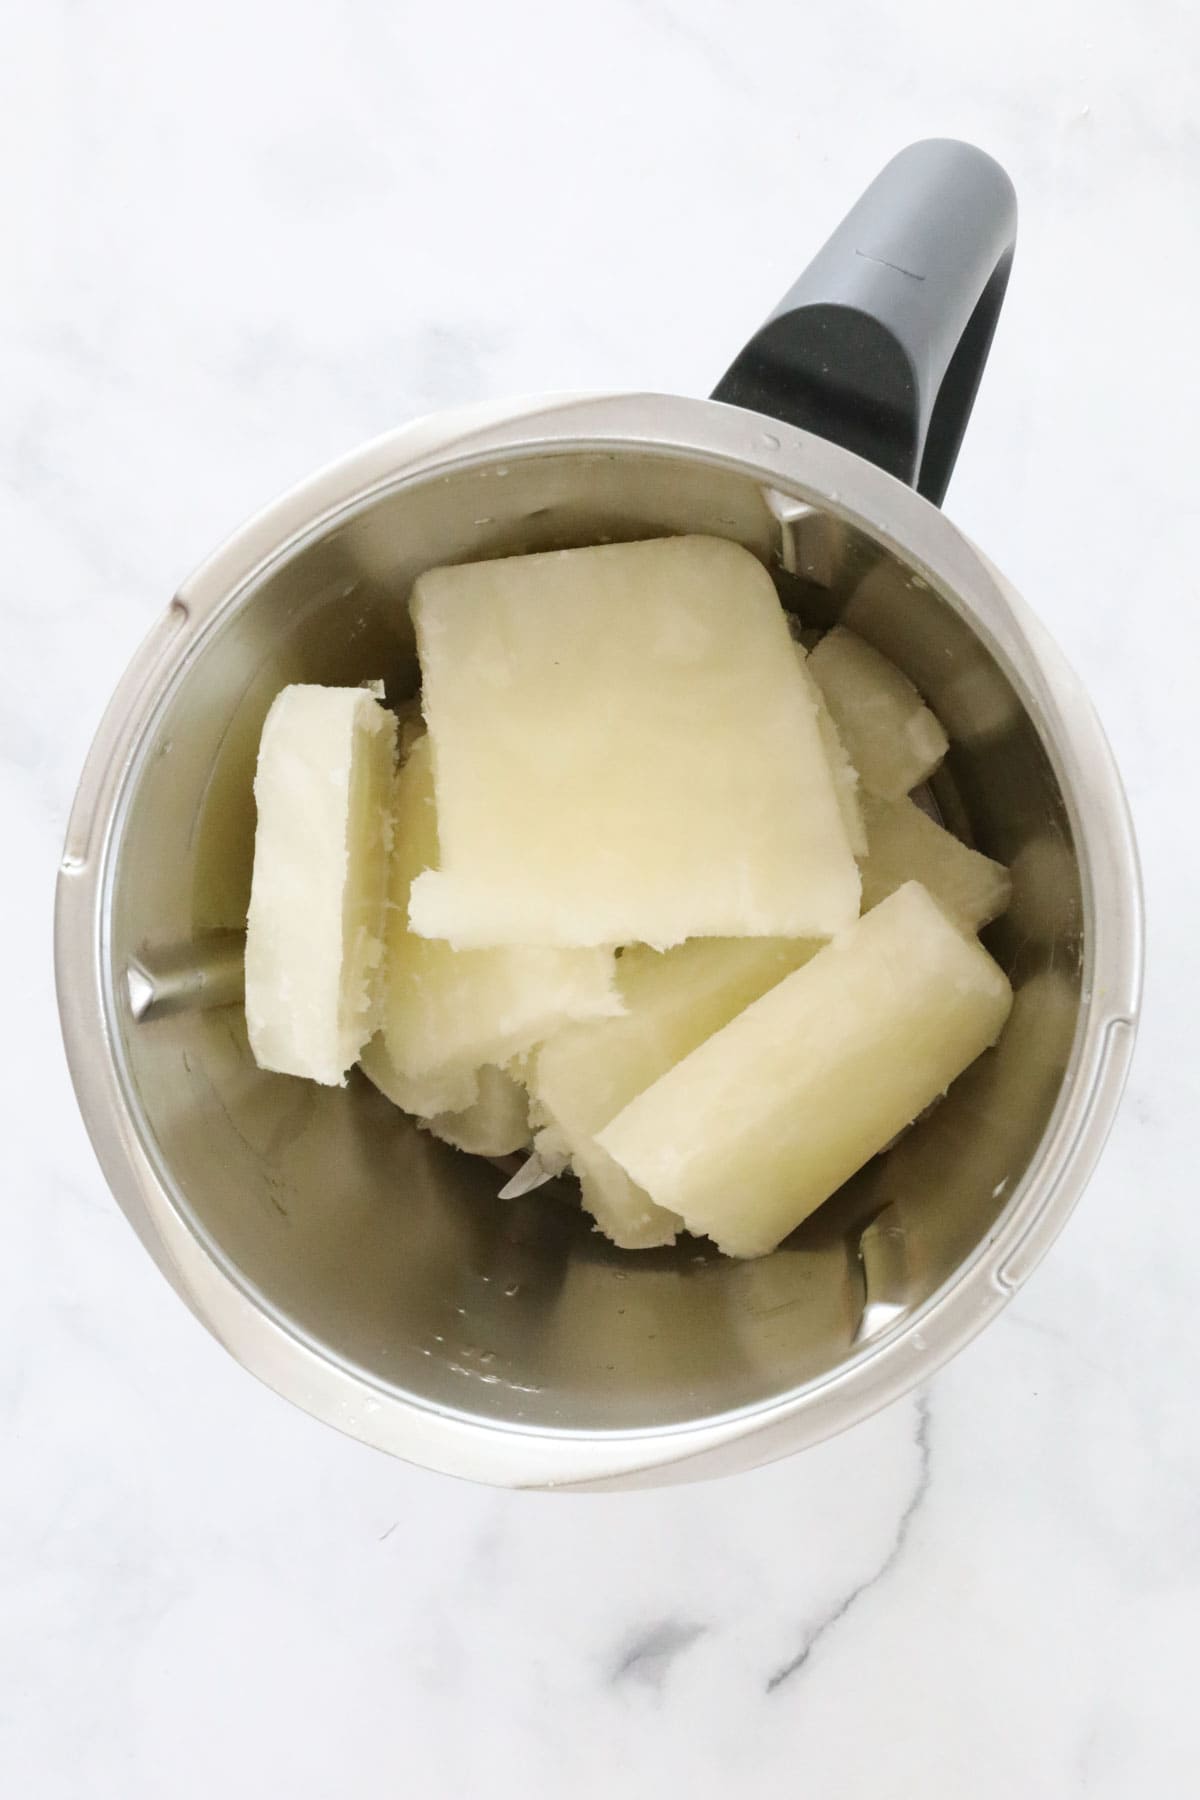
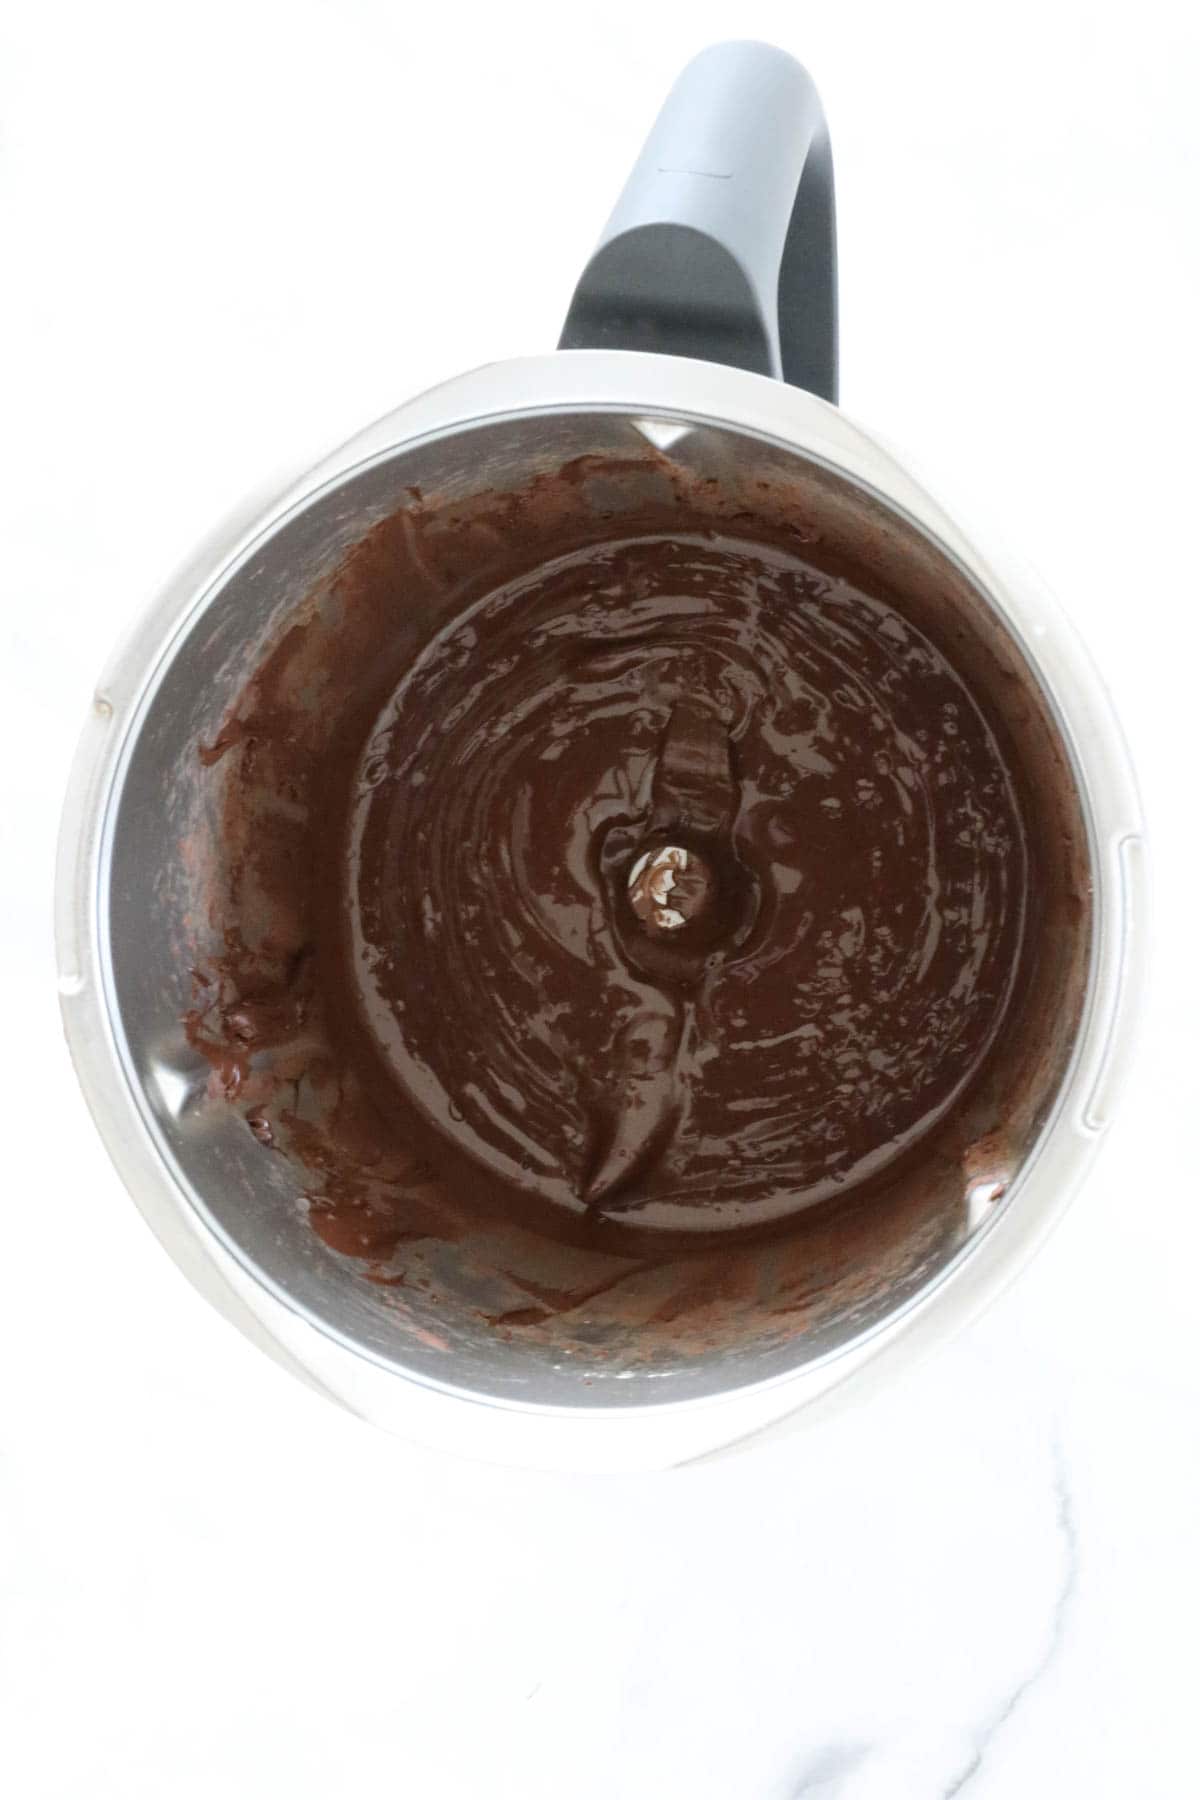
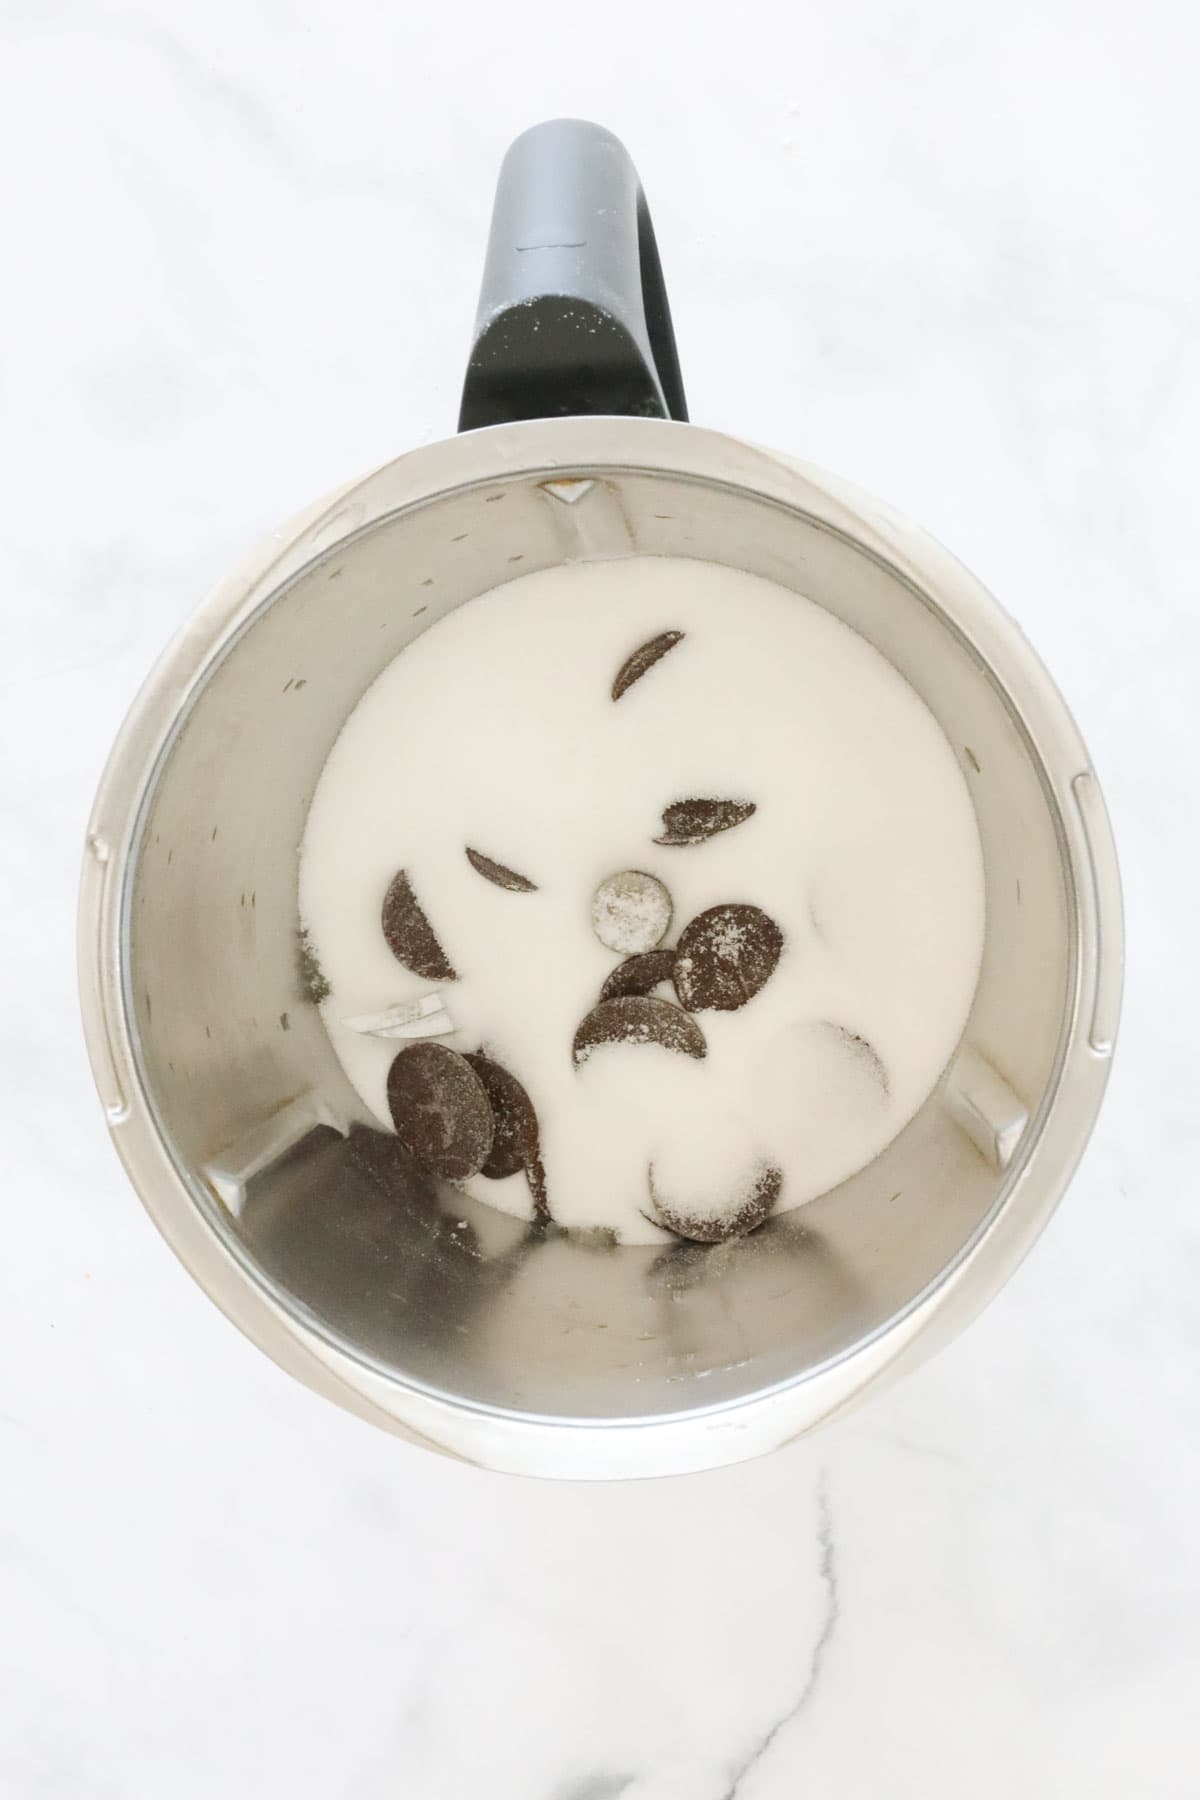
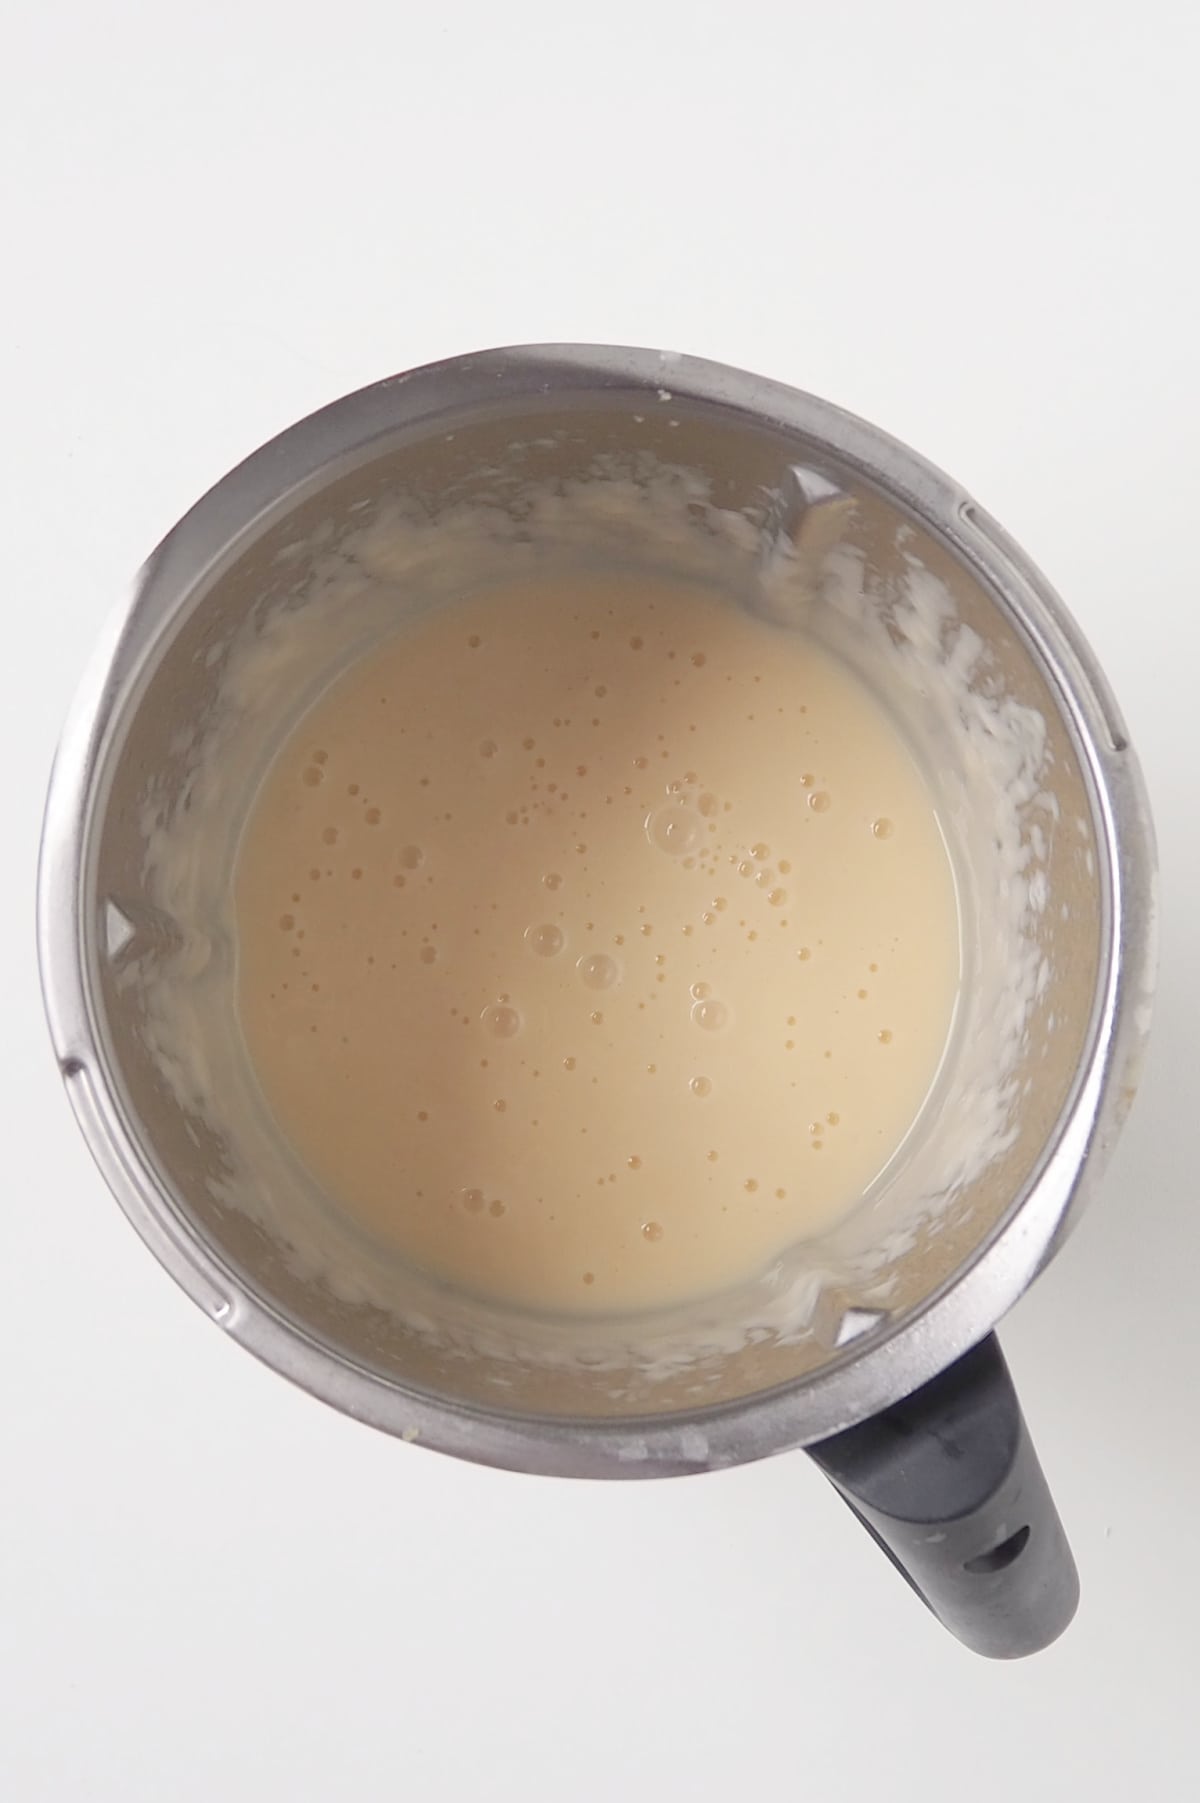
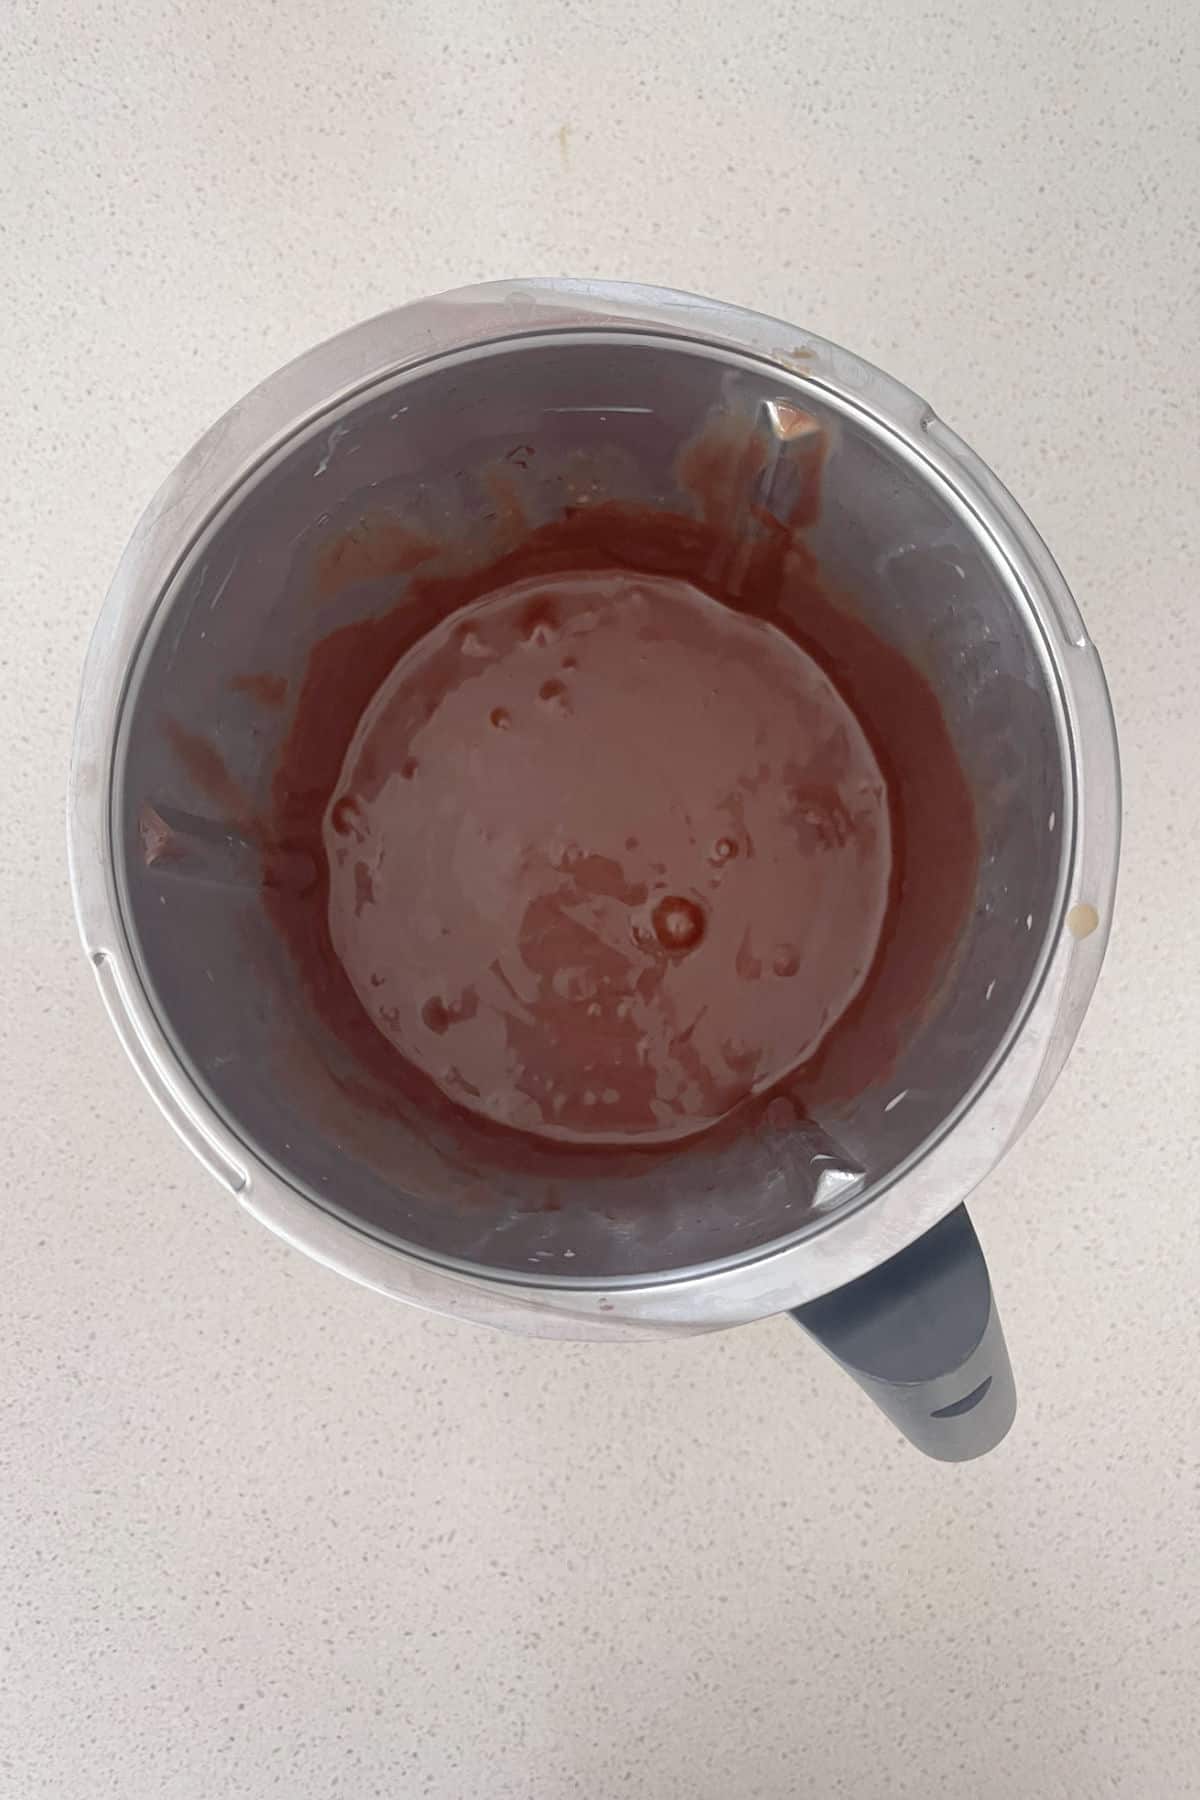
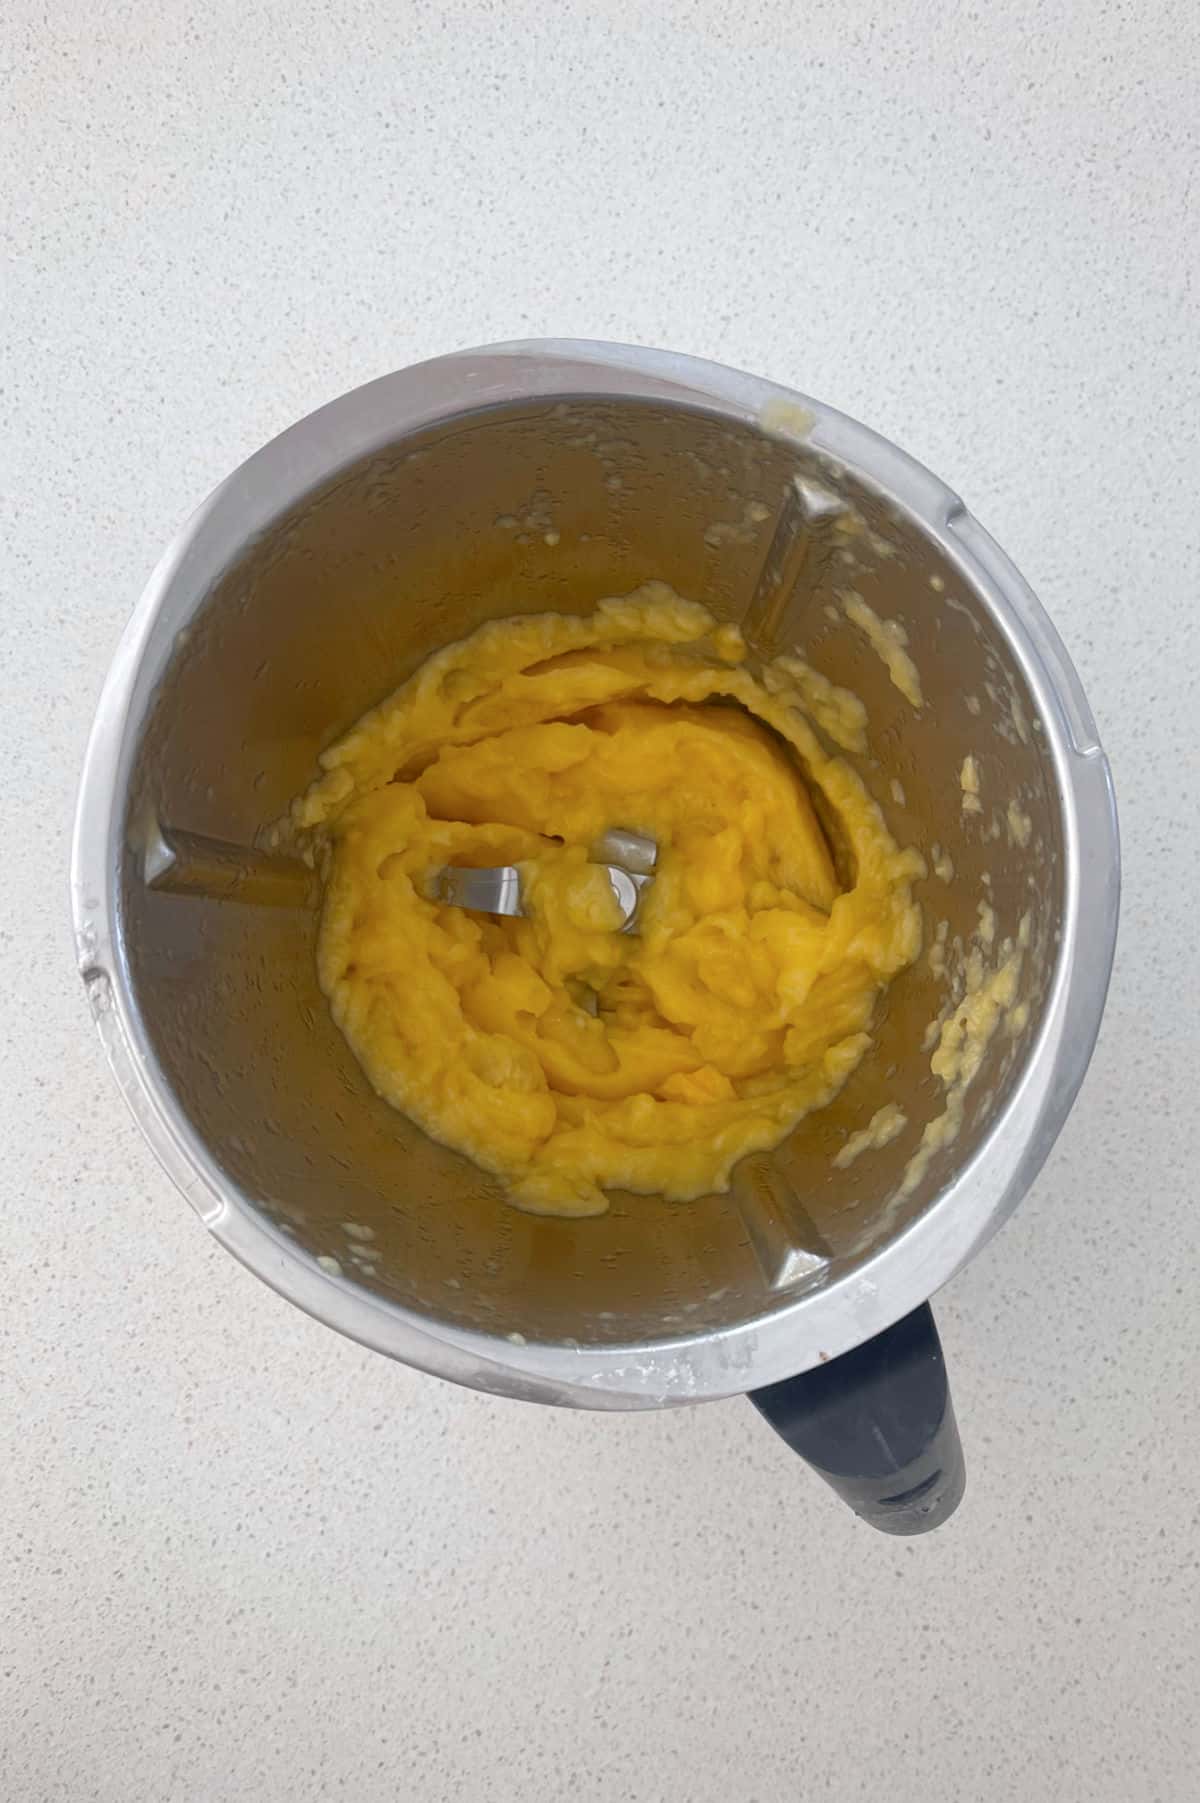
Step 3. In a clean Thermomix bowl, melt the caramilk chocolate and set aside to slightly cool.
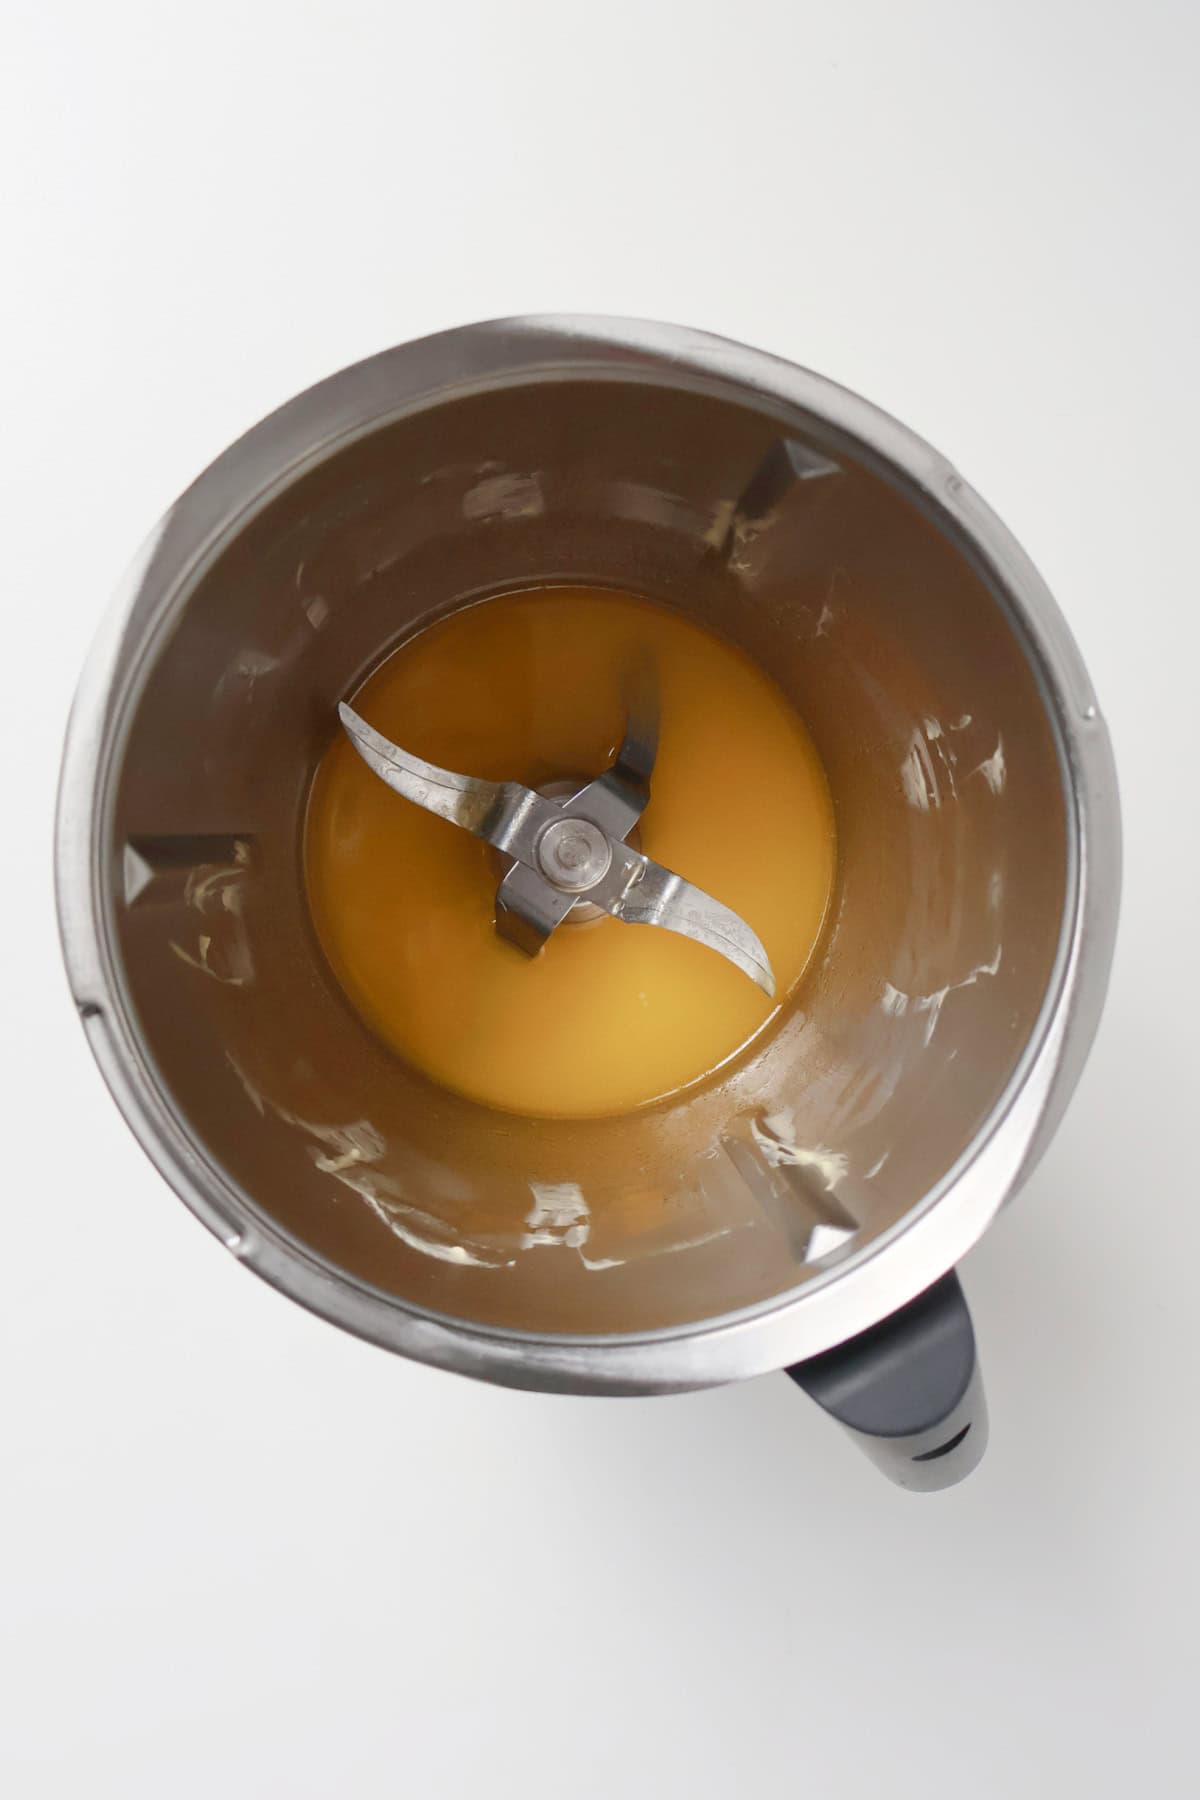
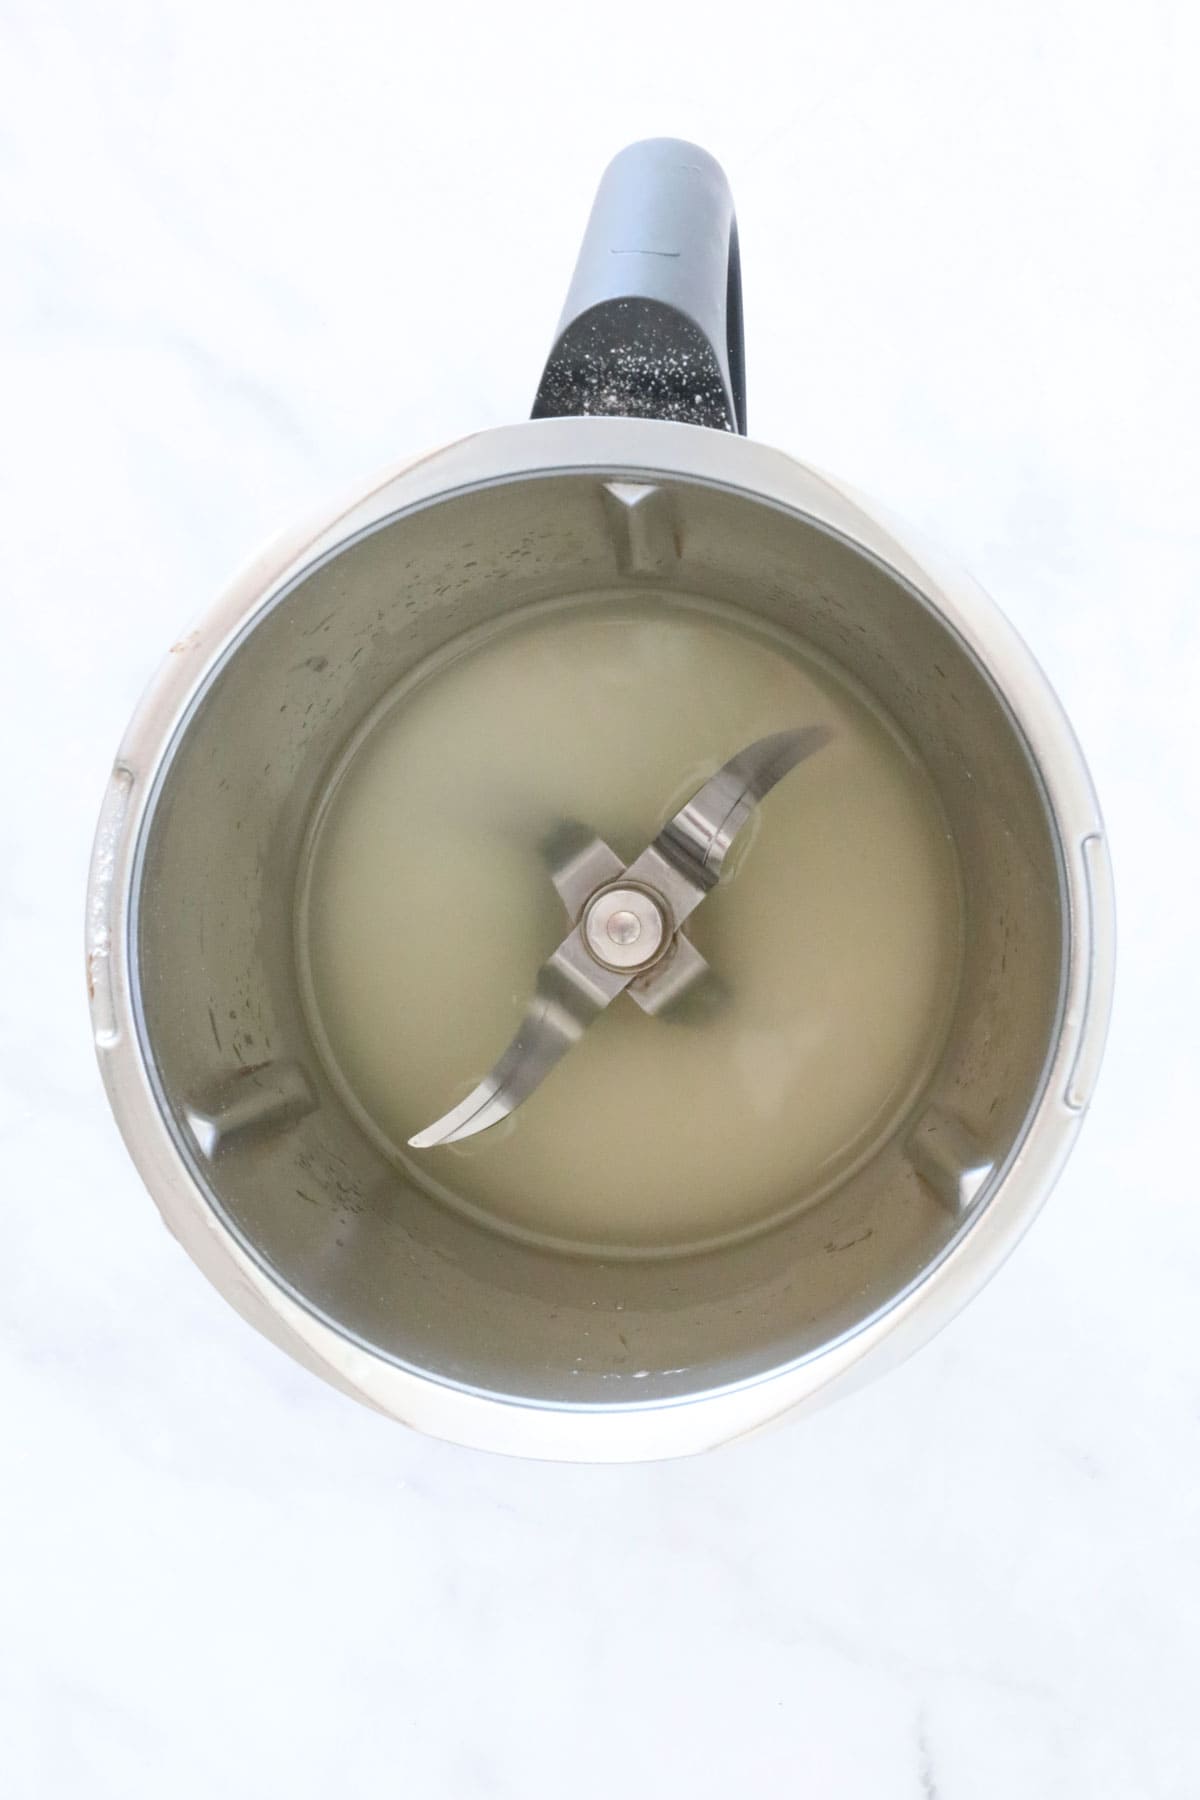
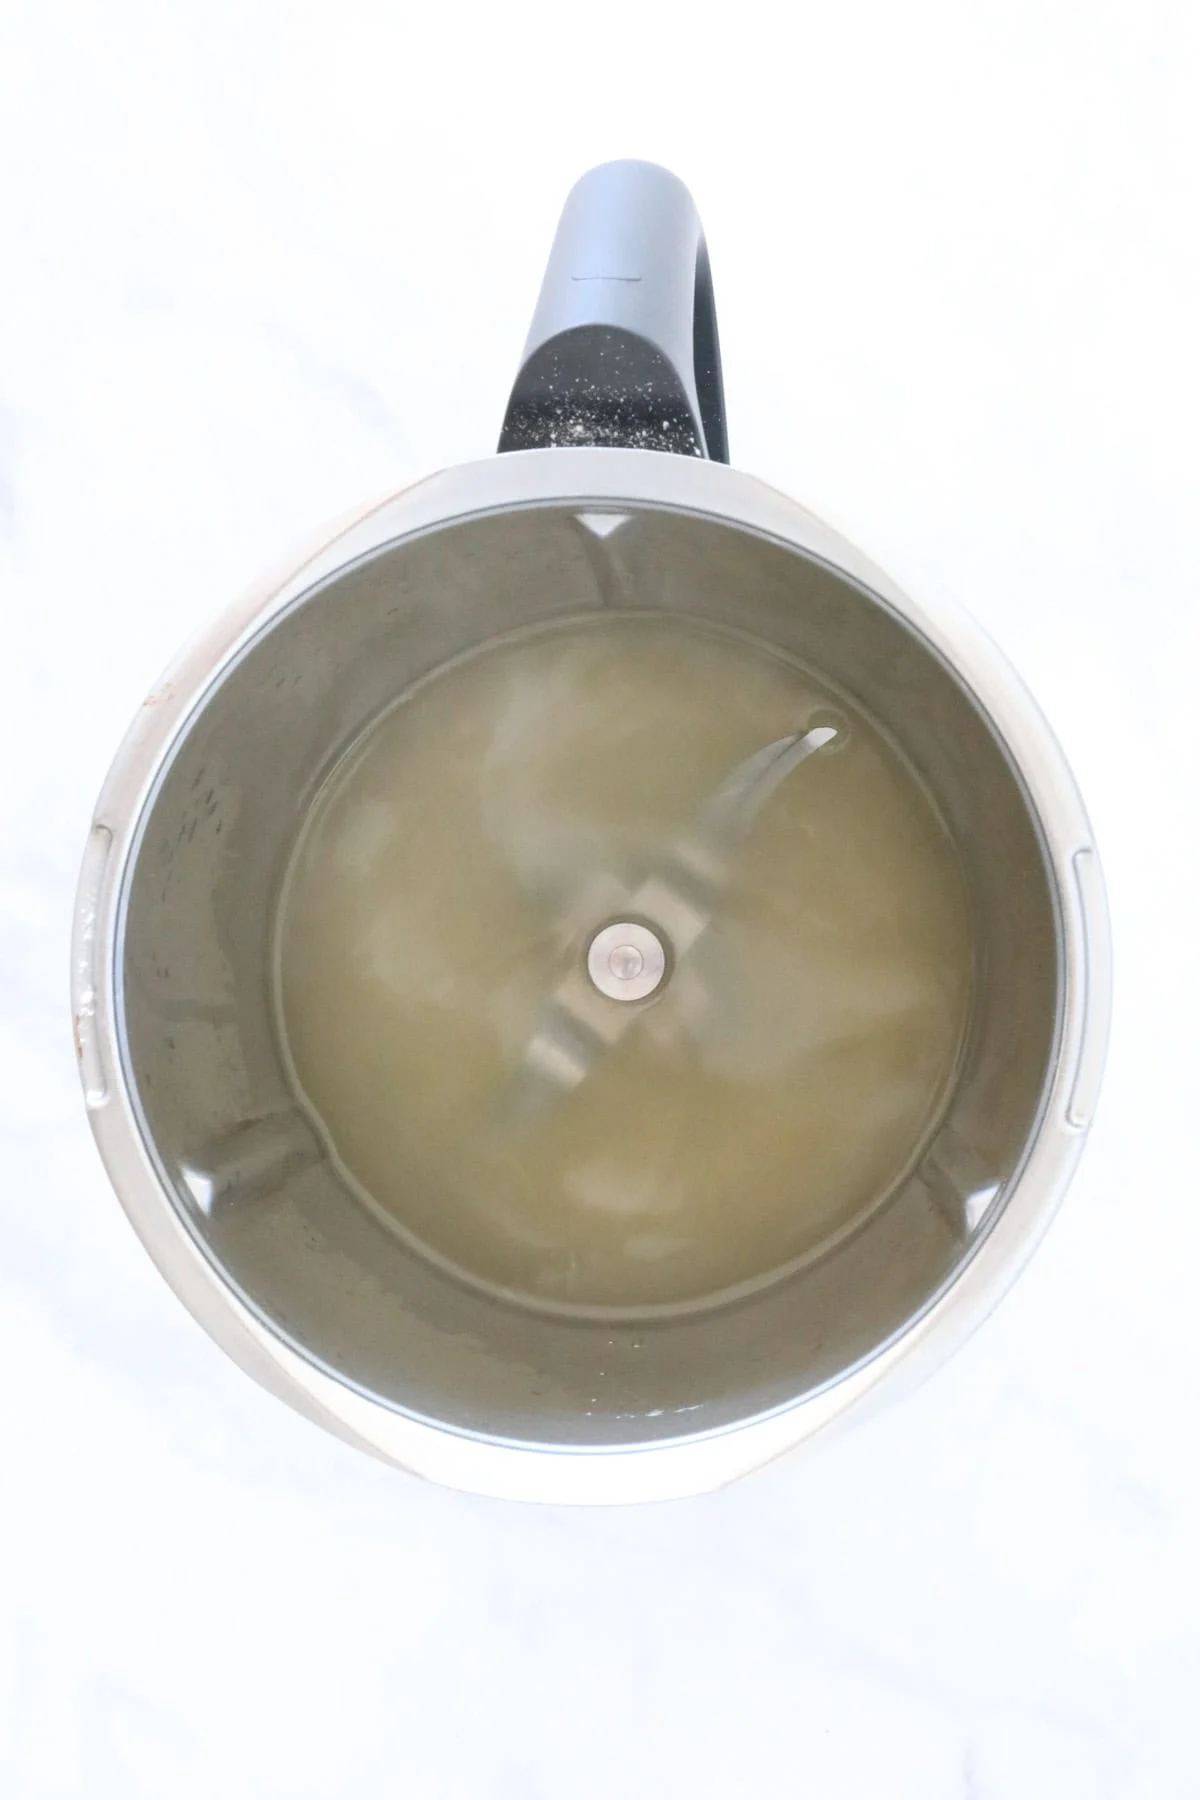
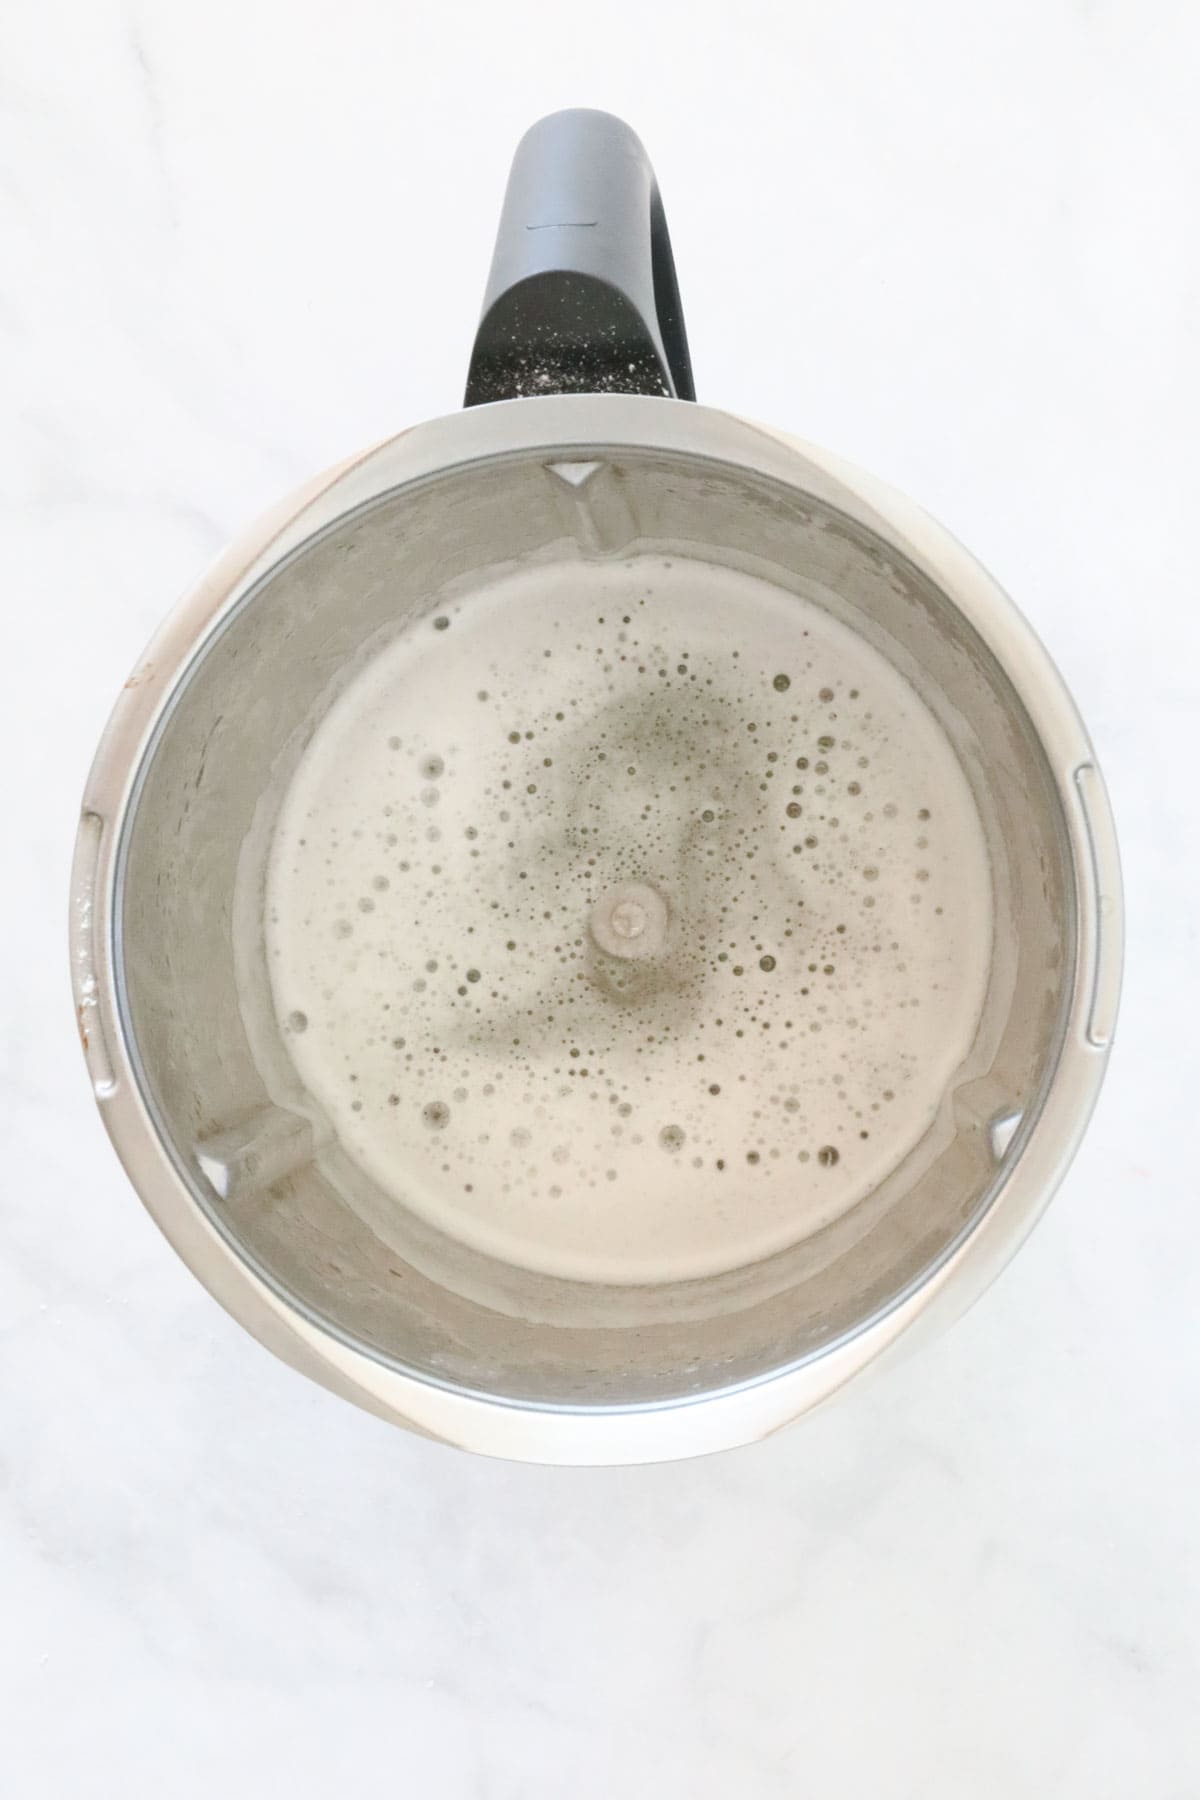
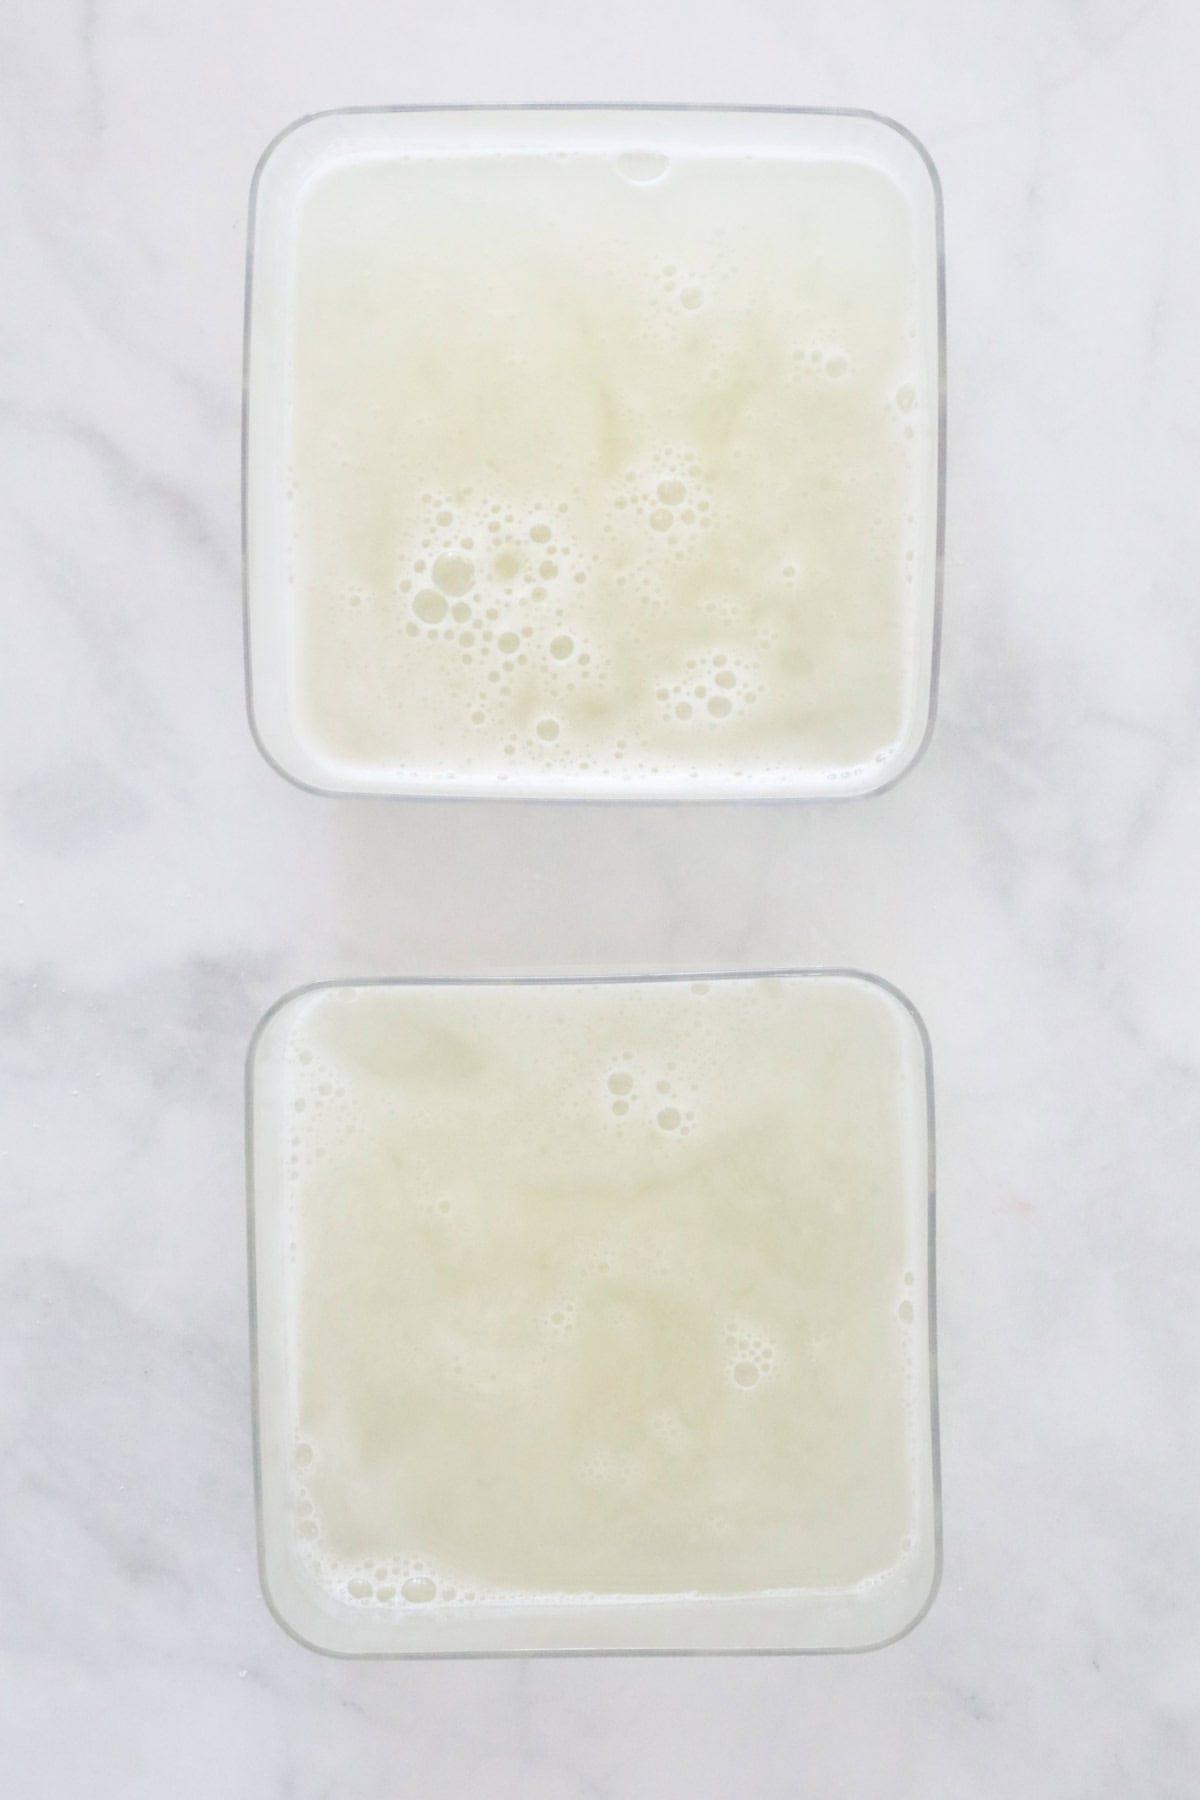
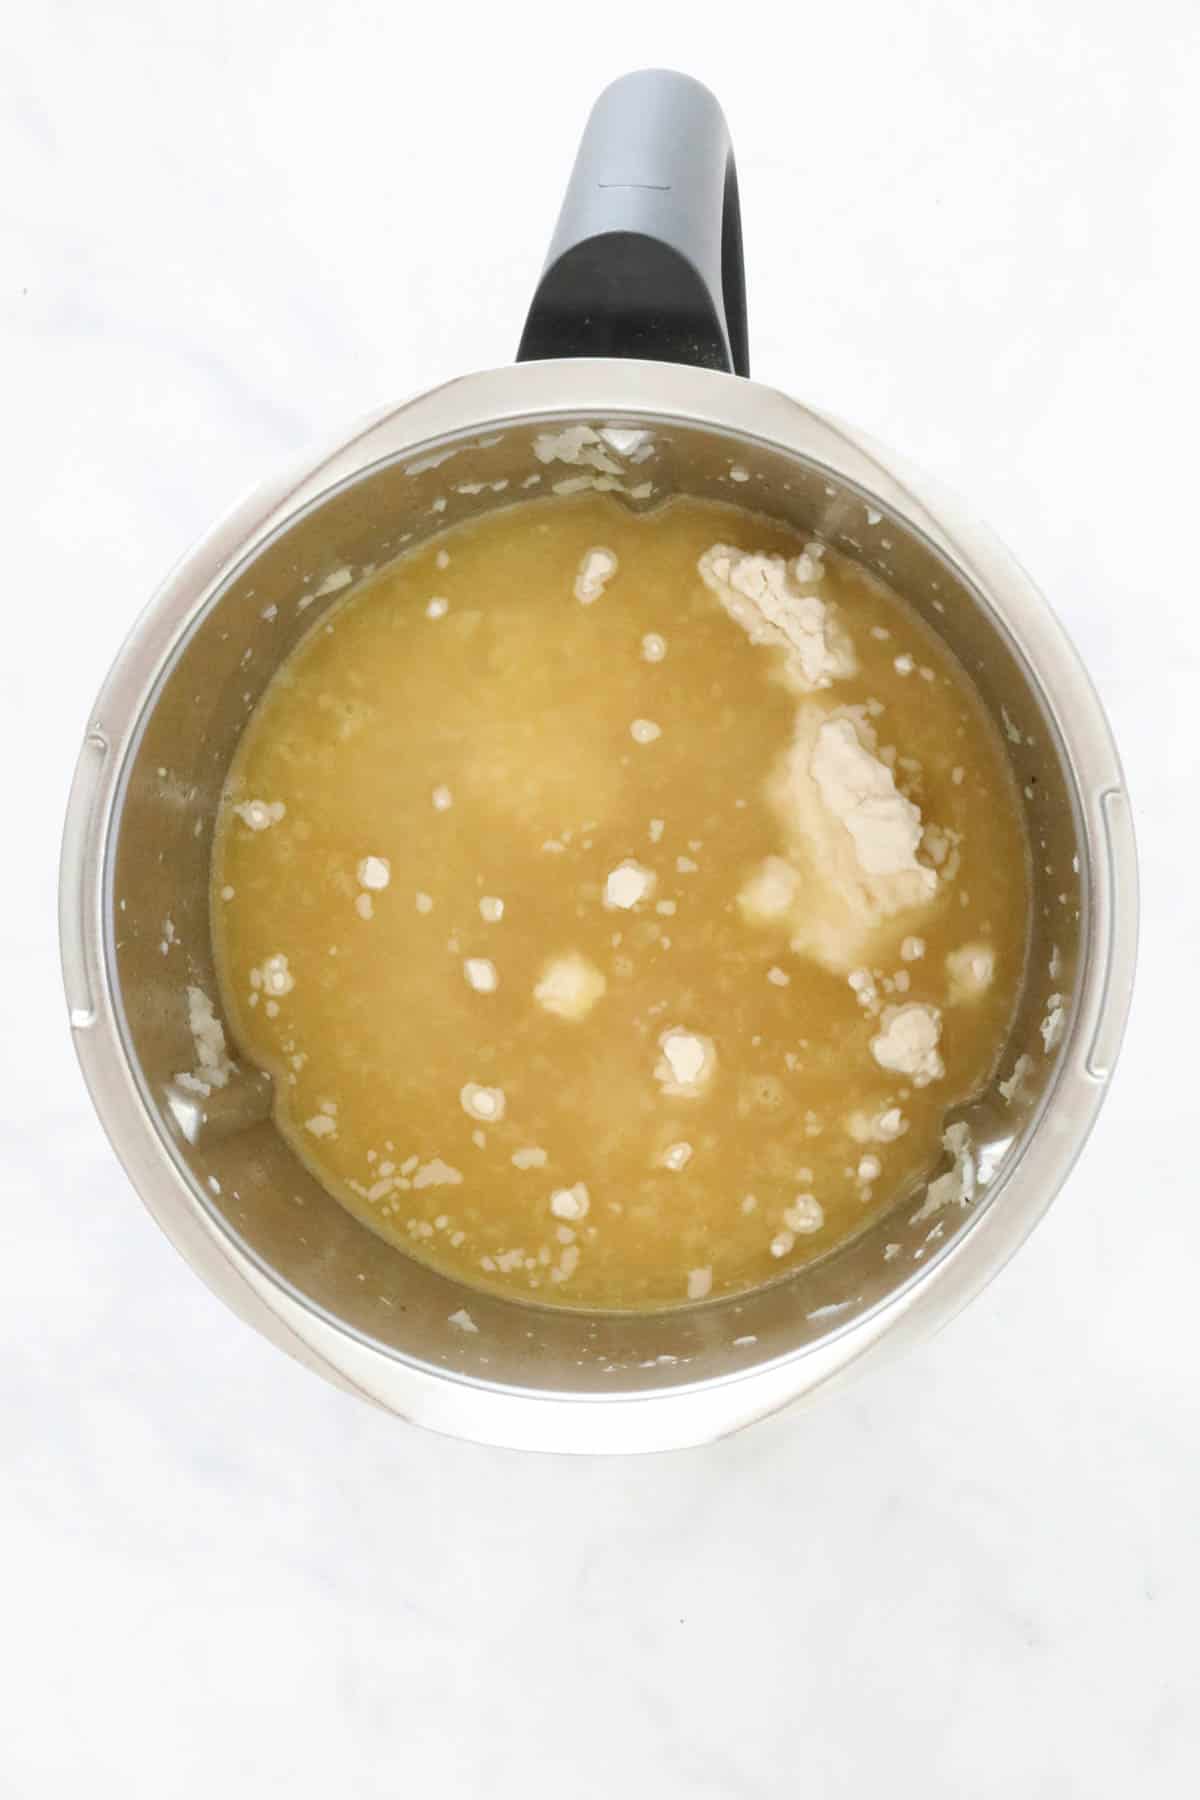
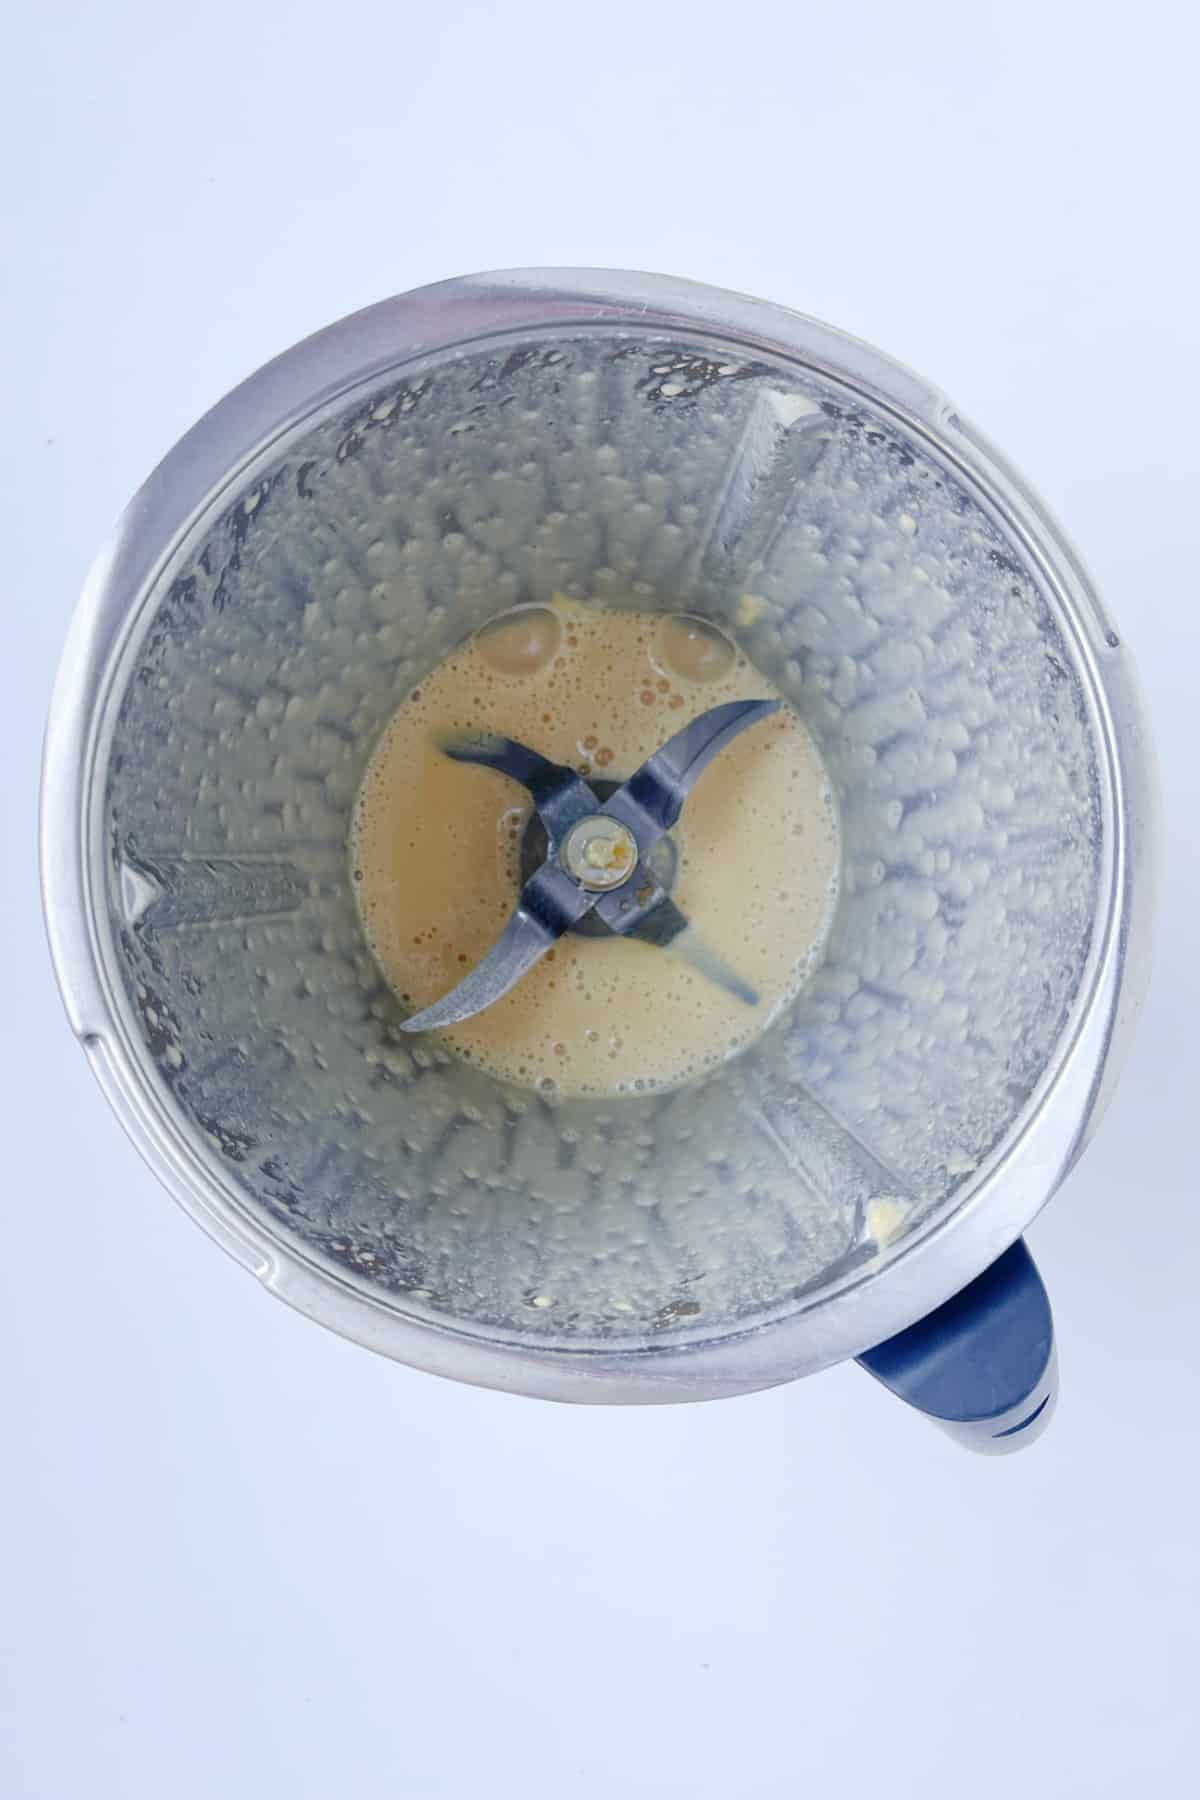
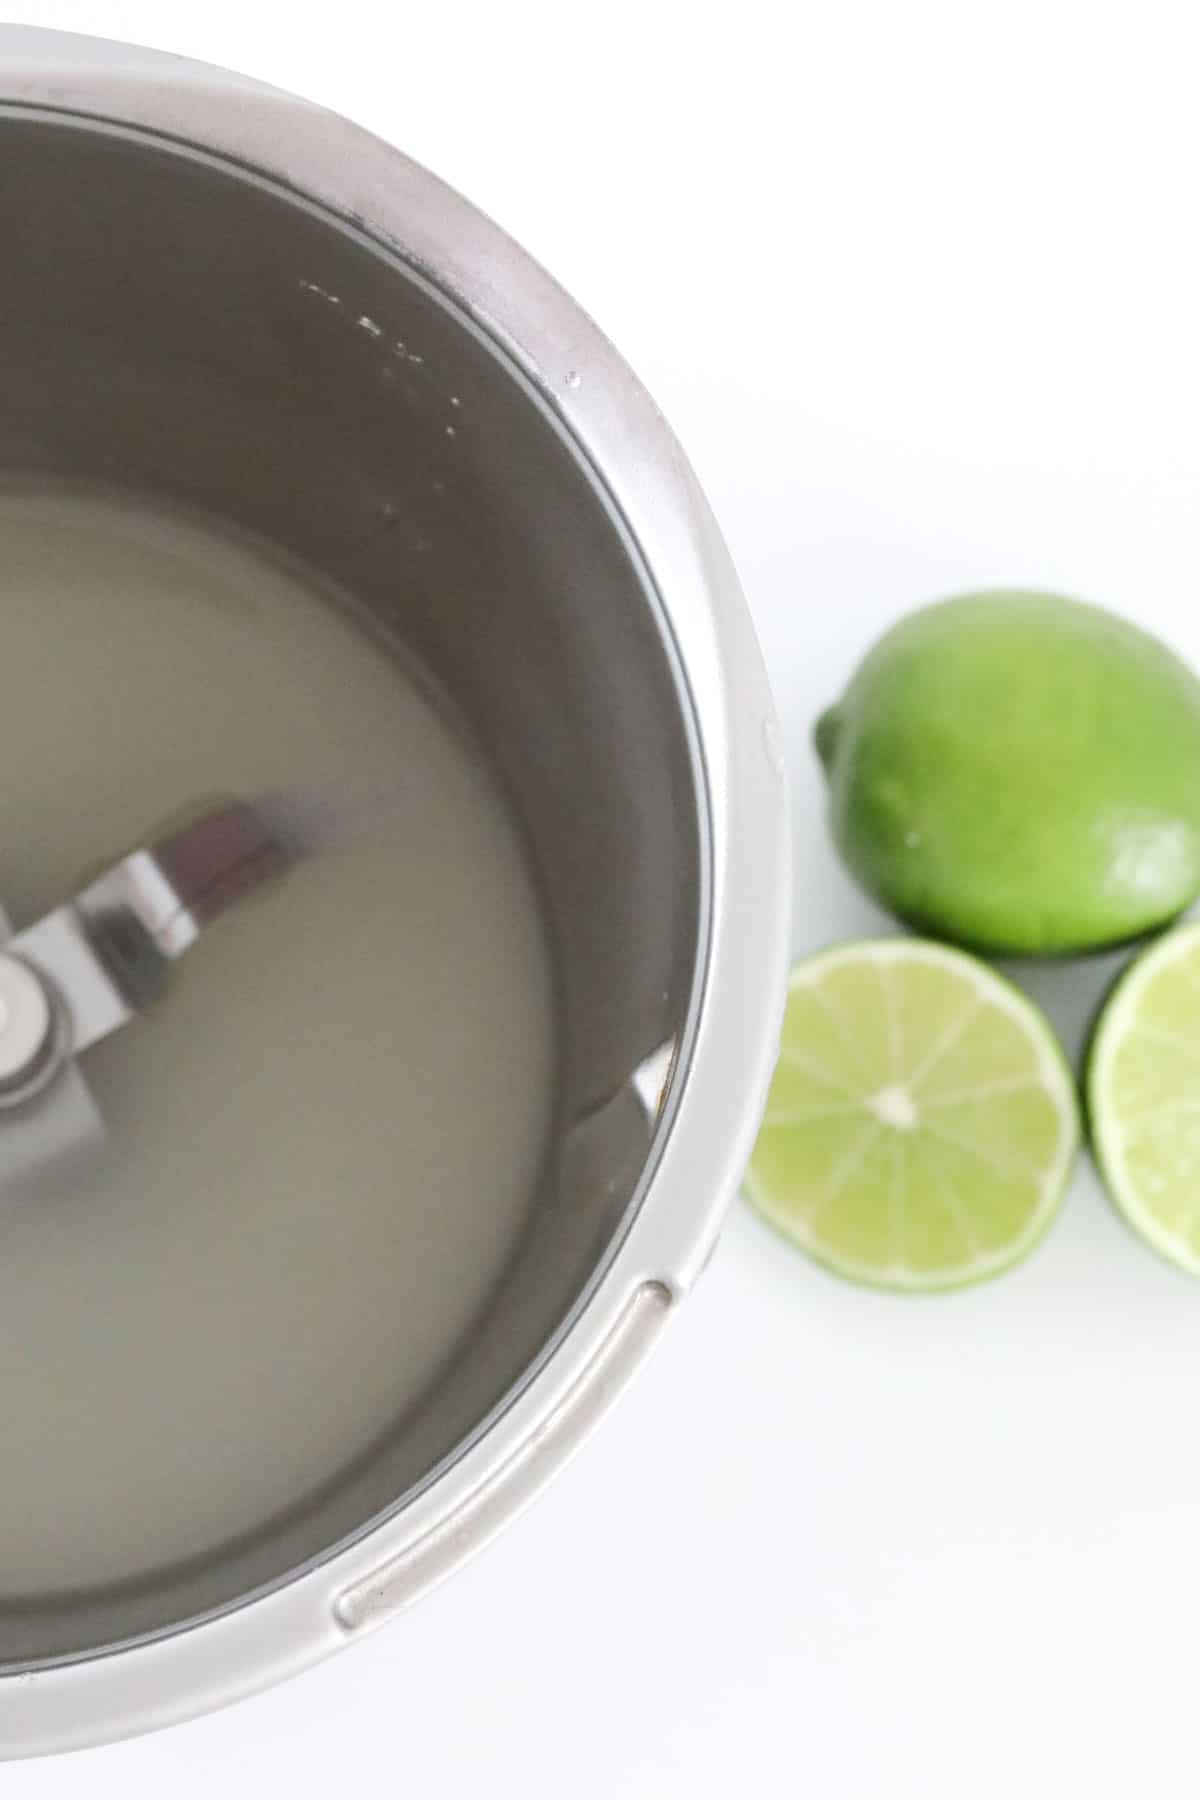
Step 4. Combine the gelatine with boiling water and mix. Set aside until needed.
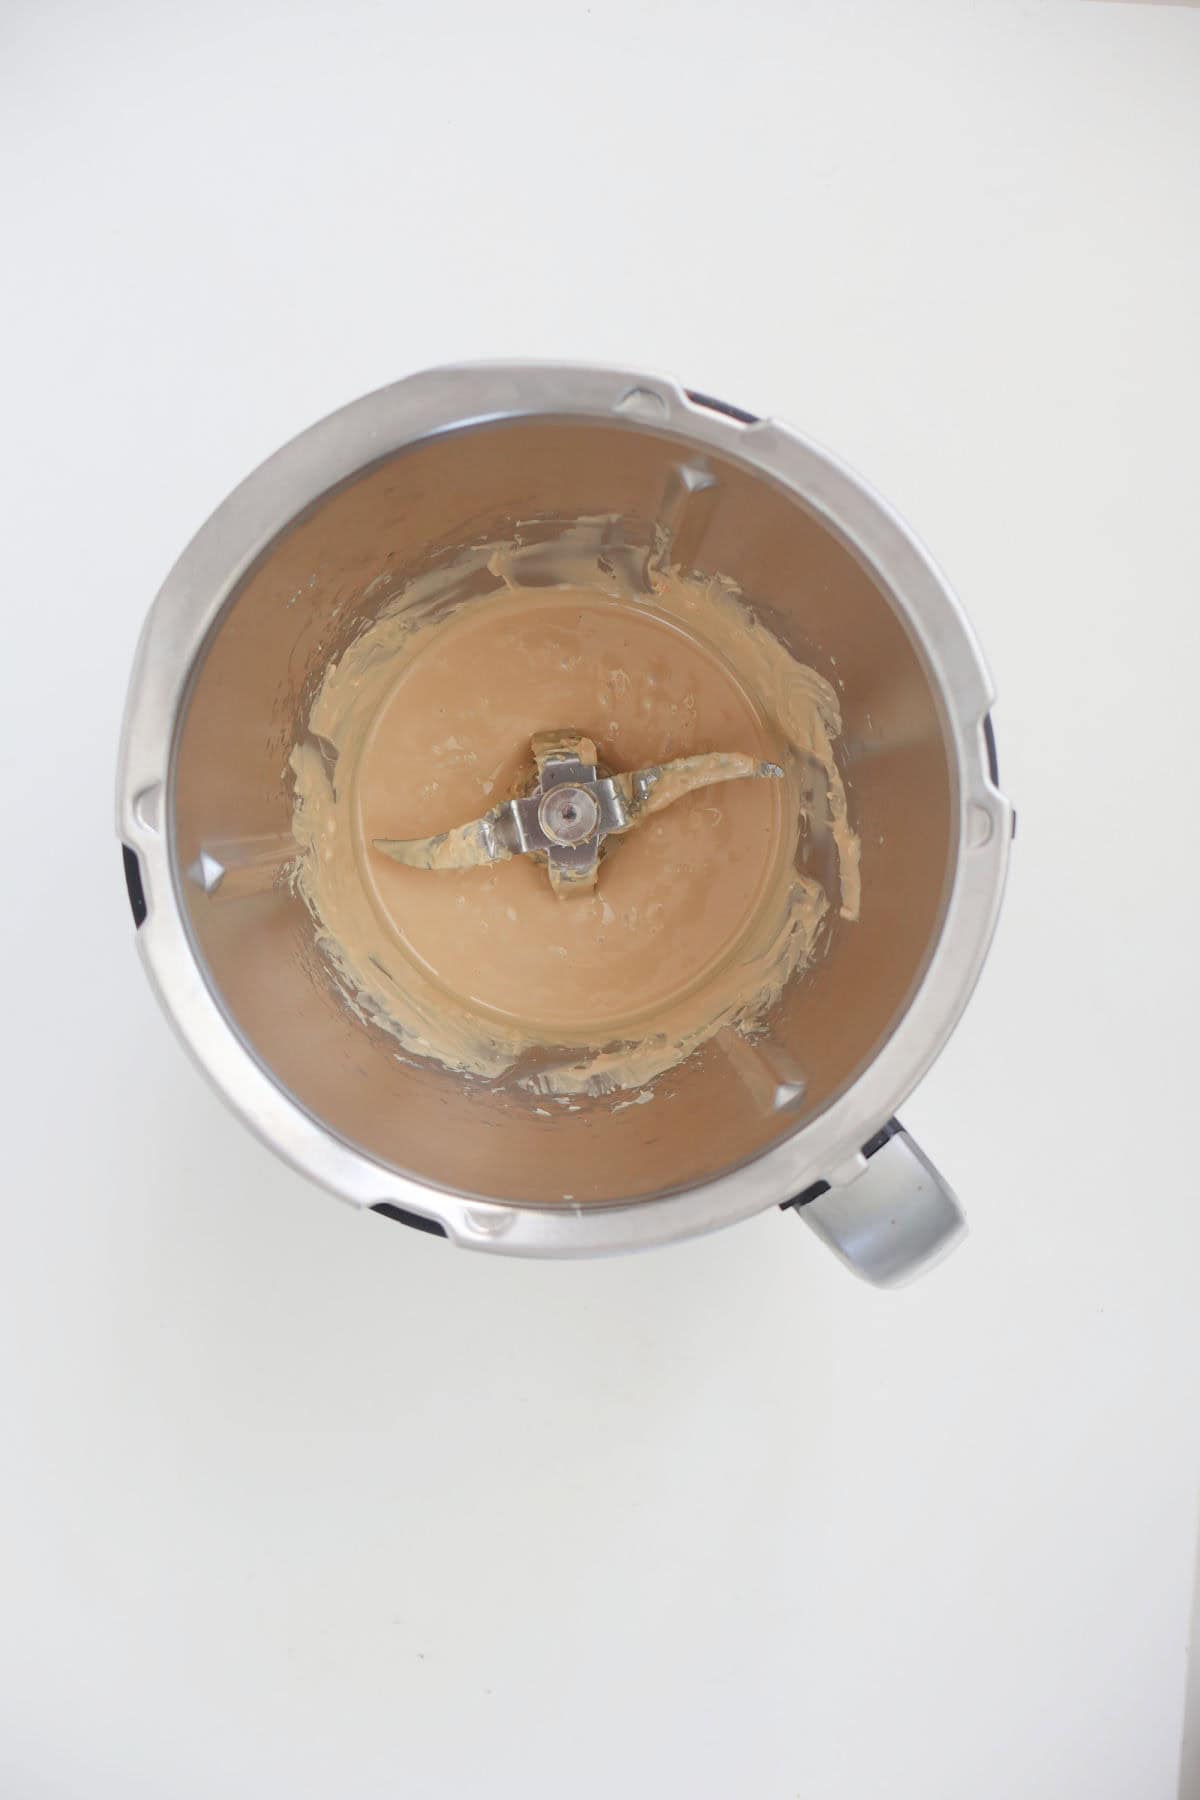
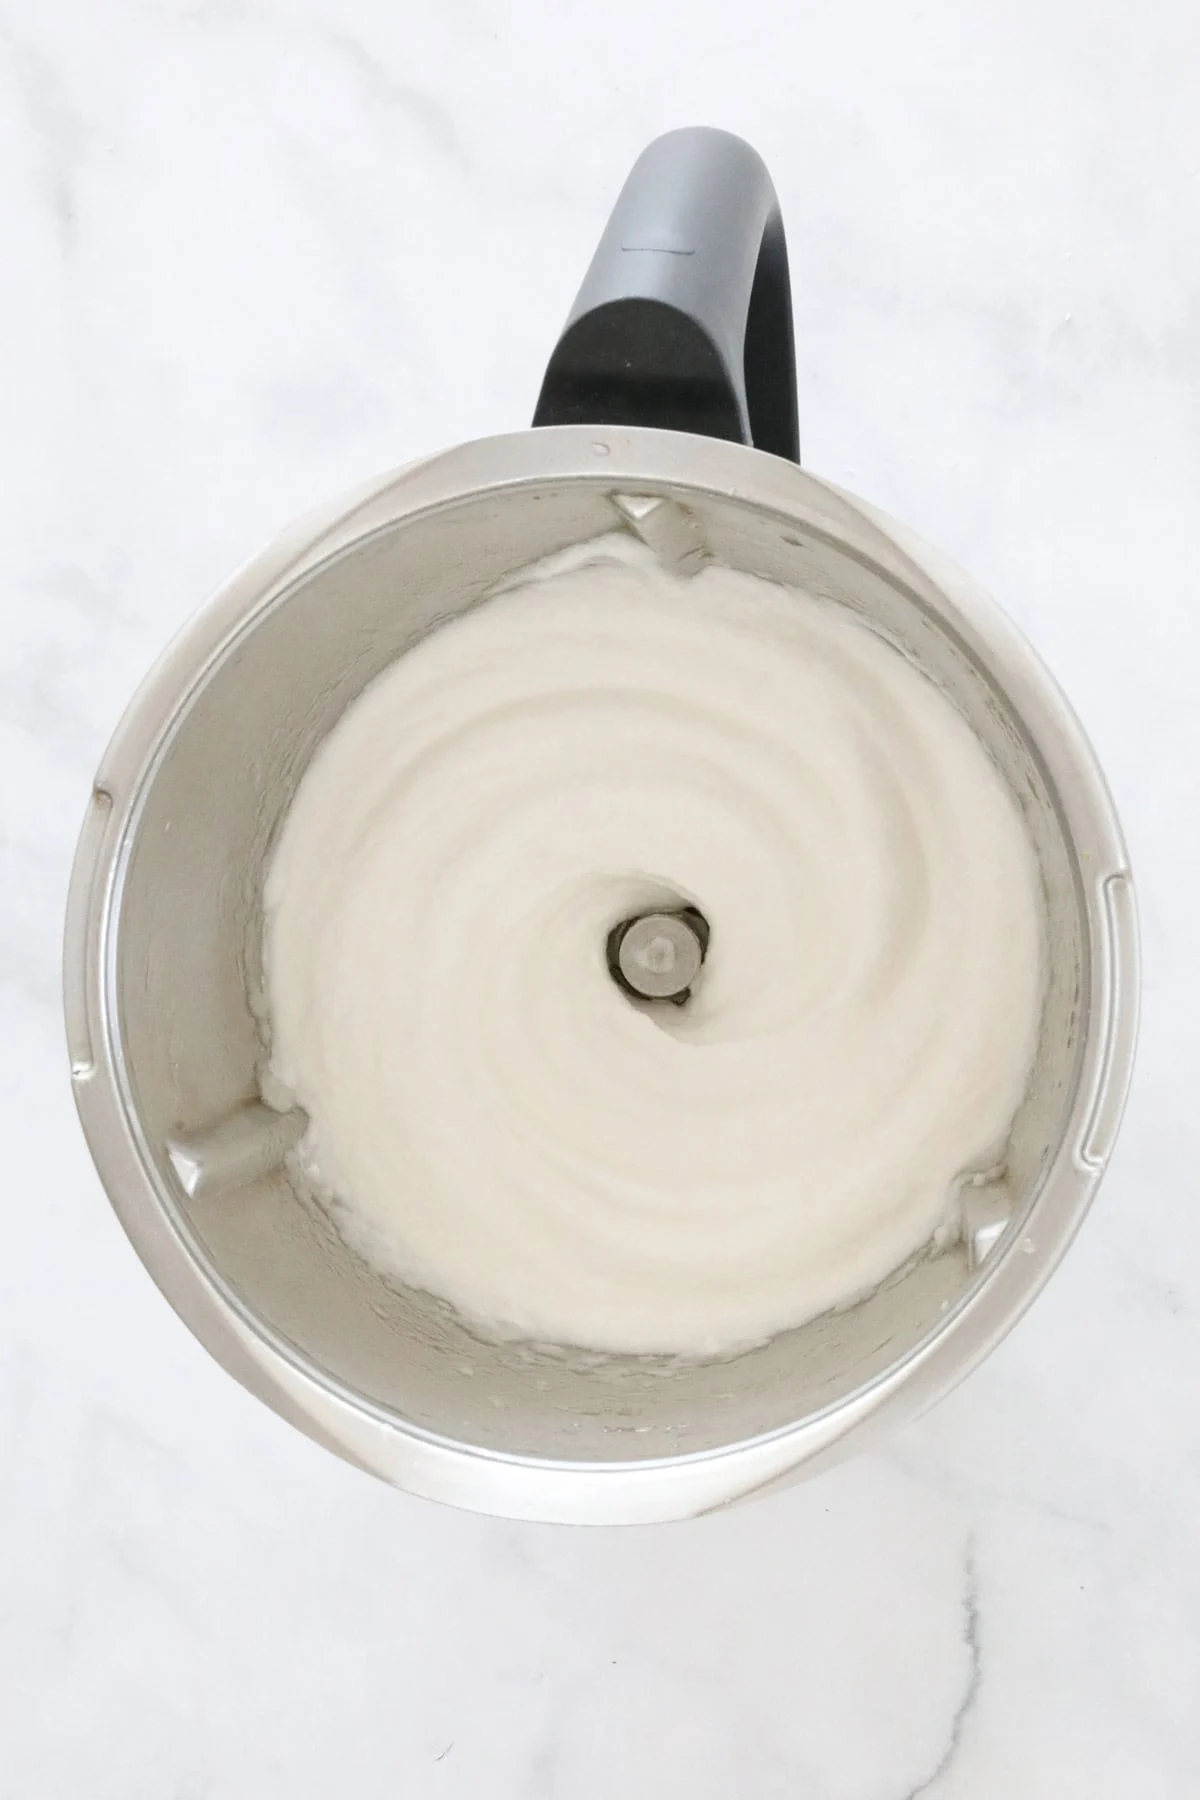
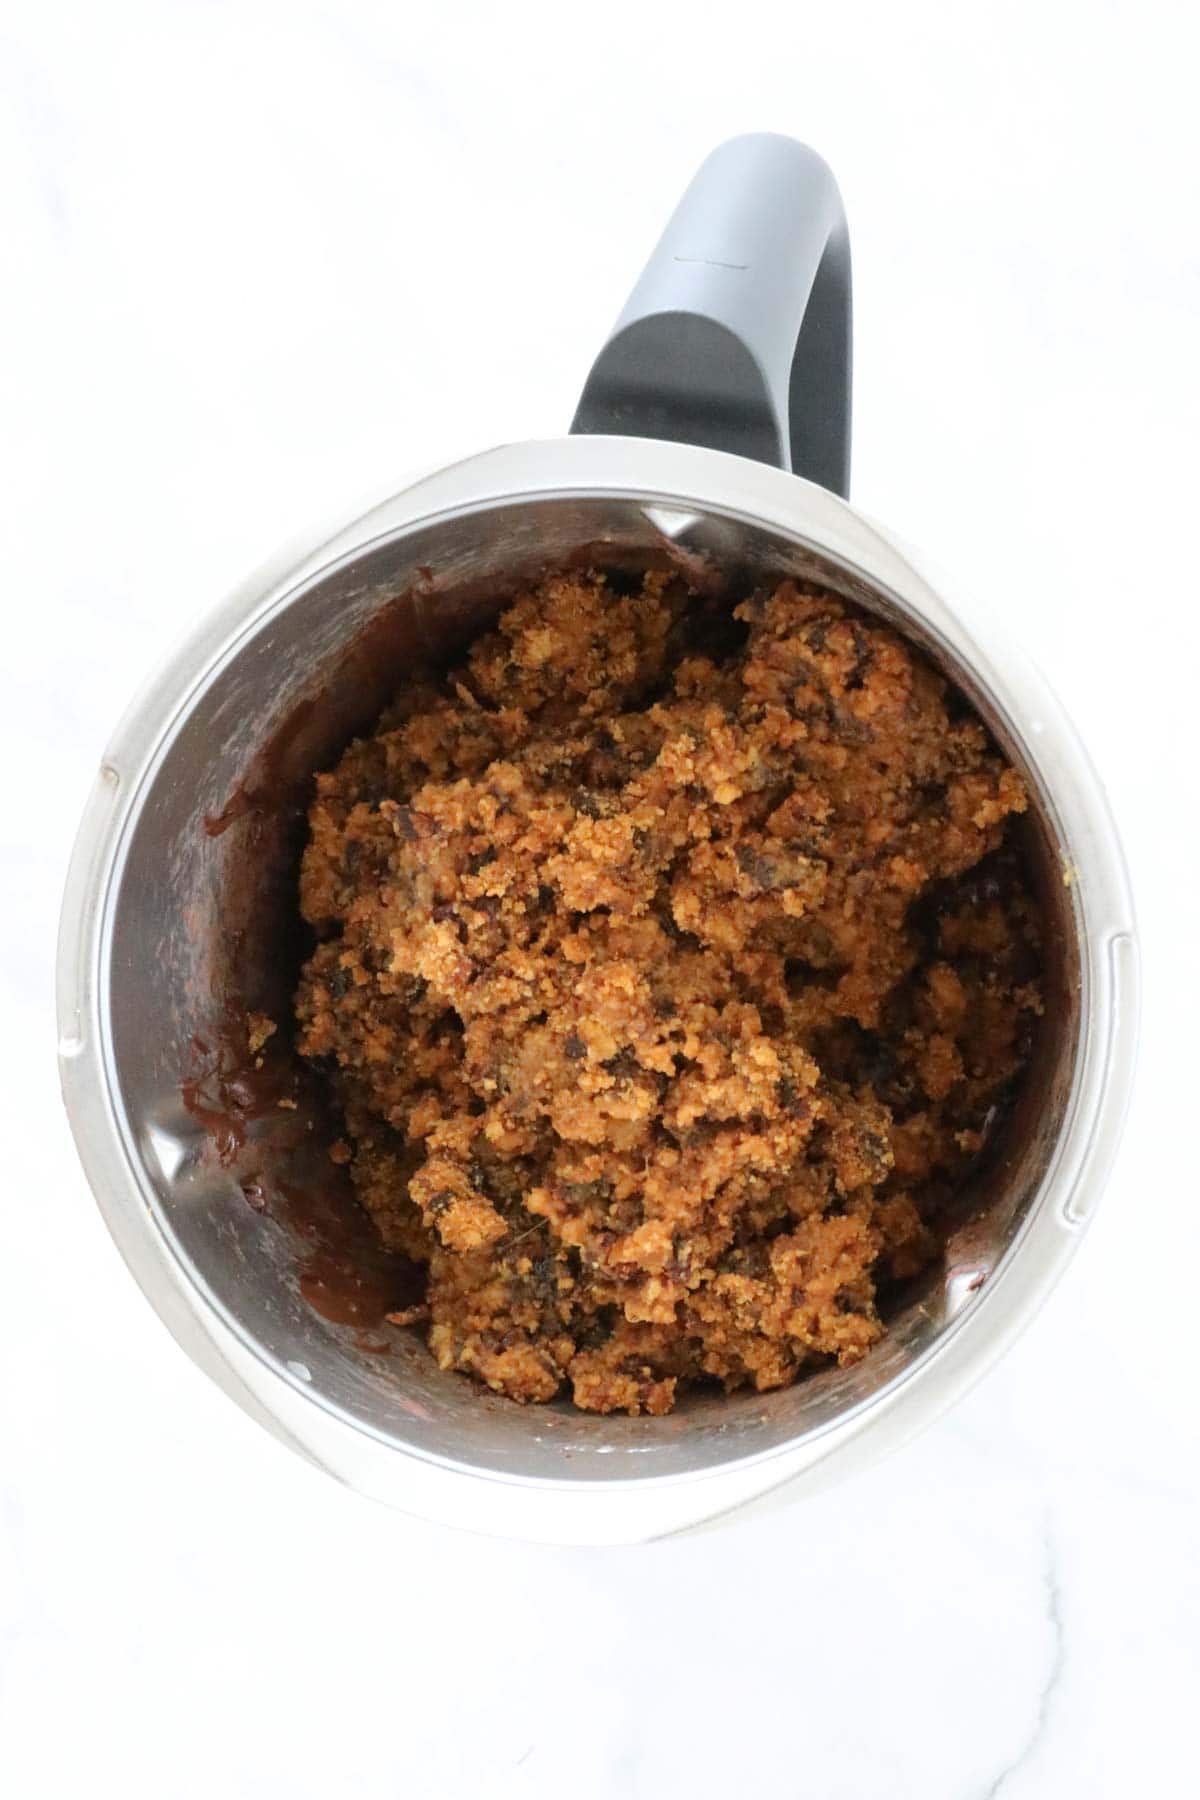
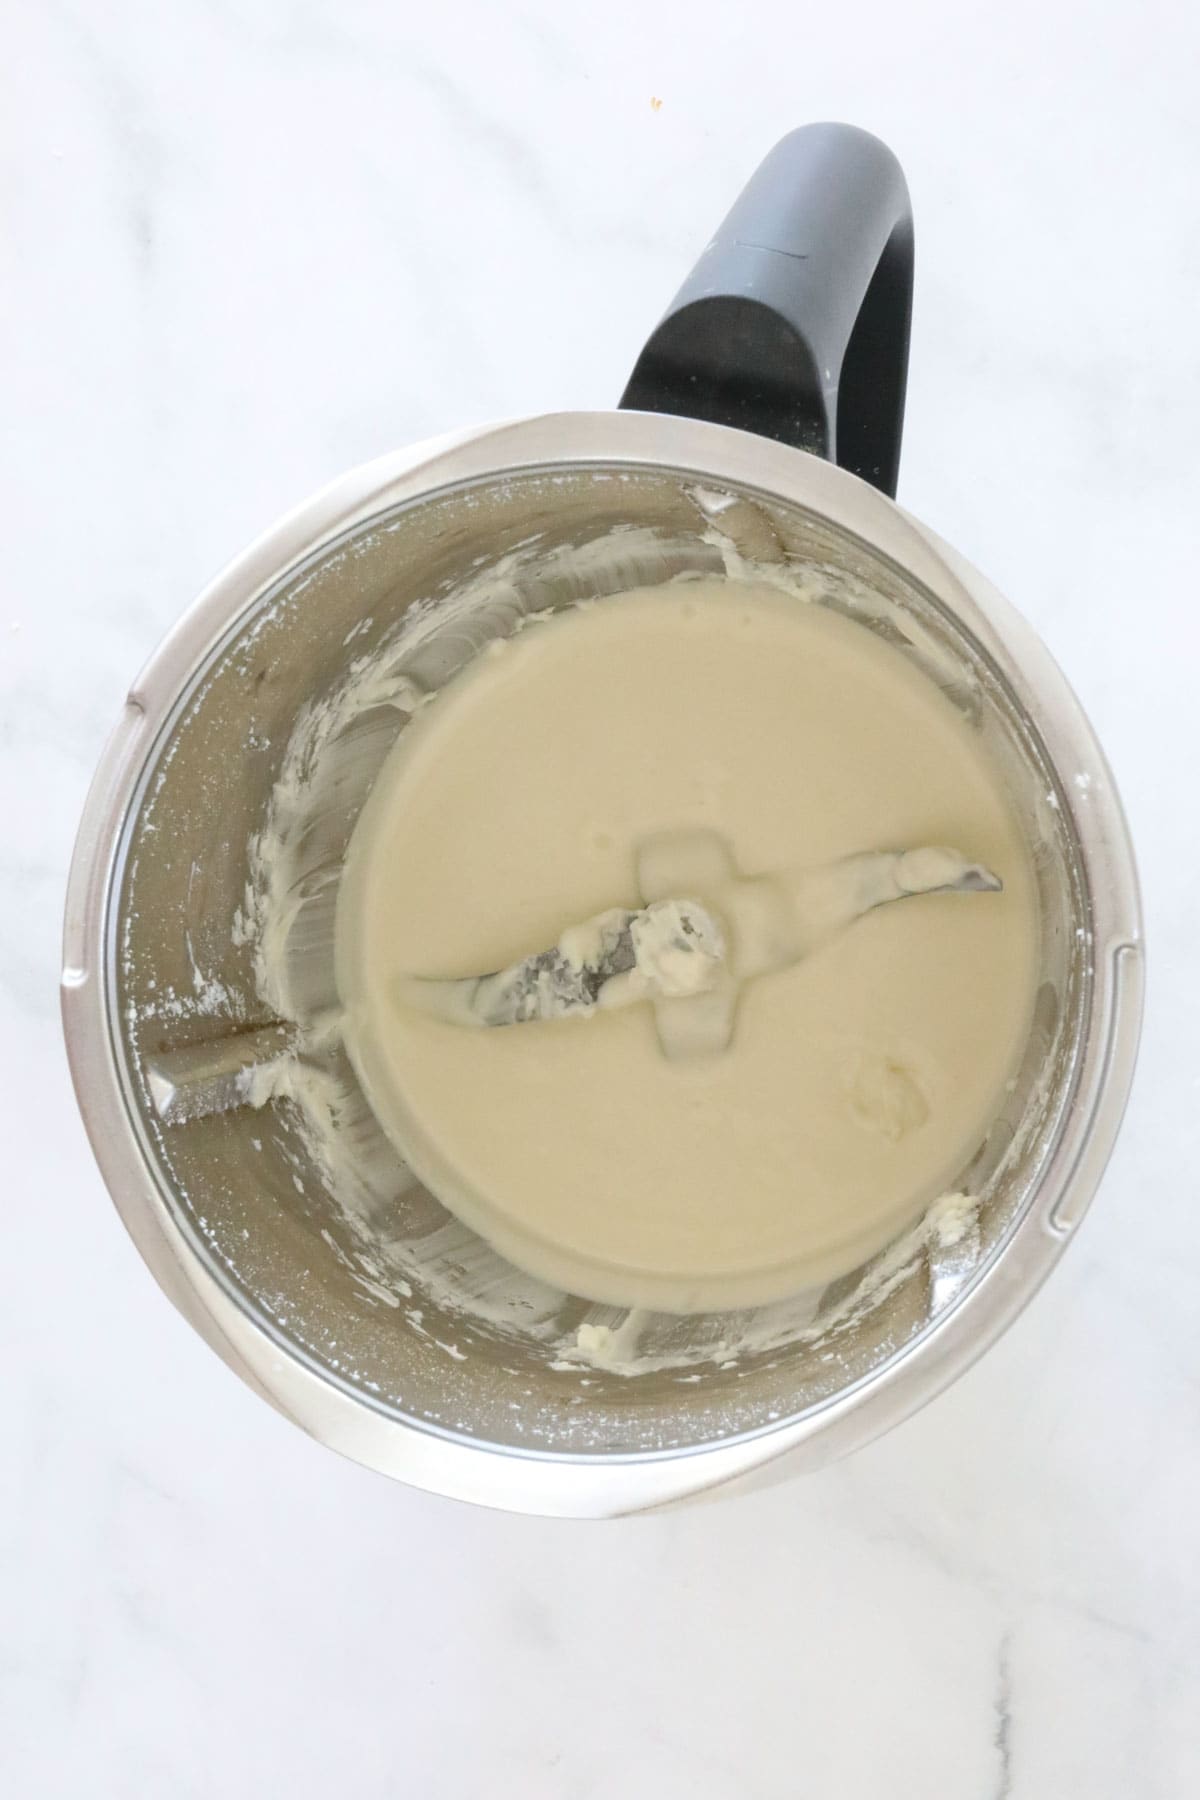
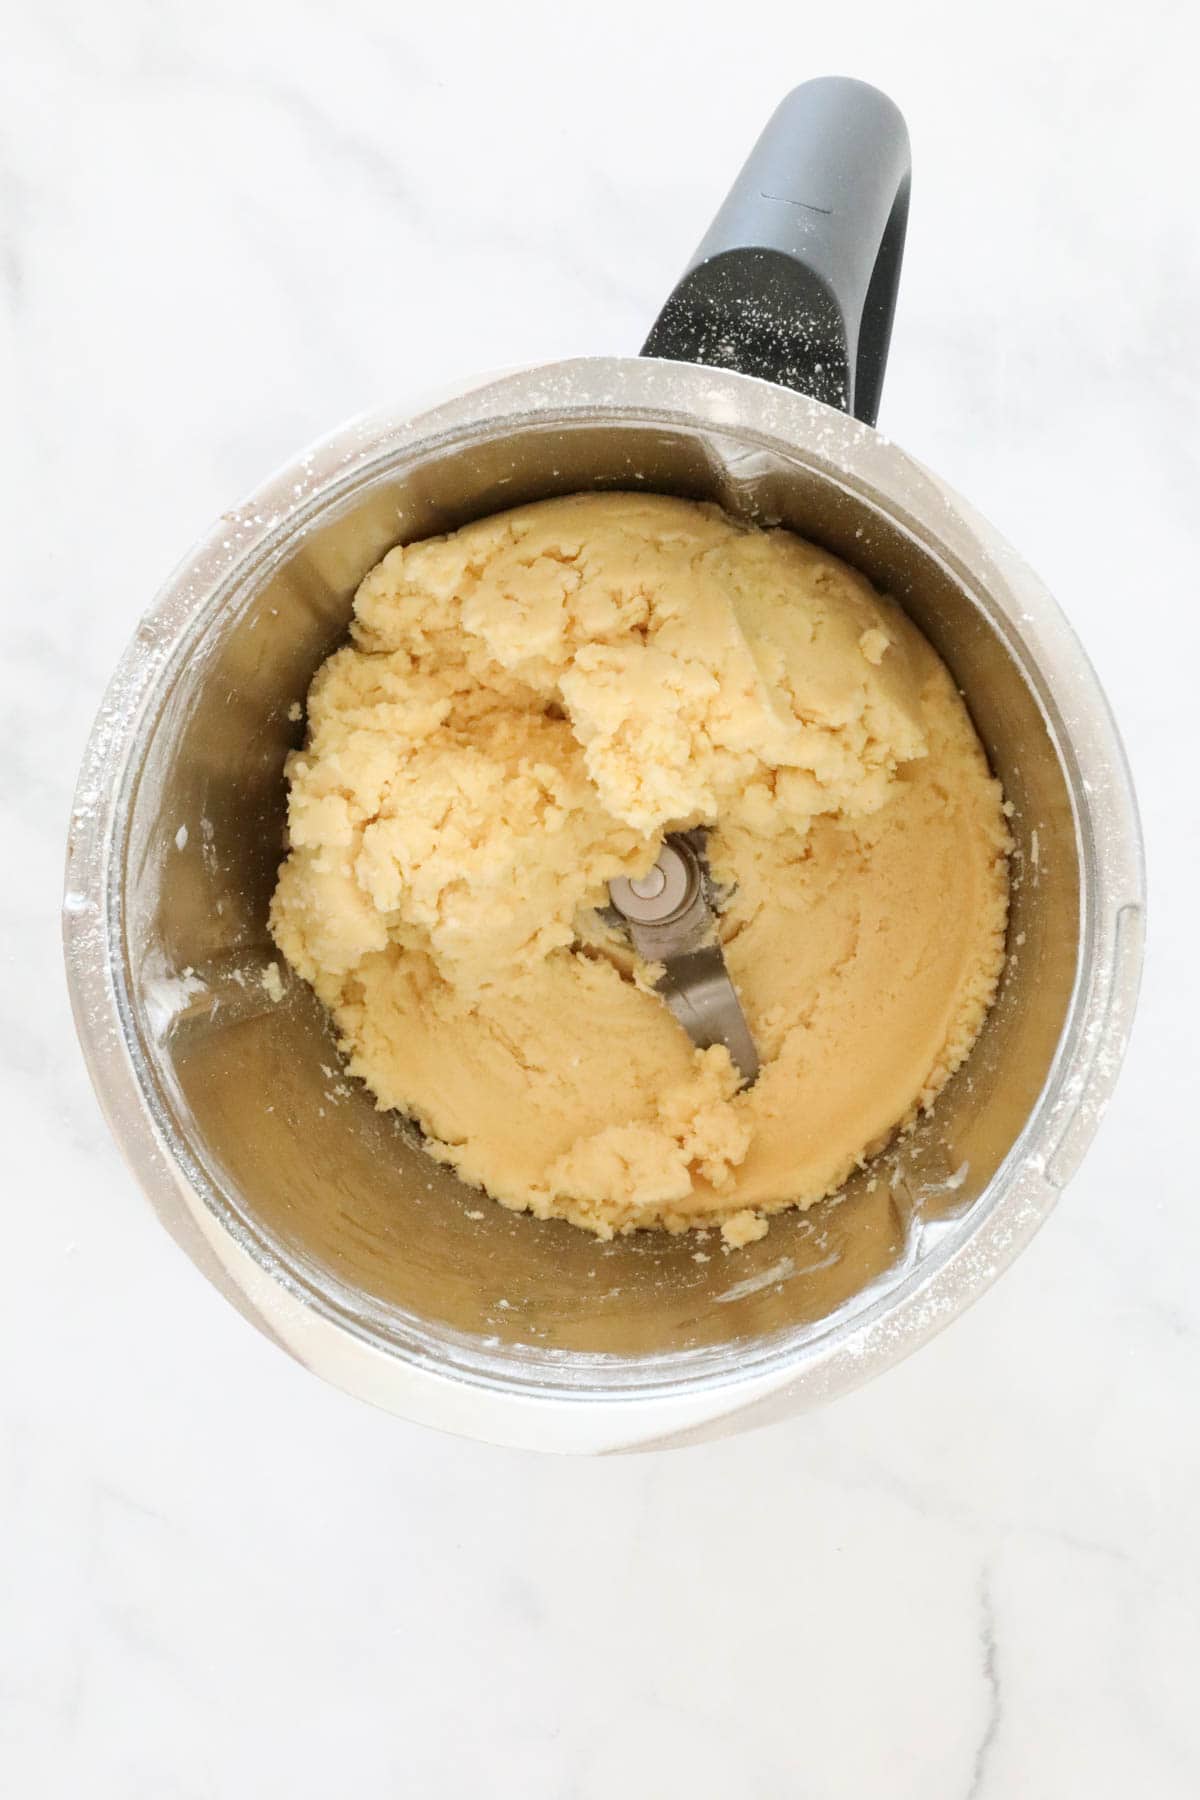
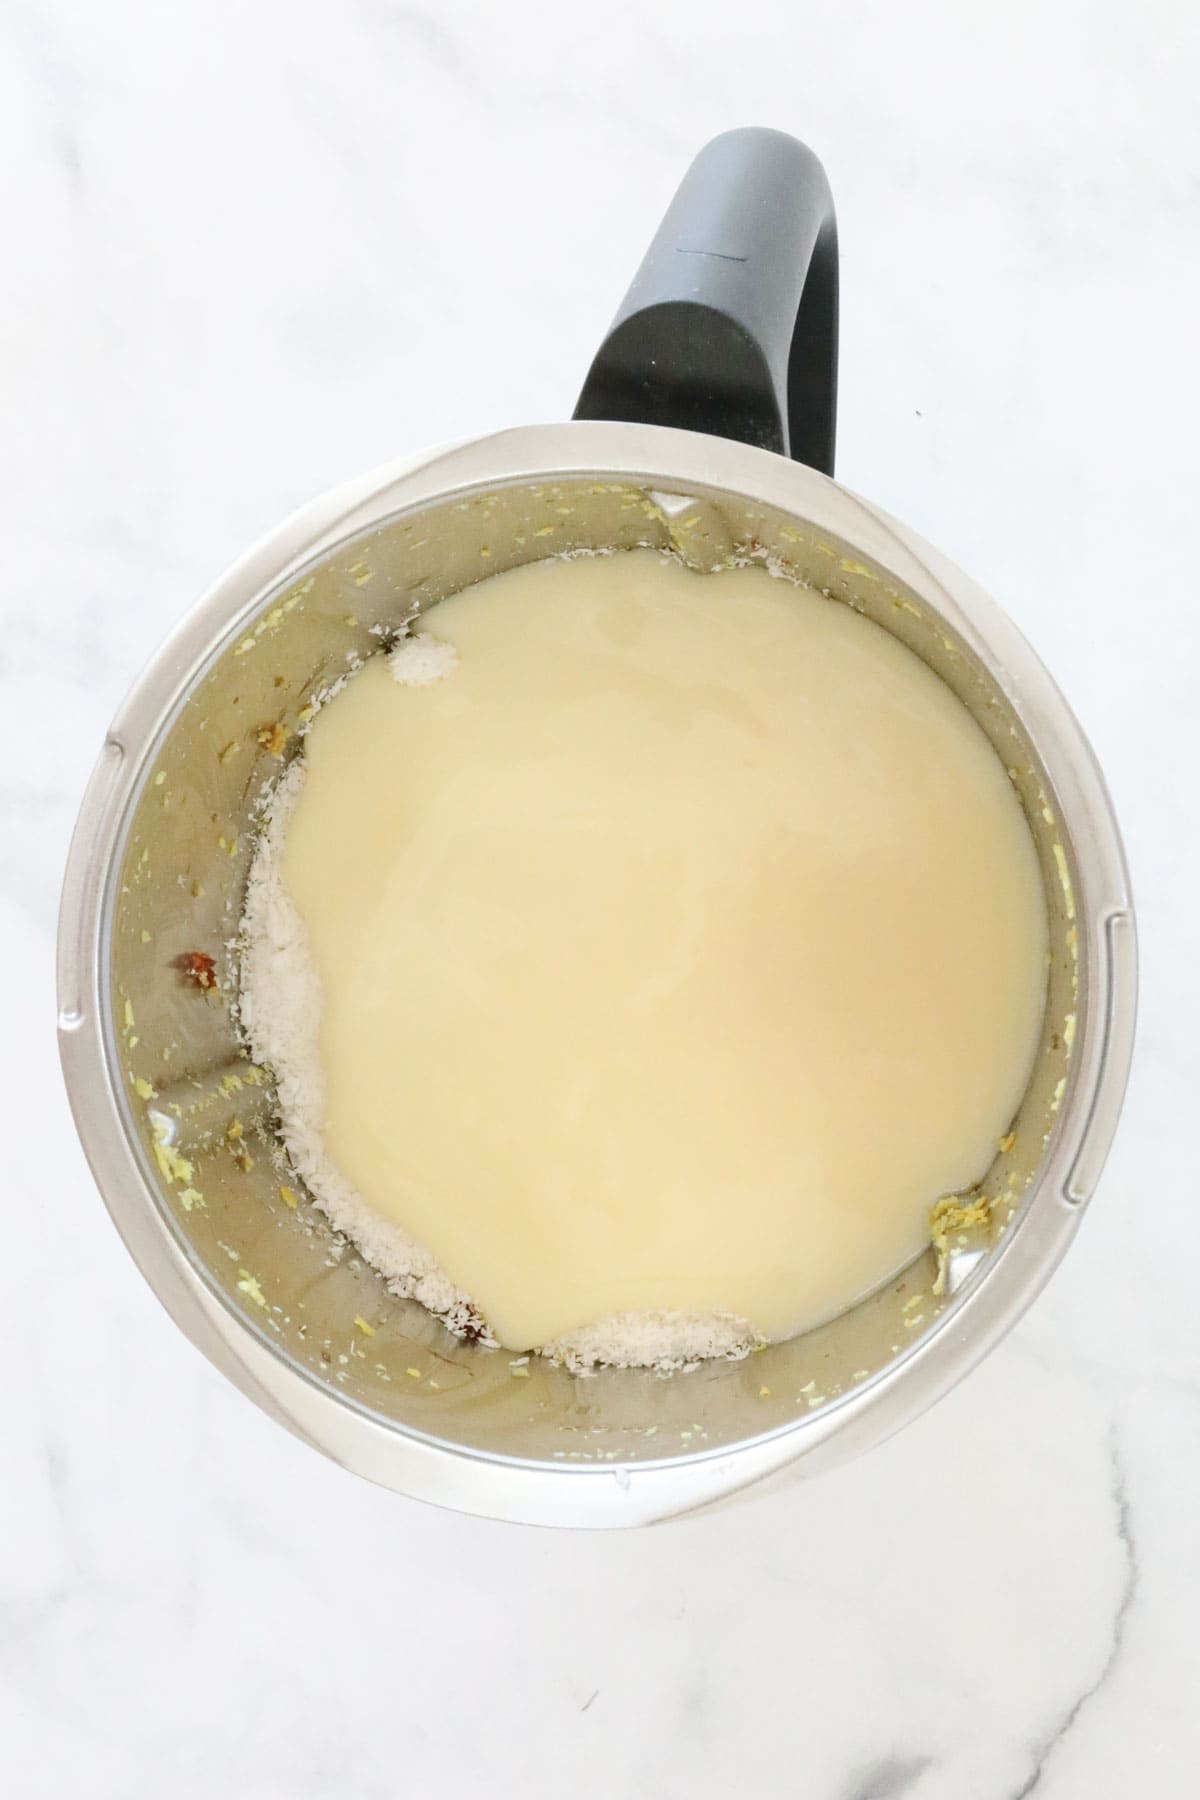
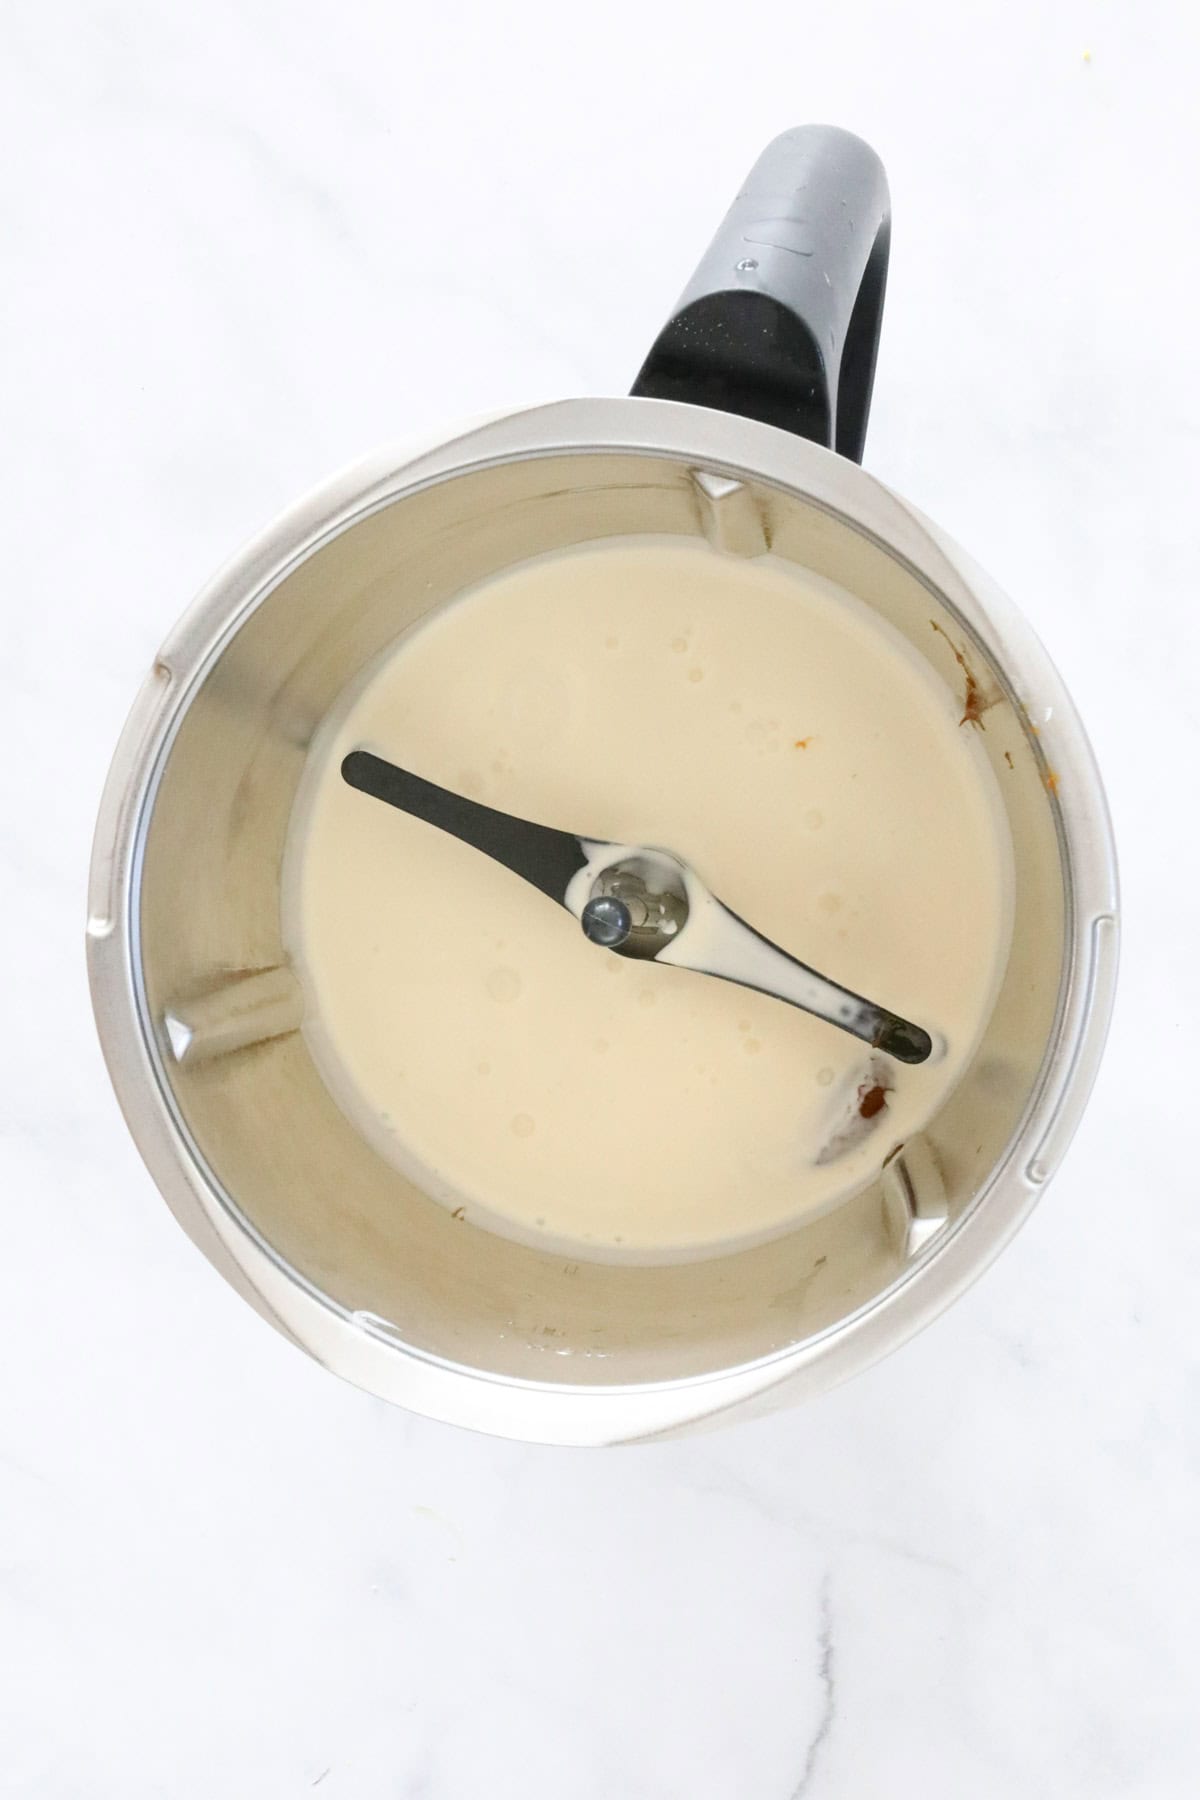
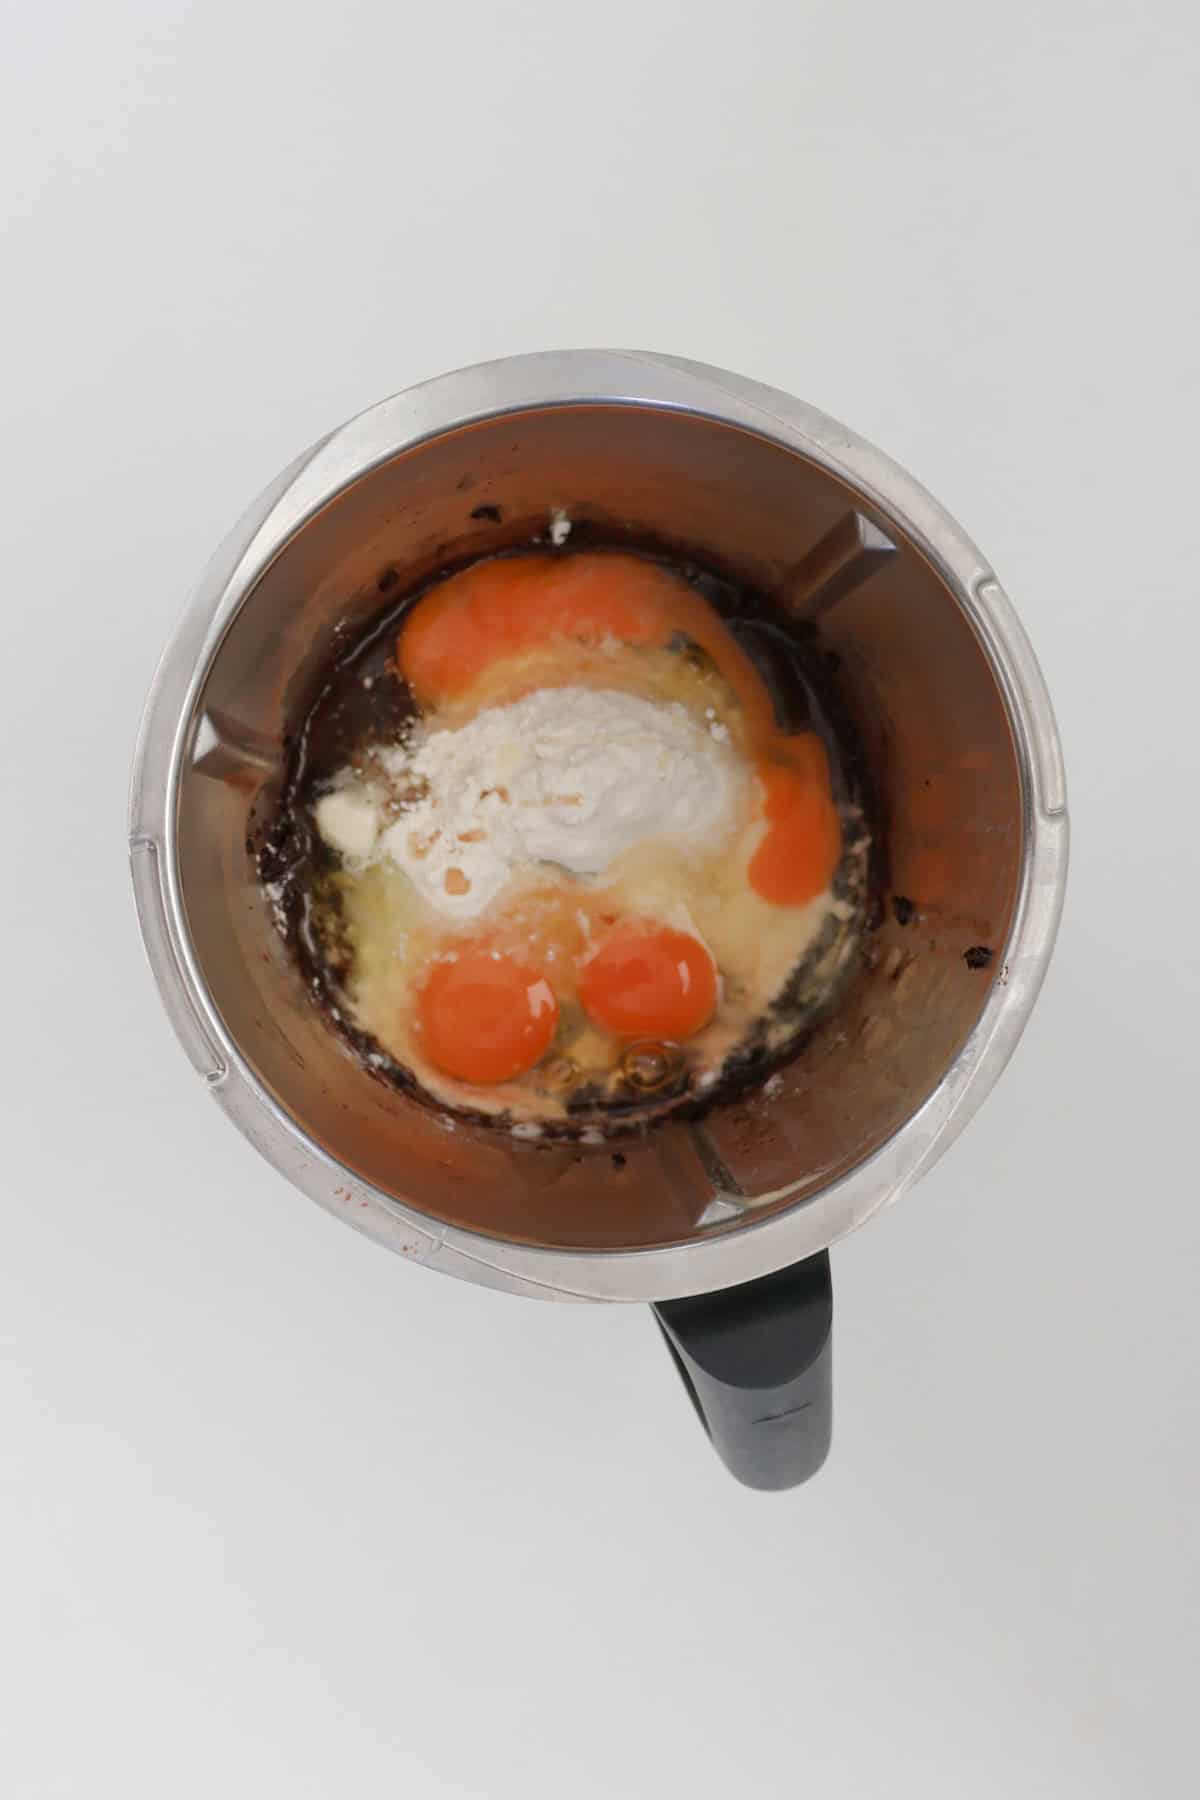
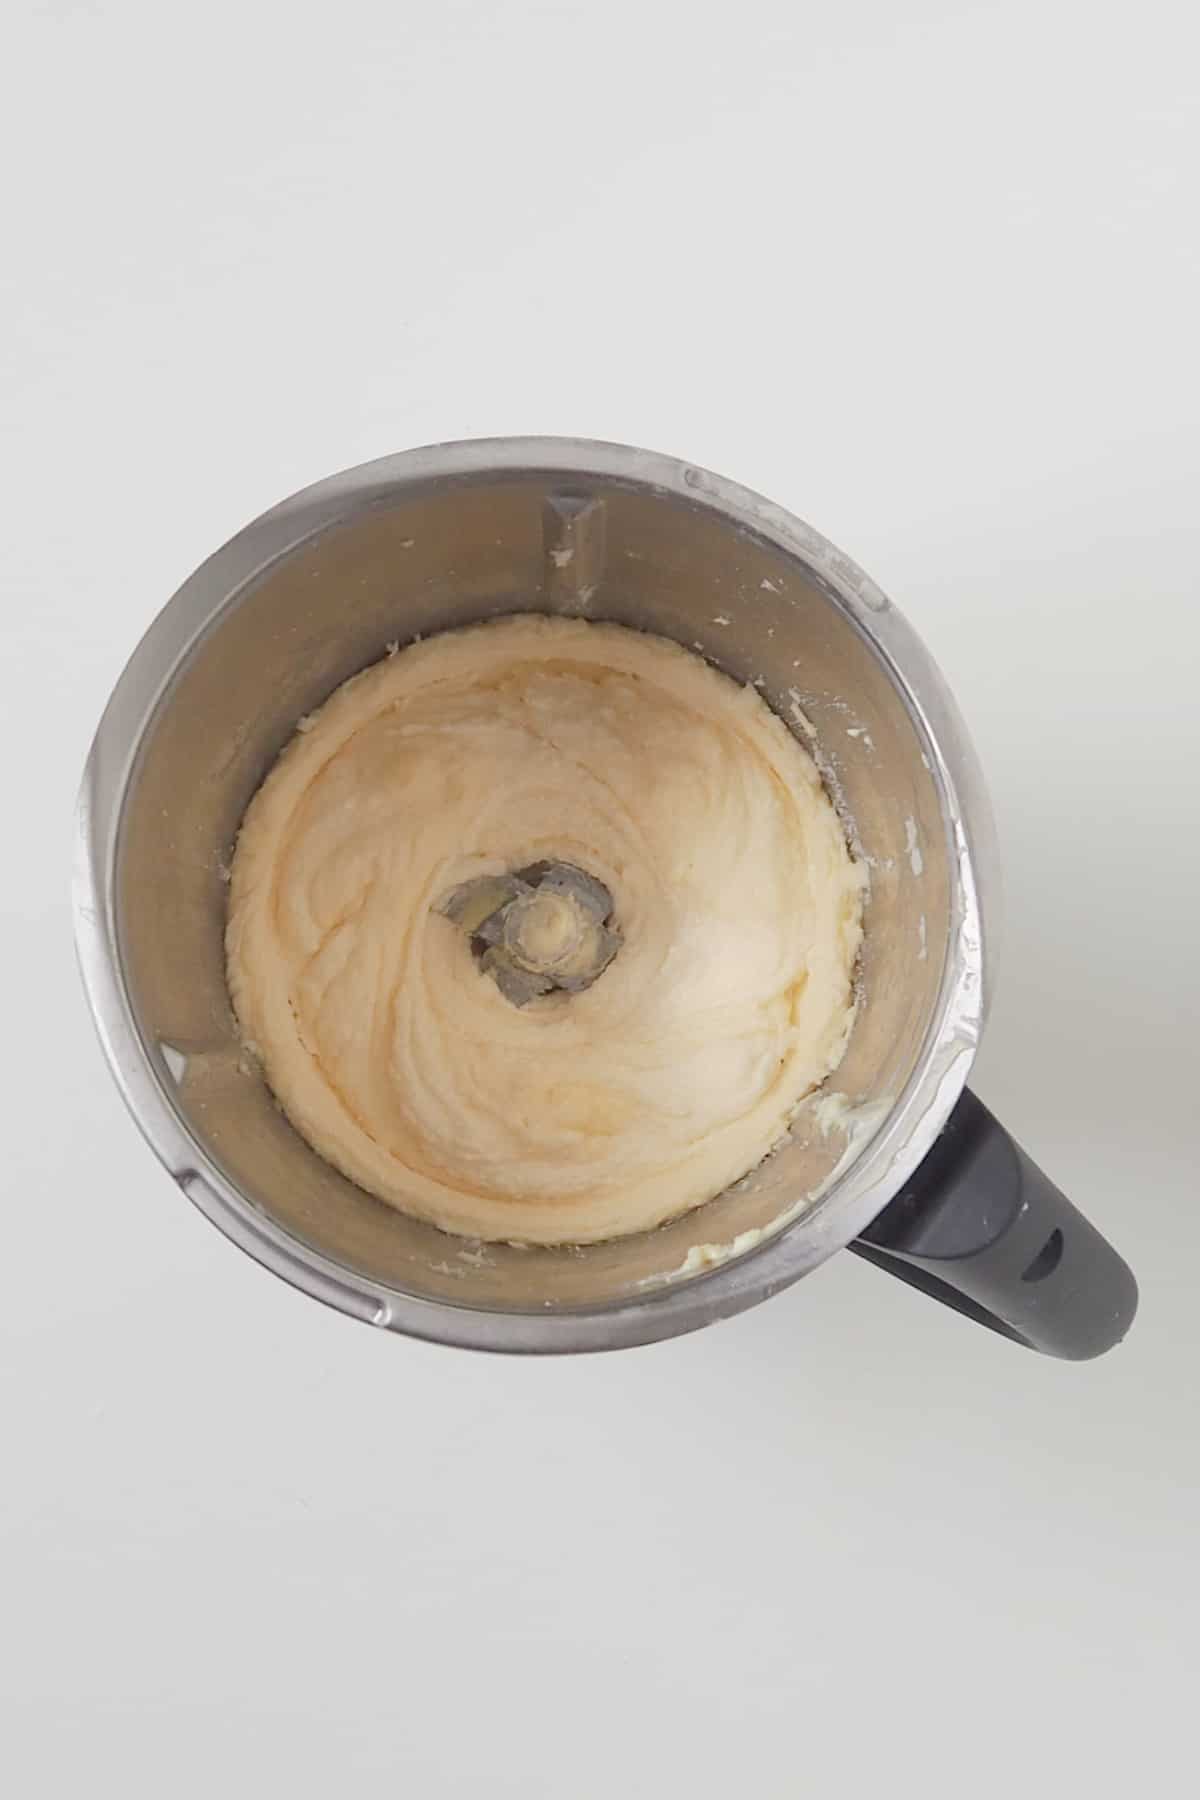
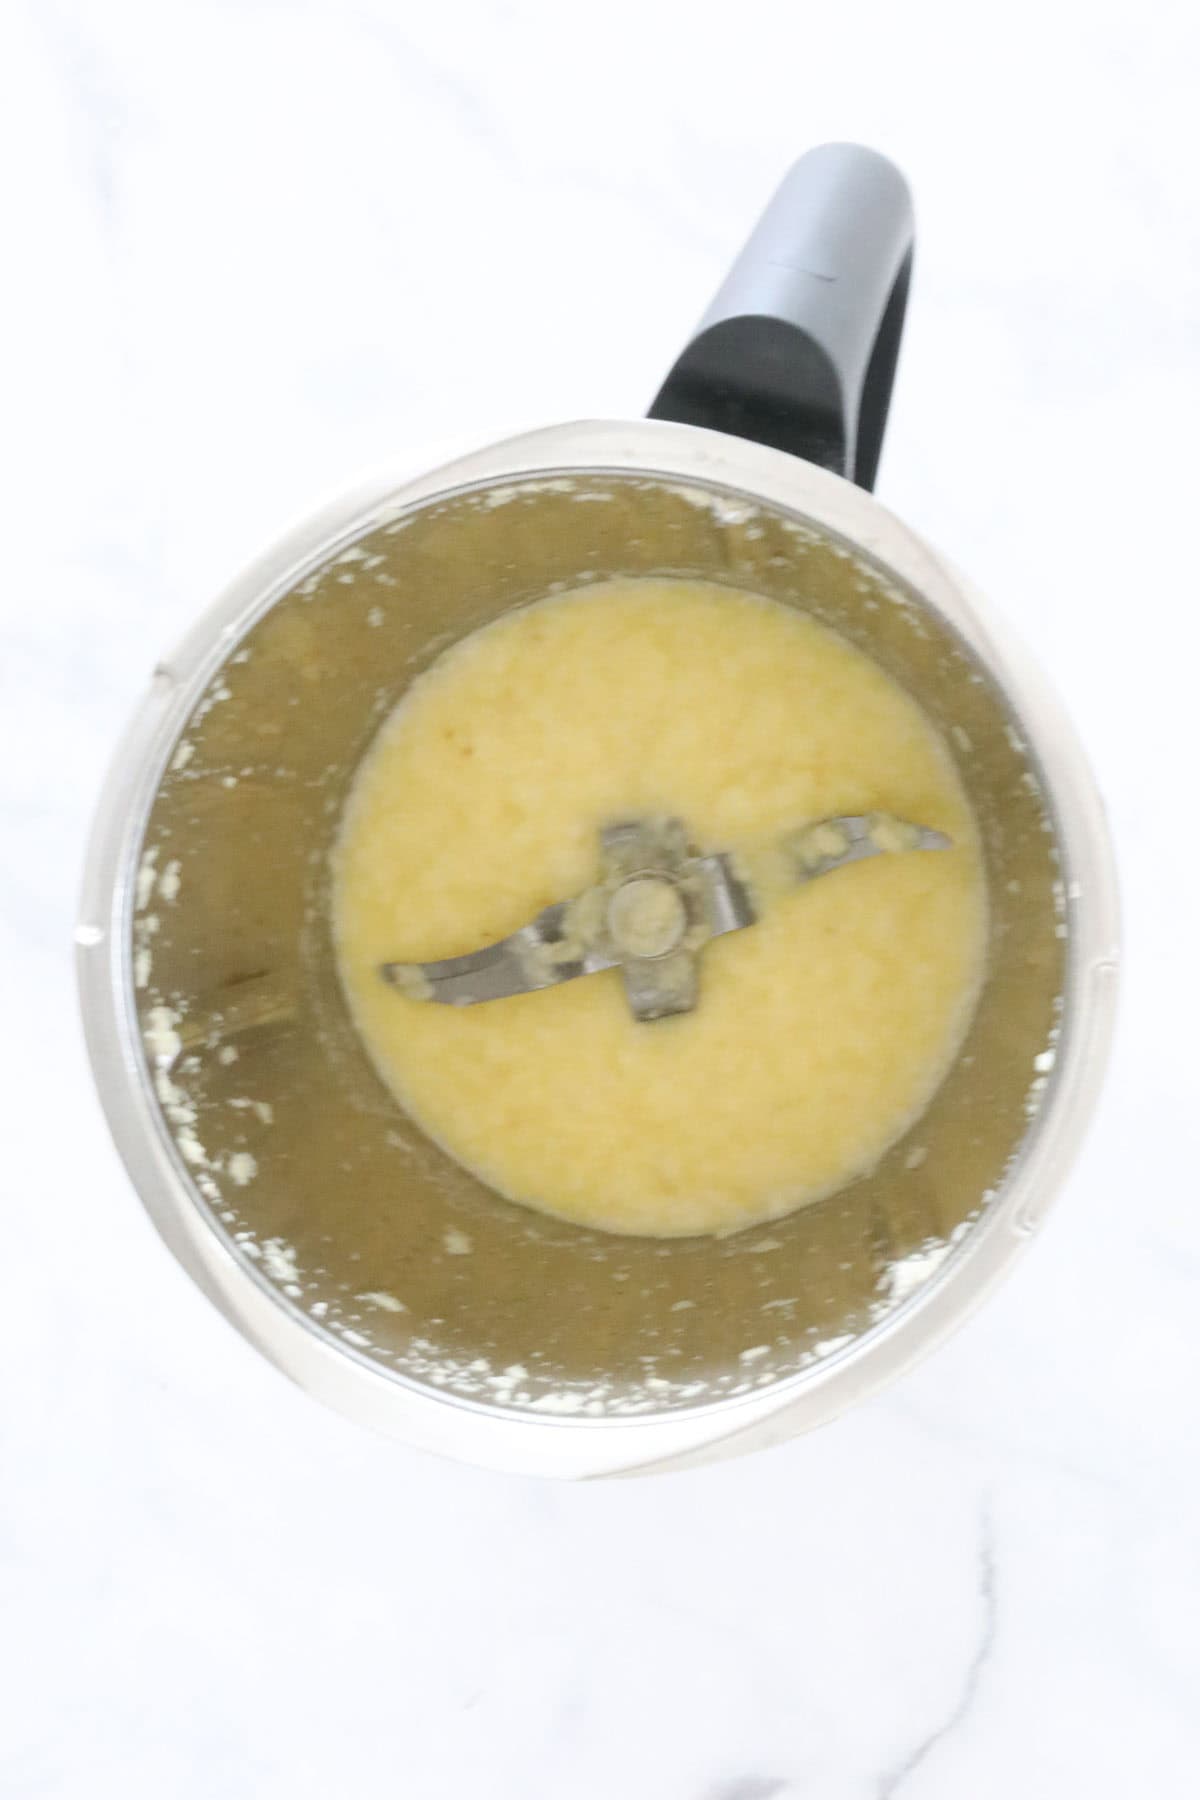
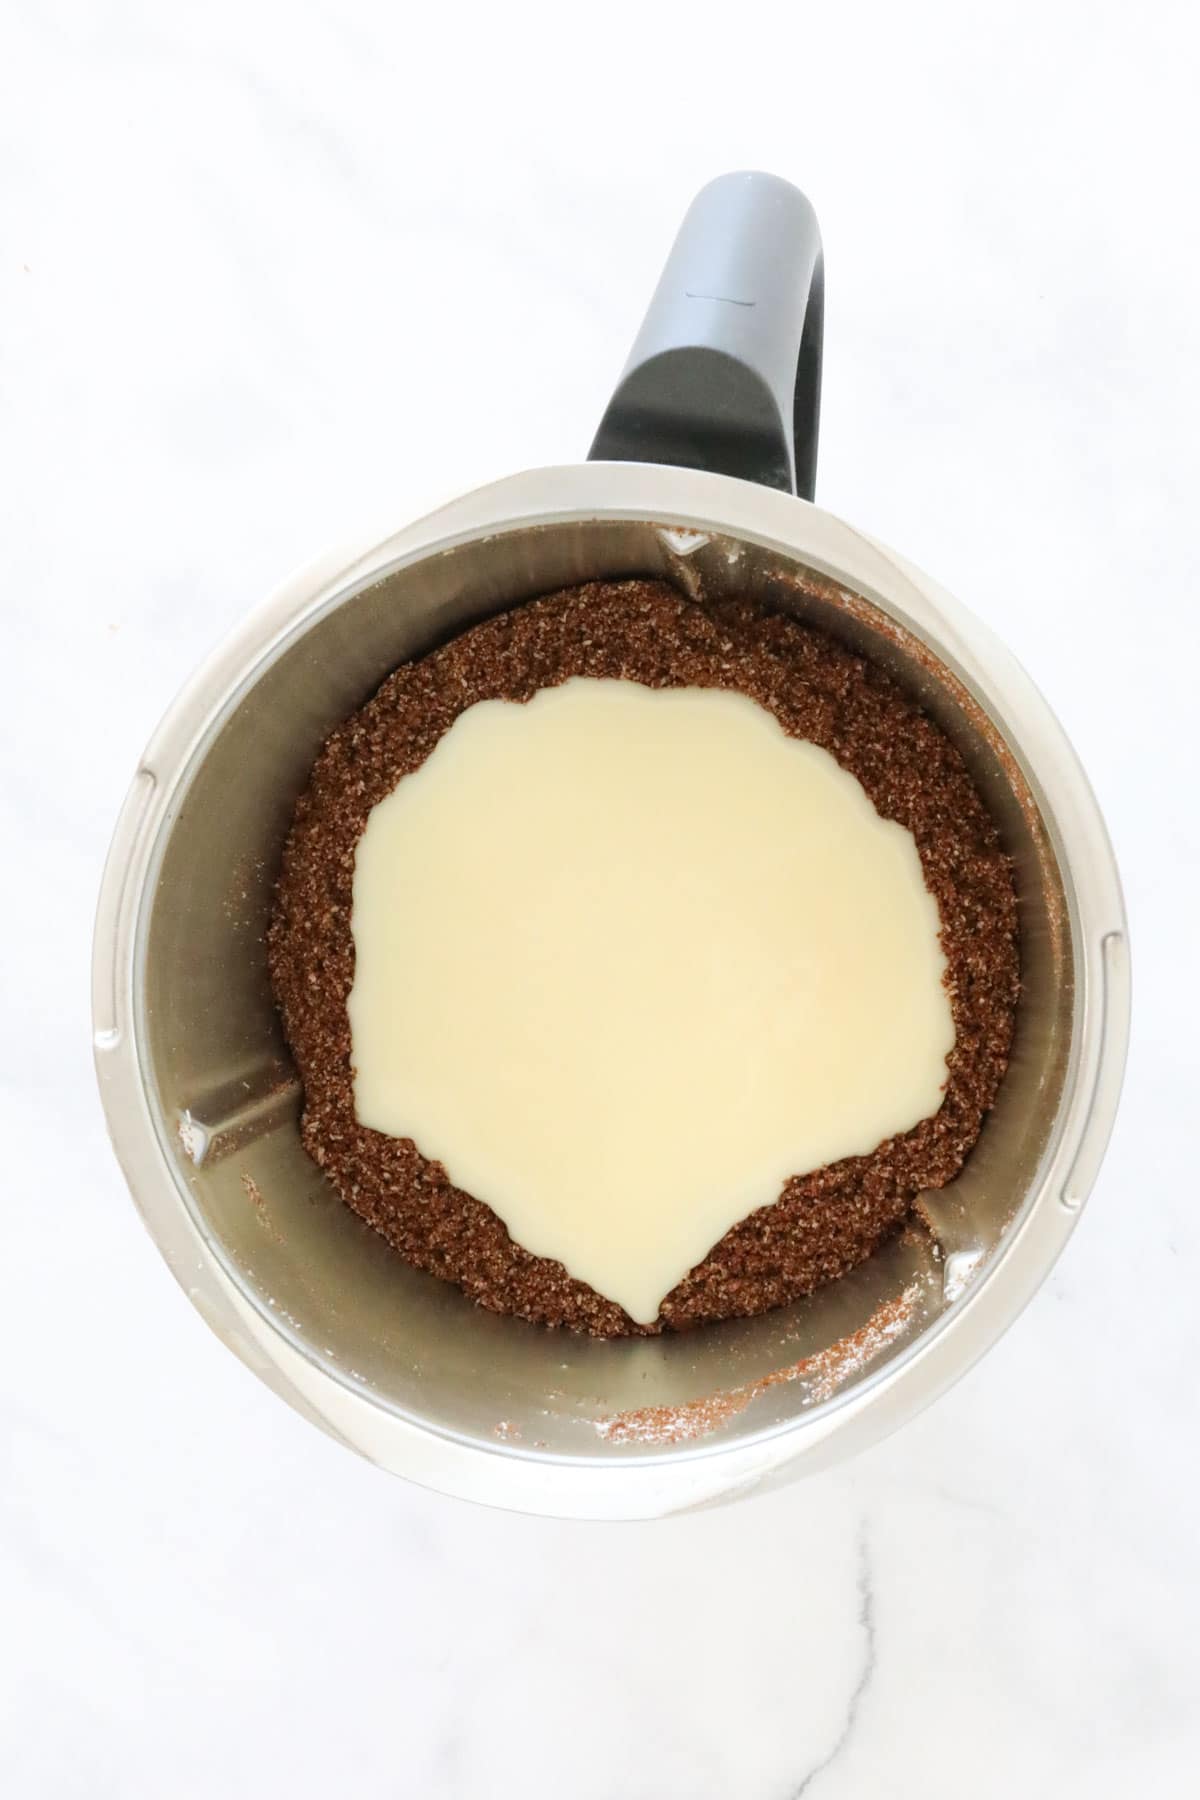
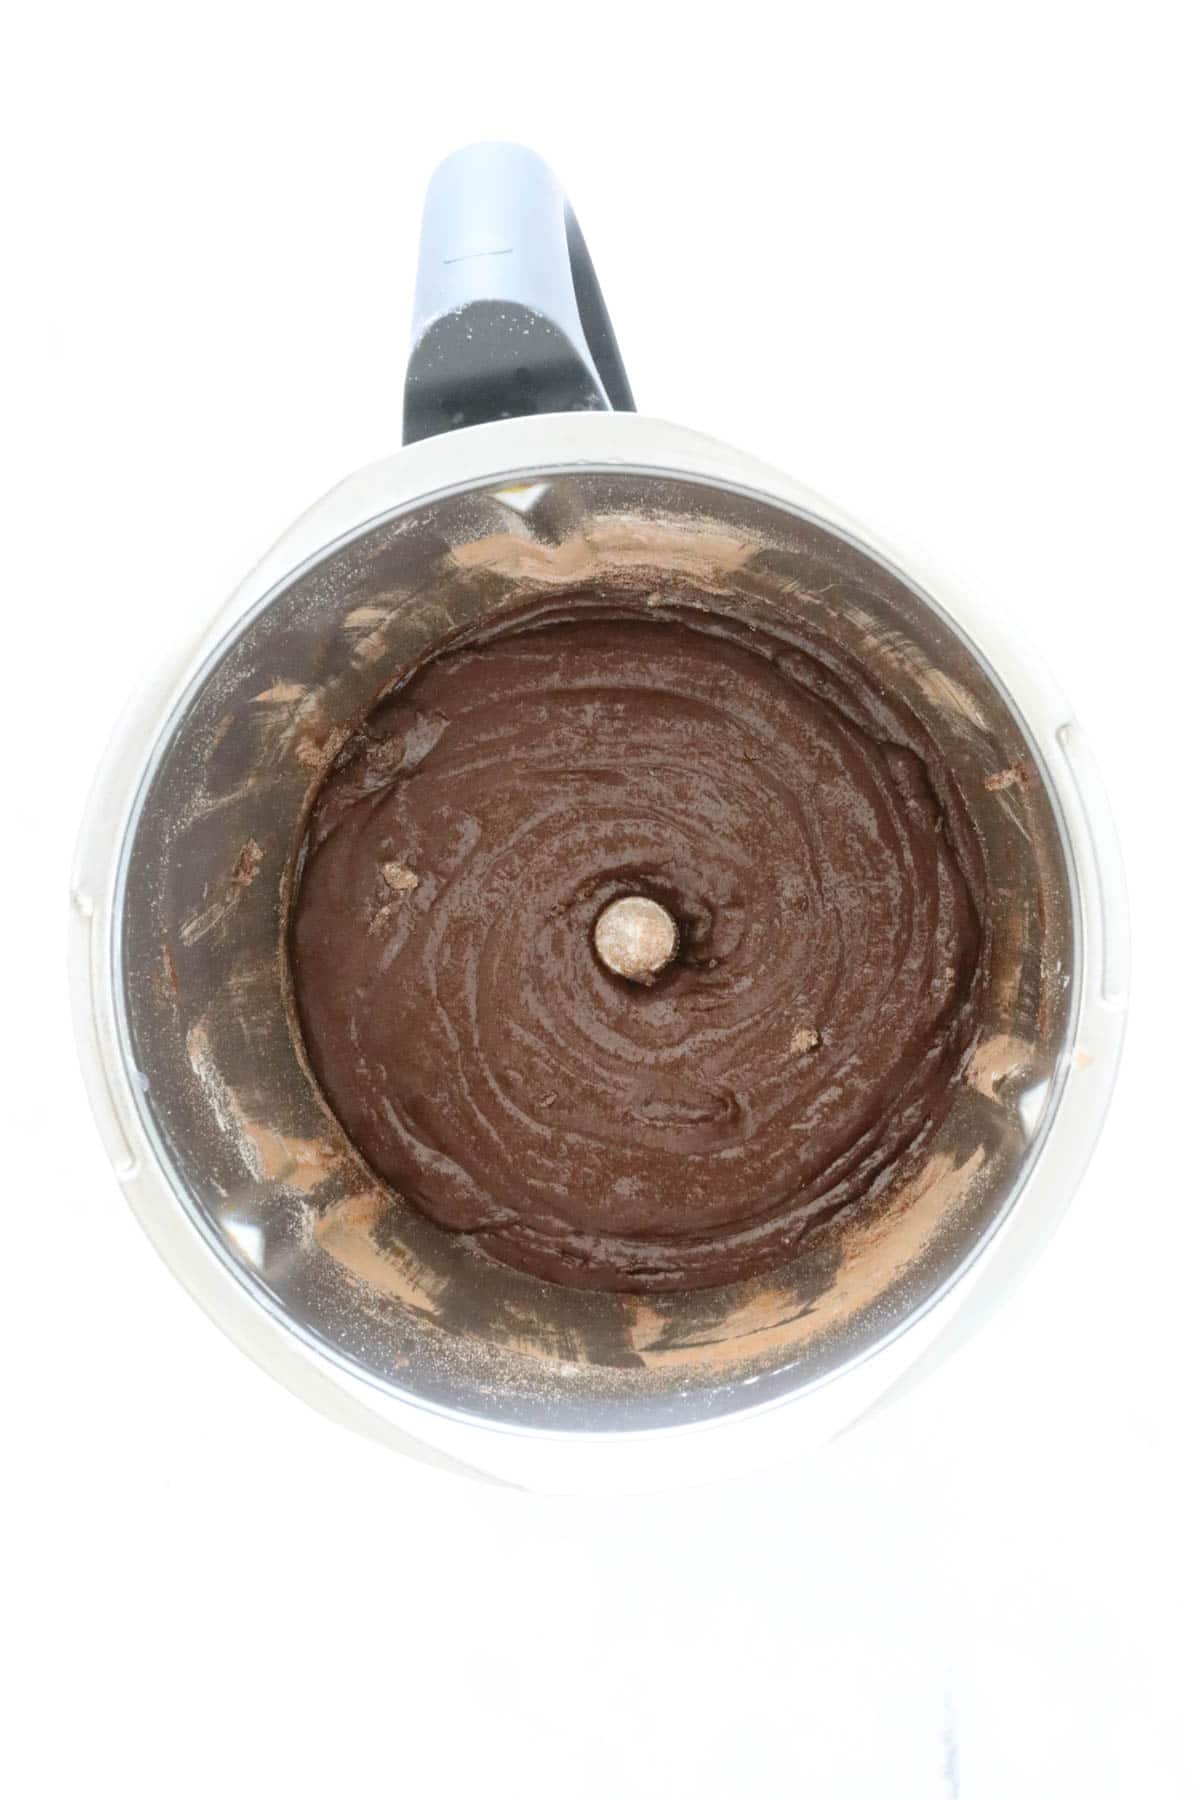
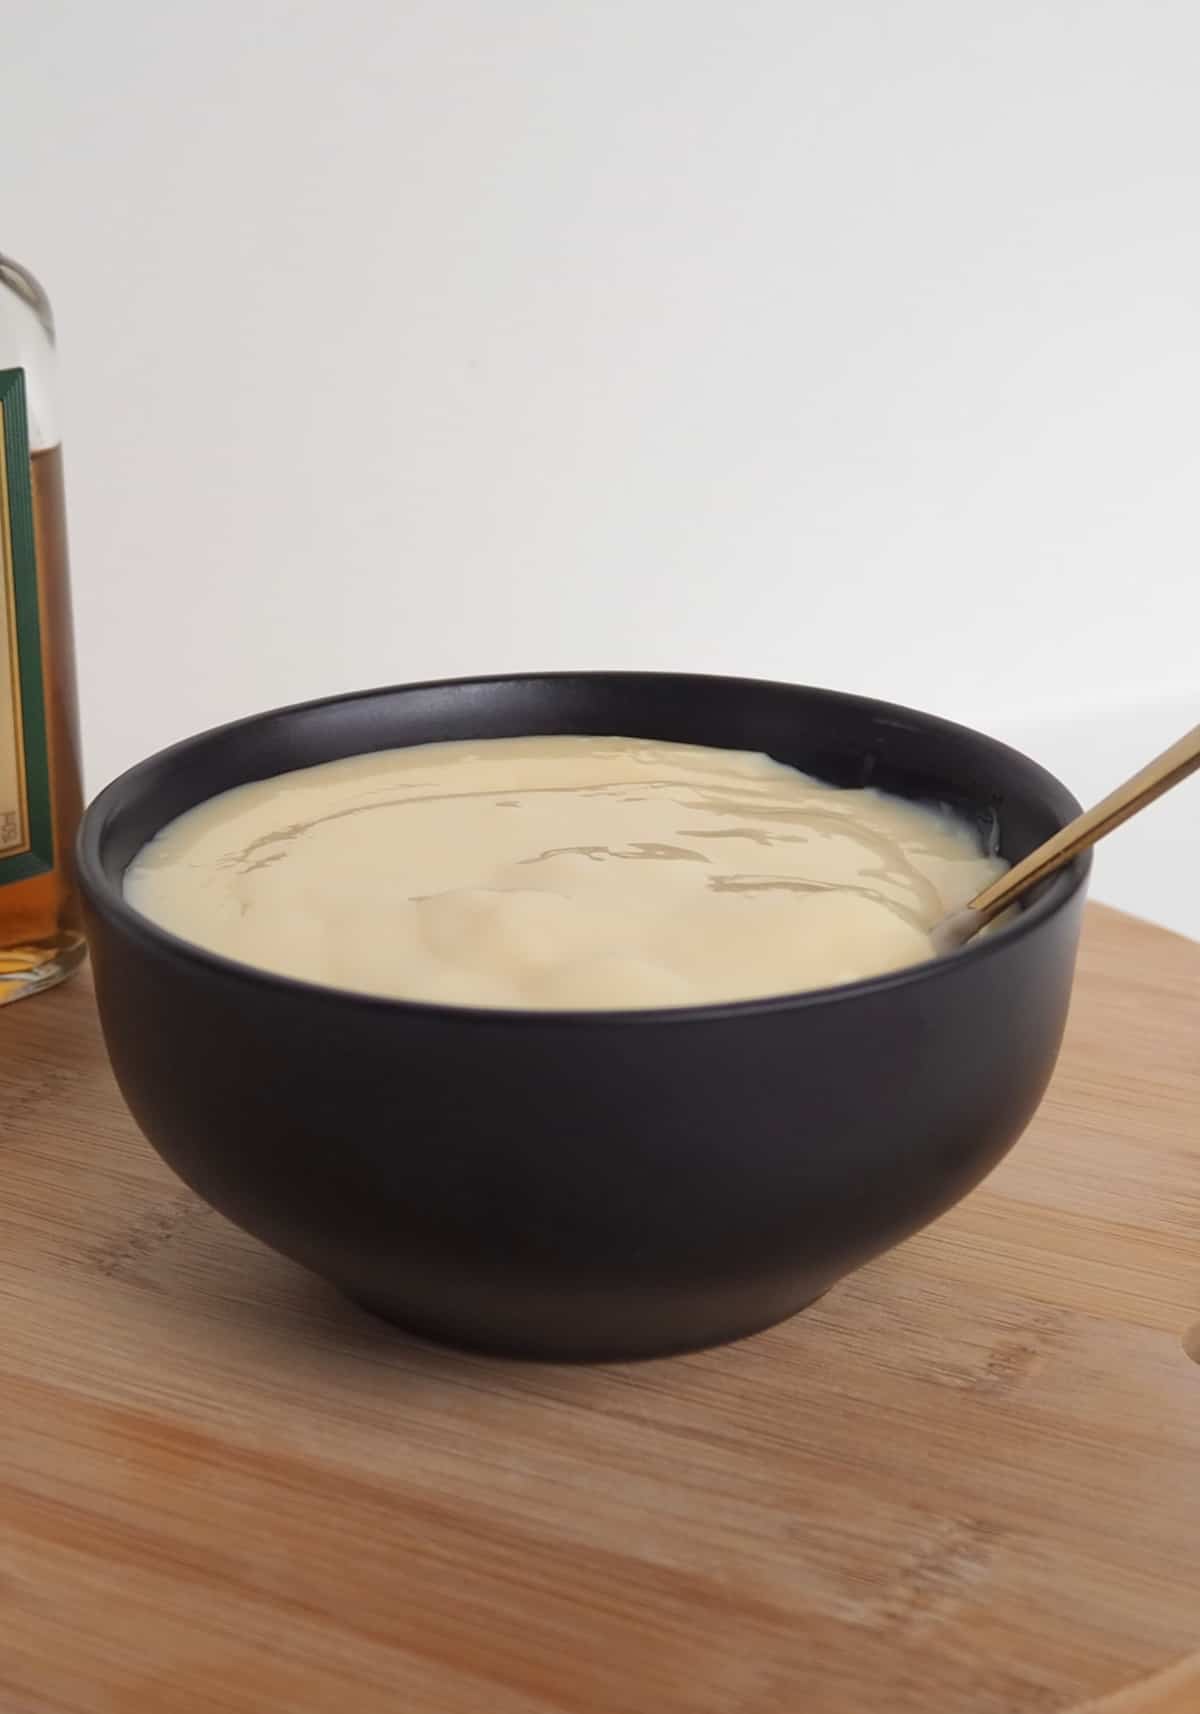
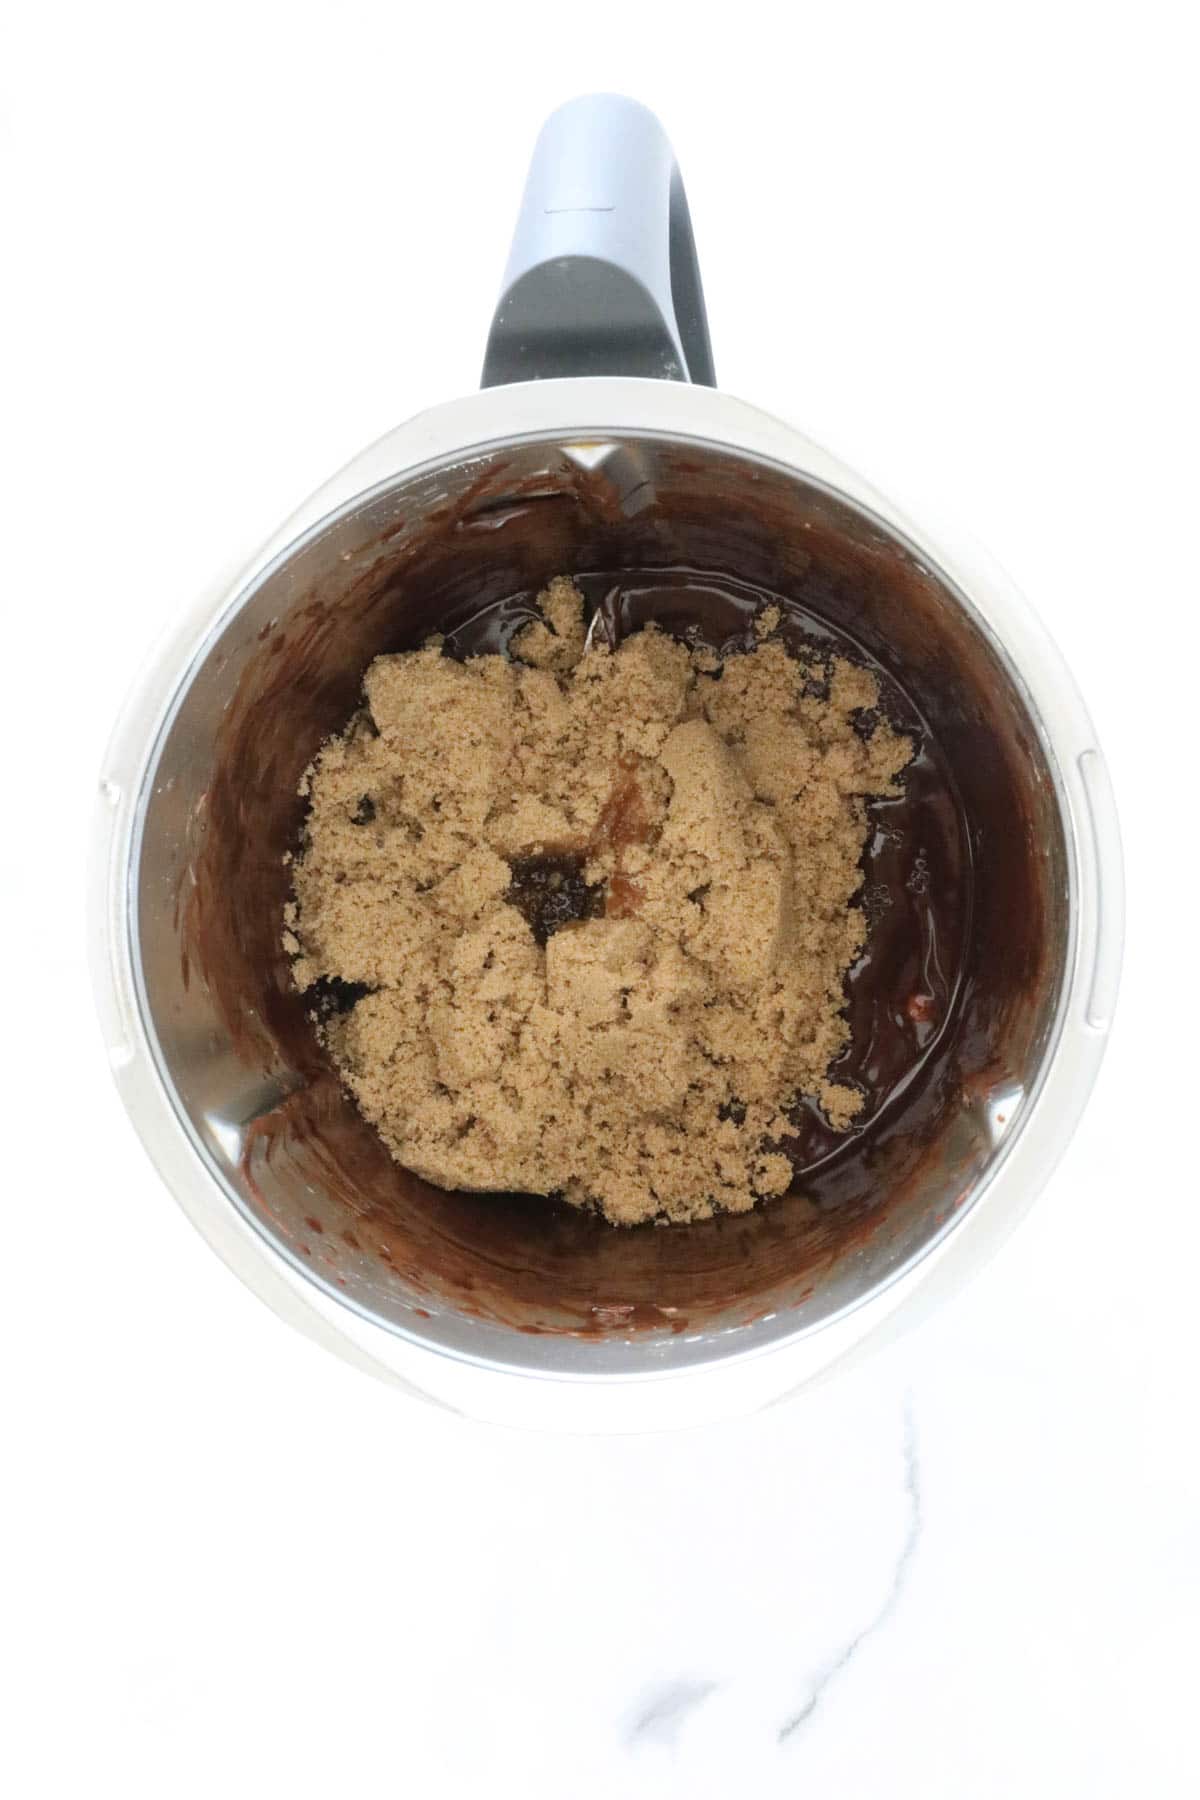
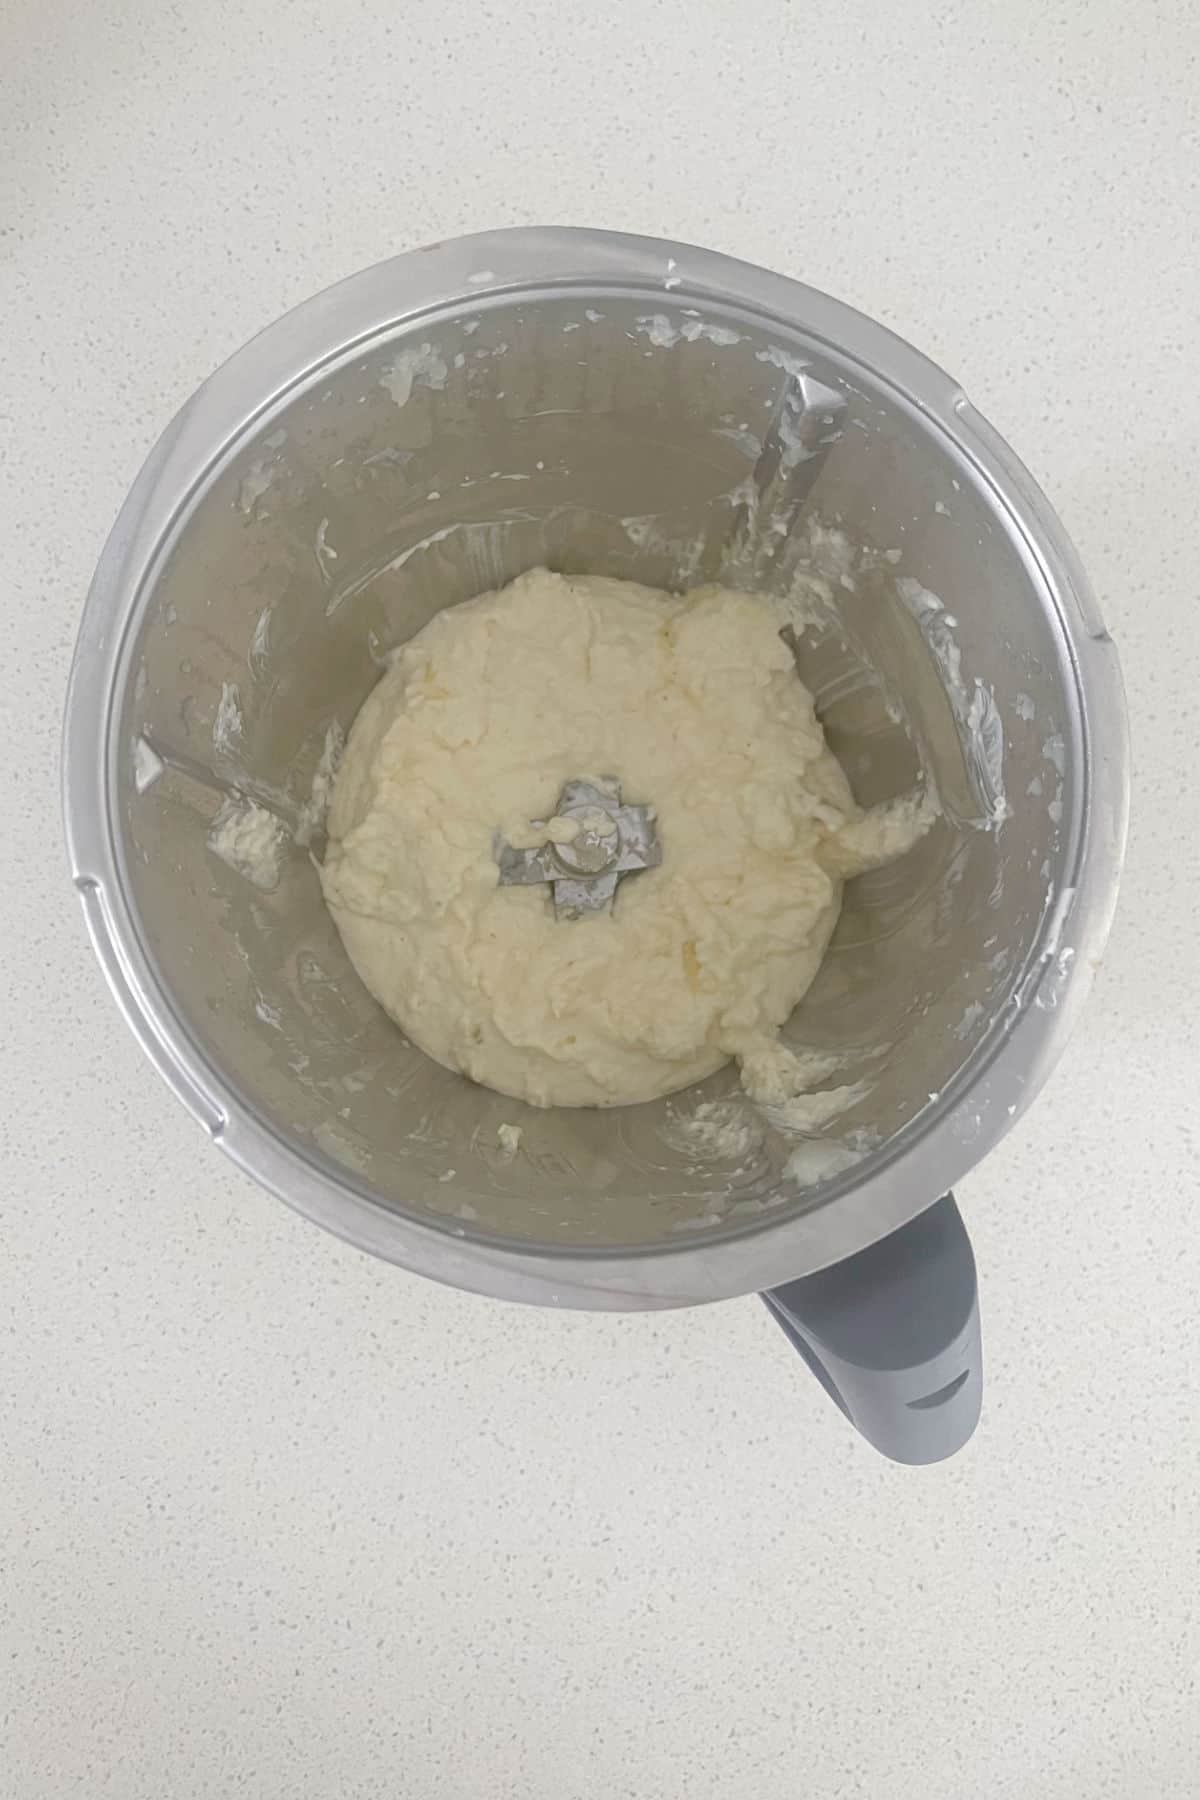
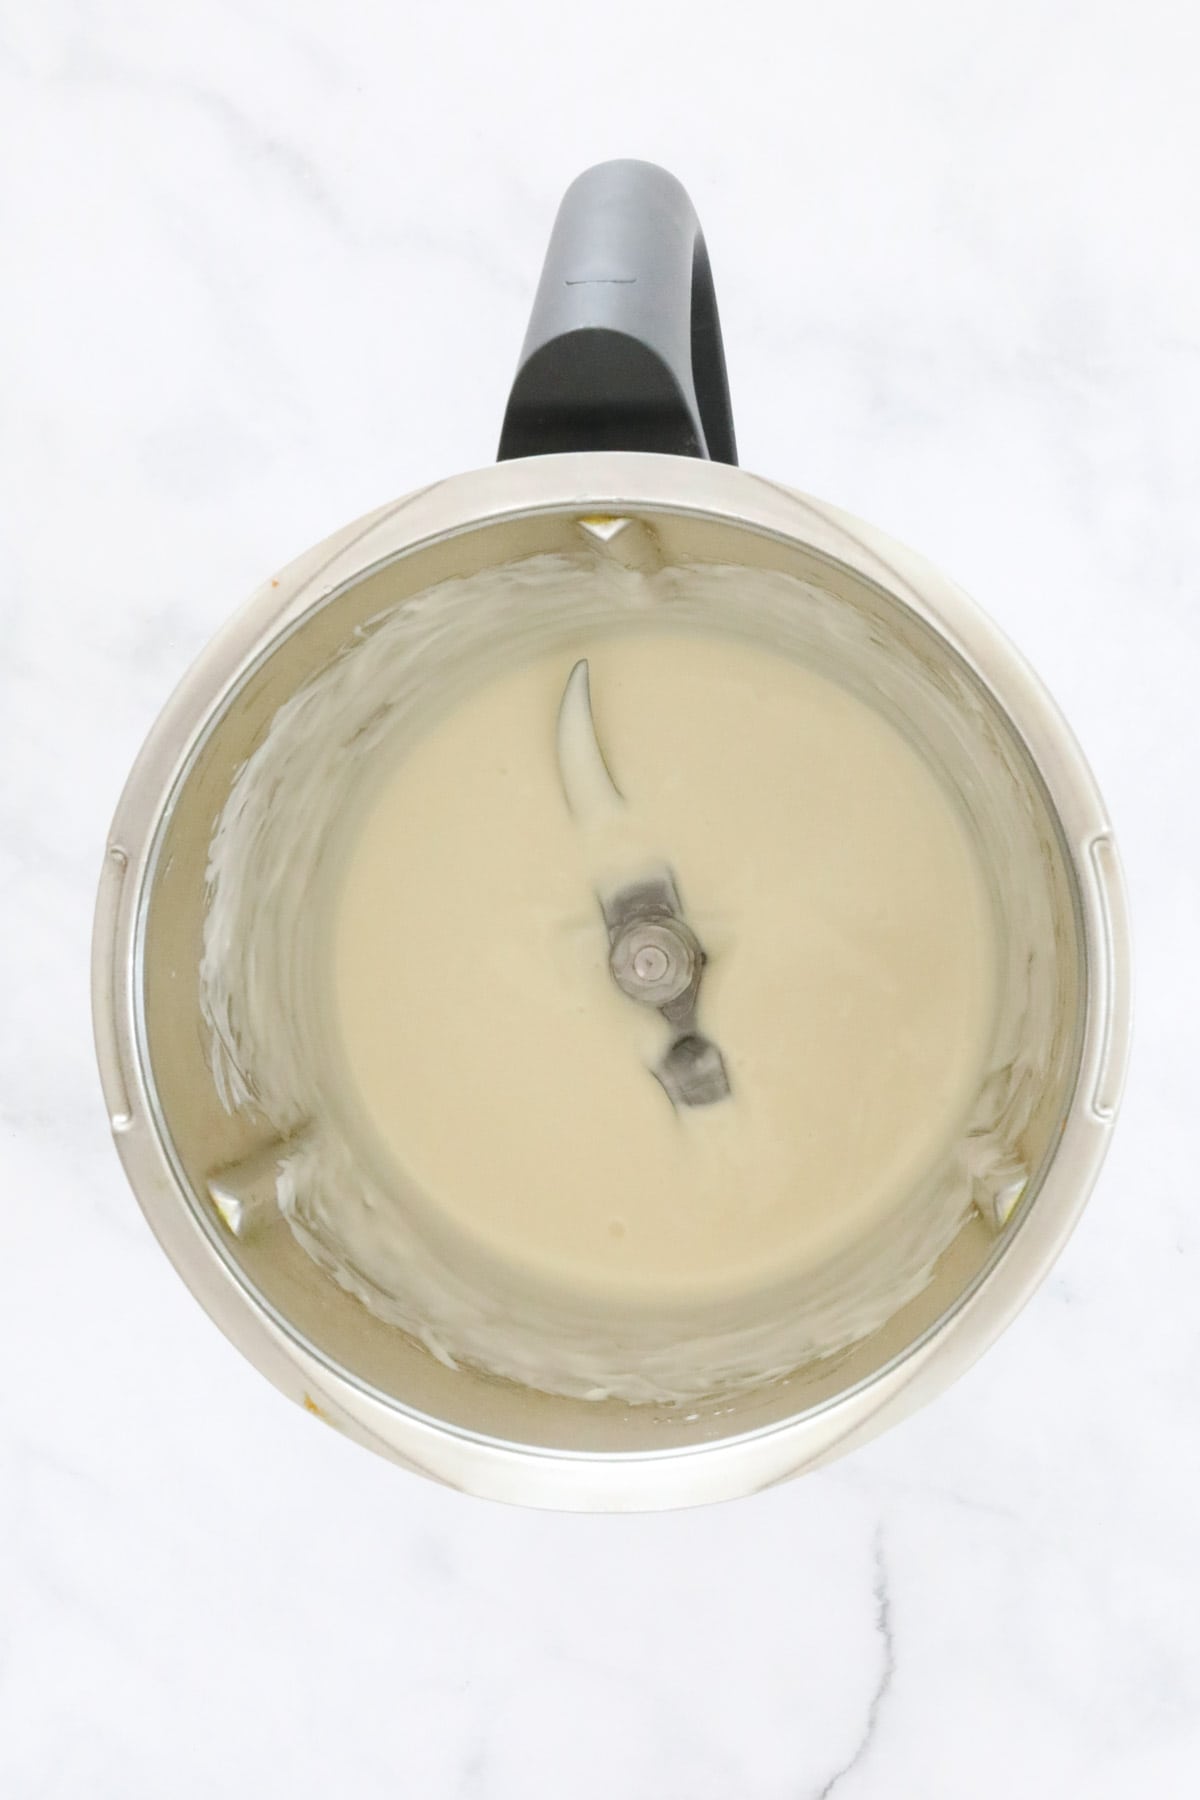
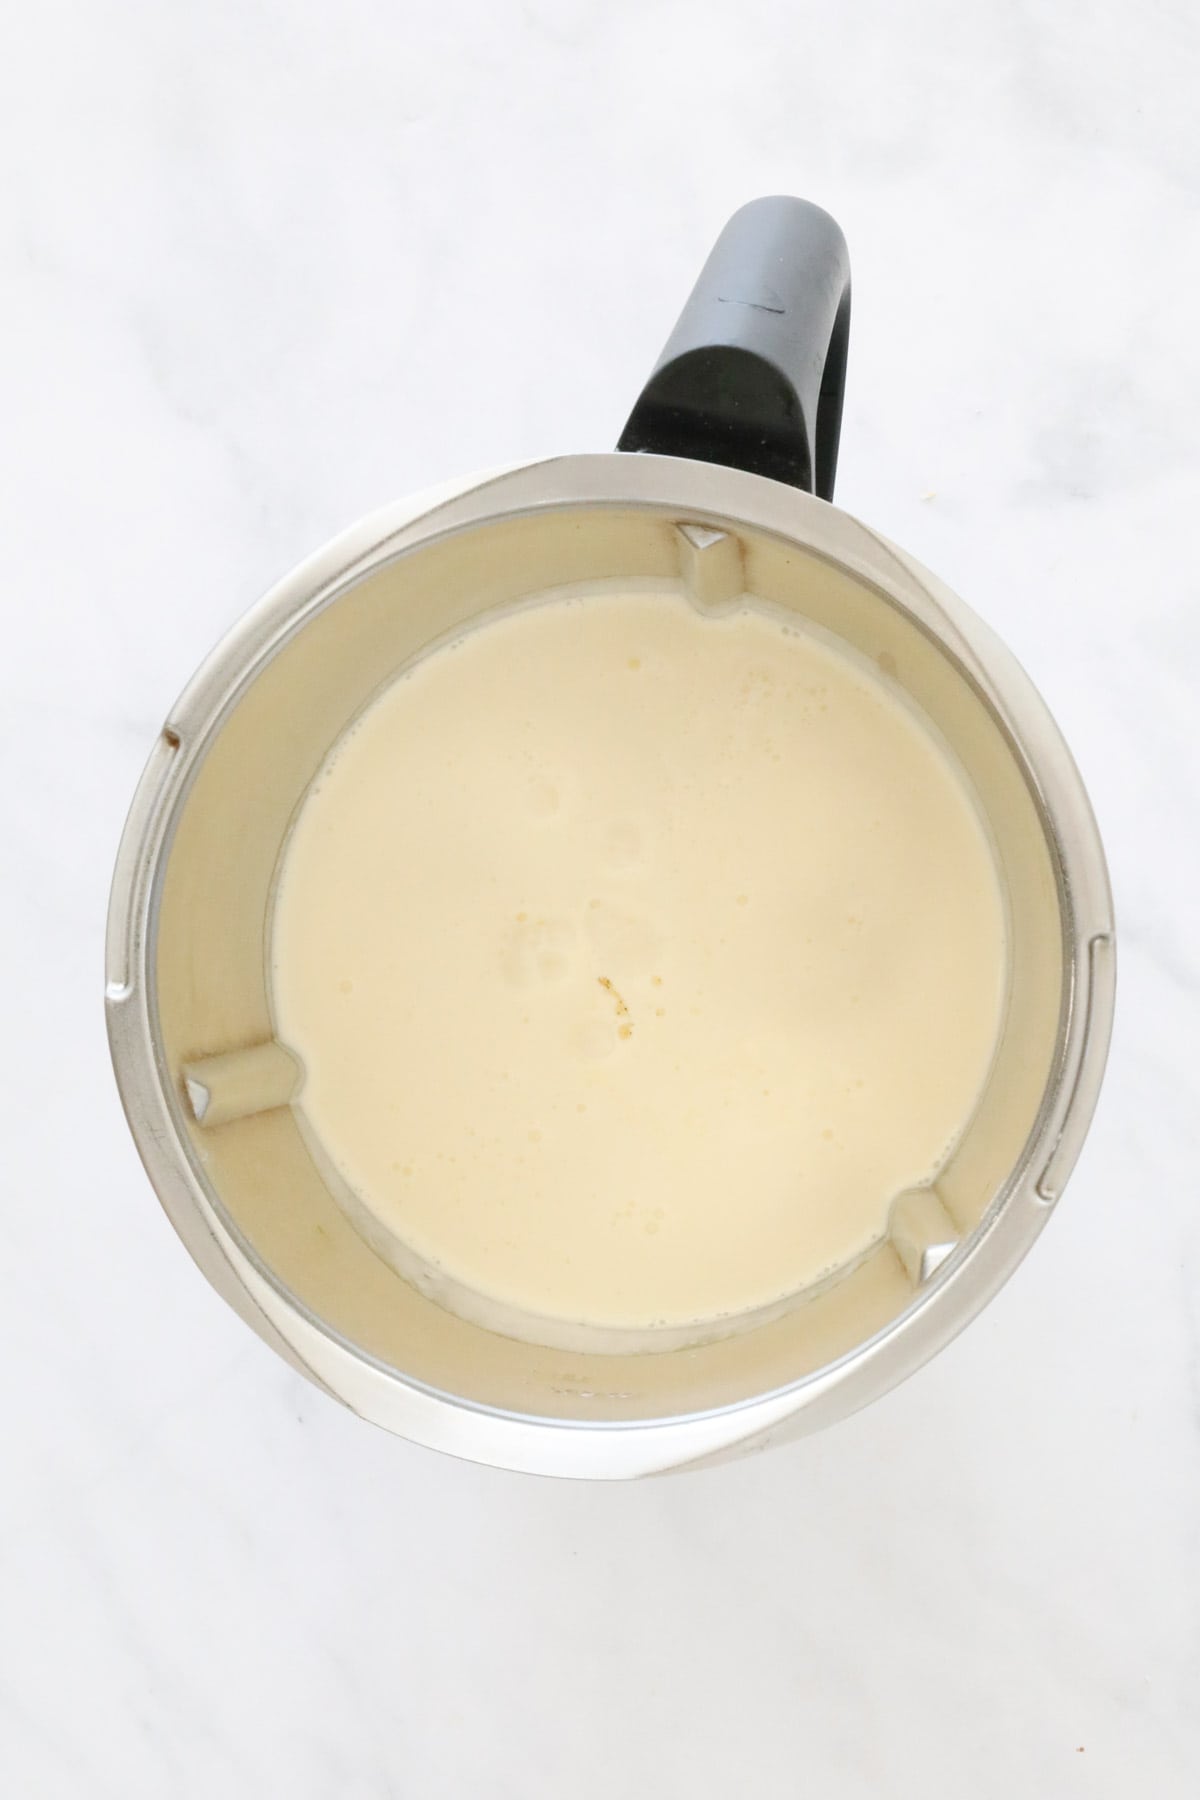
Step 5. Without washing the bowl, add the cream cheese (softened), caster sugar and vanilla extract and mix well to combine.
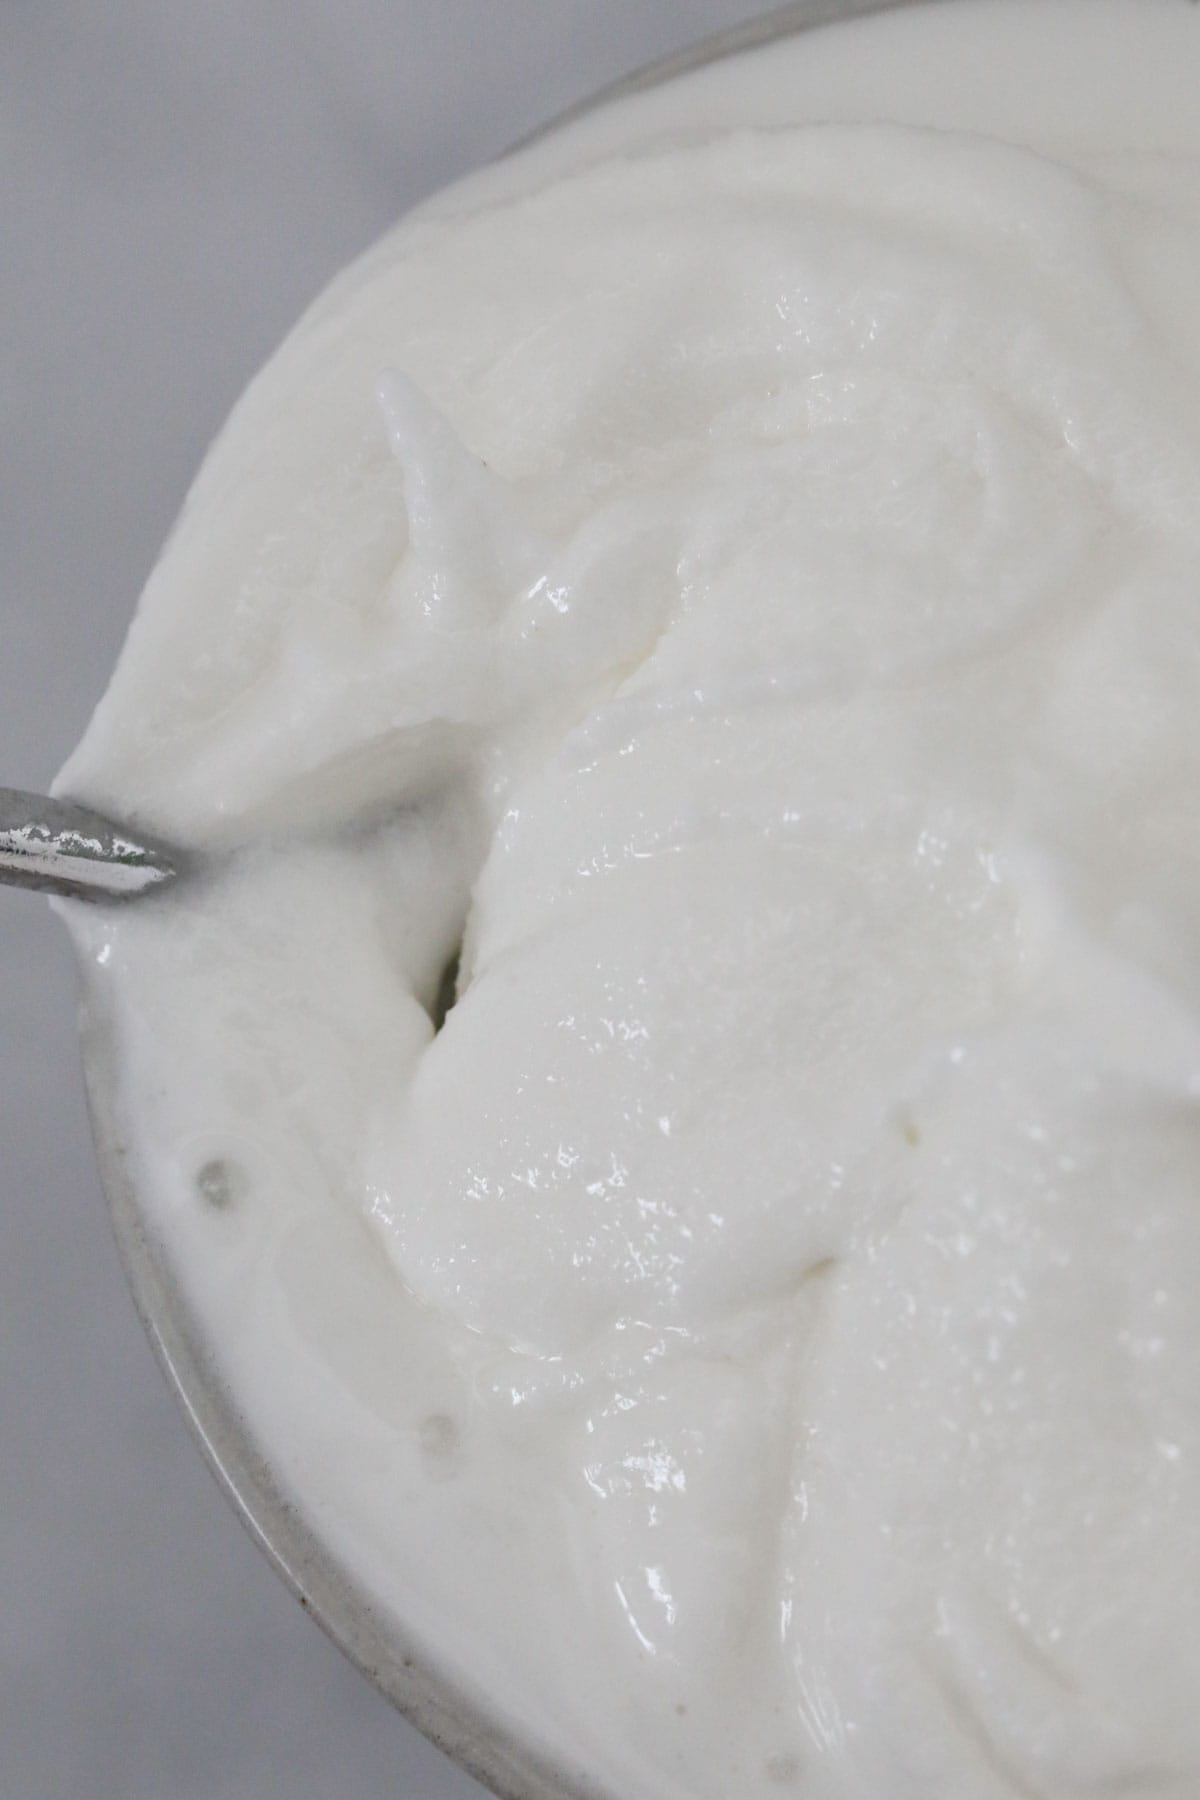
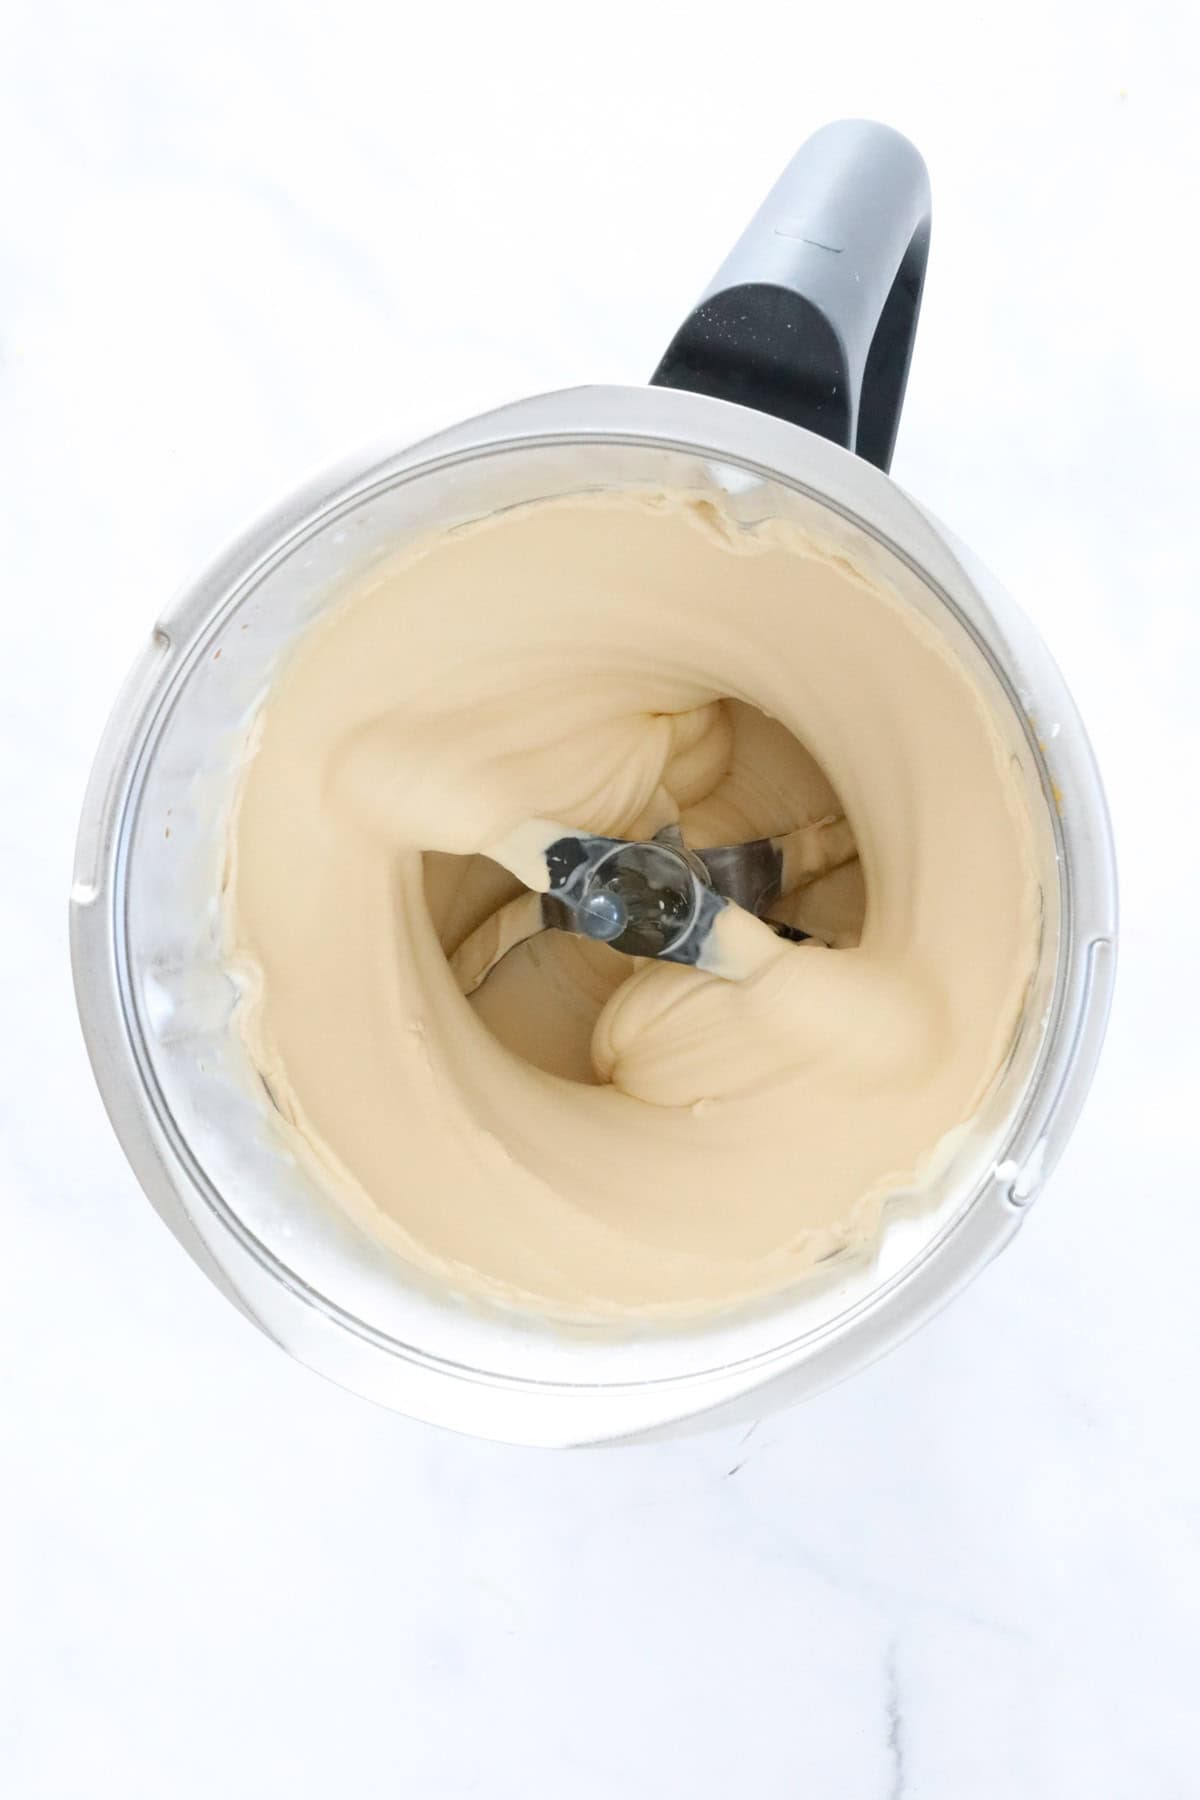
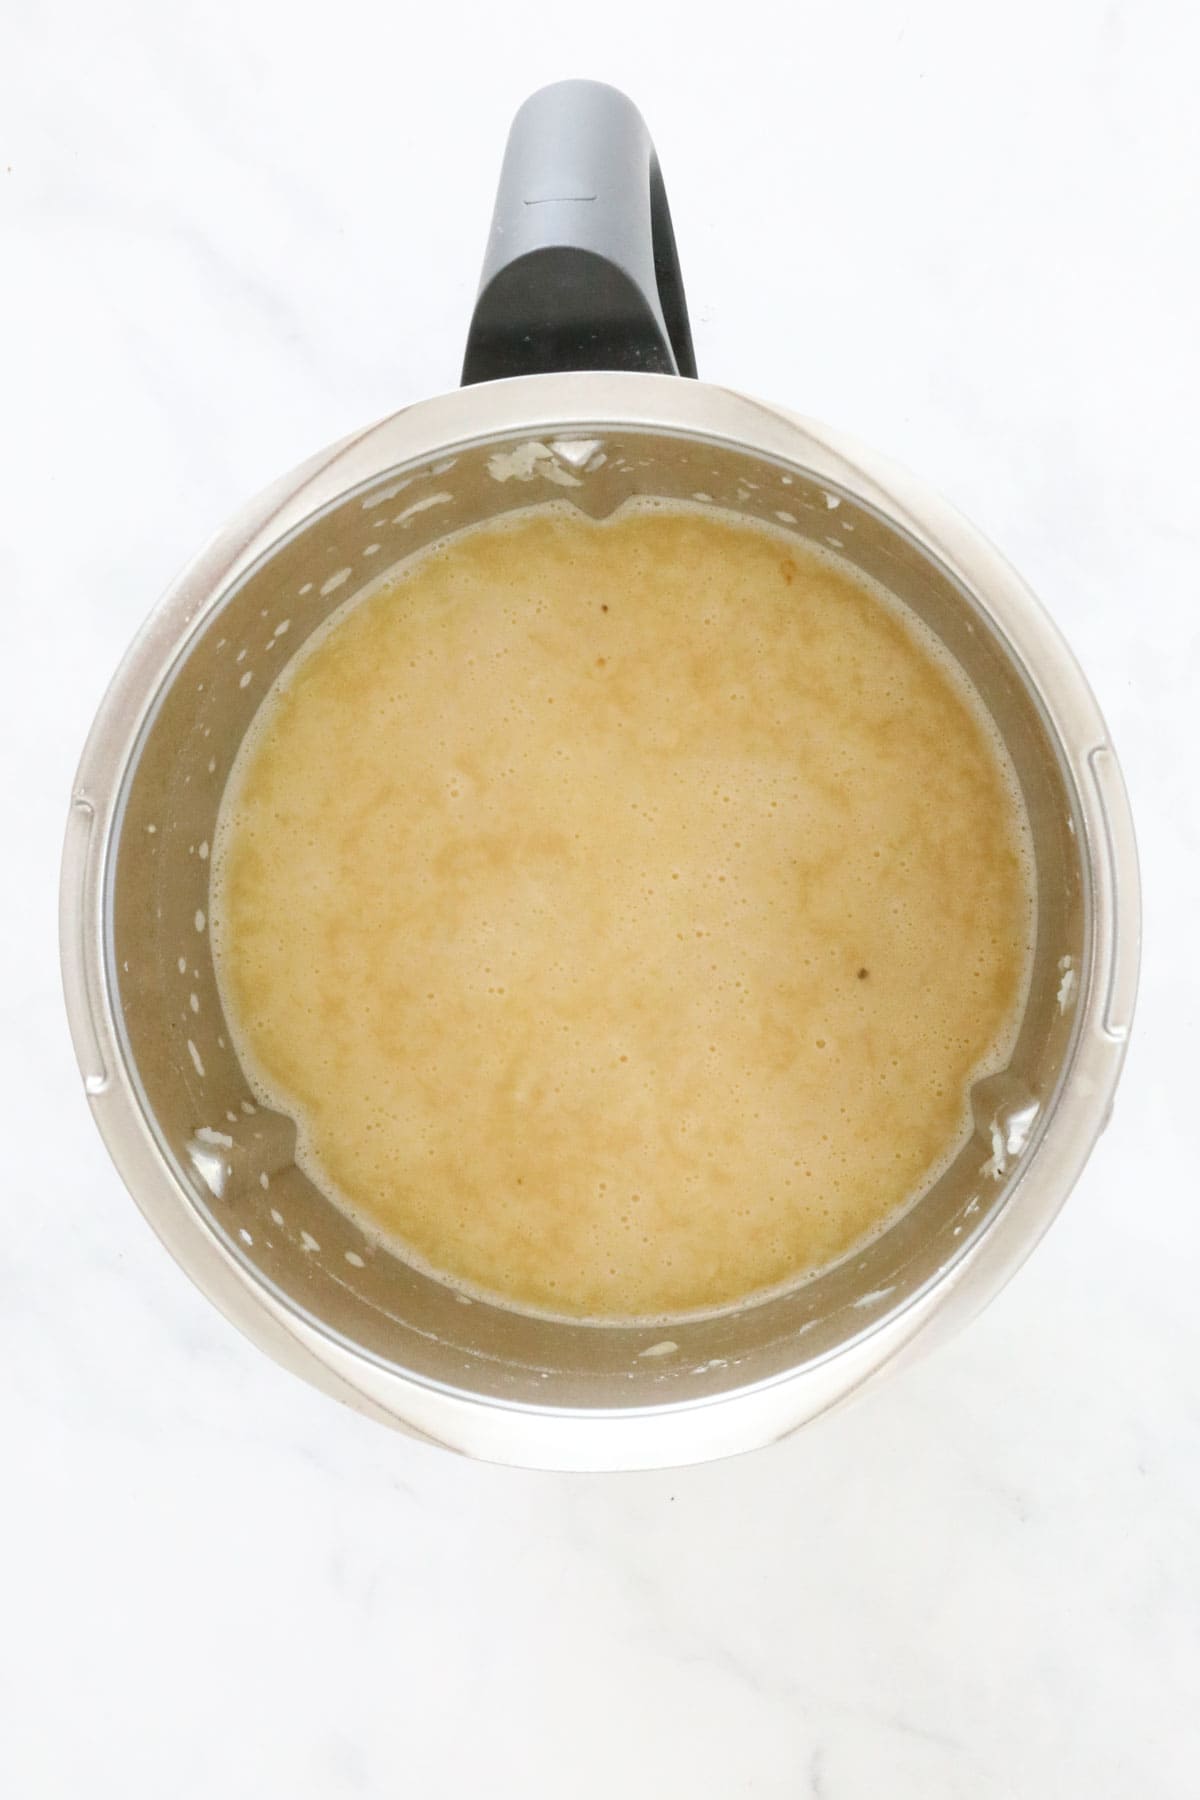
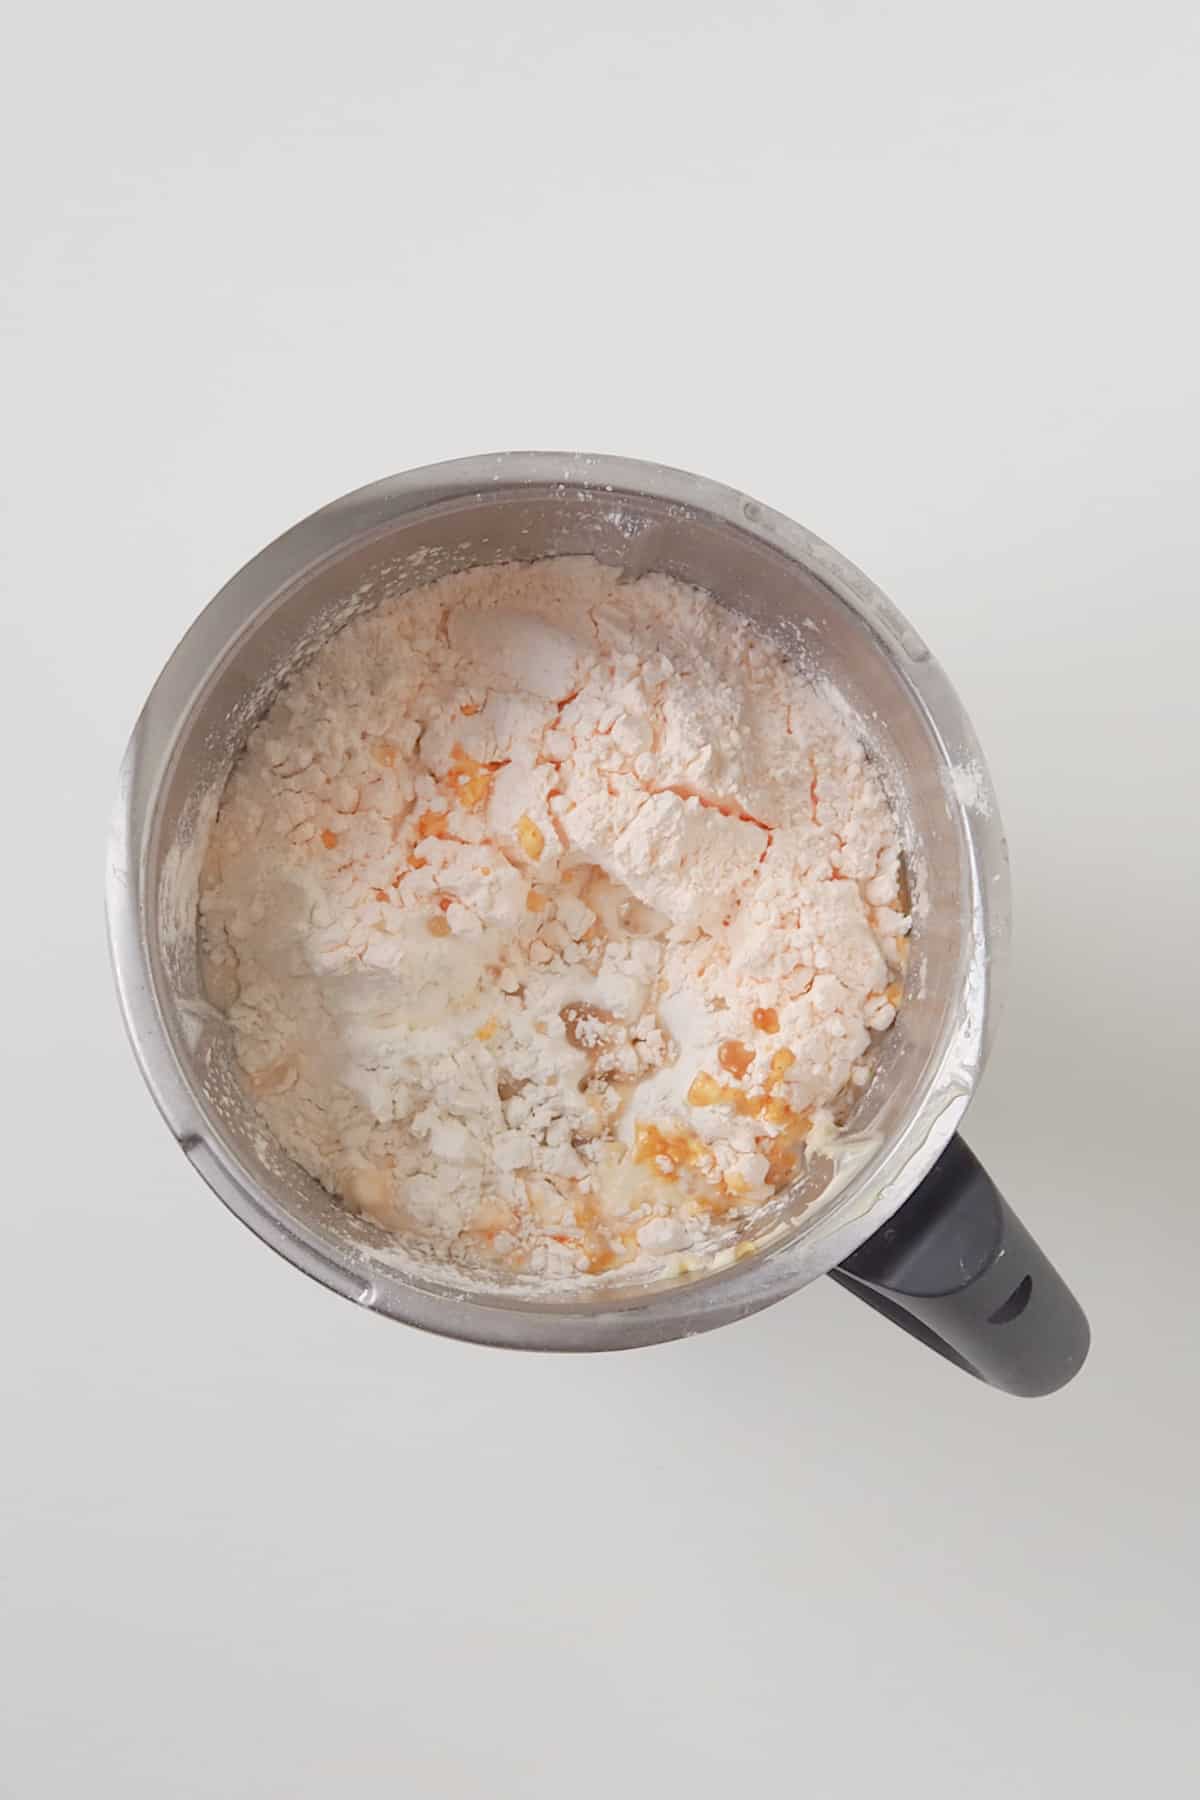
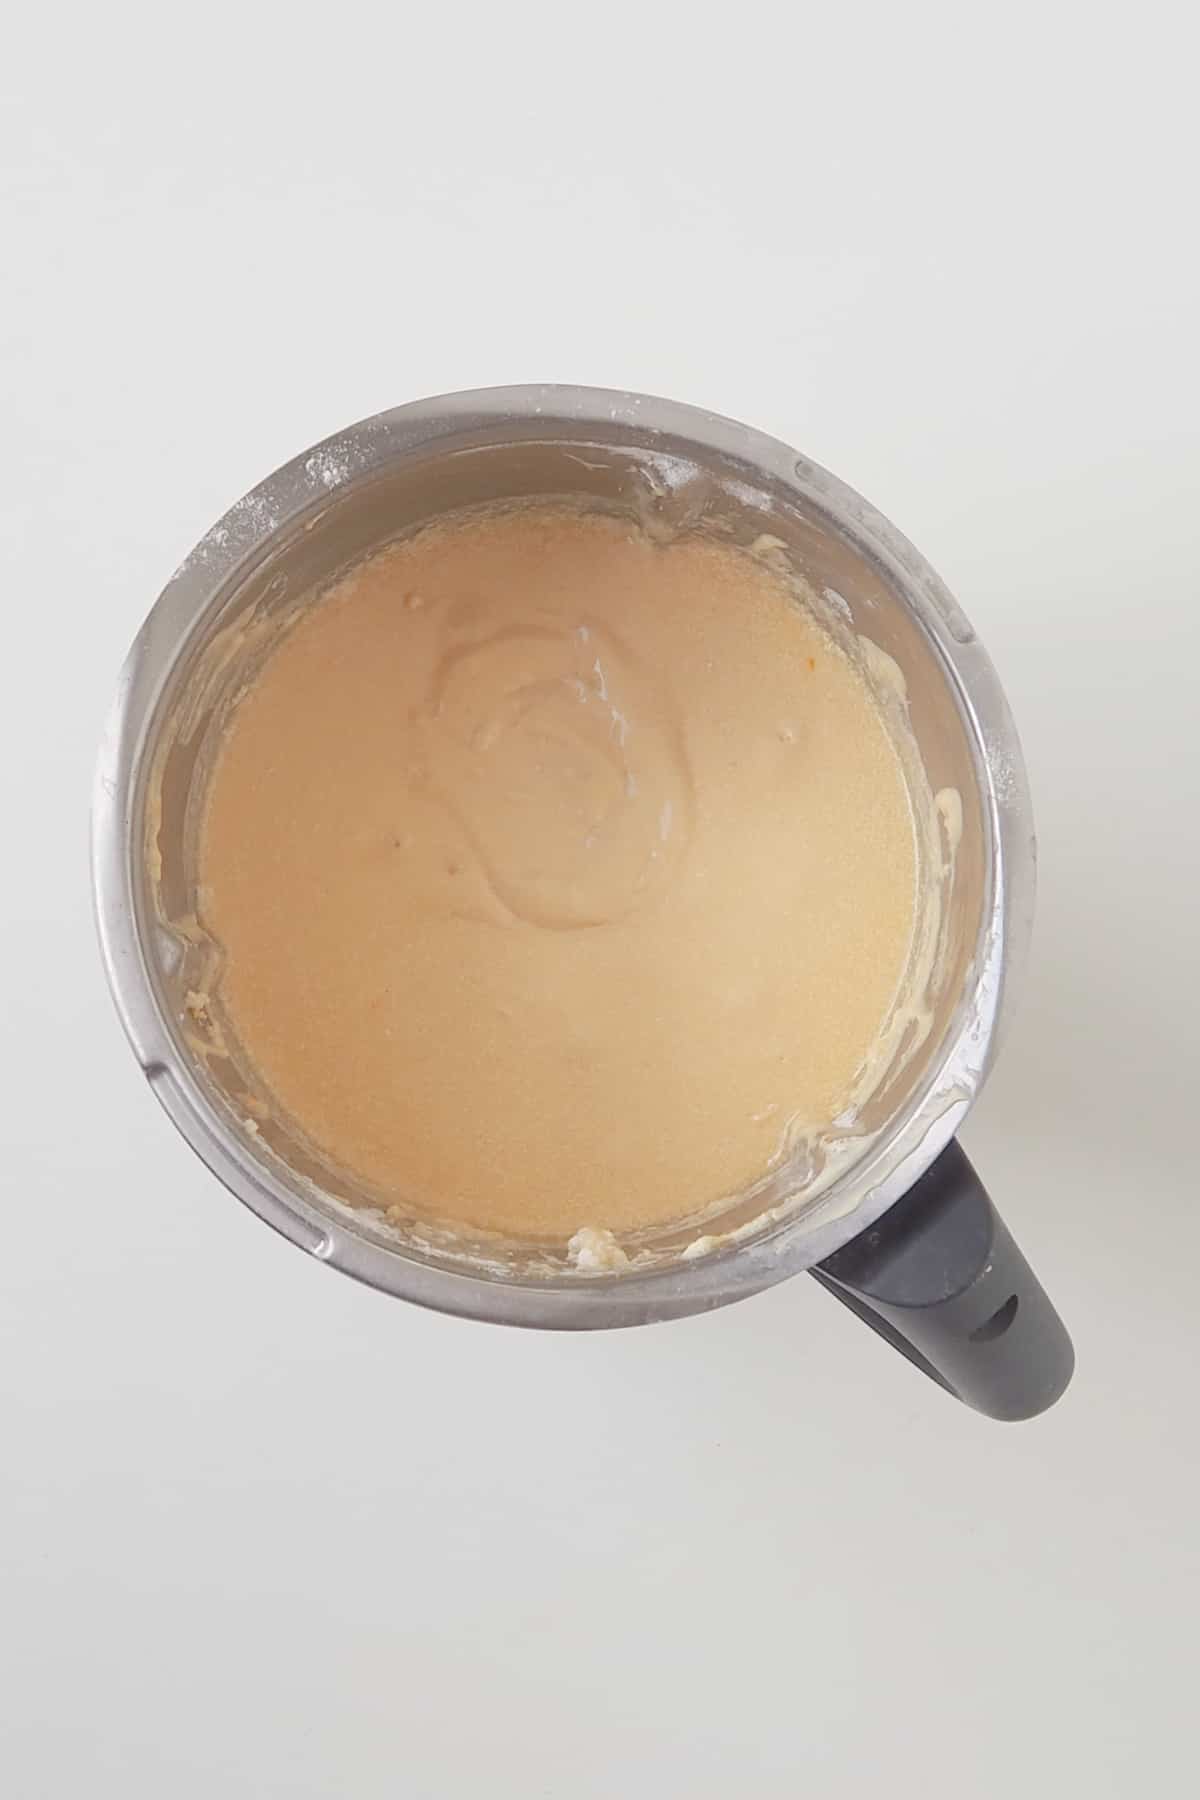
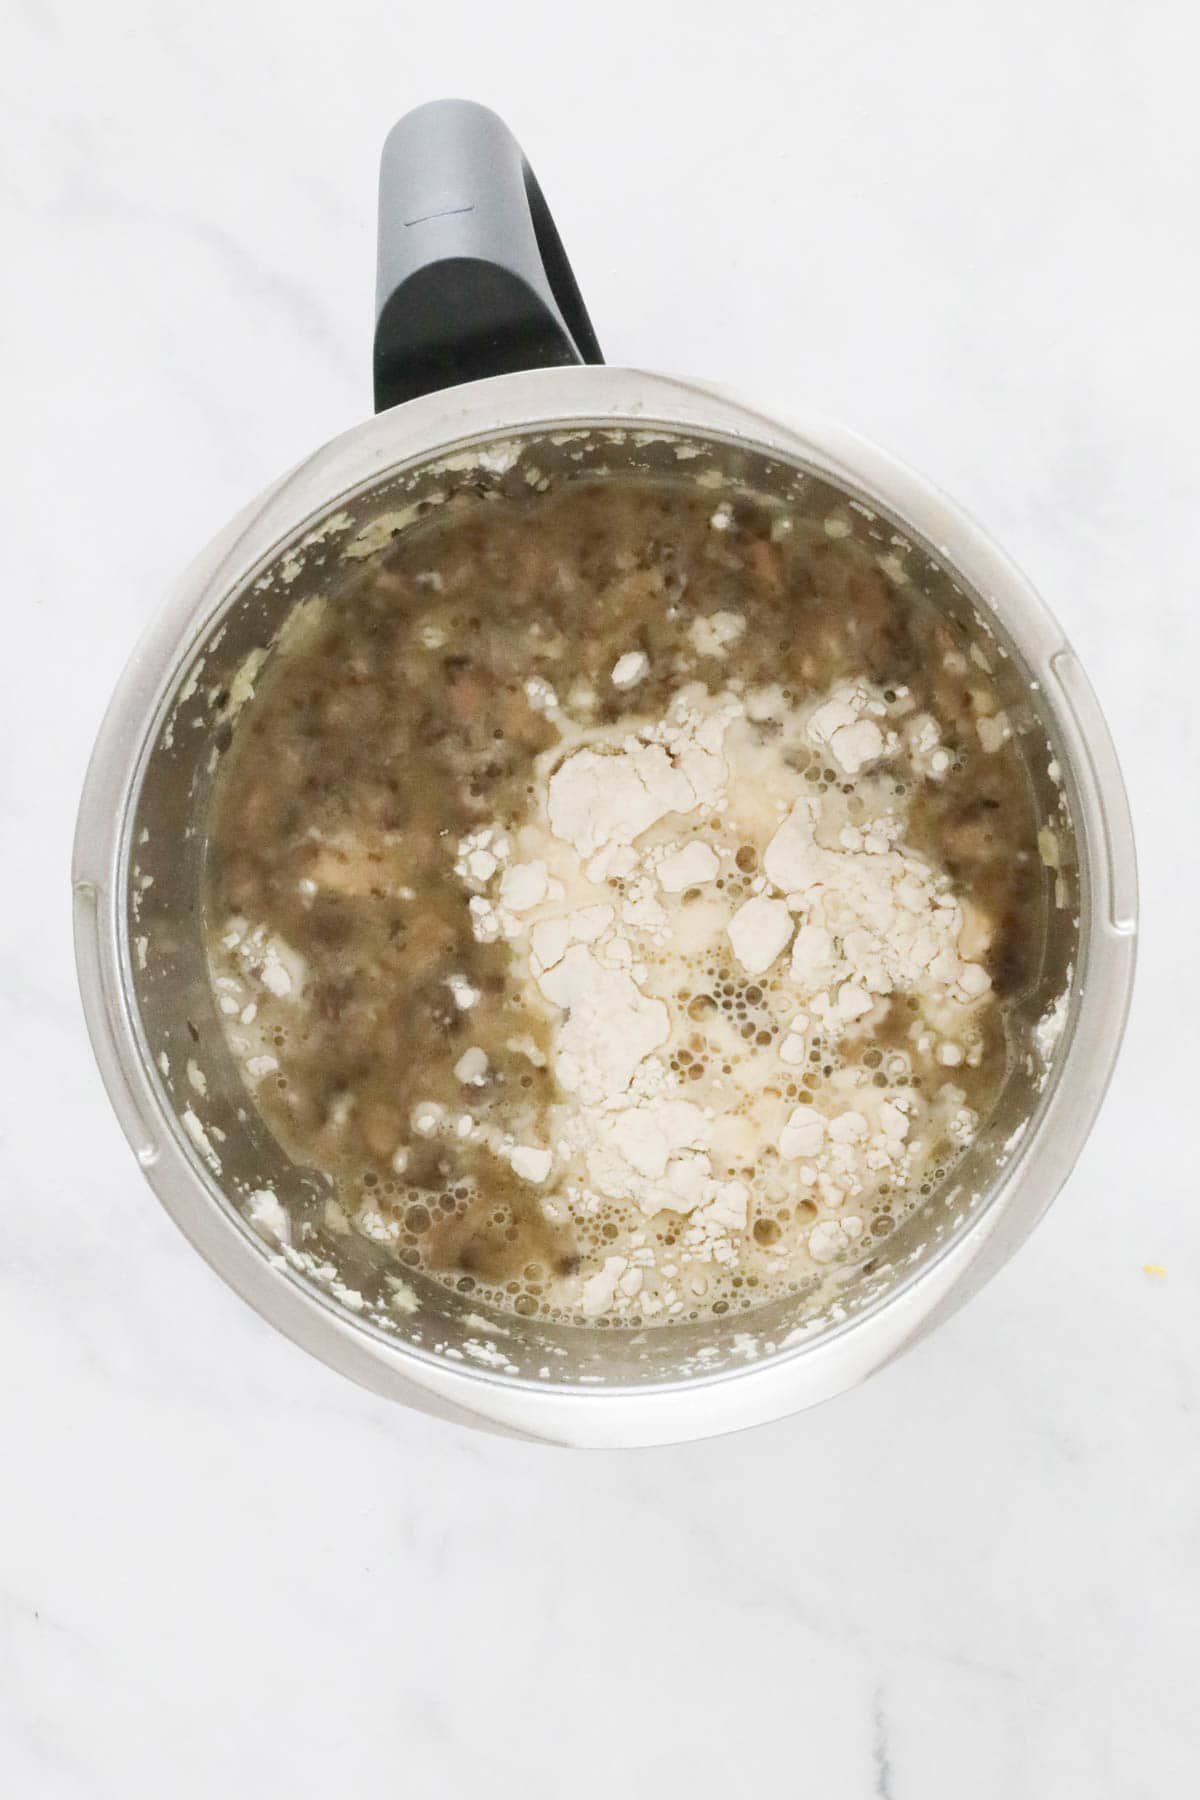
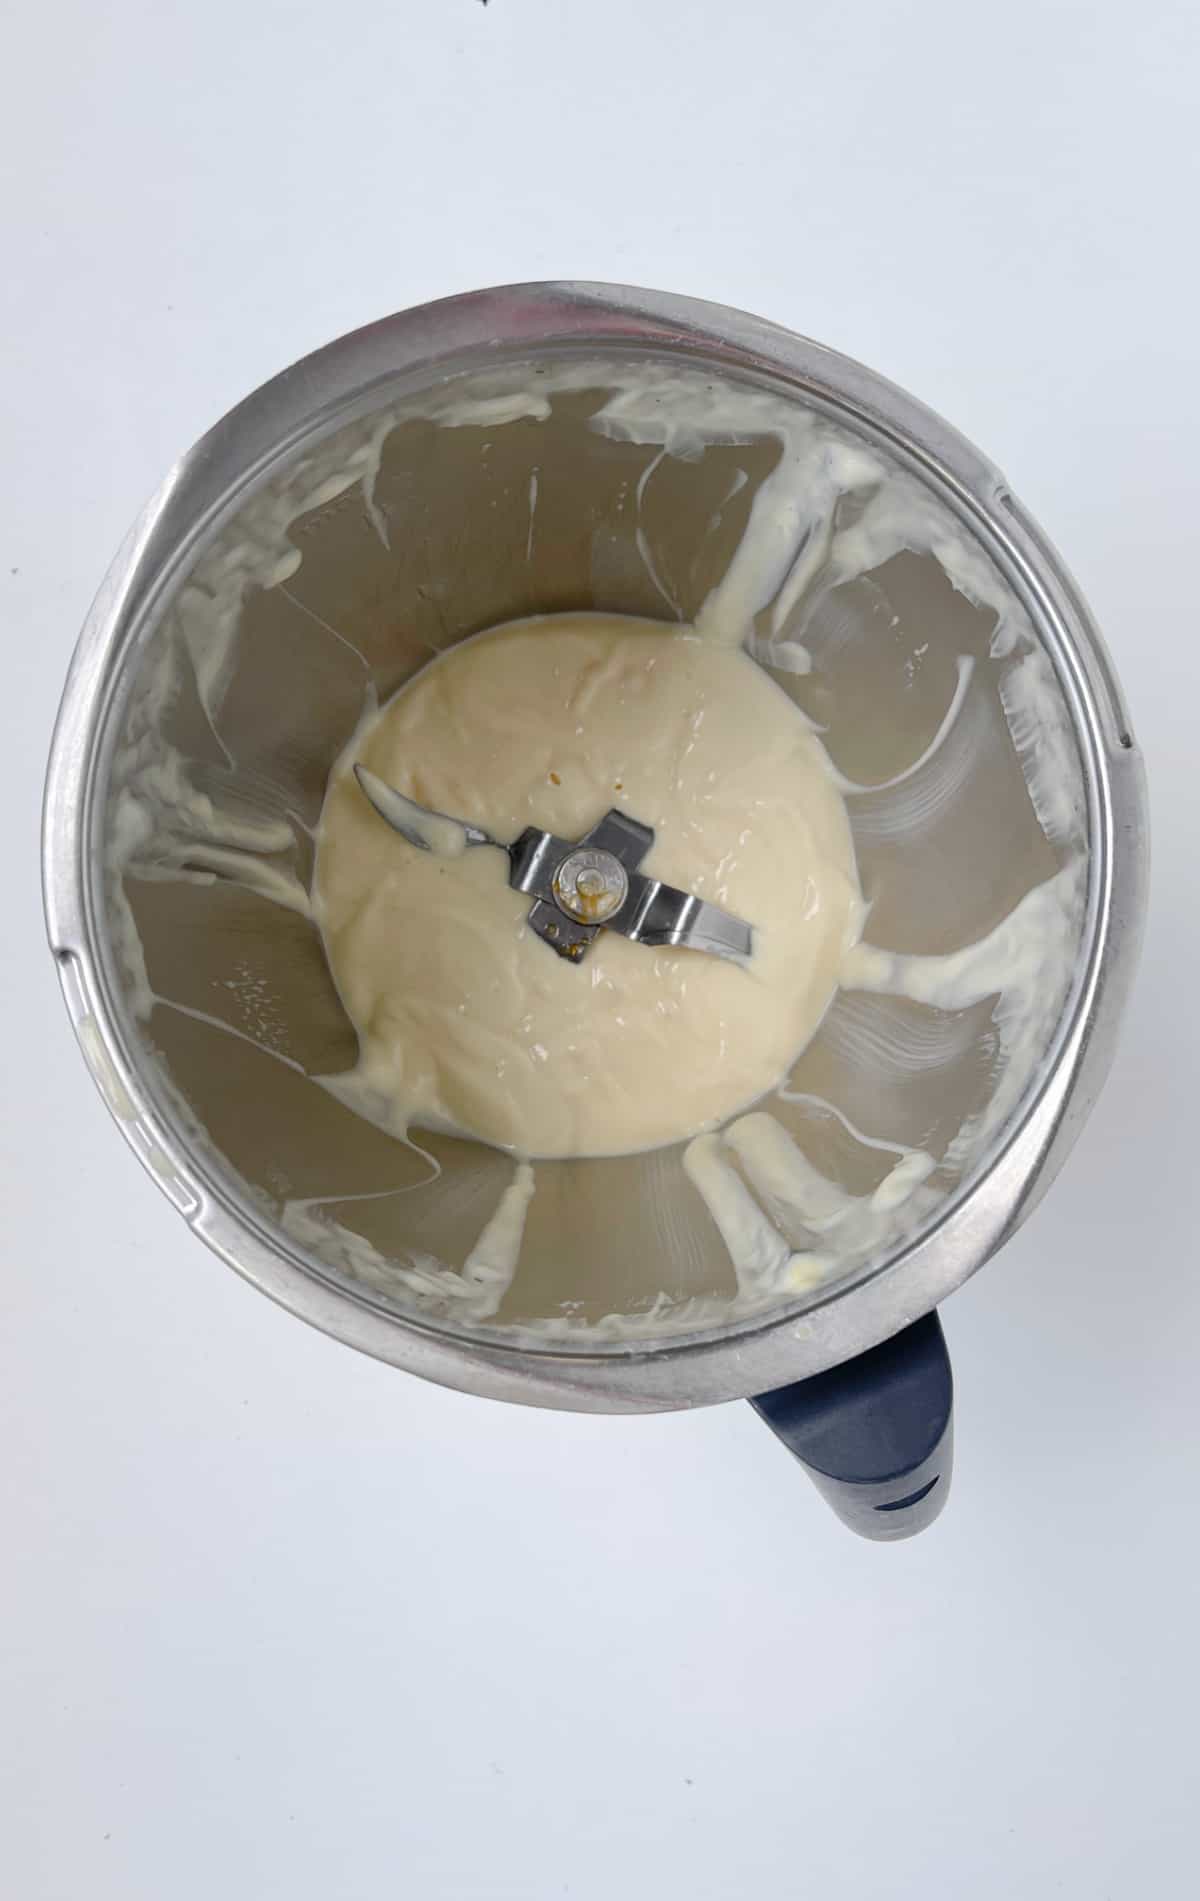
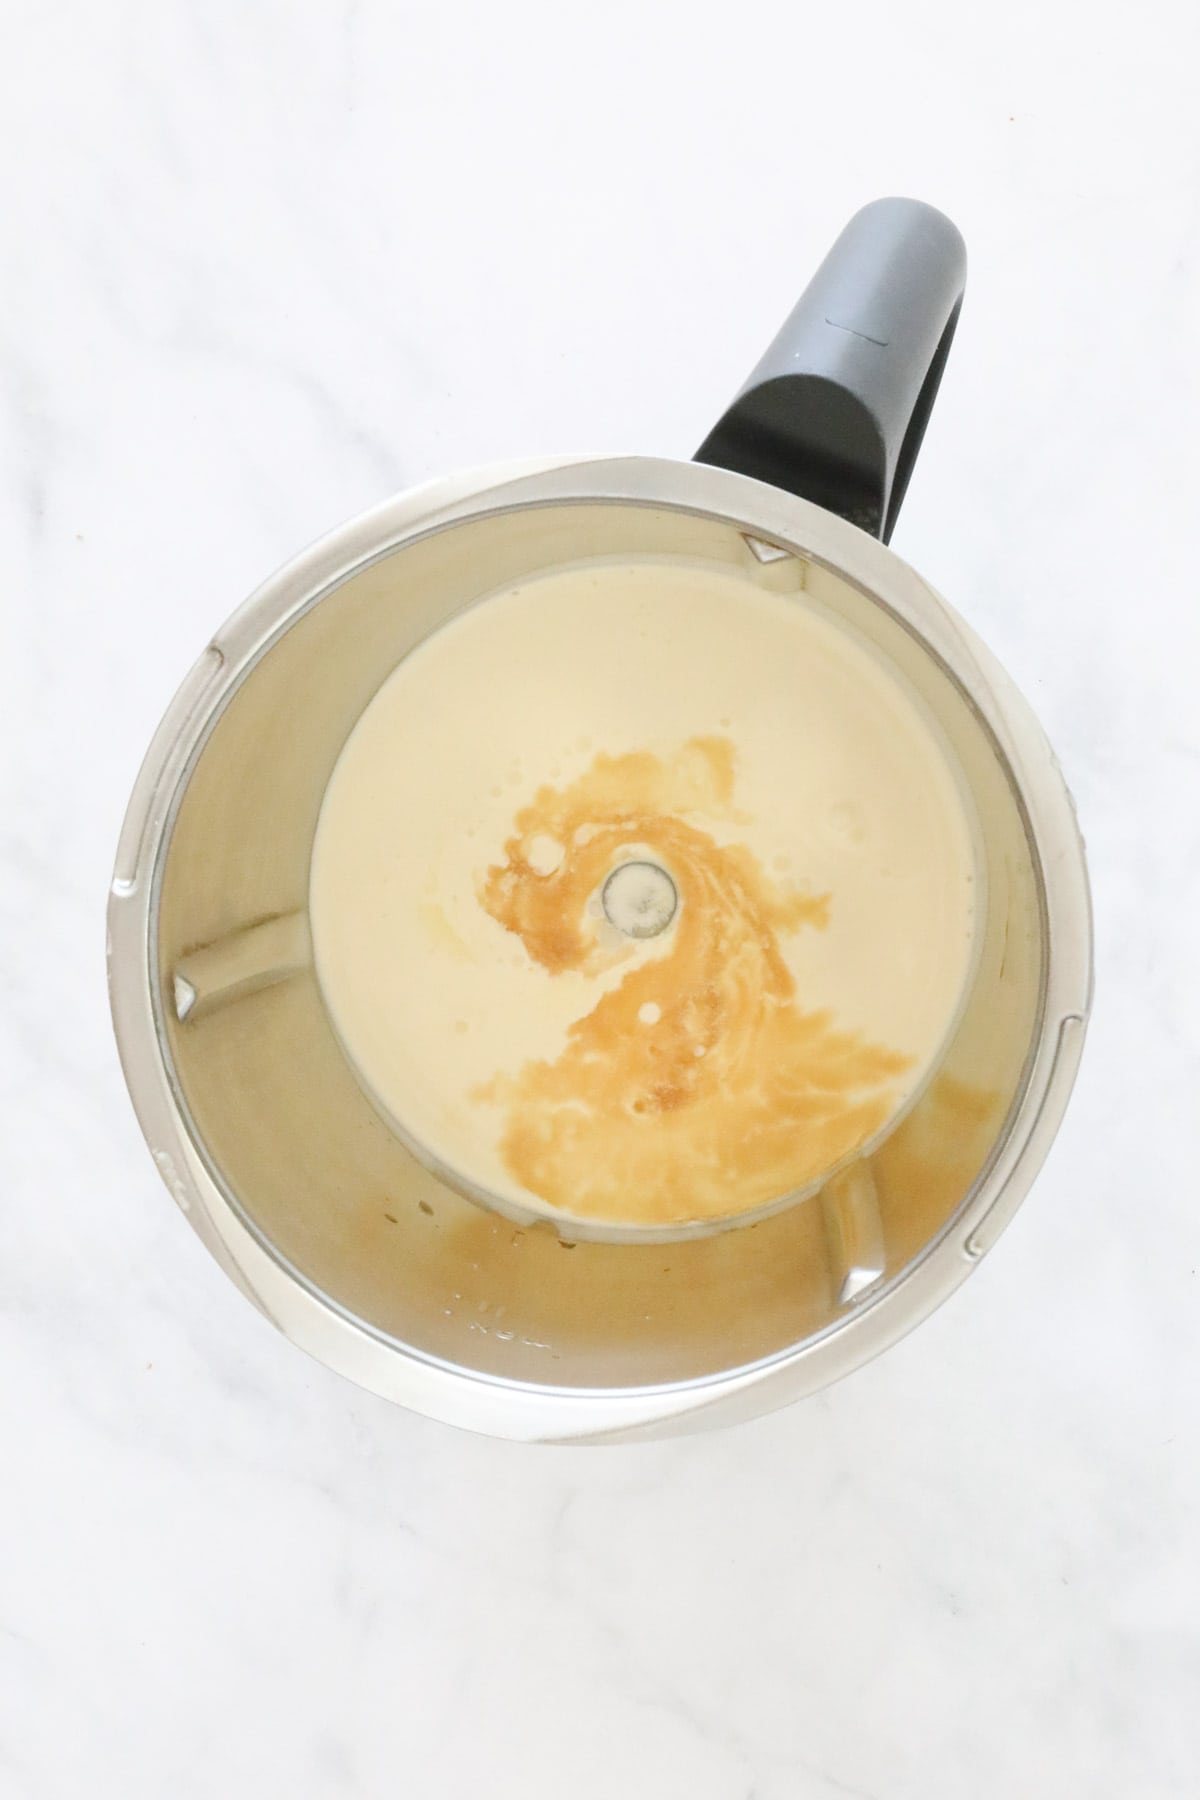
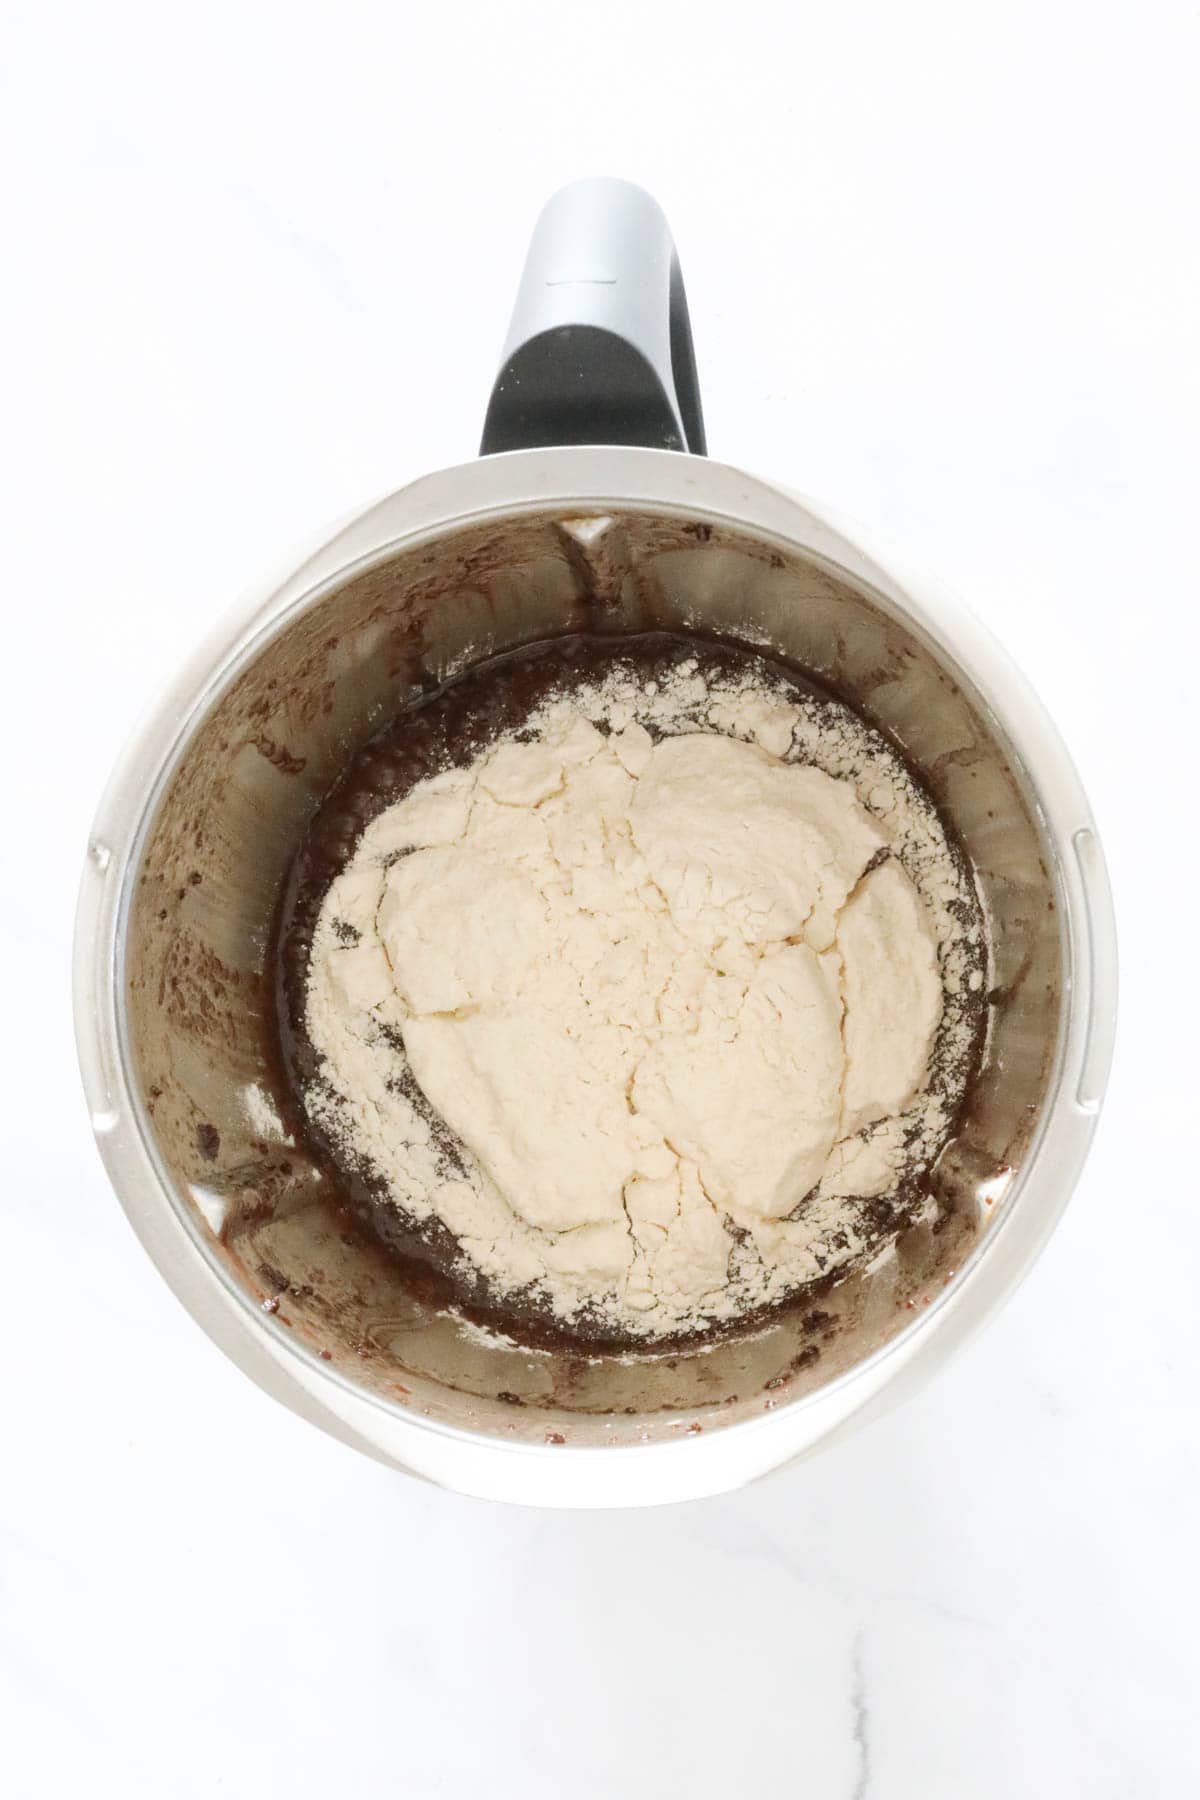
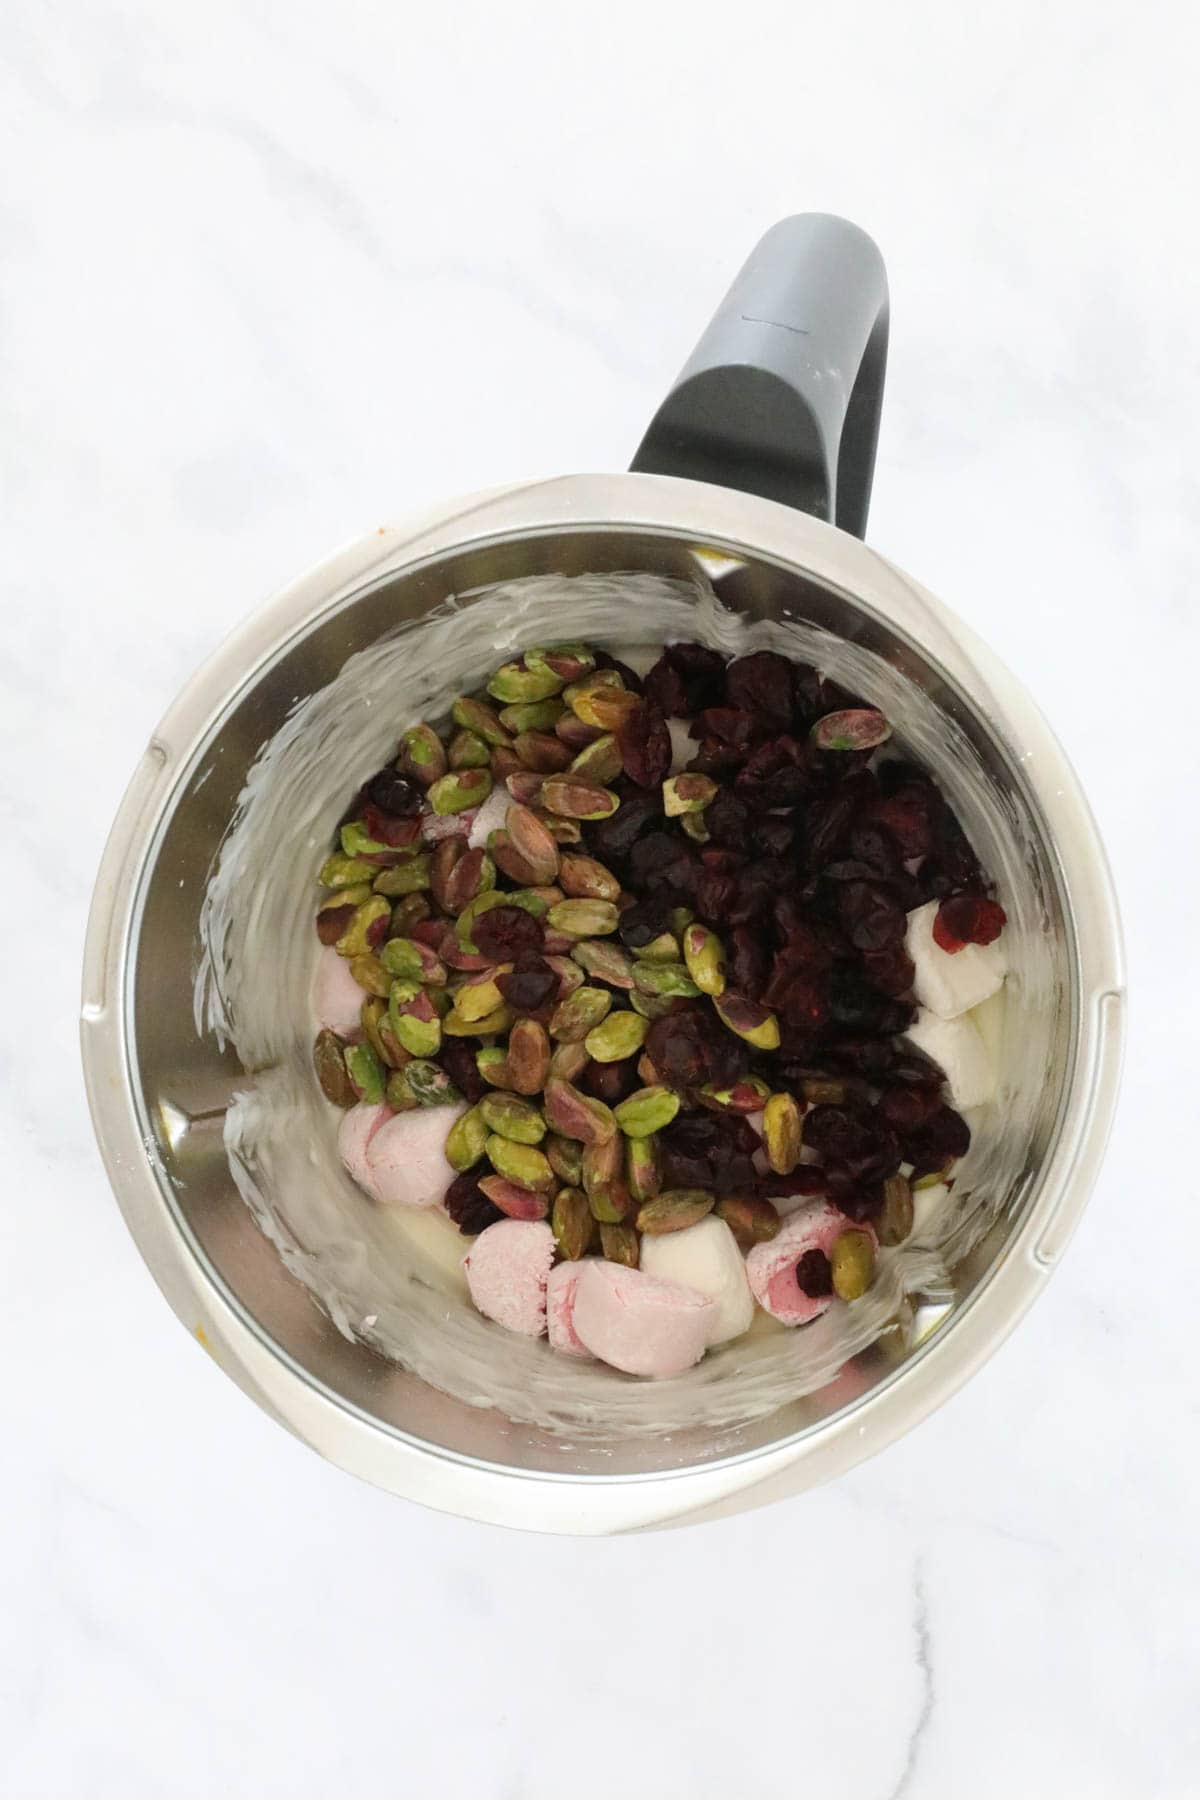
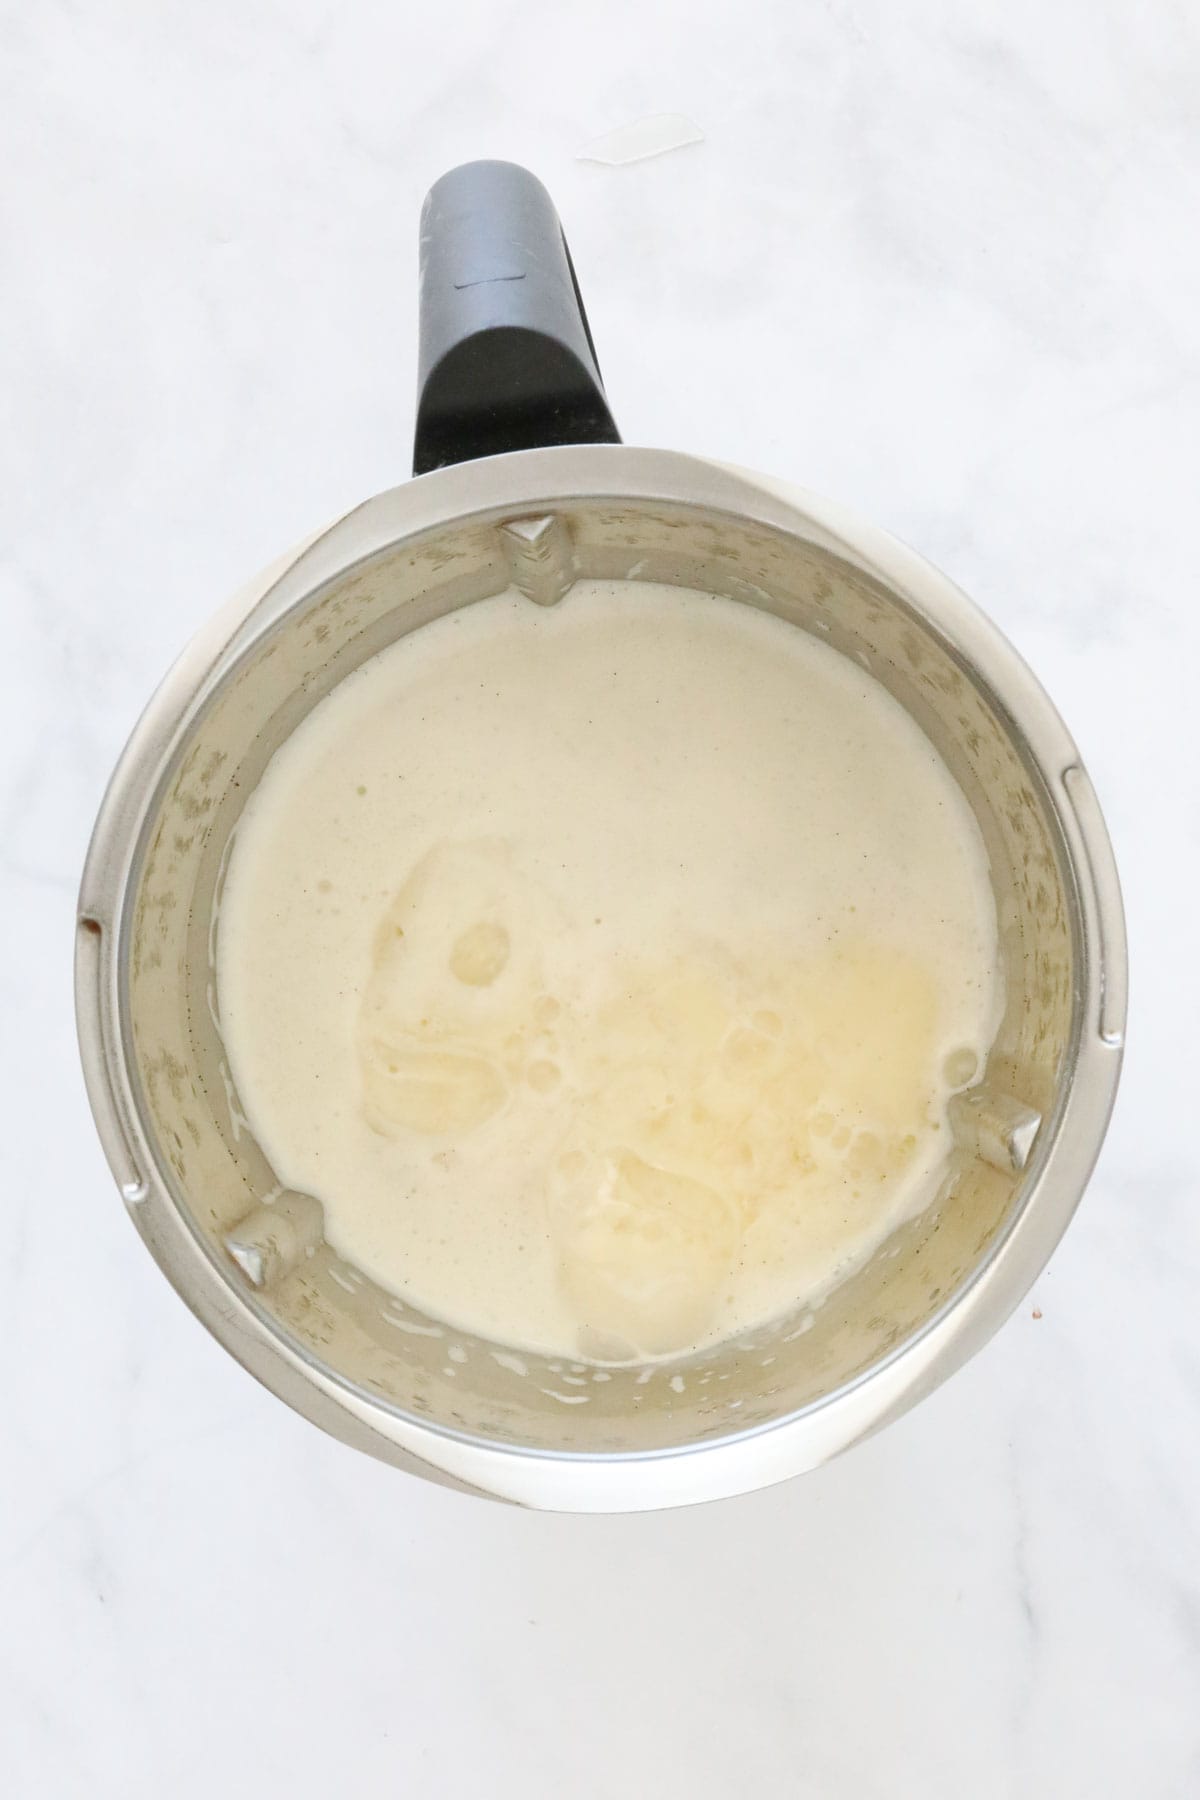
Step 6. Scrape down the sides of the bowl and add the melted chocolate and thickened cream. Mix to combine.
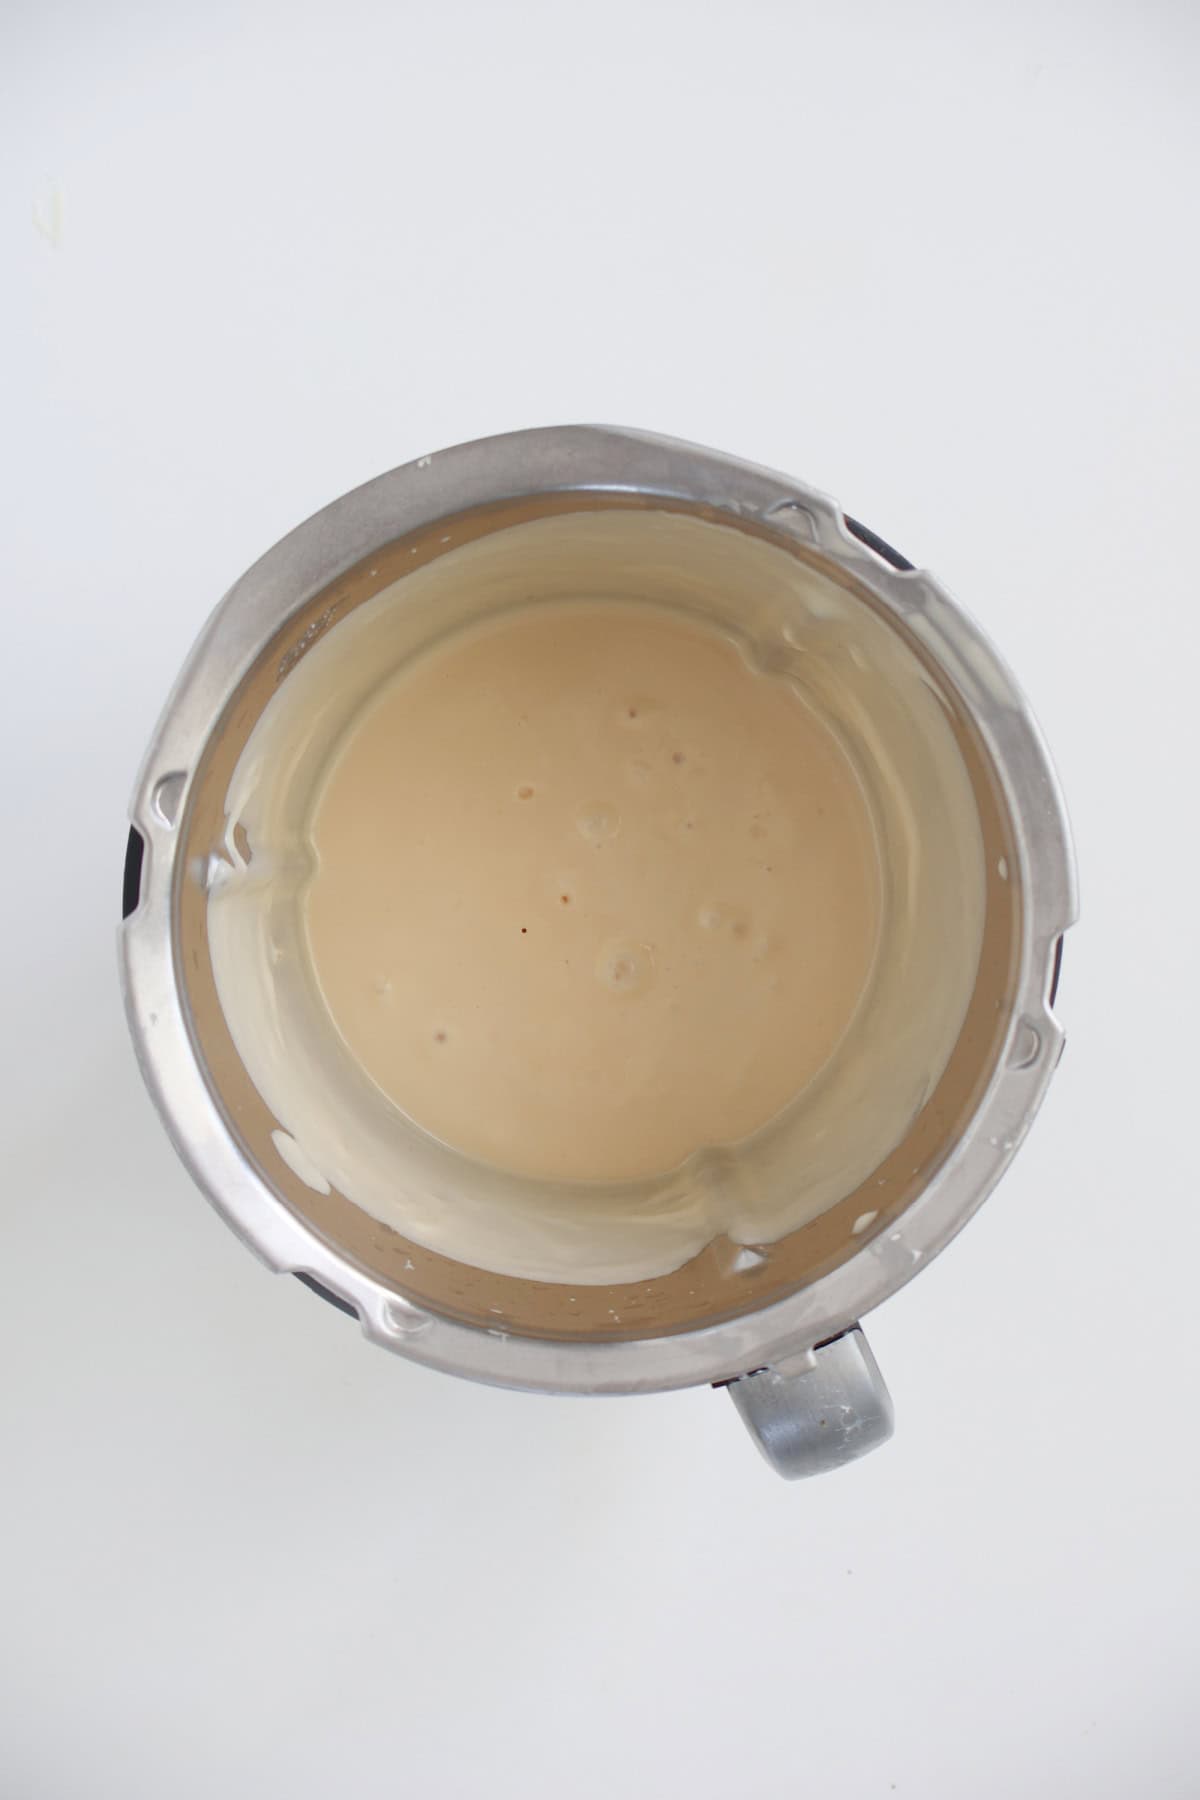
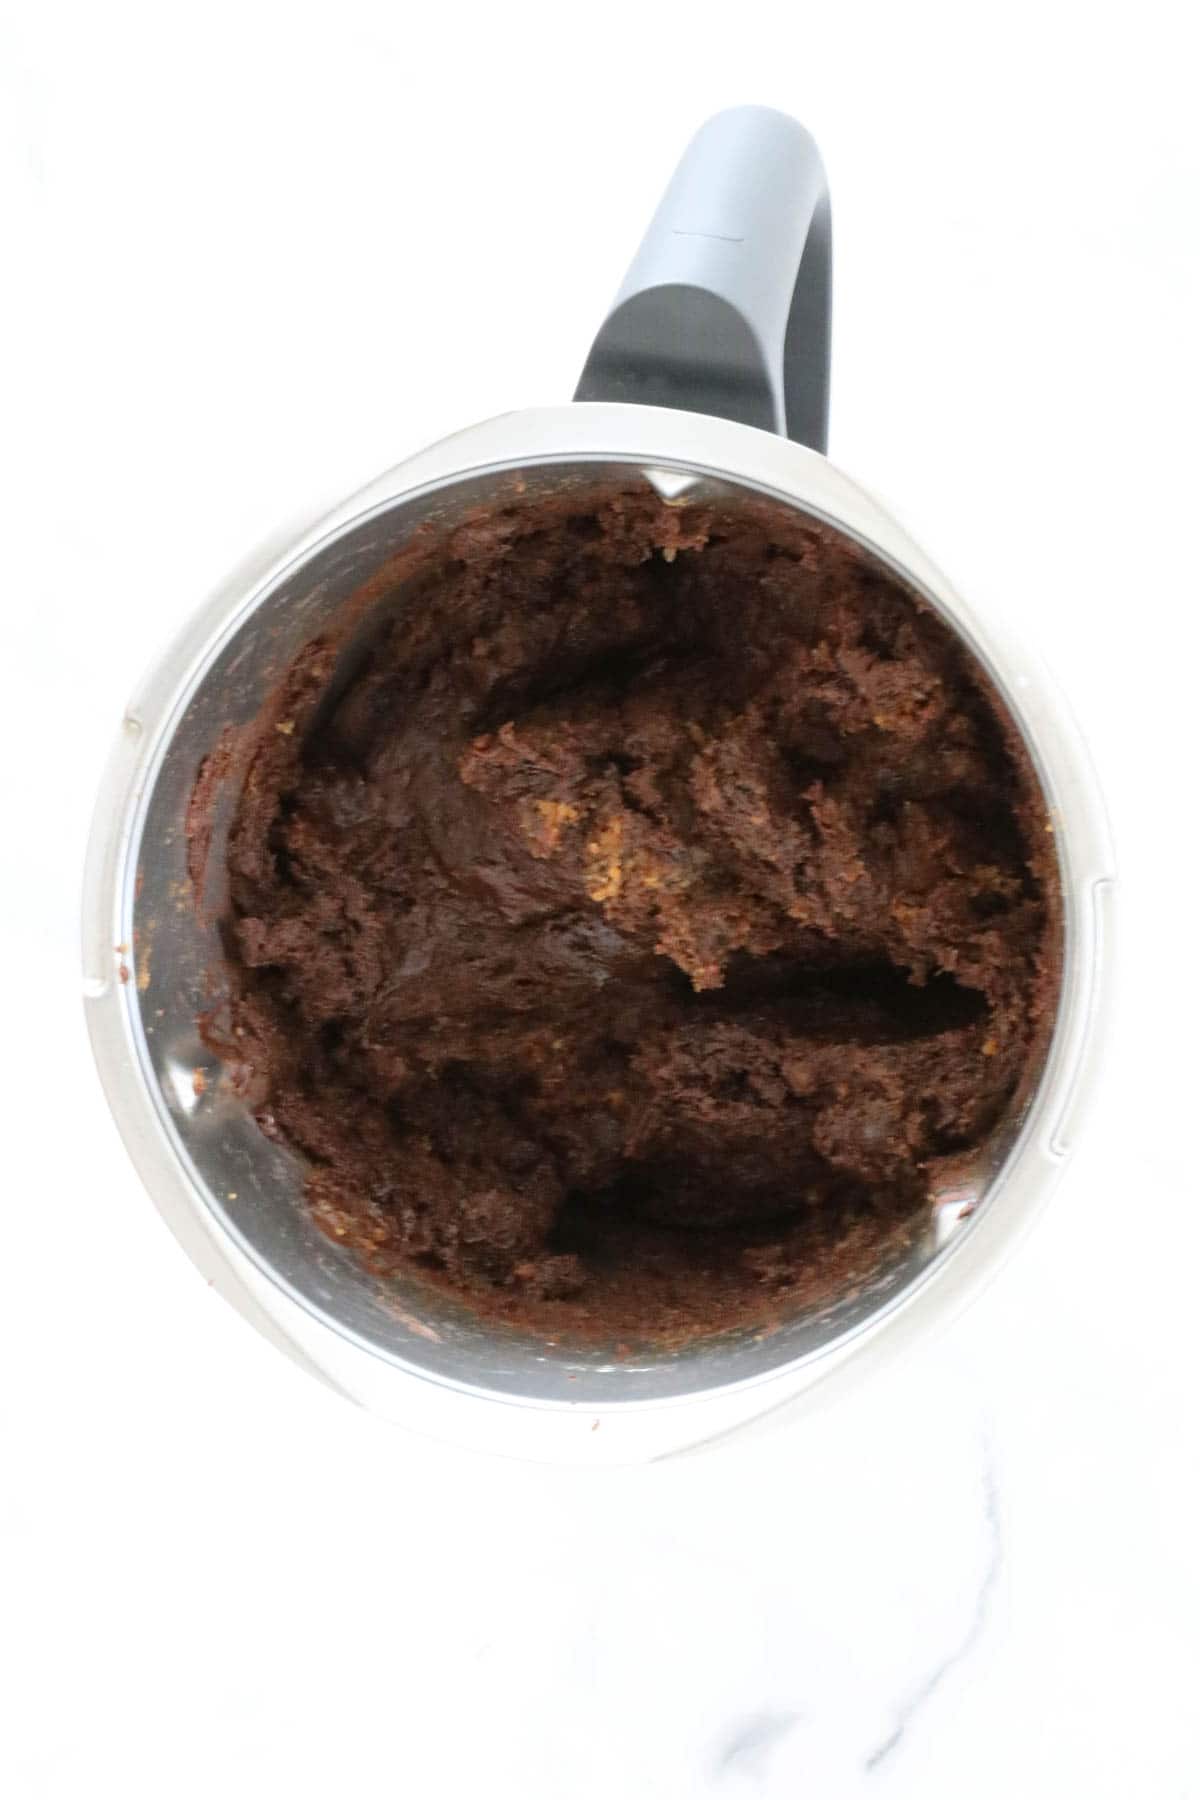
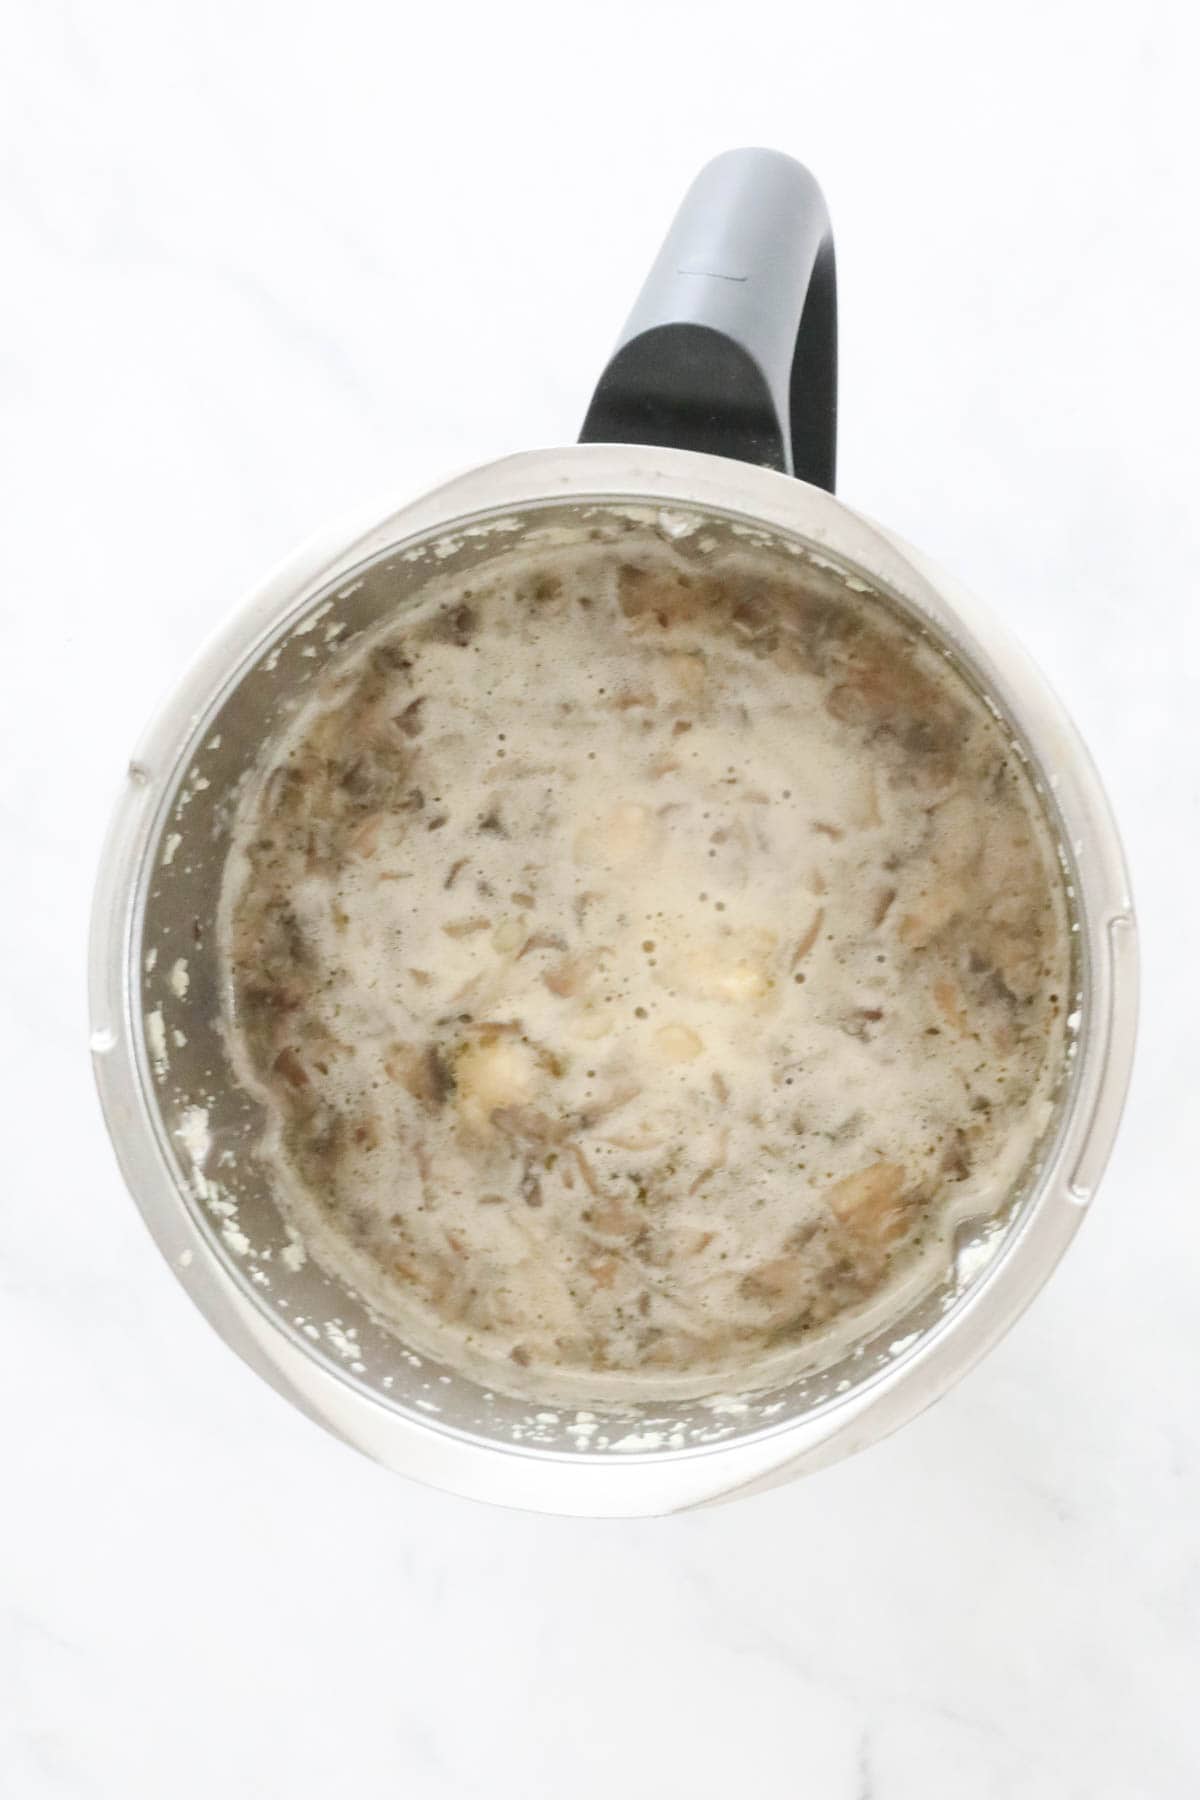
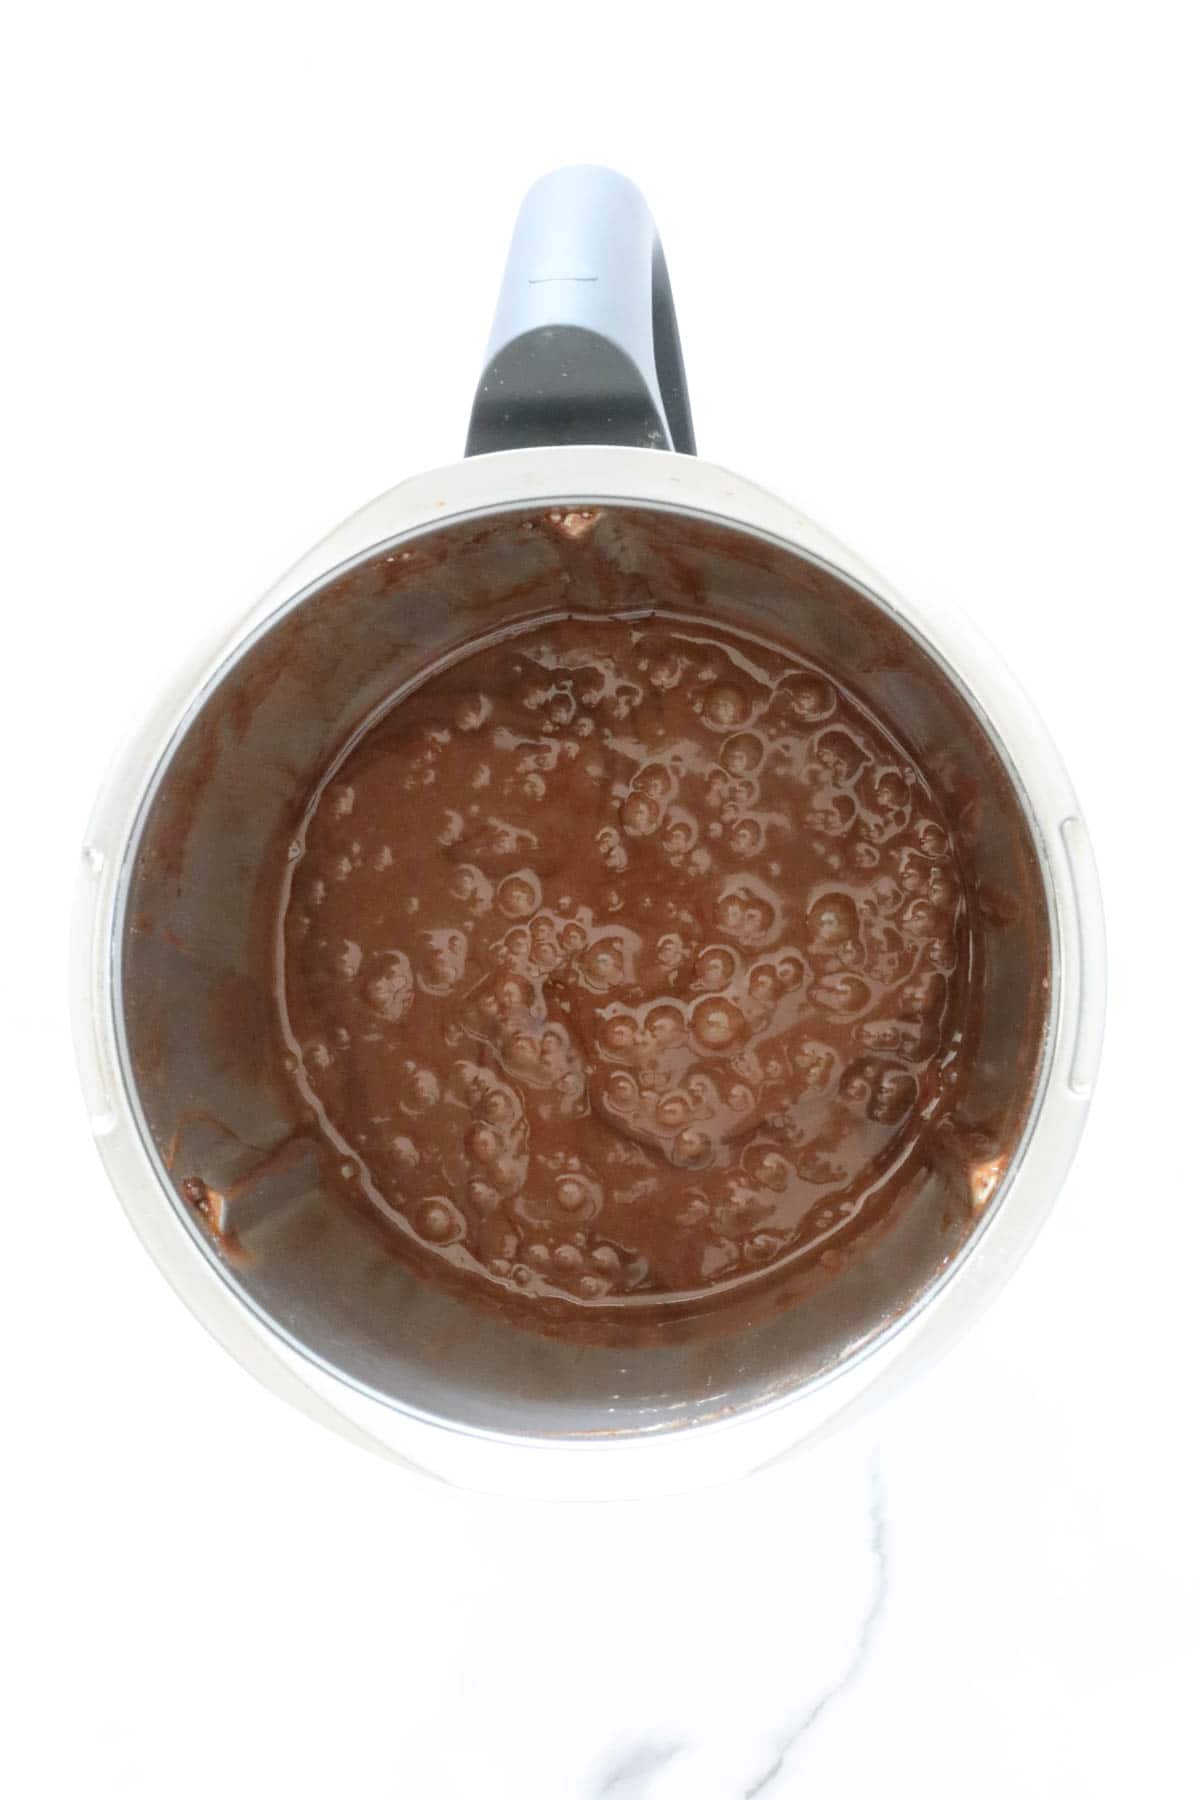
Step 7. Add the gelatine mixture and mix to combine.
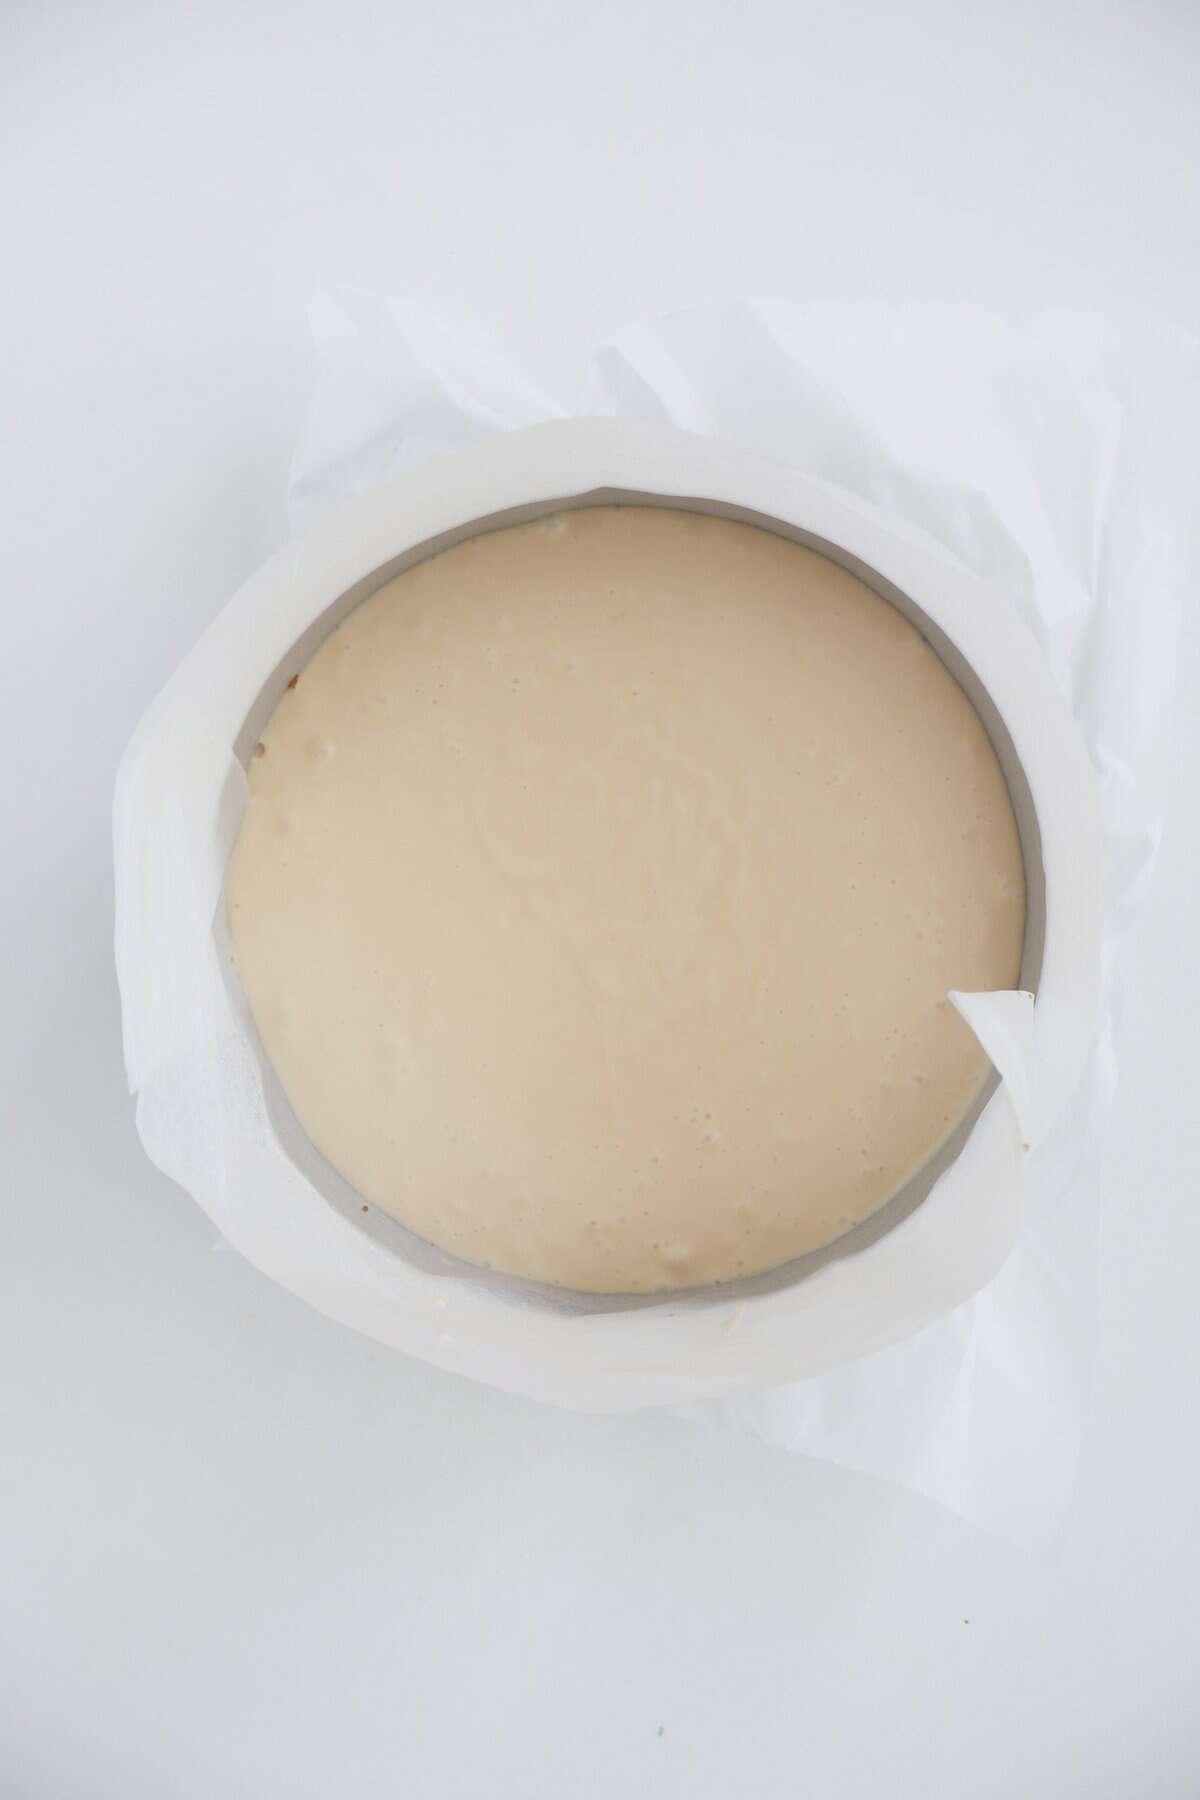
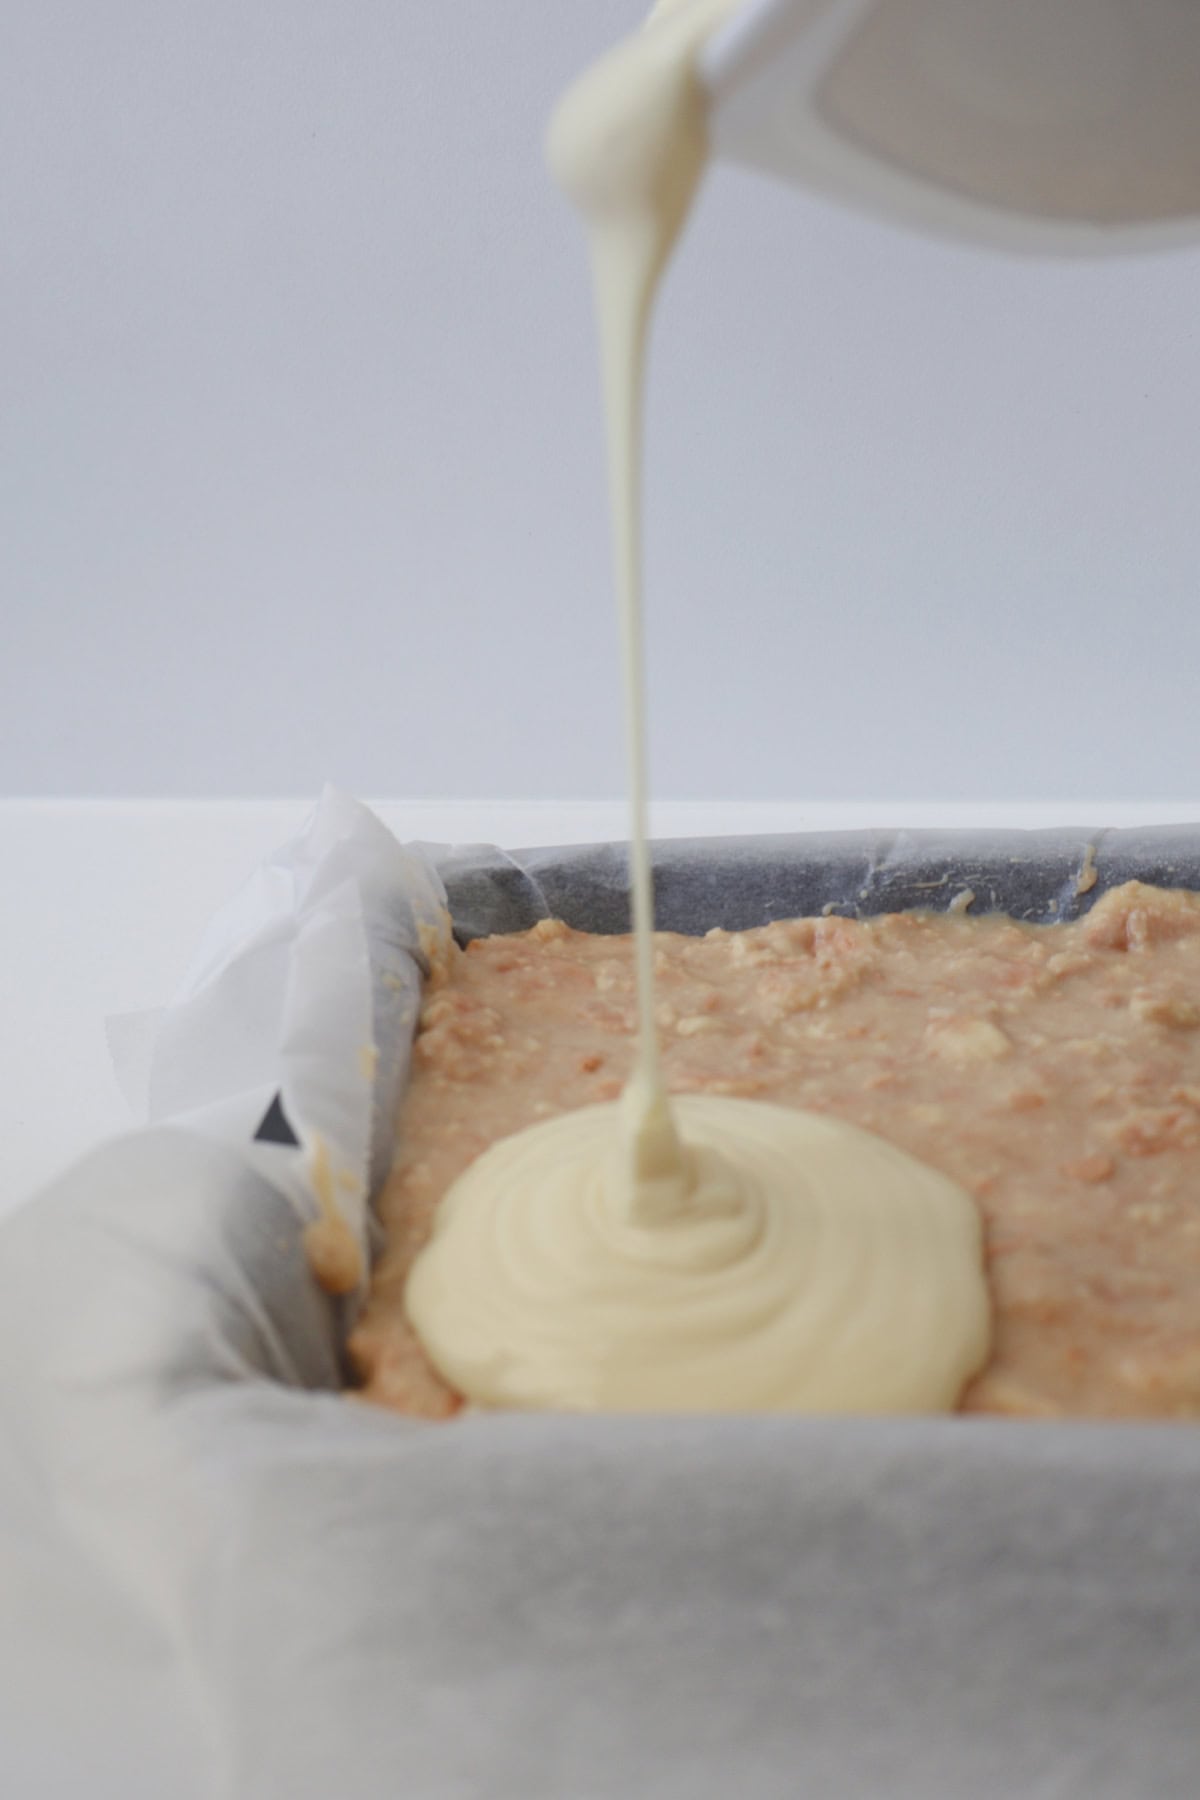
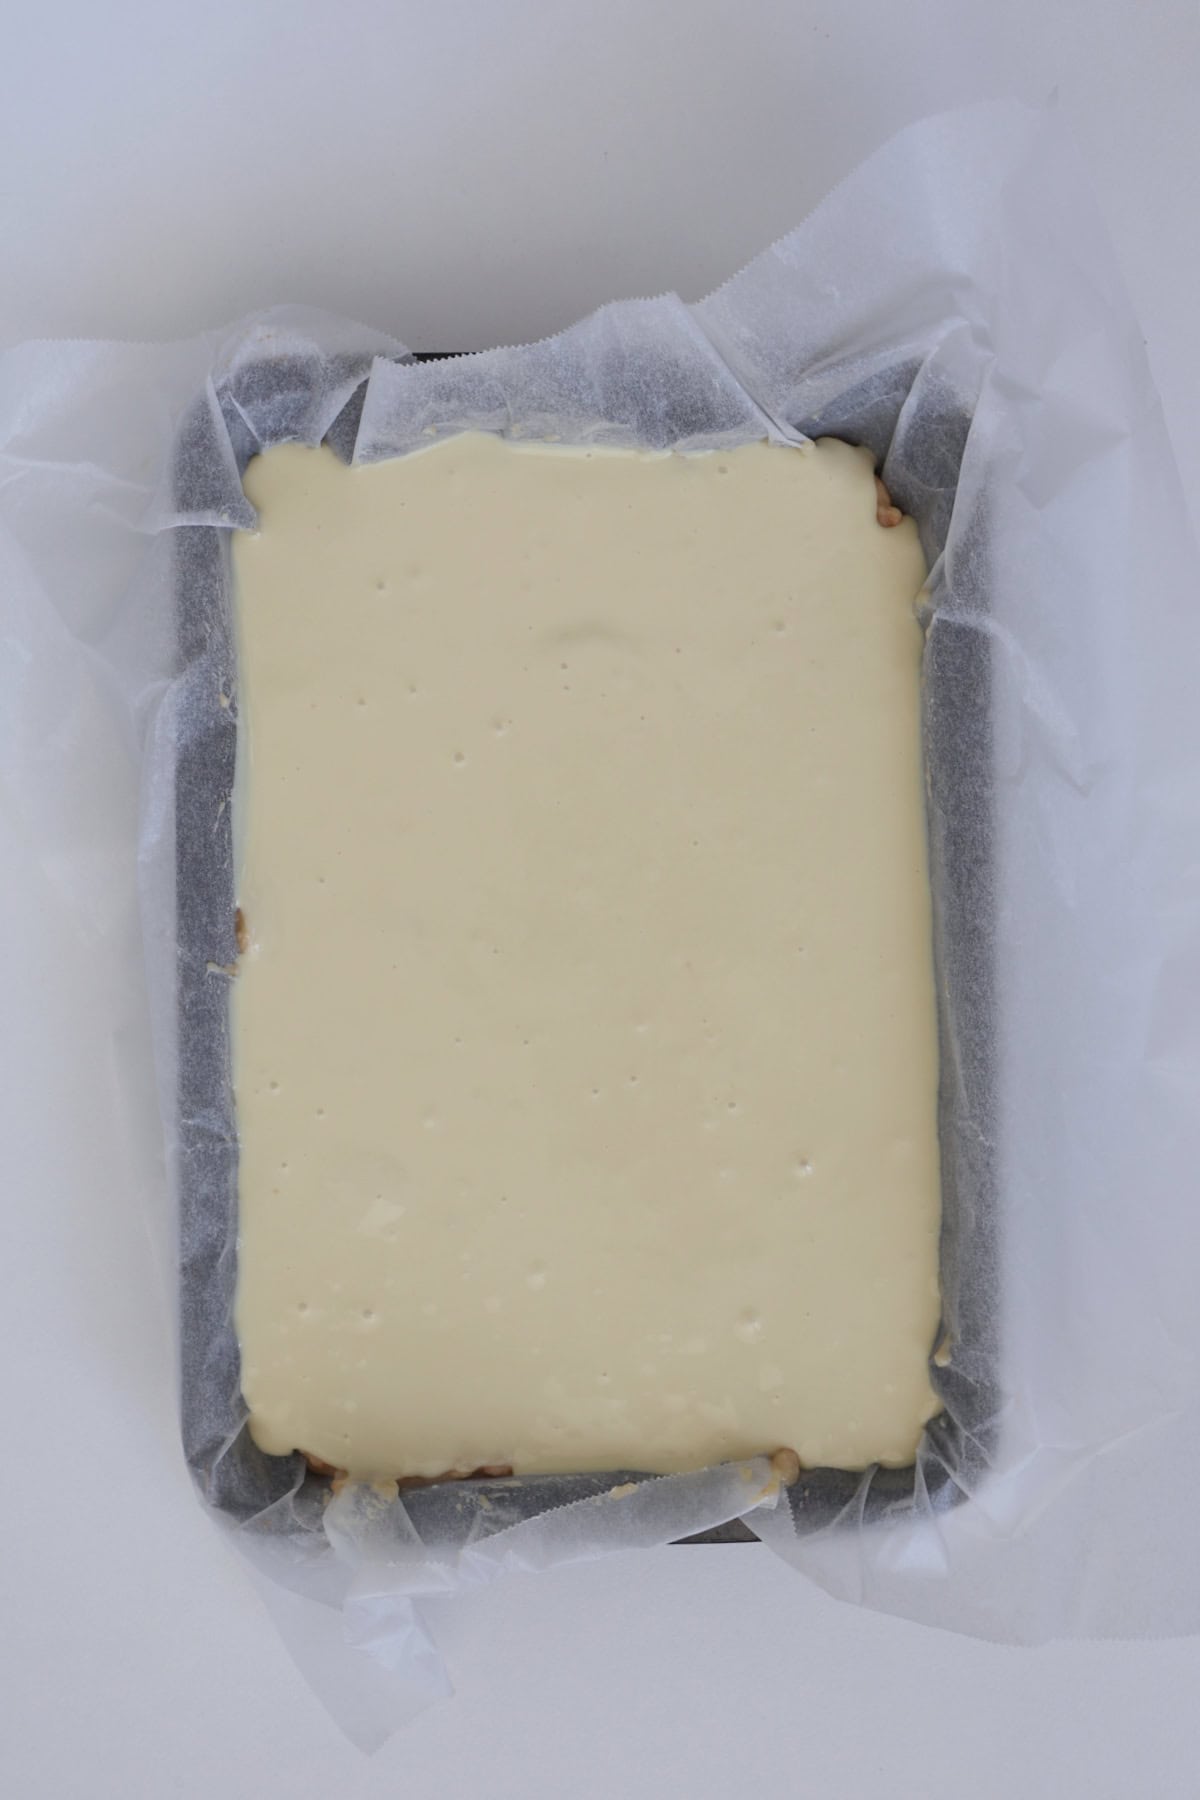
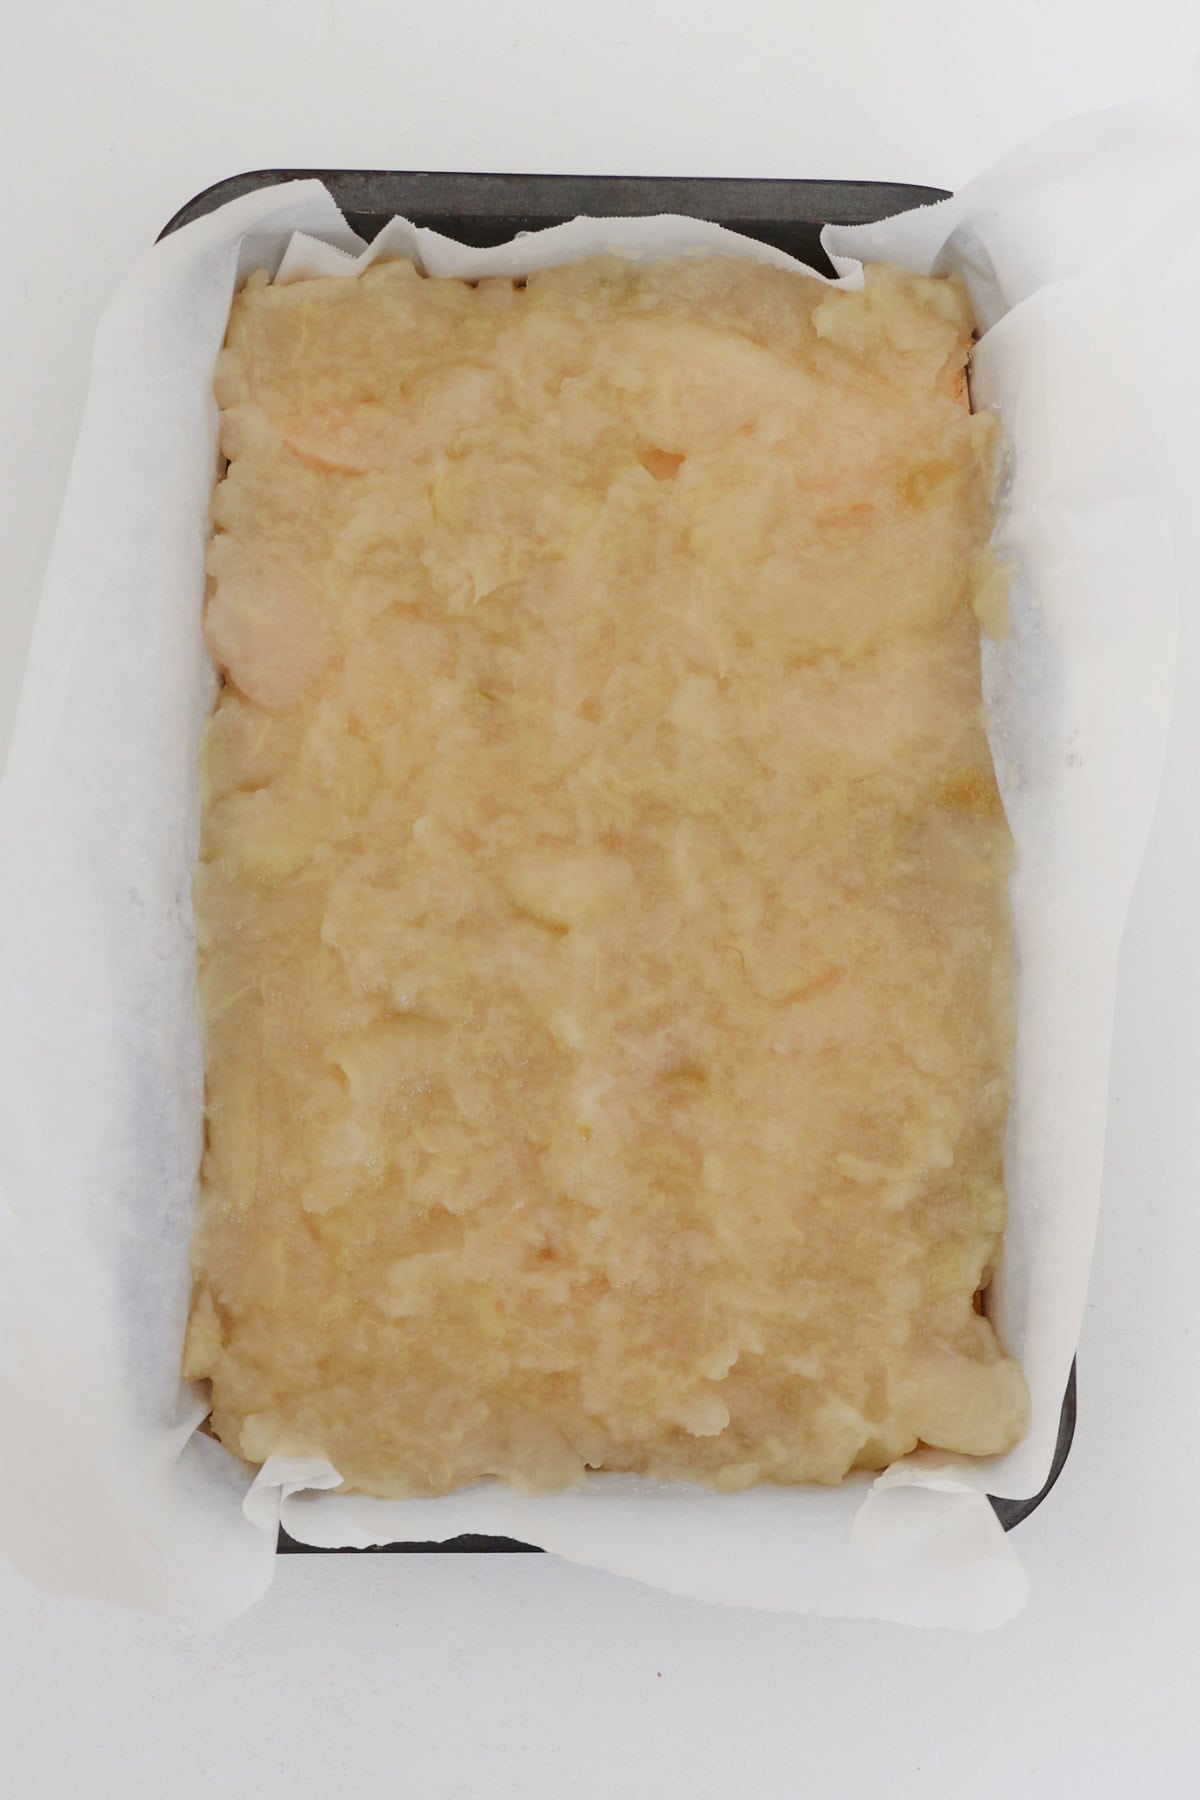
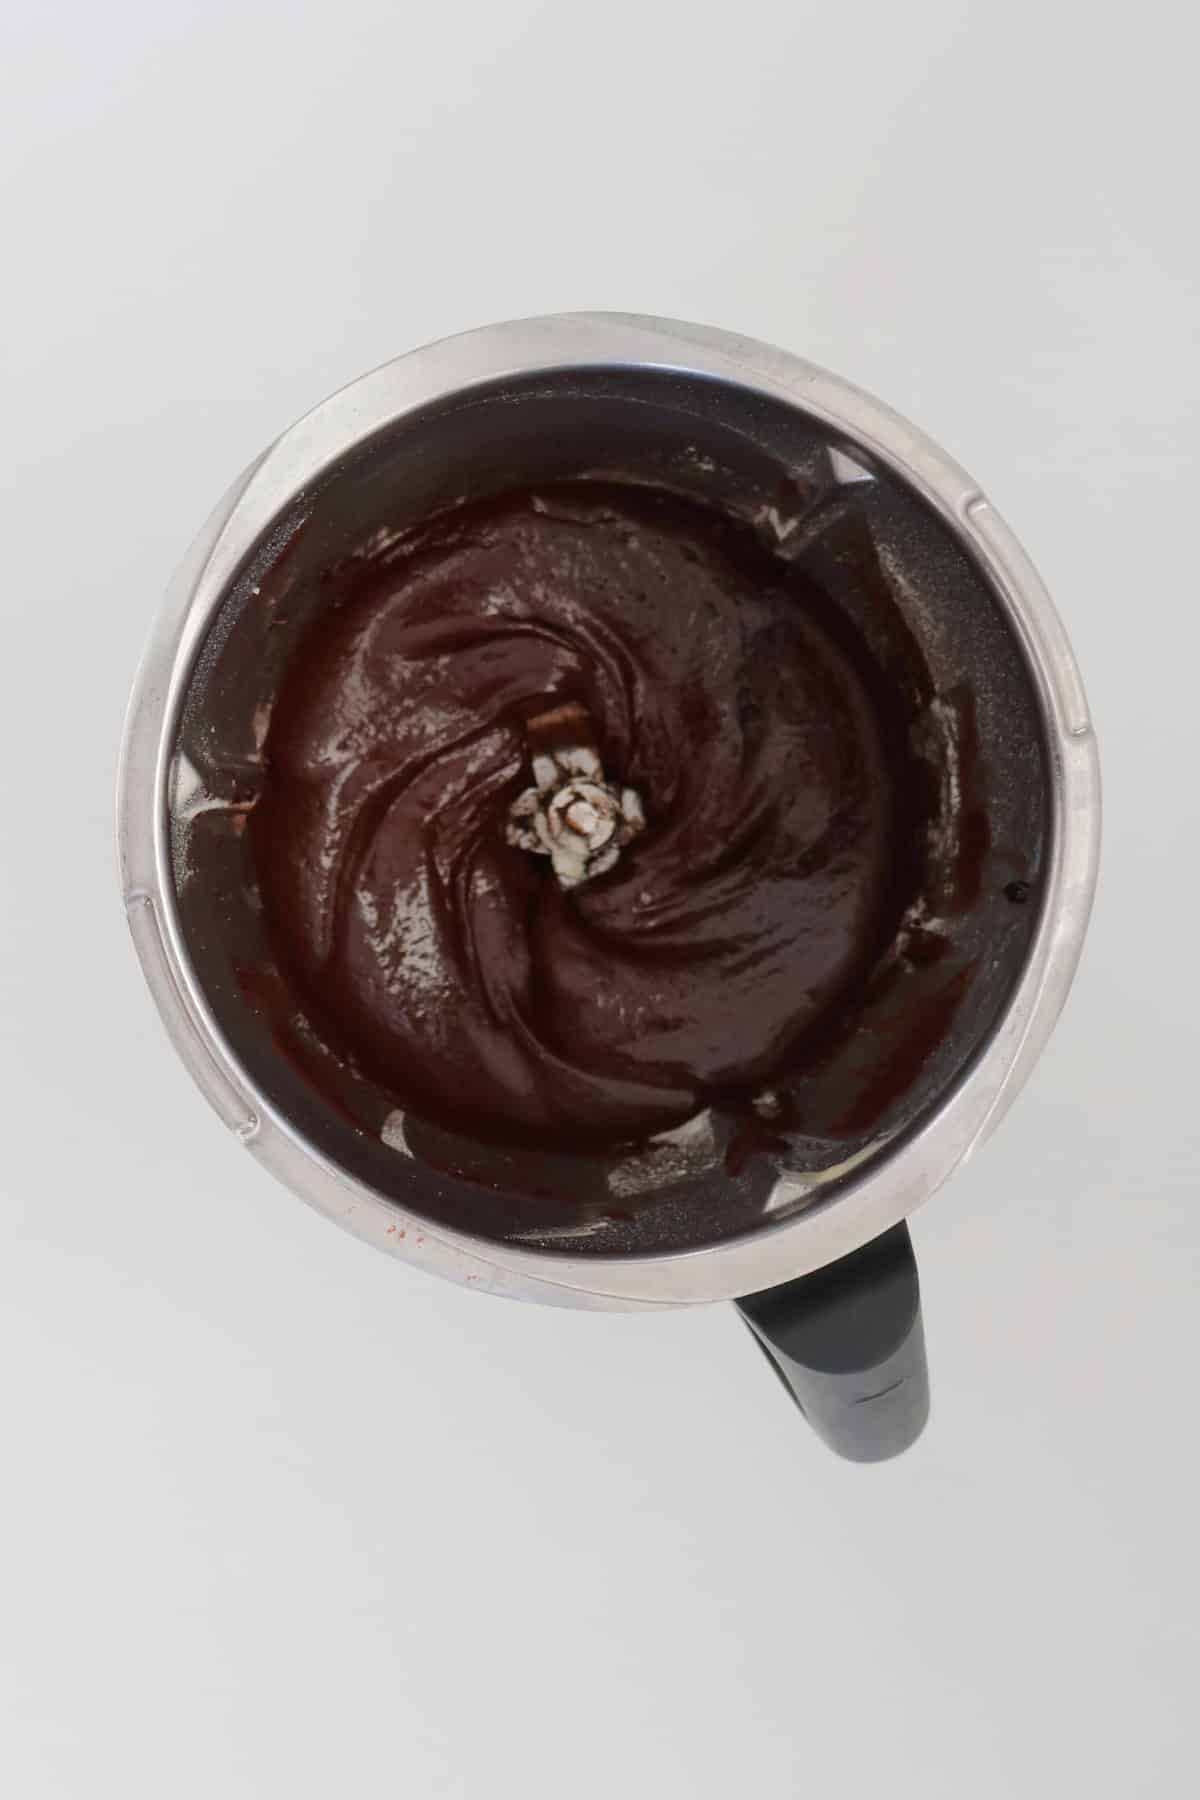
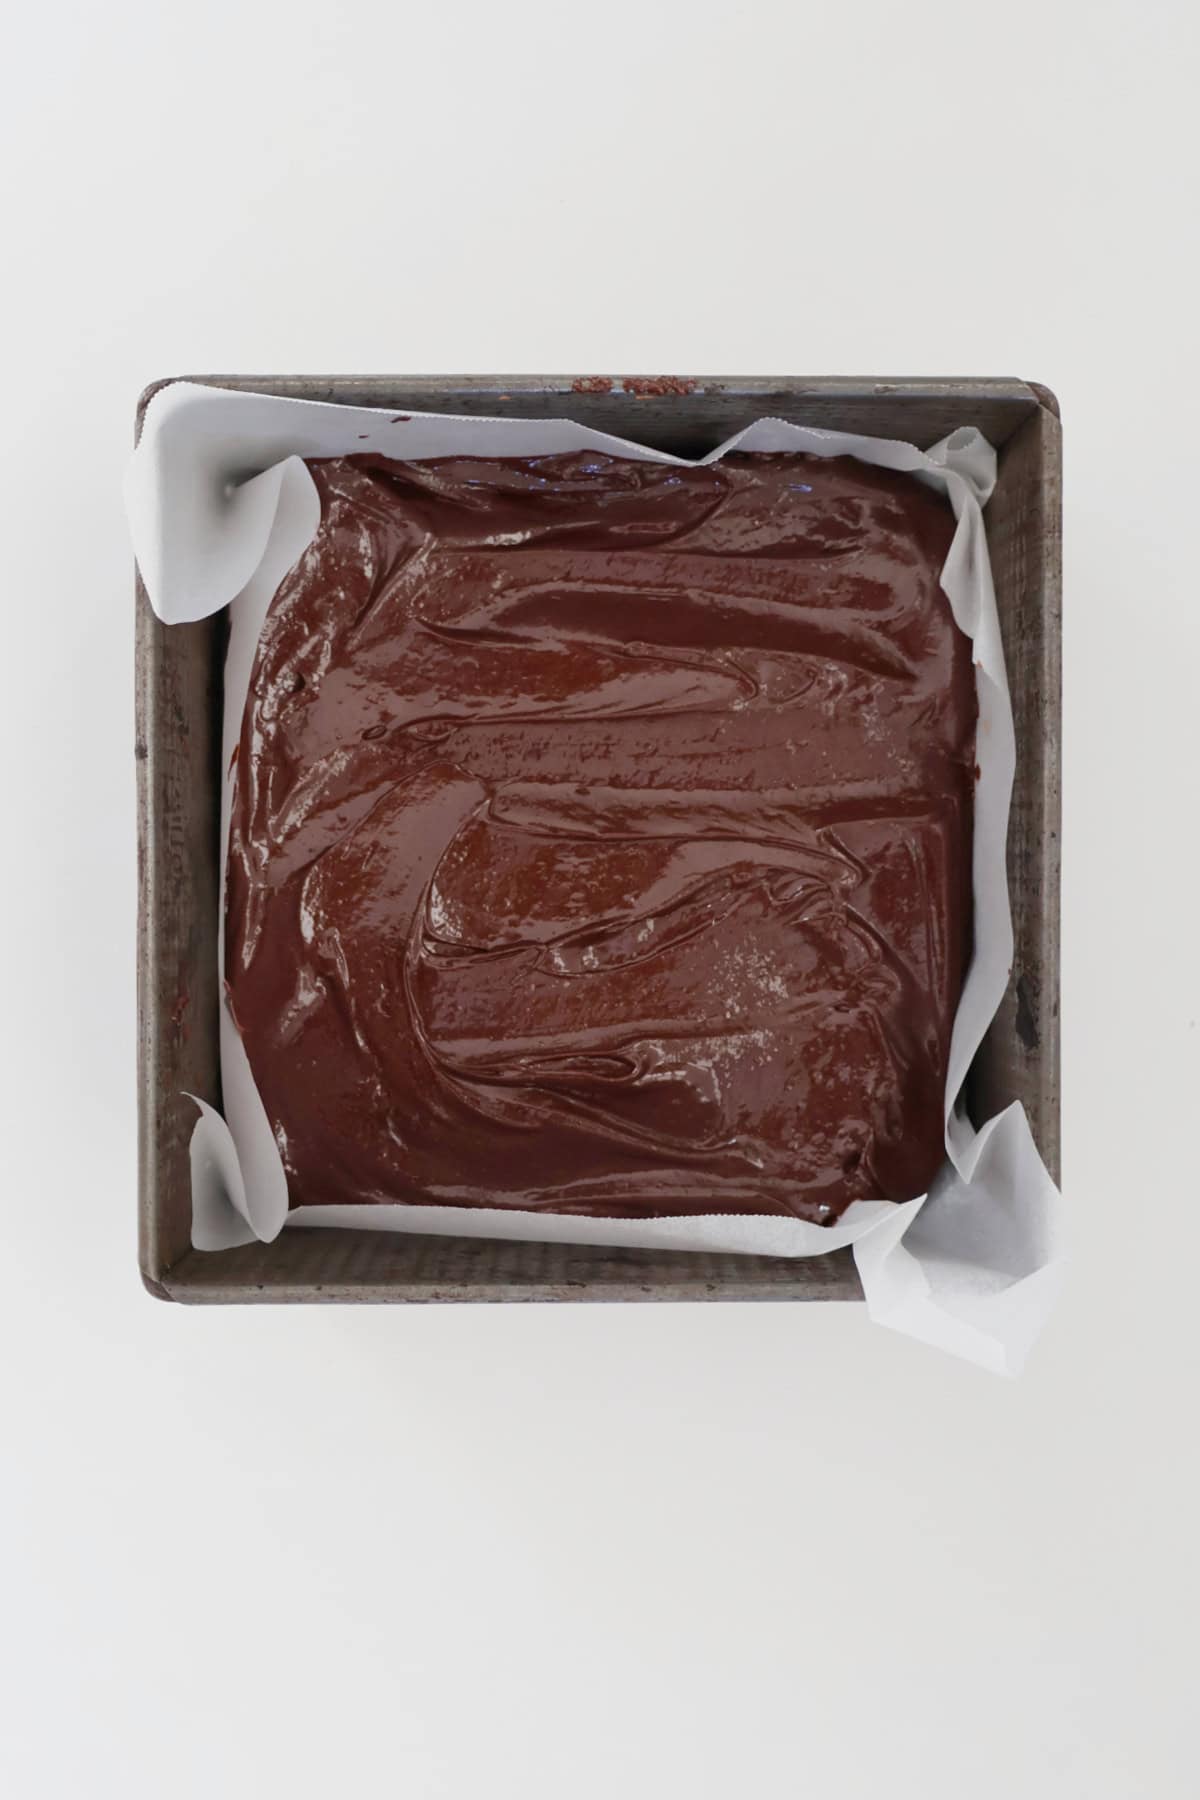
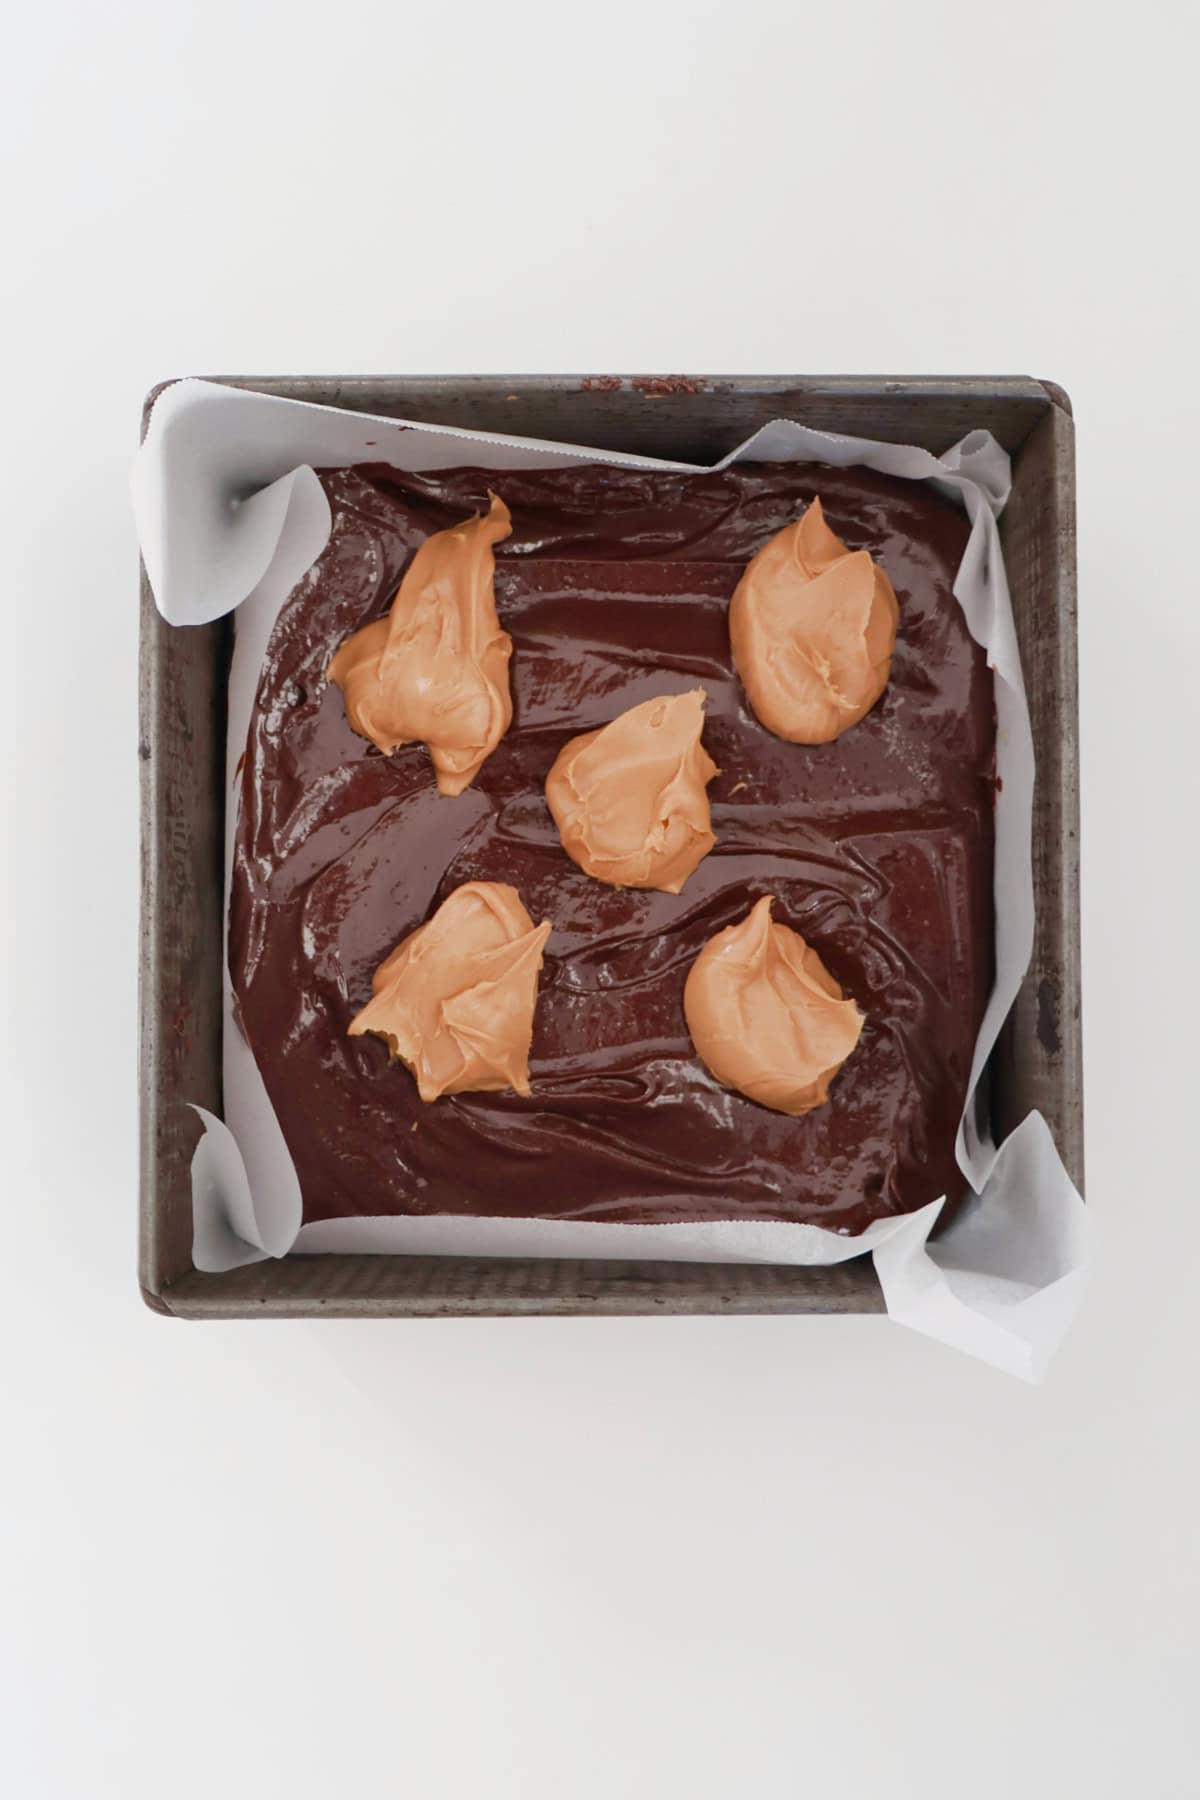
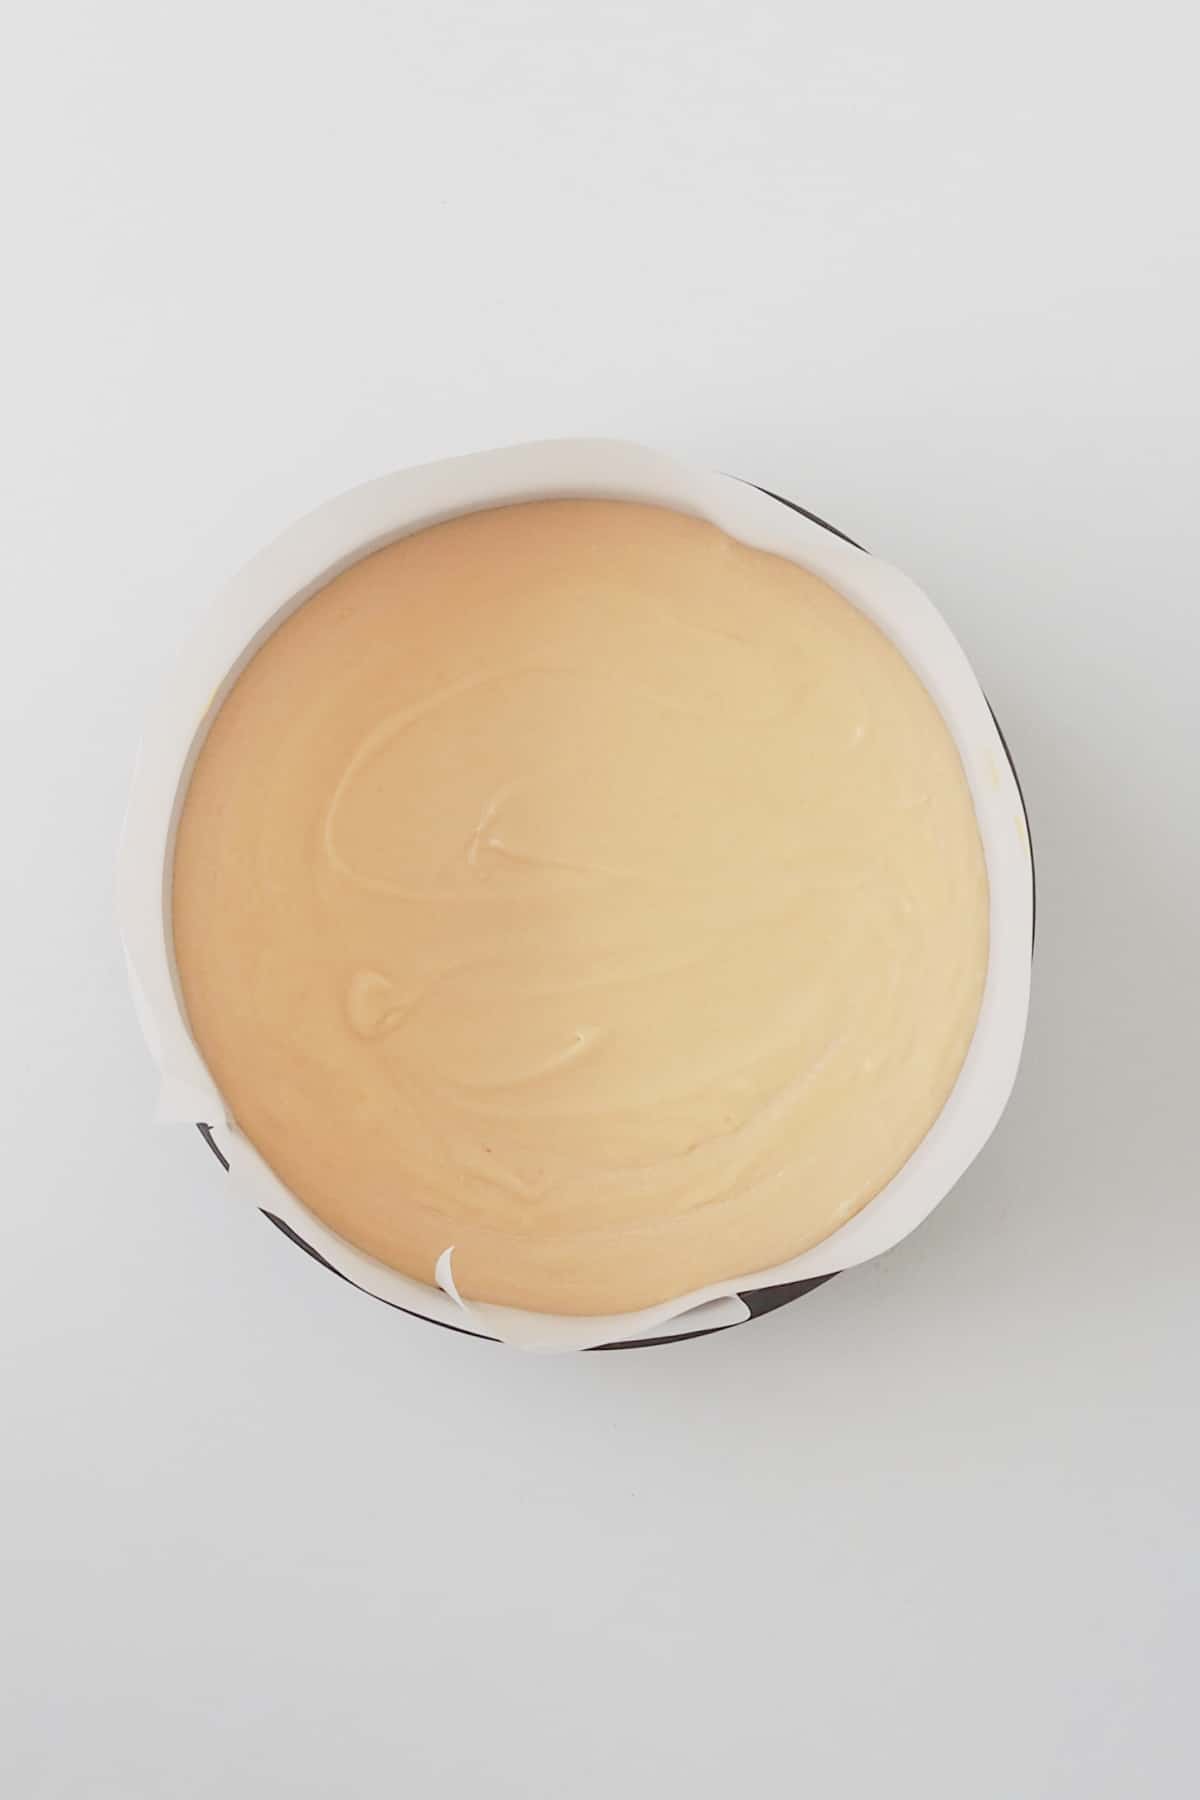
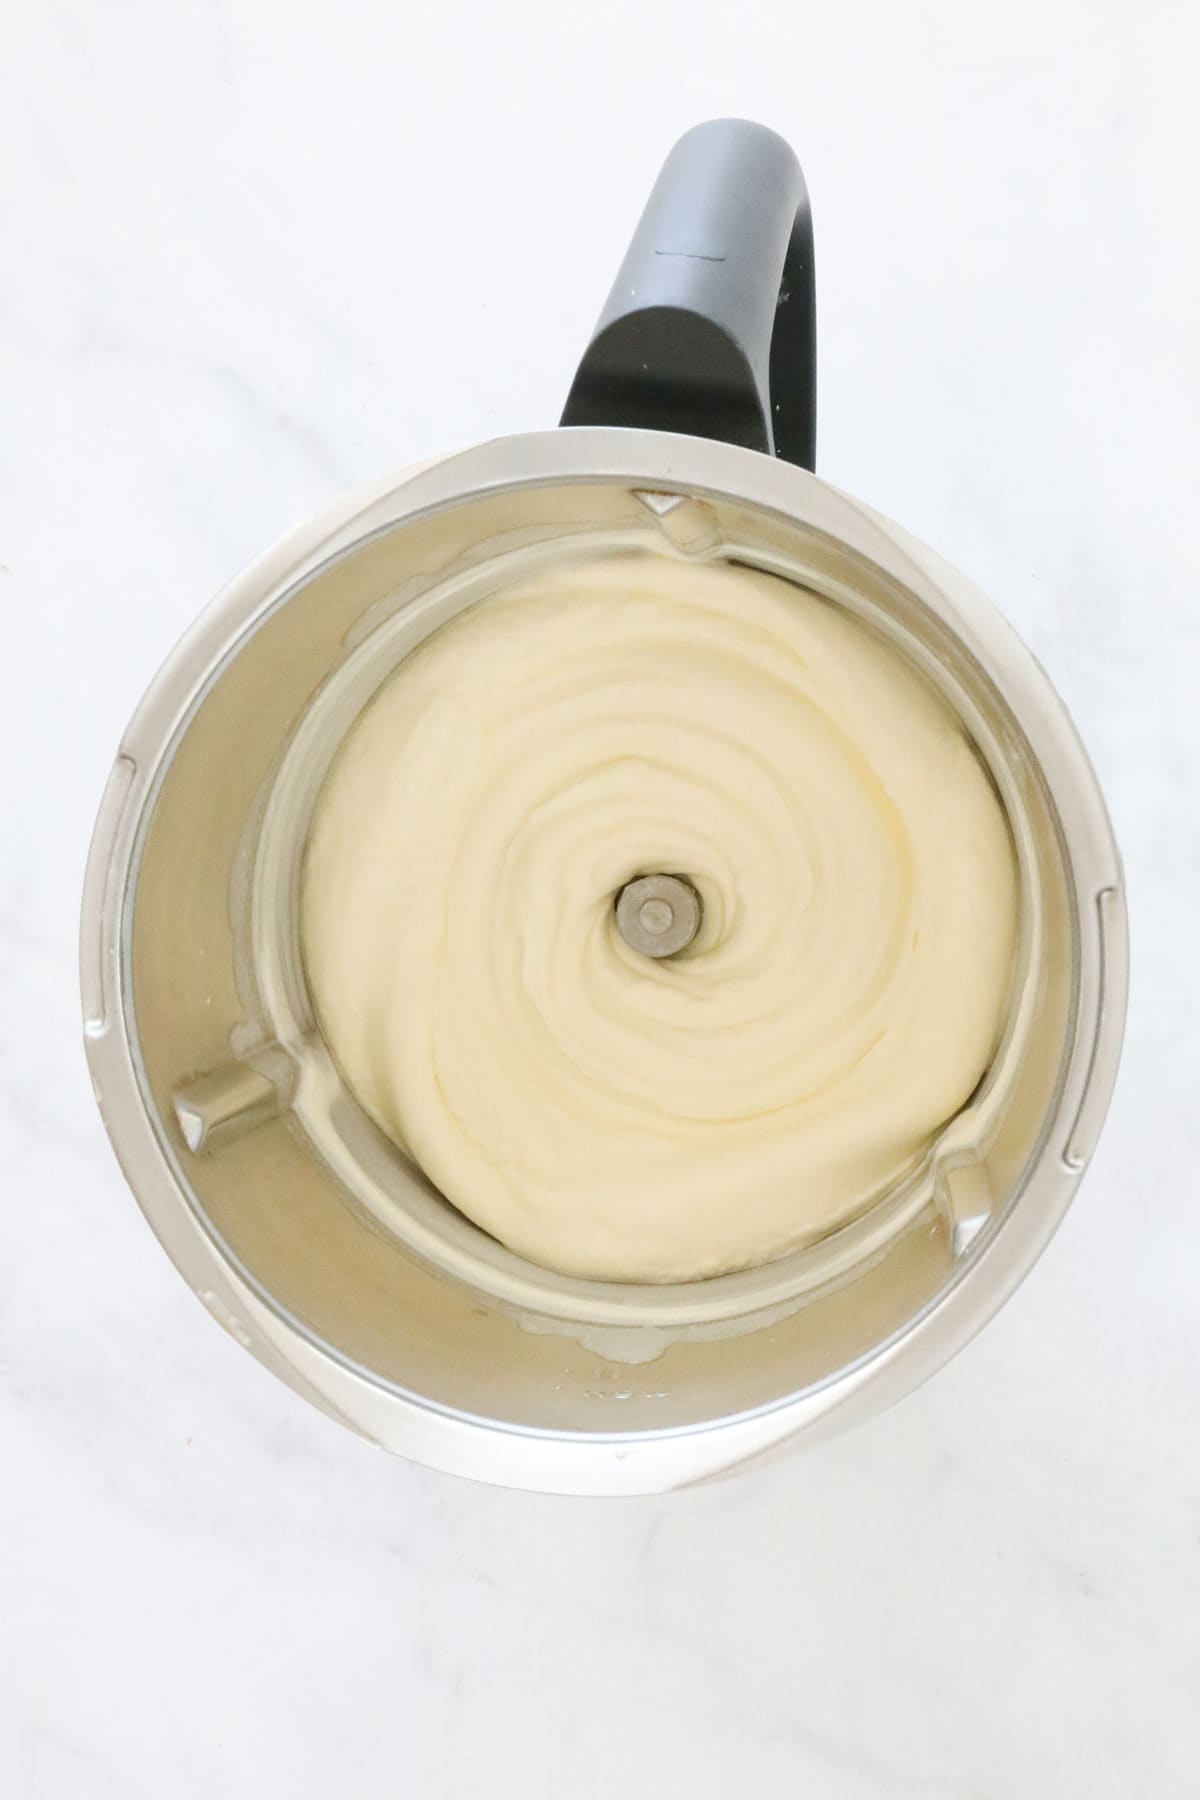
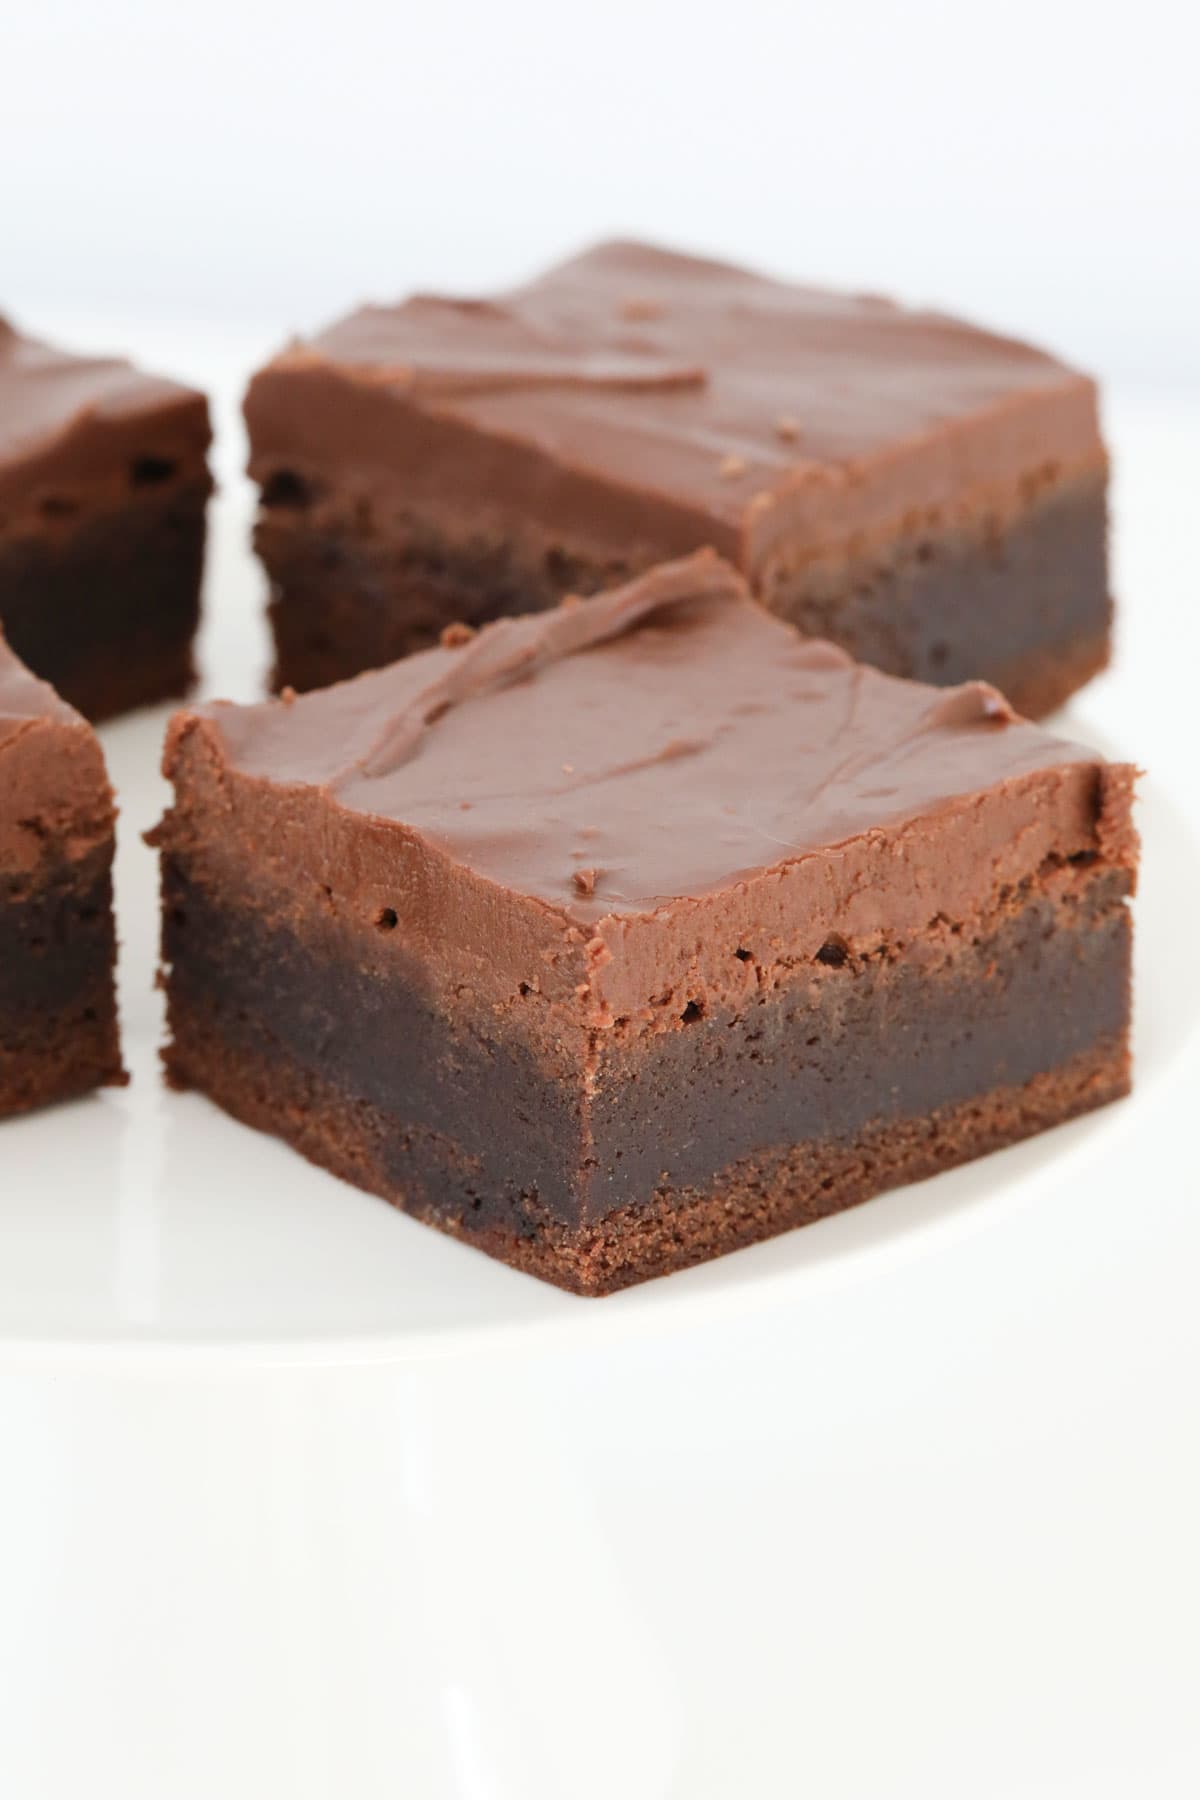
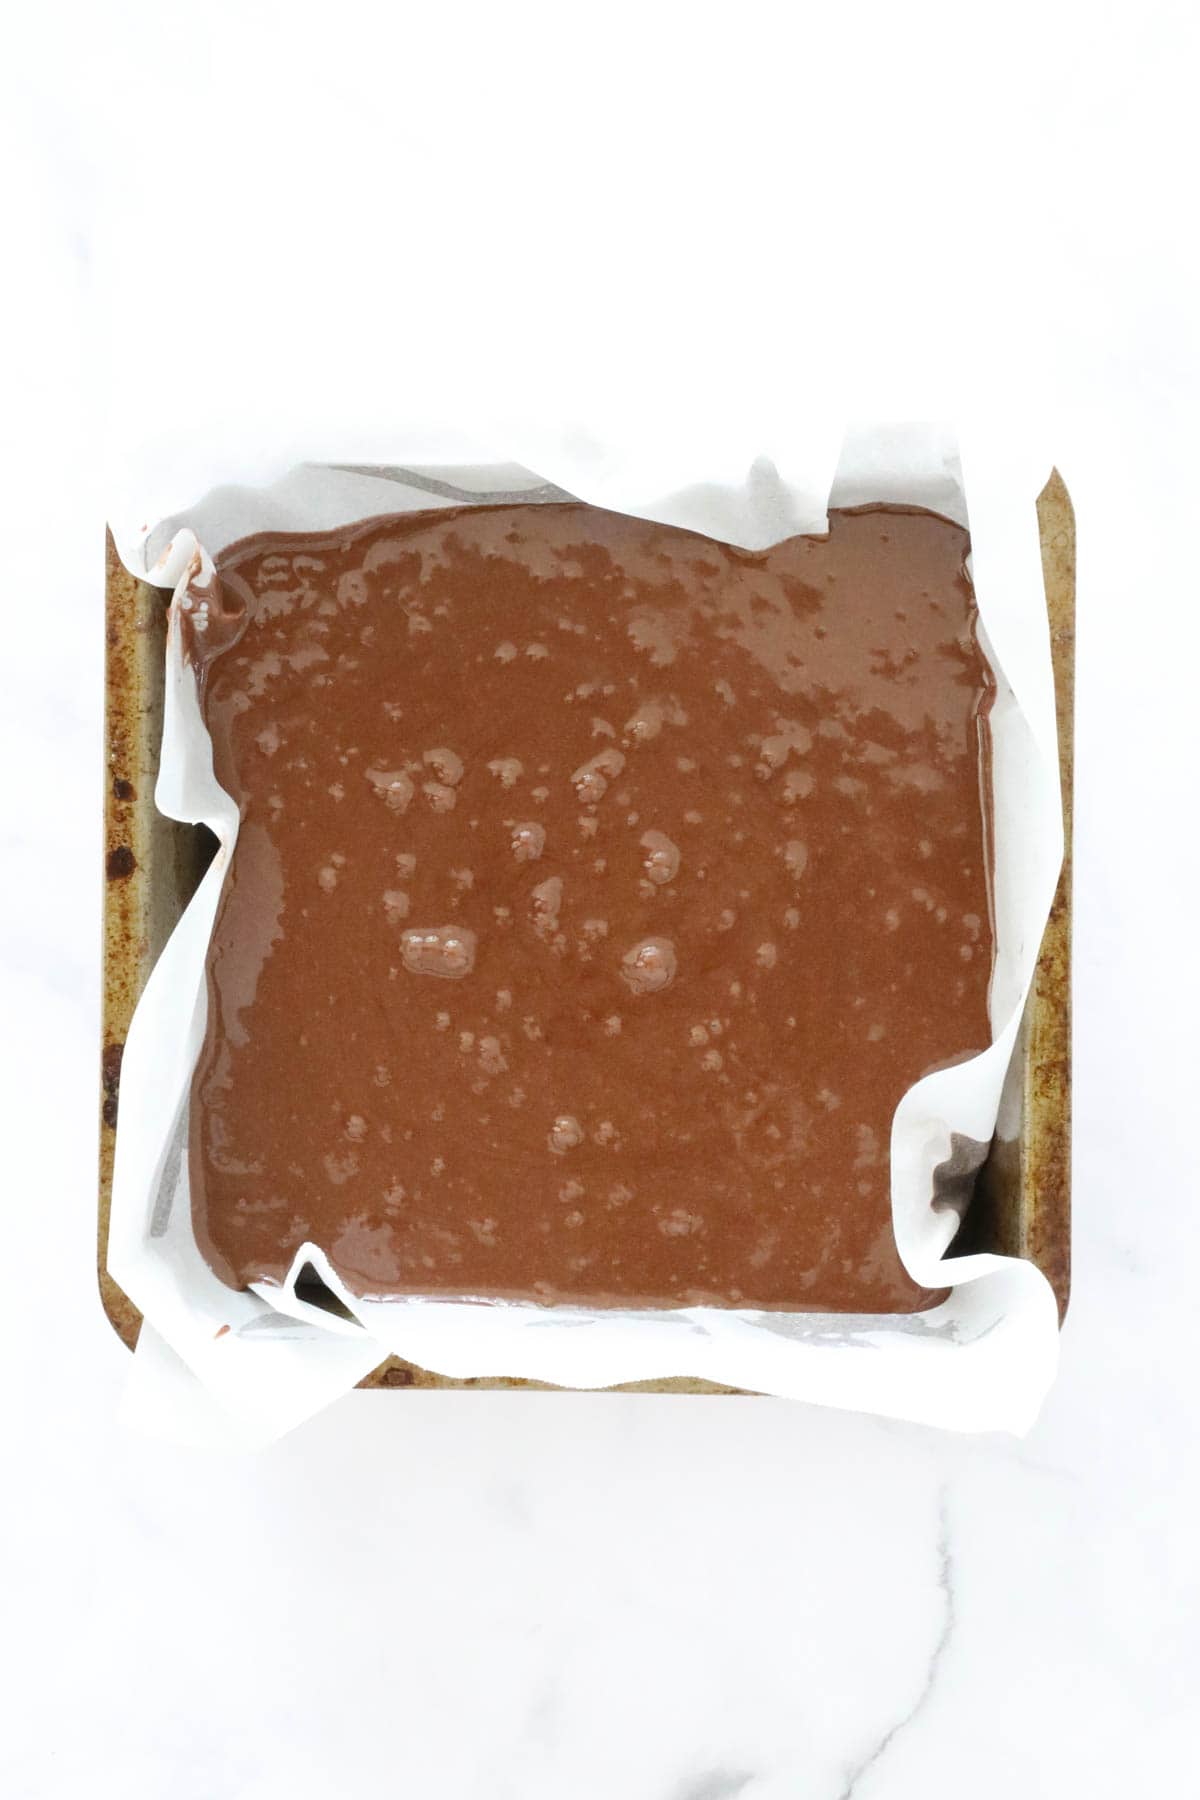
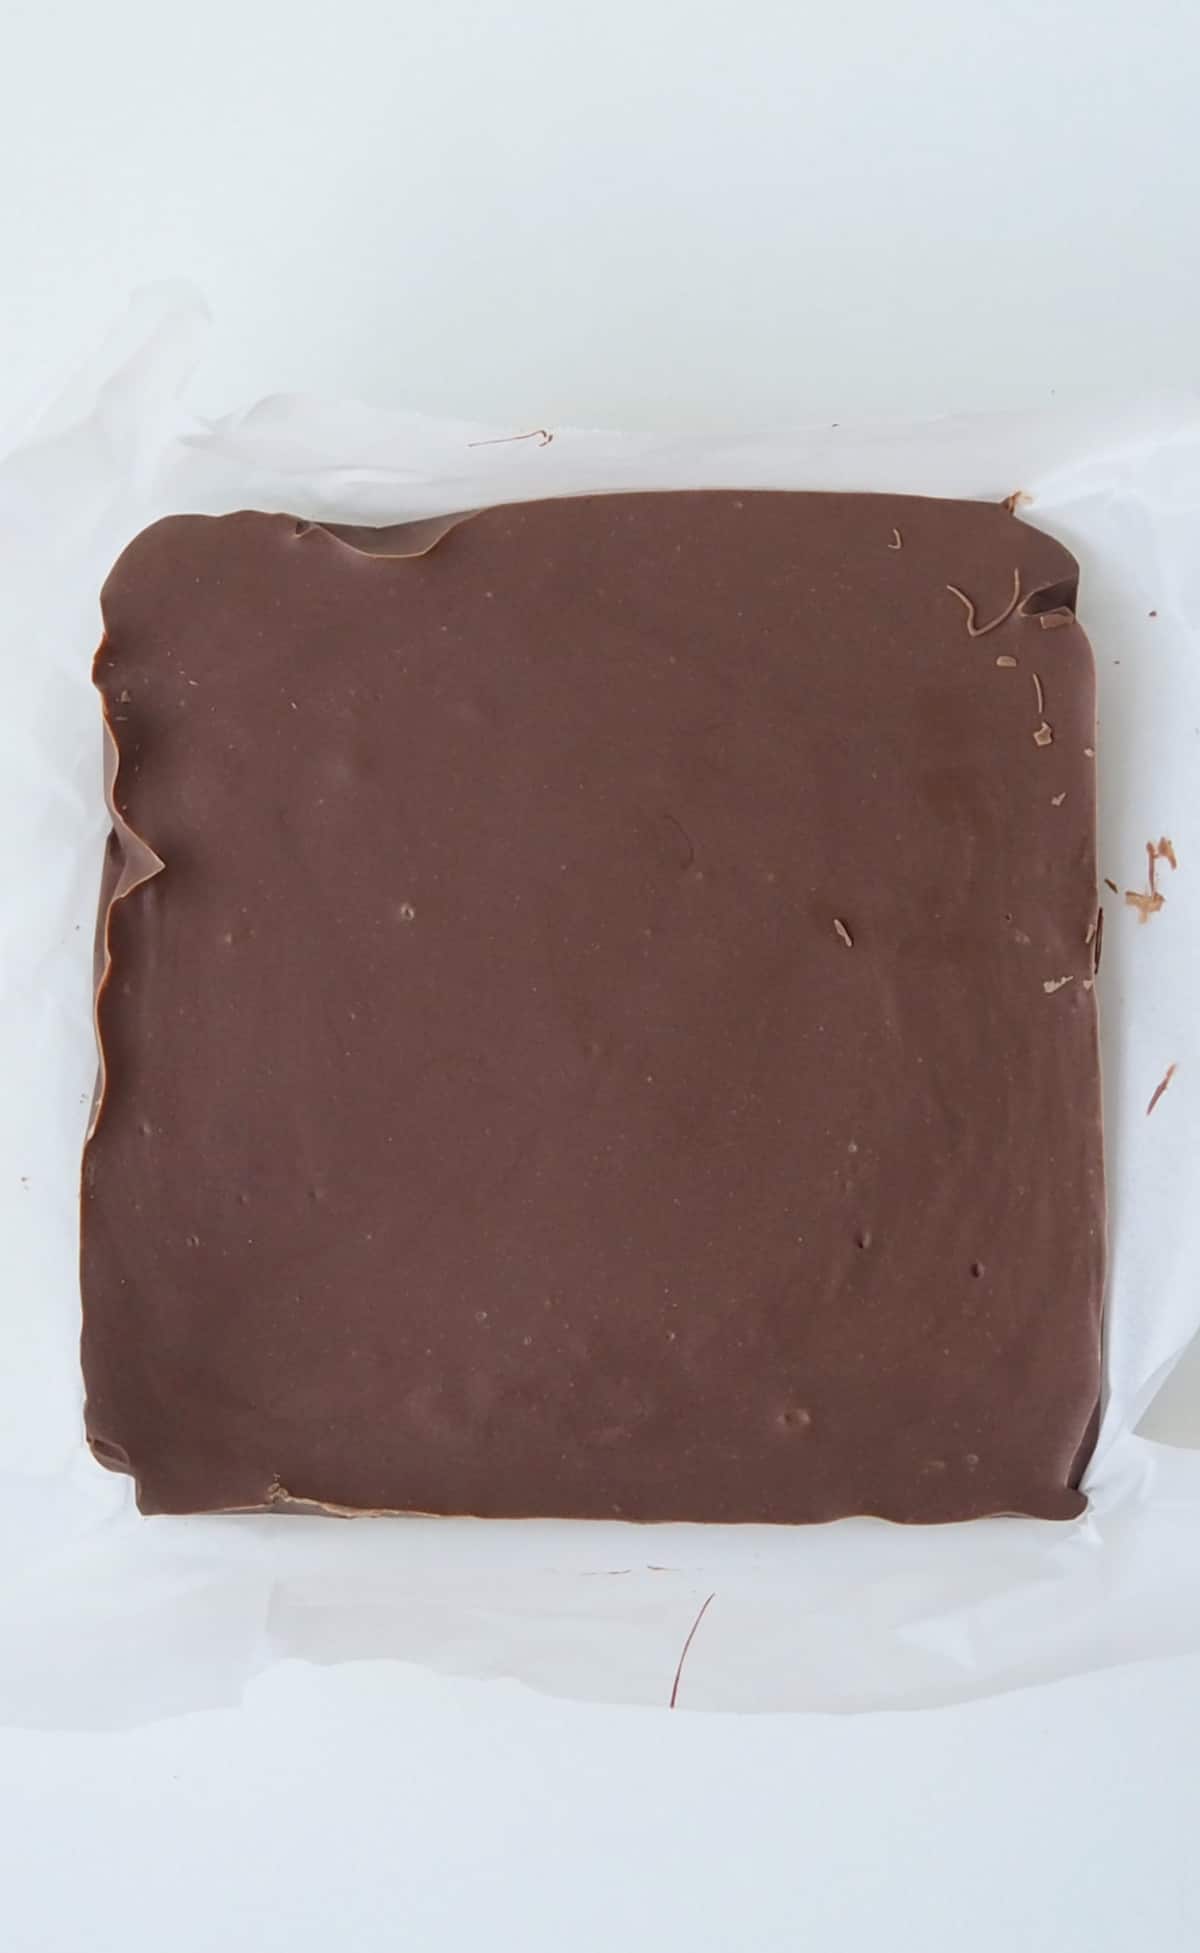
Step 8. Transfer the cheesecake mixture into the springform pan. Gently smooth the surface.
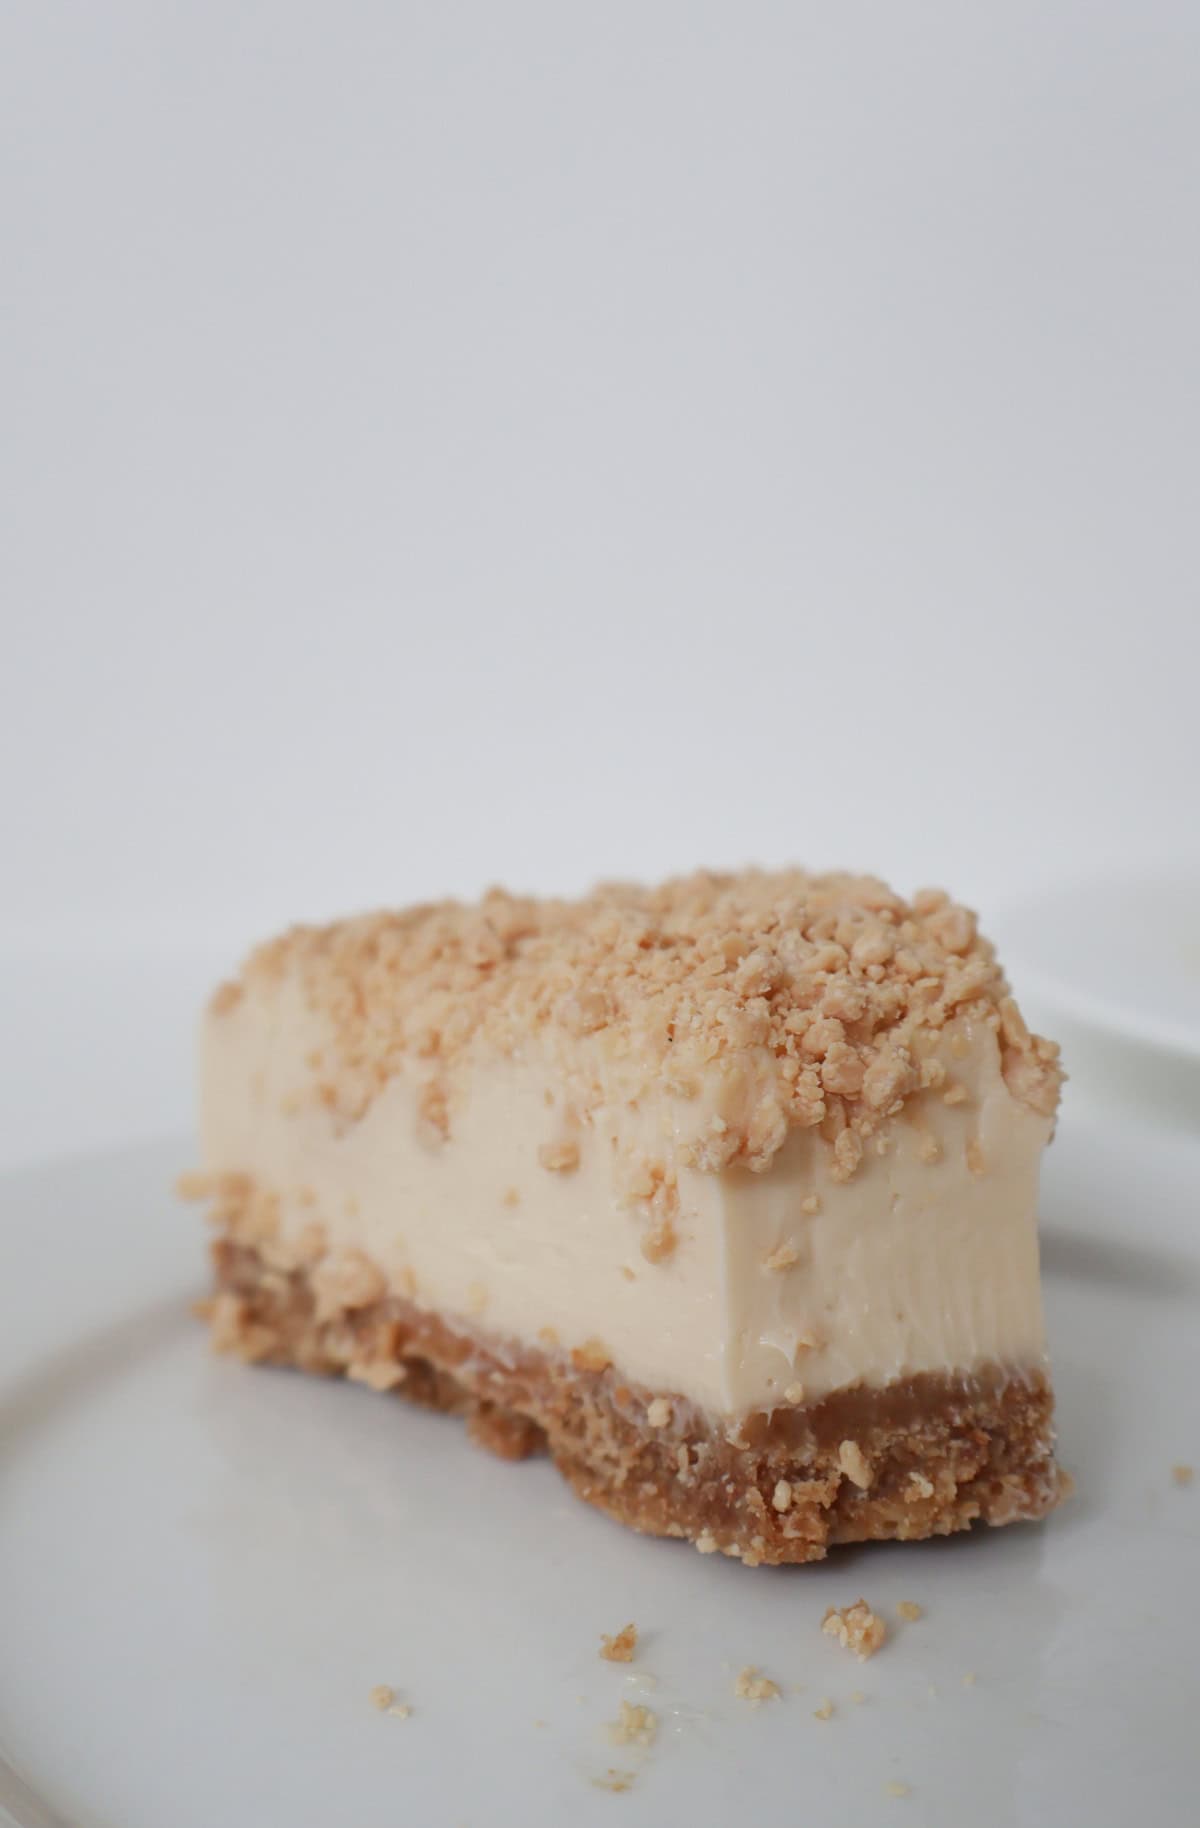
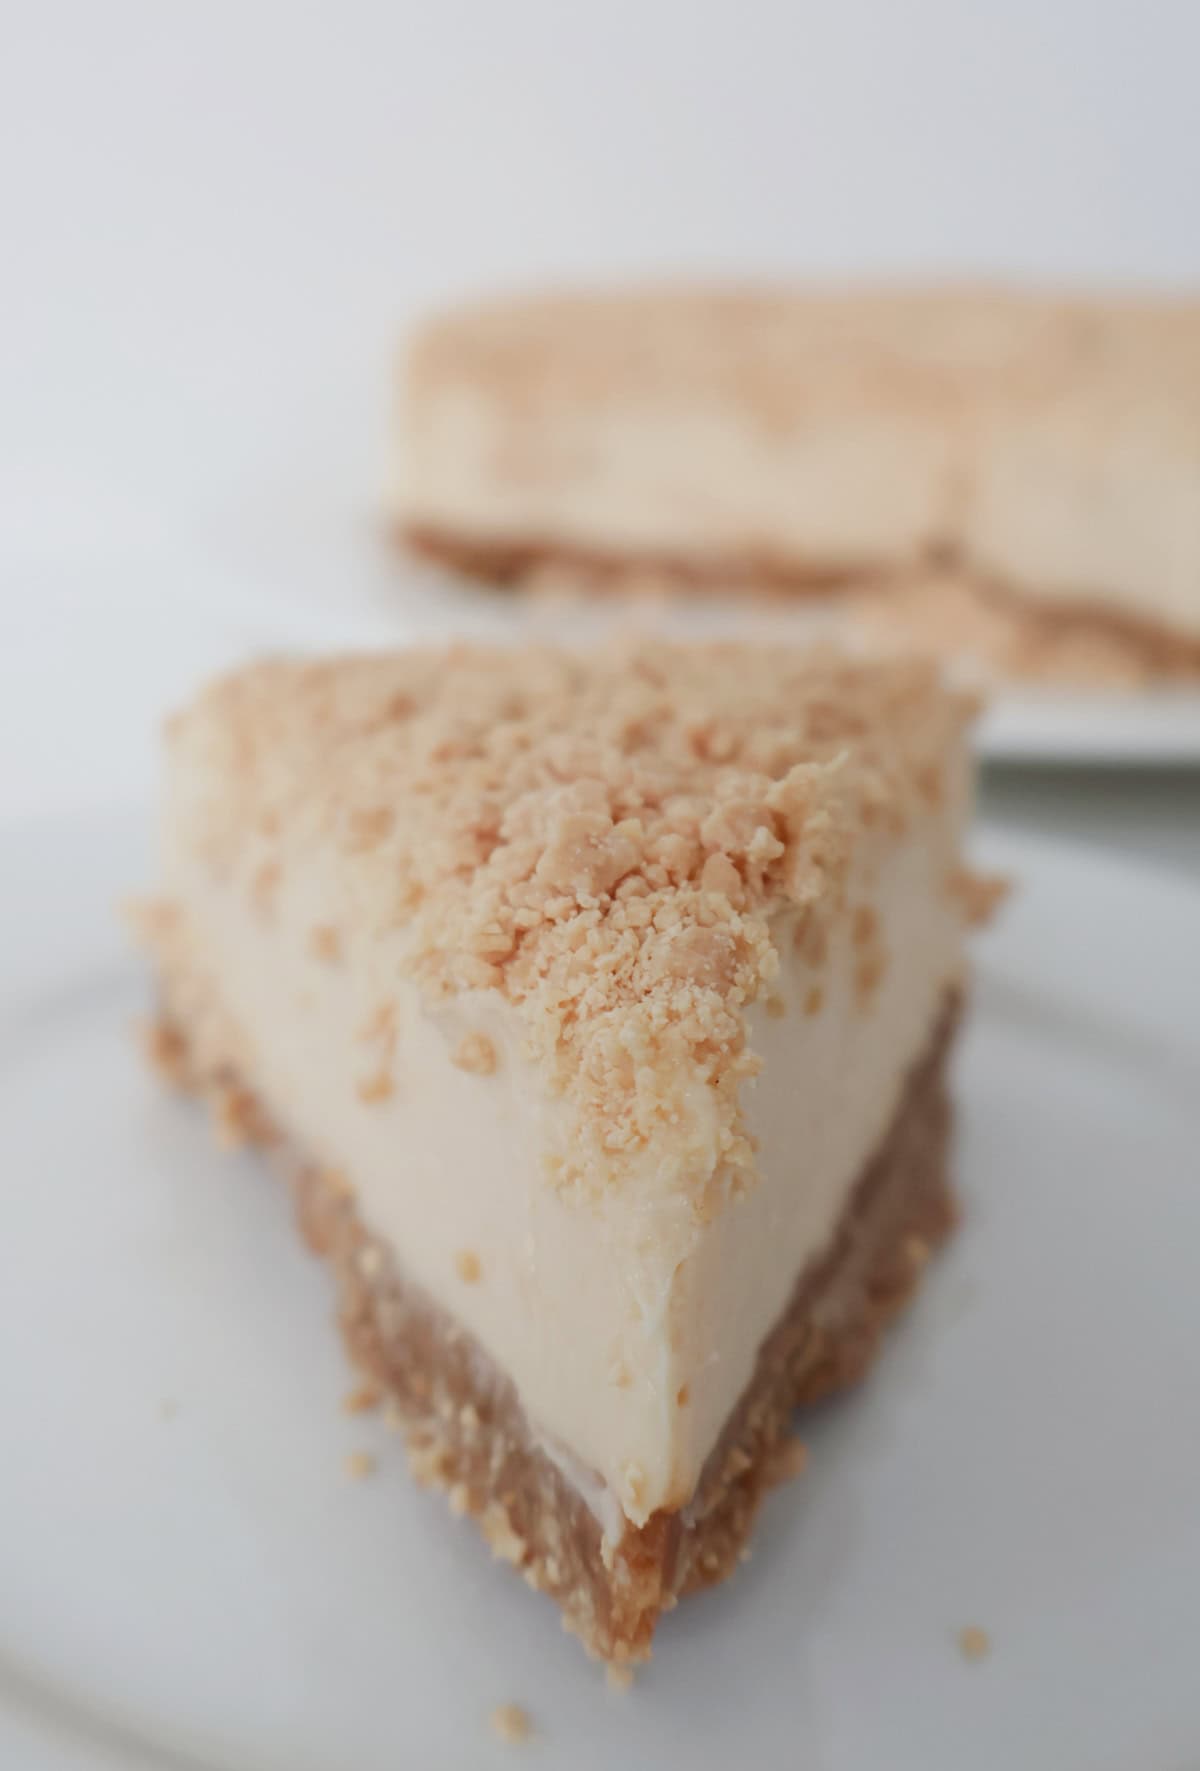
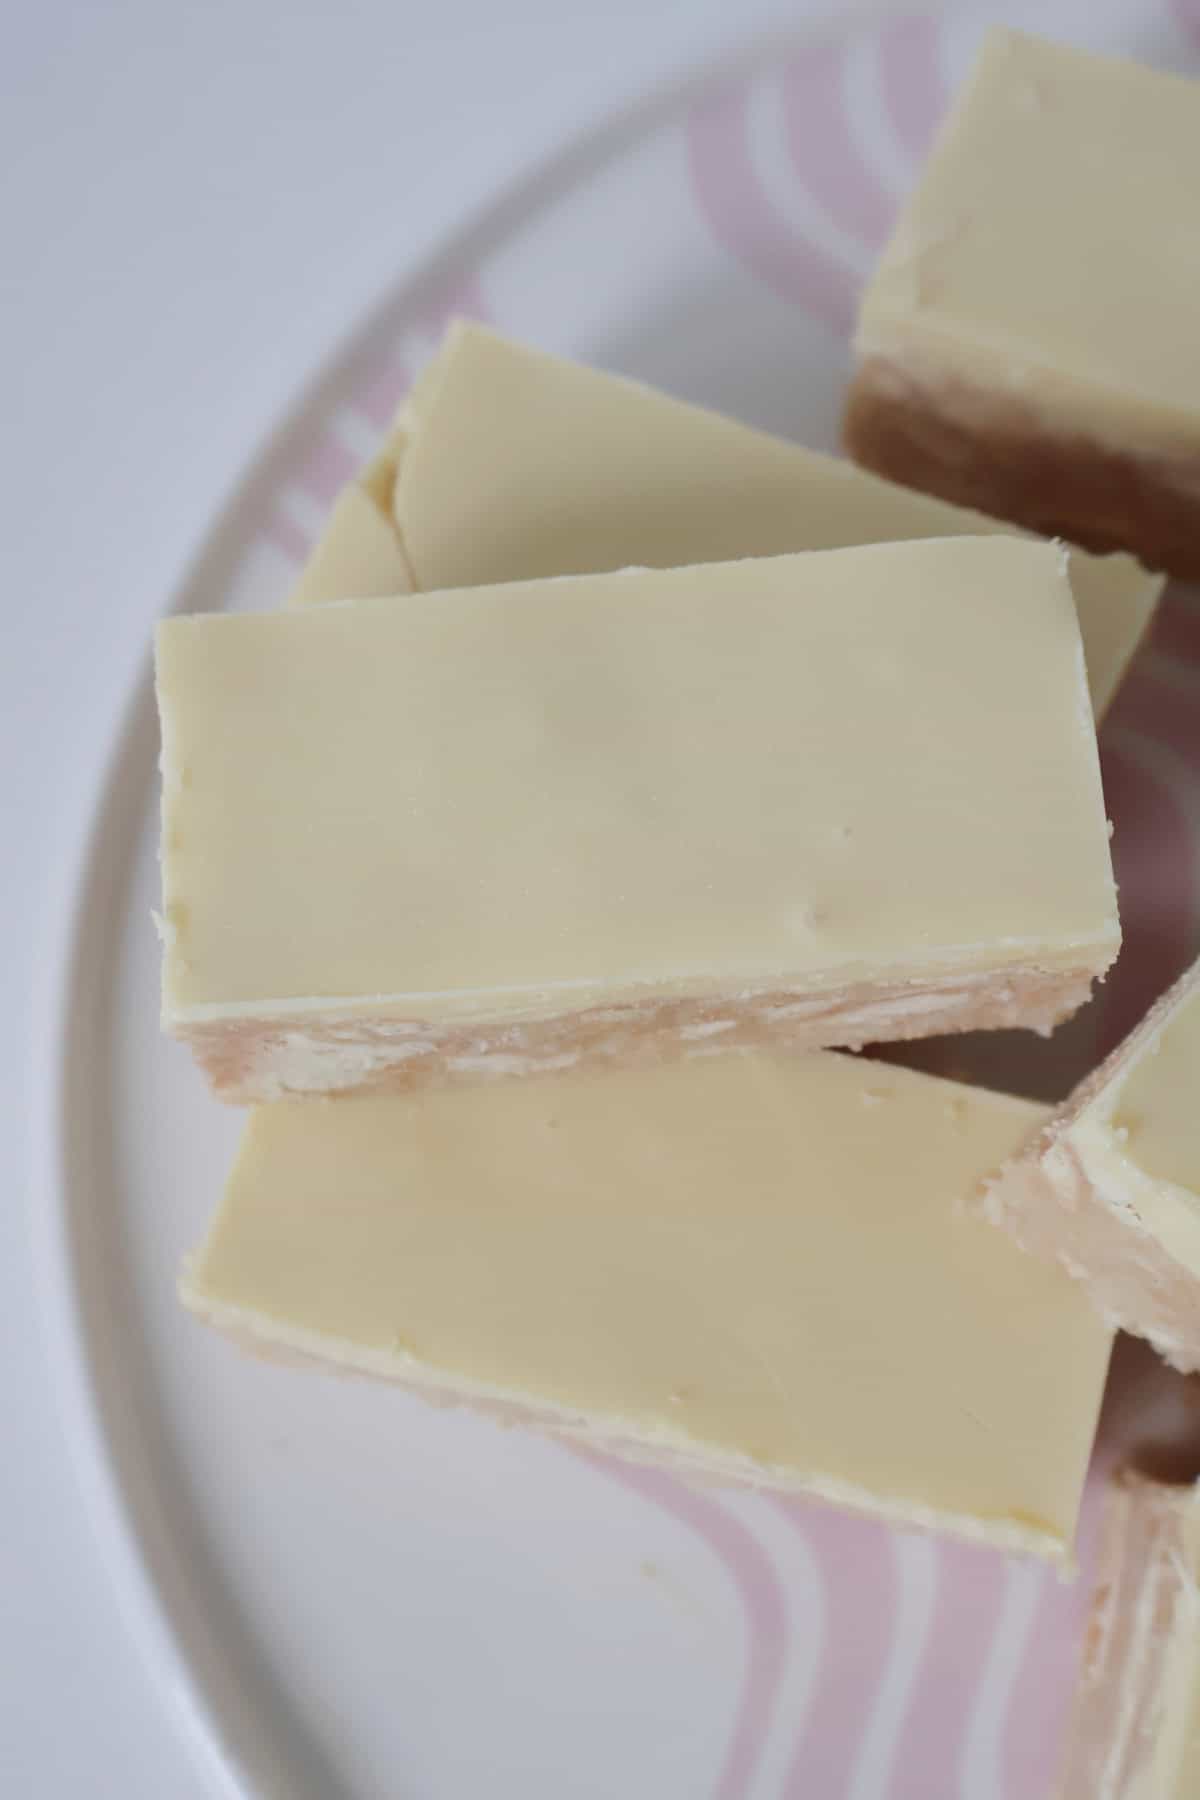
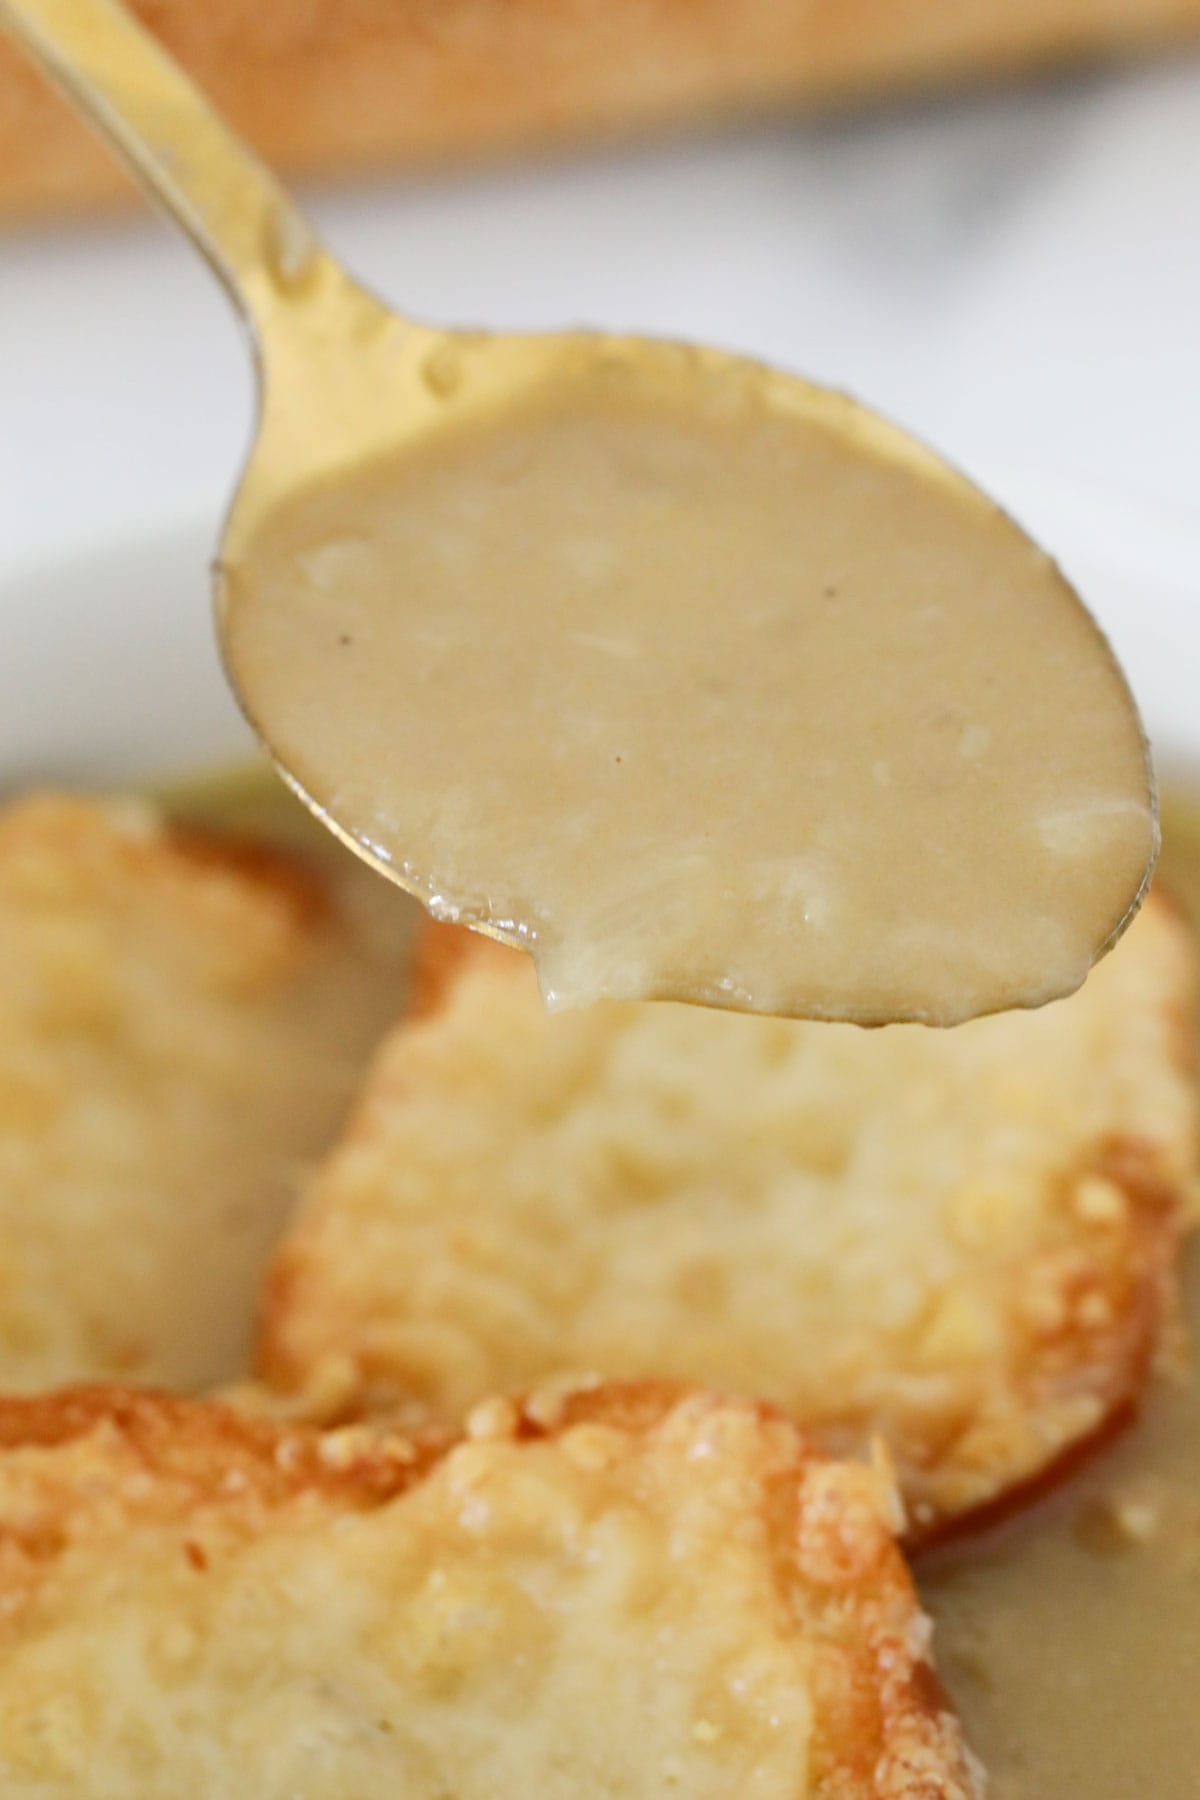
Step 9. Grate the leftover chocolate over the top of the cheesecake and place into the fridge to set.

Recipe Hints and Tips
You will need two x 180 gram blocks of Caramilk chocolate for this recipe.
It is important to ensure the cream cheese is softened before using.
I really love to use Butternut Snap biscuits in the base, however you can use Marie, Arrowroot or Nice biscuits in their place.
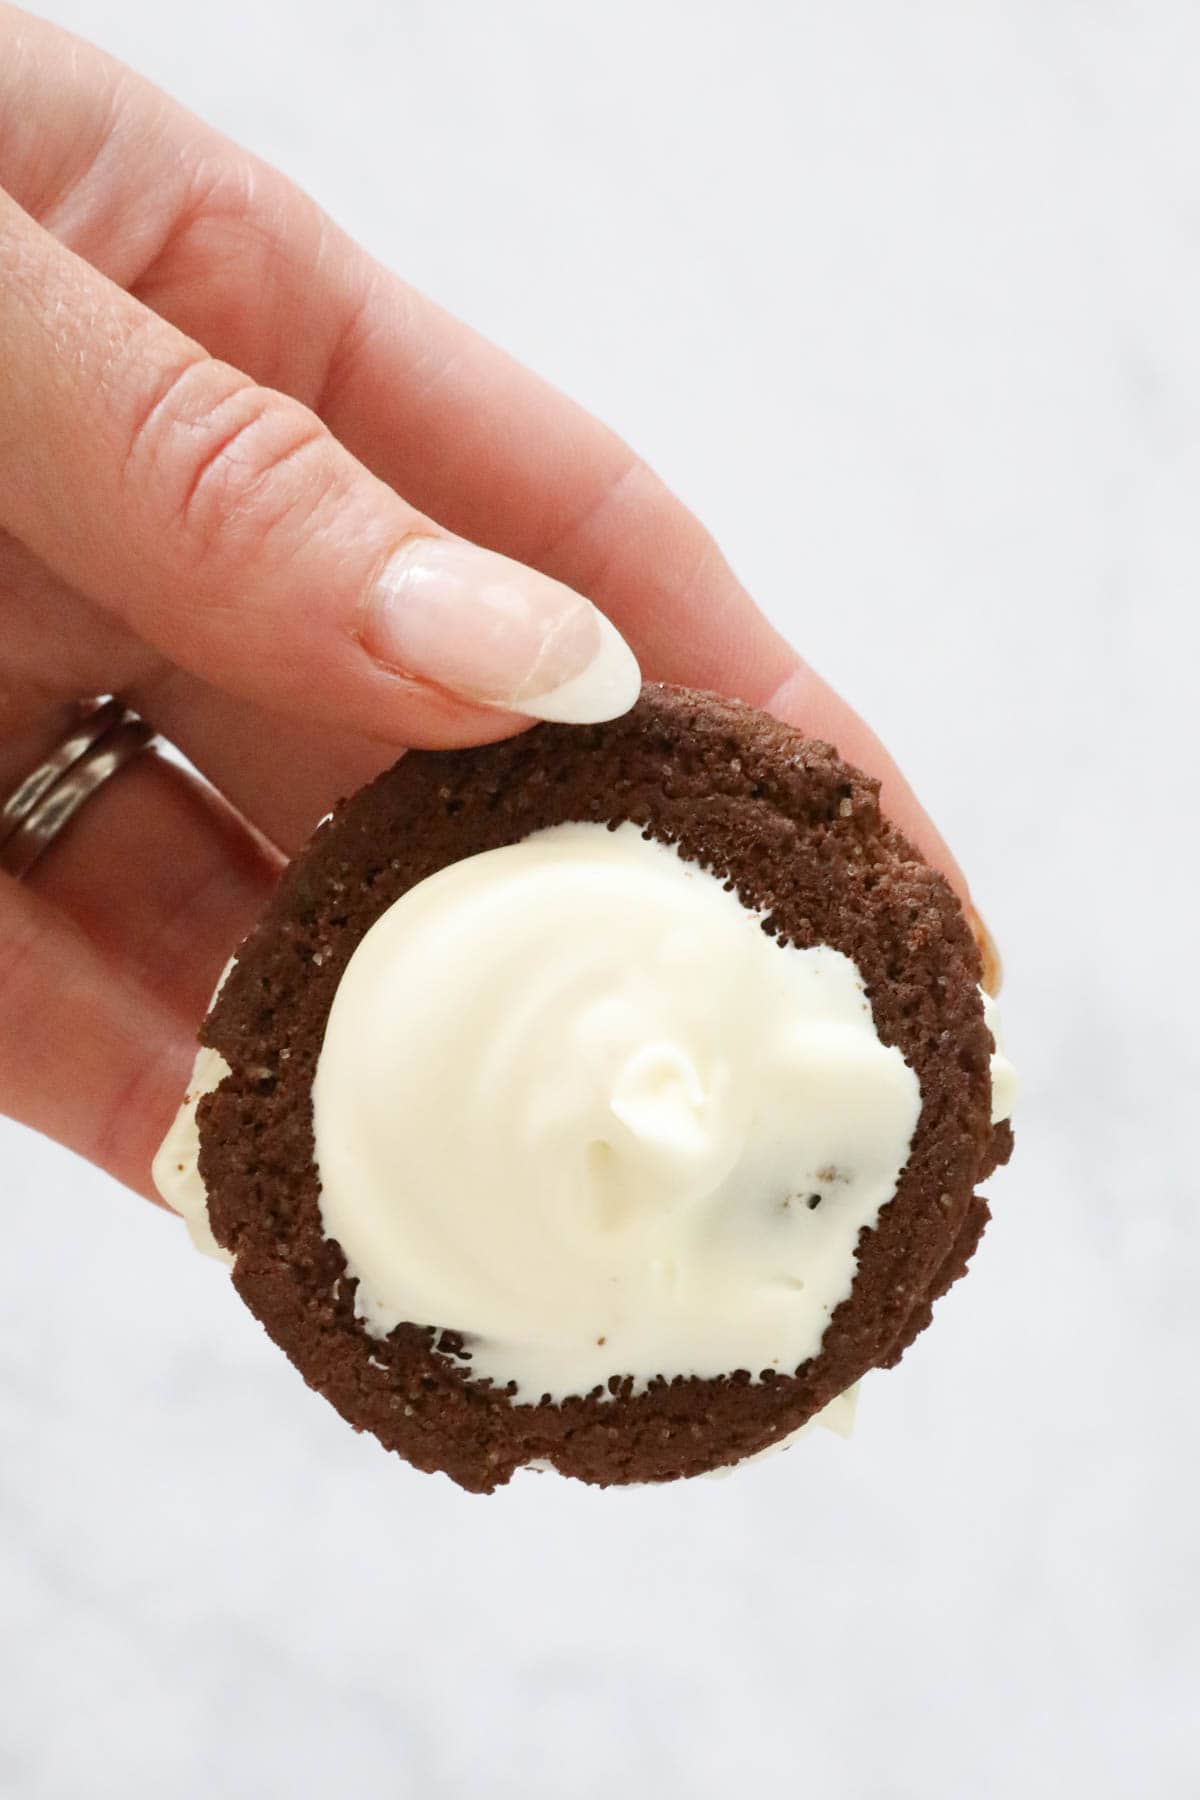
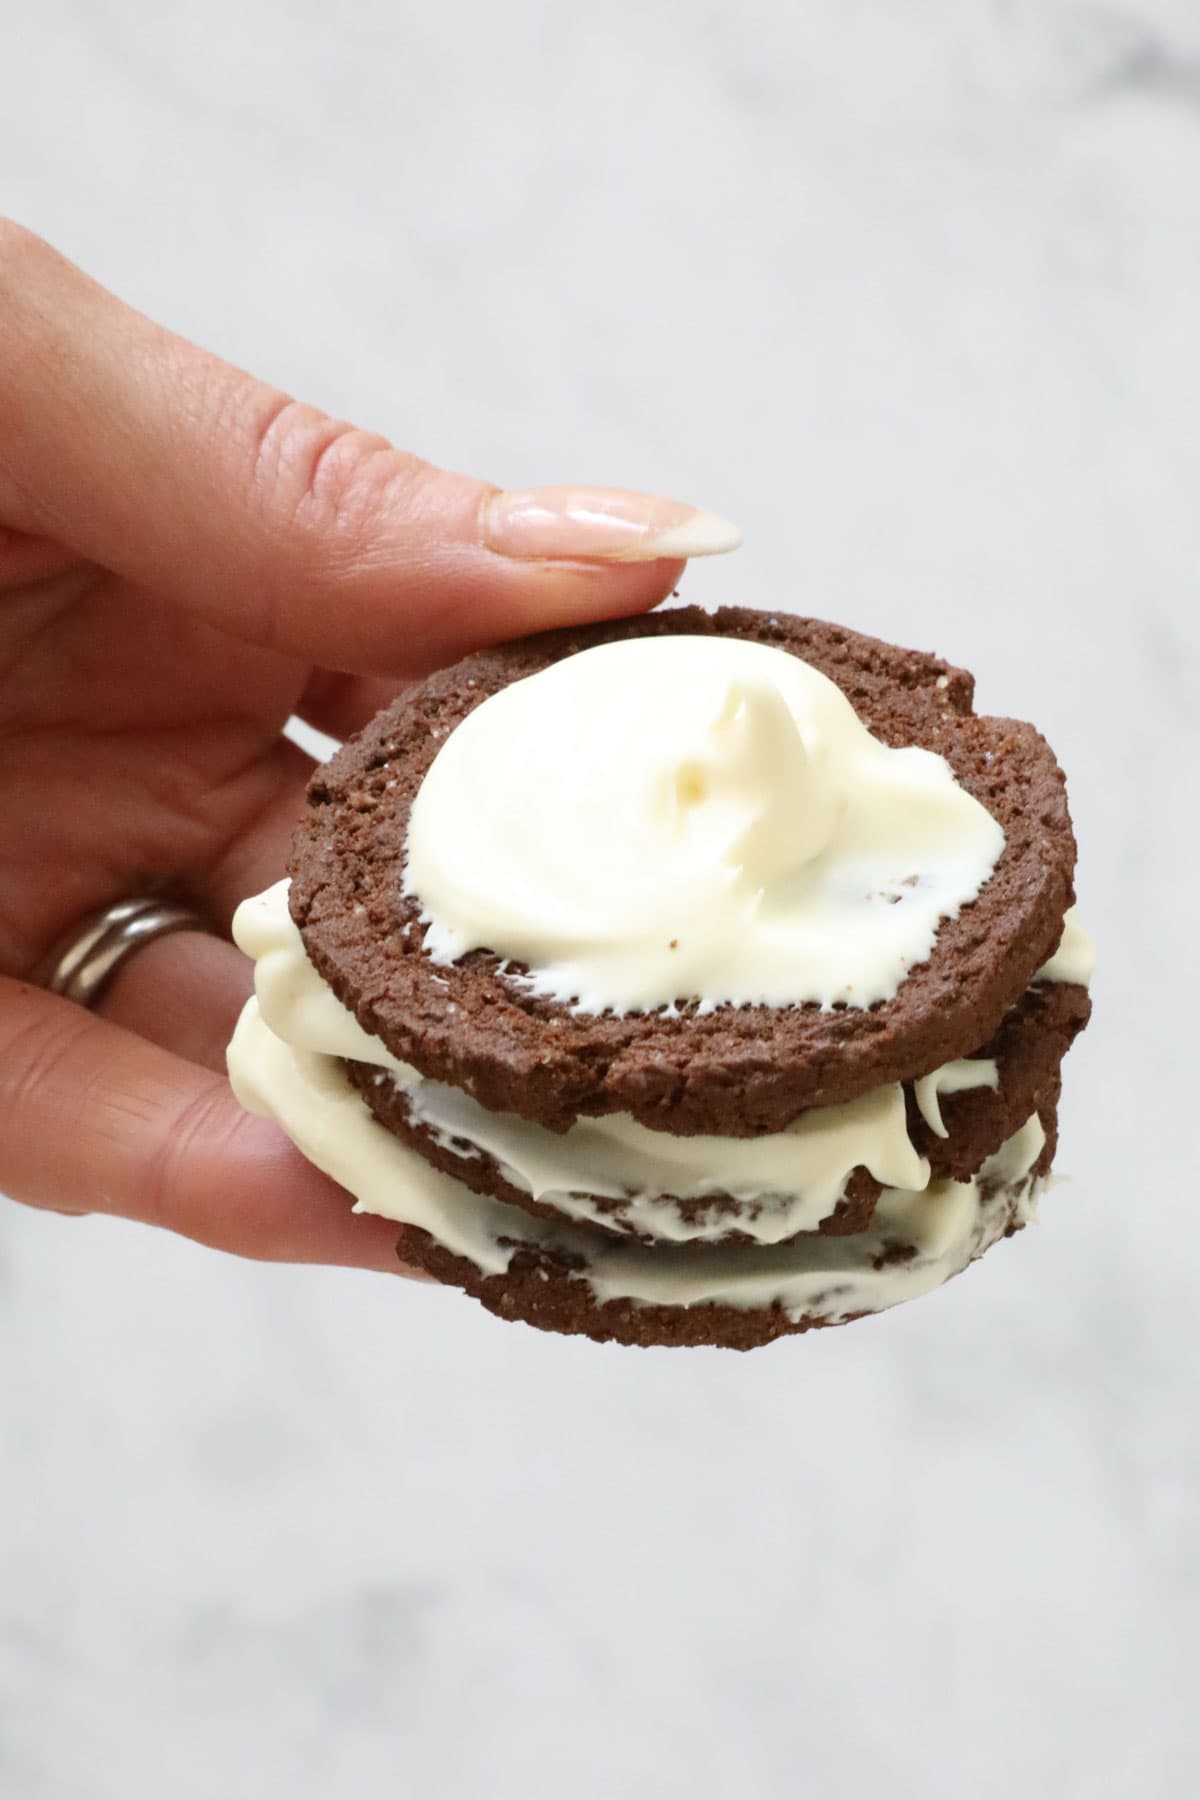
To your cheesecake with grated Caramilk chocolate. You can use either your Thermomix to grate (9 seconds, Speed 9) or use a traditional grater. I grated the chocolate using my Thermomix for the cheesecake pictured.
For best results, make this Caramilk Cheesecake the day before you need it. It will be set after approximately 8 hours, however for best results leave it to set overnight.
Store in an airtight container (or covered with cling wrap) in the fridge for up to five days.
Frequently Asked Questions
This no bake Caramilk Cheesecake will last for up to five days in the fridge when covered with cling wrap/stored in an airtight container.
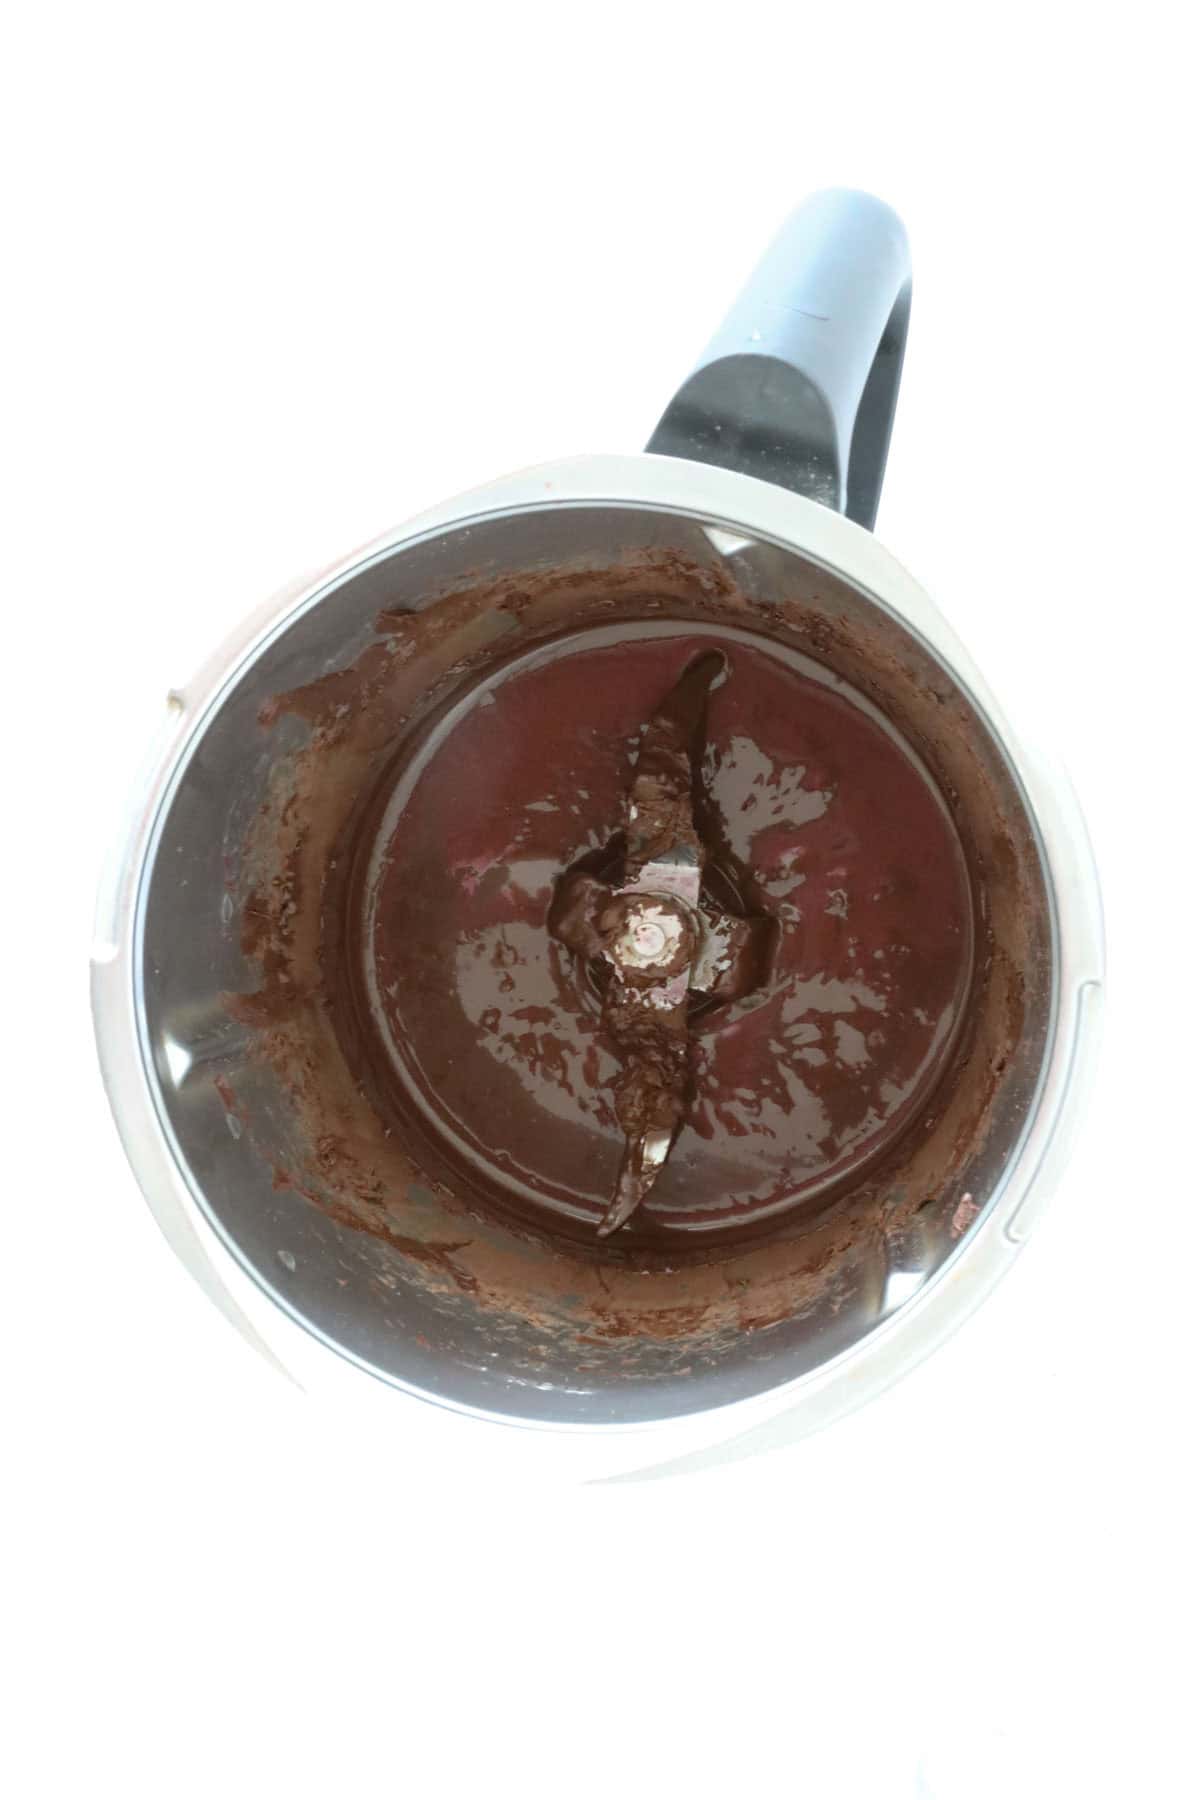
Break the chocolate into squares and mix for 10 seconds on Speed 9 to grate chocolate.
Looking for more easy Thermomix Cheesecake Recipes?
- Thermomix Mango Cheesecake
- Thermomix Biscoff Cheesecake
- Thermomix Nutella Cheesecake
- Thermomix Baked Lemon Cheesecake
- Thermomix Toblerone Cheesecake
Thermomix Caramilk Cheesecake
Equipment
- 1 x 20cm springform tin
Ingredients
- 250 grams Butternut Snap biscuits see notes
- 125 grams butter
- 360 grams Caramilk chocolate
- 500 grams cream cheese
- 150 grams caster sugar
- 1 teaspoon vanilla extract
- 240 grams thickened cream
- 2 ½ teaspoon gelatine
- 60 grams boiling water
Instructions
- Line the base and sides of a 20cm springform tin with baking paper.
- Place the butter into the Thermomix bowl and cook for 2 minutes, 80 degrees, Speed 2 to melt. Add the biscuits and mix for 8 seconds, Speed 9 or until finely crushed.
- Transfer to the mixture to the prepared tin and push down with the back of a spoon to smooth over the base. Place into the fridge until required.
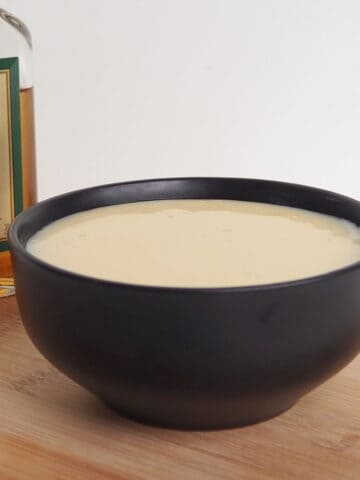
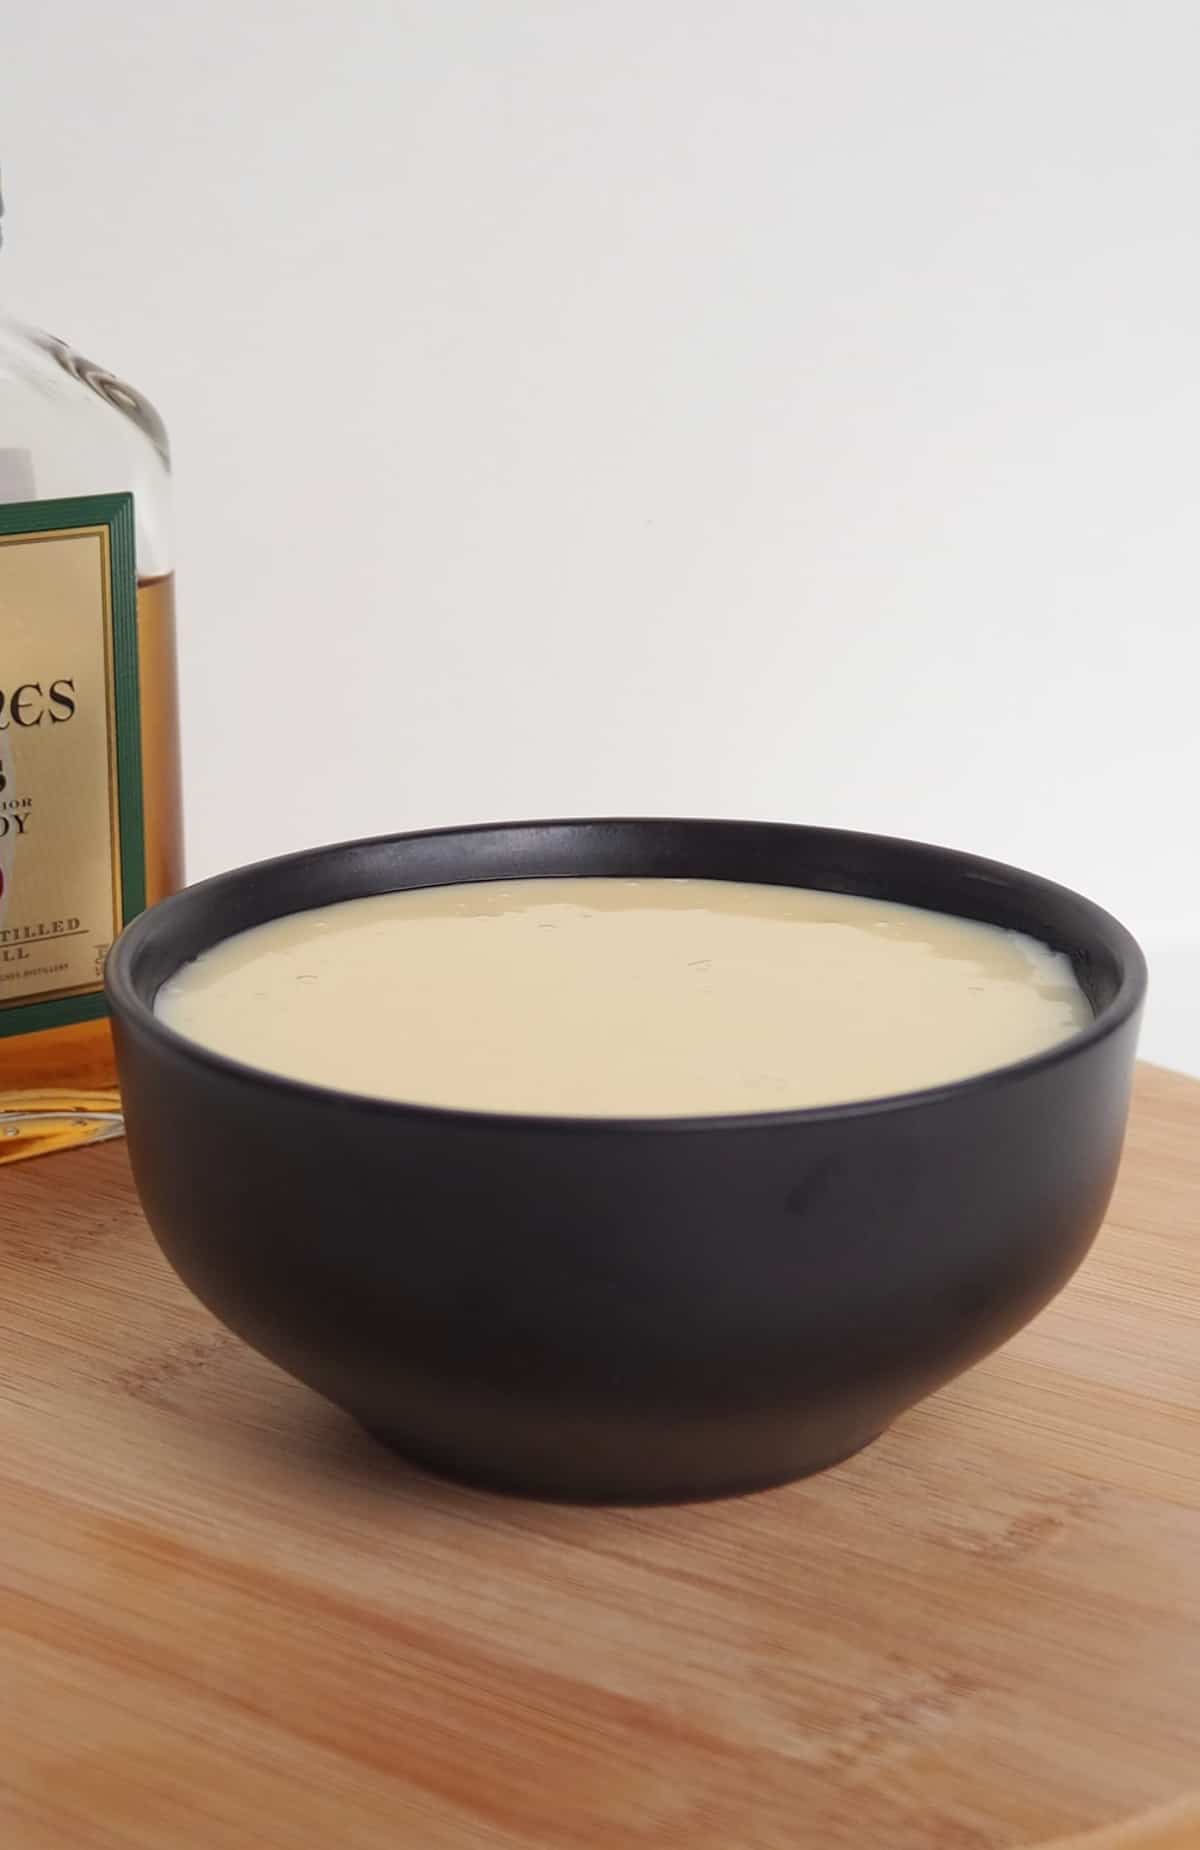
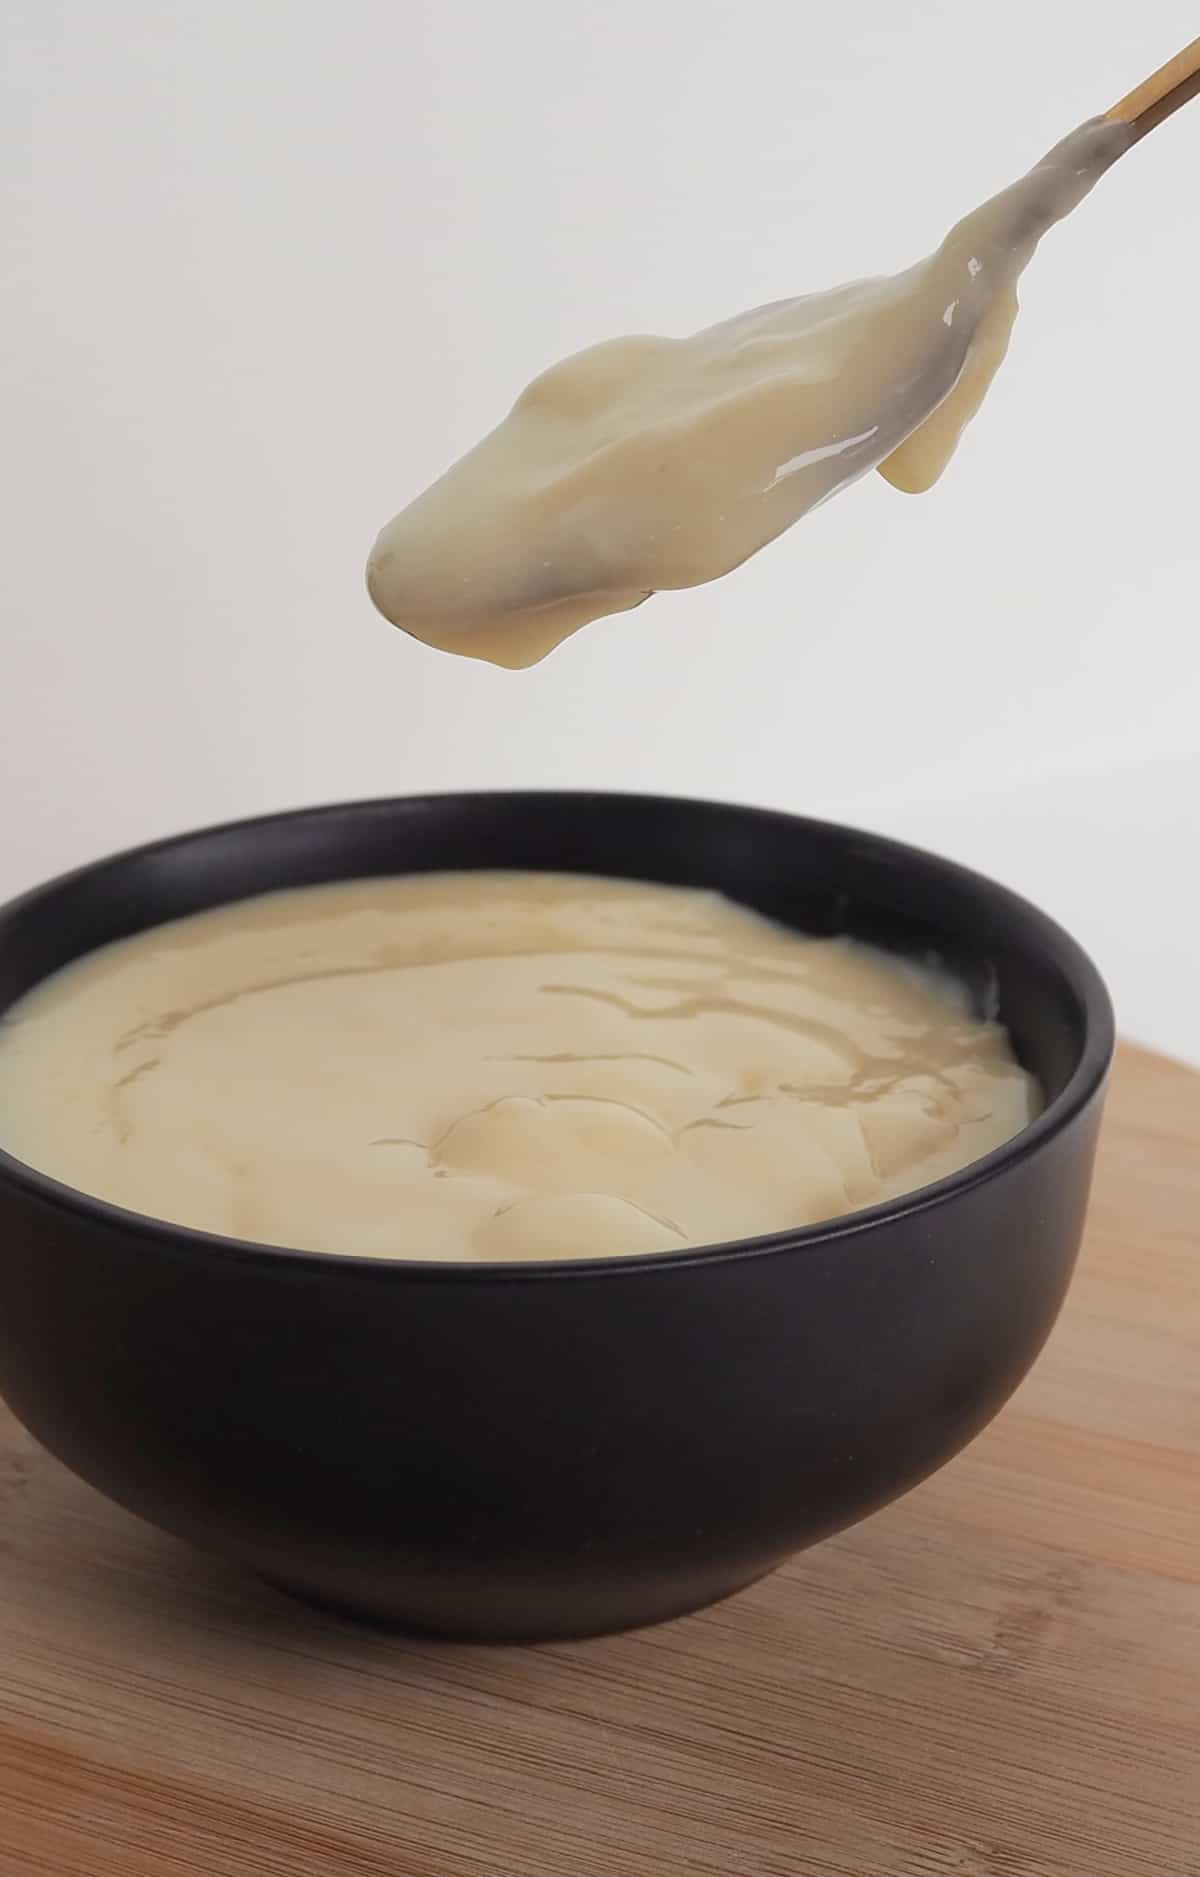
- Place 200 grams of Caramilk chocolate into a clean and dry Thermomix bowl. Cook for 3 minutes, 50 degrees, Speed 2 or until melted. Place into a separate bowl and set aside to cool slighlty.
- Combine the gelatine with the boiling water and mix well. Set aside to cool slightly.
- In the same bowl, add the cream cheese (softened), caster sugar and vanilla extract. Mix for 30 seconds on Speed 5. Scrape down the sides of the bowl and mix for a further 30 seconds, Speed 5 or until smooth and creamy.
- Add the thickened cream and mix for 30 seconds, Speed 5.
- Scrape down the sides and add the melted chocolate and gelatine mixture. Mix for 20 seconds, Speed 5. Scrape down the sides of the bowl and mix for a further 15 seconds, Speed 5.
- Pour the mixture over the base. Grate the remaining Caramilk chocolate over the top of the cheesecake before placing into the fridge for 8 hours (preferably overnight) to set.


