I just LOVE all things Lemon and this Thermomix Lemon and Poppy Seed Cake is no exception! It's based on my Lemon Butter Cake recipe, with the addition of poppy seeds - how easy is that?!
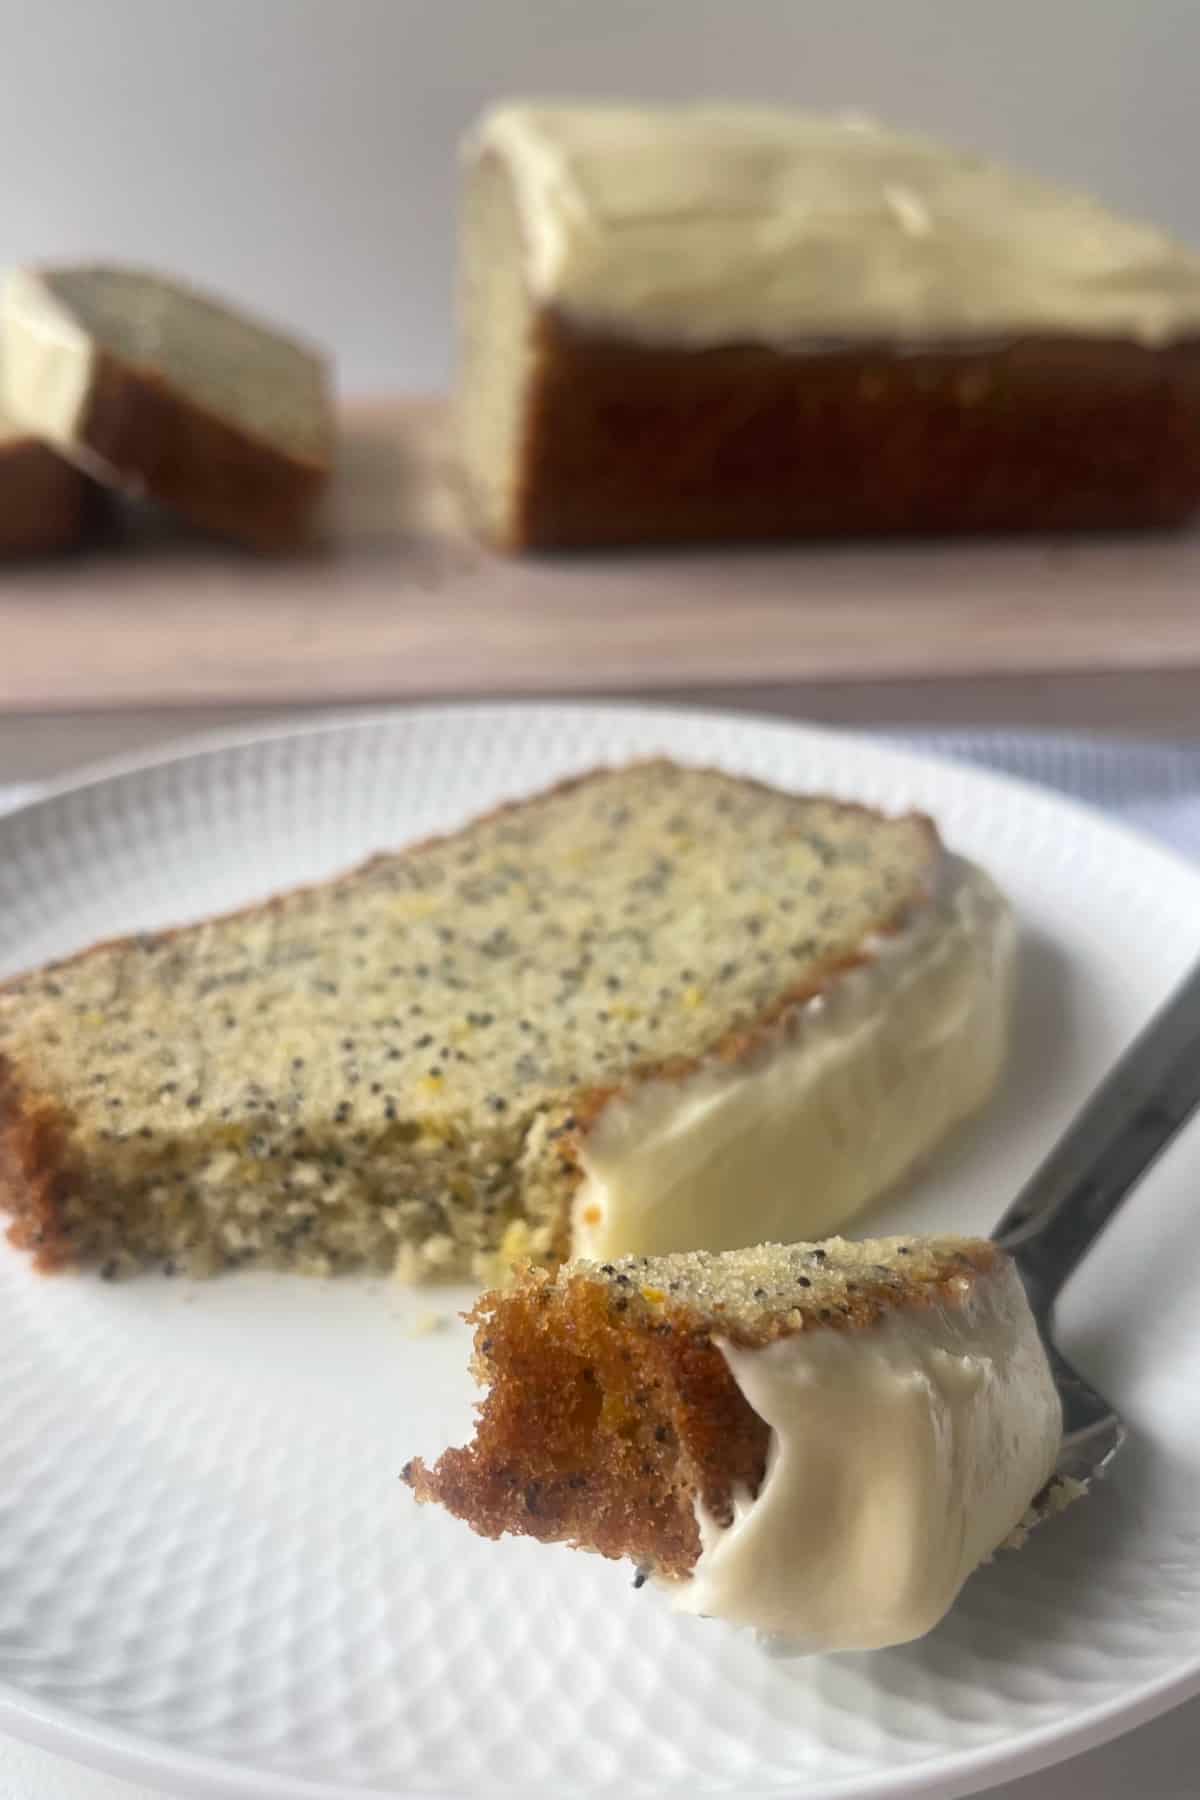
It's an easy cake to put together and best of all it's freezer friendly (when un-iced) so you can always have a slice of cake handy whenever you feel like it - winning!
You will love:
Simple ingredients - you won't need any expensive or hard to source ingredients to make our Lemon and Poppy Seed Cake.
Versatile - this cake can be served plain or with a cream cheese icing. You can also bake the cake in a 20cm round cake tin, please note the cooking time will vary.
Freezer friendly - store for up to two months in a freezer safe container.
Crowd favourite - this cake is always a hit with our family and friends and is perfect to enjoy at your next special occasion.

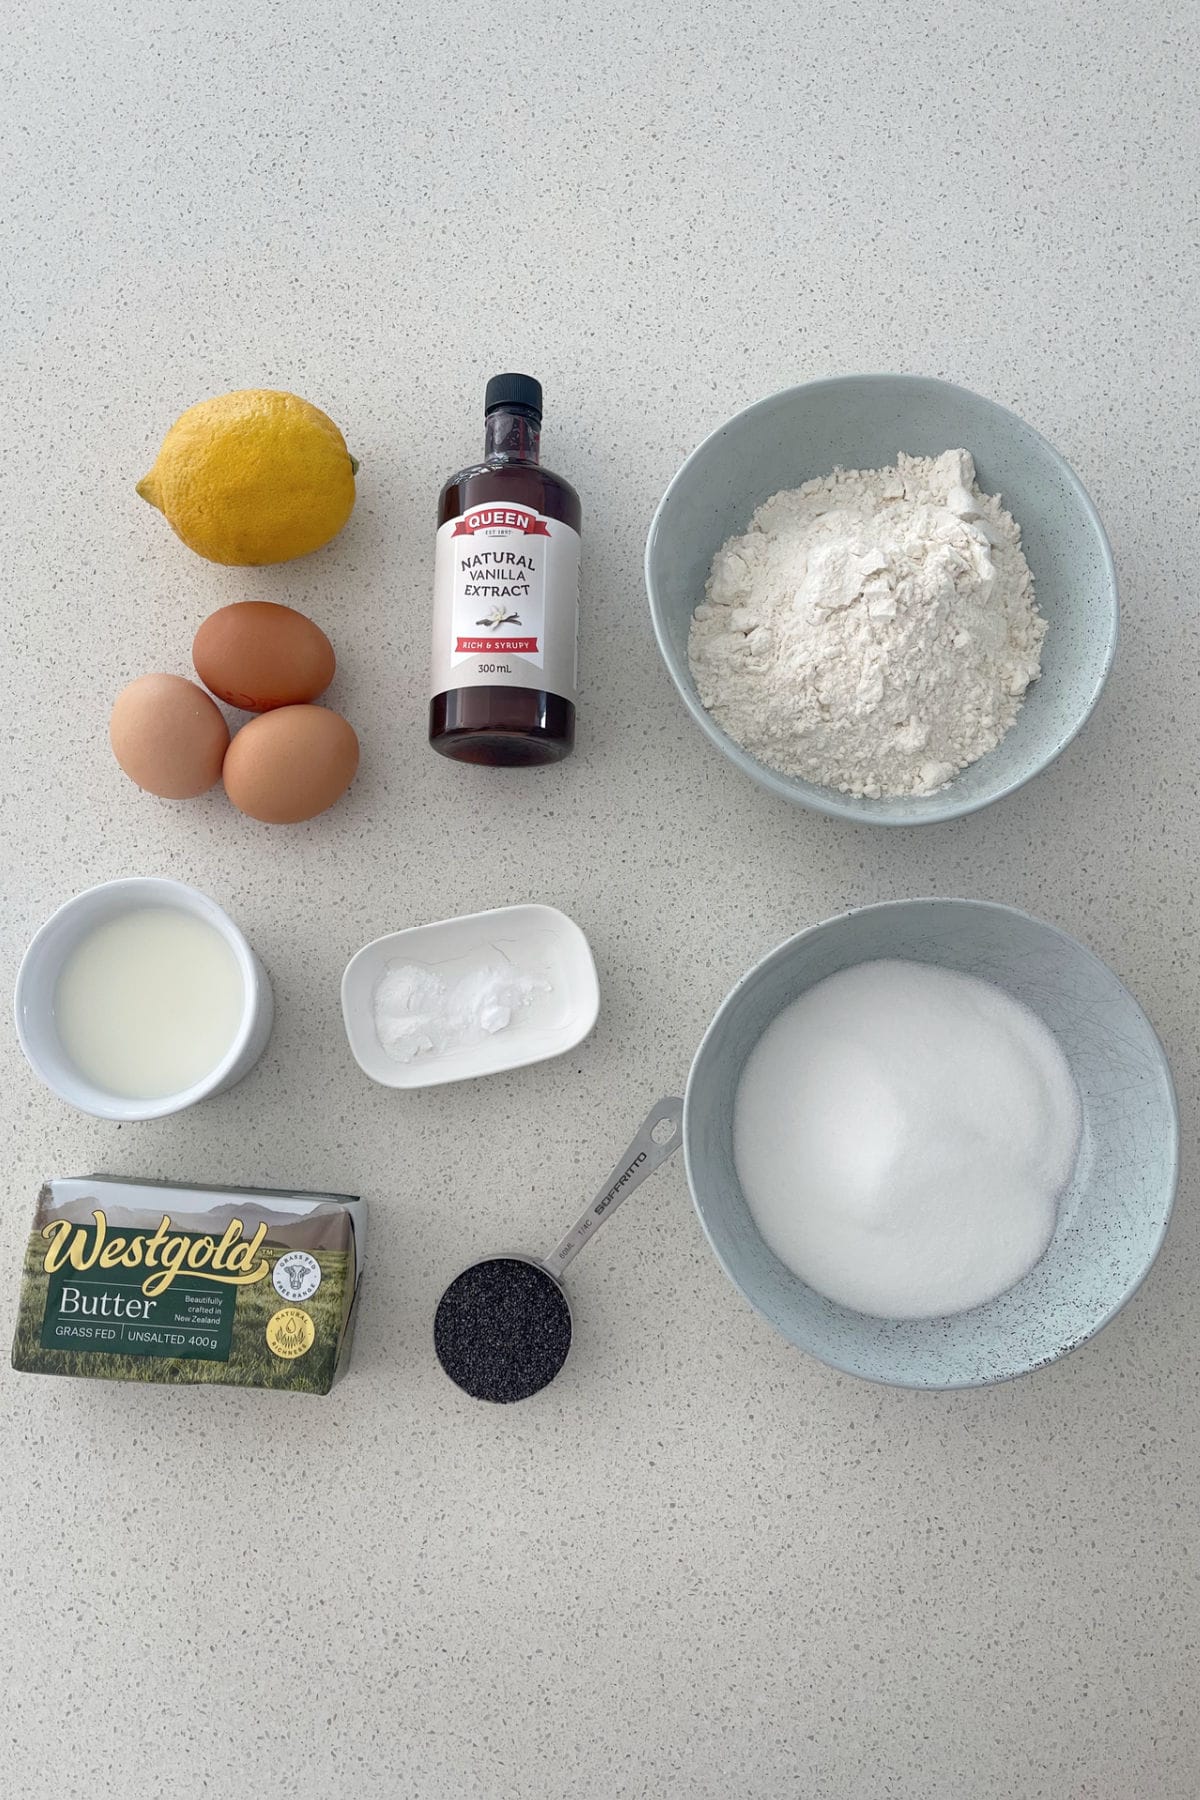
Ingredients
Please note you will find the full list of ingredients and cooking method in the recipe card below.
- Butter - softened
- Vanilla extract - vanilla essence can also be used.
- Caster sugar
- Eggs - we use 70gram eggs.
- Plain flour
- Baking powder
- Bicarbonate of soda
- Milk - either full cream or skim milk can be used.
- Lemon rind - you will need the rind from one lemon.
- Poppy seeds
How to make a Lemon and Poppy Seed Cake in a Thermomix:
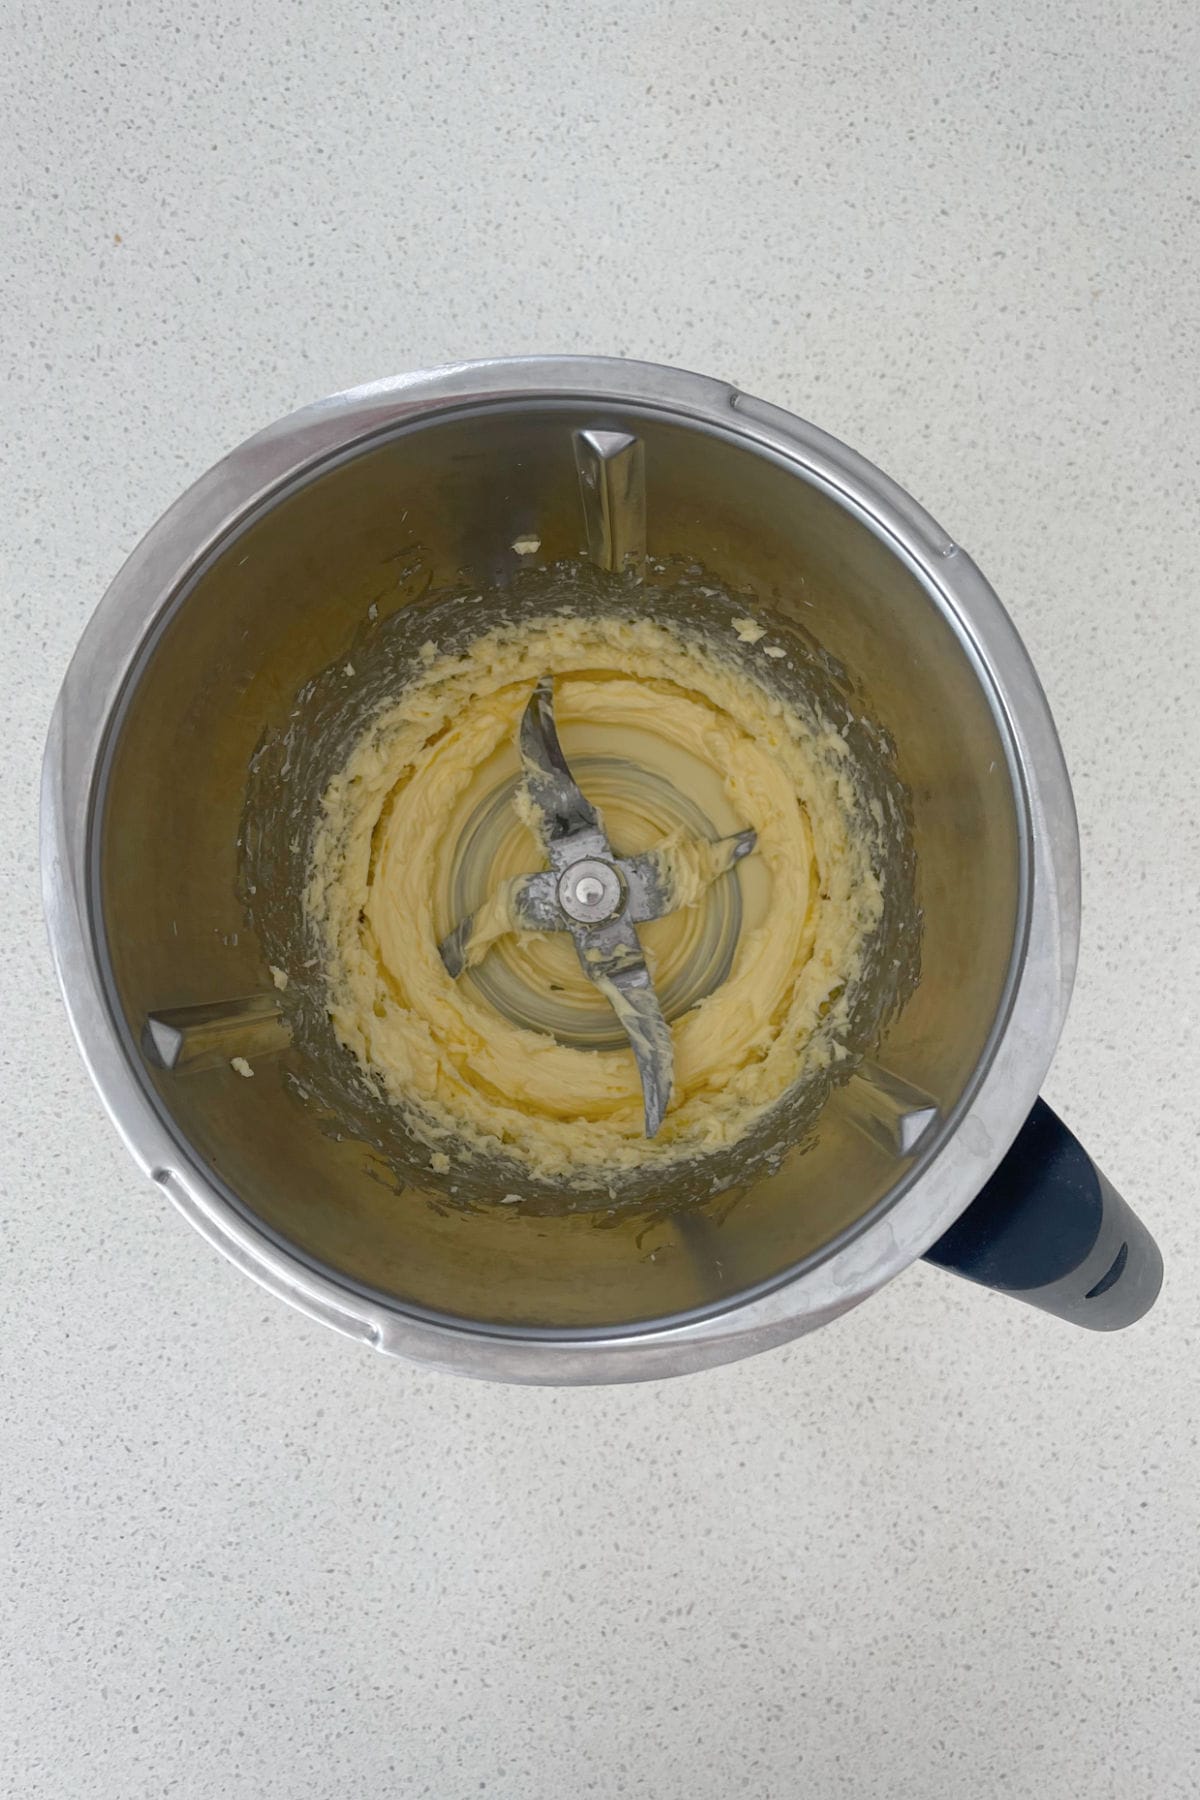
Step 1. Mix the butter until it is pale and creamy.
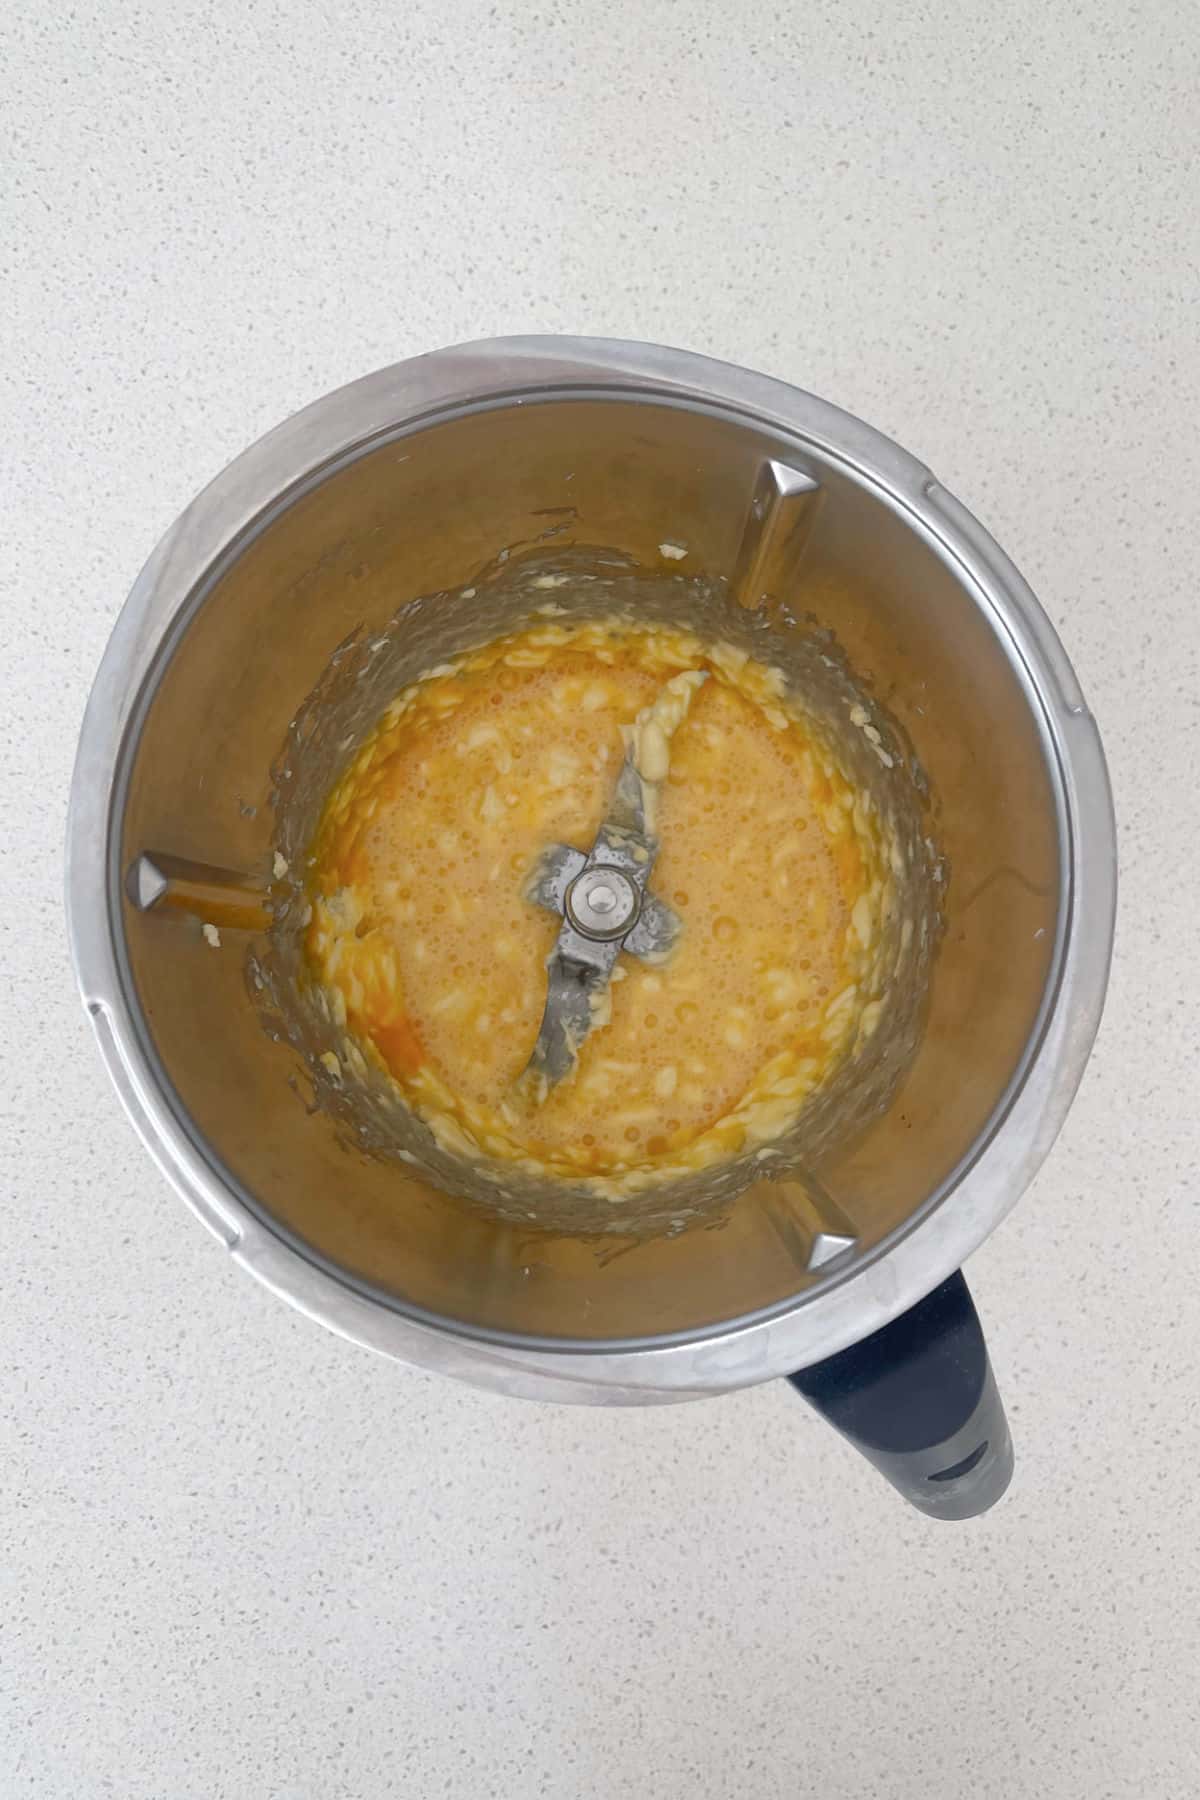
Step 2. Add the eggs and mix to combine.
Step 3. Add the remaining ingredients and mix until just combined.
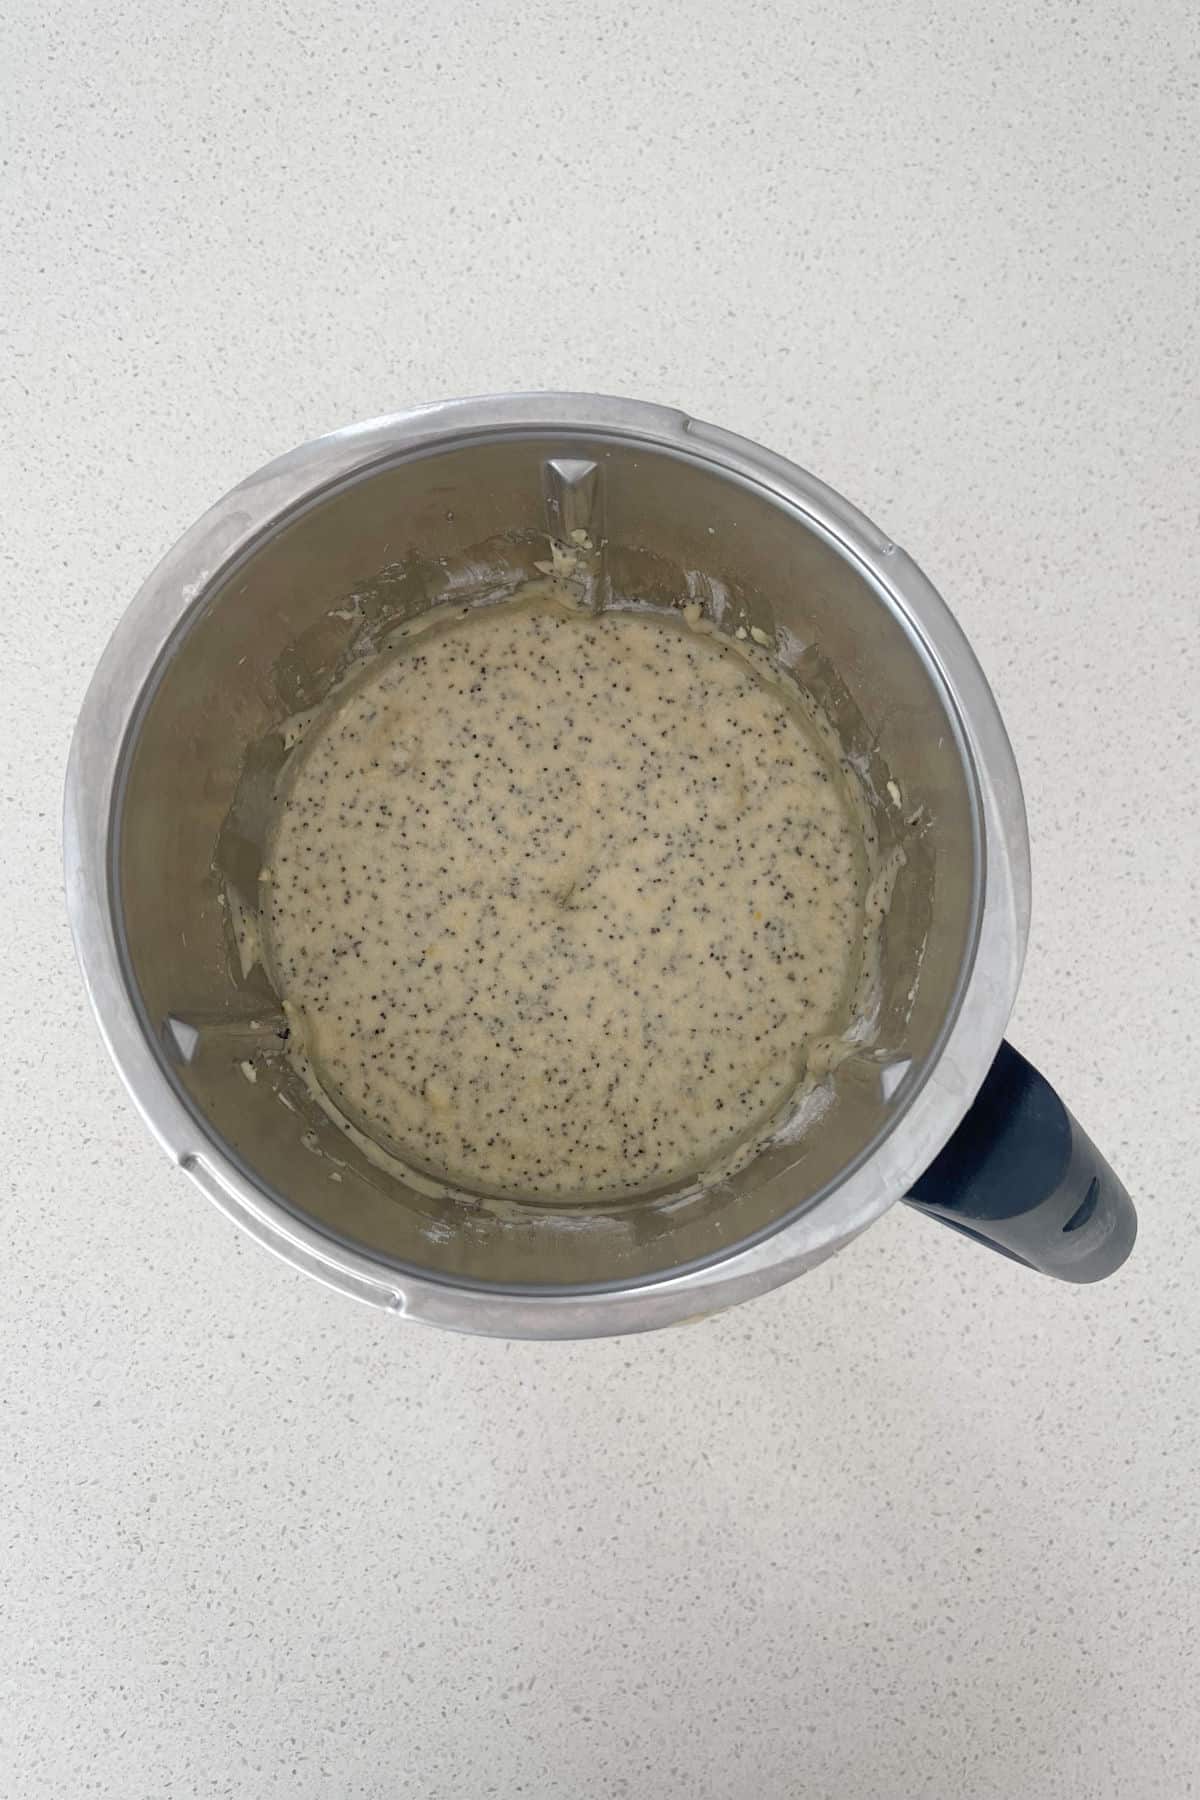
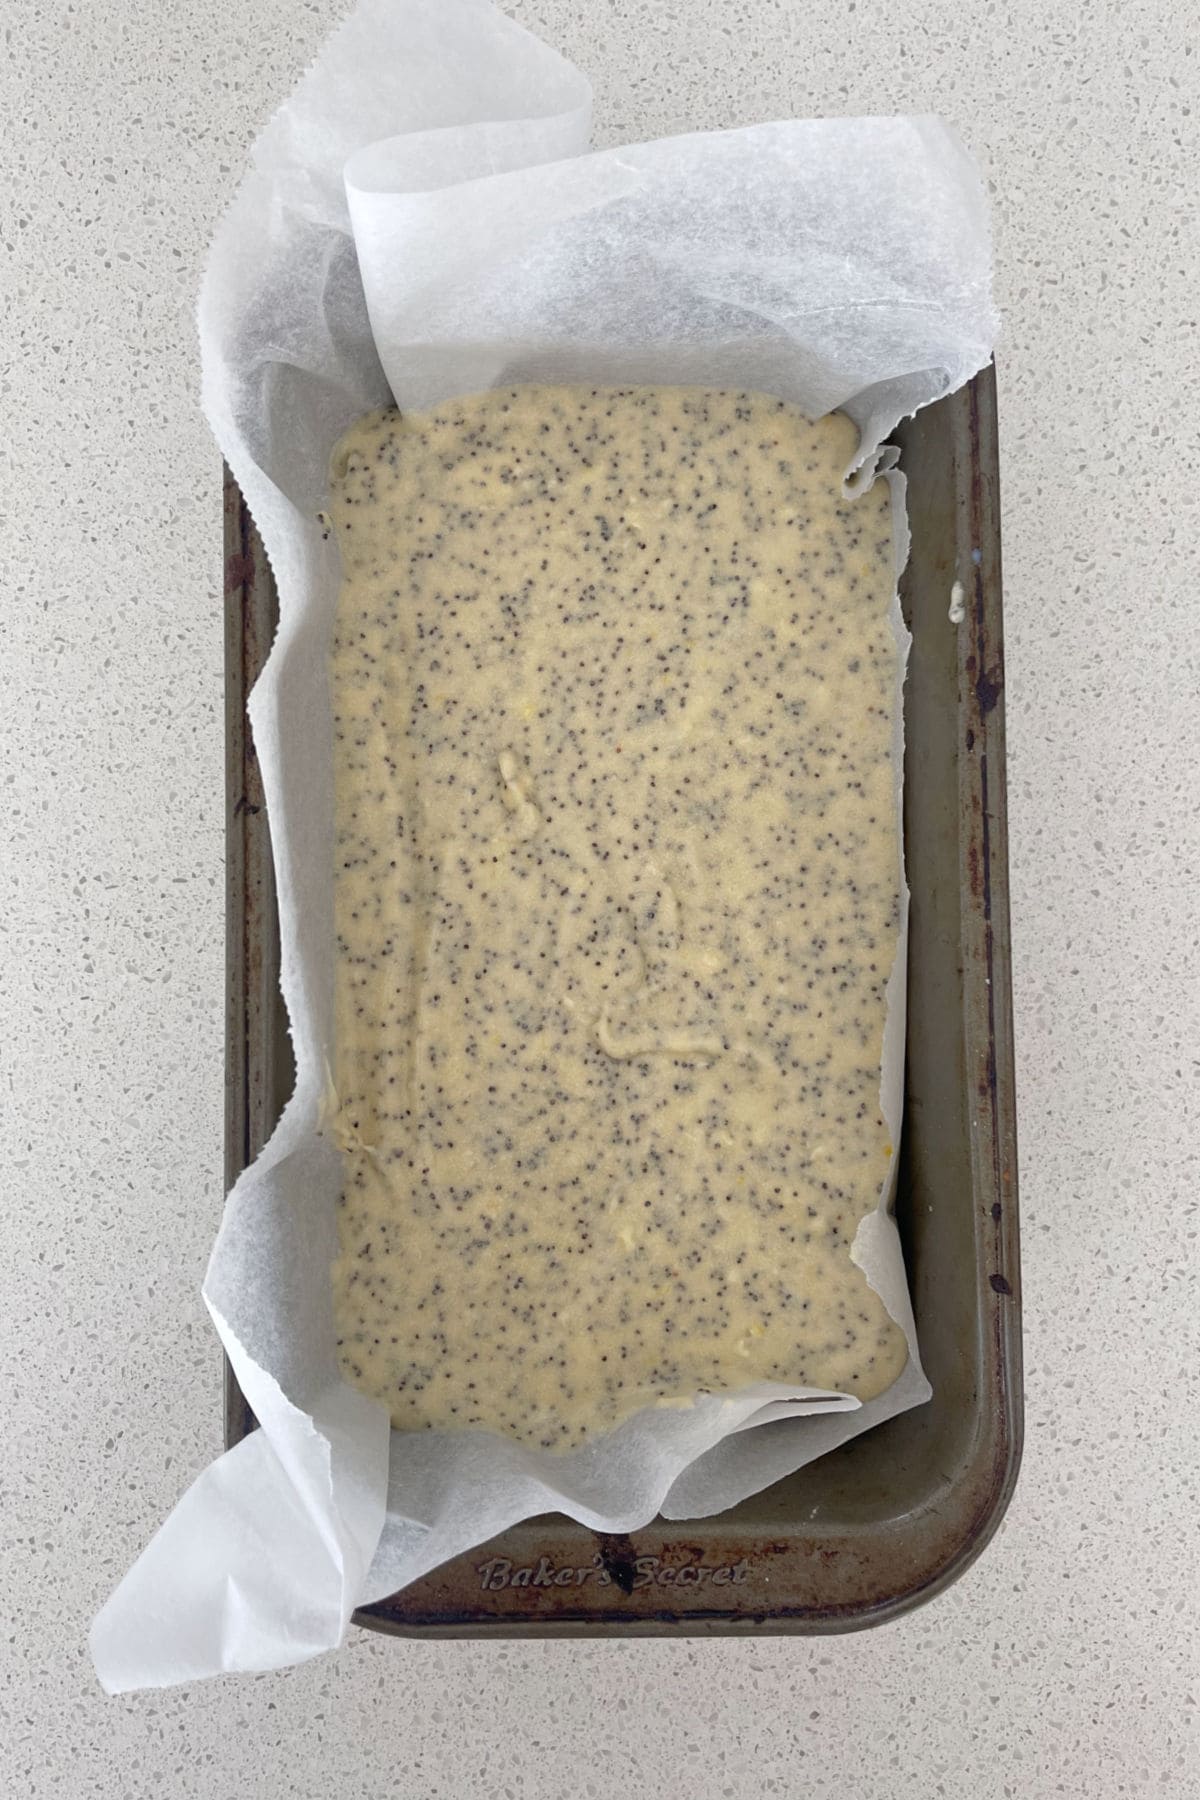
Step 4. Transfer to a lined loaf tin.
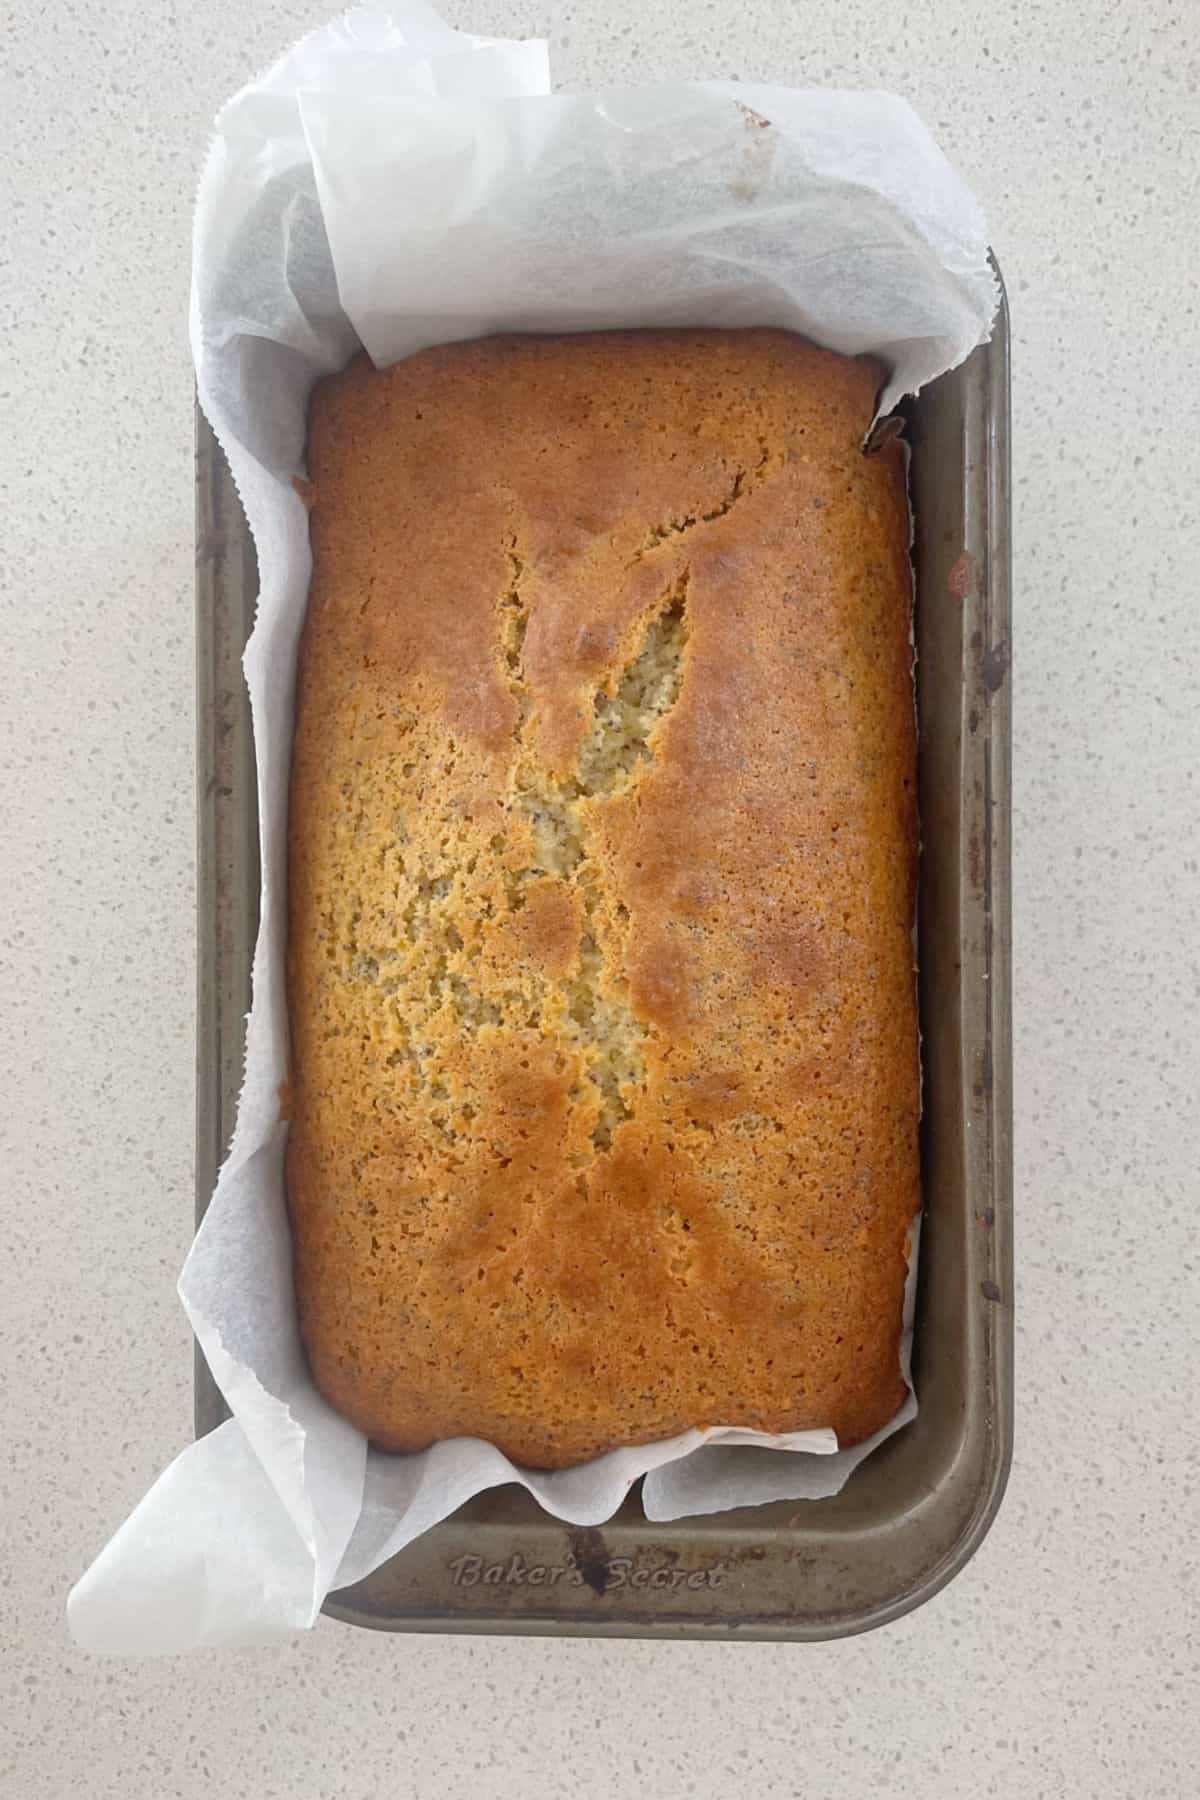
Step 5. Bake until golden and cooked through when tested with a skewer.
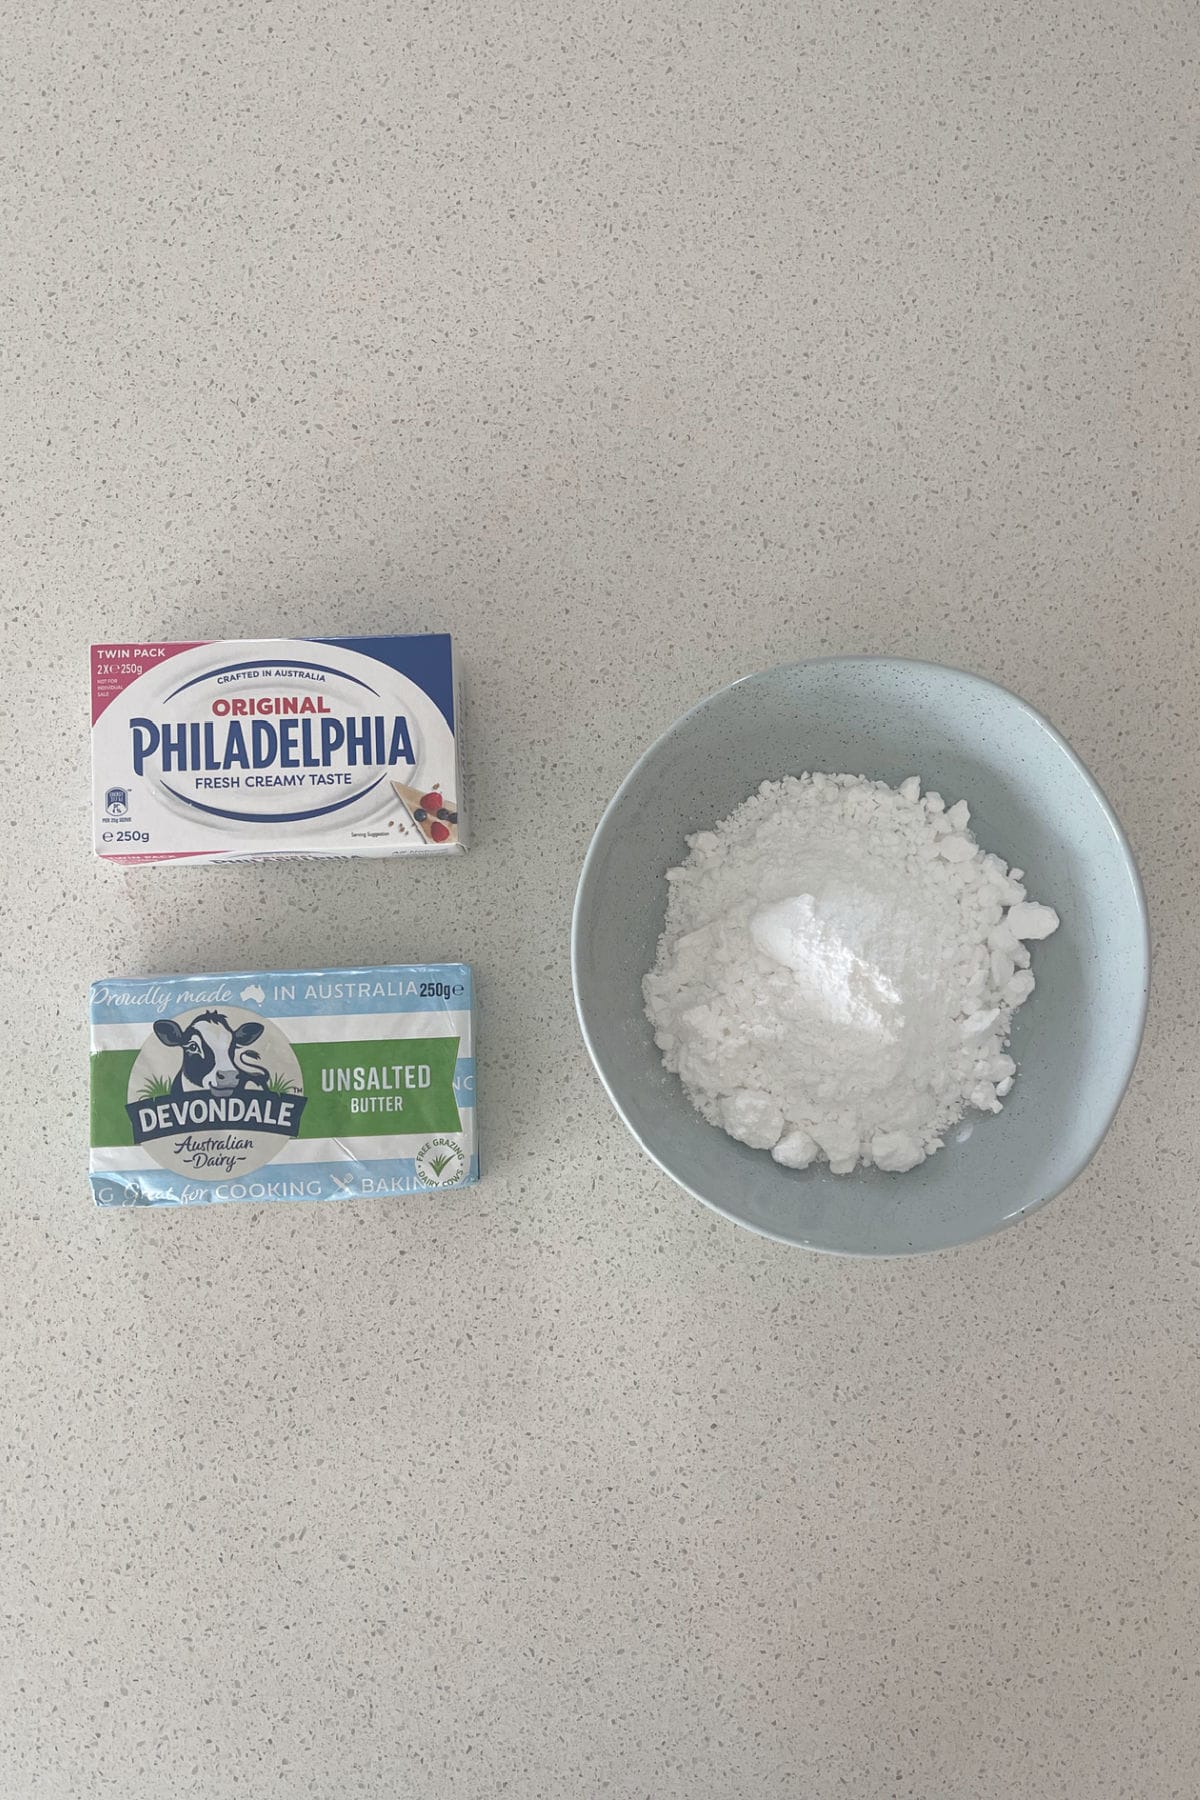
Step 6. Once the cake has completely cooled, combine the icing ingredients.
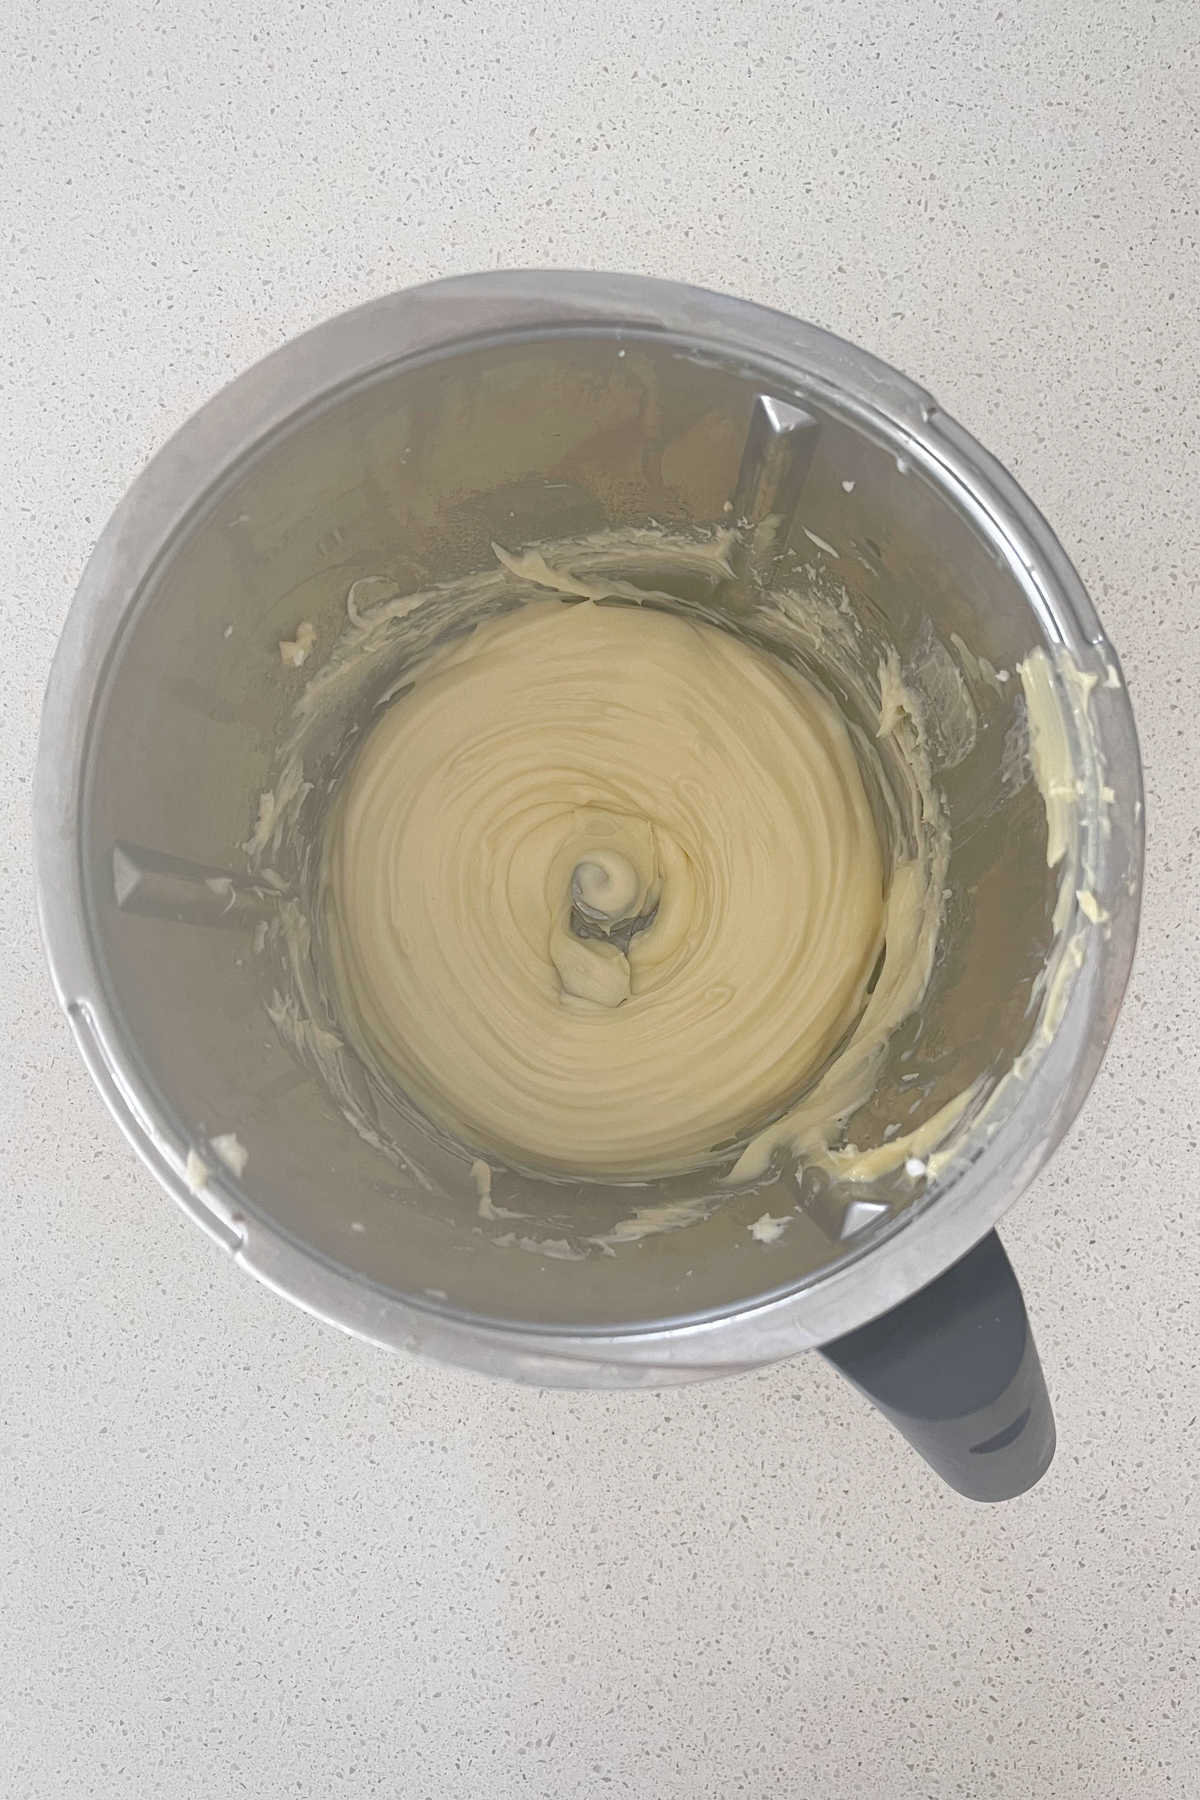
Step 7. Add the icing to the cake and allow to set before cutting into pieces and enjoy!
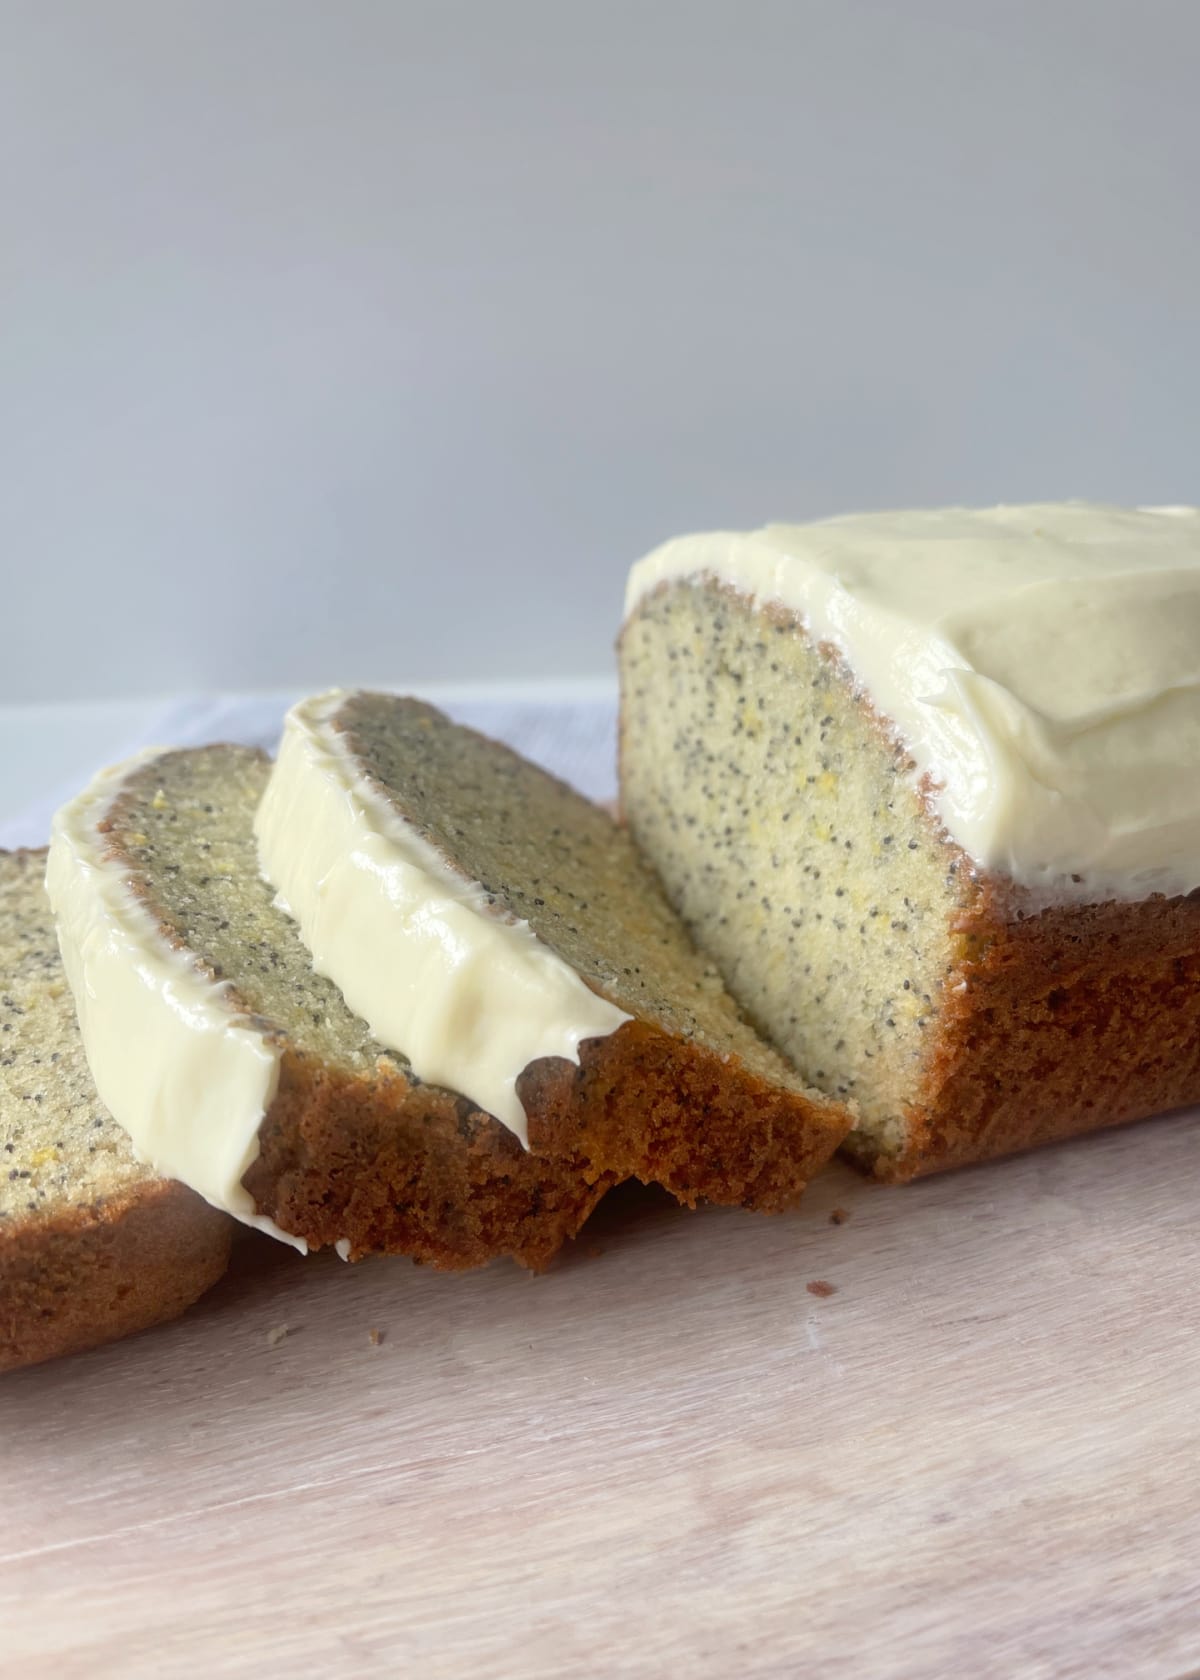
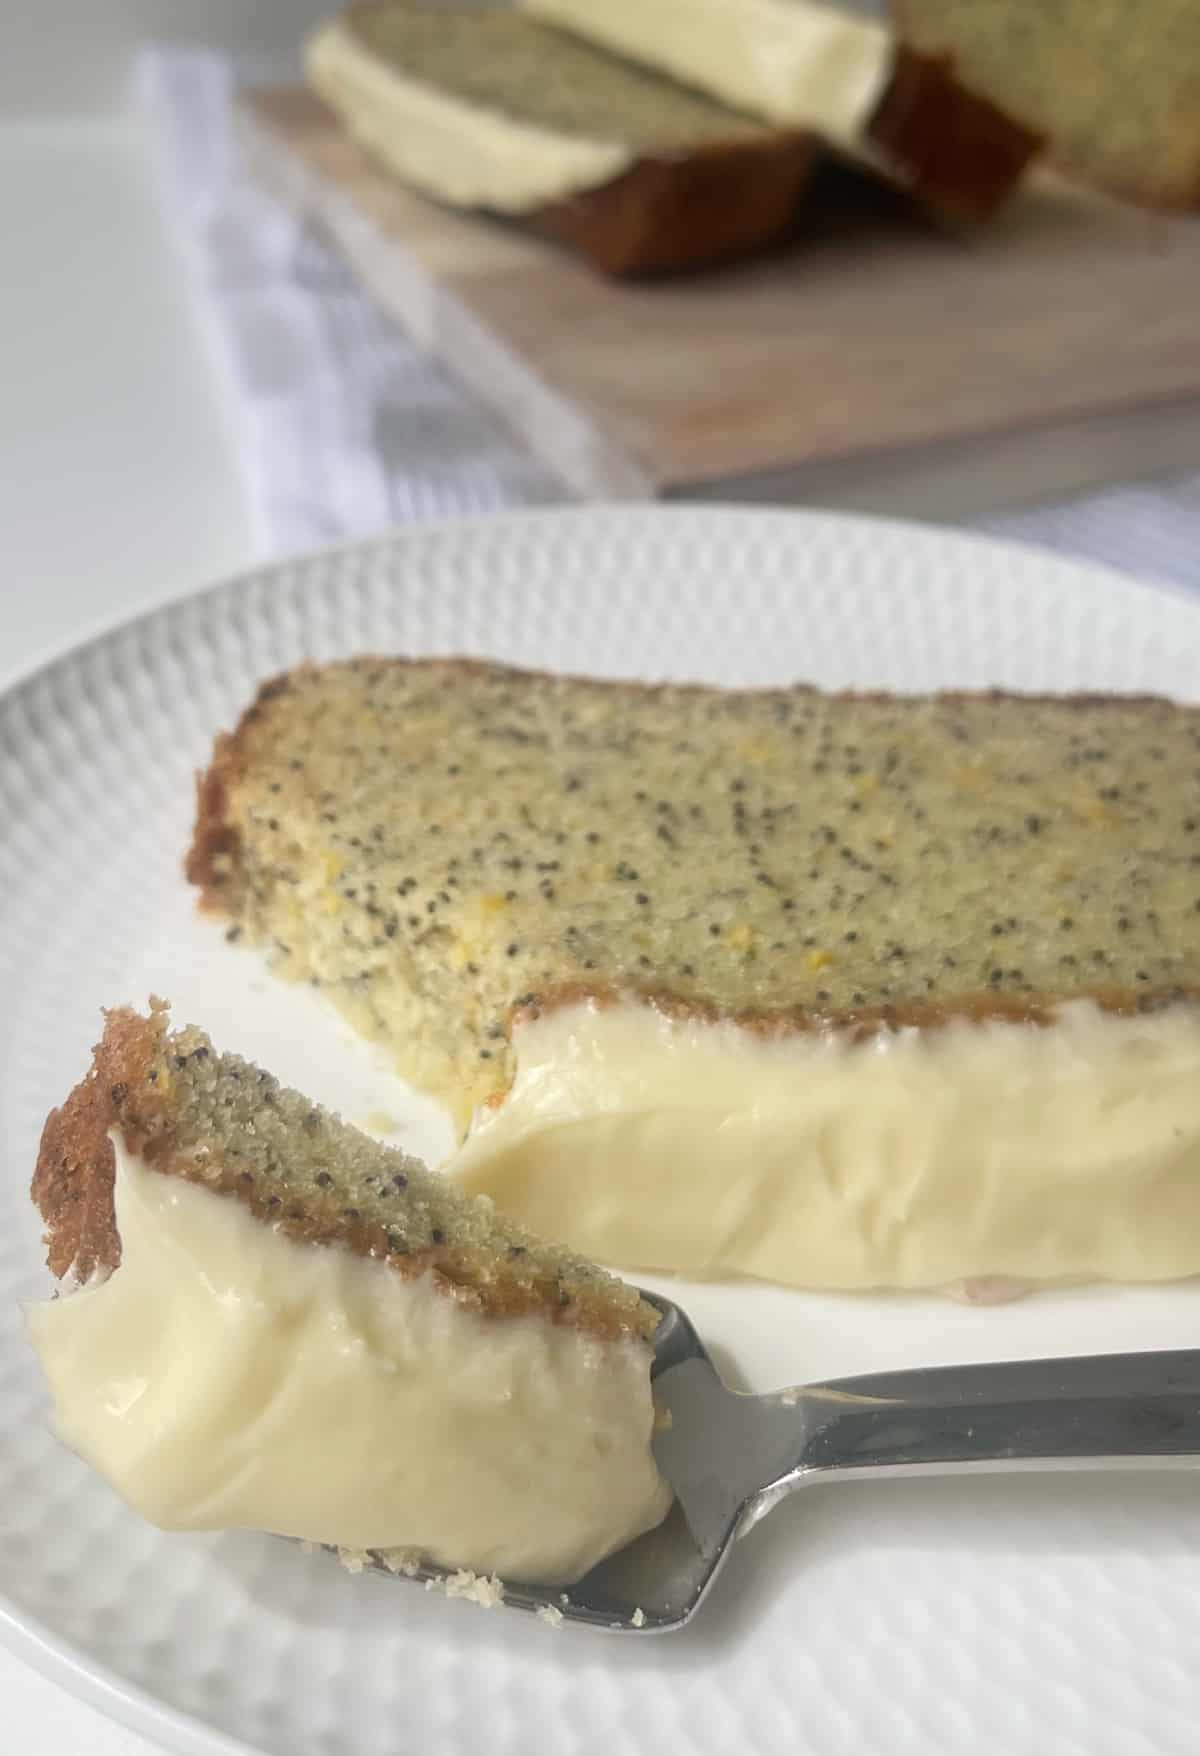
It's a great cake to enjoy while still warm from the oven or iced with a simple vanilla icing. However if you want to make this Thermomix Lemon and Poppy Seed Cake something extra special, try icing it with a Cream Cheese Icing (recipe below) - yum!
Recipe Hints and Tips
This cake can be baked in a 20cm round cake tin, please note the cooking time will vary and we recommend checking on the cake after 25 minutes of cooking time.
To freeze, place into a freezer safe container and store for up to two months.
When topping with cream cheese icing, it is important to ensure the cake is completely cool, otherwise the icing will soften and run down the sides of the cake.
We also recommend using pure icing sugar rather than icing sugar mixture.
To store, place into an airtight container and keep at room temperature. If your cake has been iced with cream cheese icing, we recommend storing in the fridge.
FAQ
Poppy Seeds will help to give your cake a crunchy texture and will add a slight nutty flavour.
You can as this will help them to release their flavour, however we don't recommend doing so for this recipe.
You may also enjoy:
- Thermomix Strawberry and Banana Loaf
- Thermomix Chocolate Cake
- Thermomix Butter Cake
- Thermomix Pound Cake Recipe
- Thermomix Baked Lemon Cheesecake
- Easy Thermomix Lemon Cake
- Easy Thermomix Lemon Recipes
- Thermomix Lemon Curd Cupcakes

Thermomix Lemon and Poppy Seed Cake
Equipment
- 1 x Loaf Baking Dish
Ingredients
- 125 grams butter softened
- 1 teaspoon vanilla extract
- 220 grans caster sugar
- 3 eggs
- 225 grams plain flour
- ½ teaspoon baking powder
- ¼ teaspoon bicarbonate of soda
- 120 grans milk
- 1 tablespoon lemon rind finely grated
- ¼ cup Poppy Seeds
Cream Cheese Icing
- 200 grams icing sugar
- 100 grams butter softened
- 250 grans cream cheese softened
Instructions
- Line a large loaf tin with baking paper and preheat your oven to 150 degrees celsius (fan-forced).
- Place the softened butter into your Thermomix bowl and mix 2 minutes on speed 3 until it is pale and creamy.
- Once the butter is pale and creamy, add the eggs and mix for 10 seconds on speed 3 to combine.
- Add the remainder of your ingredients and mix for 10 seconds on speed 4 - if your mixture hasn't quite combined, mix for a further 5 seconds on speed 4 or until your mixture is smooth.
- Pour the mixture into your prepared cake tin and place in the oven to bake for 45 minutes or until the cake is cooked through when tested with a skewer.
- Carefully remove the cake from the oven and let it cool in the tin for 10 minutes before carefully transferring to a wire rack to cool completely.
- Once cool, prepare the cream cheese icing by placing the butter and icing sugar into your Thermomix and mix for 30 seconds, speed 3. Scrape down the sides of the bowl and mix for a further 30 seconds, speed 4 or until smooth and pale.
- Add the cream cheese and mix for 20 seconds, speed 3. Scrape down the sides of the bowl and mix for a further 20 seconds, speed 4 or until smooth.
- Use a spatula or a butter knife to then spread the icing over the cake.
Notes
Nutrition
Looking for even more?
You can find more simple and delicious recipes in our books and eBooks - shop the range here.






Courtney says
For the baking novice like me, please add to the method that this is 150 for a fan forced oven. I have just checked my cake after 45 min at 150 in a conventional and it is still well uncooked 🙃
Lucy says
Our apologies! We've updated the recipe to reflect that it's fan-forced.
Brooke says
Hi, for step 7 it doesn’t give thermomix steps? Like speeds. I’m assuming you put the butterlfy in then what speed? Then when you mix the icing sugar do you leave in the butterfly and what speed? Sorry to ask.
Tash says
I would do it without the butterfly for 15 seconds, Speed 5. Scrape down repeat. If you wanted to make it fluffier, you could add the butterfly after it's already well mixed and whip it for 30 seconds, Speed 3.
Kim says
This is so delicious and easy. Made a lemon butter cream icing for it. OMG! It was amazing. I love lemon.
Louise Fogarty says
My wish is for the thermomix to negate the need for an electric mixer. Can the thermomix still make the icing ok? Or must you use an electric mixer?
Dizzy says
Have you implemented the butterfly and created the icing? There is no need for a mixer.
Kristina Forbes says
Loved this! Especially the icing. YUM!
Natalie says
Is the temperature for fan or conventional oven please? Thanks
Lauren Matheson says
Hi, it's for a fan forced oven 🙂