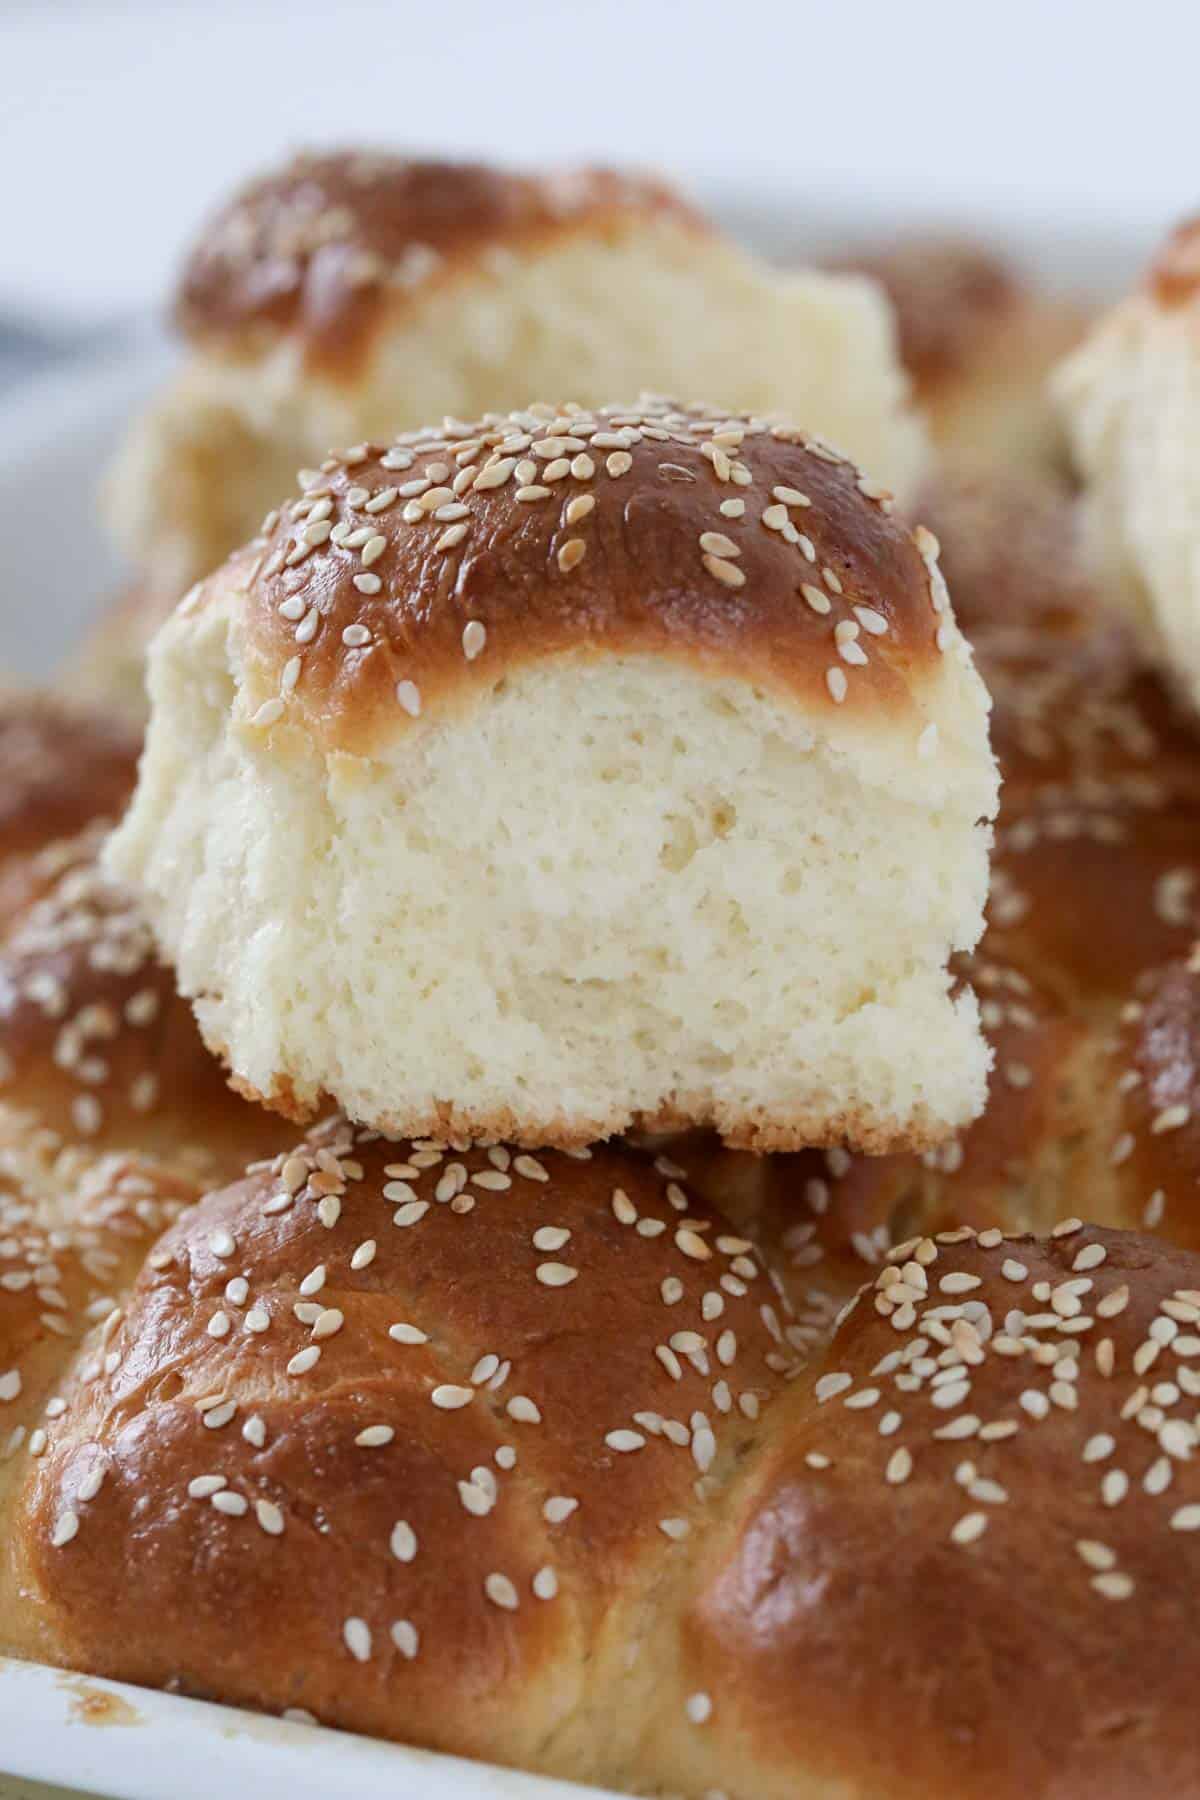
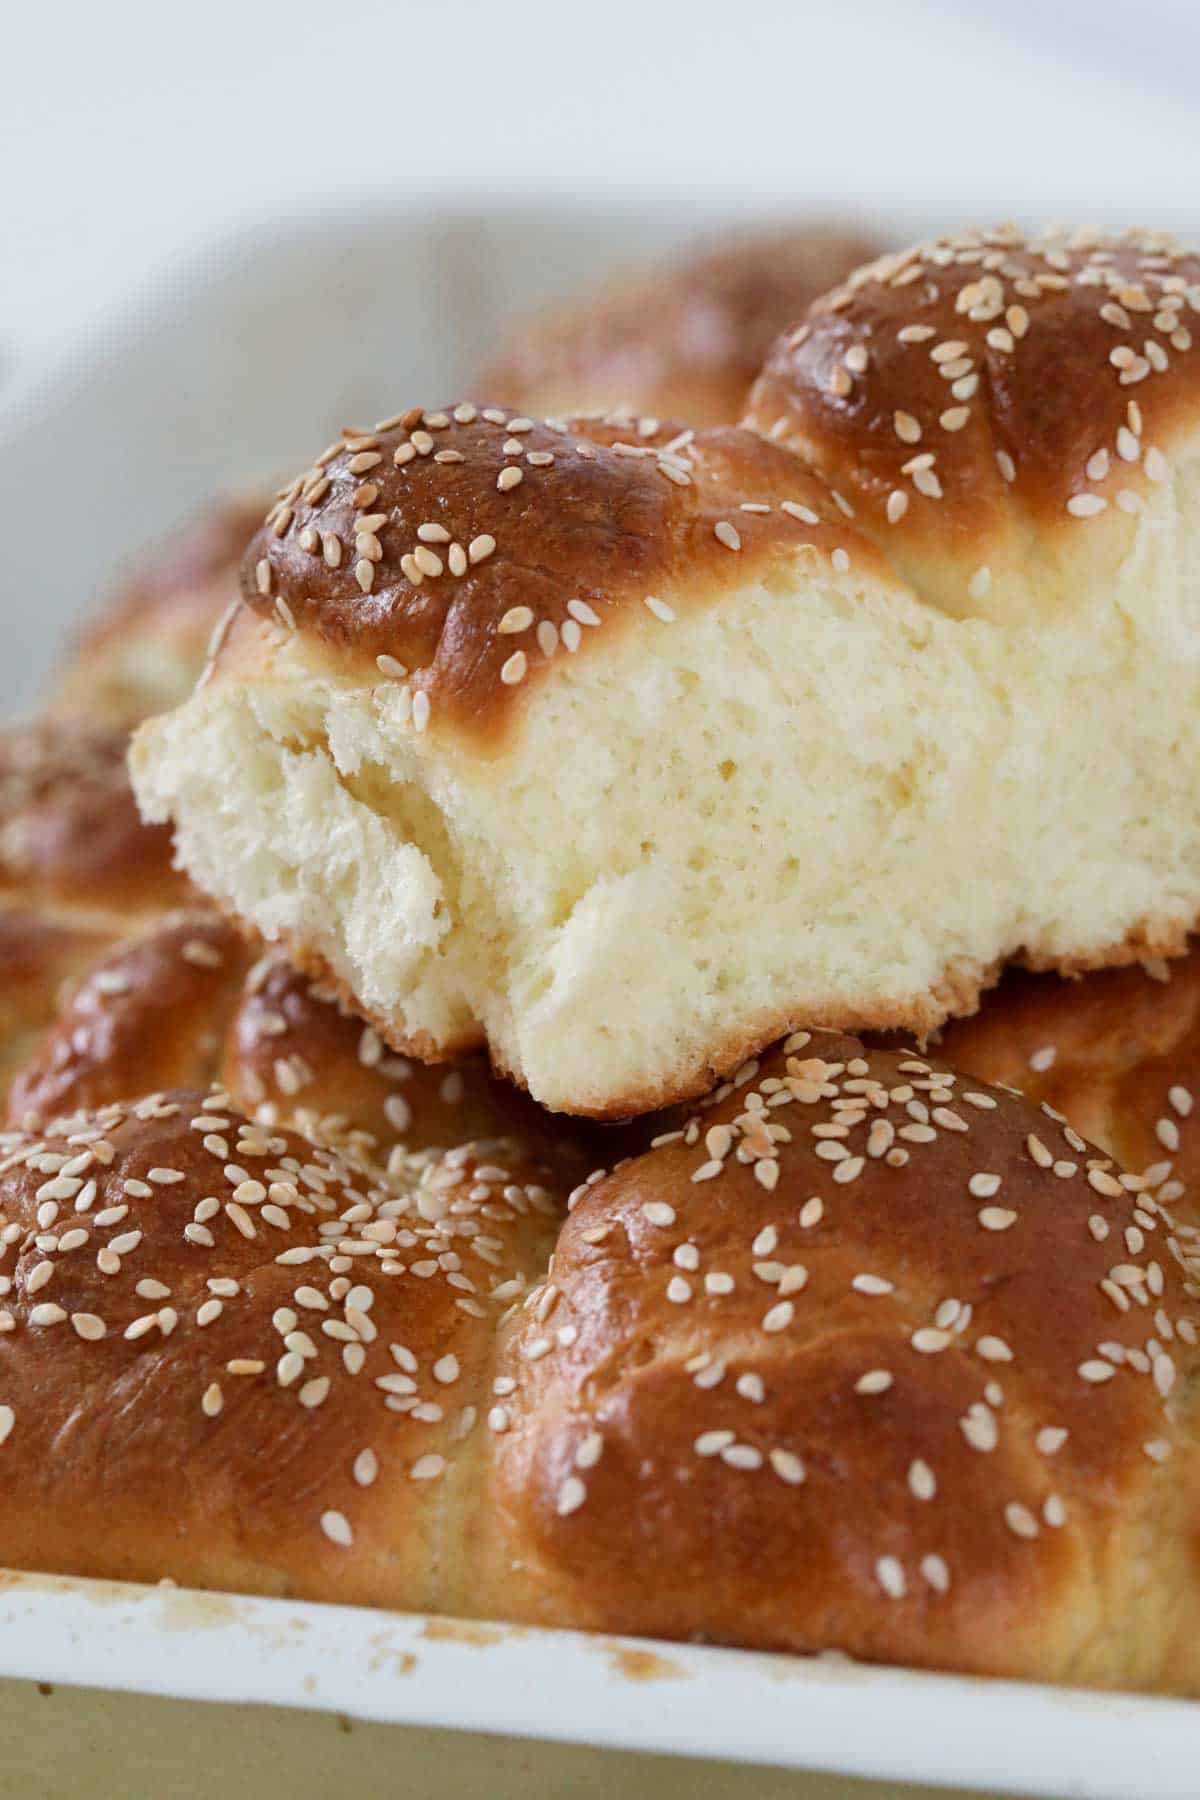
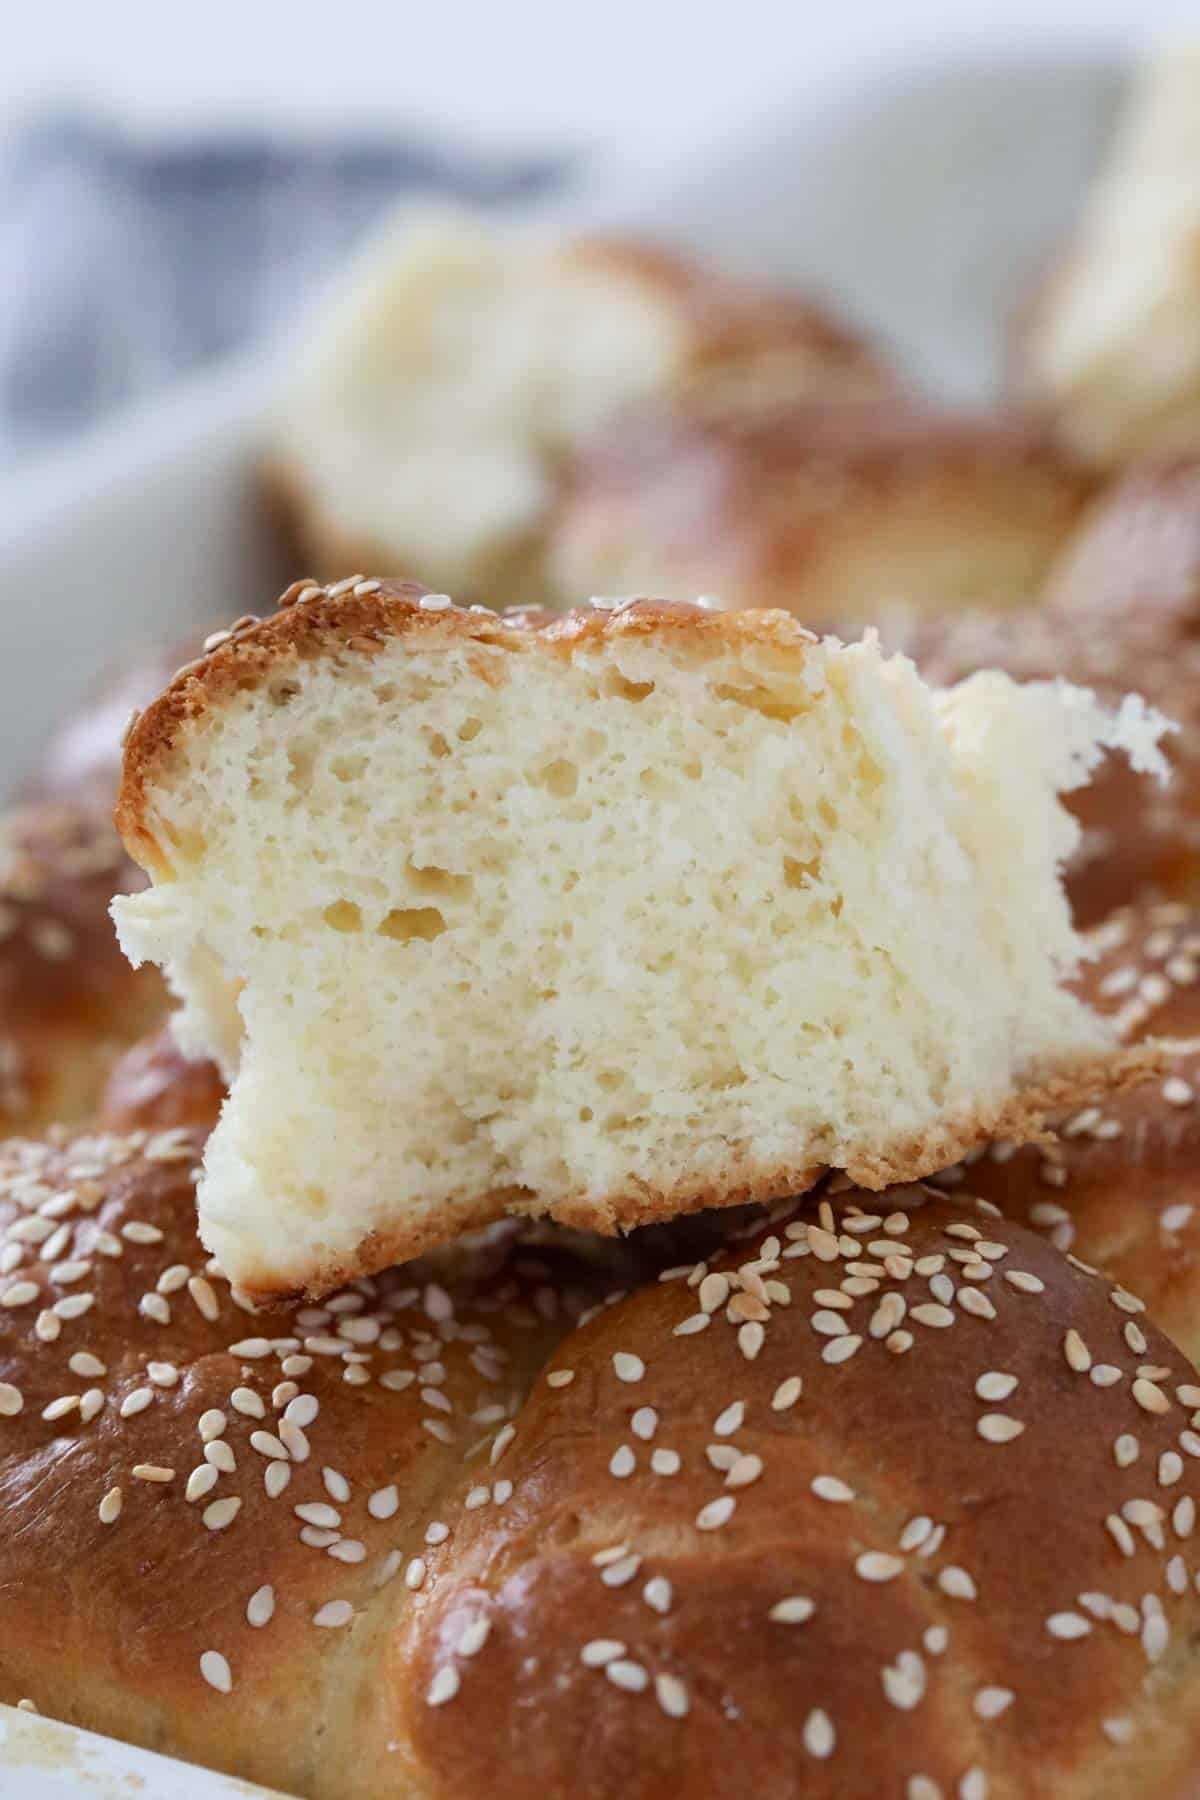
Our sweet, soft and fluffy Thermomix Brioche Rolls make the perfect buns for burgers or mini sliders, or simply serve with a bowl of soup!
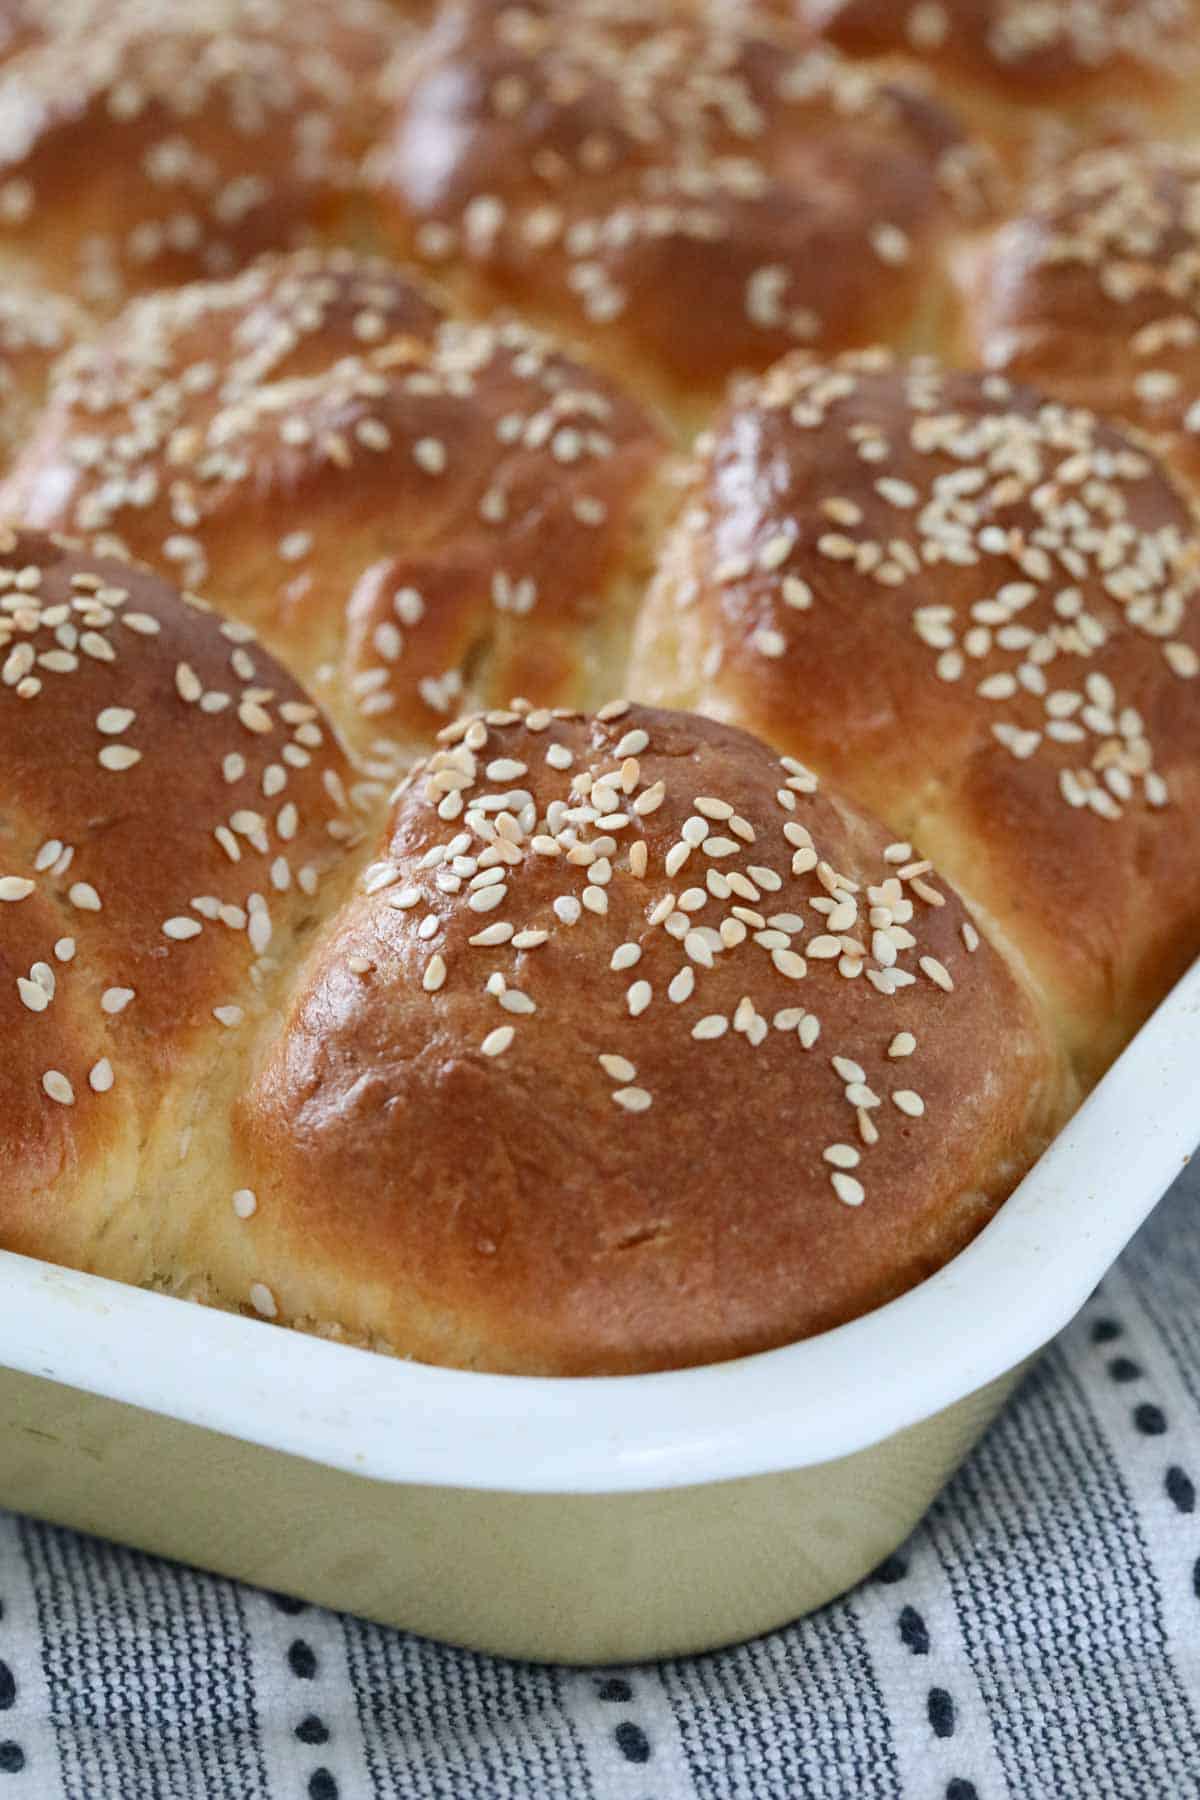
Planning your next burger night?
Make your own homemade Thermomix Brioche Rolls using our super easy recipe and you'll have 10 large burger rolls or 20 mini sliders!
These soft, sweet rolls are so simple to prepare using your Thermomix... let it mix and knead the dough for you.
Wanting to bake more of your own loaves and breads?
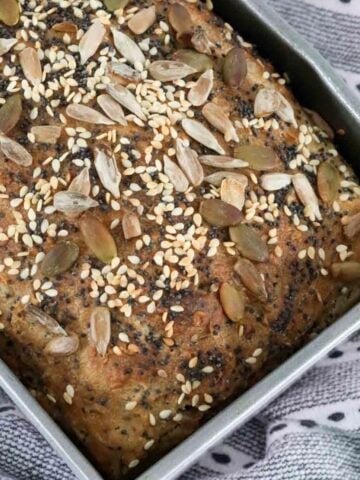
Try our classic white bread loaf, sourdough loaf or chia and seeds loaf.
Why You're Going To Love This Recipe
What's not to love about these restaurant style brioche buns!?
- Made using basic pantry ingredients - forget making a trip to the supermarket, you probably have all of the ingredients you need at home!
- No additives or preservatives - unlike store-bought brioche rolls, our homemade rolls contain ABSOLUTELY NO additives or preservatives... which means you know exactly what's in them!
- Just like your favourite store-bought brioche rolls... but better - we all love a restaurant bought brioche burger, so why not make your own at home? You wont believe how easy it is!
- Versatile - use our recipe to make 10 extra large burger buns or 20 mini slider buns
What You Need
Just a handful of basic ingredients are needed to make Thermomix brioche buns.
Please scroll to the recipe card at the bottom of the post for ingredient quantities and the full detailed method.
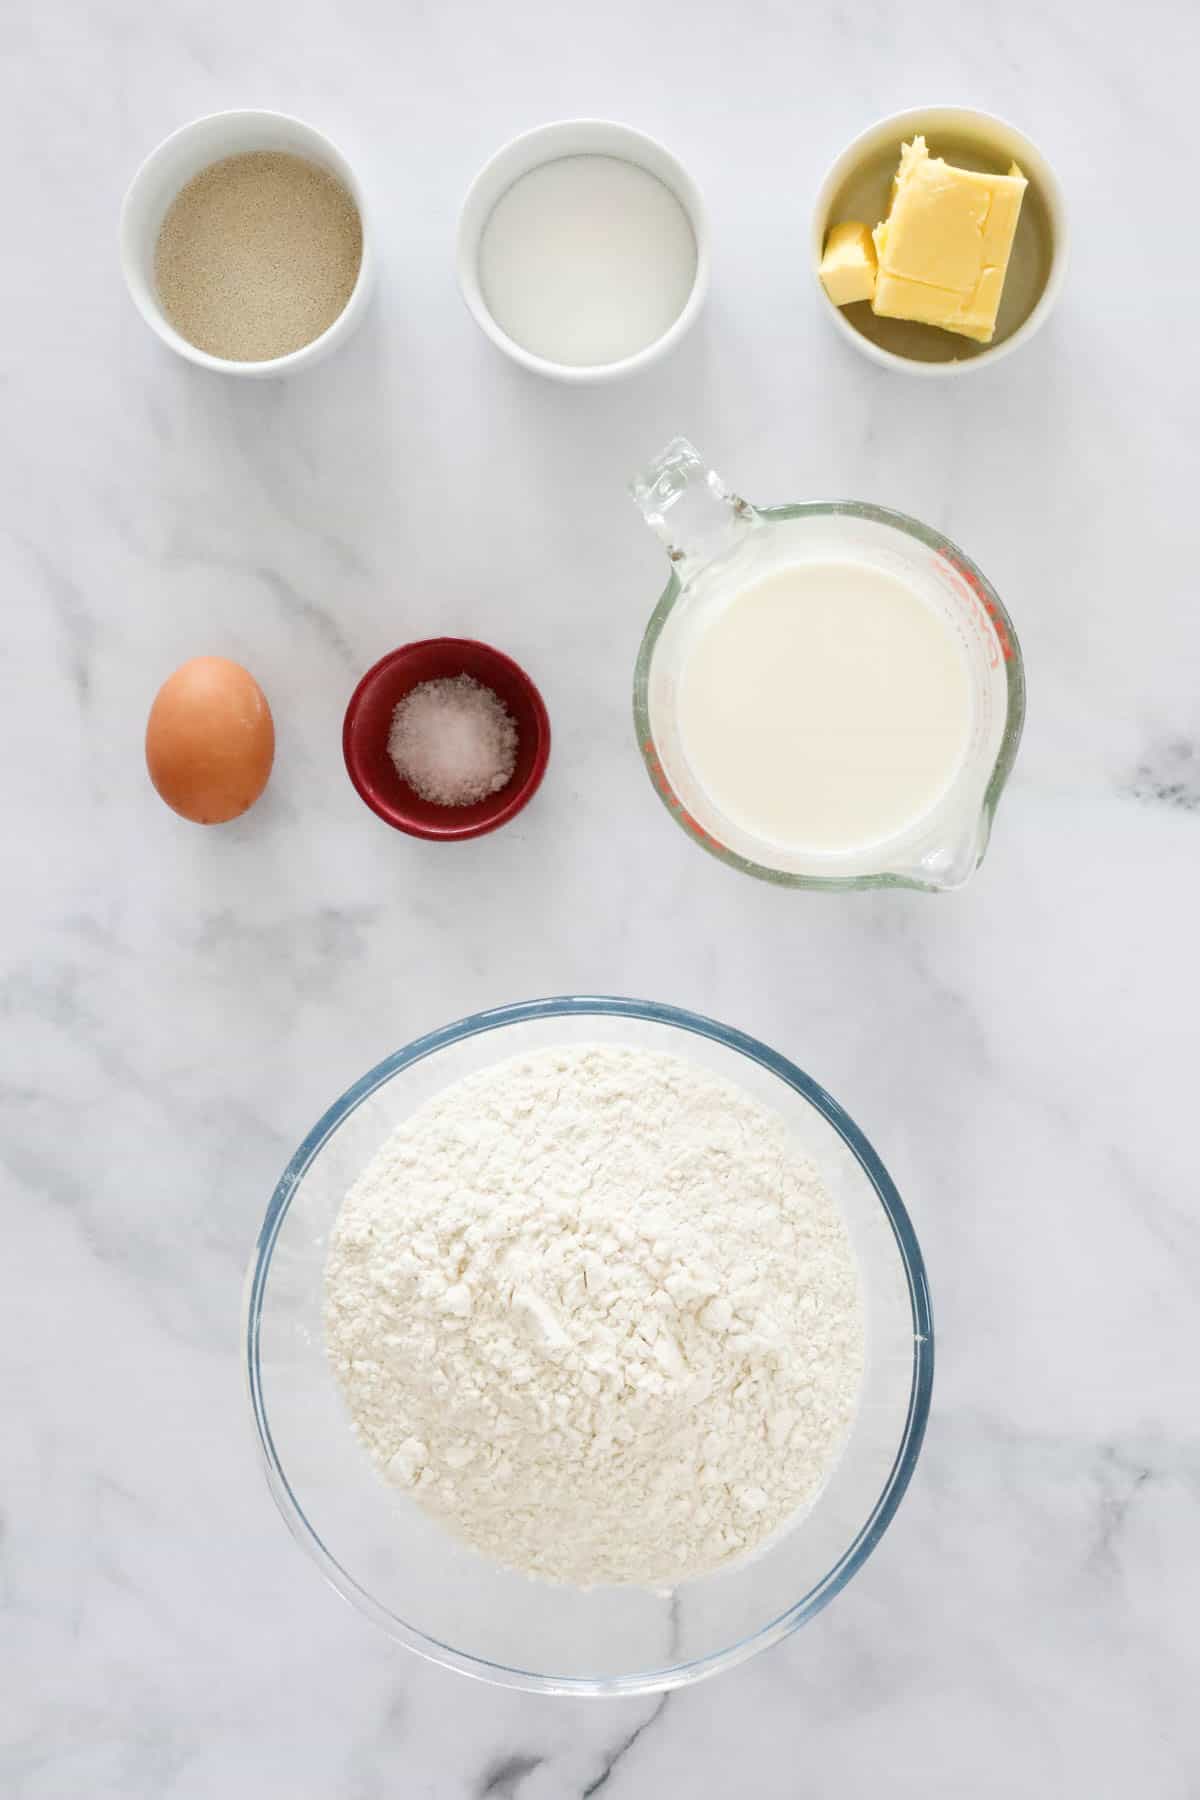
- Sugar - use caster sugar for this recipe
- Milk - full cream milk will give you the best results
- Dried instant yeast - ensure that you check that your yeast is still in date and active before using
- Butter - softened to room temp
- Salt
- Flour - Bakers flour or bread flour will give you the BEST results, but regular plain flour can also be used
- Egg - use a large egg (*approx 60g)
- Egg whites and water - for brushing over the top of the buns. This gives them their golden colour
- Sesame seeds - for sprinkling over the top
Step By Step Instructions
You won't believe how easy it is to prepare brioche buns using your Thermomix! Let it do all of the hard work for you...
Please scroll to the recipe card at the bottom of the post for ingredient quantities and the full detailed method.
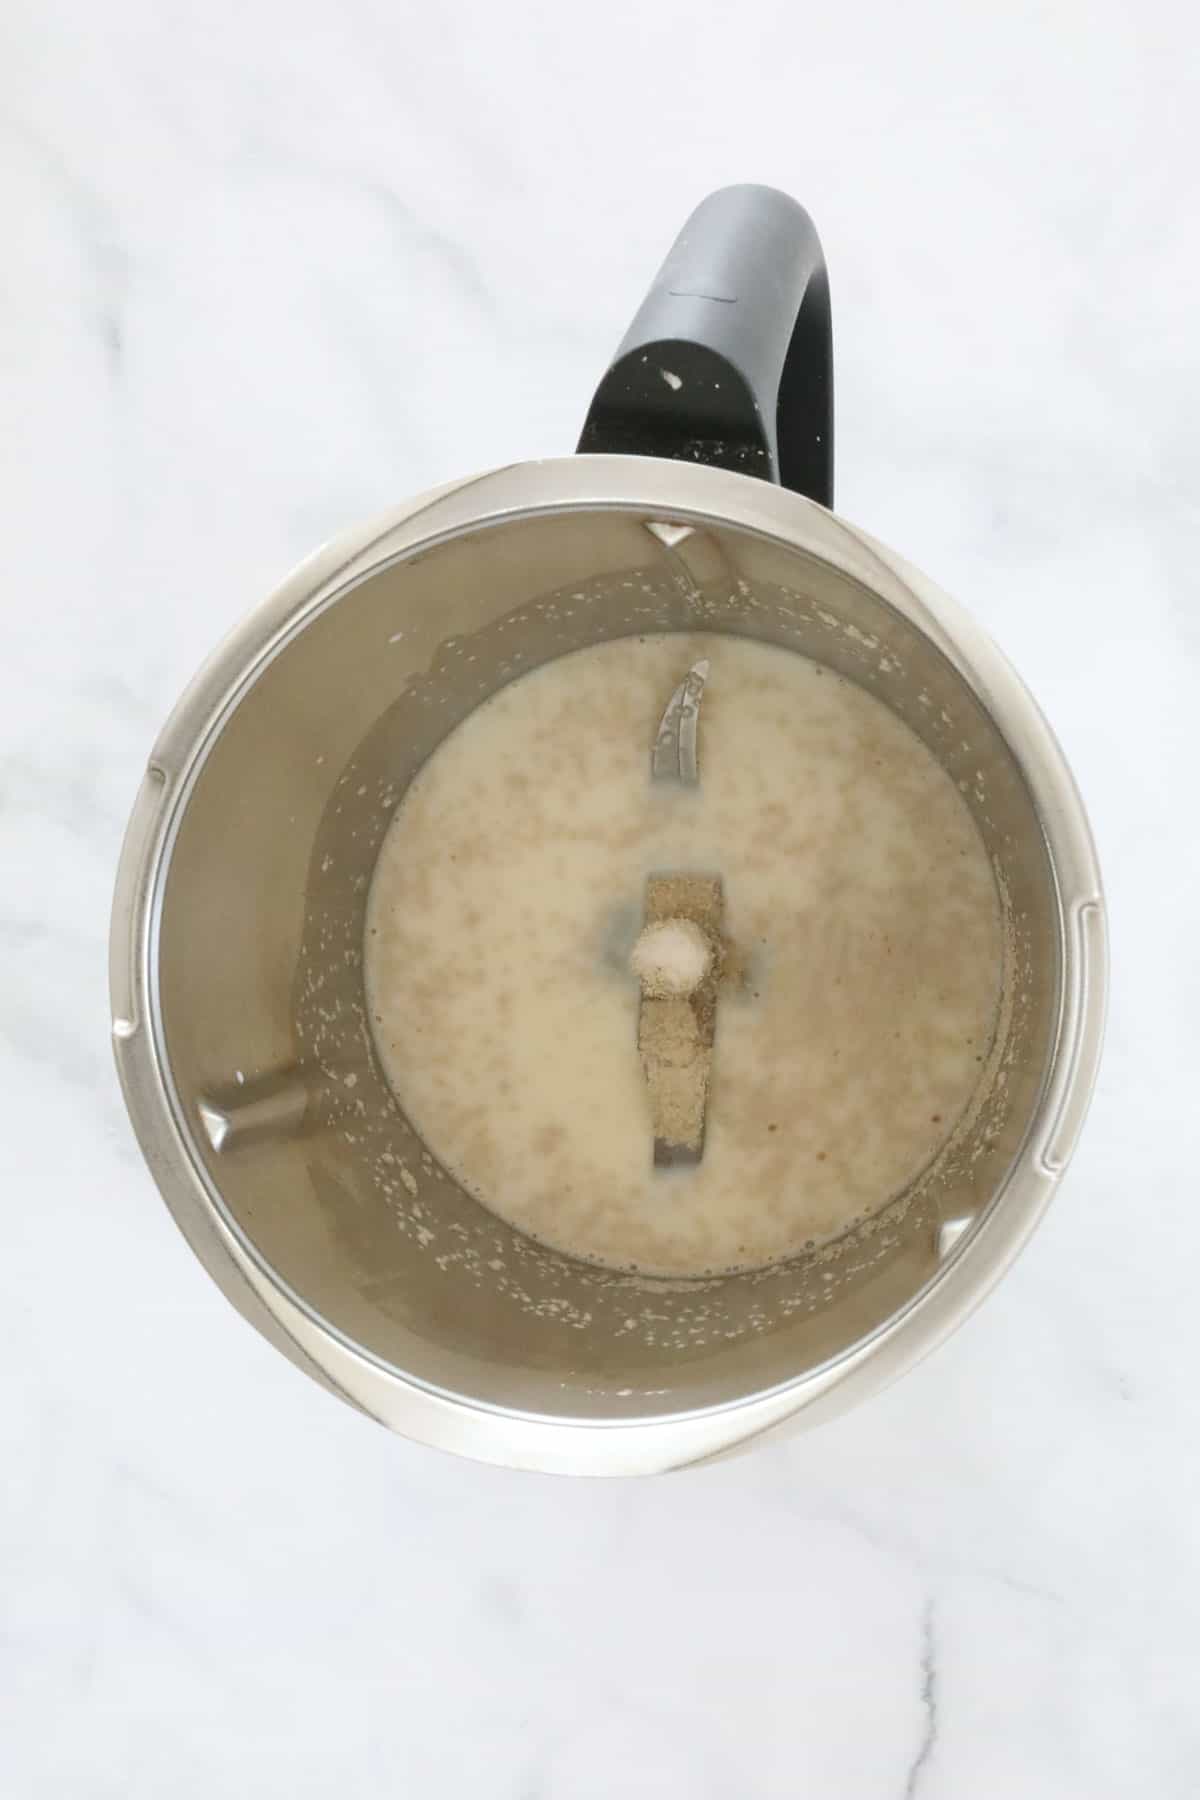
Step 1 - Activate The Yeast
Place the milk, caster sugar and dried yeast into the Thermomix bowl.
Heat for 1 minute.
Step 2 - Add The Remaining Ingredients
Add the butter, salt, flour and egg and mix together.
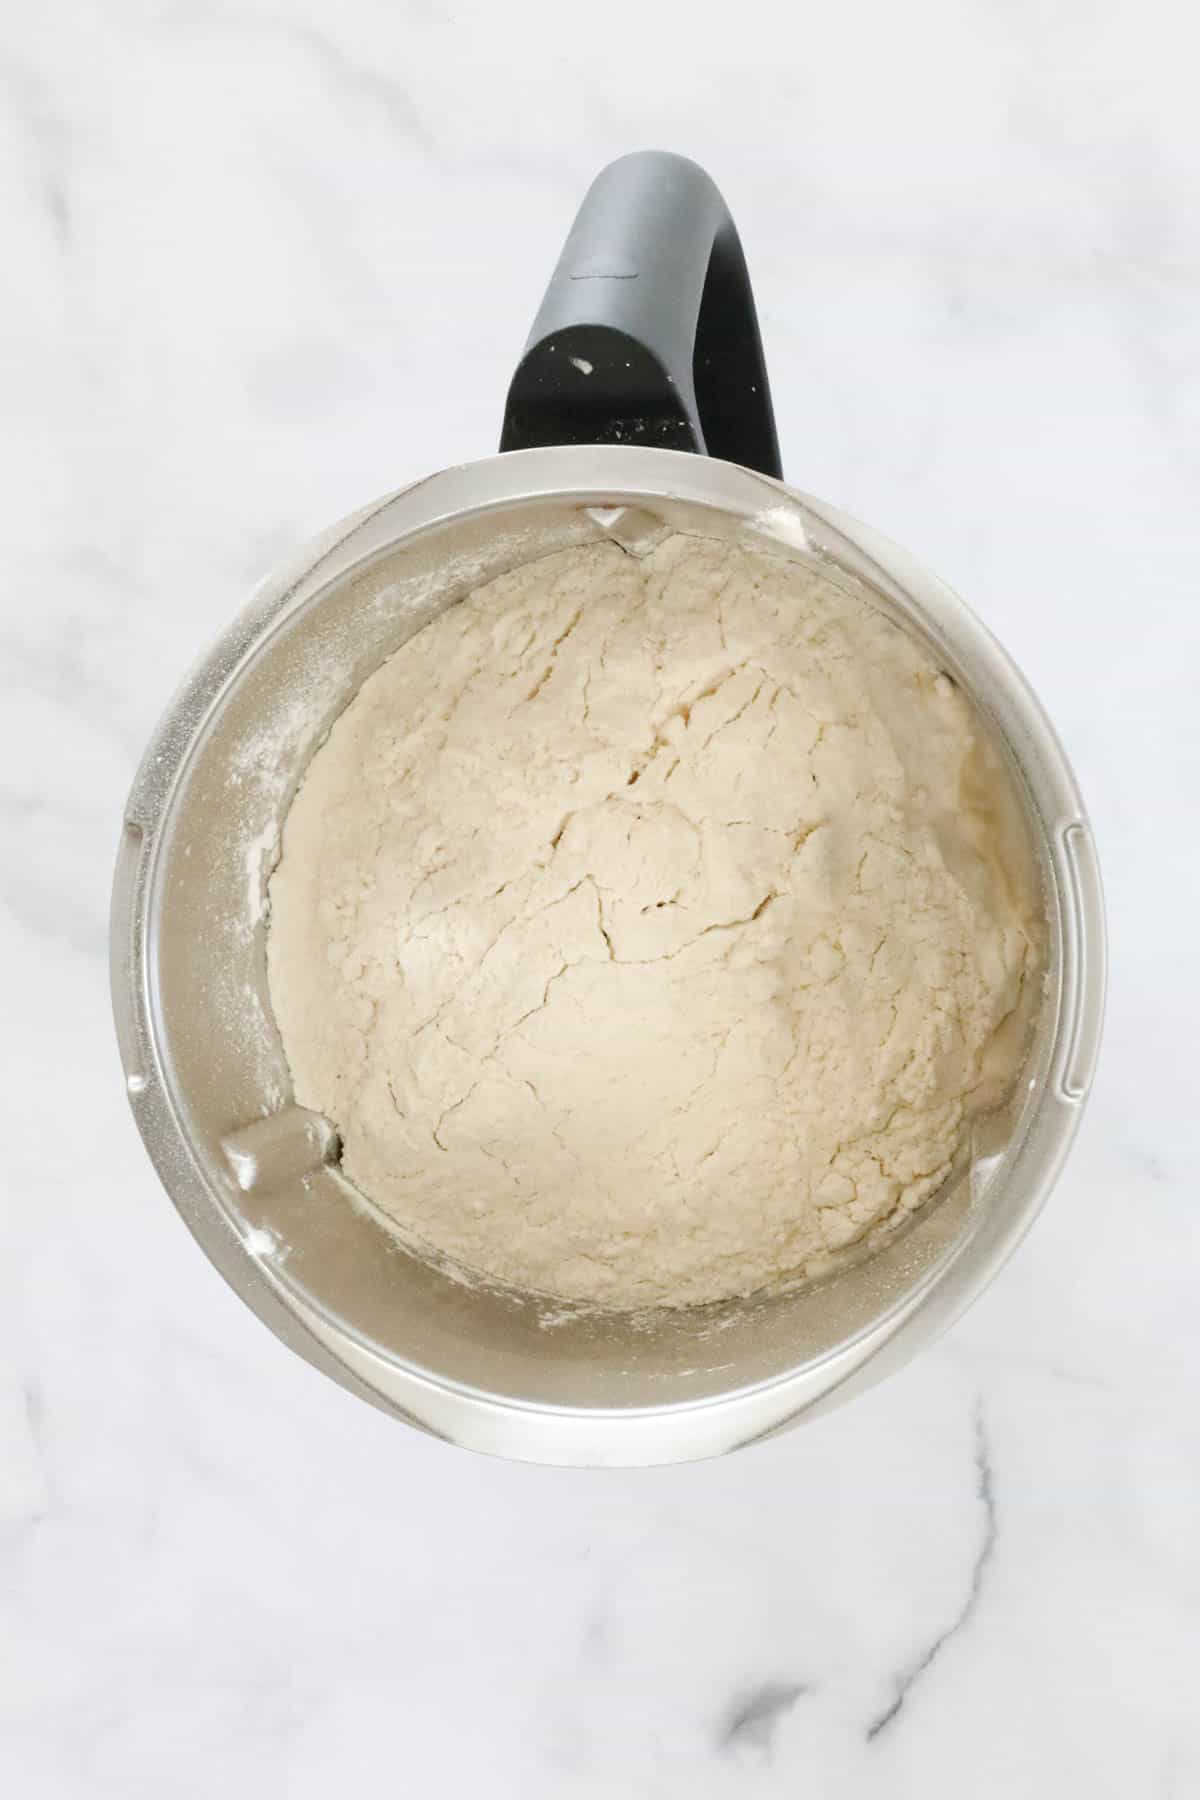
Until combined.
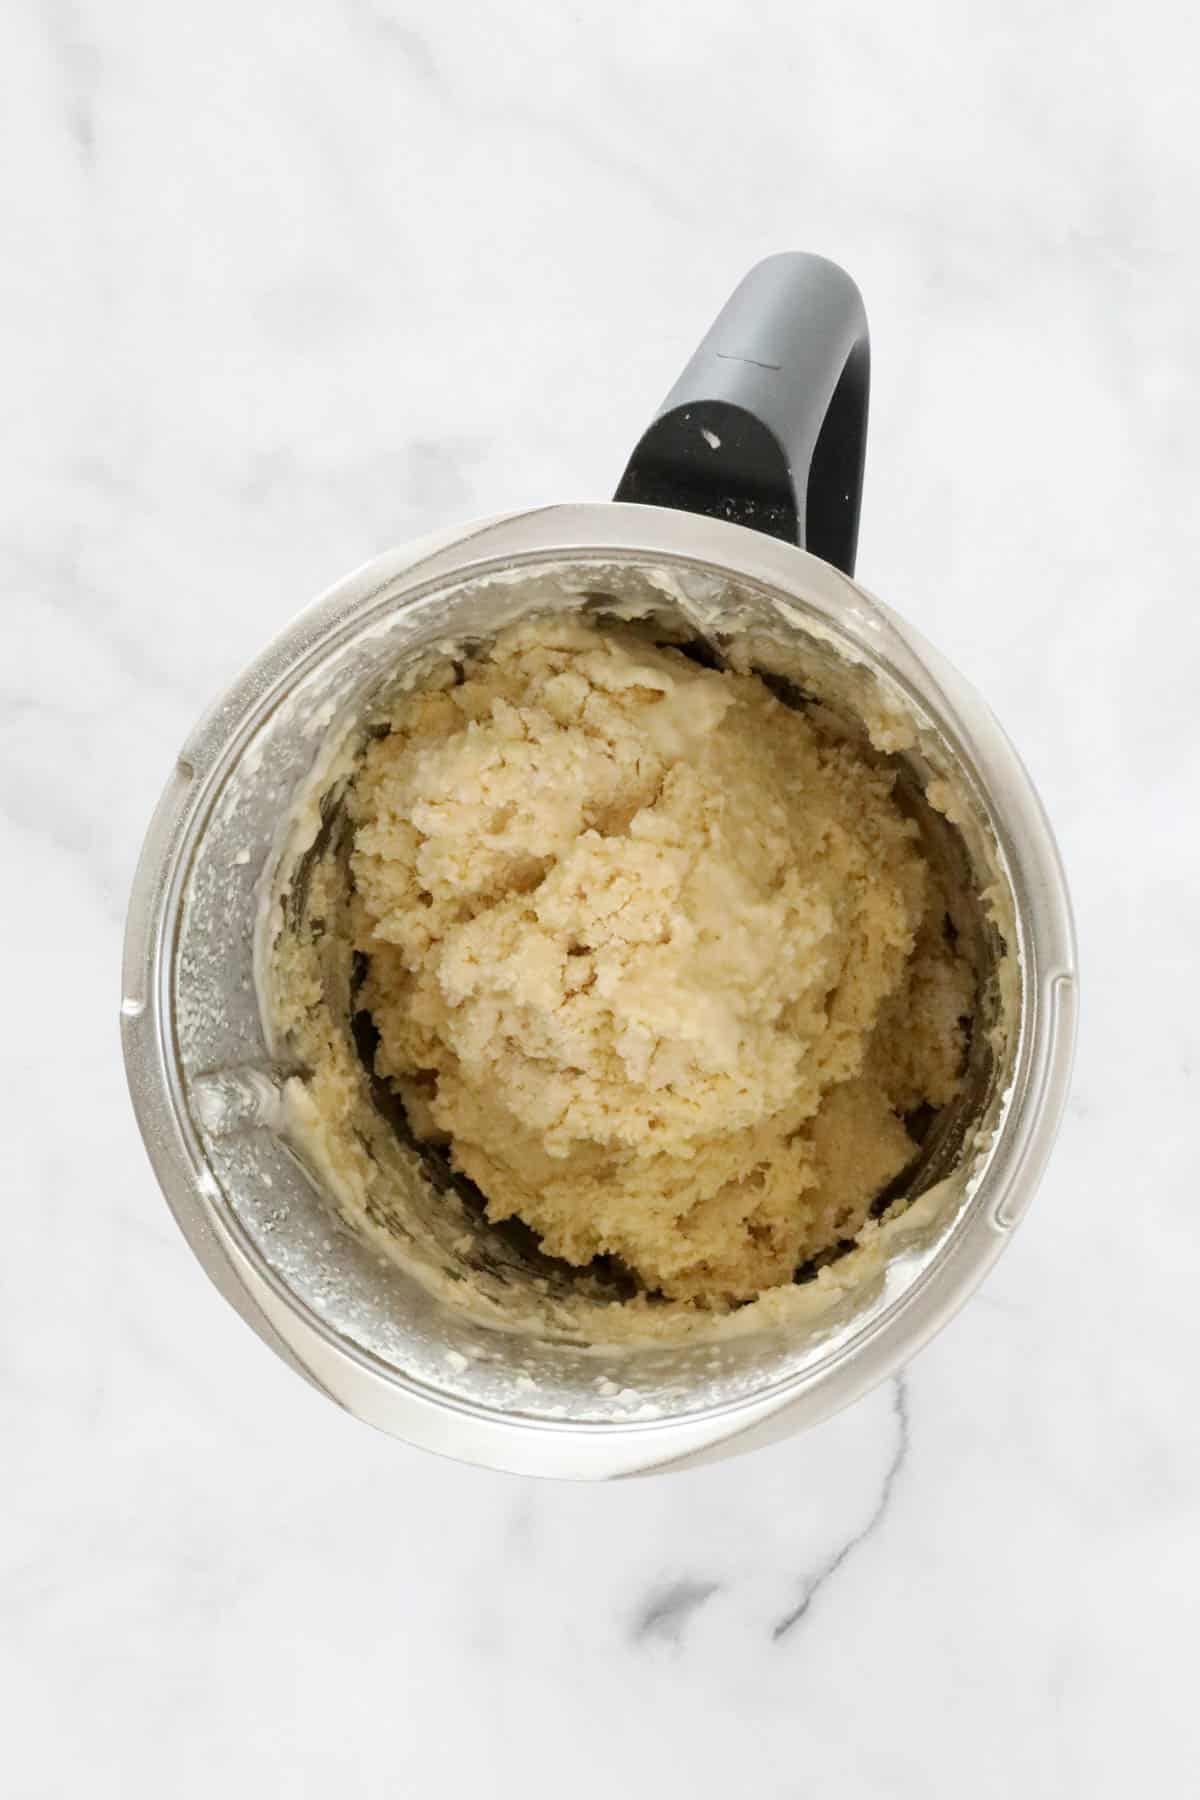
Step 3 - Knead
Use the Kneading/Interval function to knead the dough.
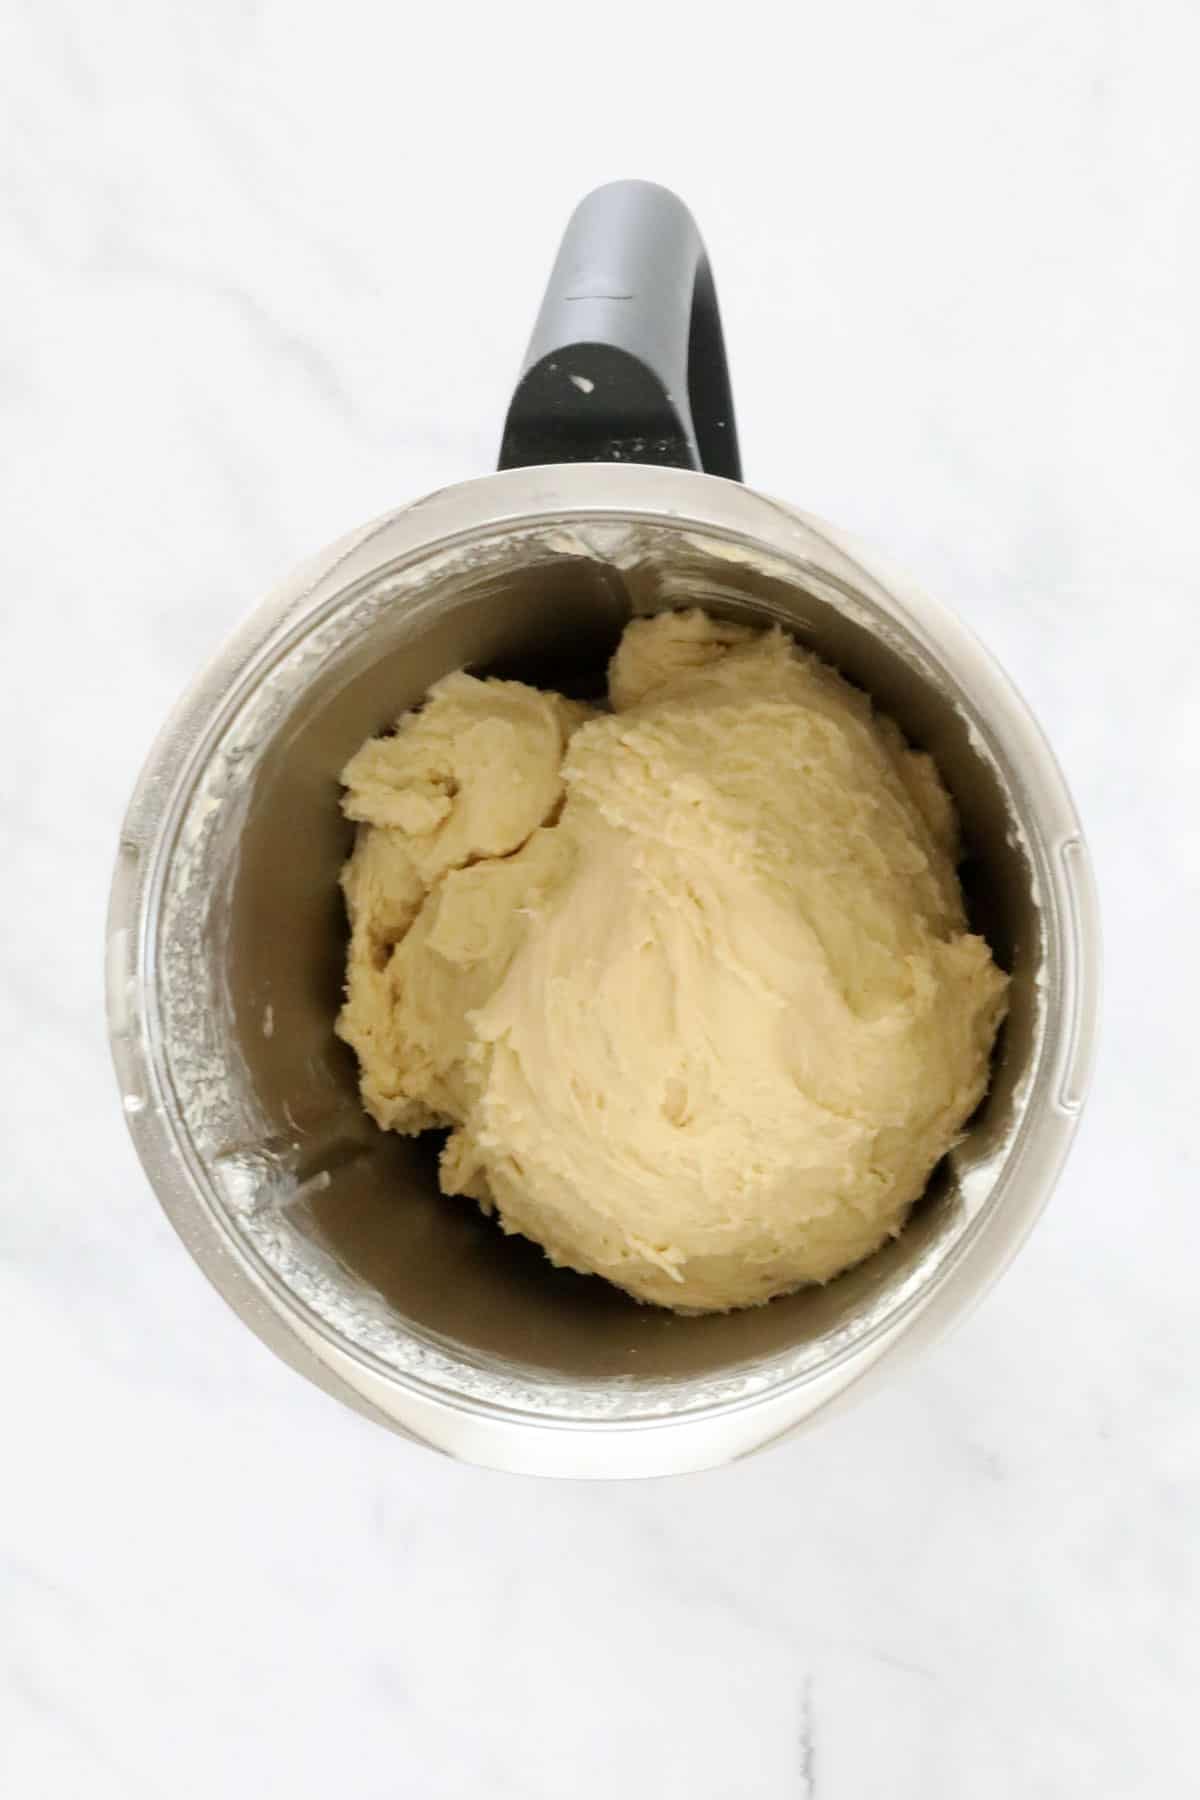
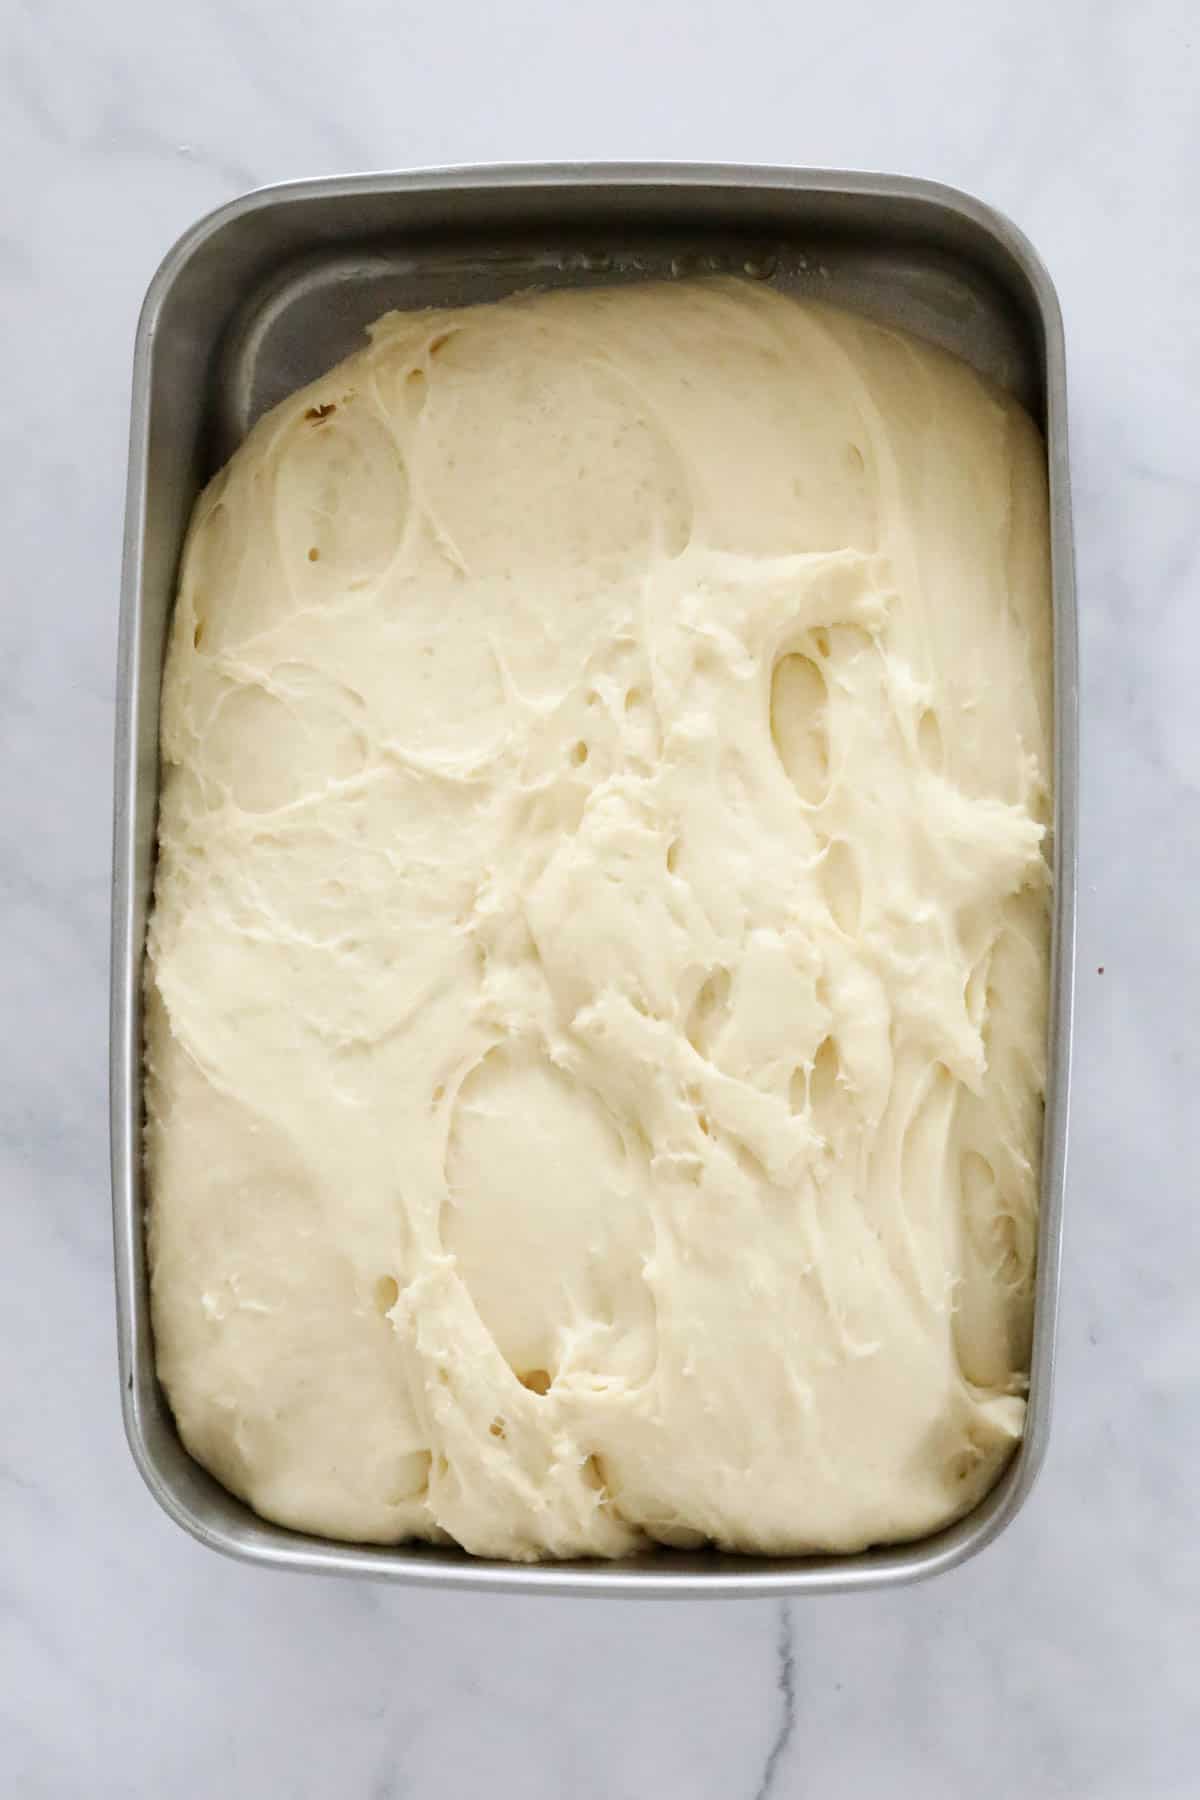
Step 4 - Allow To Rise
Place the dough into a ThermoServer and place into a warm spot.
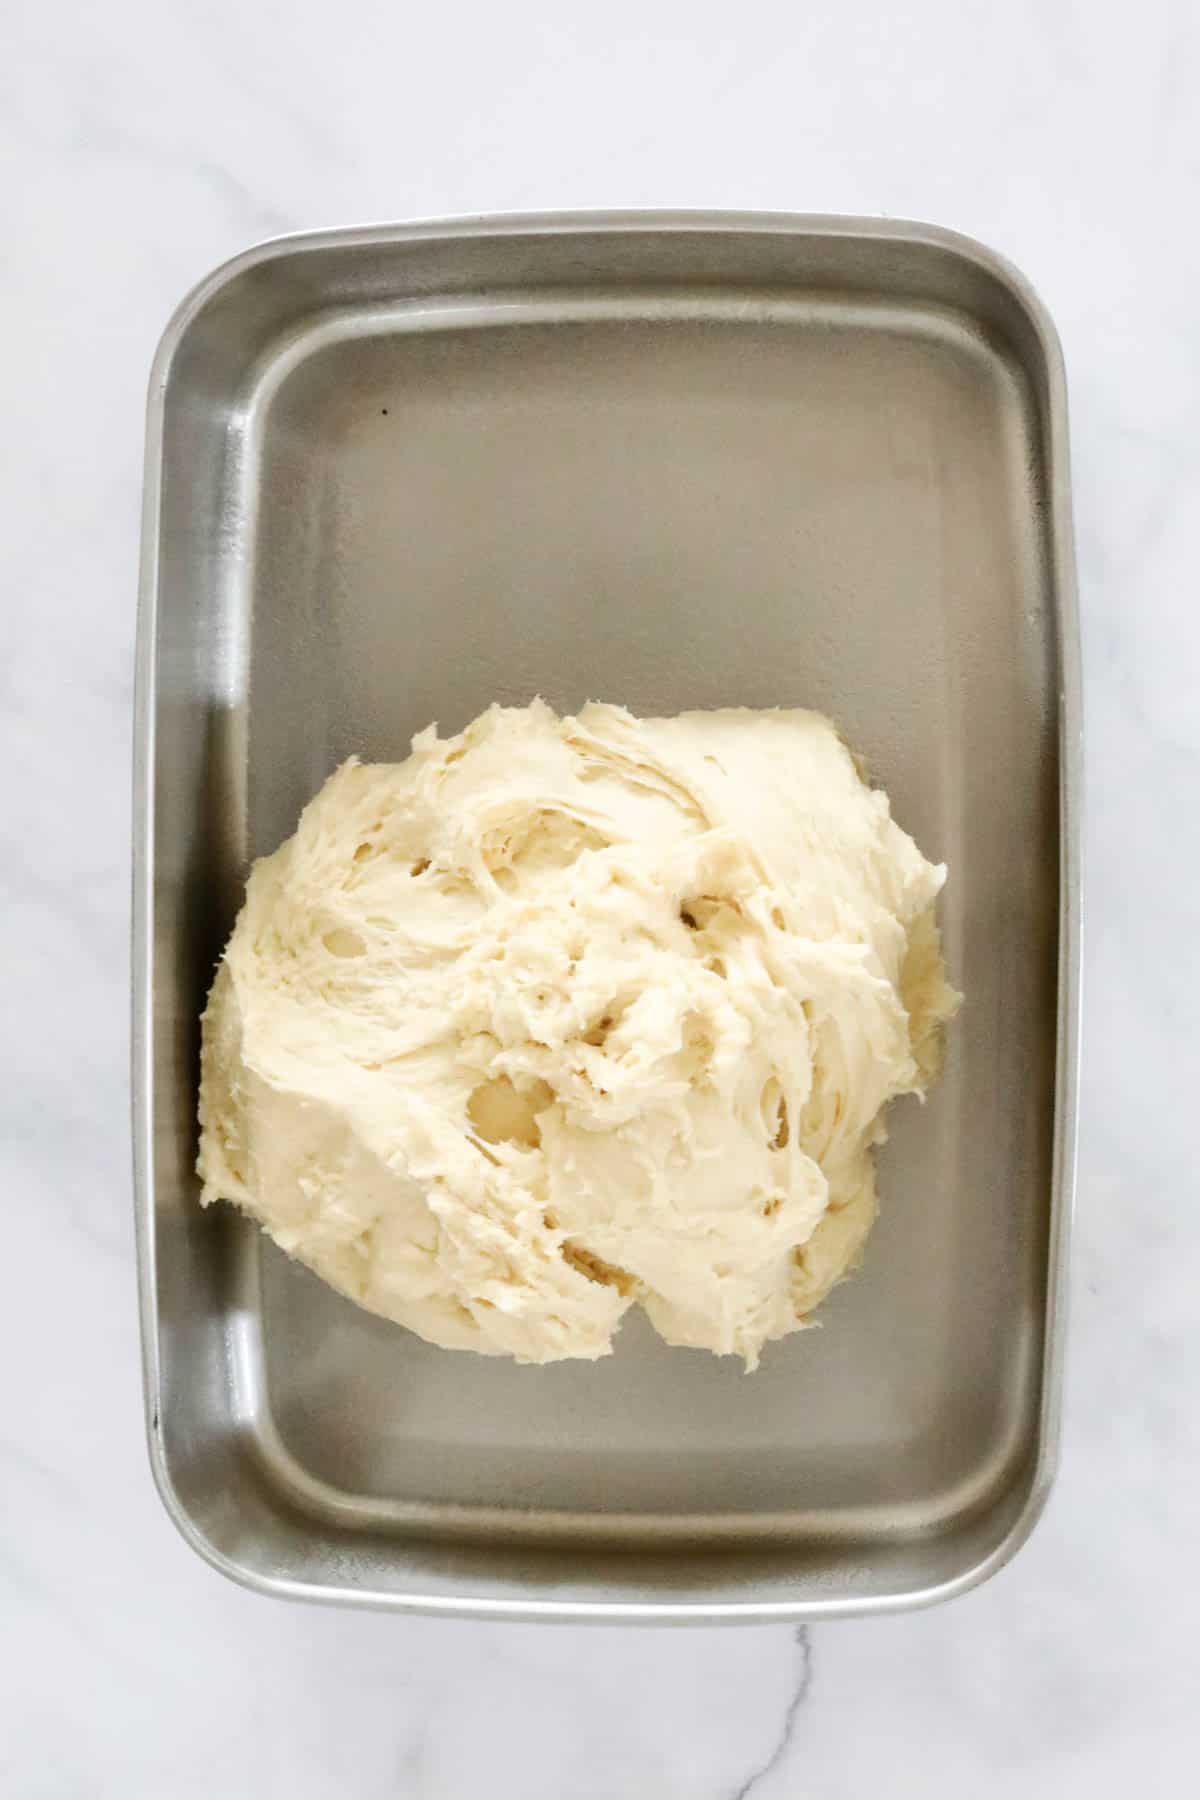
Allow to rest for 30 minutes or until doubled in size.
Step 5 - Make The Buns
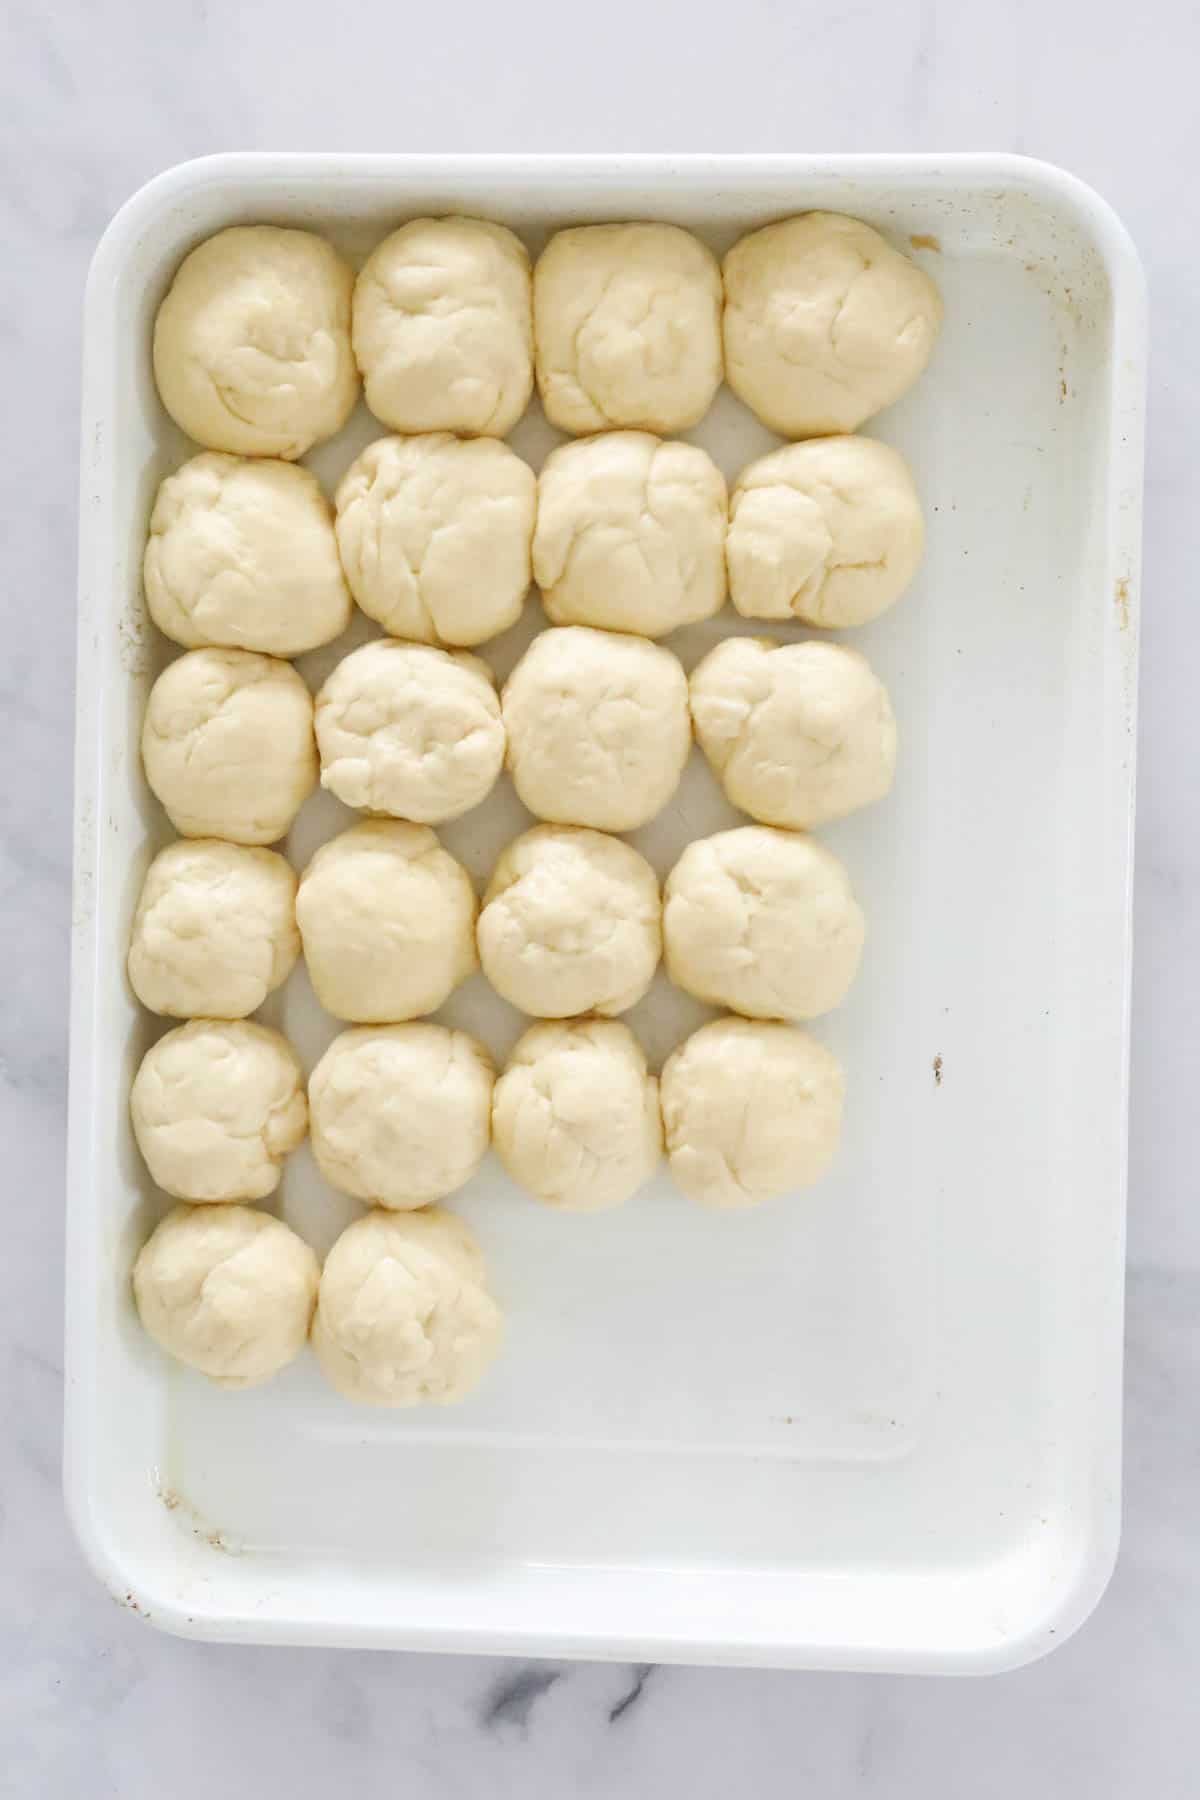
Divide the dough into 10 extra large buns or 20 mini slider buns.
Place onto a tray and leave for a further 20 minutes.
Step 6 - Bake
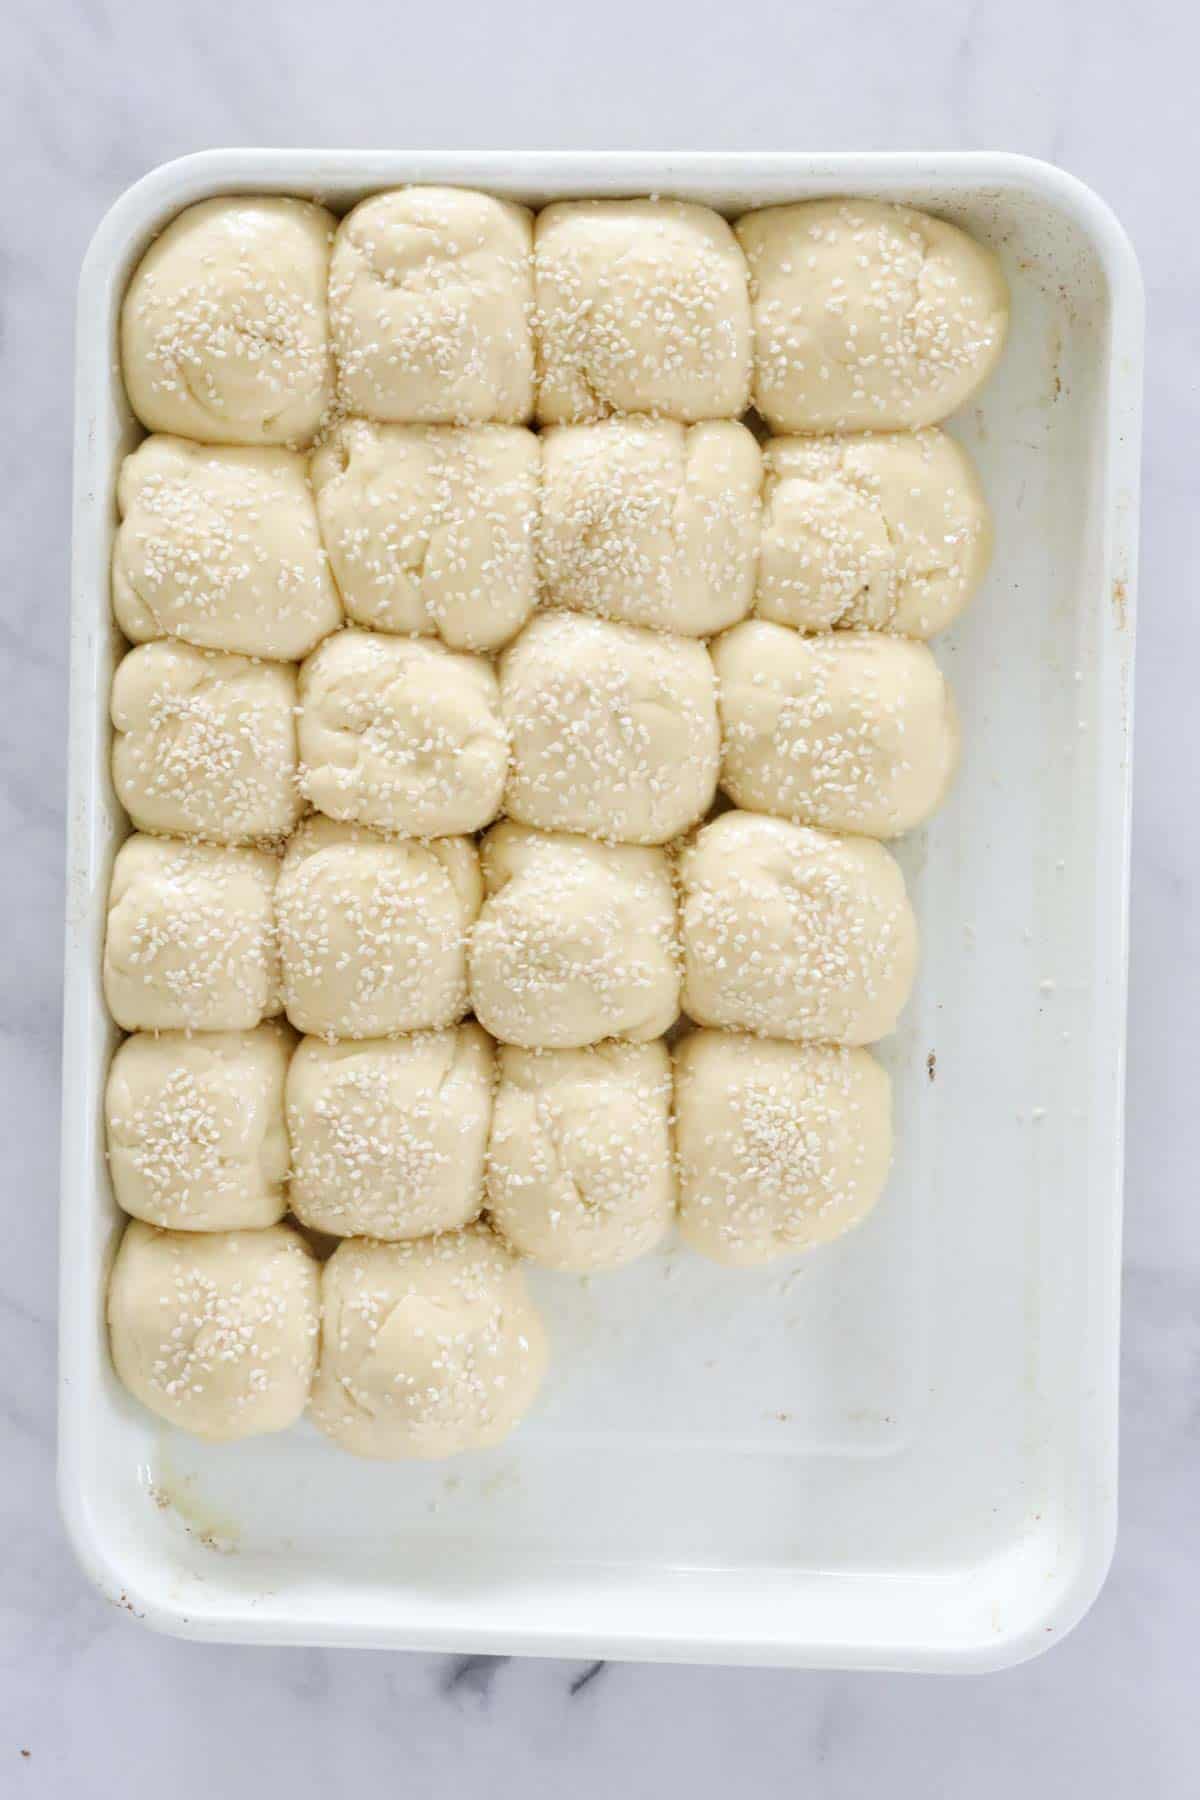
Brush the tops of the buns with the whisked egg and water mixture.
Sprinkle over the sesame seeds.
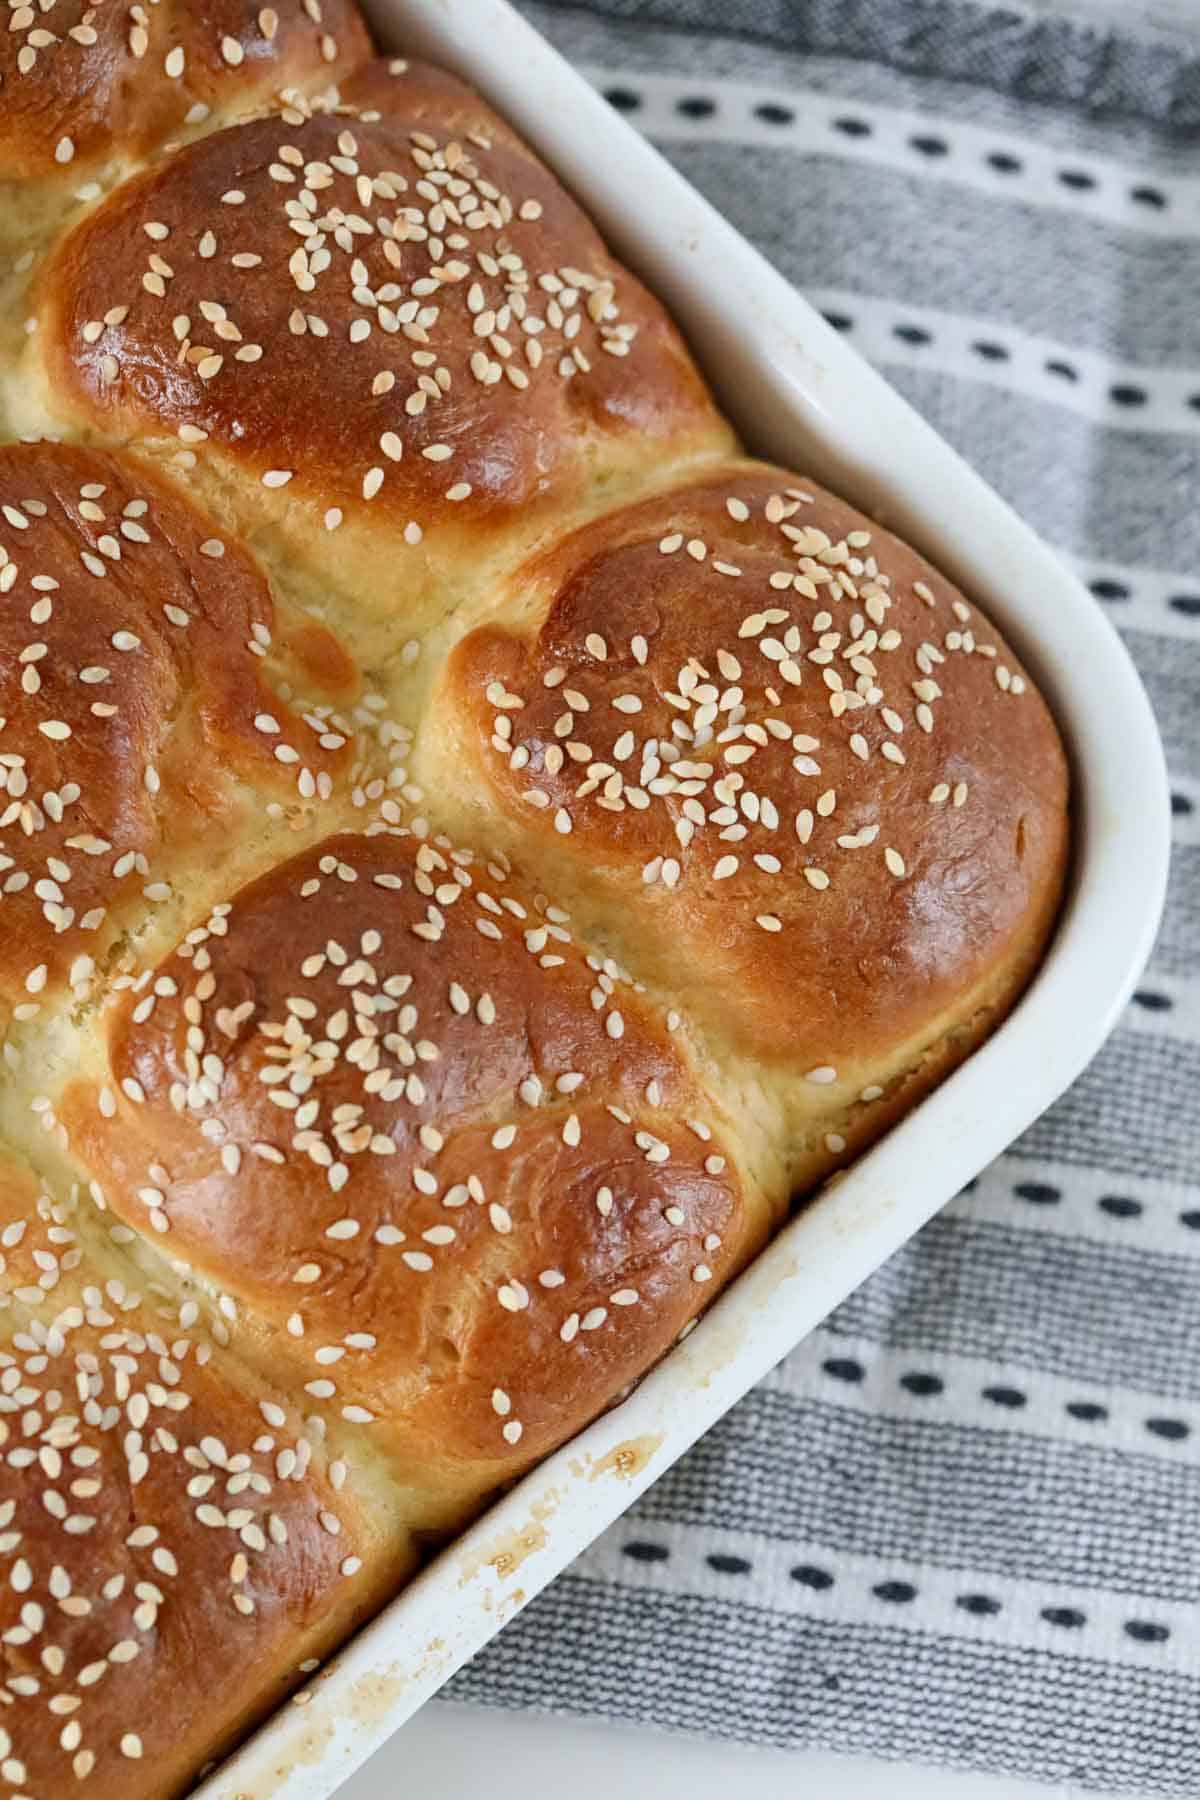
Bake for 20-30 minutes (depending on the bun size) or until golden on top and the buns sound hollow when tapped.
Allow the buns to cool on the baking tray for 5 minutes before transferring to a wire rack to cool completely.
Expert Tips
Follow our top tips for the perfect Thermomix brioche buns!
- Use Bakers flour or bread flour. This will give you the best, softest buns! If you don't have bread flour, you 'can' use regular plain flour but your buns wont be quite as good!
- Check your yeast to make sure that it's still active and in date before using.
- Allow the dough to rise in a warm spot until doubled in size. If you live in a cool climate, you can always place a hot water bottle under the base of the ThermoServer.
- If you don't have a ThermoServer, you can place the dough into a large bowl and cover the top with a tea towel.
- Brushing the tops of the dough buns with a mix of egg whites and water before baking will ensure that they have a lovely golden, crunchy top once baked.
- The cooking time will depend on your oven and also the size of your buns. Cook for 20-30 minutes or until the buns are golden on top and sound hollow when tapped.
- Our Thermomix brioche buns are best served on the day of baking, but they can be stored in a bread bag or wrapped in a tea towel for 1-2 days.
- Once cooled, you can freeze the buns for up to 3 months.
FAQs
Our recipe makes 10 extra large brioche buns or 20 mini brioche sliders.
Fill our brioche buns with any of your favourite fillings (such as pulled pork and slaw, Korean chicken and salad, chicken schnitzel and cheese)... the options are endless!
Alternatively, serve the rolls plain with a bowl of soup.
Our recipe ensures that your buns will be golden and crunchy on top! Simply whisk together egg whites and water and brush over the top of the buns before baking.
Related Recipes
The Thermomix makes preparing your own homemade breads, rolls and loaves an absolute breeze!
Here's a few more of our favourite Thermomix bread recipes:
OUR RANGE OF THERMOMIX COOKBOOKS
Browse our collection of hardcopy Thermomix cookbooks here.
There's everything from family dinners to kids snacks, desserts to cookies, slices to Christmas recipes, cocktails to chocolate recipes and more!


Thermomix Brioche Buns
Equipment
- Thermomix
- Oven
Ingredients
- 30 g caster sugar
- 330 g milk
- 3 teaspoon dried instant yeast
- 80 g softened butter
- 1 teaspoon salt
- 650 g bakers flour or plain flour
- 1 egg
- 2 egg whites to brush the top of the buns (or you can use milk instead)
- 1 tbs water
- sesame seeds for sprinkling
Instructions
- Grease a large flat baking tray and set aside.
- Add the sugar, milk and yeast to the Thermomix bowl and warm for 1 minute, 37 degrees, Speed 1.
- Add the butter, salt, flour and 1 egg. Mix for 10 seconds, Speed 7.
- Knead on Interval Speed/Kneading Function for 3 minutes.
- Place into the Thermoserver or a bowl, cover with a tea towel and place into a warm area to prove for 30 minutes (by this time the dough should have doubled in size).
- Divide the dough into 10 equal pieces (for larger buns) or 20 equal pieces (for mini buns).
- Shape into buns and place into the baking tray (touching one another). Leave for a further 20 minutes to prove.
- Preheat oven to 200 degrees celsius (fan-forced).
- Whisk the egg whites and water together with a fork and then brush over the top of the buns.Sprinkle with sesame seeds.
- Bake in the oven for 20-30 minutes (cooking time will depend on the size of your buns).The buns are ready when they are golden brown and sound hollow when tapped.
- Leave in the baking tray for 5 minutes and then transfer to a wire rack to cool completely.
Notes
- Use Bakers flour or bread flour. This will give you the best, softest buns! If you don't have bread flour, you 'can' use regular plain flour but your buns wont be quite as good!
- Check your yeast to make sure that it's still active and in date before using.
- Allow the dough to rise in a warm spot until doubled in size. If you live in a cool climate, you can always place a hot water bottle under the base of the ThermoServer.
- If you don't have a ThermoServer, you can place the dough into a large bowl and cover the top with a tea towel.
- Brushing the tops of the dough buns with a mix of egg whites and water before baking will ensure that they have a lovely golden, crunchy top once baked.
- The cooking time will depend on your oven and also the size of your buns. Cook for 20-30 minutes or until the buns are golden on top and sound hollow when tapped.
- Our Thermomix brioche buns are best served on the day of baking, but they can be stored in a bread bag or wrapped in a tea towel for 1-2 days.
- Once cooled, you can freeze the buns for up to 3 months.






Kath says
I made these as the smaller slider buns - they were perfect, easy to make and everyone loved them. Thank you!
Lucy says
YUM!
Cara says
Any idea how long they last?
And do they freeze well?
Lucy Mathieson says
Hi Cara, like all rolls these are best eaten on the day (or the following day). You can freeze them, however they're certainly better fresh 🙂
Xanthe says
Any way these could be made with gluten free flour? They look sooooo good!!!
Lucy says
Oooh good question!!! I've never tried that before so wouldnt like to say - but you could definitely give it a shot!!!
Sam says
Thank you so much for this recipe - I made these for a lunch with friends and they turned out perfectly.
Lucy says
Fantastic!!! We're so happy to hear that!
Bec says
Oops!! ^^ These look delicious! I am a huge brioche fan and these look super perfect for some pulled pork and slaw. x
Bec says
o