Made with just five ingredients, these Thermomix Fairy Biscuits are a simple and delicious treat your family will love!
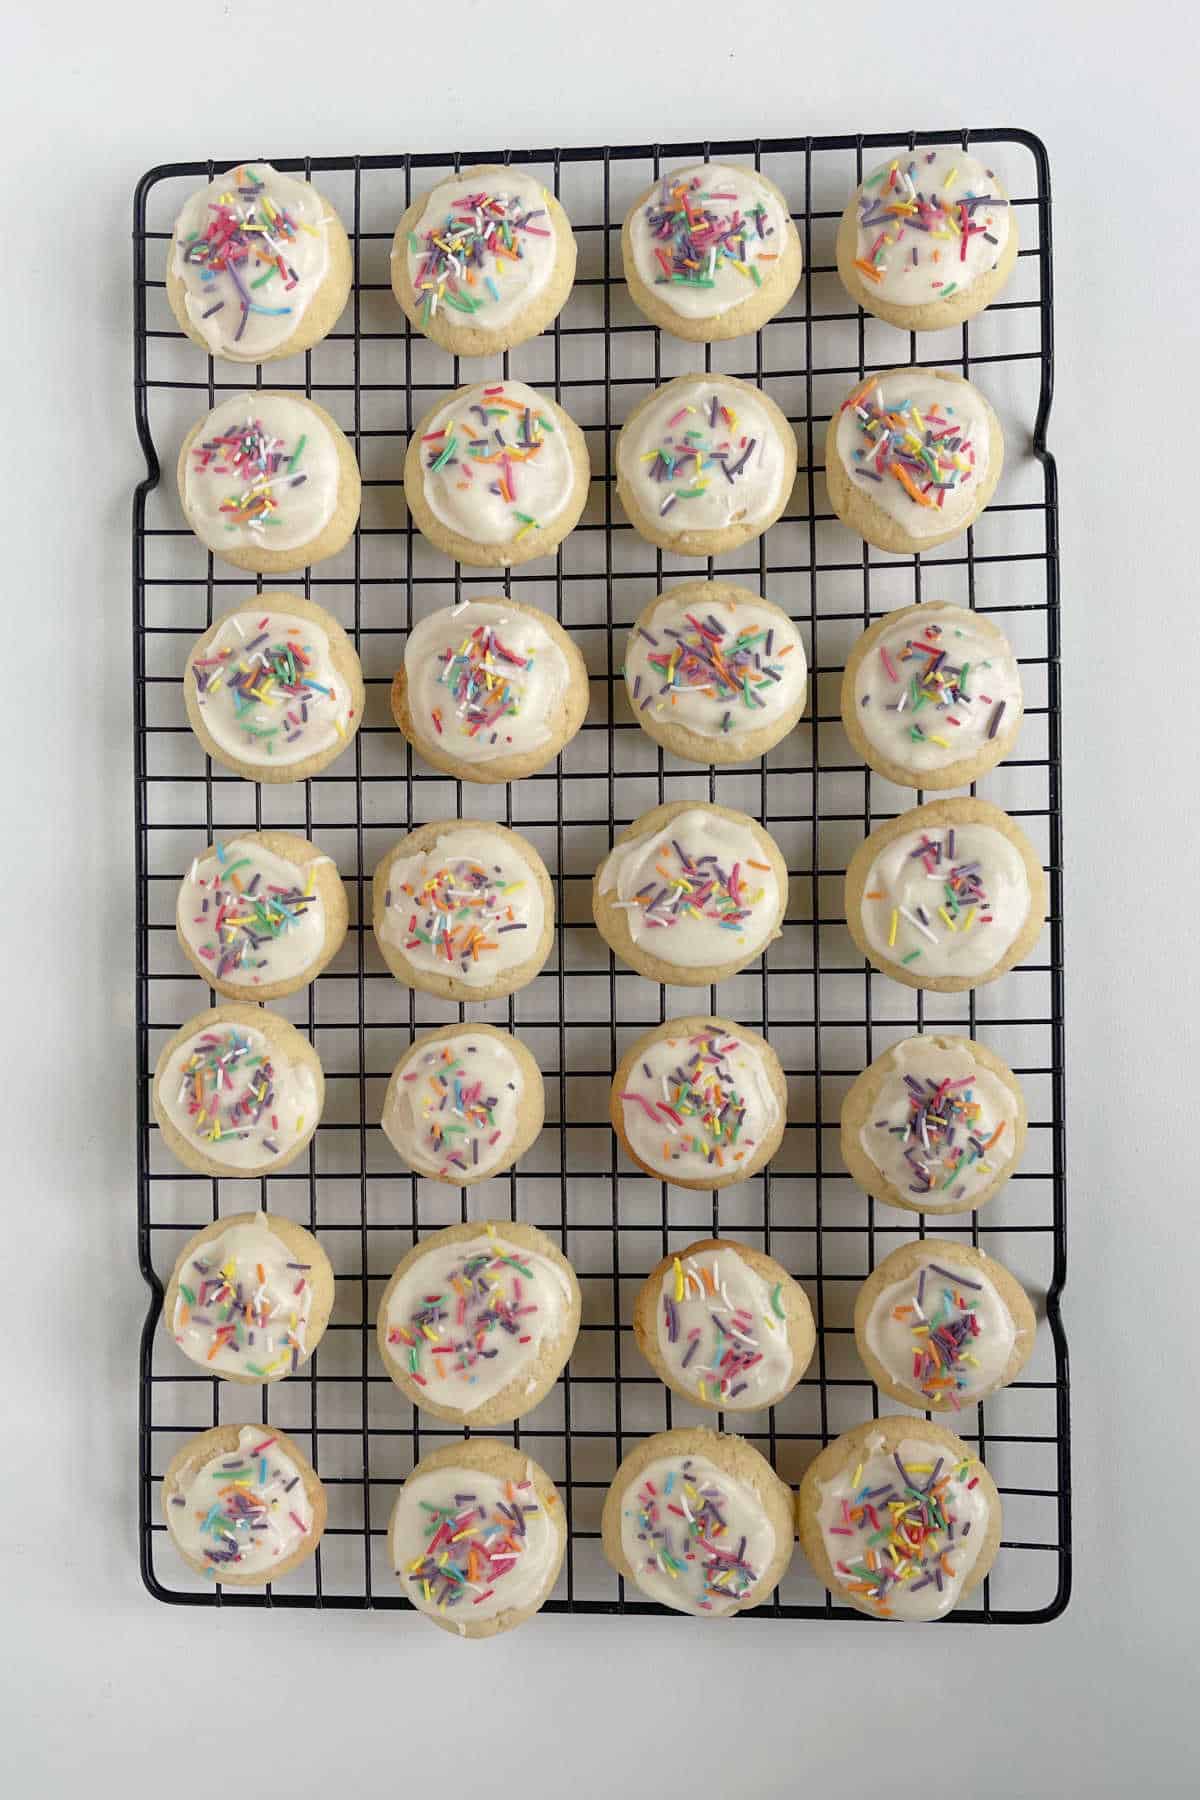
These biscuits make a great sweet snack and they are also perfect for lunchboxes too. Although I love to top these biscuits with a simple icing, they are also delicious without icing too.

All of my kids love this Fairy Biscuits and I LOVE the fact that this recipe make a lot, is freezer friendly and only requires a few pantry staples to make.
You will also love
Quick to prepare - these Fairy Biscuits can be ready for the oven in under 15 minutes.
Lunchbox friendly - enjoyed plain or iced these biscuits make a delicious treat for the kids.
Versatile - For younger children, roll the biscuits into smaller balls (this will also increase the overall quantity of biscuits). You can also top with buttercream for an extra hit of flavour.
Freezer friendly - store both plain or iced biscuits in the freezer for up to two months.

Ingredients
Please note you will find a full list of ingredients in the recipe card below.
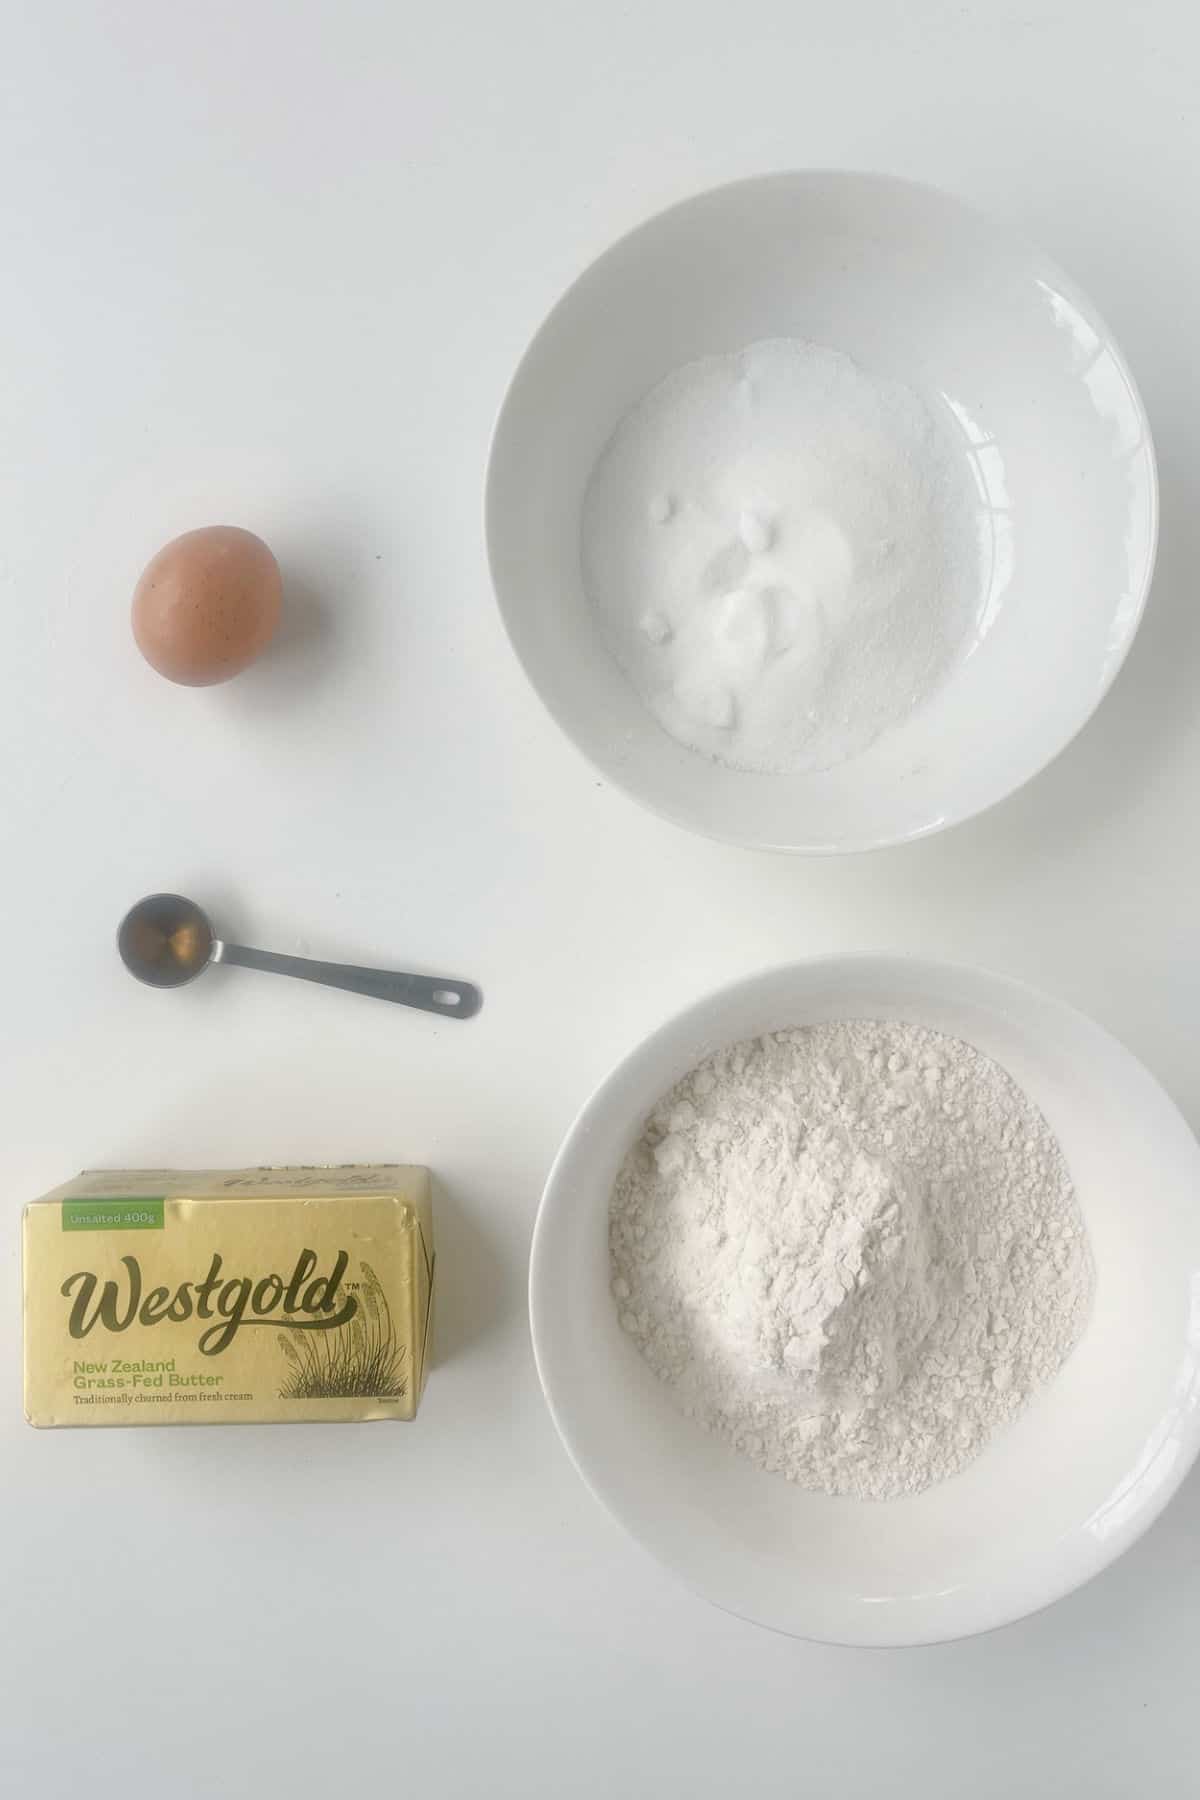
- Butter - we use unsalted butter for this recipe. It is also important to bring your butter to room temperature before using.
- Caster Sugar
- Self-raising Flour - the same quantity of plain flour with 1 ½ teaspoons of baking powder can also be used.
- Egg - a 70 gram egg was used for this recipe.
- Vanilla Extract - can be substituted with vanilla essence.
How to Make Fairy Biscuits
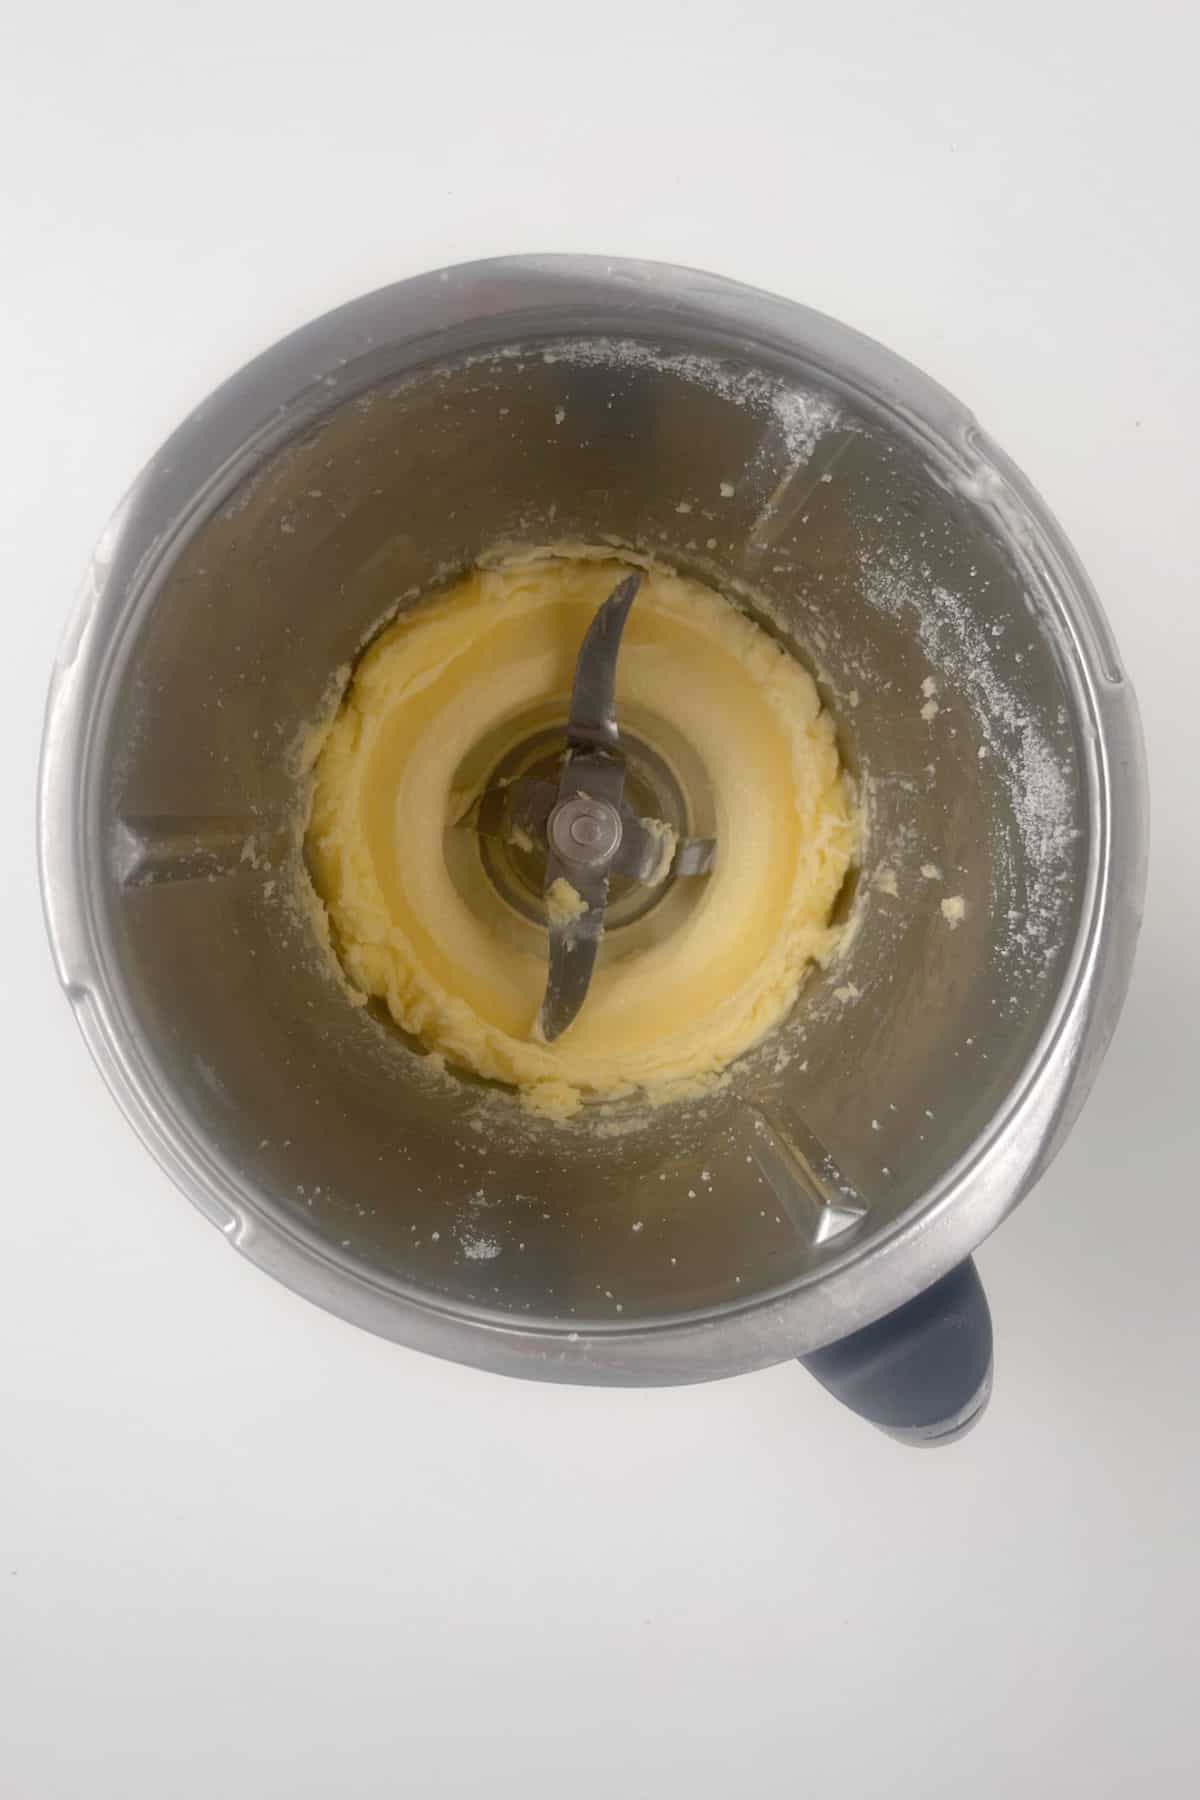
Step 1. Combine the butter and sugar until pale and creamy.
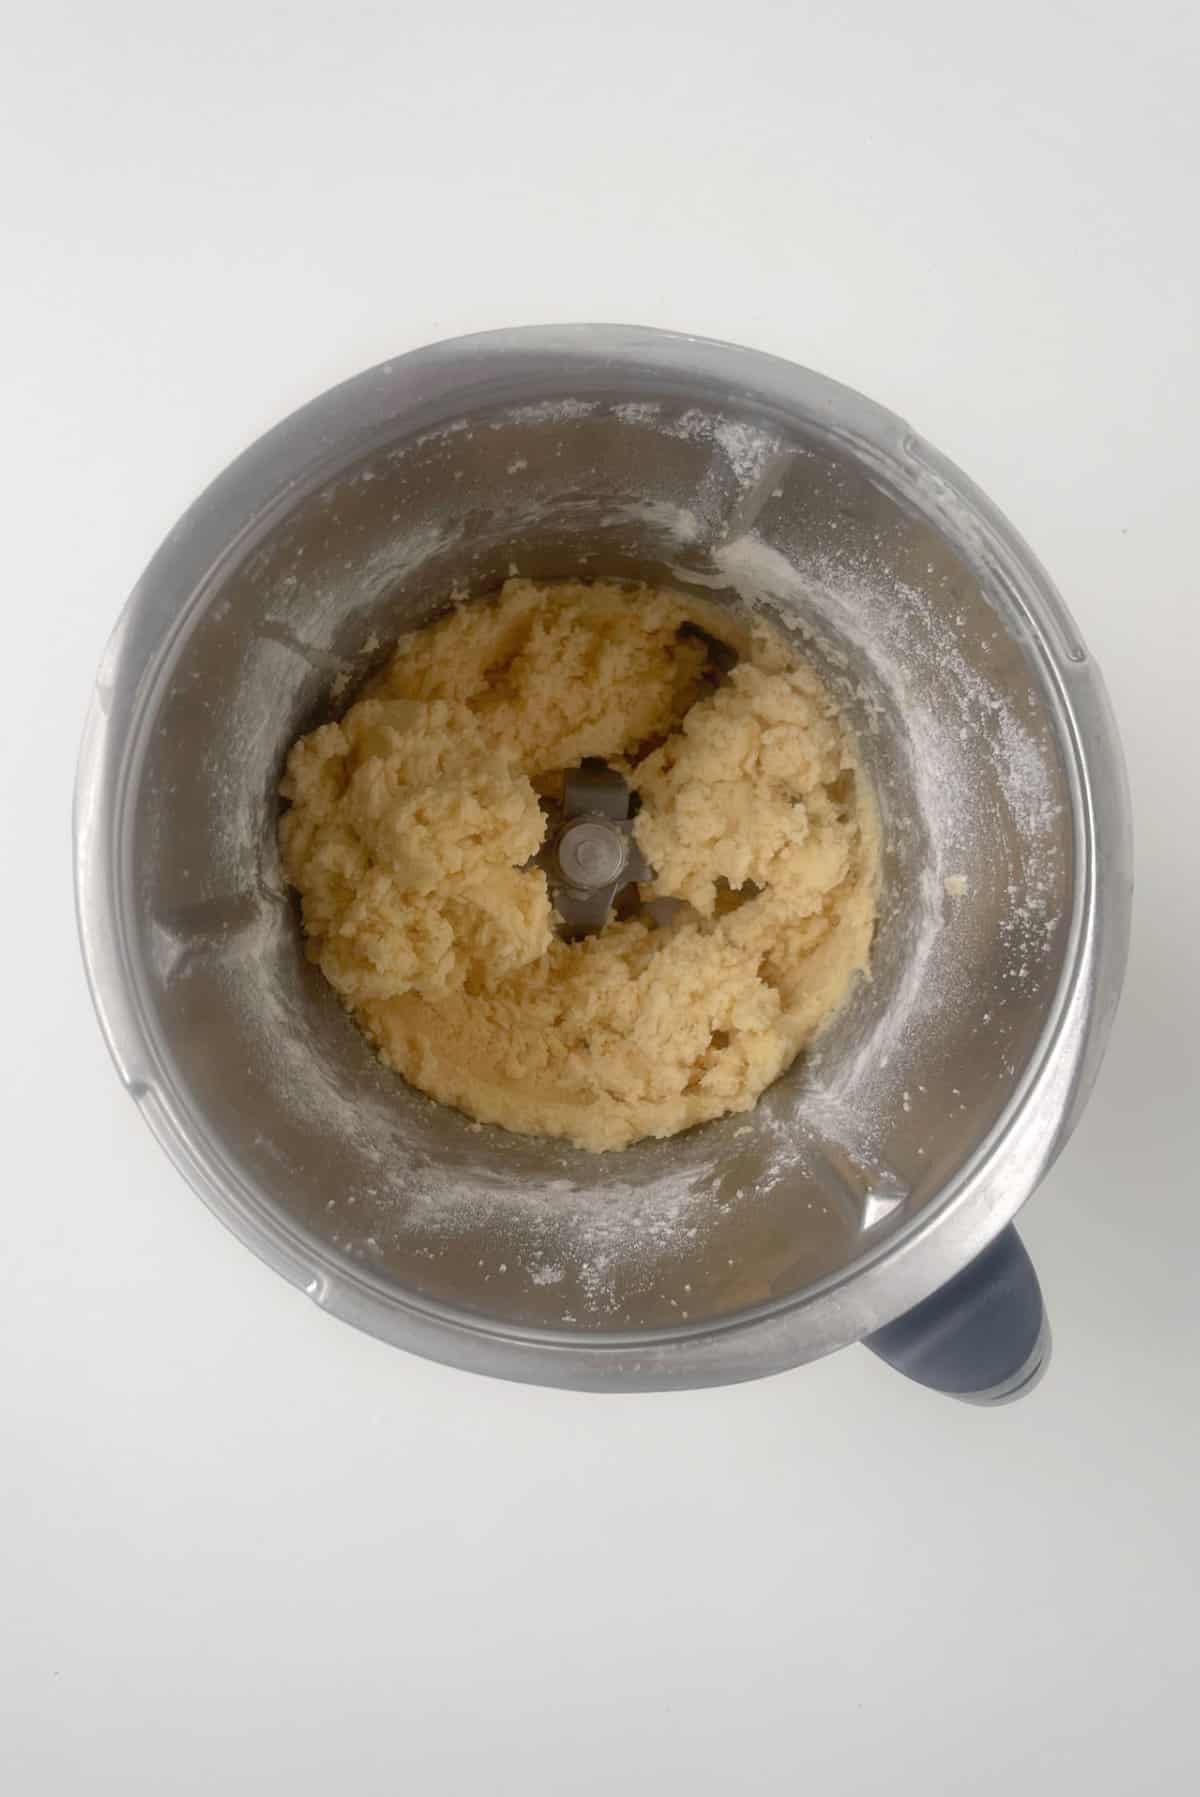
Step 2. Add the remaining ingredients and mix until a soft dough forms.
Step 3. Use a tablespoon to scoop up the mixture and roll into balls. Place onto a lined baking tray.

Step 4. Slightly flatten the top of each biscuit.

Step 5. Place the baking trays into the oven and bake until the biscuits begin to turn golden on the edges.
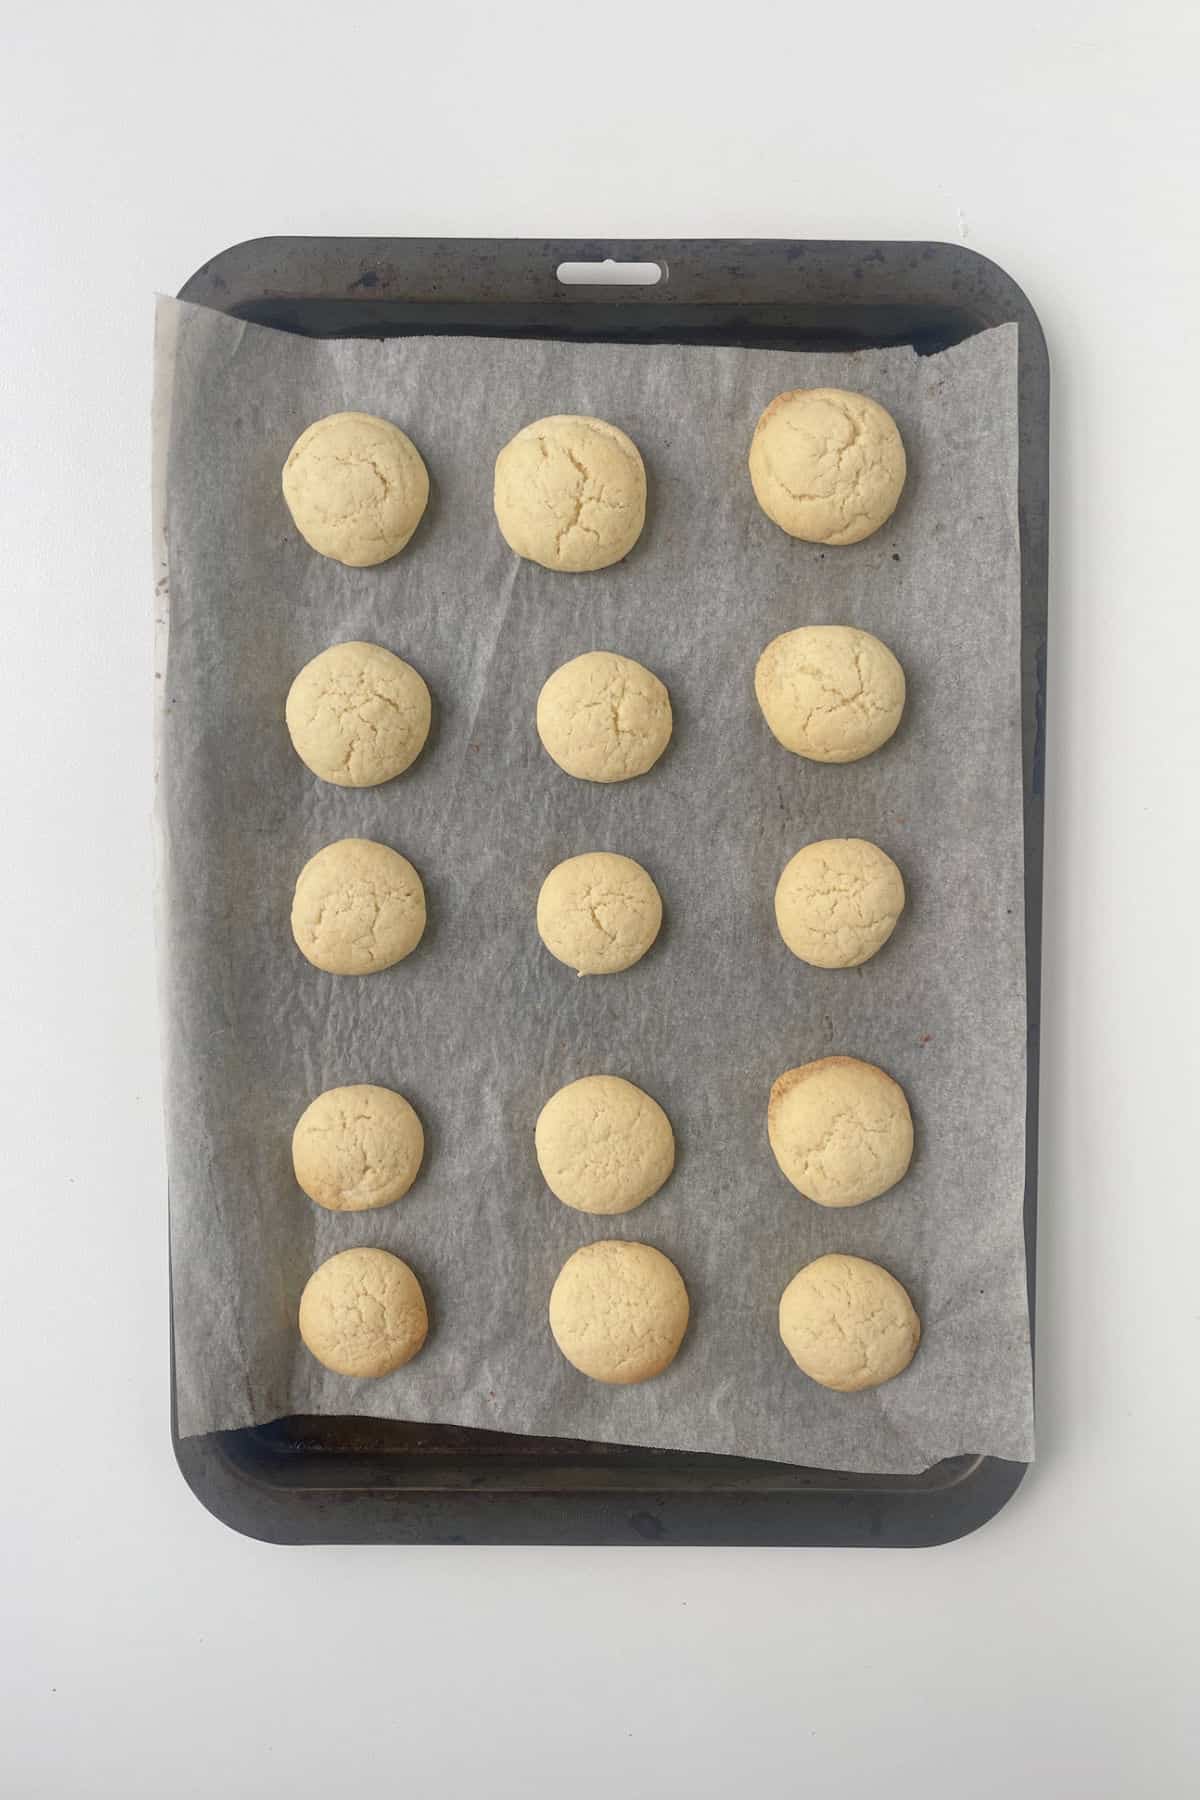
Step 6. Once the biscuits are completely cooled, top with icing and decorate with sprinkles if desired.
Recipes Hints and Tips :
- It's important that your butter is at room temperature, it will take longer to combine with the caster sugar if it's cold.
- Using a tablespoon to scoop up the dough will make approximately 40 biscuits. If you make your biscuits larger or smaller, the cooking time will vary.
- These biscuits can also be enjoyed plain.
- When it comes to the icing you can add a drop or two of your favourite food colouring to make these biscuits just that little extra special.
- To store, place in an airtight container and keep at room temperature for up to 5 days.
- Please note these biscuits will soften after a couple of days, especially if iced.
- You can freeze this biscuit dough, simply roll into a log and cover with foil before placing in the freezer.
- Both iced and plain biscuits can be frozen for up to two months.
Frequently Asked Questions
100s and 1000s are a type of decoration that is used in baking and decorating. Typically, they are small round coloured balls that are sprinkled over icing or used within biscuit dough or cakes batter.
It is important to leave a space between biscuits on baking trays as the mixture will spread during baking.

You May Also Enjoy These Recipes:

Looking for More?
For more simple snacks, check out our Lunch Box Recipes Books and Kids Snacks Book - also available in a bundle pack. You can browse the full range of books and eBooks here.


Thermomix Fairy Biscuits
Equipment
- 2 x Baking Trays
- Thermomix
- Oven
Ingredients
- 125 grams butter at room temperature
- 100 grams caster sugar
- 240 grams self raising flour
- 1 egg
- 1 teaspoon vanilla extract
Icing Ingredients
- 1 & ½ cups soft icing sugar mixture
- 1 teaspoon butter room temperature
- 1 - 2 tbsp boiling water
- sprinkles to decorate
Instructions
- Pre-heat your oven to 180 degrees celsius (fan-forced) and line two baking trays with baking paper.
- Place the butter and caster sugar into your Thermomix bowl and mix for 15 seconds, speed 3 to combine.
- Scrape down the sides of your bowl and mix for a further 15 seconds, speed 3 or until pale and creamy.
- Add the self raising flour, egg and vanilla extract and mix for 10 seconds, speed 4.
- Select the kneading function and mix for 40 seconds.
- Remove the bowl from your machine and use a table spoon to scoop up the mixture and roll into a ball. Place onto your baking trays. Repeat until all of the mixture has been used.
- Lightly press down on top of each biscuit to flatten slightly. Place into the oven to bake for 10 - 12 minutes or until the edges of the biscuits start to turn golden.
- Remove from the oven and let the biscuits cool on the oven trays for 10 minutes before transferring to a wire rack to cool completely.
- Once completely cool, combine your icing ingredients in a bowl. Add one tablespoon of boiling water and then add an additional ½ tablespoon at a time until your icing is a spreadable consistency.
- Use a butter knife to place the icing onto each biscuit and add the sprinkles.
Notes
- It's important that your butter is at room temperature, it will take longer to combine with the caster sugar if it's cold.
- Using a tablespoon to scoop up the dough will make approximately 40 biscuits. If you make your biscuits larger or smaller, the cooking time will vary.
- These biscuits can also be enjoyed plain.
- When it comes to the icing you can add a drop or two of your favourite food colouring to make these biscuits just that little extra special.
- To store, place in an airtight container and keep at room temperature for up to 5 days.
- Please note these biscuits will soften after a couple of days, especially if iced.
- You can freeze this biscuit dough, simply roll into a log and cover with foil before placing in the freezer.
- Both iced and plain biscuits can be frozen for up to two months.




Danielle says
Has anyone made these with gluten free flour?
Jacqueline says
I added chocolate chips and replaced sugar w equal amounts of Swerve “sugar” yum
Emma Reid says
These are my kids favourite biscuits - they turn out perfectly every single time. Delicious
Rhianna says
Biscuits were yummy just a little crumbly (then again maybe it's my cooking)
Amanda says
Awesome. Everyone we shared them with loved them. Kids loved helping bake them too.
Allyson Kelleher says
I made these last weekend. They were so delicious. I ended up making 3 batches.