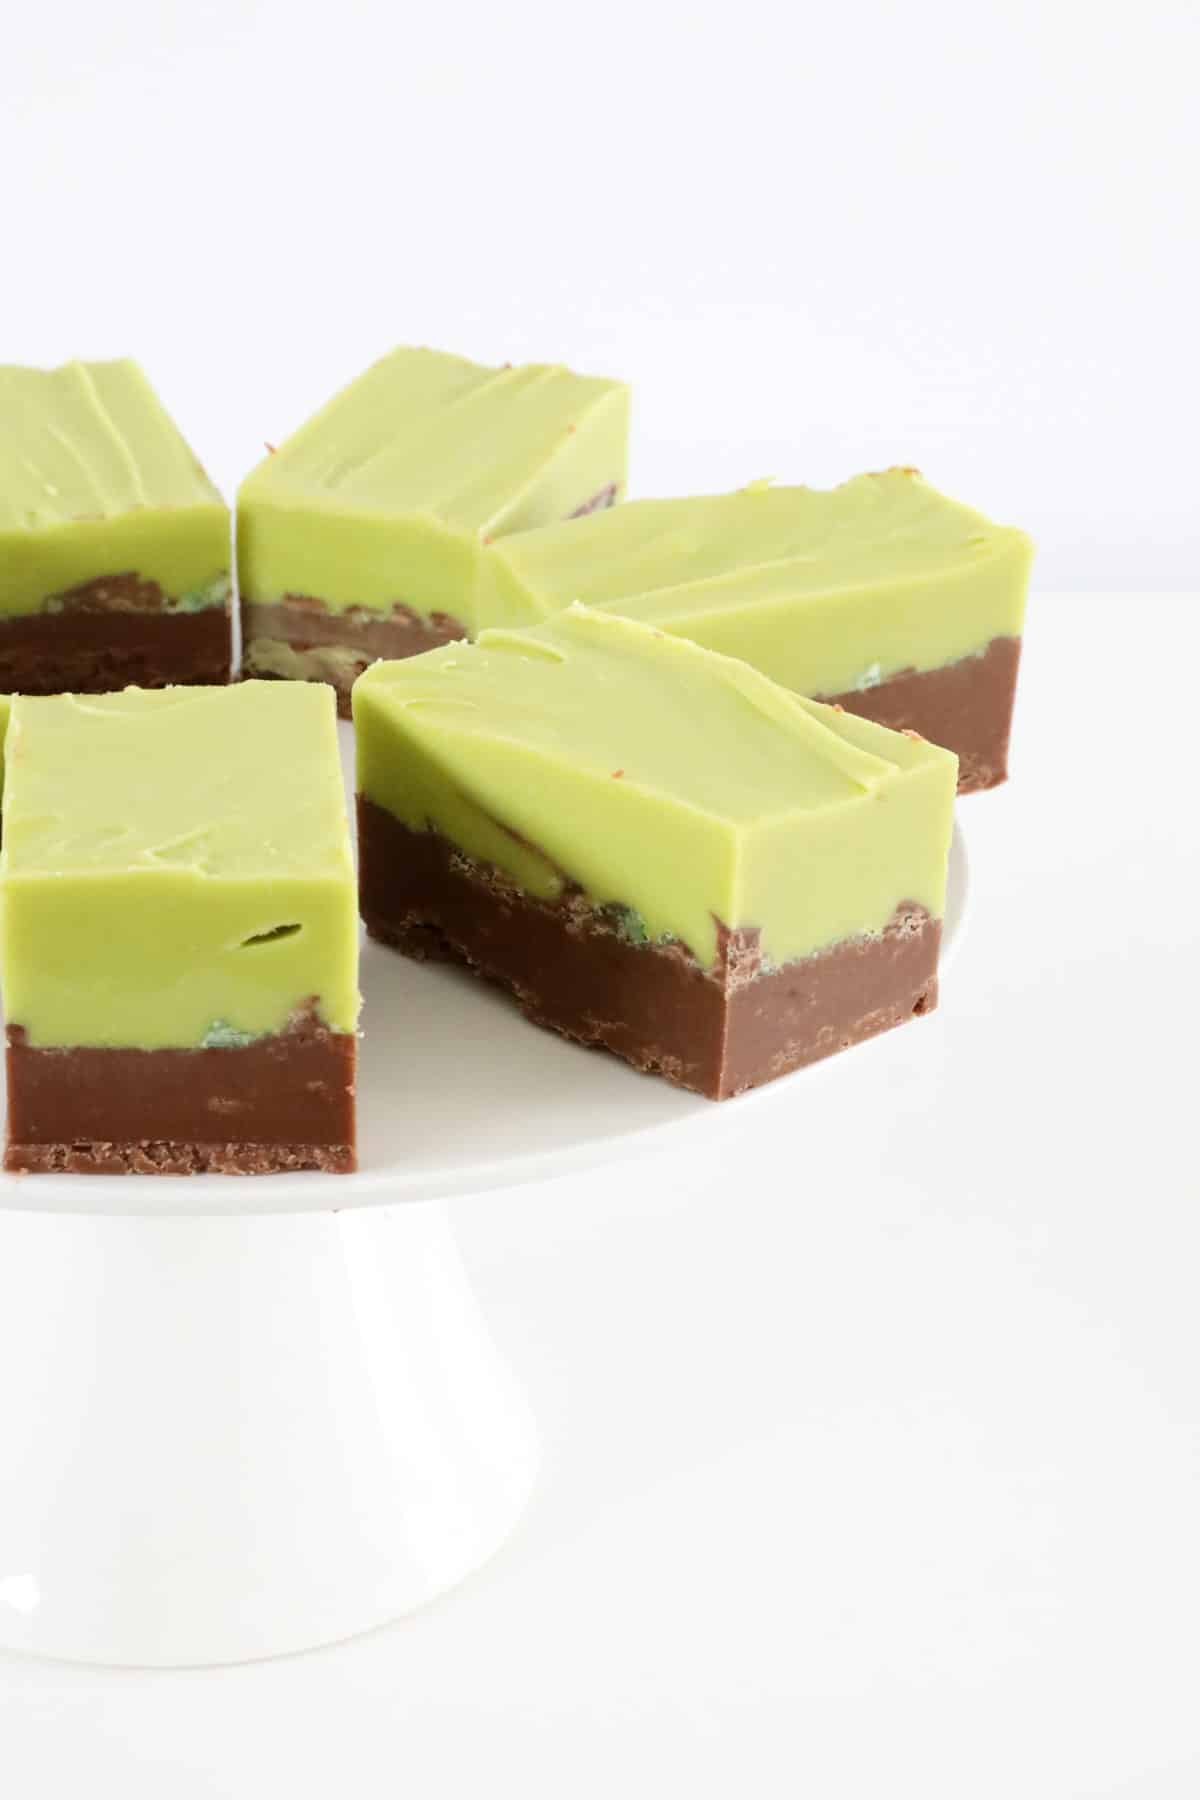
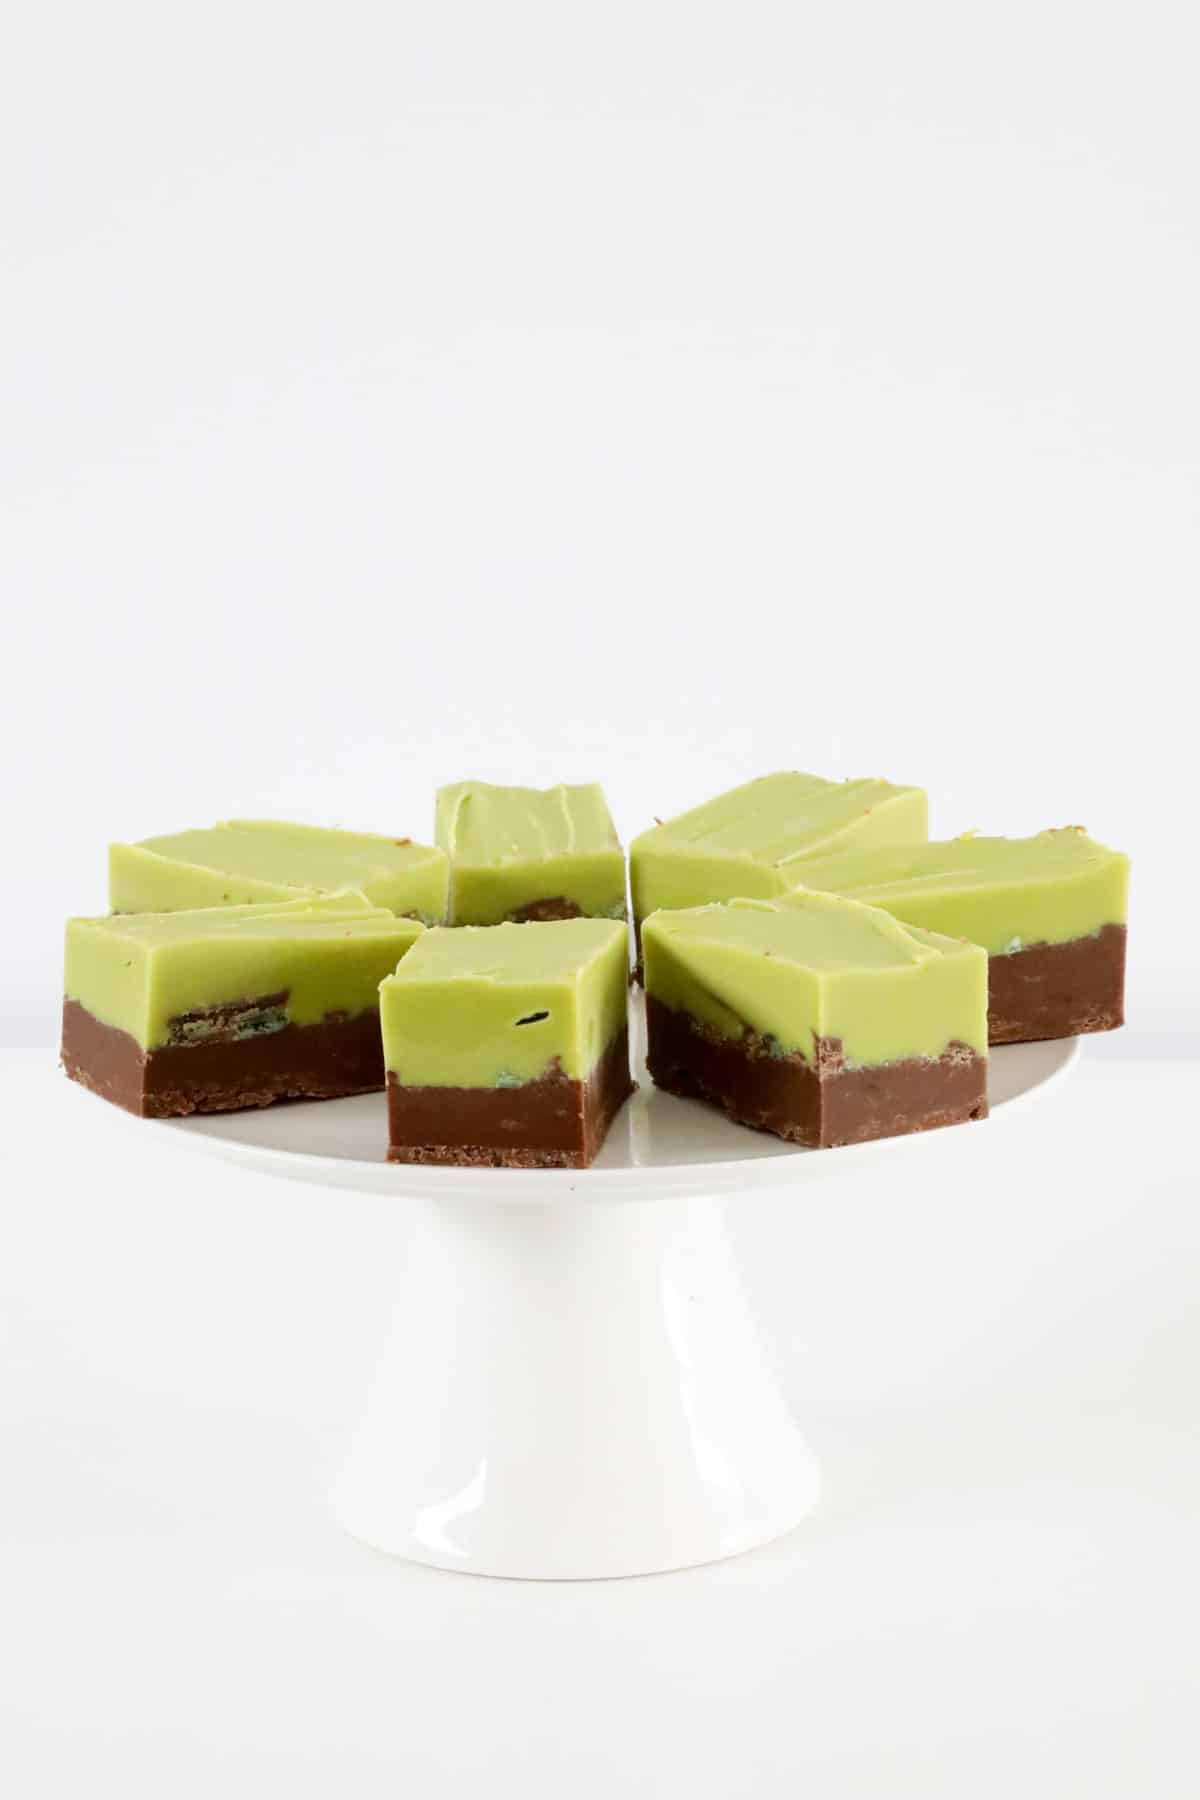
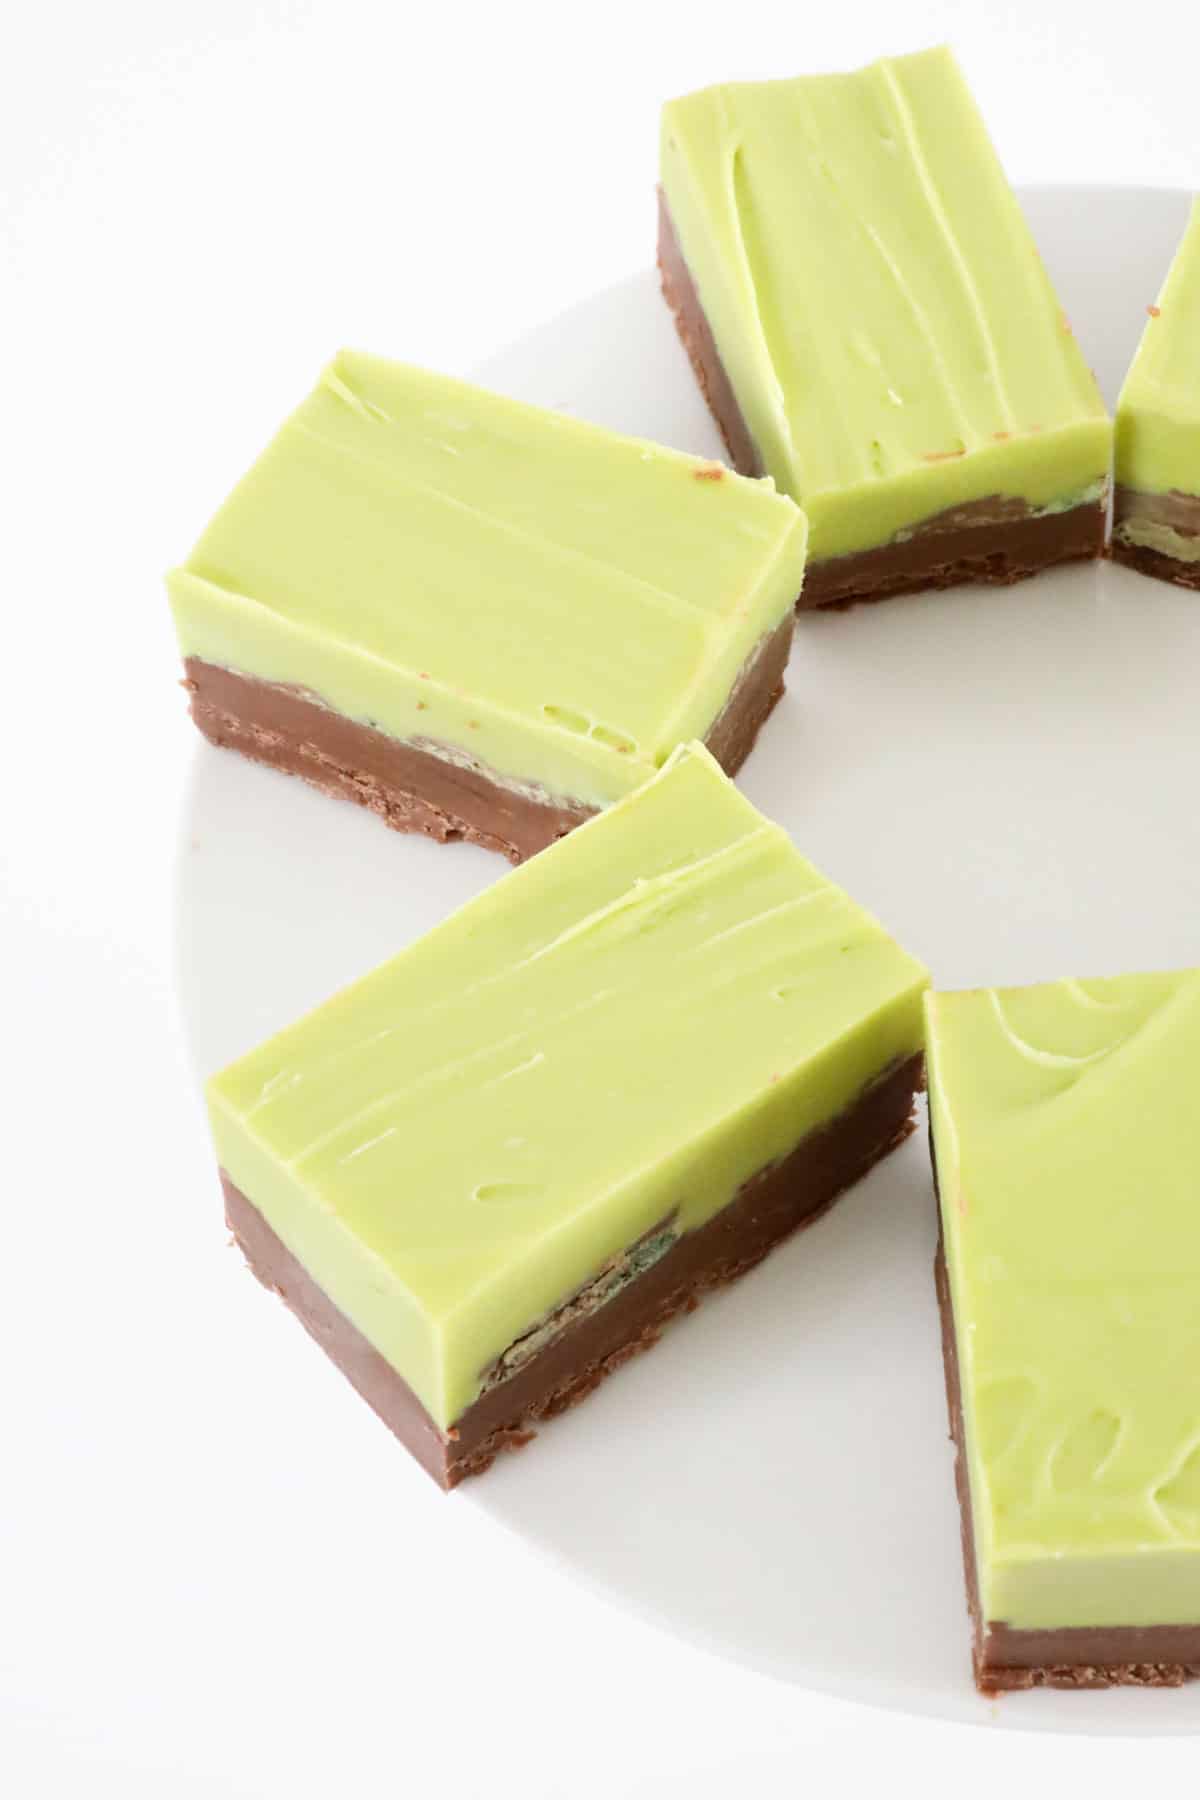
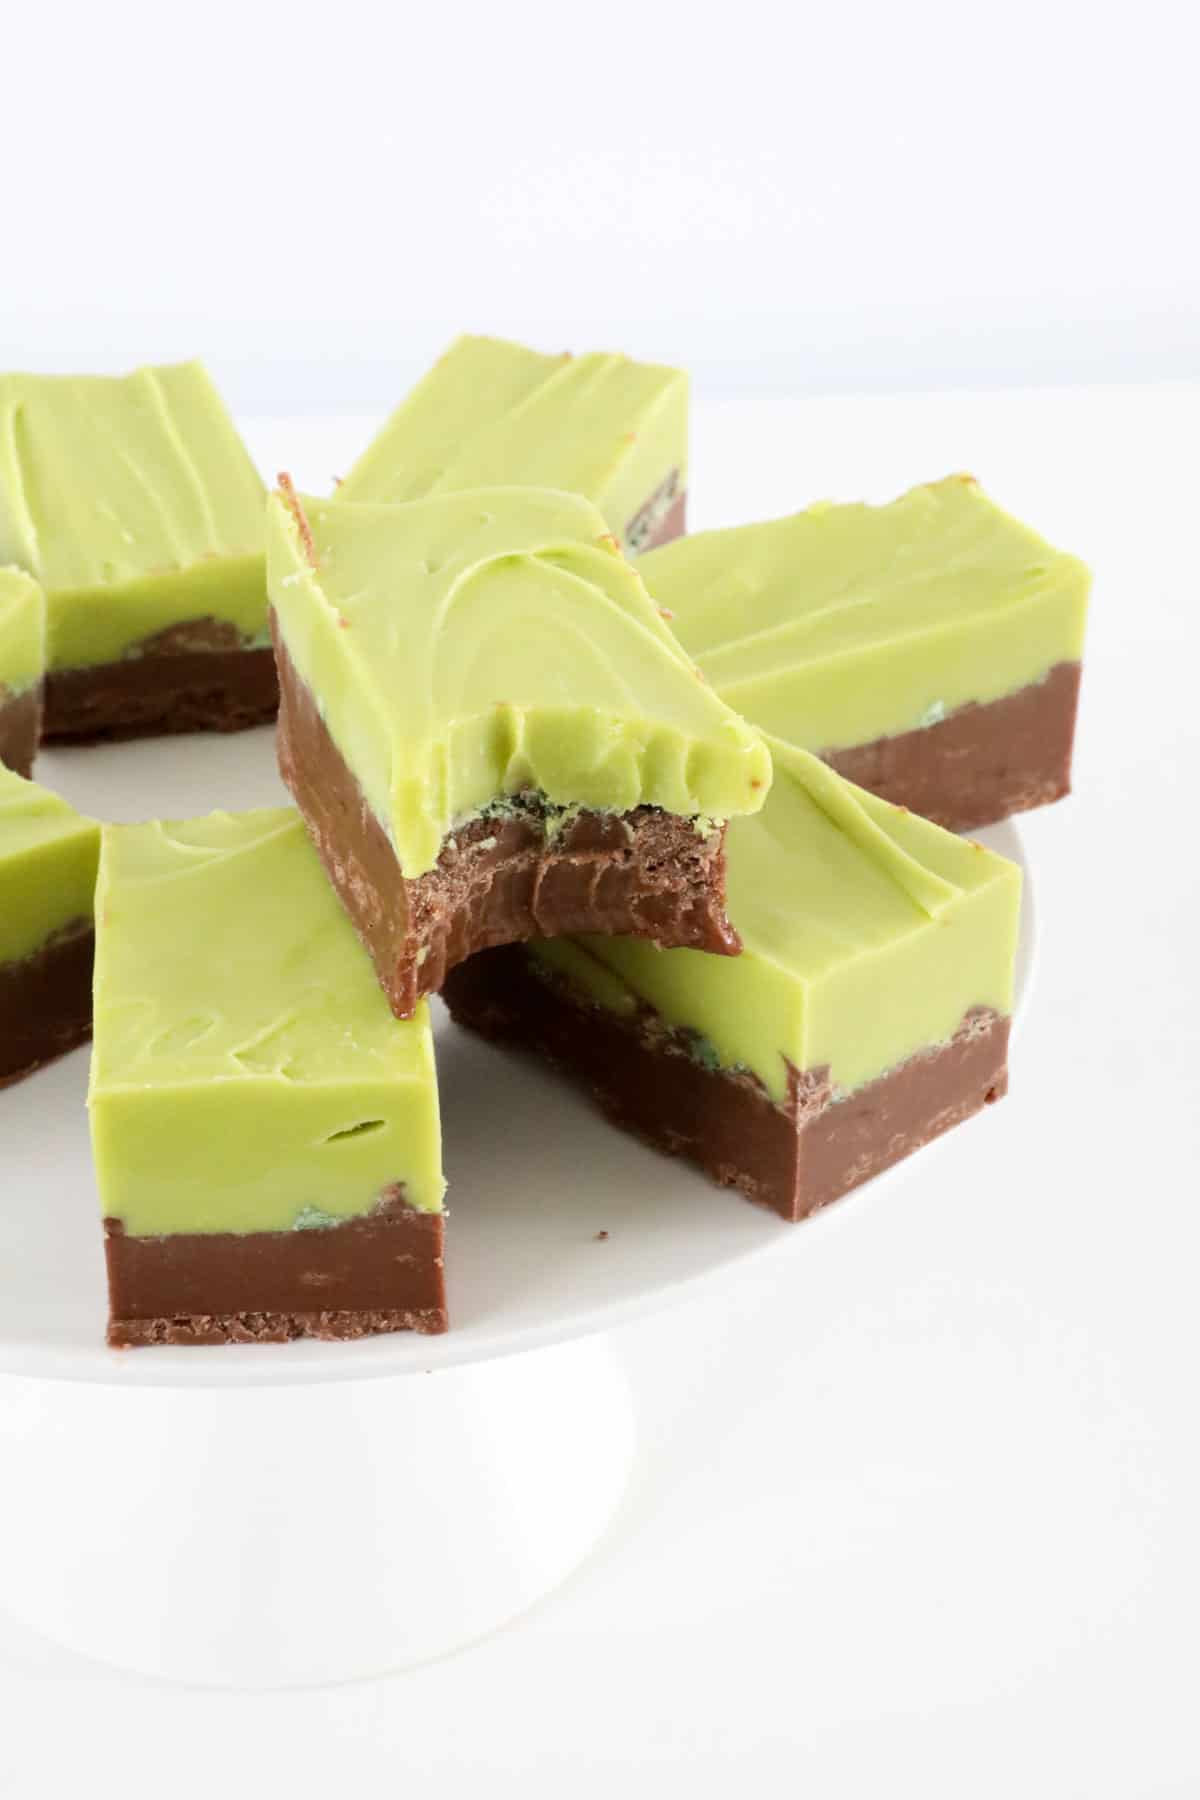
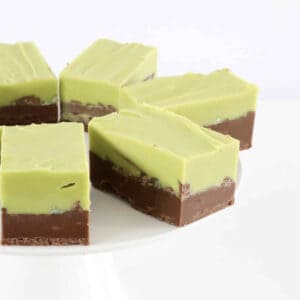
Our double layered Thermomix Chocolate Mint Fudge is an absolute party food showstopper!
Sweet, creamy and smooth layers of chocolate and peppermint fudge combine to make one of our most popular fudge recipes!
The Thermomix makes preparing fudge a breeze!
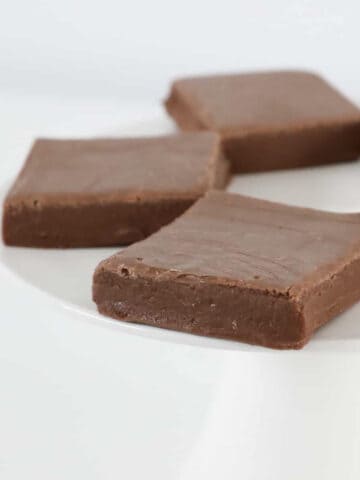
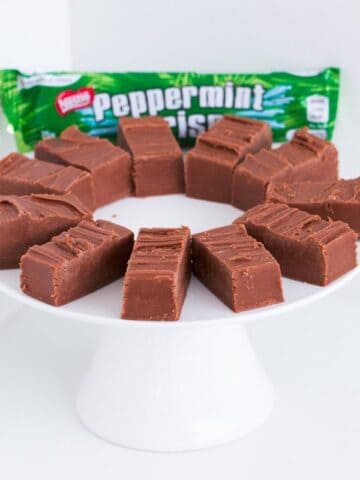
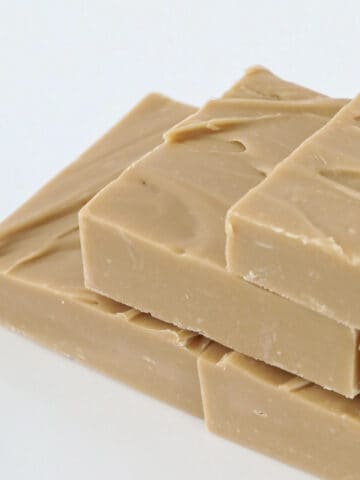
Whether it's this mouth-watering Thermomix Chocolate Mint Fudge or our classic caramel, chocolate and peppermint versions, it couldn't be easier to make fudge in your Thermomix!
Why You're Going To Love This Recipe
- Makes A BIG Batch - a little piece of fudge goes a long way, making this recipe the perfect option for catering large parties or gatherings.
- Suitable For All Thermomix models - let your Thermomix do ALL the work with our simple fudge recipe.
- Make Ahead Of Time - fudge lasts 3 weeks in an airtight container in the fridge - the perfect option for getting organised ahead of time (particularly in the lead up to Christmas!).
- A Great Christmas Food Gift - our Thermomix Chocolate Mint Fudge is a delicious gift for neighbours, family, friends and teachers.
What You Need
Our double layered Thermomix Chocolate Mint Fudge is made using a few delicious ingredients.
Scroll to the recipe card at the bottom of the post for ingredient quantities and the full detailed method.
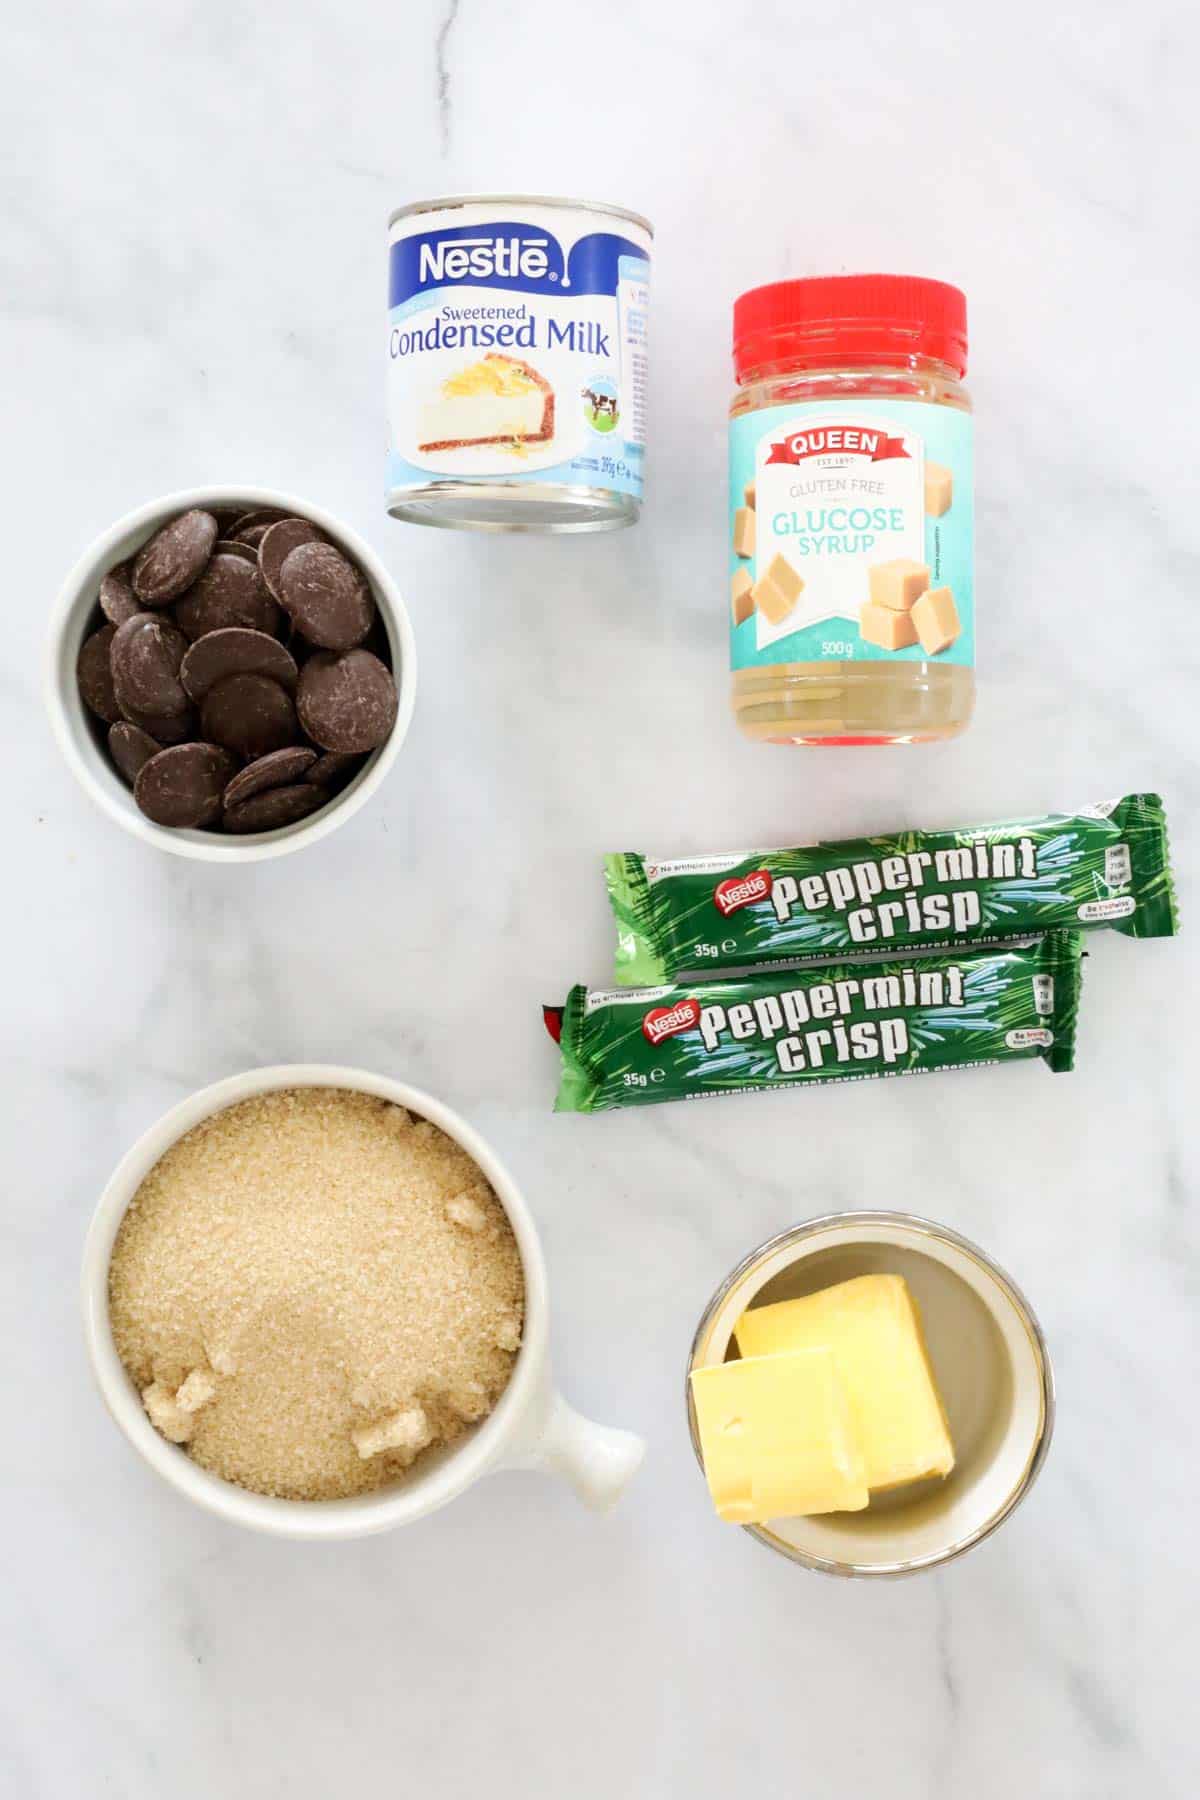
- Chocolate - Dark chocolate is used for the bottom layer and white chocolate for the top mint layer. Choose a good quality brand such as Cadbury or Nestle. I like to use their 'melts' as they melt easier.
- Raw sugar - choose raw granulated sugar.
- Sweetened condensed milk - use full fat (not skim) sweetened condensed milk.
- Butter - use unsalted butter for this recipe.
- Liquid glucose - (also known as glucose syrup) is a clear, very thick, sweet and sticky liquid. When making fudge, liquid glucose will keep it soft, while giving it a smooth and chewy texture.
- Peppermint essence - can be bought from the baking section of the supermarket (near the vanilla extract and food colouring).
- Green food colouring - optional. This is used to tint the mint layer green.
Step By Step Instructions
This show-stopping Thermomix Chocolate Mint Fudge is well worth the time and effort!
Scroll to the recipe card at the bottom of the post for ingredient quantities and the full detailed method.
Step 1 - Make The Chocolate Fudge Layer
Start by grating the dark chocolate. Set aside in a seperate bowl.
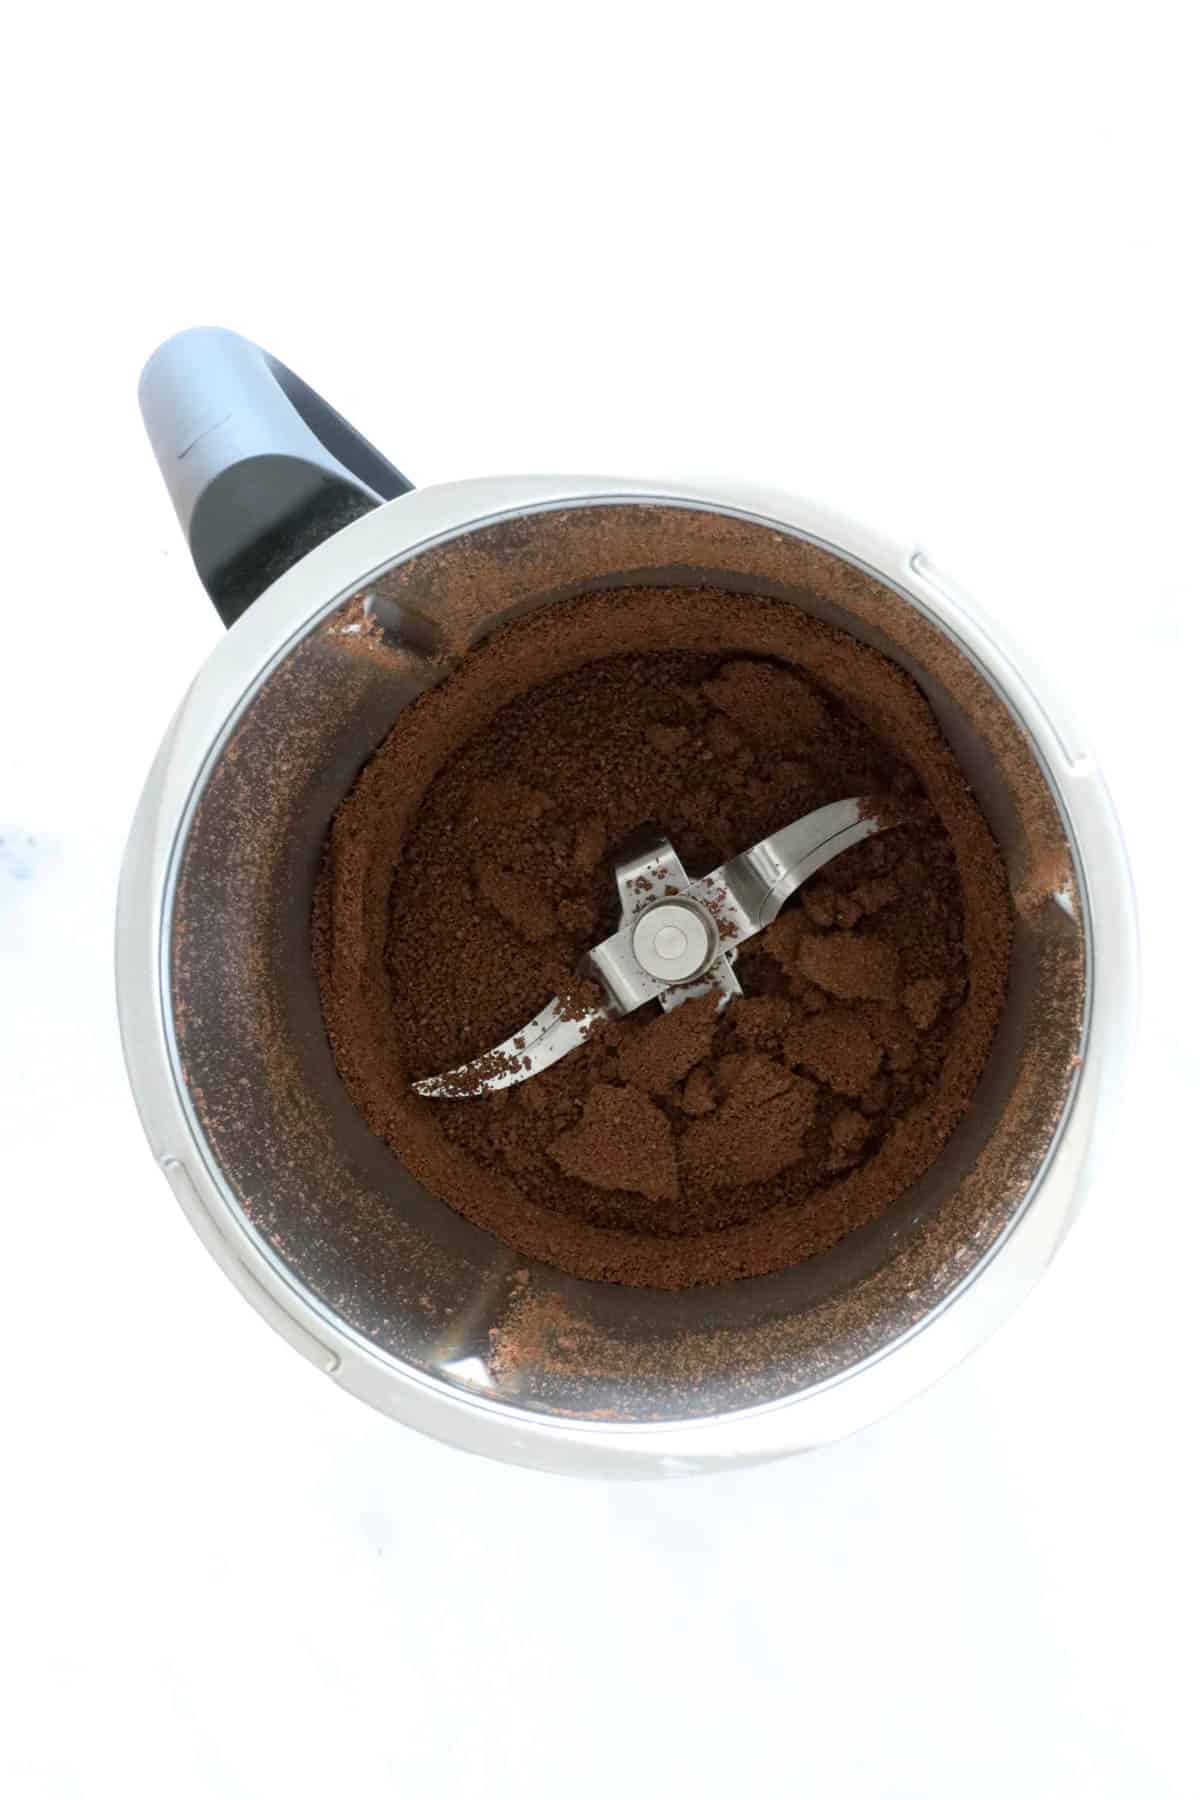
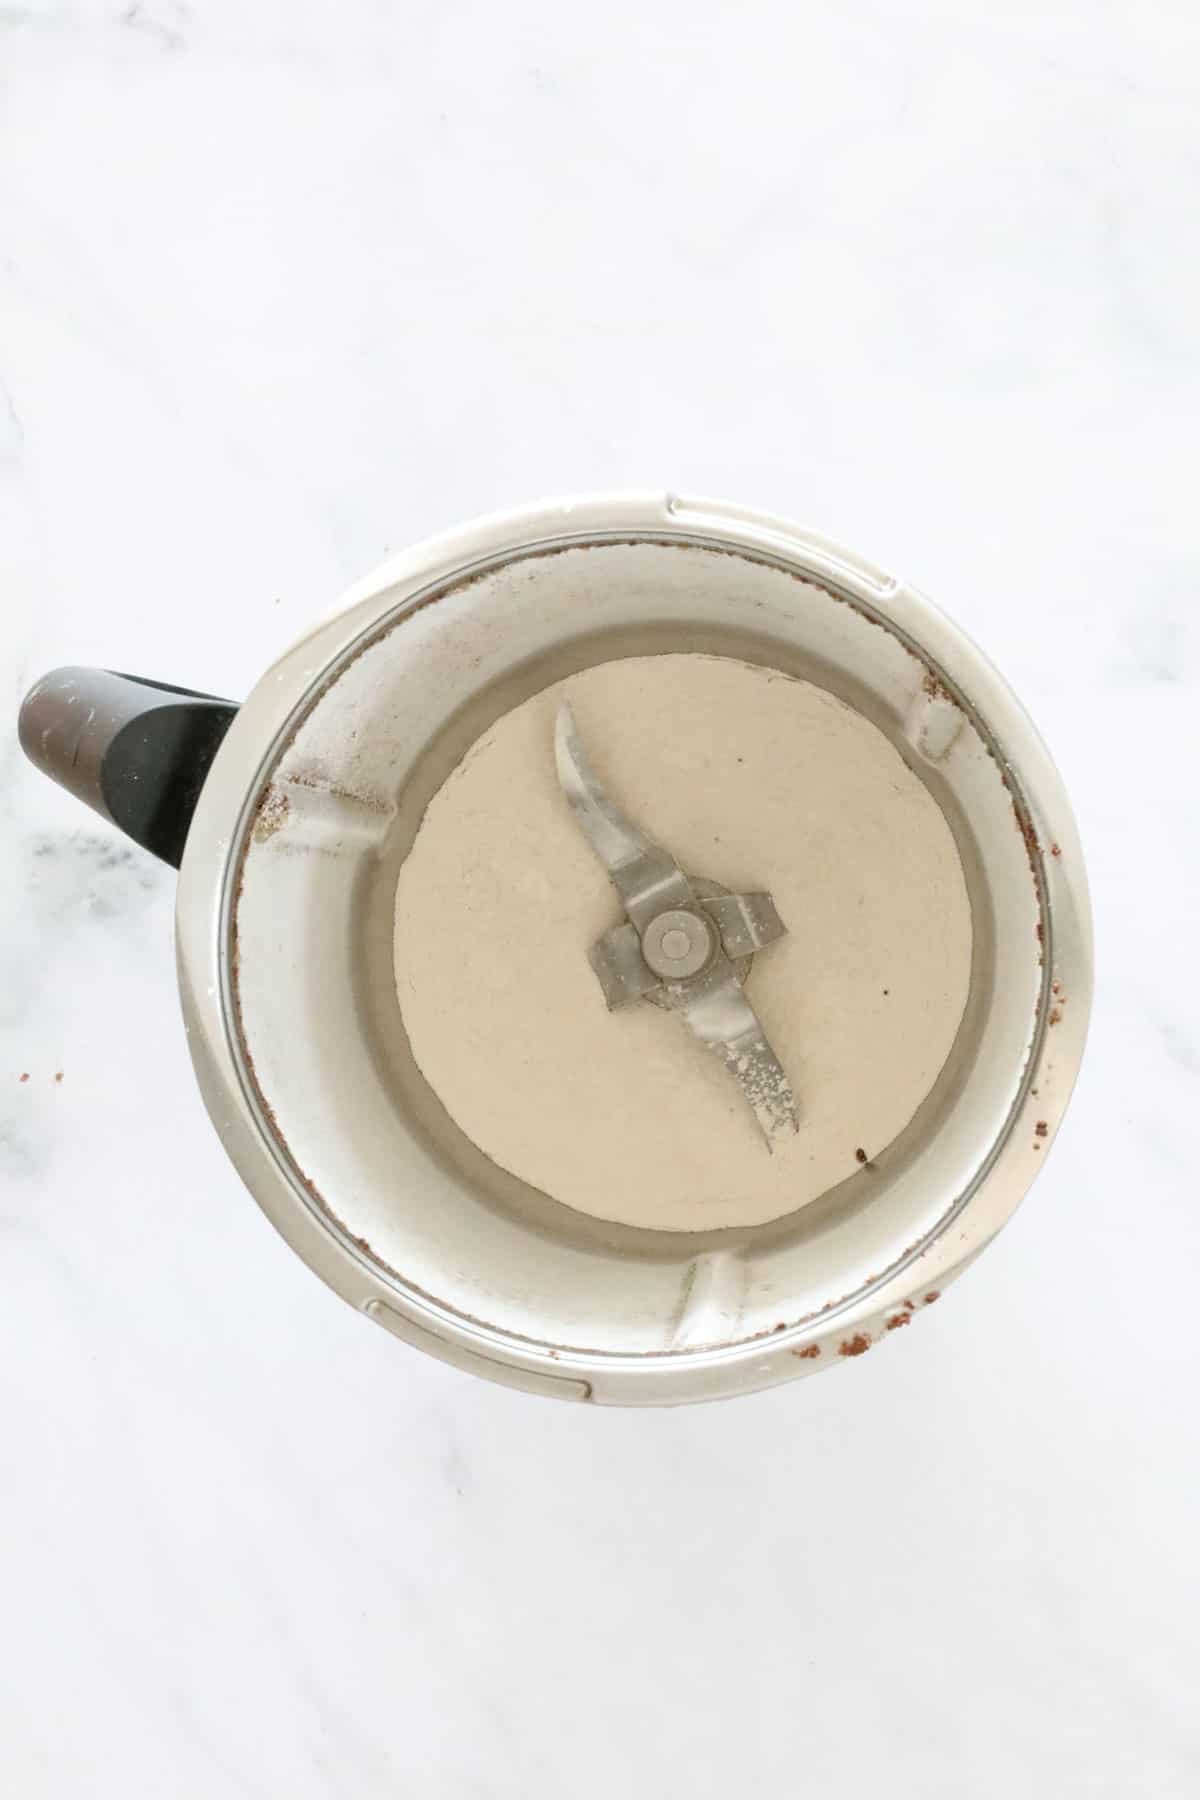
Next, mill the raw sugar.
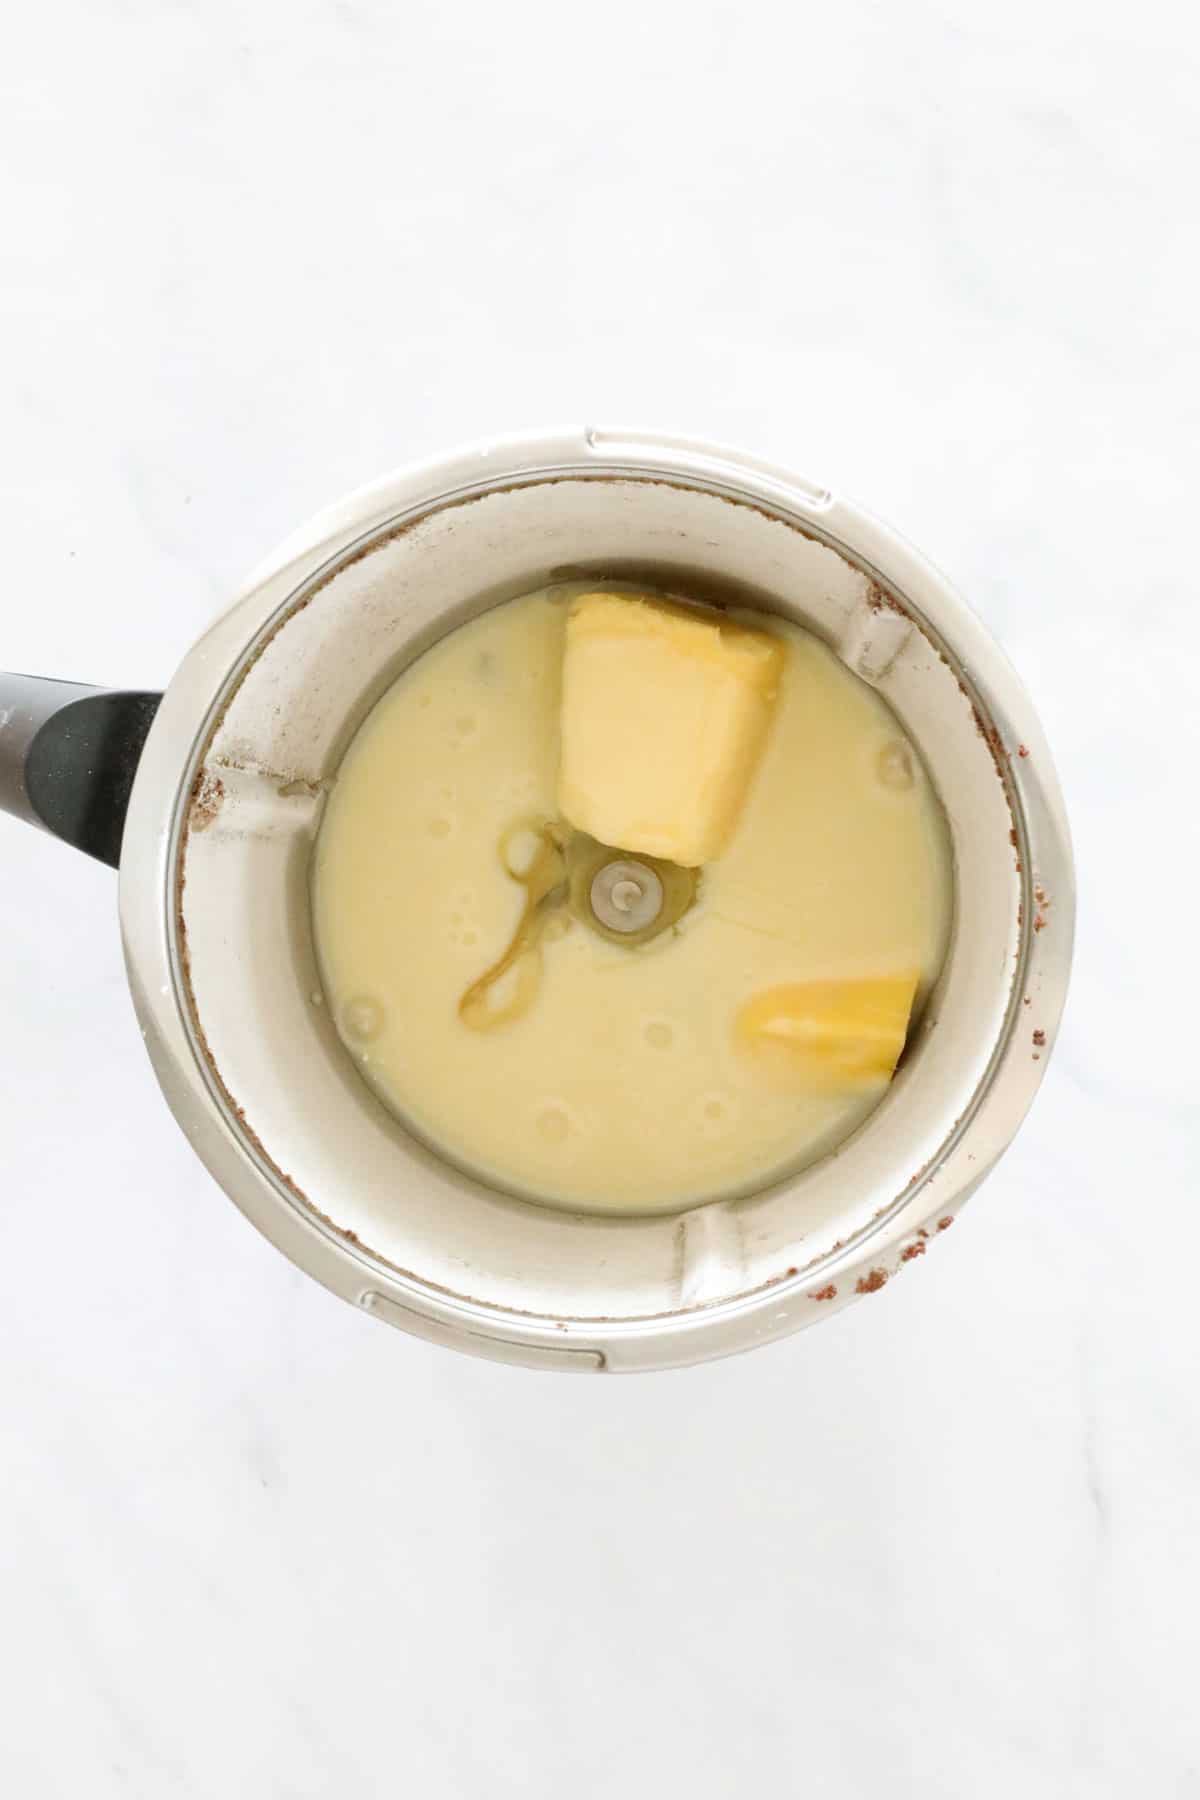
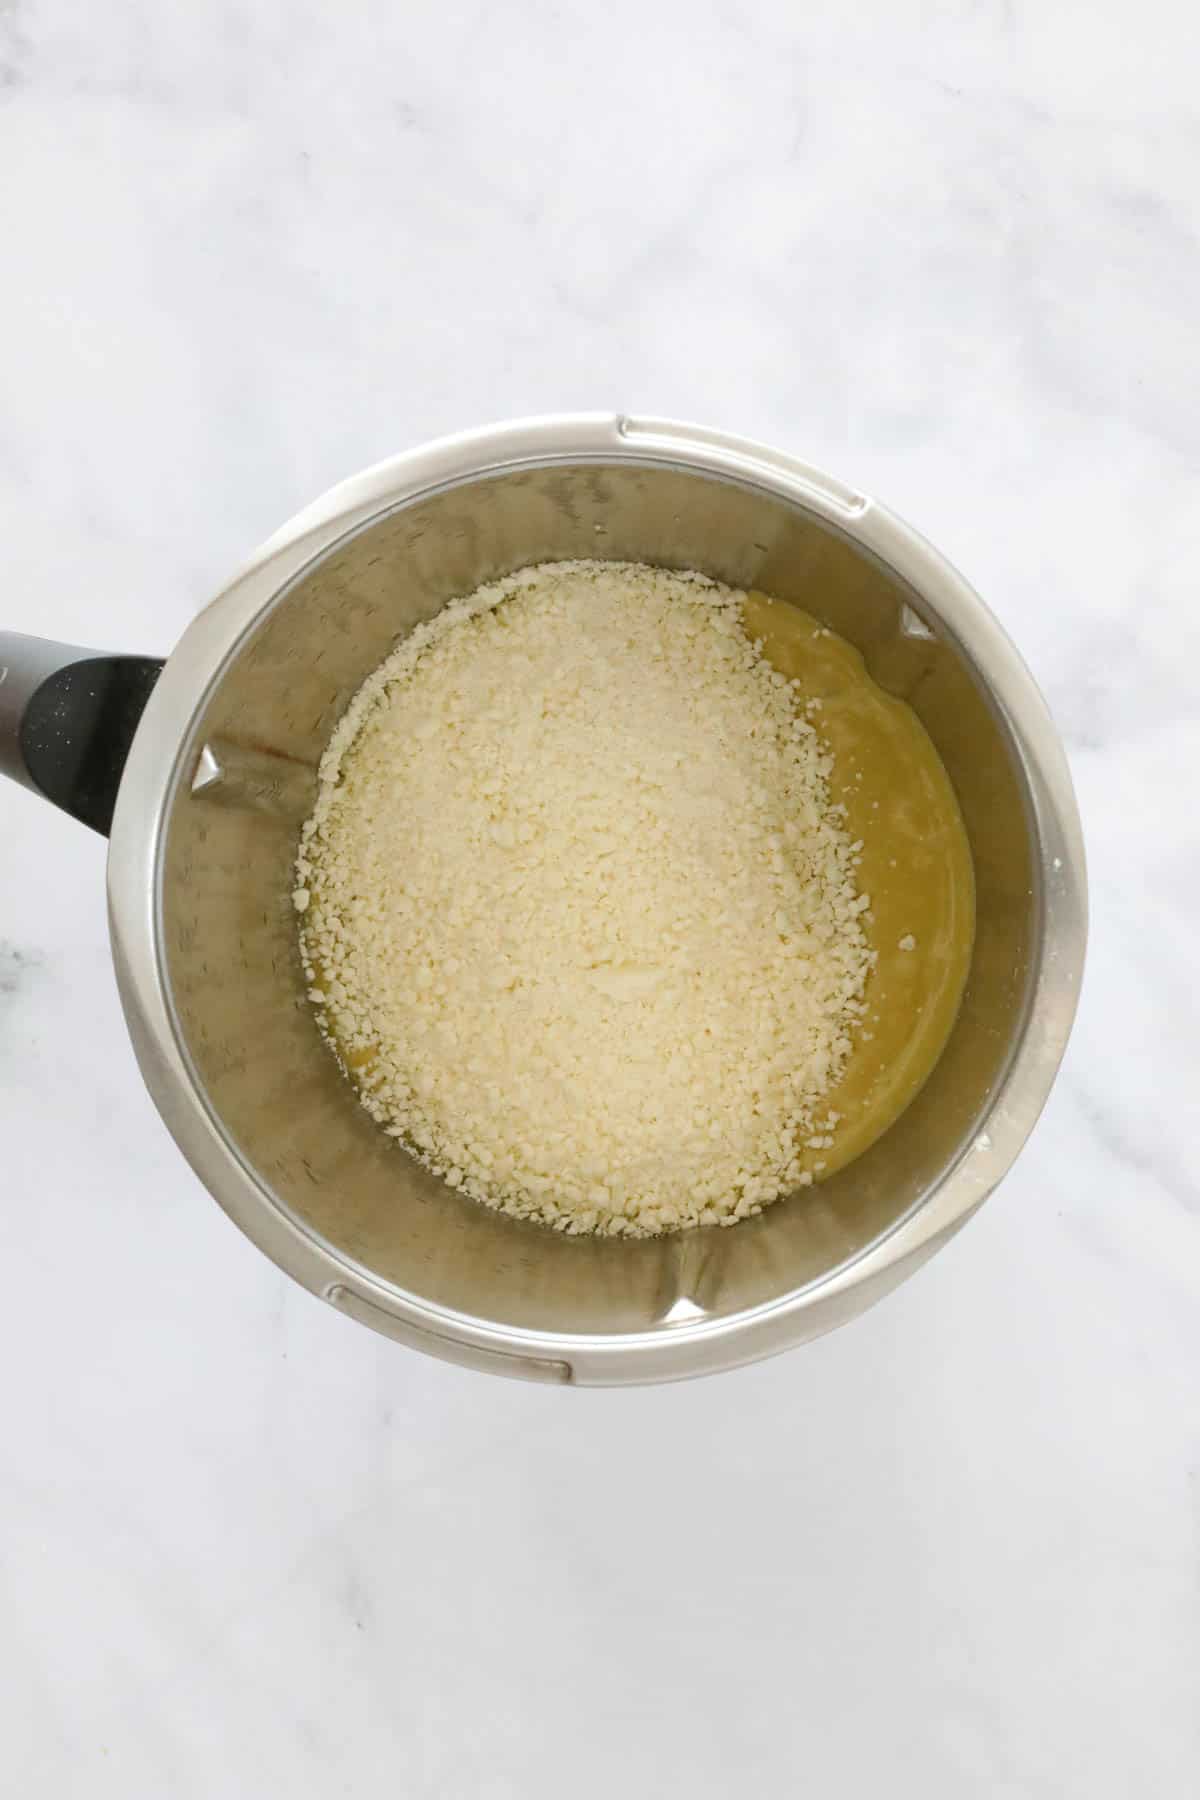
Add the sweetened condensed milk, butter and liquid glucose and cook (see recipe below for details).
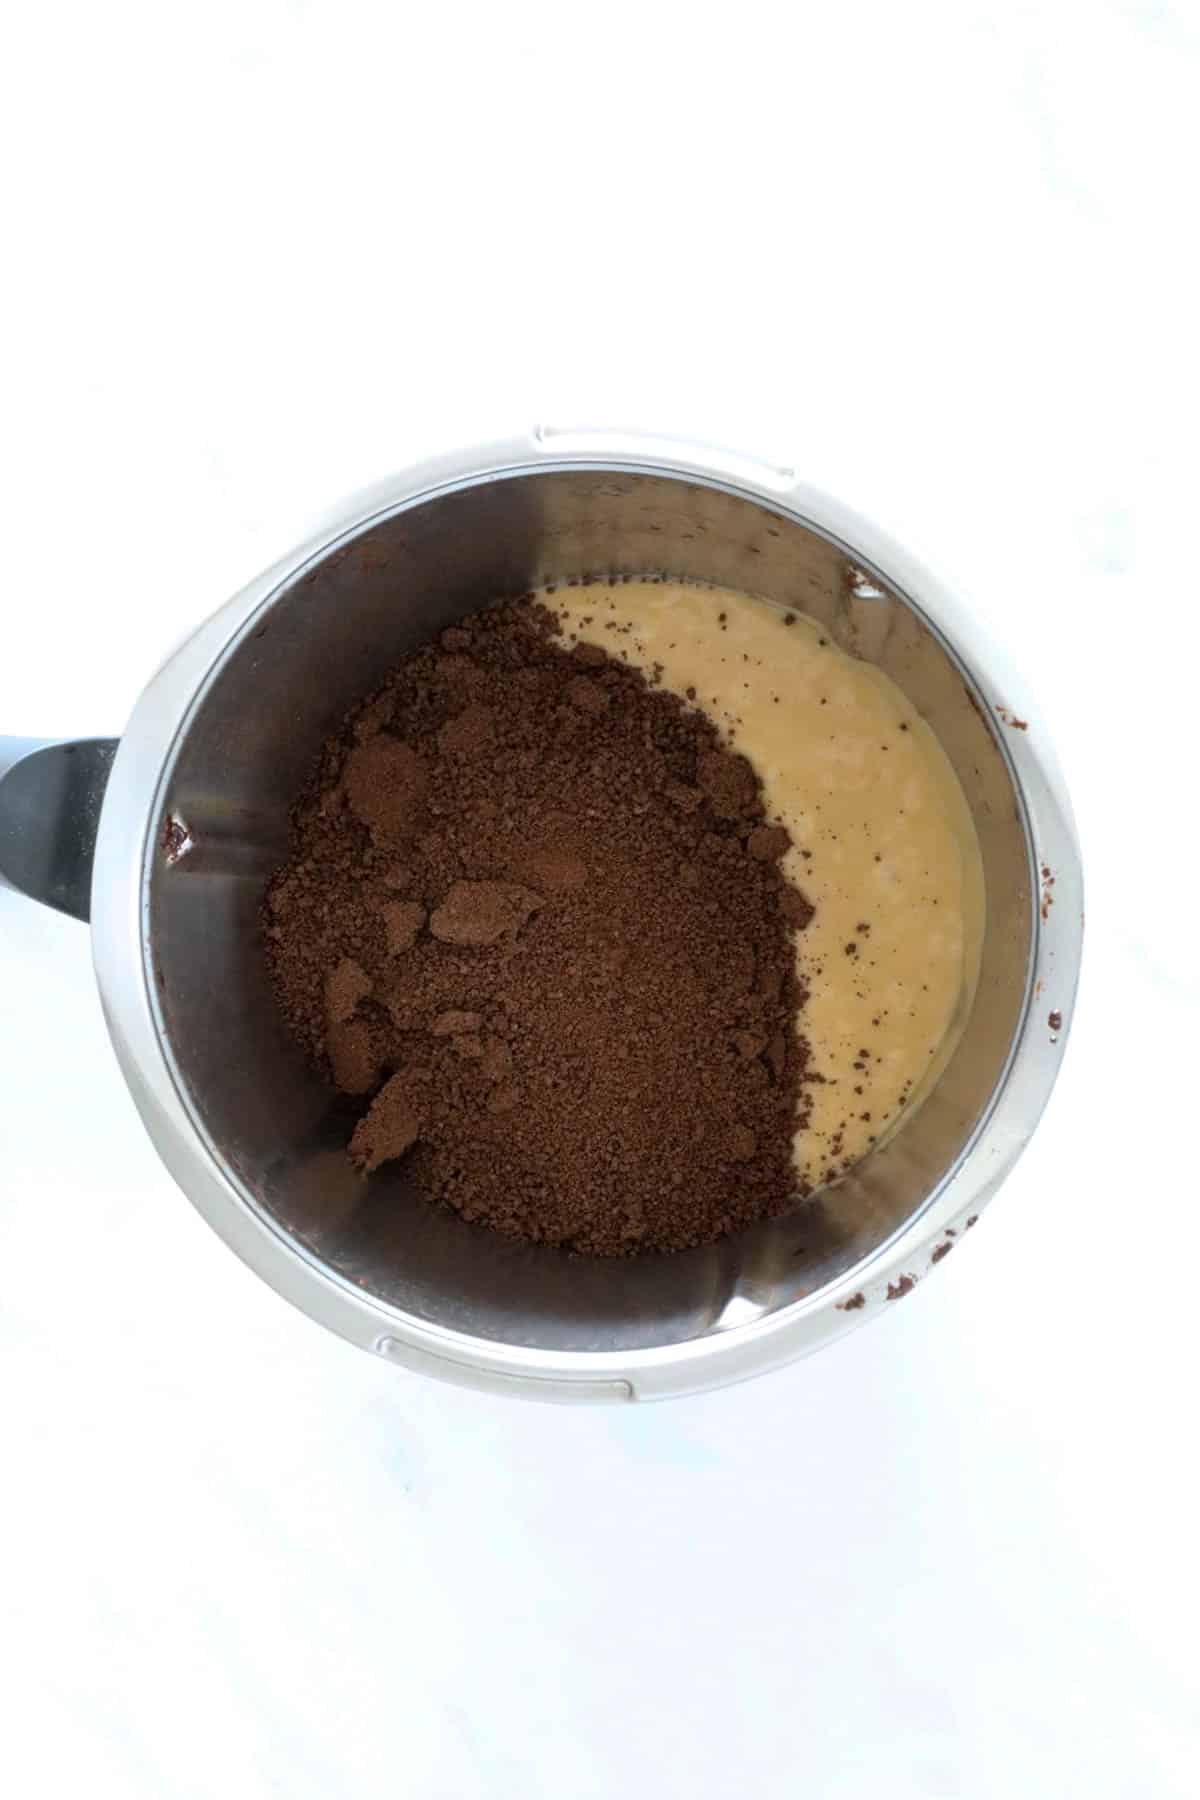
Add the grated chocolate and mix to combine.
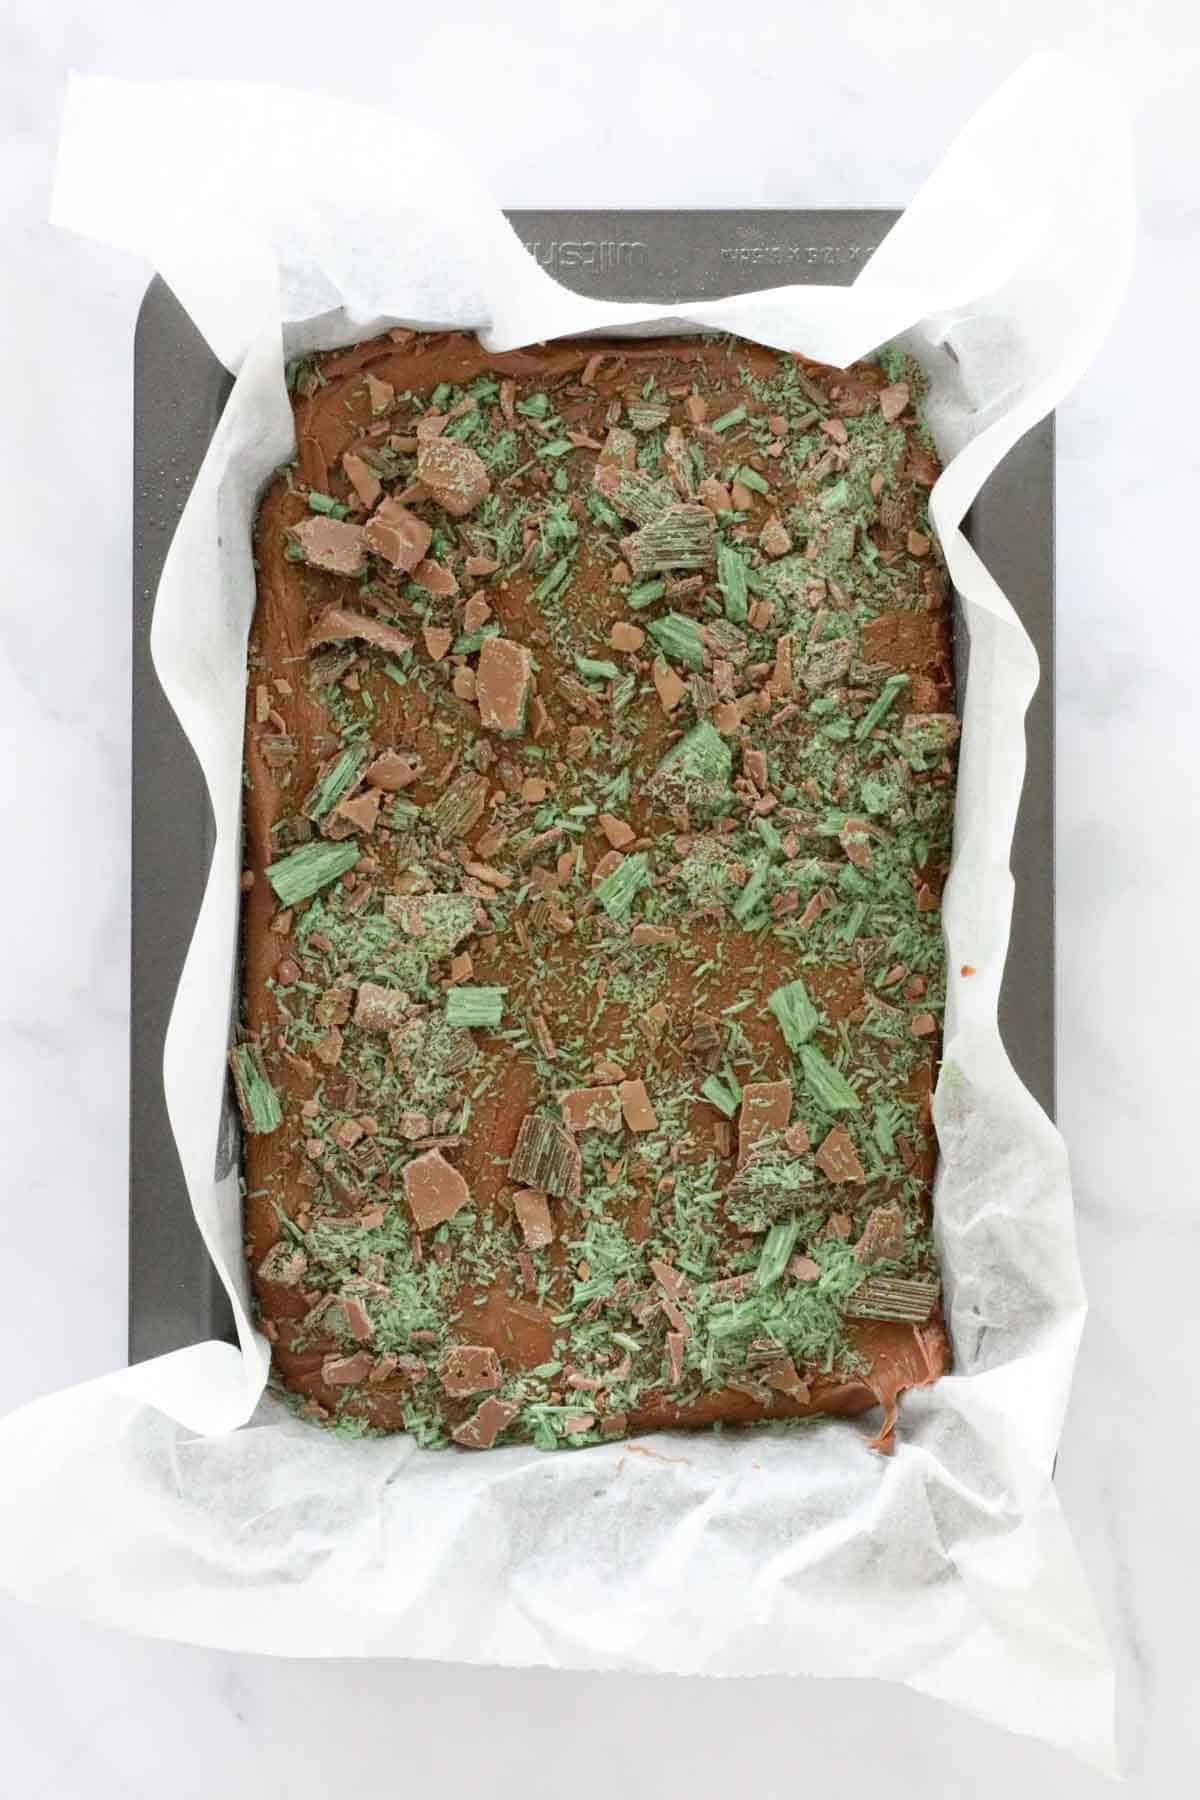
Pour the chocolate layer into the prepared baking tin.
Sprinkle over the Peppermint Crisp bars and chill in the fridge.
Step 2 - Make The Mint Fudge Layer
Grating the white chocolate in the Thermomix bowl. Set aside in a seperate bowl.
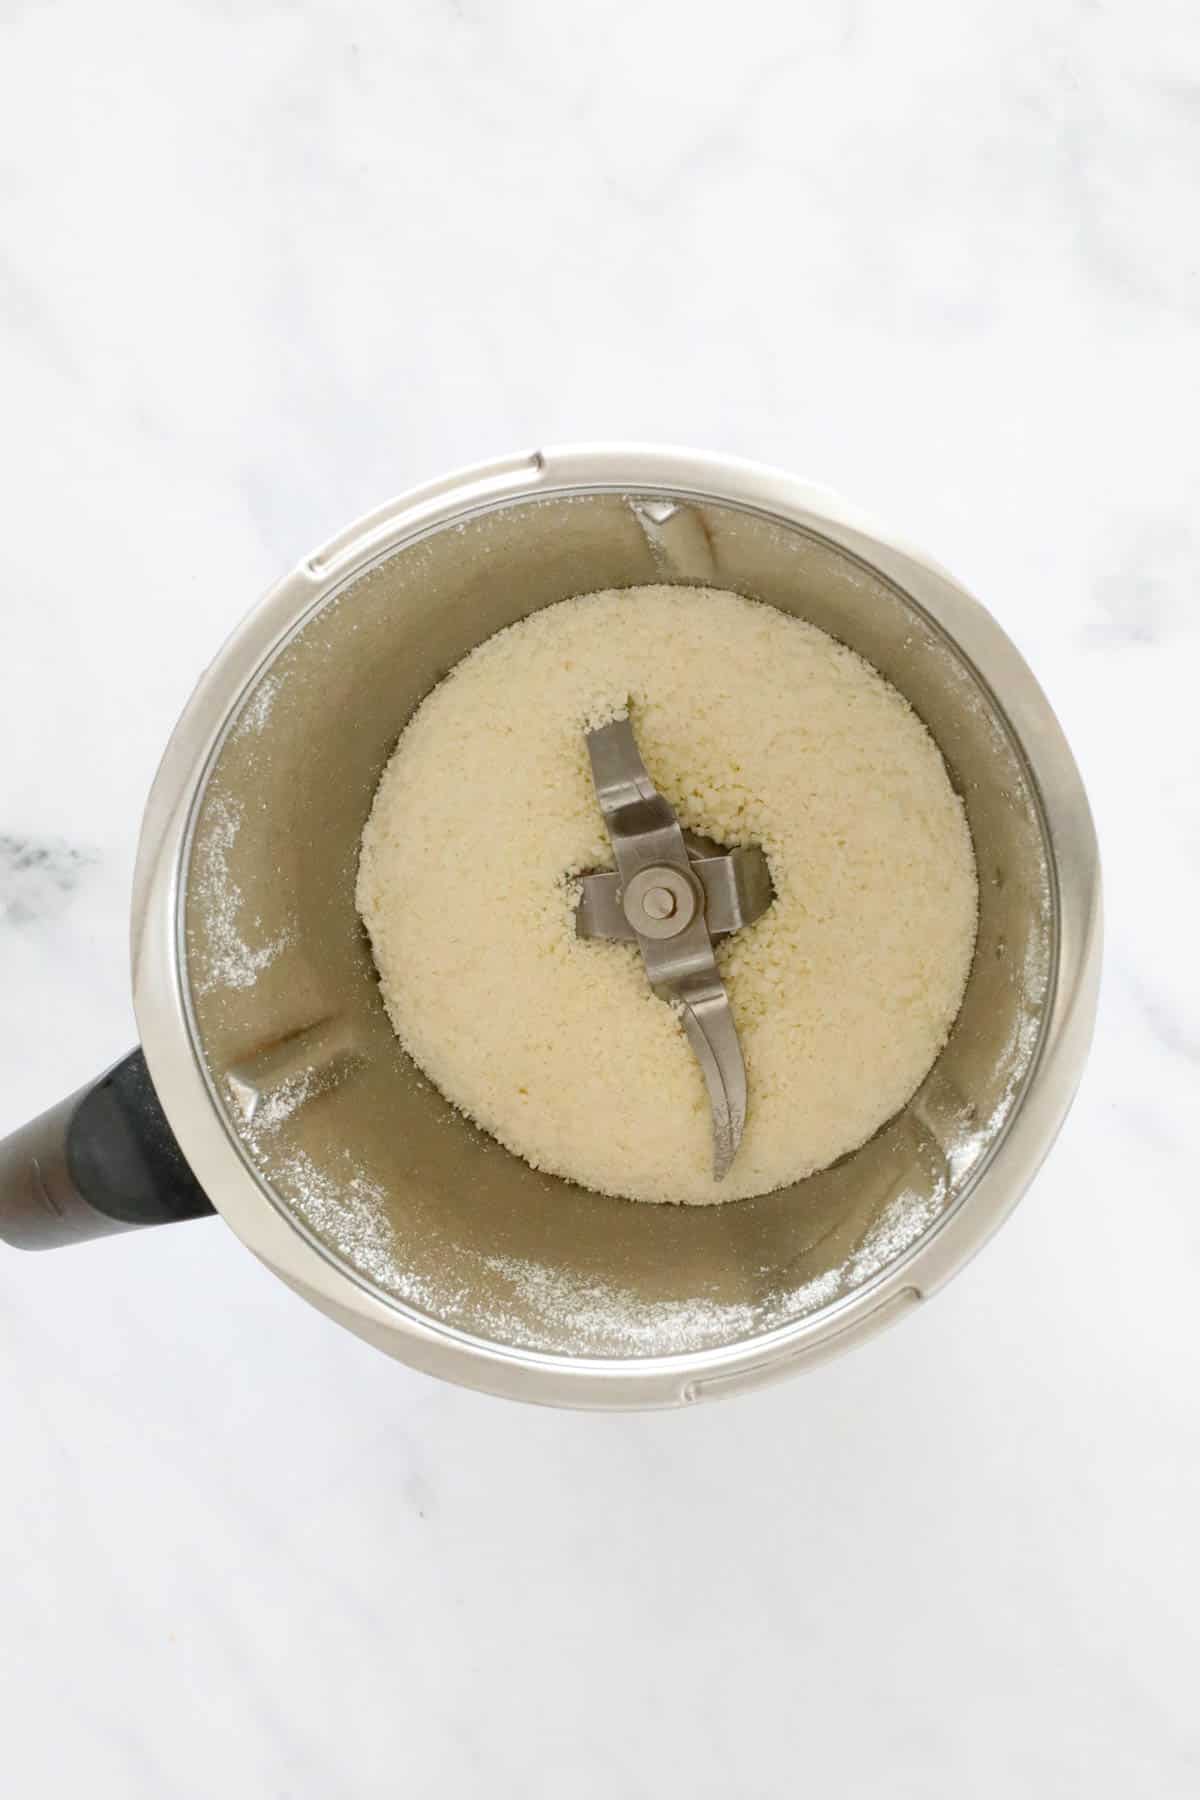
Mill the raw sugar until a fine powder remains.
Add the sweetened condensed milk, butter, liquid glucose, peppermint essence and green food colouring (optional) and cook (see recipe below for details).
Add the grated white chocolate and mix to combine.
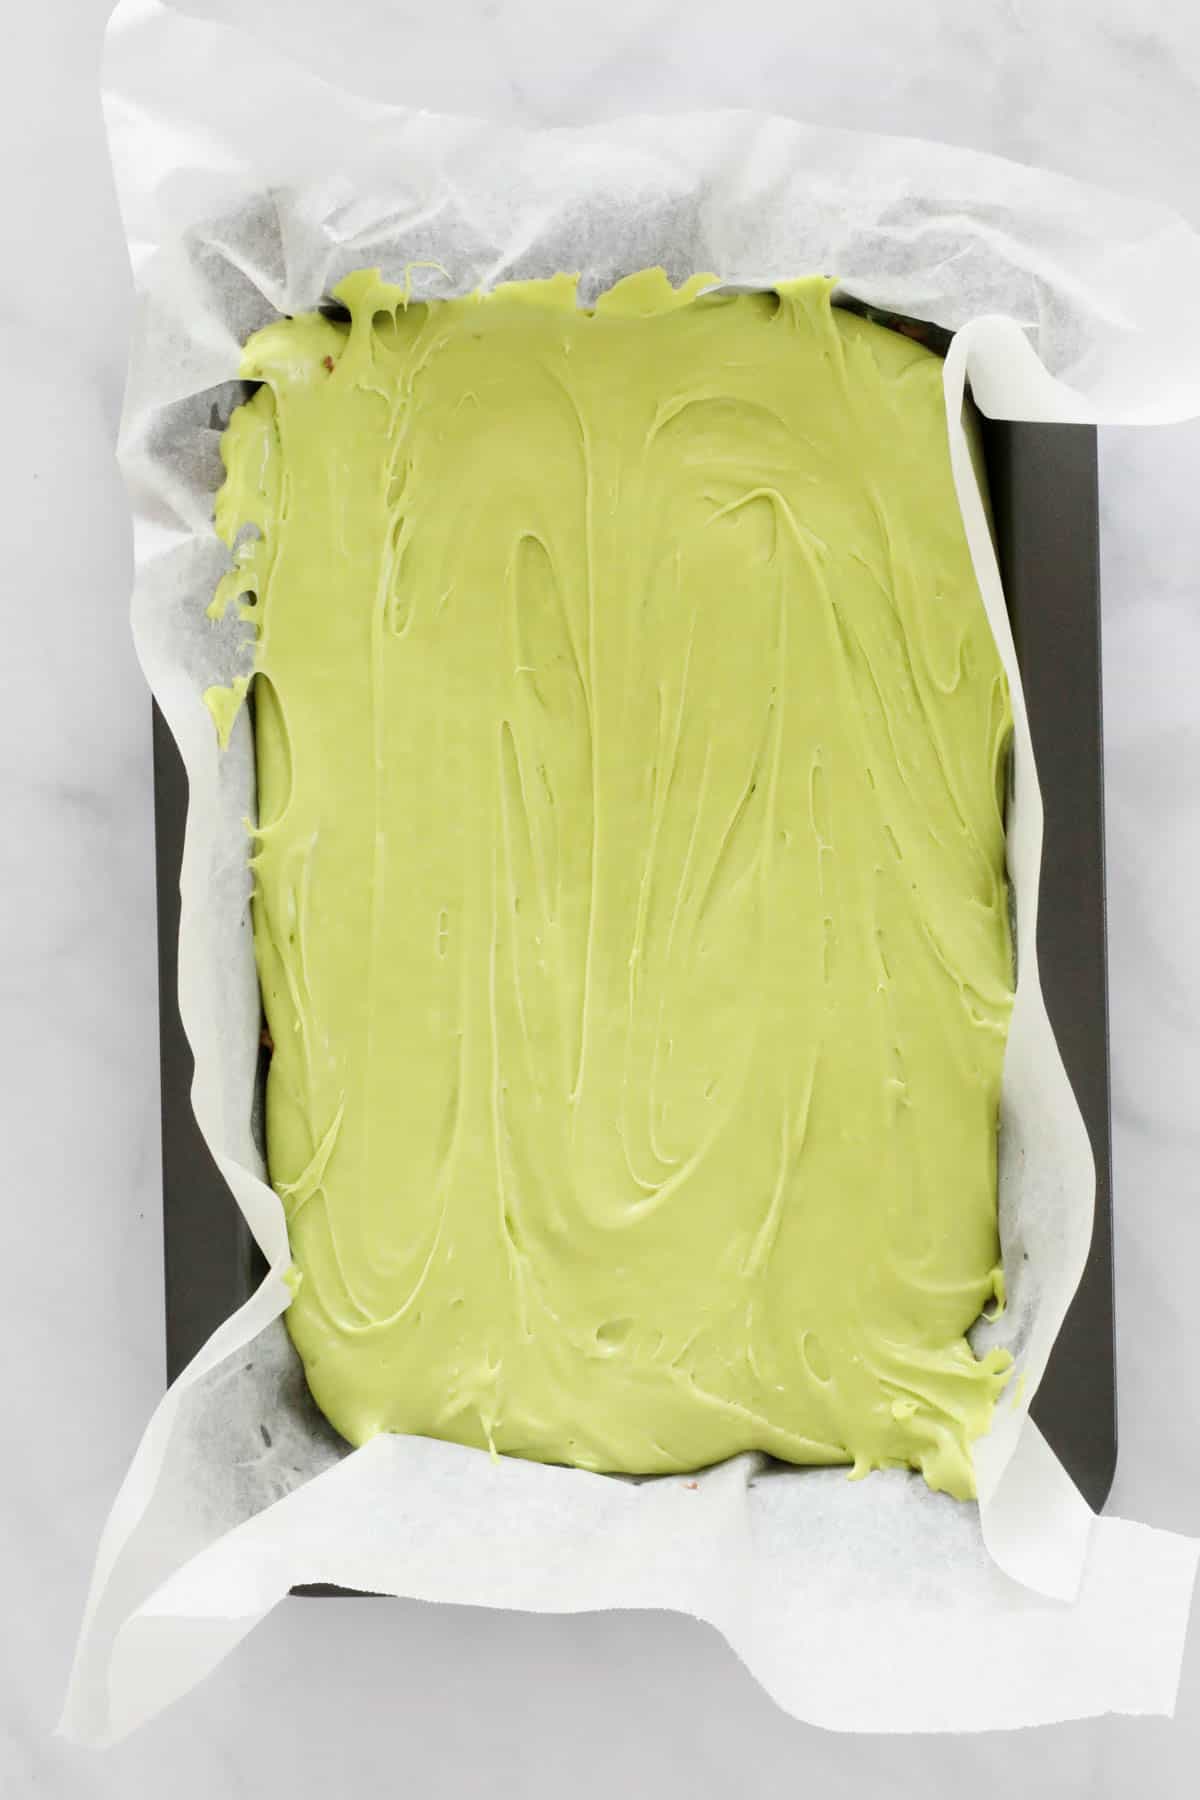
Pour the mint layer over the top of the chocolate layer.
Chill in the fridge until set. Cut into small pieces.
Expert Tips
- Choose a good quality brand of chocolate (such as Cadbury, Hersheys, Nestle or Lindt etc) as this is the main ingredient in fudge
- Peppermint Crisp bars are a popular chocolate bar here in Australia. You can substitute it or omit it entirely if they're not available where you live.
- Use full fat sweetened condensed milk (not skim) as it sets firmer.
- Peppermint essence can be purchased from the baking aisle of the supermarket (near the vanilla extract and food colourings).
- Green food colouring - this gives the mint layer a lovely green colour. Alternatively you can omit the food colouring and have a white mint flavoured layer.
FAQS
Liquid glucose (also known as glucose syrup) is a clear, very thick, sweet and sticky liquid. When making fudge, liquid glucose will keep it soft, while giving it a smooth and chewy texture.
Fudge can be stored for 2-3 weeks in an airtight container in the fridge.
Not at all! You can just make the chocolate layer or the mint layer on it's own if you prefer.
Related Recipes
If you love making batches of rocky road and fudge in your Thermomix, you might like to try these recipes too!

SHOP OUR THERMOMIX COOKBOOKS
Shop our entire range of Thermomix cookbooks (all hardcopy cookbooks also come with a FREE eBook version emailed to you immediately upon purchase). PLUS get free shipping on all orders over $50!

Thermomix Chocolate Mint Fudge
Equipment
- Thermomix
Ingredients
For The Chocolate Fudge Layer
- 200 g dark chocolate
- 200 g raw sugar
- 395 g sweetened condensed milk full fat
- 125 g unsalted butter
- 25 g liquid glucose see notes
- 2 Peppermint Crisp bars roughly chopped
For The Mint Fudge Layer
- 200 g white chocolate
- 200 g raw sugar
- 395 g sweetened condensed milk
- 125 g unsalted butter
- 25 g liquid glucose
- 2-3 drops peppermint essence
- 1-2 drops green food colouring optional
Instructions
- Line an 18X28cm rectangular slice tin with baking paper. Set aside.
- To make the chocolate layer, place dark chocolate melts into the Thermomix bowl and grate for 10 seconds, Speed 9. Set aside in a seperate bowl.
- Add the raw sugar to the Thermomix bowl and mill for 10 seconds, Speed 9.
- Add the sweetened condensed milk, butter and liquid glucose to the bowl with the sugar. Cook for 8 minutes, 100 degrees, Speed 3 (MC off). Scrape down the sides of the bowl.
- Cook for 20 minutes, Varoma temperature, Speed 3 (MC off). Scrape down the sides of the bowl.
- Add grated dark chocolate and mix for 30 seconds, Speed 3.
- Working quickly, spread the chocolate fudge into the prepared tray.
- Sprinkle over the crushed Peppermint Crisp bars and chill in the fridge while you prepare the mint fudge layer.
- To make the mint layer, place white chocolate melts into the Thermomix bowl and grate for 10 seconds, Speed 9. Set aside in a seperate bowl.
- Add the raw sugar to the Thermomix bowl and mill for 10 seconds, Speed 9.
- Add the sweetened condensed milk, butter, liquid glucose, peppermint essence and green food colouring (optional) to the Thermomix bowl. Cook for 8 minutes, 100 degrees, Speed 3 (MC off). Scrape down the sides of the bowl.
- Cook for 20 minutes, Varoma temperature, Speed 3 (MC off). Scrape down the sides of the bowl.
- Add milled chocolate and mix for 30 seconds, Speed 3.
- Working quickly, spread the mint fudge over the chocolate fudge layer and place back into the fridge to set.
Notes
- Choose a good quality brand of chocolate (such as Cadbury, Hersheys, Nestle or Lindt etc) as this is the main ingredient in fudge
- Peppermint Crisp bars are a popular chocolate bar here in Australia. You can substitute it or omit it entirely if they're not available where you live.
- Use full fat sweetened condensed milk (not skim) as it sets firmer.
- Peppermint essence can be purchased from the baking aisle of the supermarket (near the vanilla extract and food colourings).
- Green food colouring - this gives the mint layer a lovely green colour. Alternatively you can omit the food colouring and have a white mint flavoured layer.
- Liquid glucose (also known as glucose syrup) is a clear, very thick, sweet and sticky liquid. When making fudge, liquid glucose will keep it soft, while giving it a smooth and chewy texture.
- Store - for 2-3 weeks in an airtight container in the fridge.


Renae says
Can you double this recipe? Is there a change needed in the cooking times?
Lucy says
I would not recommend doubling this recipe. 🙂
Luke says
Could you please tell us what size of a tray are you using doing this great fudges?
Prepared tray - what does it mean, exactly? 🙂
Tash says
It's a 18X30cm rectangular slice tin.
"Prepared tray" means lining the tray with baking paper (Step 2) 🙂
Tony Stevenson says
Kids made me this for Father's Day on weekend. To say its magnificent is selling it short....OMG...
Lucy says
Fantastic!!!
Emma says
We can’t even taste the peppermint. Very disappointed. I’d add at least 4x the amount of peppermint essence if you don’t want just a chocolate and green coloured white chocolate fudge.
Tanja says
Mine turned out a little crumbled like it was overlooked do you have any suggestions
Lucy Mathieson says
Hi Tanya, hmm no it definitely shouldn't do that at all! Its always beautiful and creamy/soft whenever I've made it!
Mel says
How long does fudge last? I want to make this for teacher and daycare gifts but school finishes this week and daycare next week. If I make it will it still be ok next week?
Mel says
oops sorry should of read previous comments
Jayne says
How long do these keep for if i wanted to make ahead of time for gifts?
Lucy says
They will easily last a week in an airtight container. 🙂
Michelle says
These look delicious and so pretty. Could I use coconut sugar instead of raw sugar?
Lauren says
Hi Michelle, I'm not sure how it would go with coconut sugar, the consistency might be a little different?
Jennifer says
As a new thermie owner can I ask what MC off means please? I'll definitely be making this as a Christmas present ?
Lucy says
Measuring up off - 🙂 xxx
kat Moss says
I made these at Christmas time. Totally amazing. Not as sickly sweet as some other fudge flavours.
Lucy says
That's SO great to hear!
Renee De Maria says
Just made these, so simple and so delicious, thank you!!
Lauren says
So glad you enjoyed them!
Fiona says
So pretty! I think these will go down a treat at xmas.... like xmas trees!!
Lindsay says
Oh these would be perfect minecraft blocks for a minecraft party!
Lorraine says
Minecraft blocks - genius!
Hadia says
Oh my! How yummy! This will be on my do list! Thank you for sharing!
Kat - The Organised Housewife says
Ooh this looks so good!