Our 5 ingredient homemade Cheesy Thermomix Crackers are so simple to prepare and taste delicious served with your favourite dips!
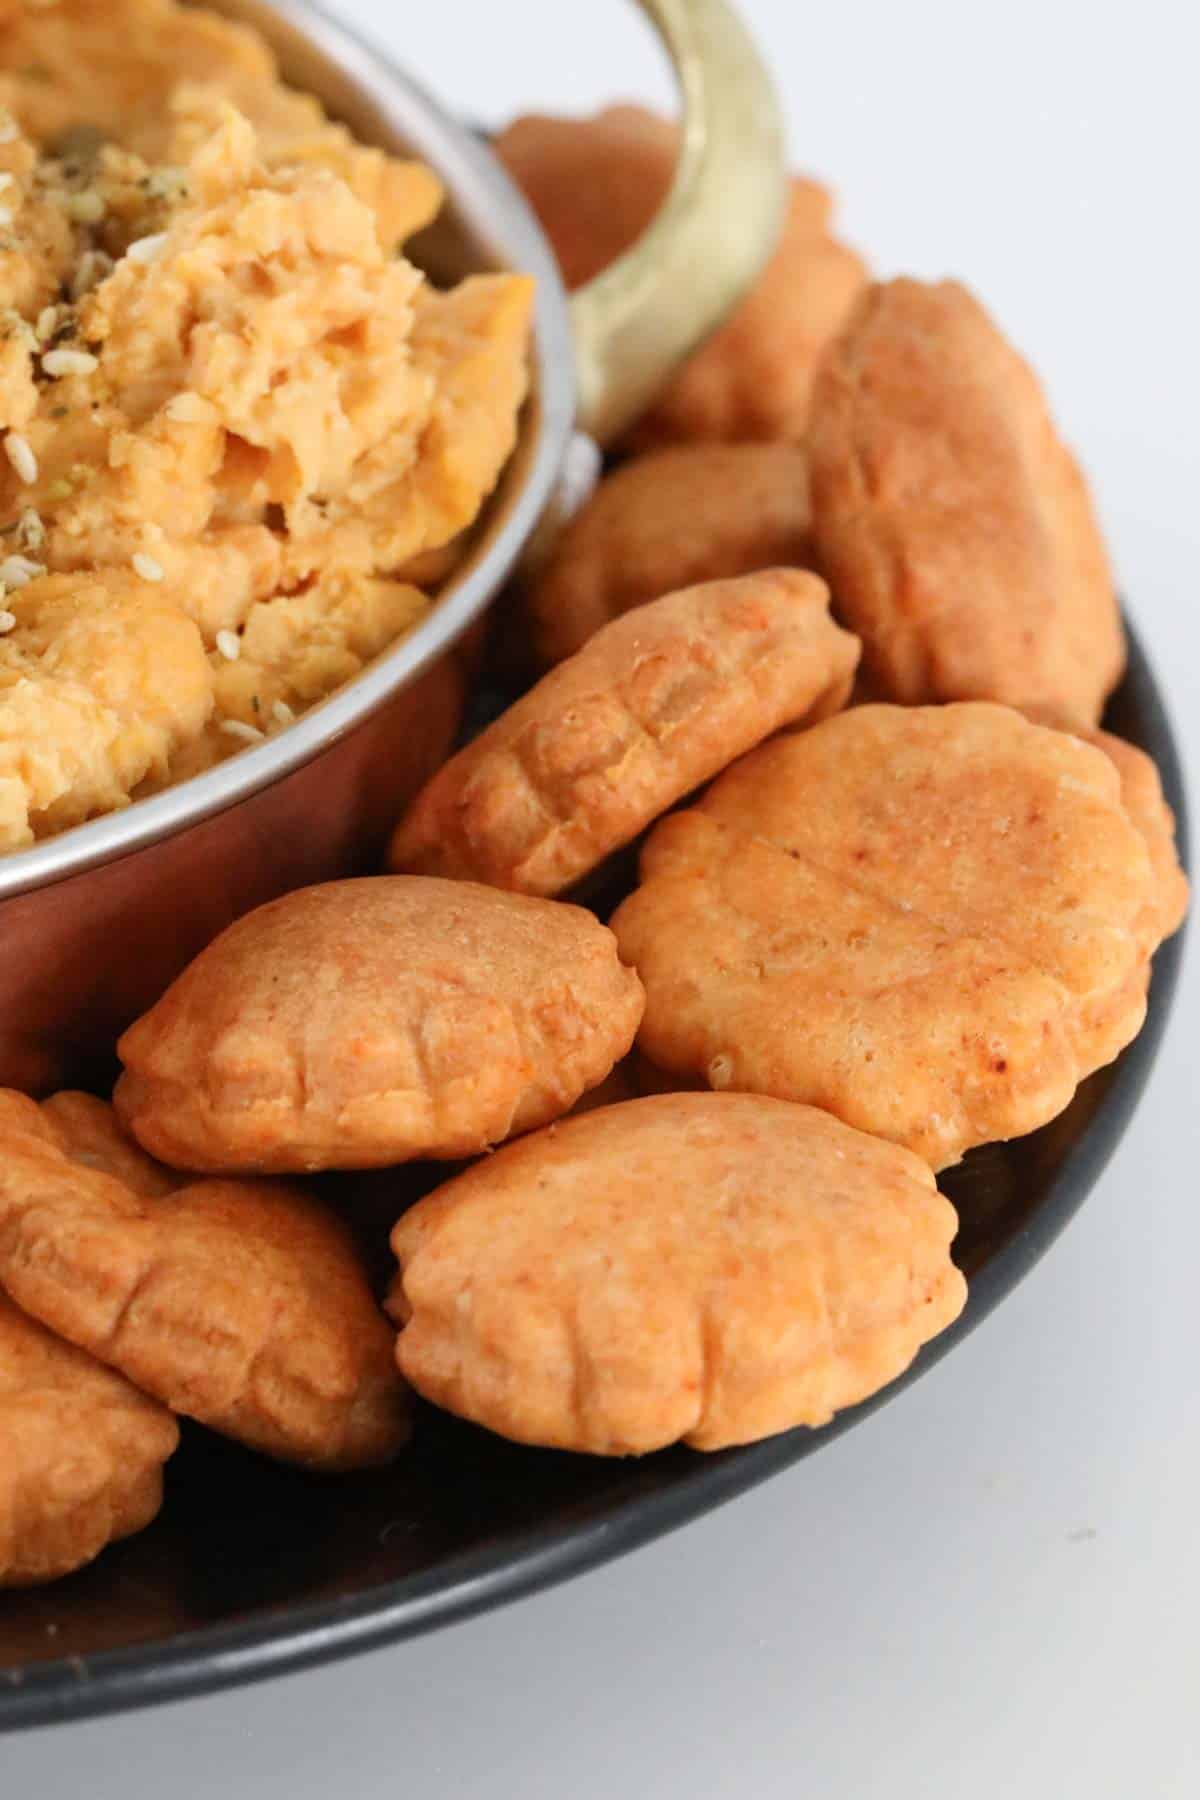
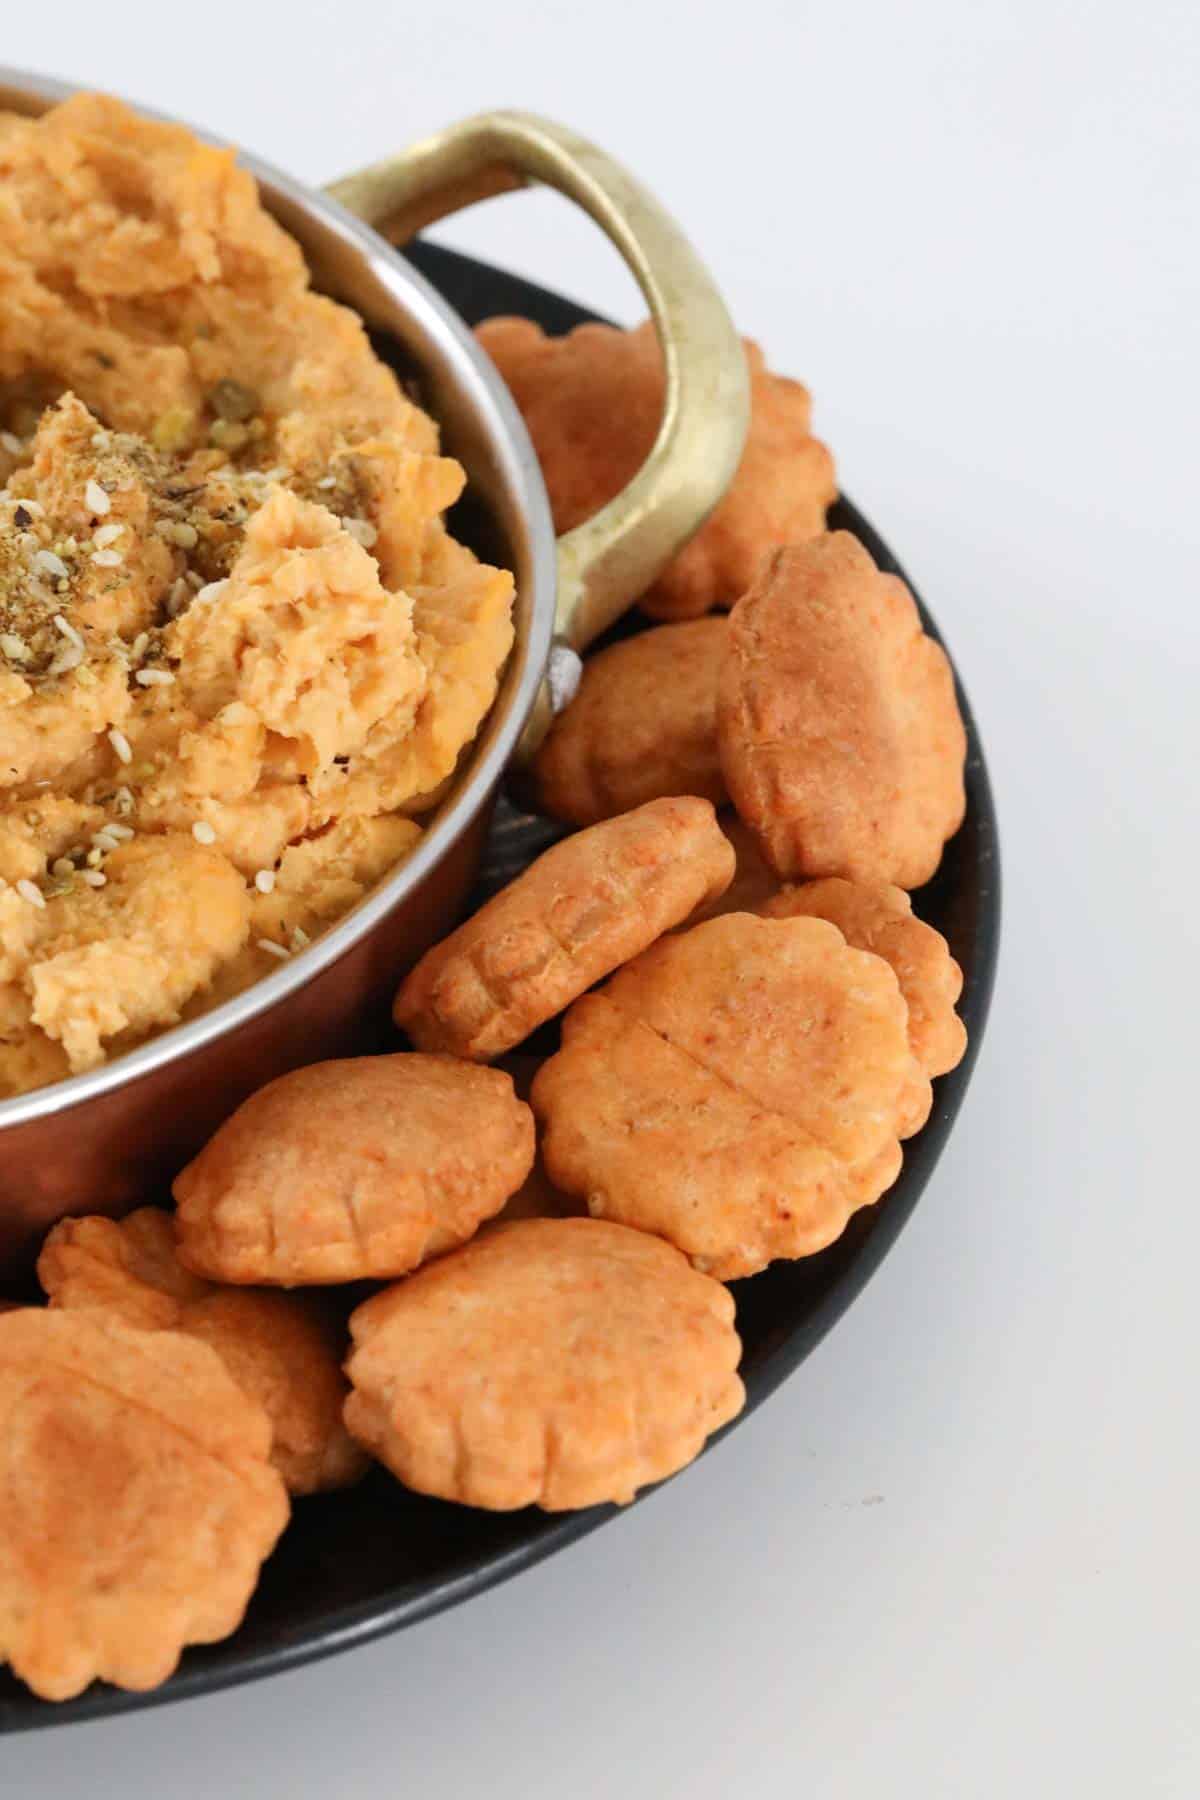
You won't believe how easy it is to make our Cheesy Thermomix Crackers! It's also a great recipe to get the kids helping out with.
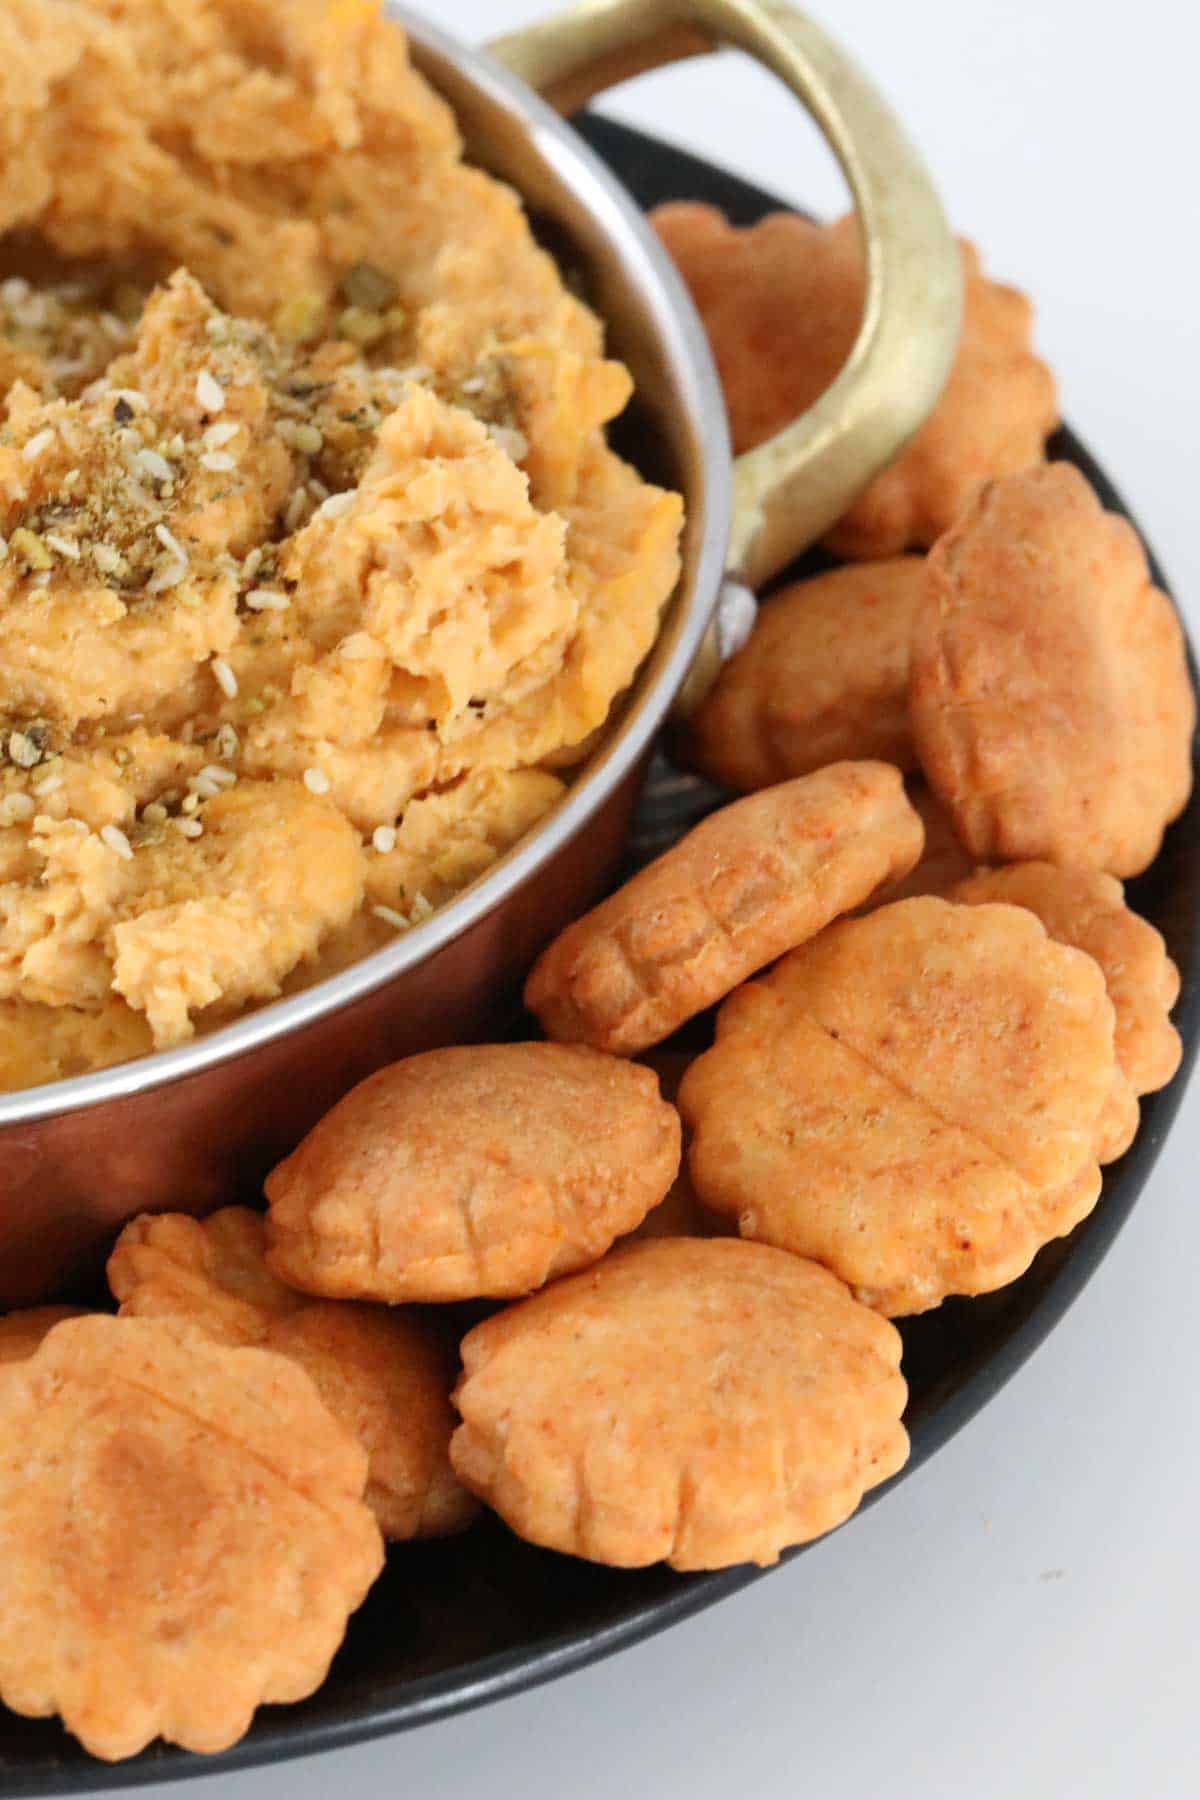
Serve them on their own as a tasty savoury snack, or dip them into our Roasted Pumpkin Dip, Hummus, Creamy Avocado Dip or Baba Ghannoush!
Let's get started...
Why You're Going To Love This Recipe
Kids and adults alike, love these tasty little crackers!
- Extra Cheesy - made with two varieties of cheese (parmesan and tasty!) means these crackers are extra delicious.
- Mini Bite Sized Snacks - pop a handful into school lunchboxes for a yummy savoury treat.
- No Additives or Preservatives - unlike store-bought crackers, our recipe contains ZERO additives or preservatives meaning you know exactly what you're eating!
- Kids Recipe - the kids will LOVE helping to prepare the dough, roll it out and cut out the cracker shapes. Use any mini cutter you like (you could even make stars or love hearts!).
What You Need
There's no need to make an extra trip to the supermarket because our Thermomix Crackers are made using just a handful of pantry staples.
Please scroll to the recipe card at the bottom of the post for ingredient quantities and the full detailed method.
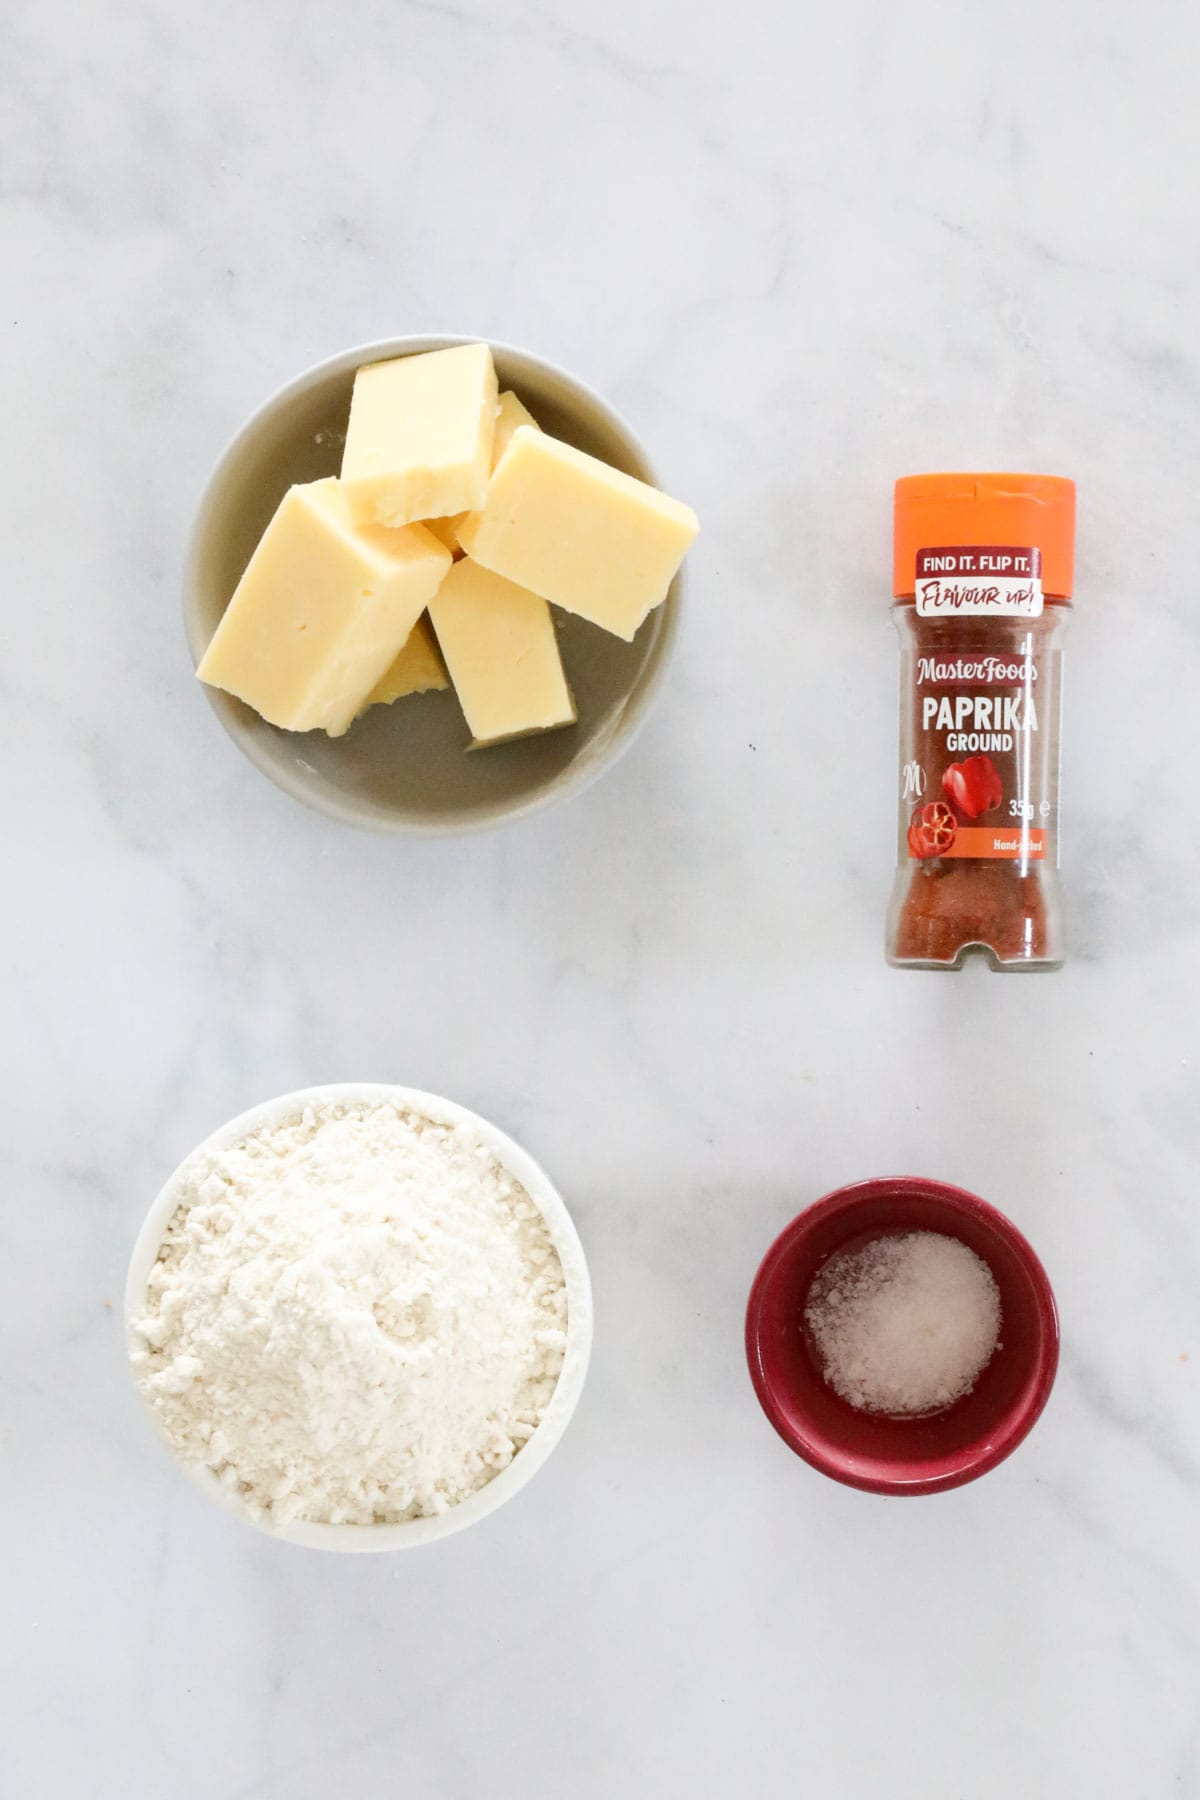
- Cheeses - we like to use a combination of tasty/cheddar cheese and parmesan cheese in this recipe.
- Plain Flour - also known as all purpose flour.
- Ground Paprika - for a delicious hit of flavour!
- Salt - just a pinch.
- Water - to bring the dough together.
Step By Step Instructions
It takes just 10 minutes to prepare this easy cheesy Thermomix cracker dough!
Please scroll to the recipe card at the bottom of the post for ingredient quantities and the full detailed method.
Step 1 - Grate The Cheeses
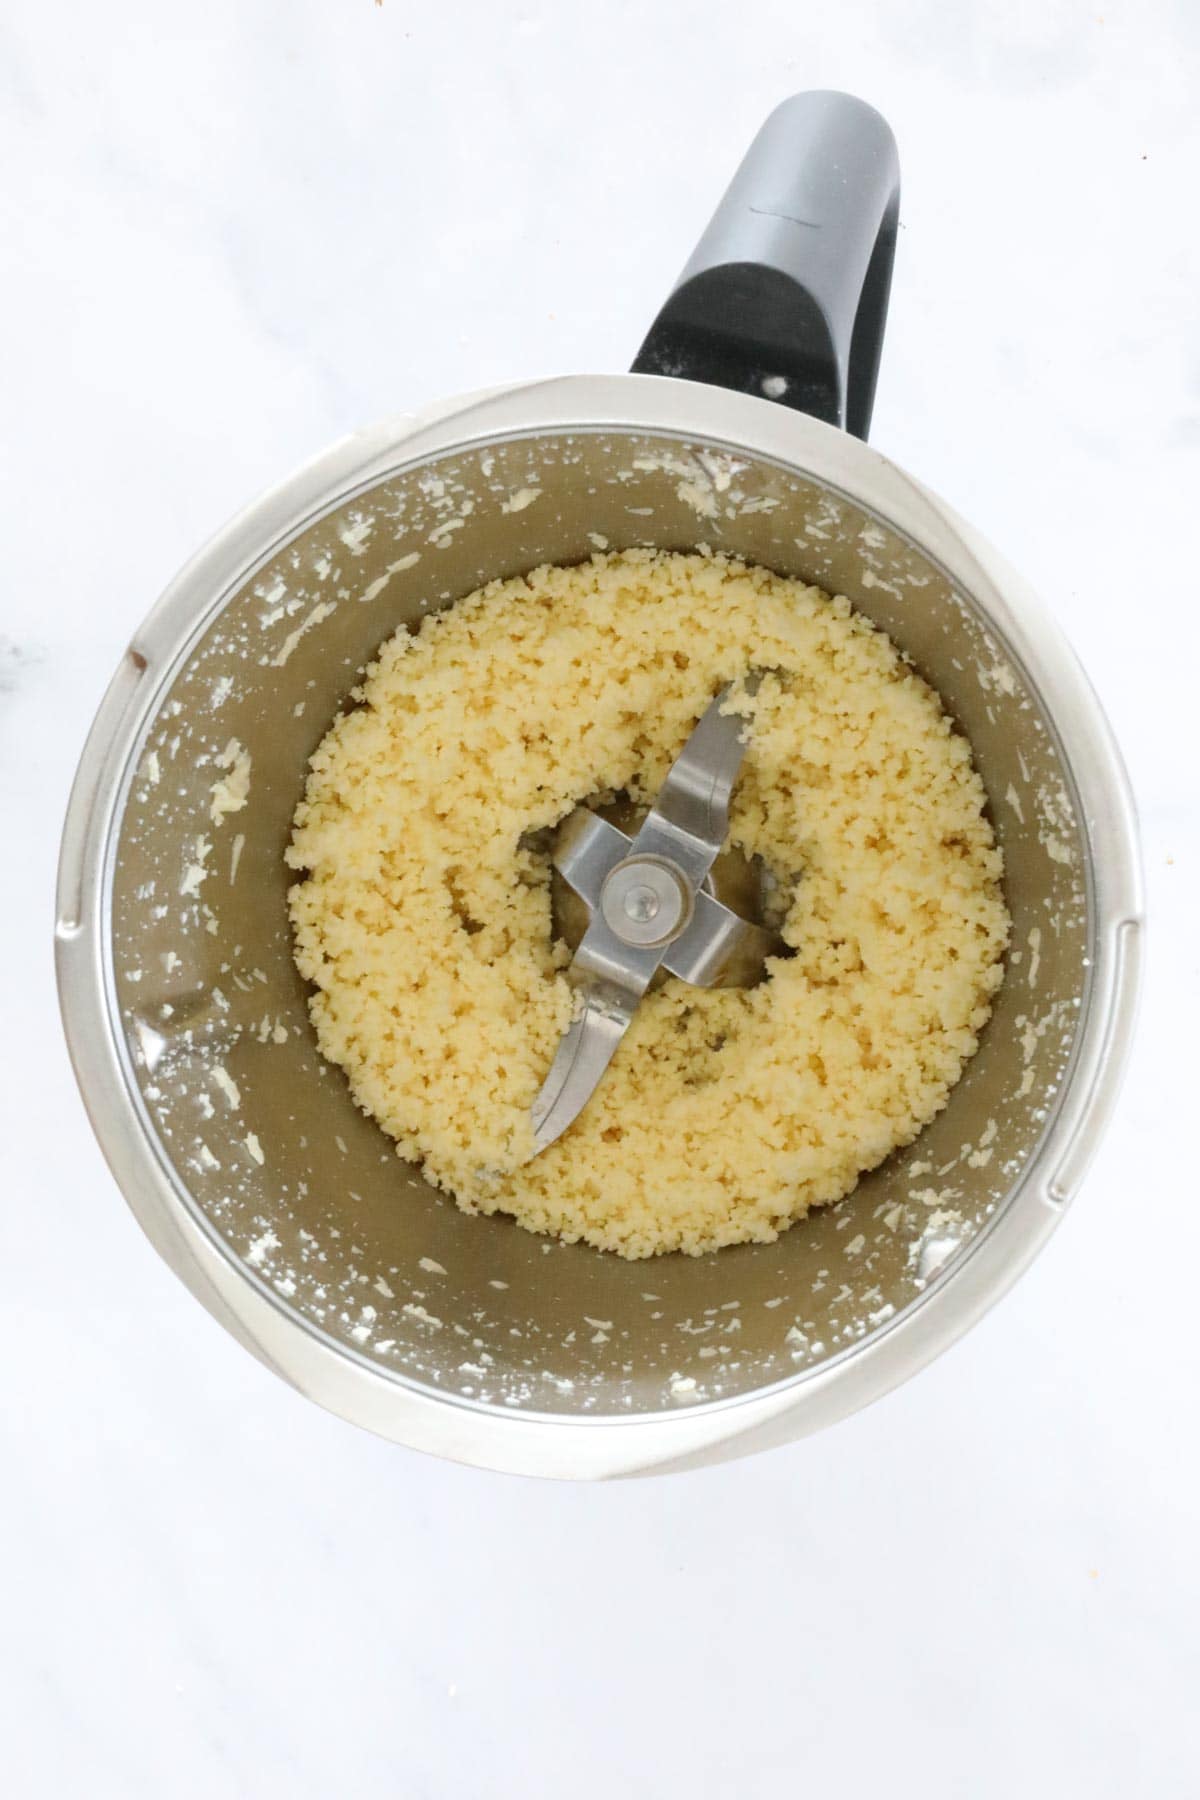
Place the tasty/cheddar cheese and the parmesan cheese into the Thermomix bowl.
Mix to grate.
Step 2 - Add The Dry Ingredients
Add the flour, paprika and salt to the cheese mixture.
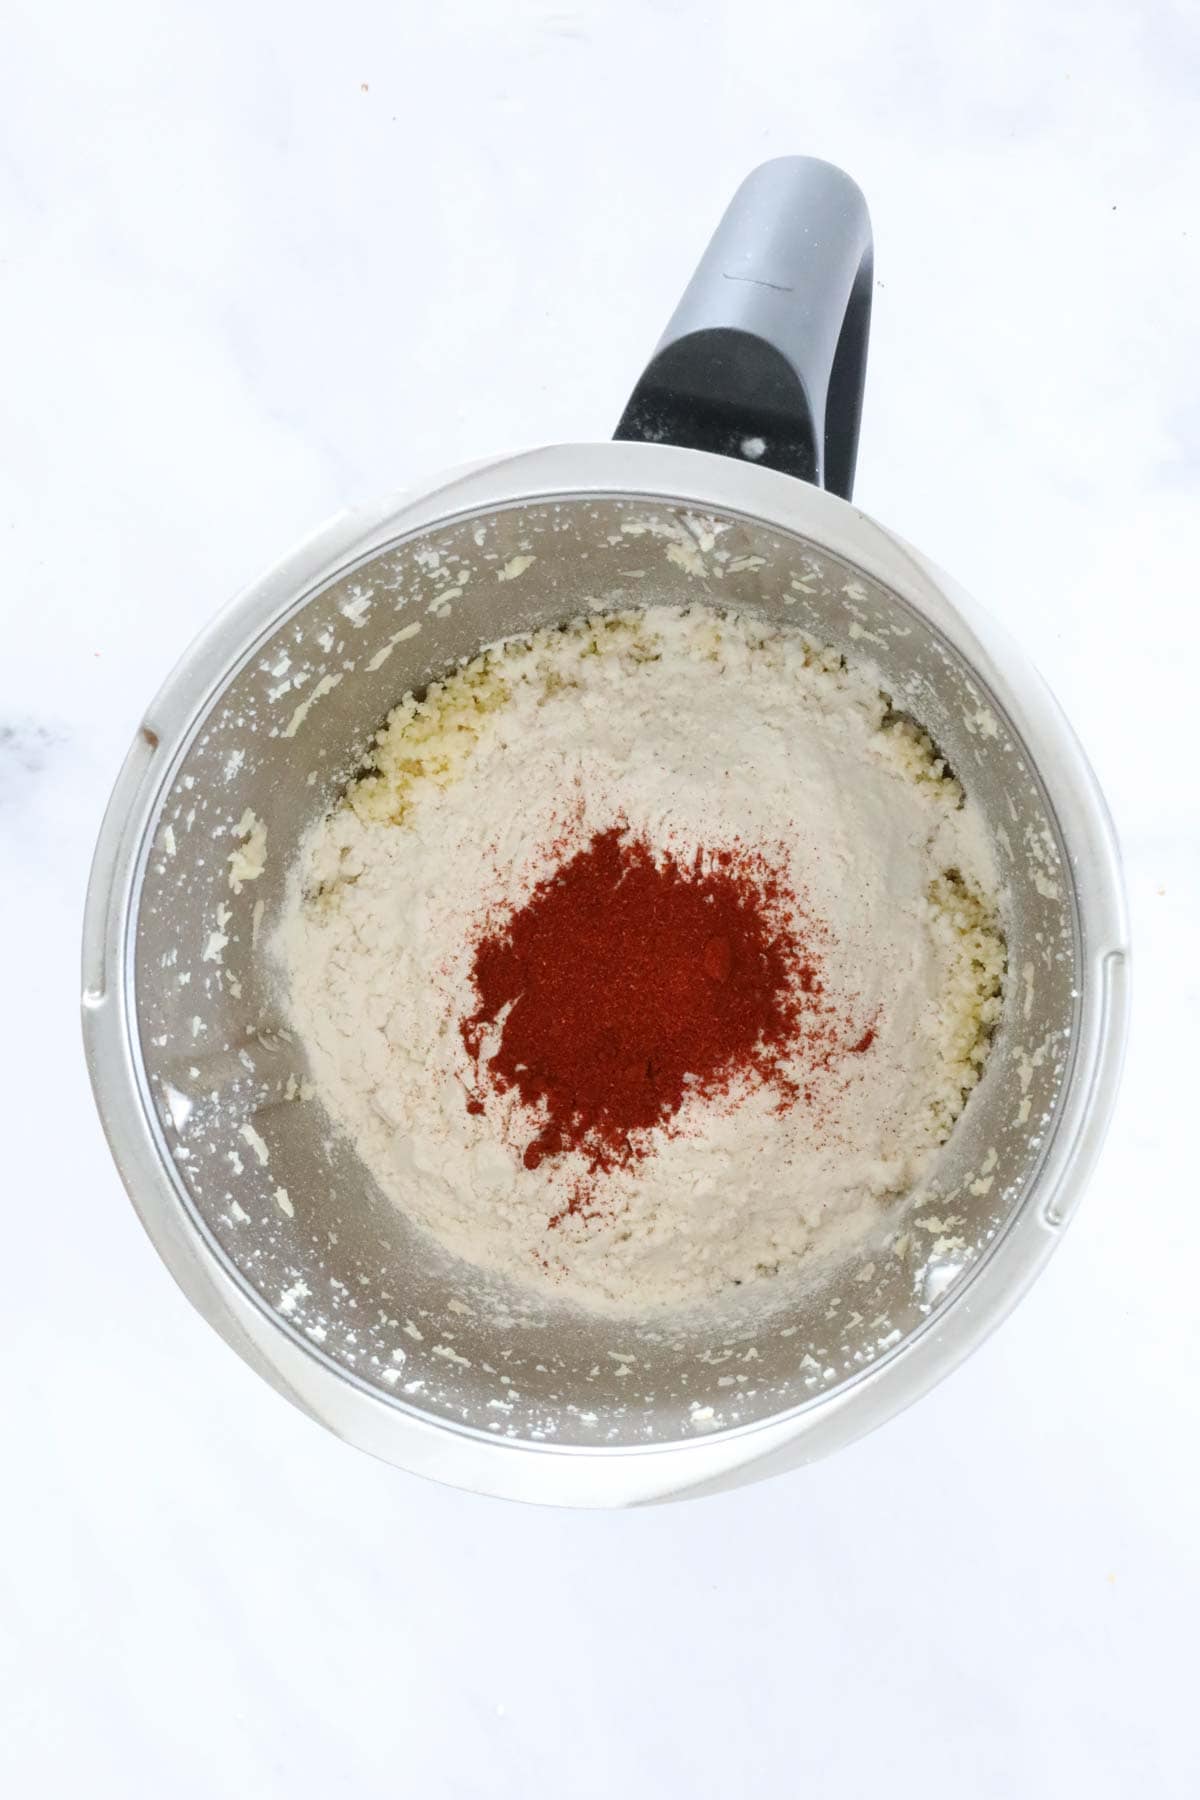
Mix to combine.
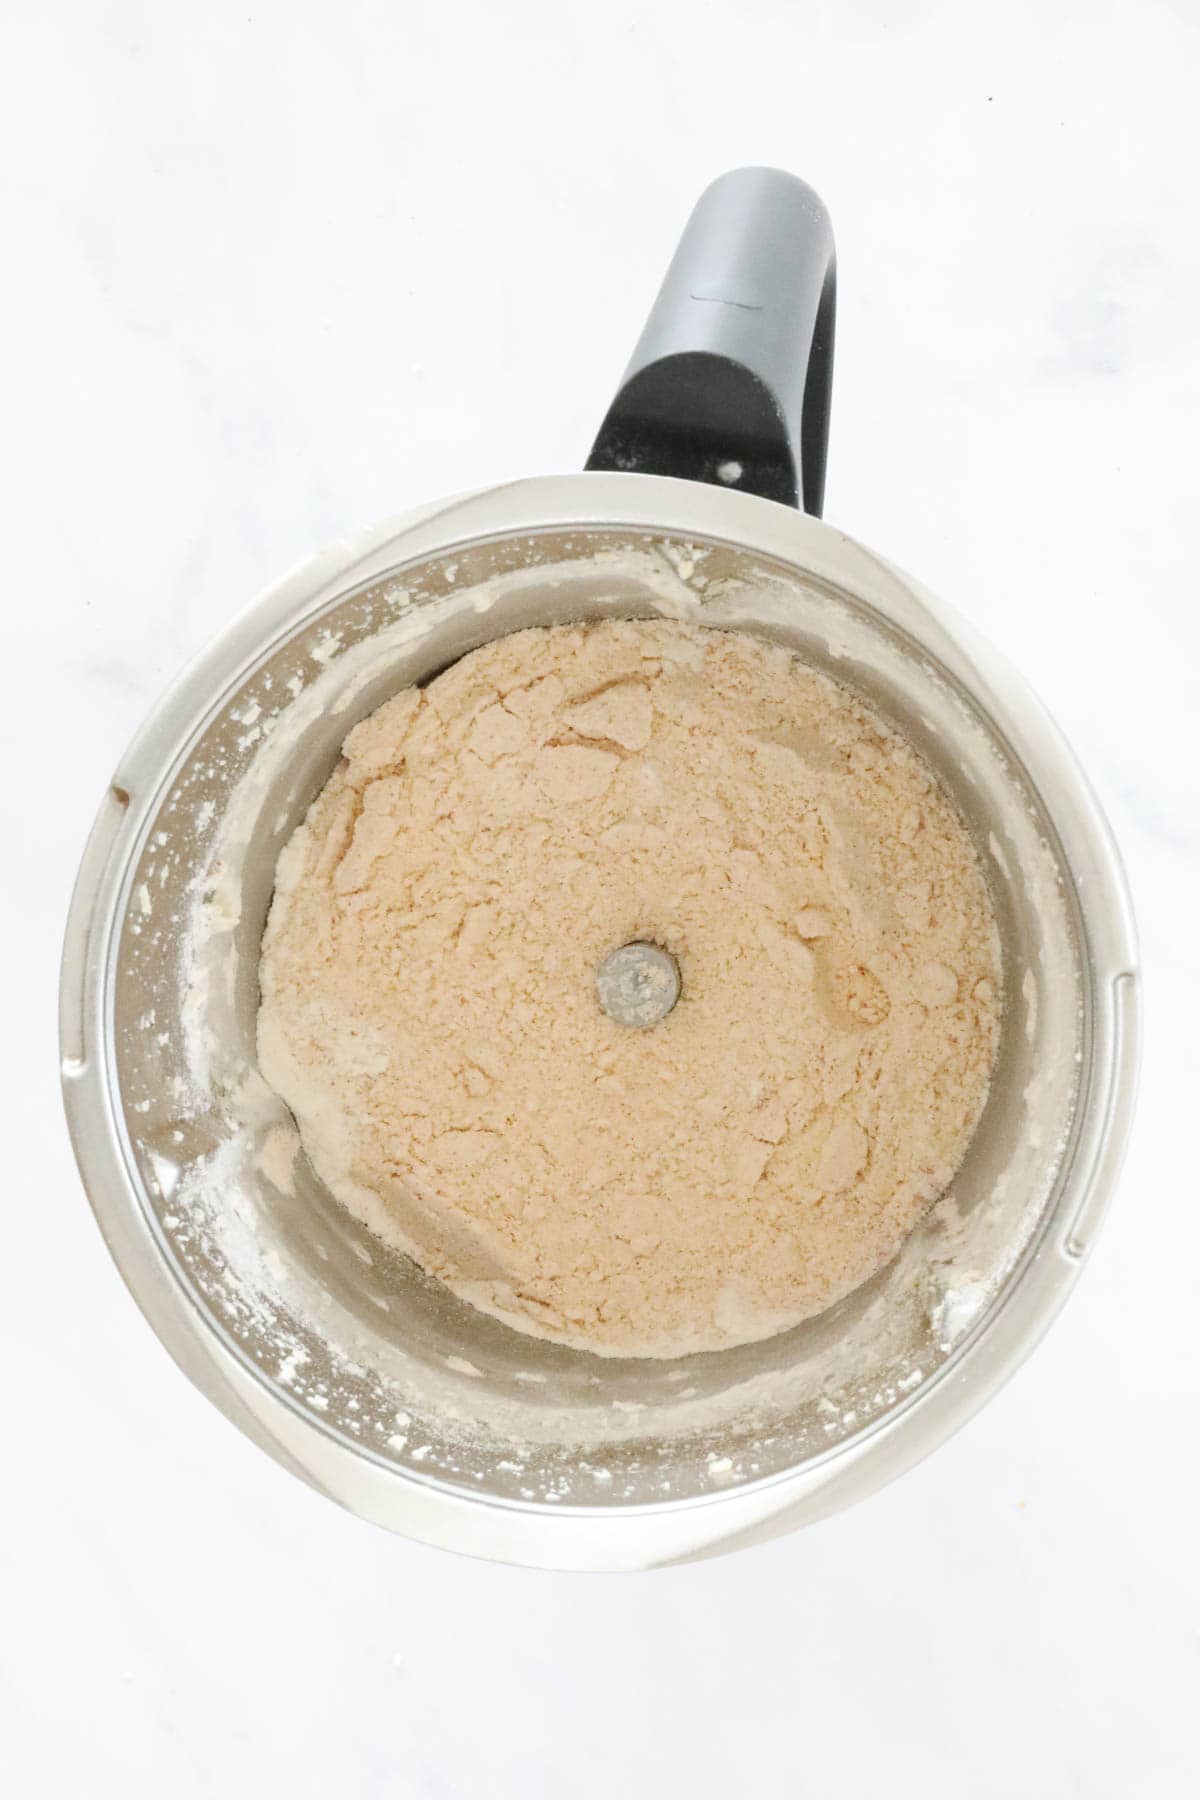
Step 3 - Add The Water & Knead
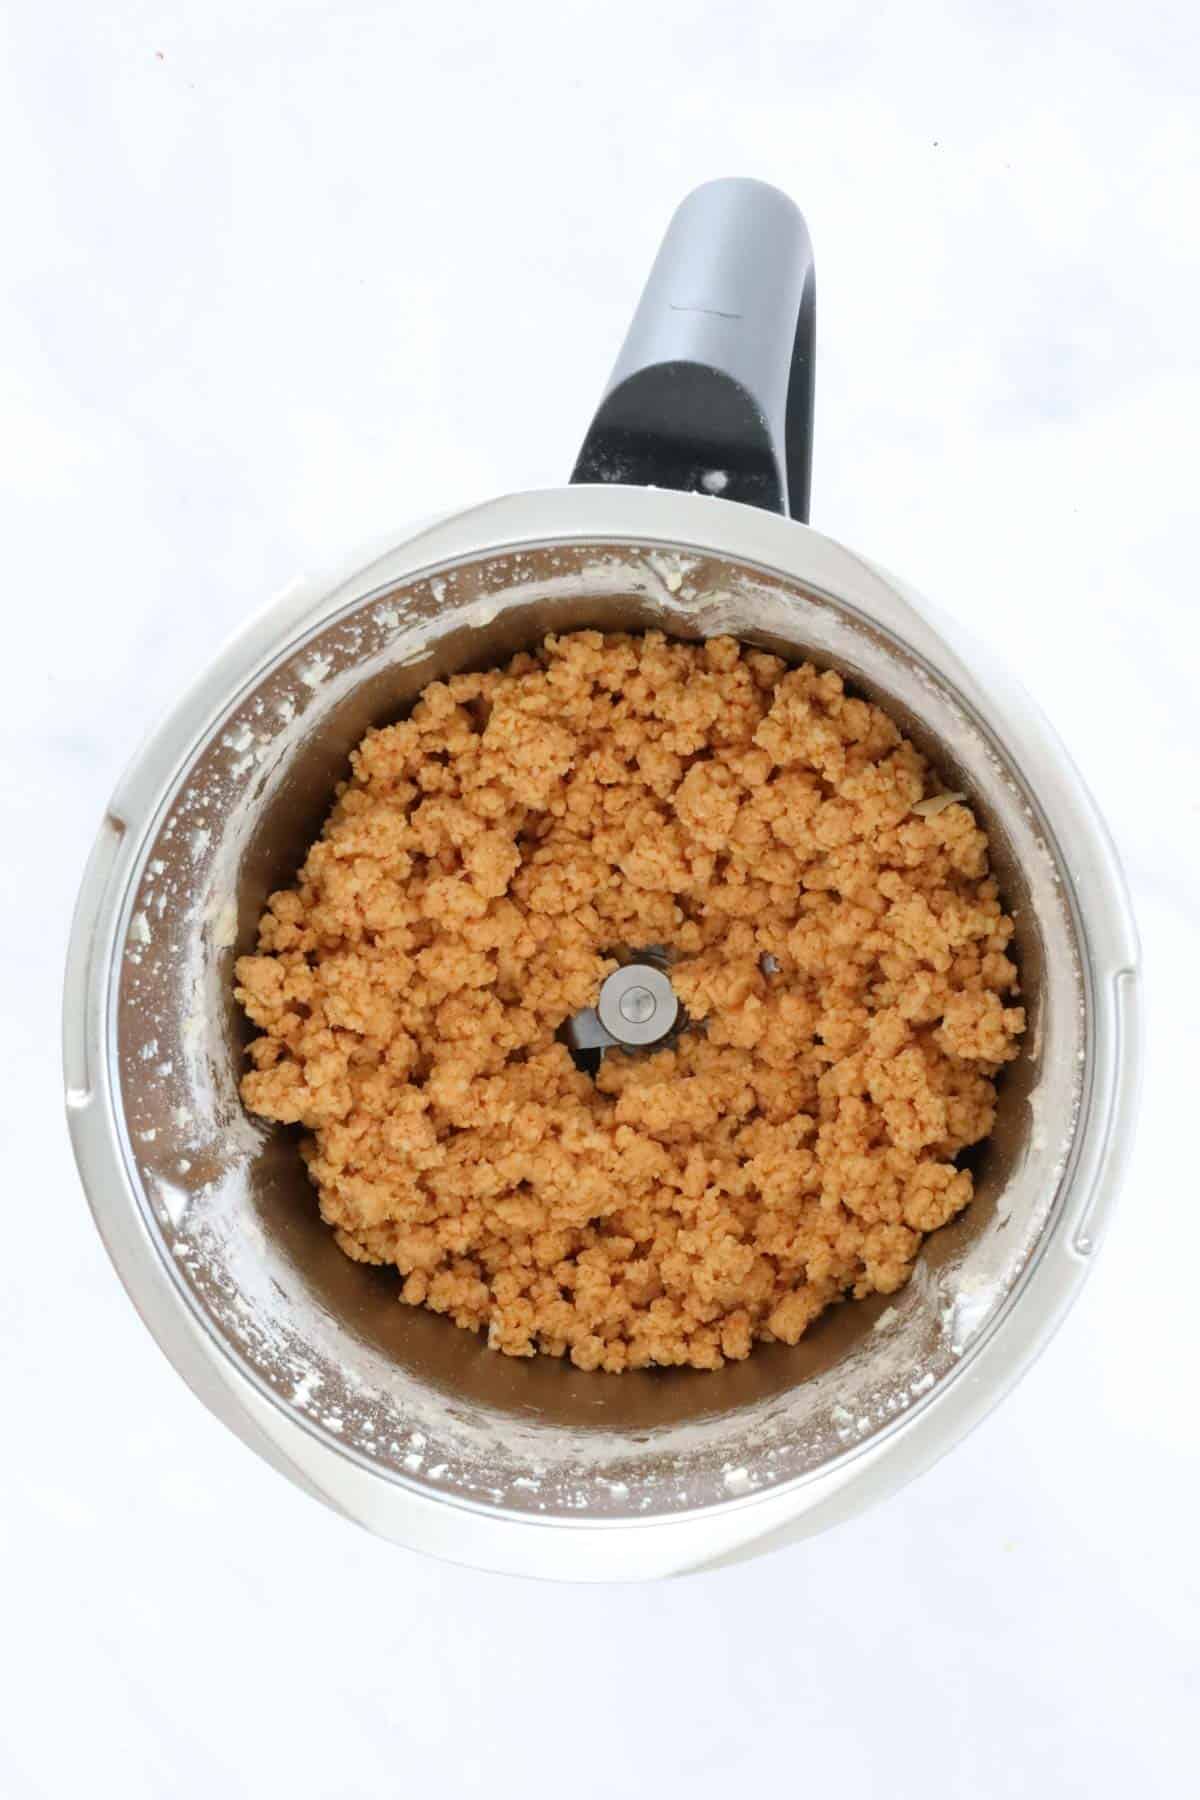
Slowly add the water and then use the Interval/Kneading Function to knead the dough.
Step 4 - Roll The Dough Out
Divide the dough into 2 portions.
Place each portion (one at a time) between two sheets of baking paper.
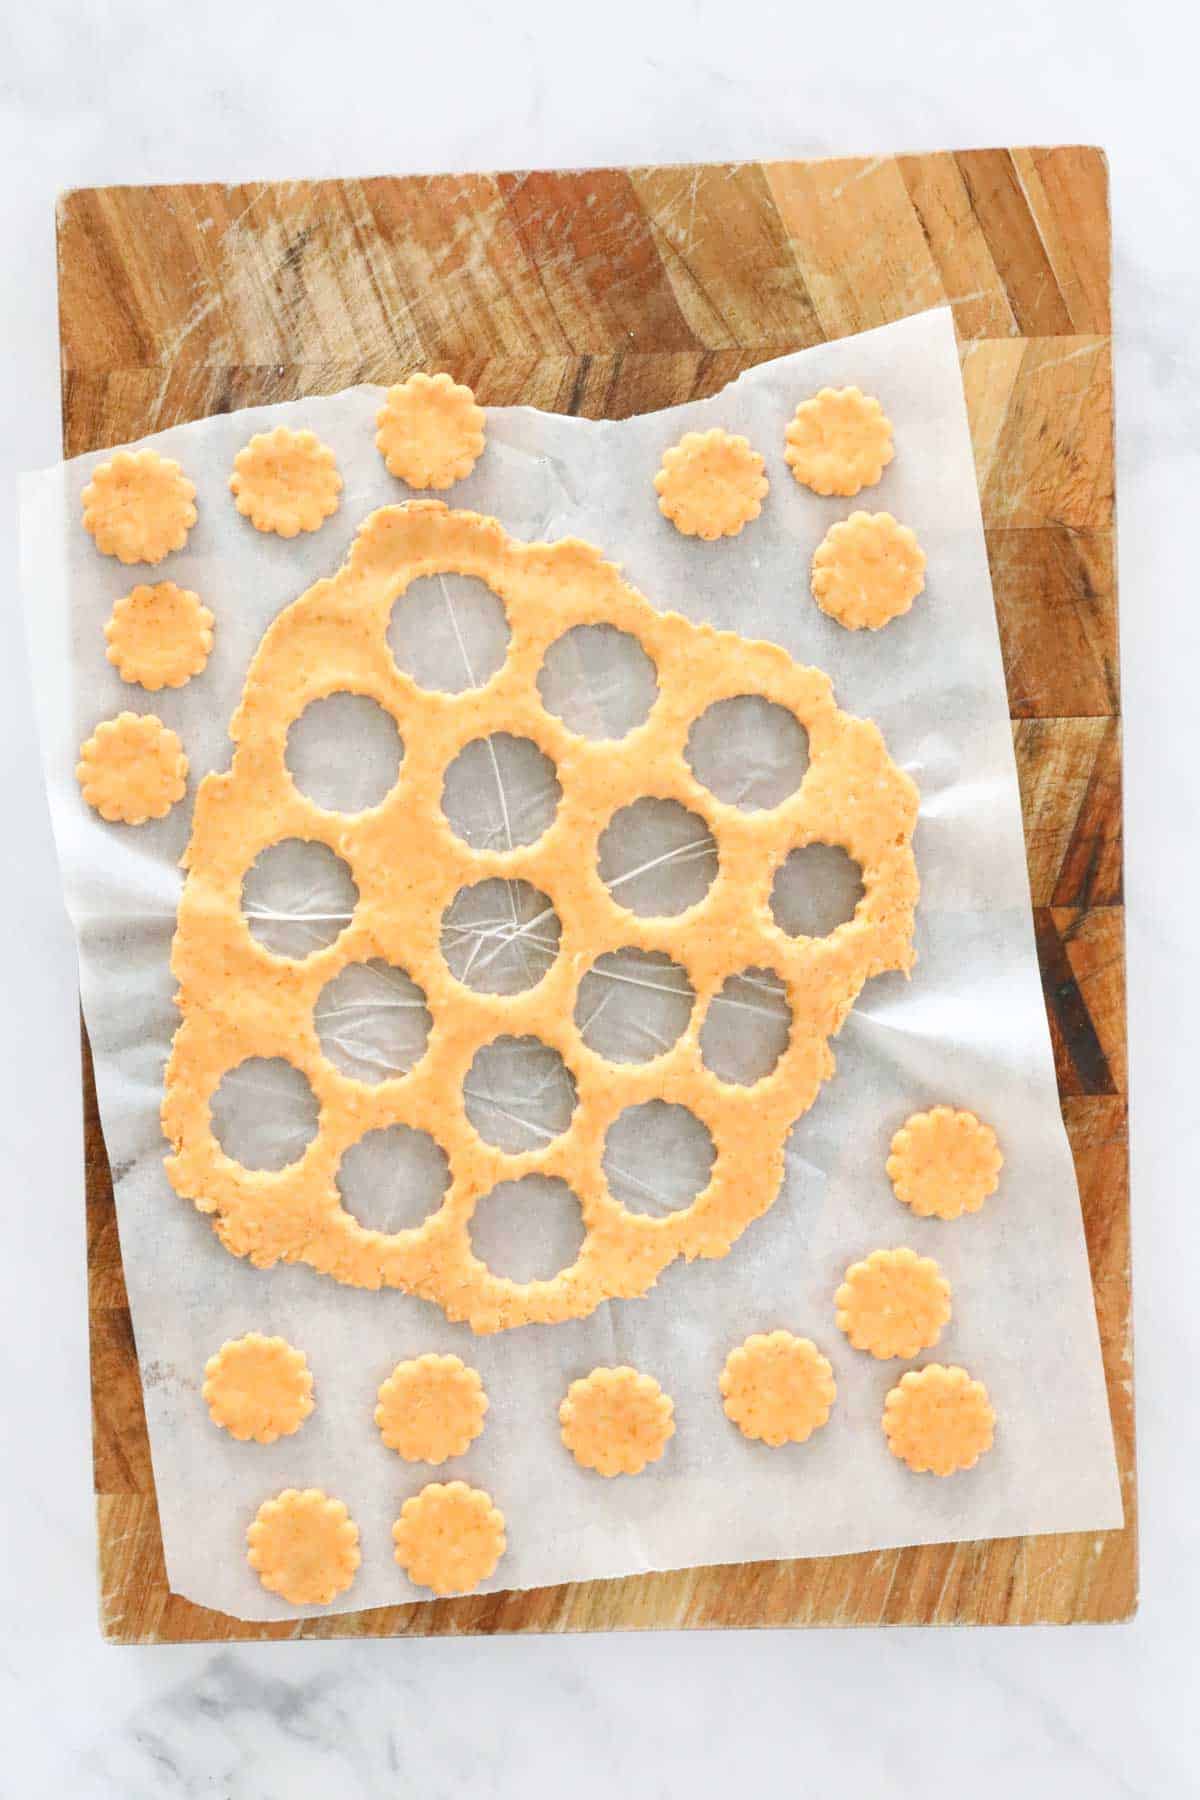
Use a rolling pin to roll the dough out very thin (approx 2mm).
TIP: The thinner you roll the dough, the crunchier the crackers will be!
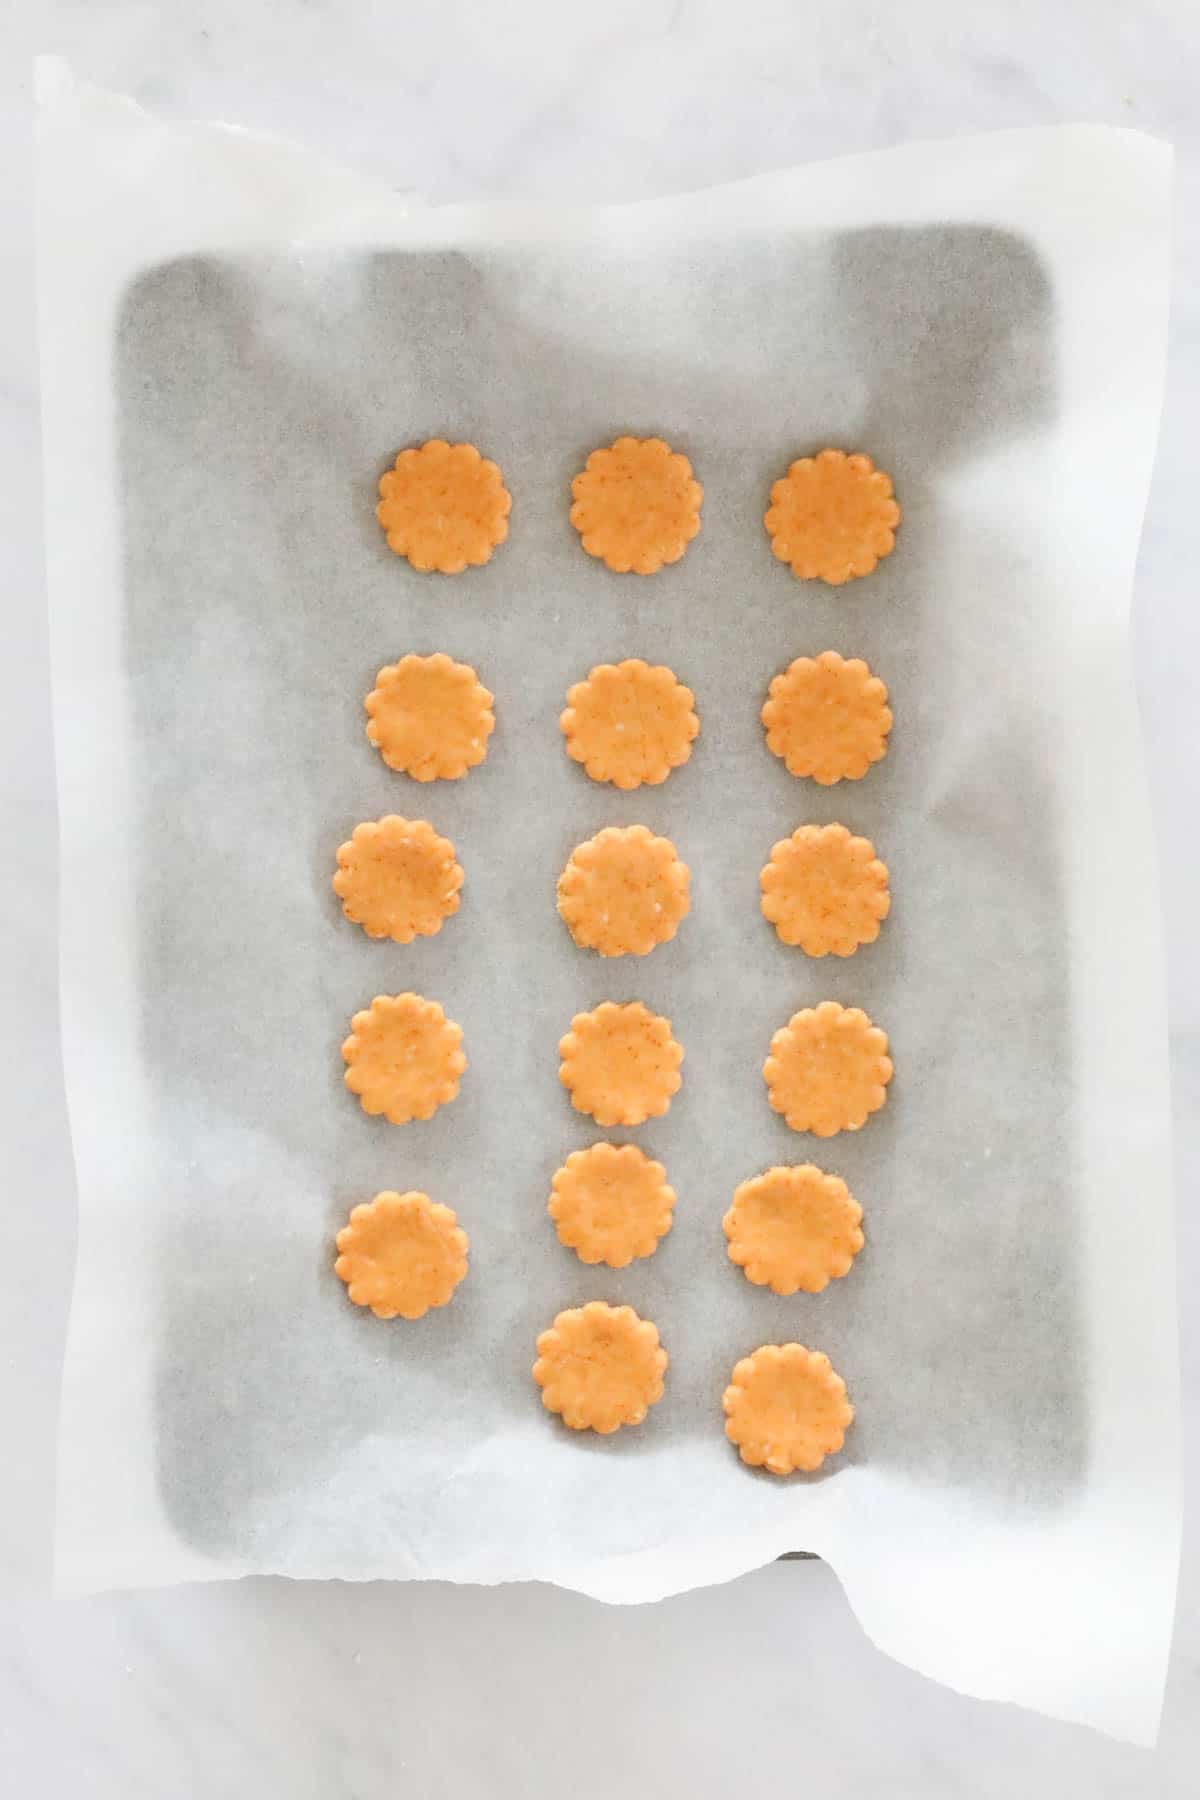
Use a mini cutter (approx 4cm) to cut the dough into little shapes.
Step 5 - Cook The Thermomix Crackers
Place the crackers onto baking paper lined trays and cook for 15 minutes or until crunchy.
TIP: The longer you cook the crackers, the crunchier they will be!
Expert Tips
- For crunchy Thermomix crackers, roll the dough out VERY thin (approx 2mm) and cook until crunchy.
- Once kneaded, the dough will still be slightly crumbly but will come together on your hands.
- Using a combination of tasty/cheddar cheese and parmesan cheese gives the ultimate flavour.
- These crackers can be stored in a dry, room temperature spot for up to 3 days, however, they're at their best on the day of cooking.
- This recipe is not suitable for freezing.
FAQs
Yes! You can make this recipe using any of the Thermomix models.
Make sure you cook them for long enough! They will puff up after a short period in the oven, but you'll want to keep cooking the Thermomix crackers for longer if you'd like them extra crunchy! The longer you cook them, the crunchier they'll be!
Any of your favourite dips, cheeses and deli meats! Or pop a couple of crackers into you kids lunchbox for an easy savoury snack.

Related Recipes
Looking for more easy and delicious Thermomix savoury snacks? Look no further!
SHOP OUR RANGE OF THERMOMIX COOKBOOKS
Browse our collection of hardcopy Thermomix cookbooks here.
There's everything from family dinners to kids snacks, desserts to cookies, slices to Christmas recipes, cocktails to chocolate recipes and more!


Cheesy Thermomix Crackers
Equipment
- Thermomix
- Oven
Ingredients
- 40 g parmesan cheese
- 100 g tasty cheese
- 200 g plain flour
- 1 teaspoon ground paprika
- ½ teaspoon salt
- 100 g water
Instructions
- Preheat oven to 180 degrees celsius (fan-forced).
- Place the parmesan and tasty cheeses into the Thermomix bowl. Mix on Speed 8 for 10 seconds.
- Add the plain flour, paprika and salt and mix for 10 seconds, Speed 5.
- Slowly add the water and mix for a further 20 seconds, Speed 5.
- Knead on Interval Speed for 1 minute.
- Place one sheet of baking paper on the bench.
- Roll half of the dough into a ball and place onto the baking paper sheet.
- Top with another baking paper sheet.
- Roll the dough out to 2mm thick (the thinner your dough is, the crispier your crackers will be).
- Cut the dough into shapes with a cookie cutter (I used a 4cm serrated edge round cookie cutter).Repeat with the remaining dough.
- Place the crackers onto flat baking trays and cook in the oven for 15 minutes or until lightly golden and crunchy.
- Leave on the baking trays for 5 minutes and then transfer to a wire rack to cool completely.
Notes
- For crunchy crackers, roll the dough out VERY thin (approx 2mm) and cook until crunchy.
- Once kneaded, the dough will still be slightly crumbly but will come together on your hands.
- Using a combination of tasty/cheddar cheese and parmesan cheese gives the ultimate flavour.
- These crackers can be stored in a dry, room temperature spot for up to 3 days, however, they're at their best on the day of cooking.
- This recipe is not suitable for freezing.






Nicole says
We made these during our second week of Covid lockdown and they were a huge hit with all three of my kids and myself.
Lucy says
We're so glad you liked them!
Carina says
These tasted good as I used tasty aged cheese. I rolled them very thin however they were not crunchy - more chewy. This is likely due to the water instead of shortening. Dried out in oven on low heat for a few hours sorted out that.
Ella says
Can you freeze the dough?
Lucy says
Hi Ella, I haven't actually tried that with this recipe sorry!
Debbie says
Great recipe! I made mine into stars, hearts and circles. Good to throw in the freezer and pull out for lunch boxes when needed.
Lucy Mathieson says
CUTE!!!
Jess says
These are great for the kids. We made ours into little stars! I think using good quality aged cheeses makes all the difference 🙂
Lucy says
I agree!! Good cheese is always a winner!
Jaime says
I added garlic salt and pecorino cheese to mine and they were fantastic! Great recipe. Thank you!
Lauren says
We're so glad you enjoyed them!
Marney says
I found them a little bland too to be honest, however my kids can't stop eating them and that's all that matters to me! Plus it's a good base recipe to add whatever flavour you like.
Marlene Barnard says
Will not recommend these biscuits. Very dry and tasteless.
Lucy says
We're sorry that you didn't enjoy them Marlene.