• Skip to primary navigation
  • Skip to main content
  • Skip to primary sidebar
  • Thermomix Recipes
  • Christmas
  • Sweet
    • Slices, Brownies & Bars
    • Cookies & Biscuits
    • Cakes & Cupcakes
    • Chocolate
    • Desserts
    • Breakfast & Brunch
    • Healthy Treats
    • Drinks & Smoothies
    • Sweet Breads & Muffins
    • Easter
    • Celebrations
  • Savoury
    • Savoury Thermomix Lunchbox Recipes
    • Main Dishes
    • Sides & Salads
    • Snacks
    • Soups
    • Savoury Breads & Muffins
  • Lunch Box
    • Kids/Toddlers
  • Family Meals
  • Store
    • Shop All
    • Categories
      • Thermomix Recipe Books
      • Thermomix Recipe eBooks
  • Contact

Thermobliss

menu icon
go to homepage
subscribe
search icon
Homepage link
  • Thermomix Recipes
  • Sweet Recipes
  • Savoury Recipes
  • Family Recipes
  • Cookbook Shop
  • Cookbook Index
    • Facebook
    • Instagram
    • Pinterest
  • ×
    Home » All Posts

    All Posts

    Thermomix Chocolate Fudge

    May 10, 2016

    Making Thermomix Chocolate Fudge couldn't possibly be easier - just 2 ingredients (sweetened condensed milk and chocolate) and 10 minutes is all it takes!

    Making Thermomix Chocolate Fudge couldn't possibly be easier - just 2 ingredients (sweetened condensed milk and chocolate) and 10 minutes is all it takes!

    Perfect for homemade Christmas gifts, a cheeky late night dessert or a sweet treat at parties!
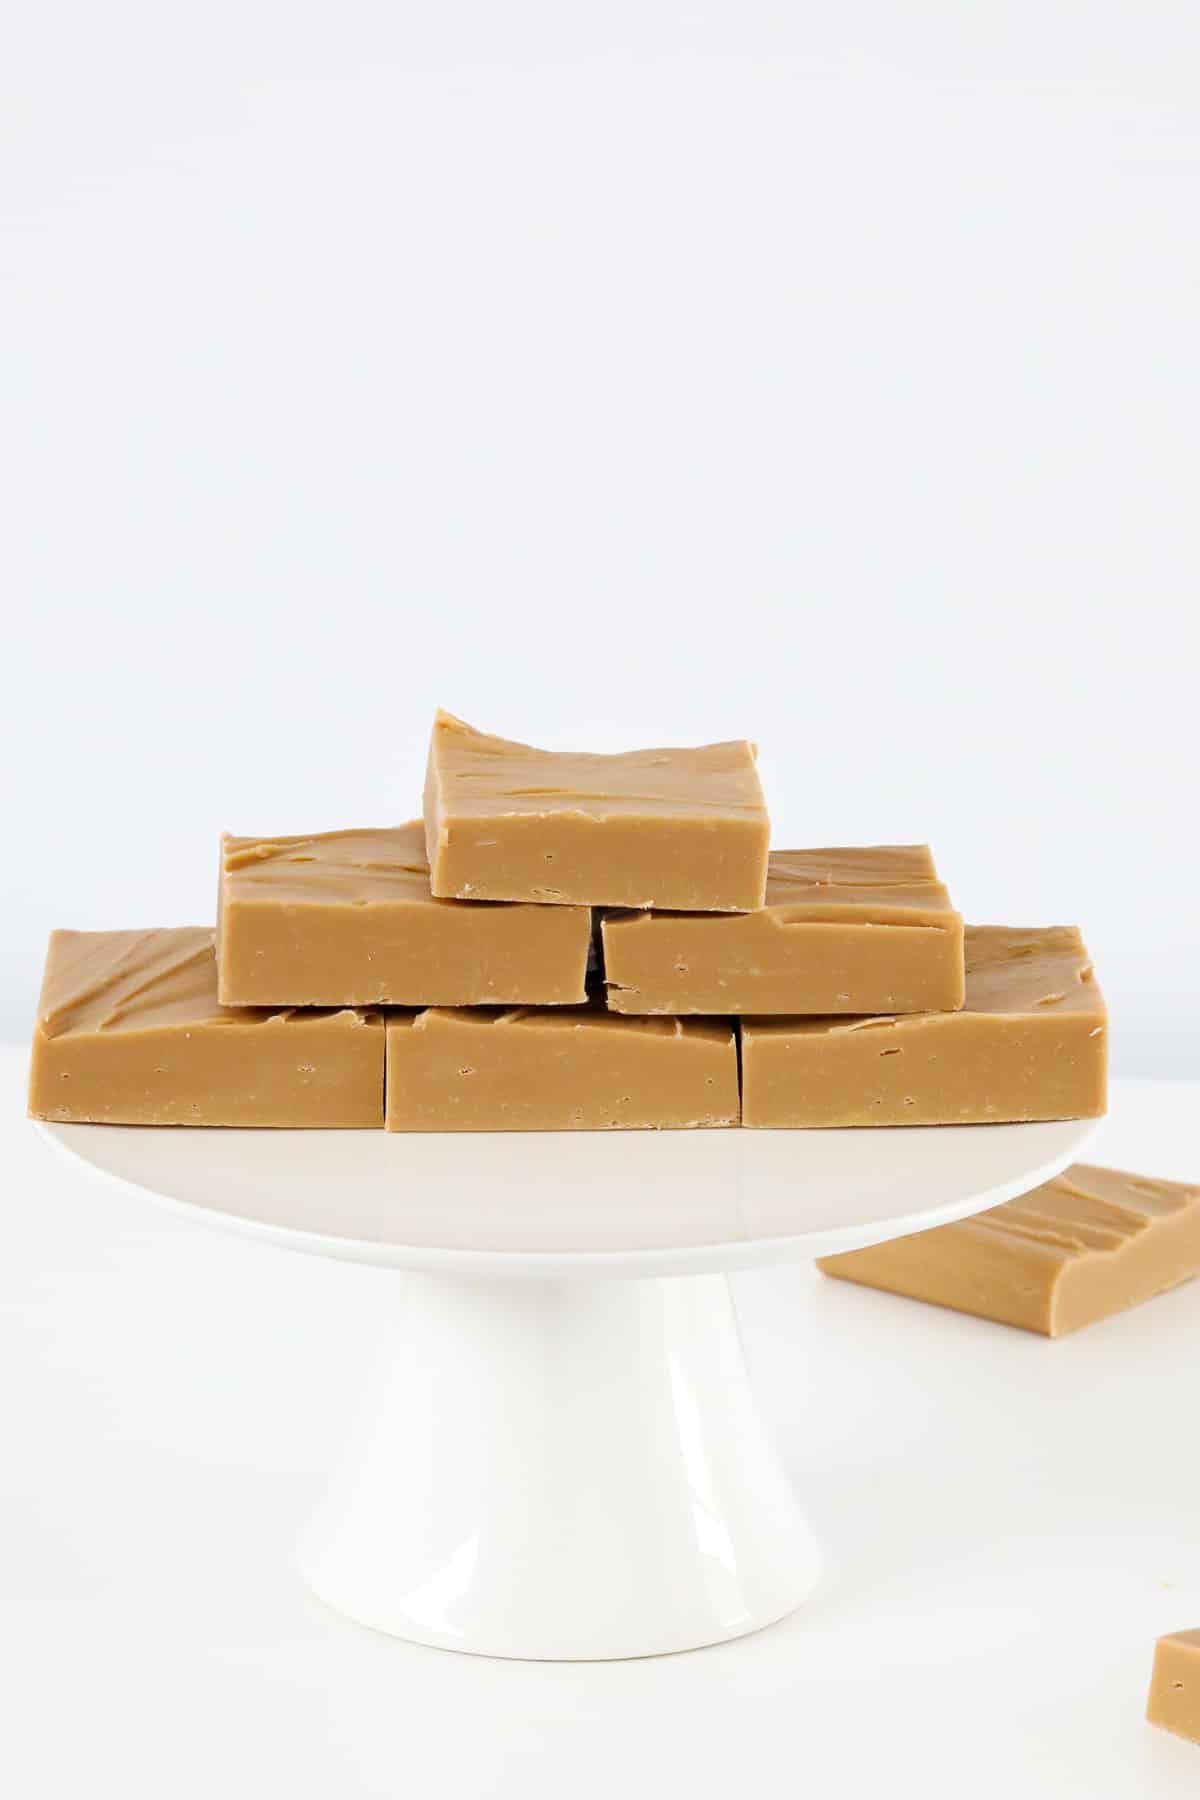
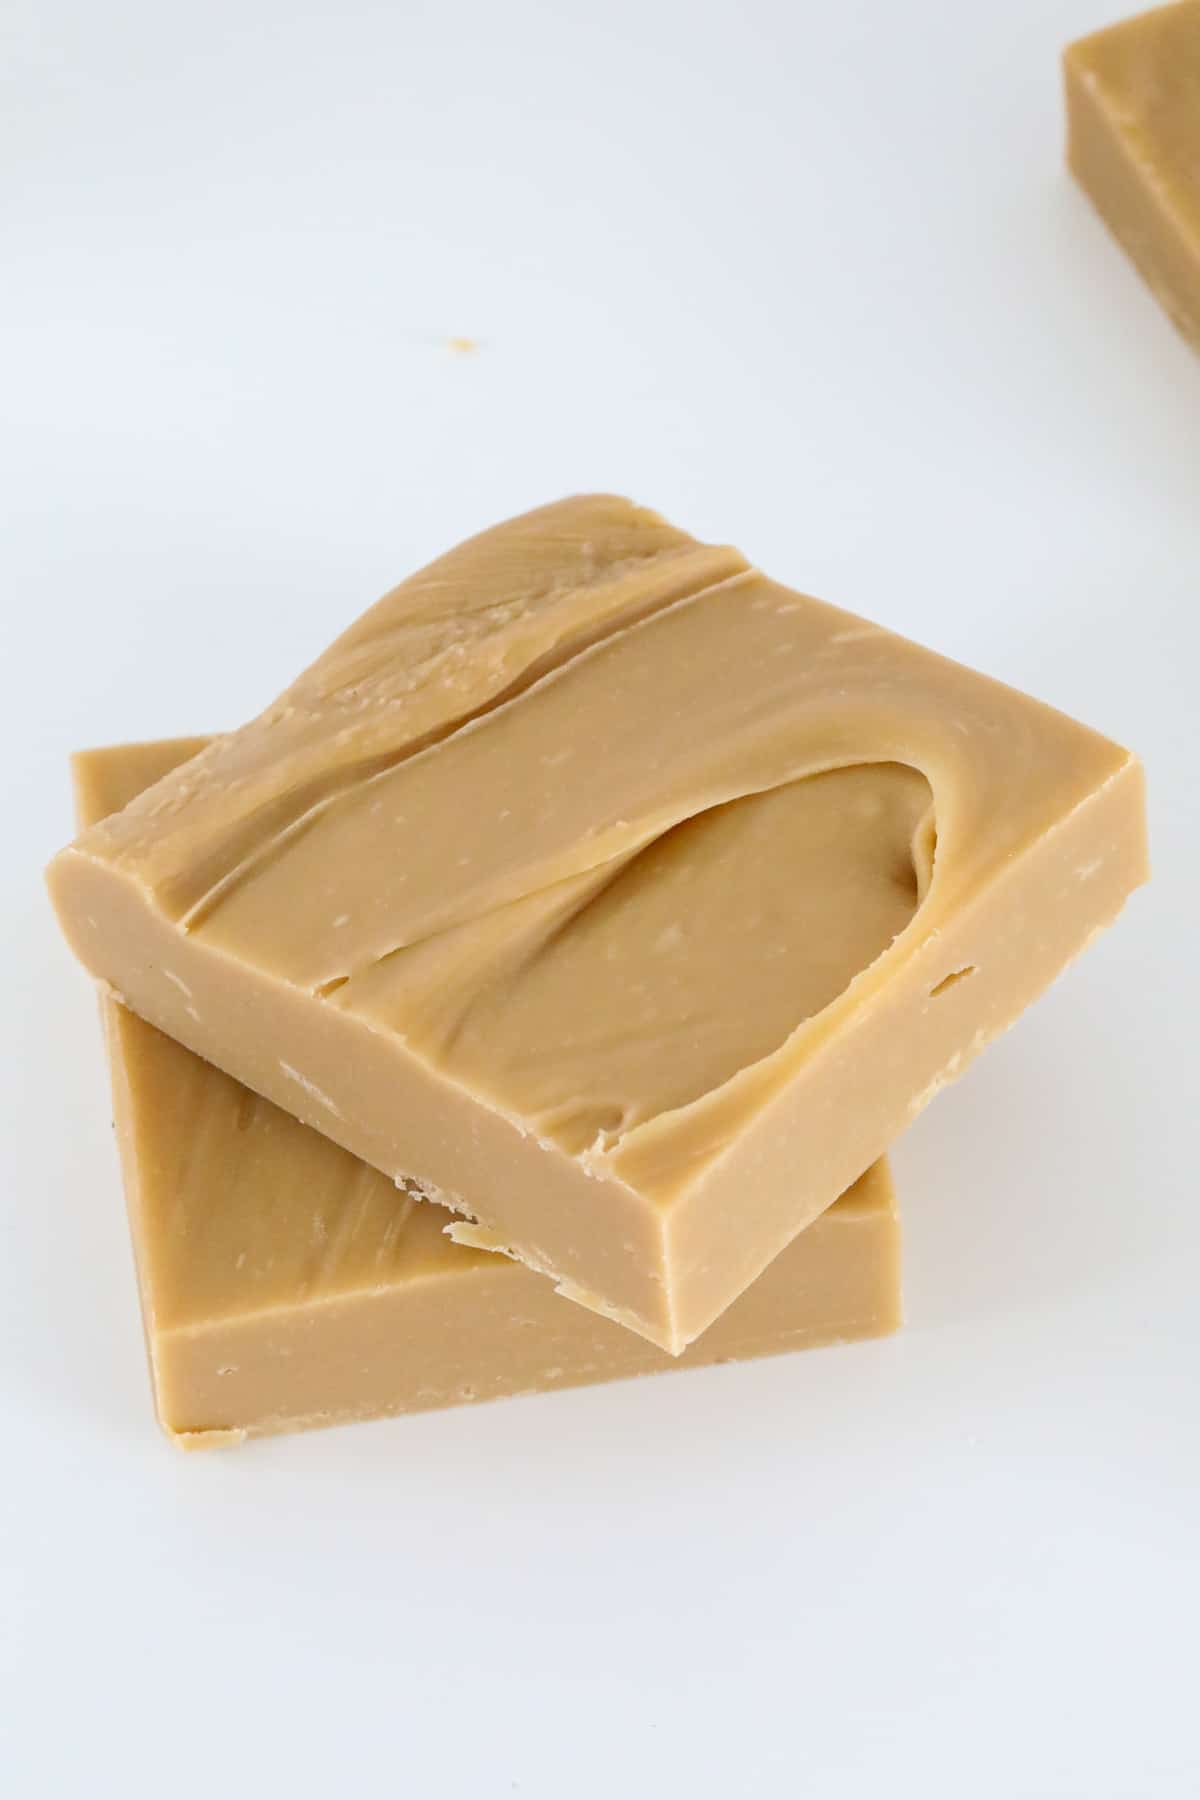
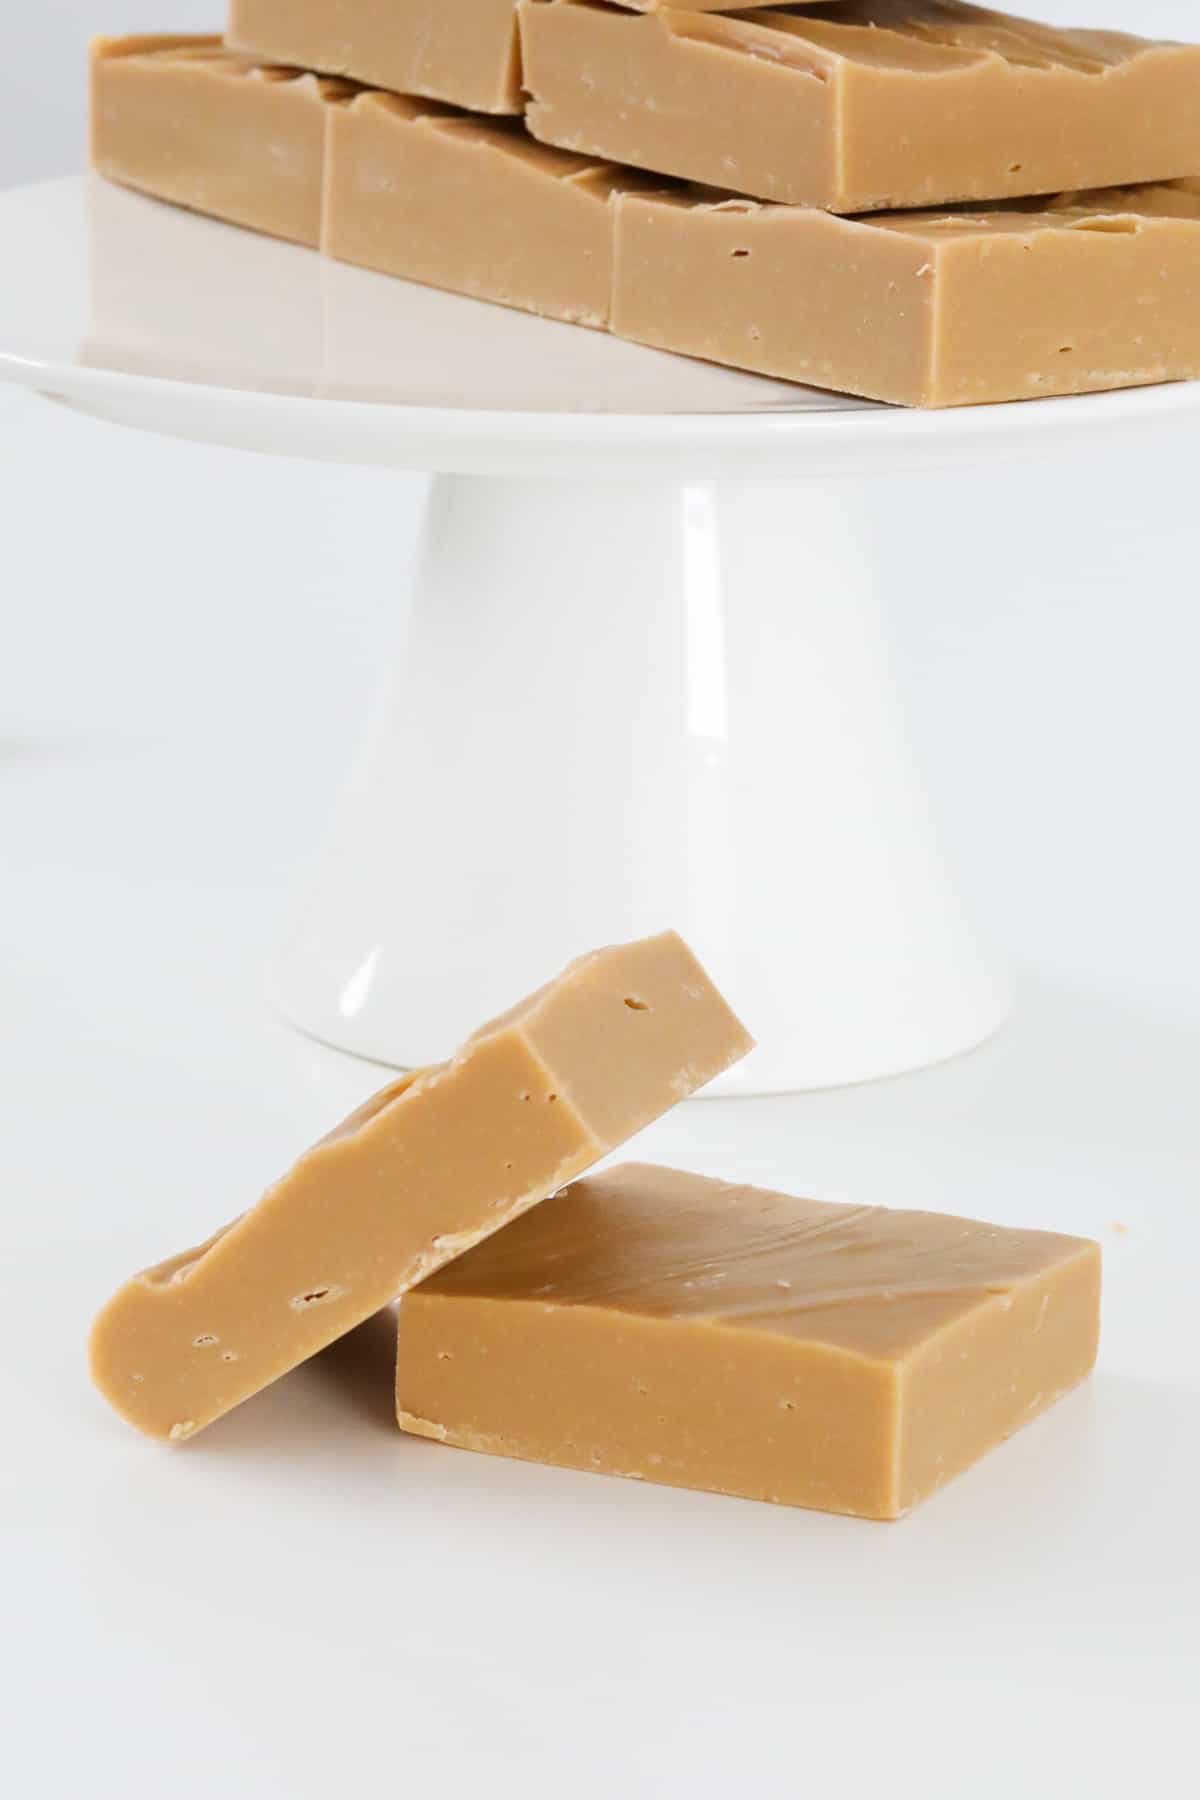
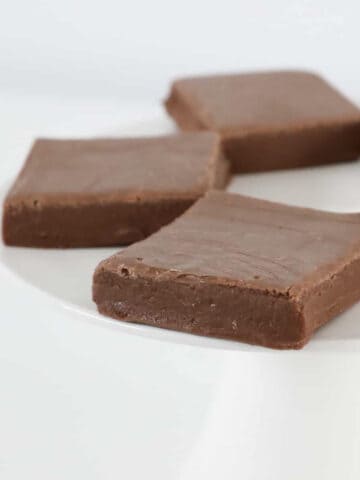
    Soft chocolate fudge pieces.

    One of my favourite things to make in the Thermomix is fudge!

    It's so quick, easy and delicious!

    Just like our chocolate mint fudge, rum & raisin fudge and cookies and cream fudge, this simple chocolate fudge recipe is the BEST!

    Note: This is a soft fudge and needs to be kept in the fridge.

    Why You're Going To Love This Recipe

    What's not to love about smooth and creamy homemade chocolate fudge!

    • 2 Ingredients - Made using just sweetened condensed milk and chocolate... this has got to be the easiest recipe ever!
    • 10 Minute Recipe - It takes just a few minutes to prepare chocolate fudge in your Thermomix.
    • One Bowl Recipe - the best thing about making fudge in your Thermomix, is that you only have one bowl to wash up afterwards!
    • Versatile - whether you're making fudge for dessert, Christmas gifts or party food, it's the perfect sweet treat for any occasion.
    Pieces of soft chocolate fudge.

    What You Need

    It takes JUST 2 INGREDIENTS to make chocolate fudge!
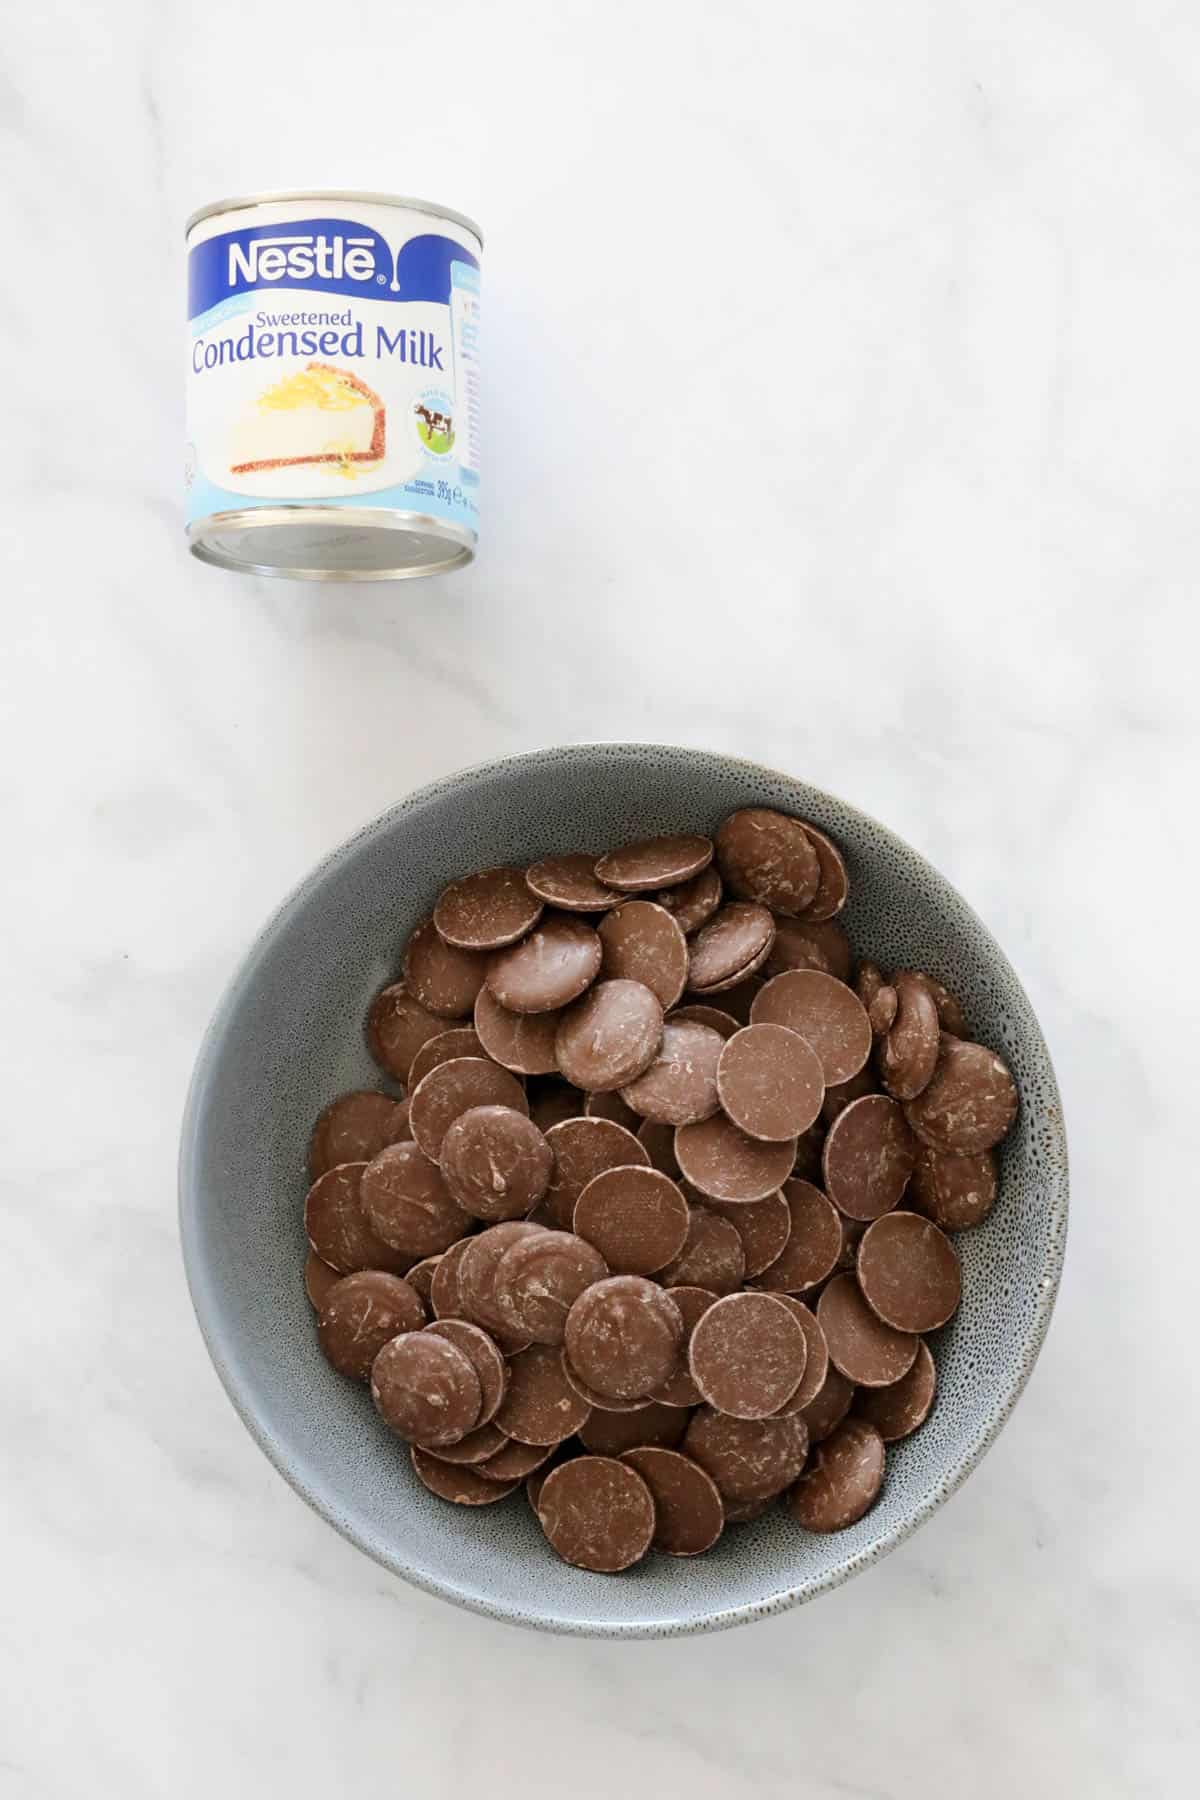
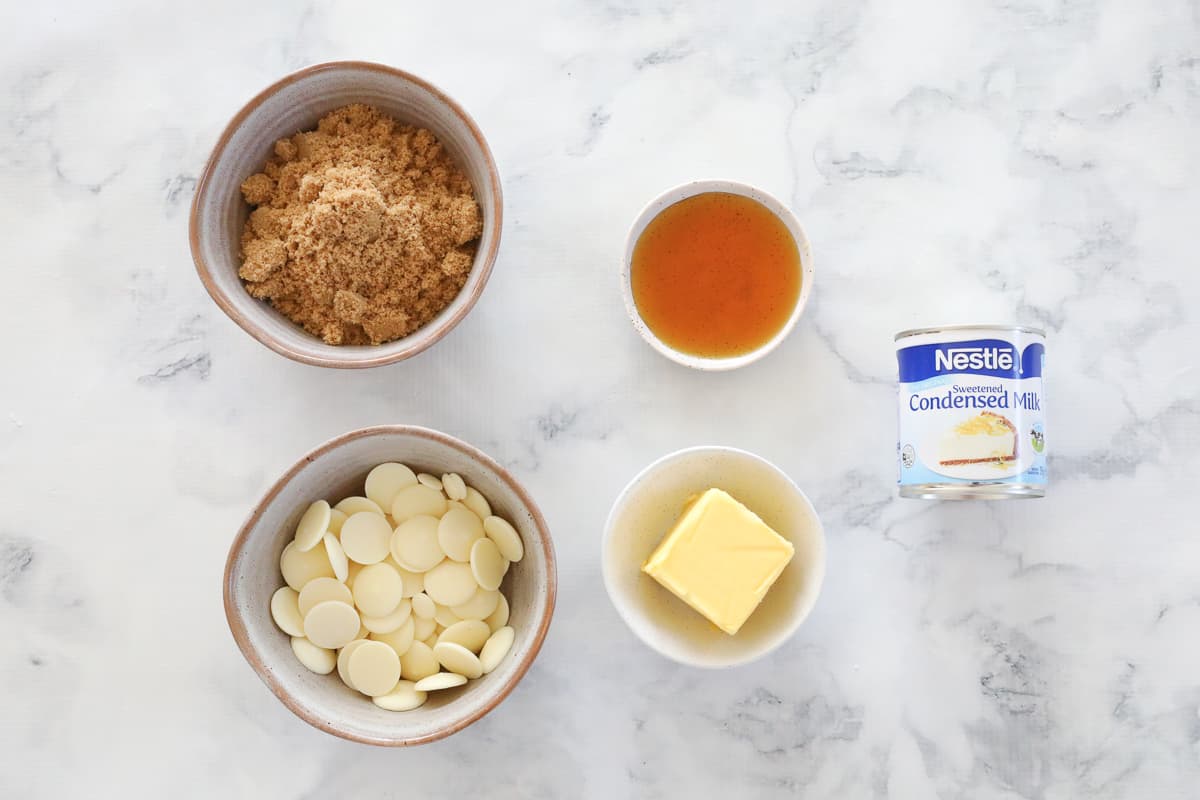
    The two ingredients for chocolate fudge.
    • Sweetened condensed milk - use full fat (not skim) sweetened condensed milk as it sets firmer. I recommend using the Nestle brand.
    • Milk Chocolate - use good quality chocolate (such as Cadbury or Nestle). I also recommend using chocolate melts or cooking chocolate as it melts easier. Chocolate chips are NOT suitable for this recipe as they do not melt easily.

    Step By Step Thermomix Instructions

    It couldn't be easier to make Thermomix chocolate fudge... just 3 simple steps and 10 minutes is all it takes!

    Step 1 - Add The Ingredients

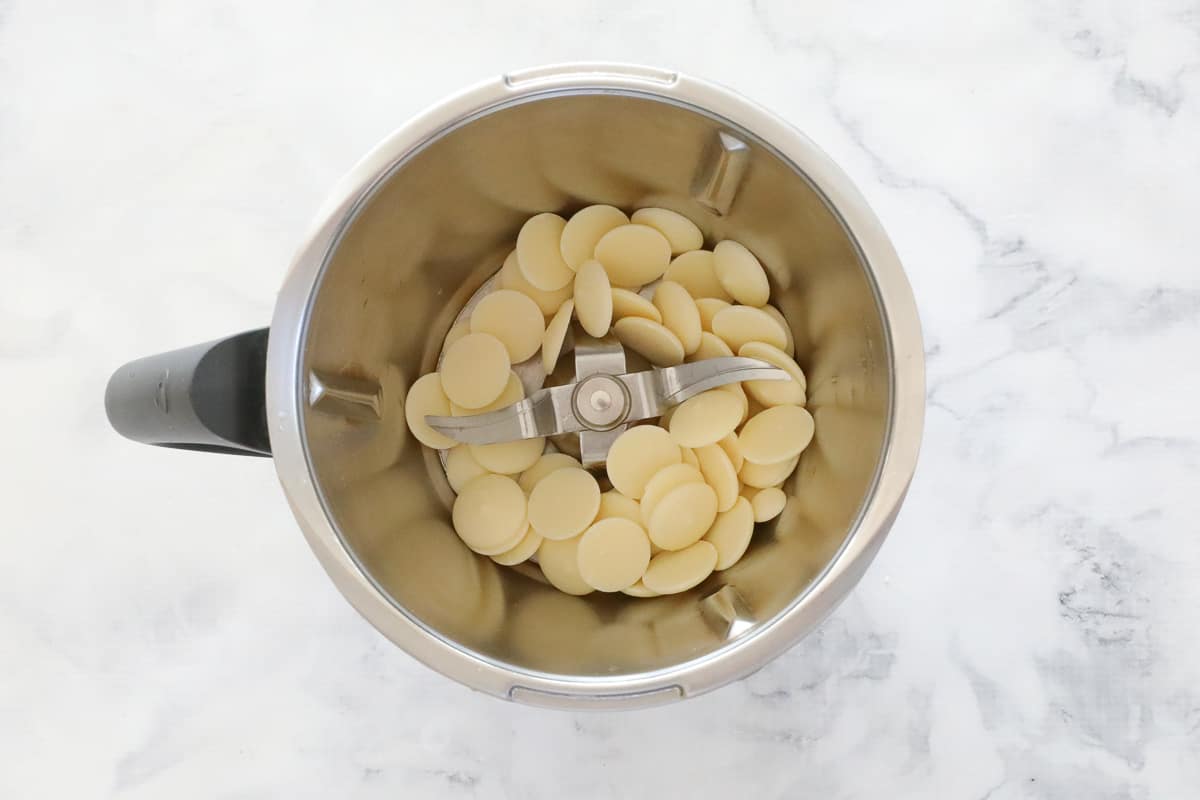
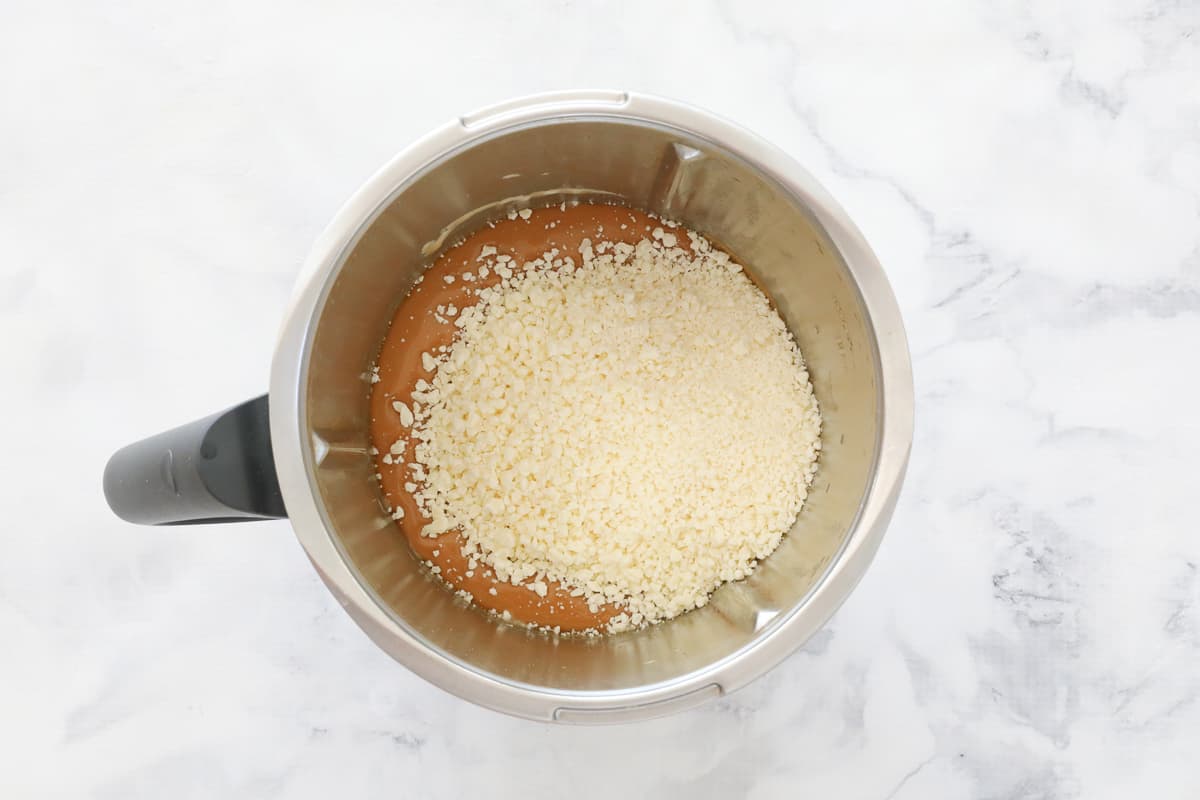
    Break the chocolate into pieces in the Thermomix bowl. Add the sweetened condensed milk.
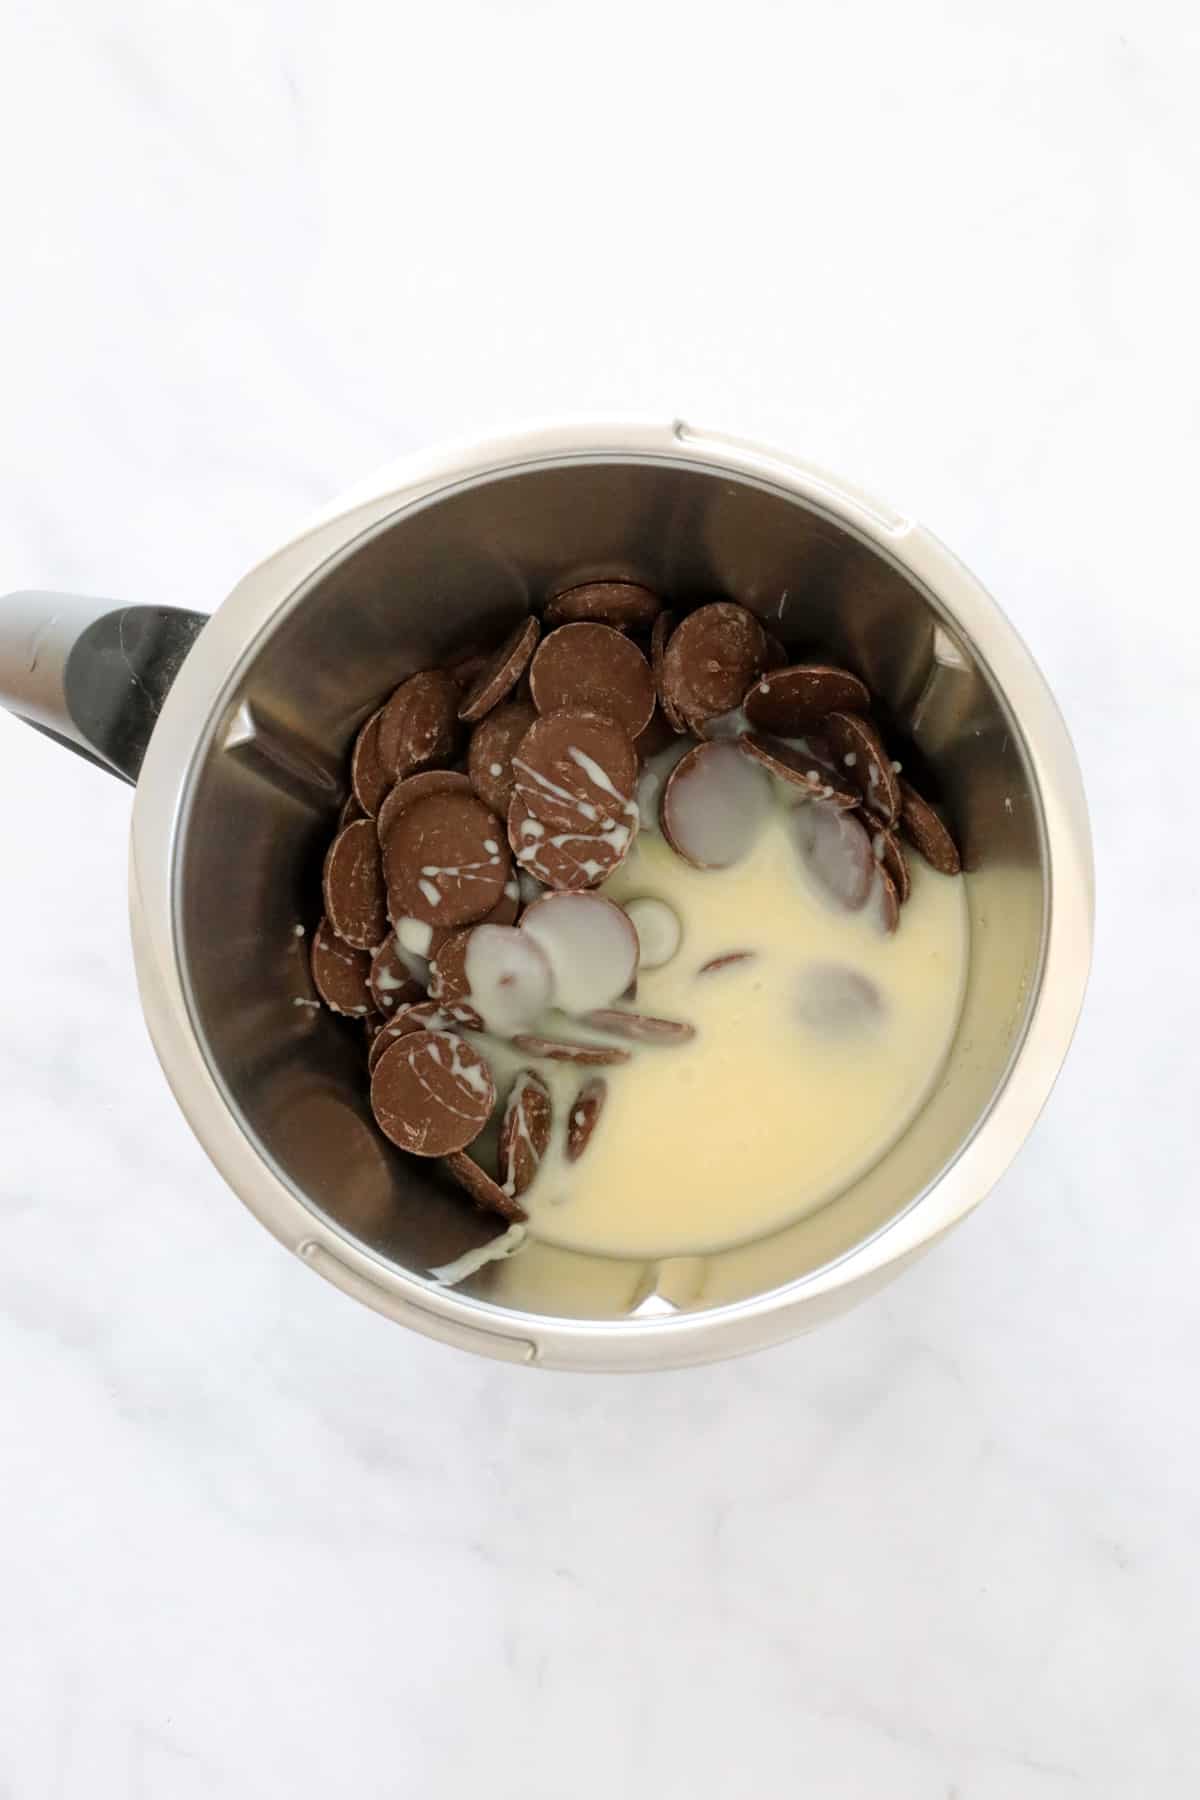
    Sweetened condensed milk and chocolate in a Thermomix bowl.

    Step 2 - Cook

    Cook the mixture for 10 minutes, 100 degrees, Speed 3.
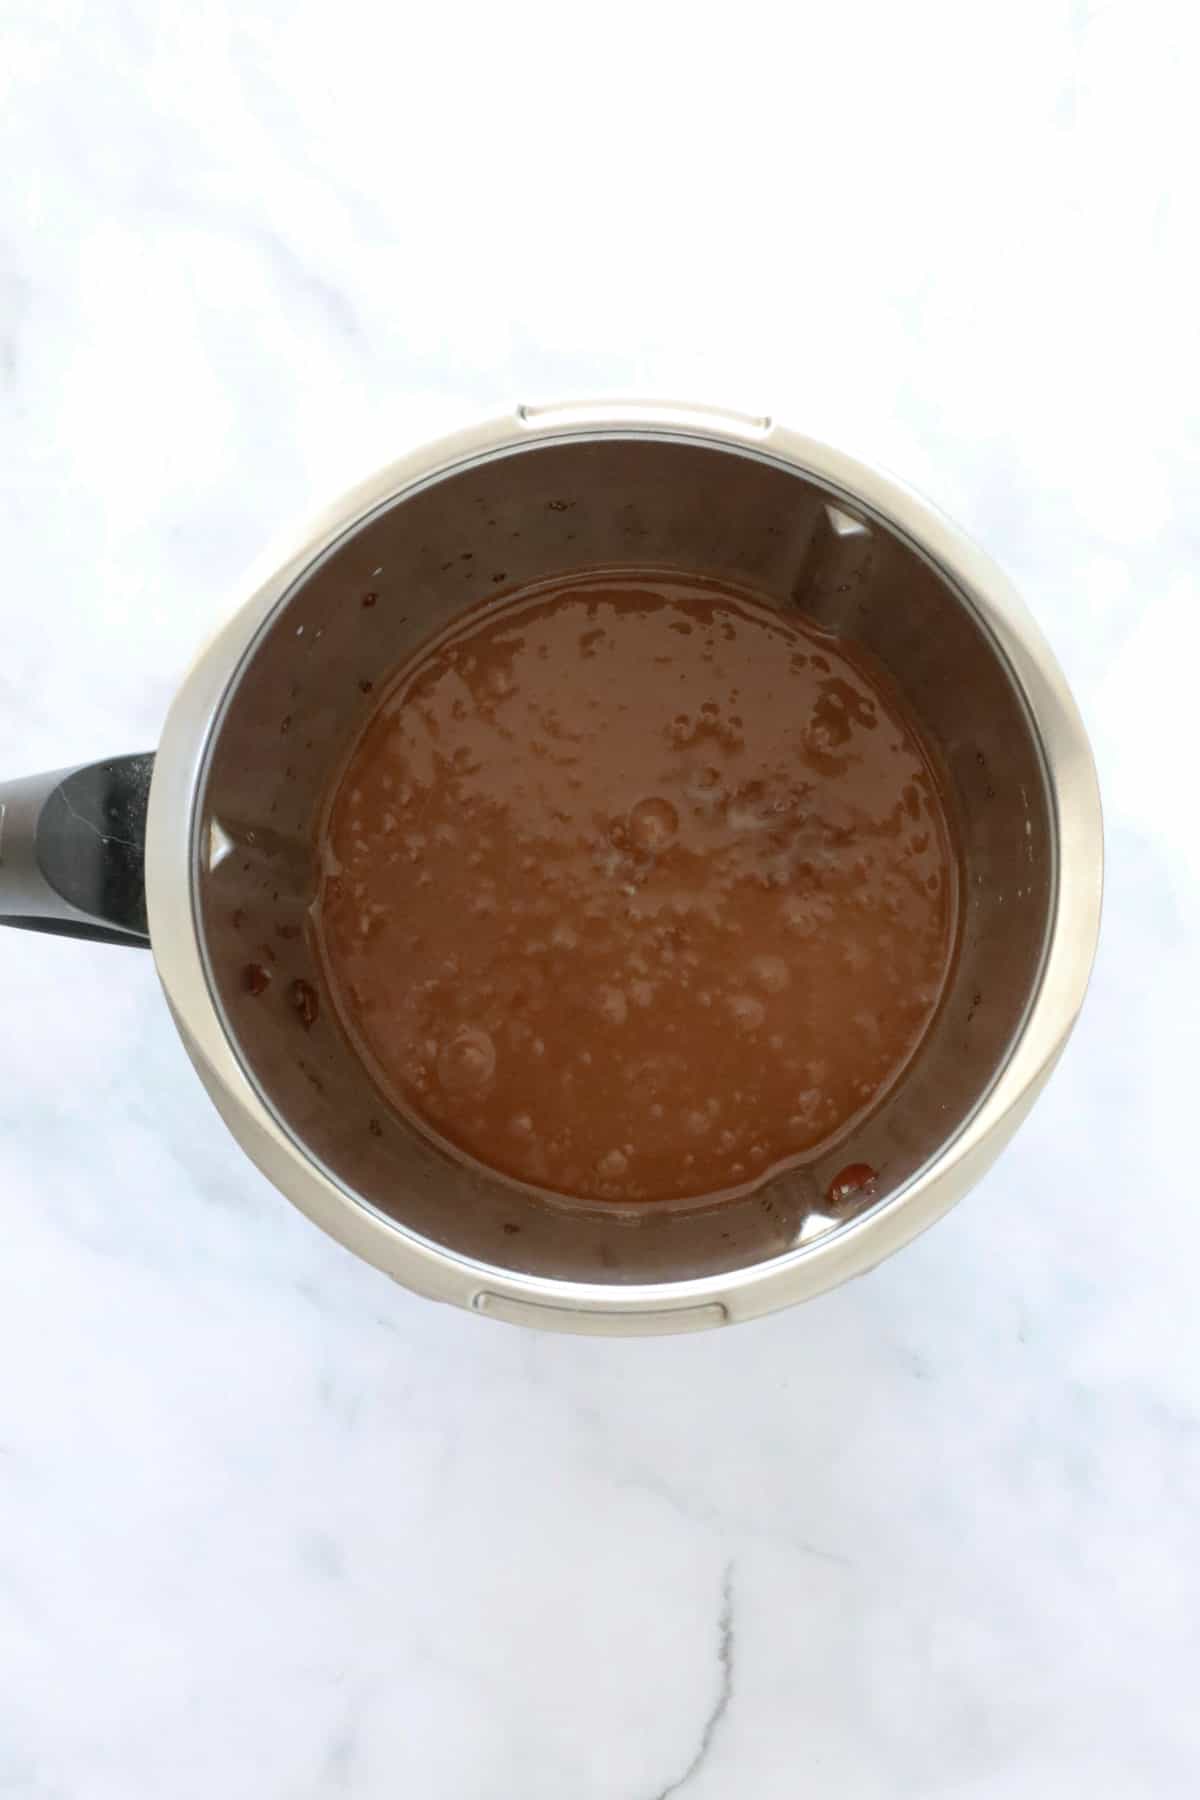
    Chocolate fudge mixture in a Thermomix bowl.

    Step 3 - Chill

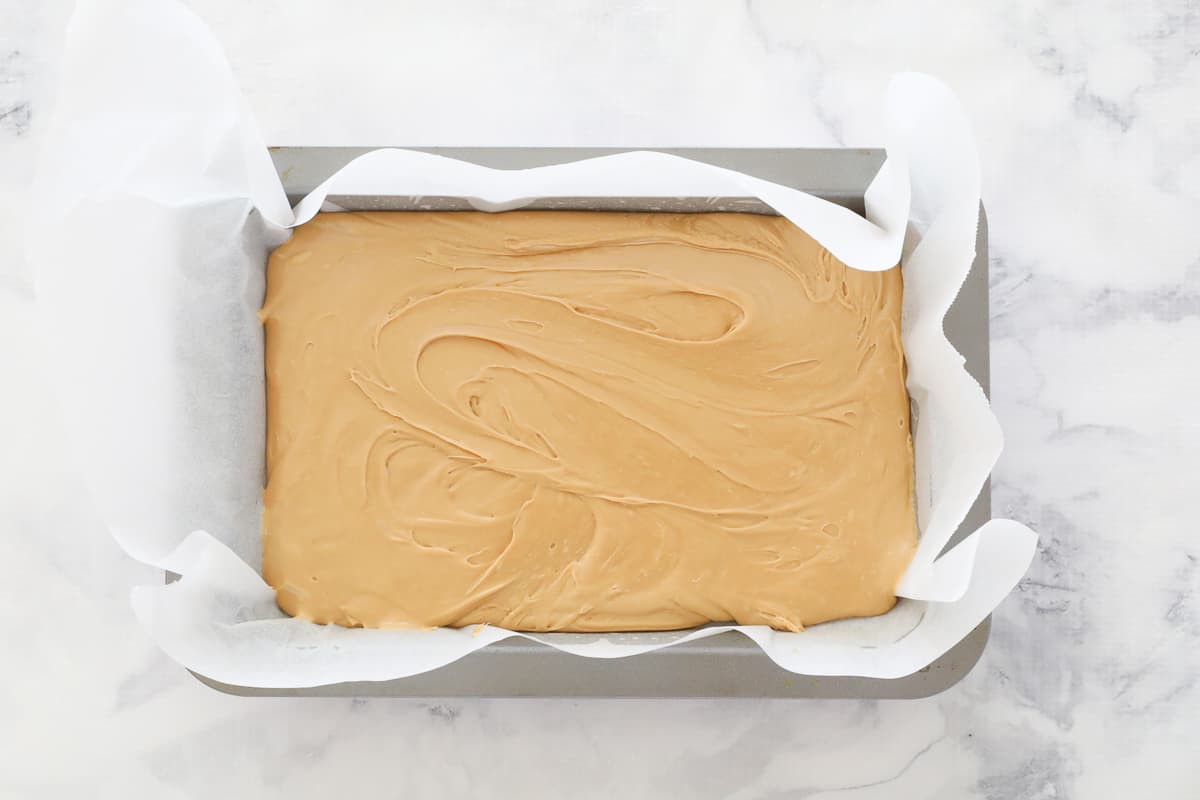
    Working quickly, pour the mixture into the prepared baking tin.
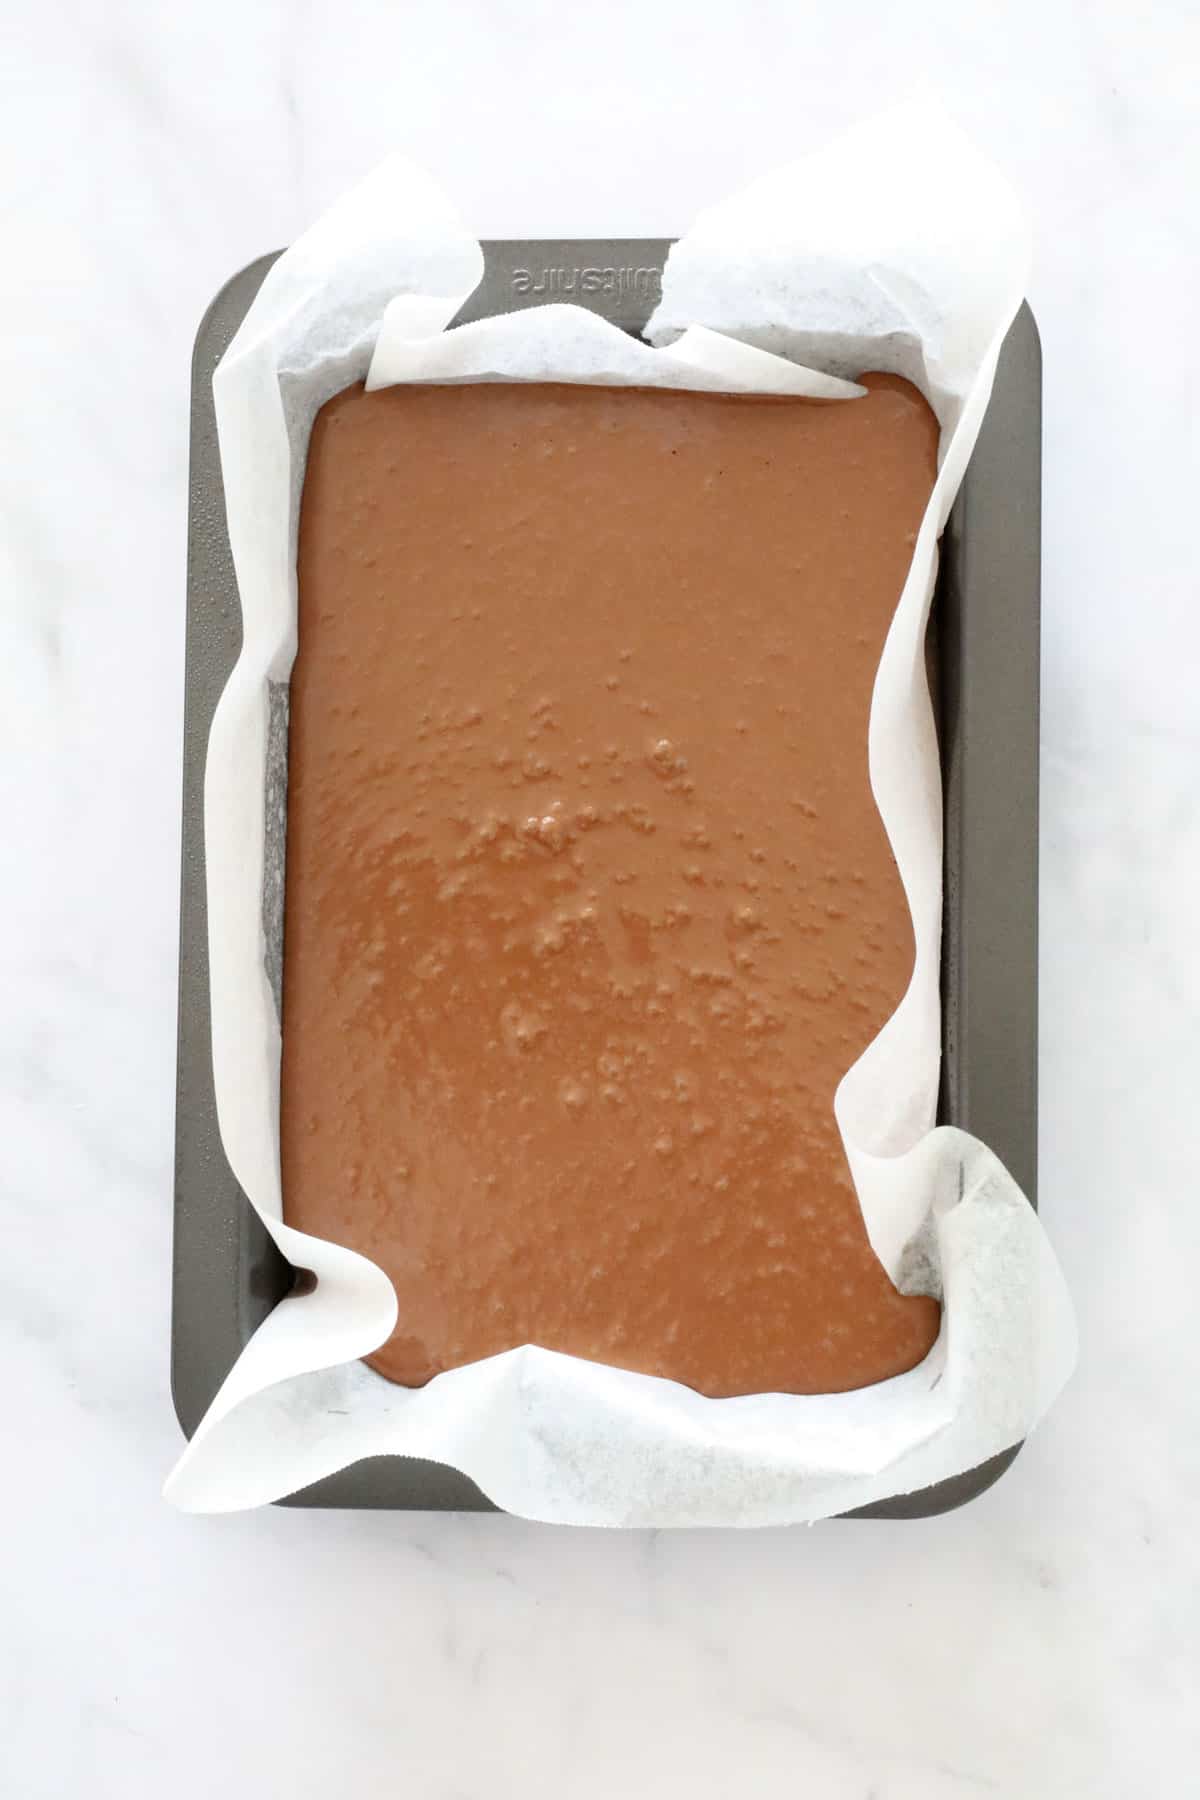
    Chocolate fudge in a baking tin.

    Chill for 6 hours in the fridge (preferably overnight) before cutting into pieces.

    Expert Tips

    Follow our tips for perfect fudge... every single time!

    • Use full fat sweetened condensed milk (not skim sweetened condensed milk). This sets firmer and has a better texture and flavour.
    • Use a good quality chocolate (such as Cadbury, Nestle or Lindt).
    • You can use dark chocolate or white chocolate in place of milk chocolate if you prefer.
    • Have your tin prepped before starting (greased and lined). This allows you to quickly pour the fudge in before it starts to set.
    • Allow the fudge to set in the fridge for 6 hours (preferably overnight) before cutting into pieces.
    • Store in an airtight container in the fridge for up to 1 week.
    • Note: This is a soft fudge and needs to be kept in the fridge.
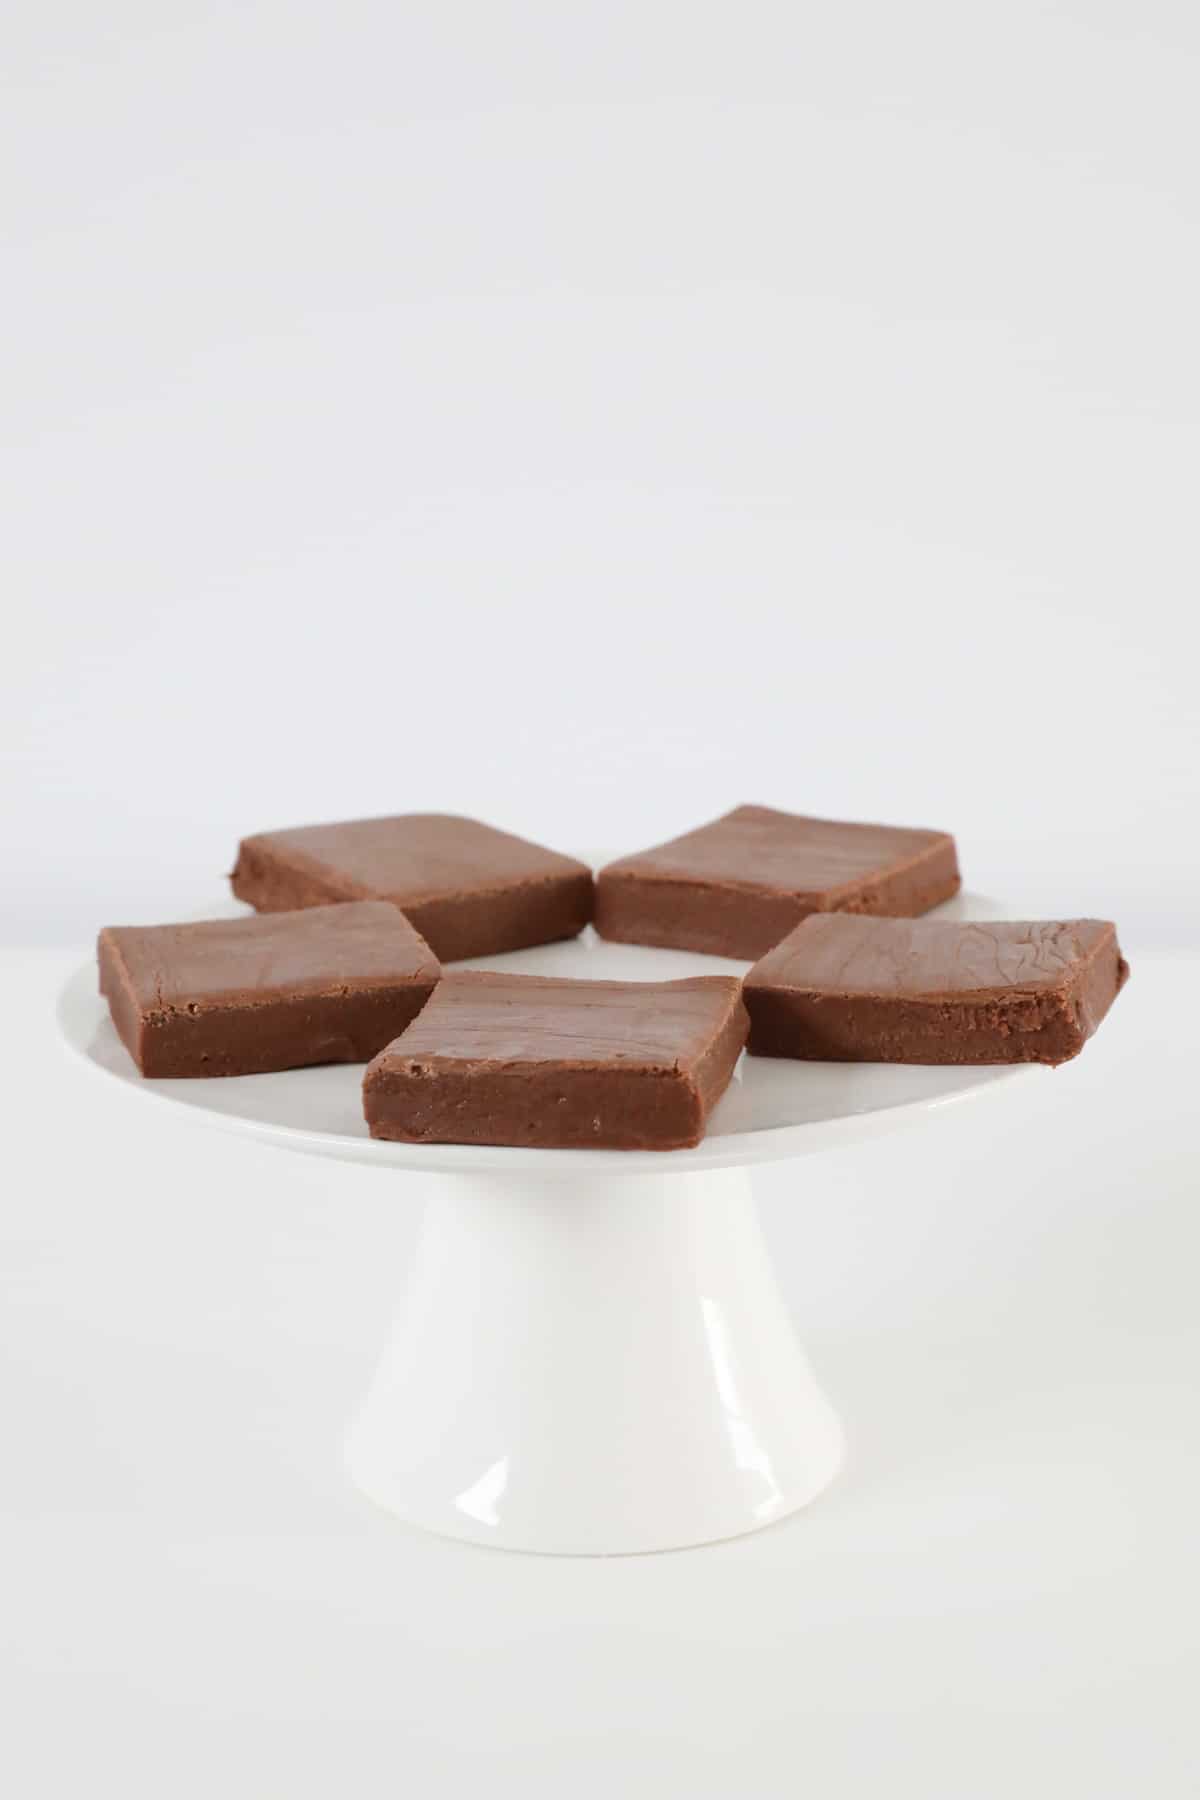
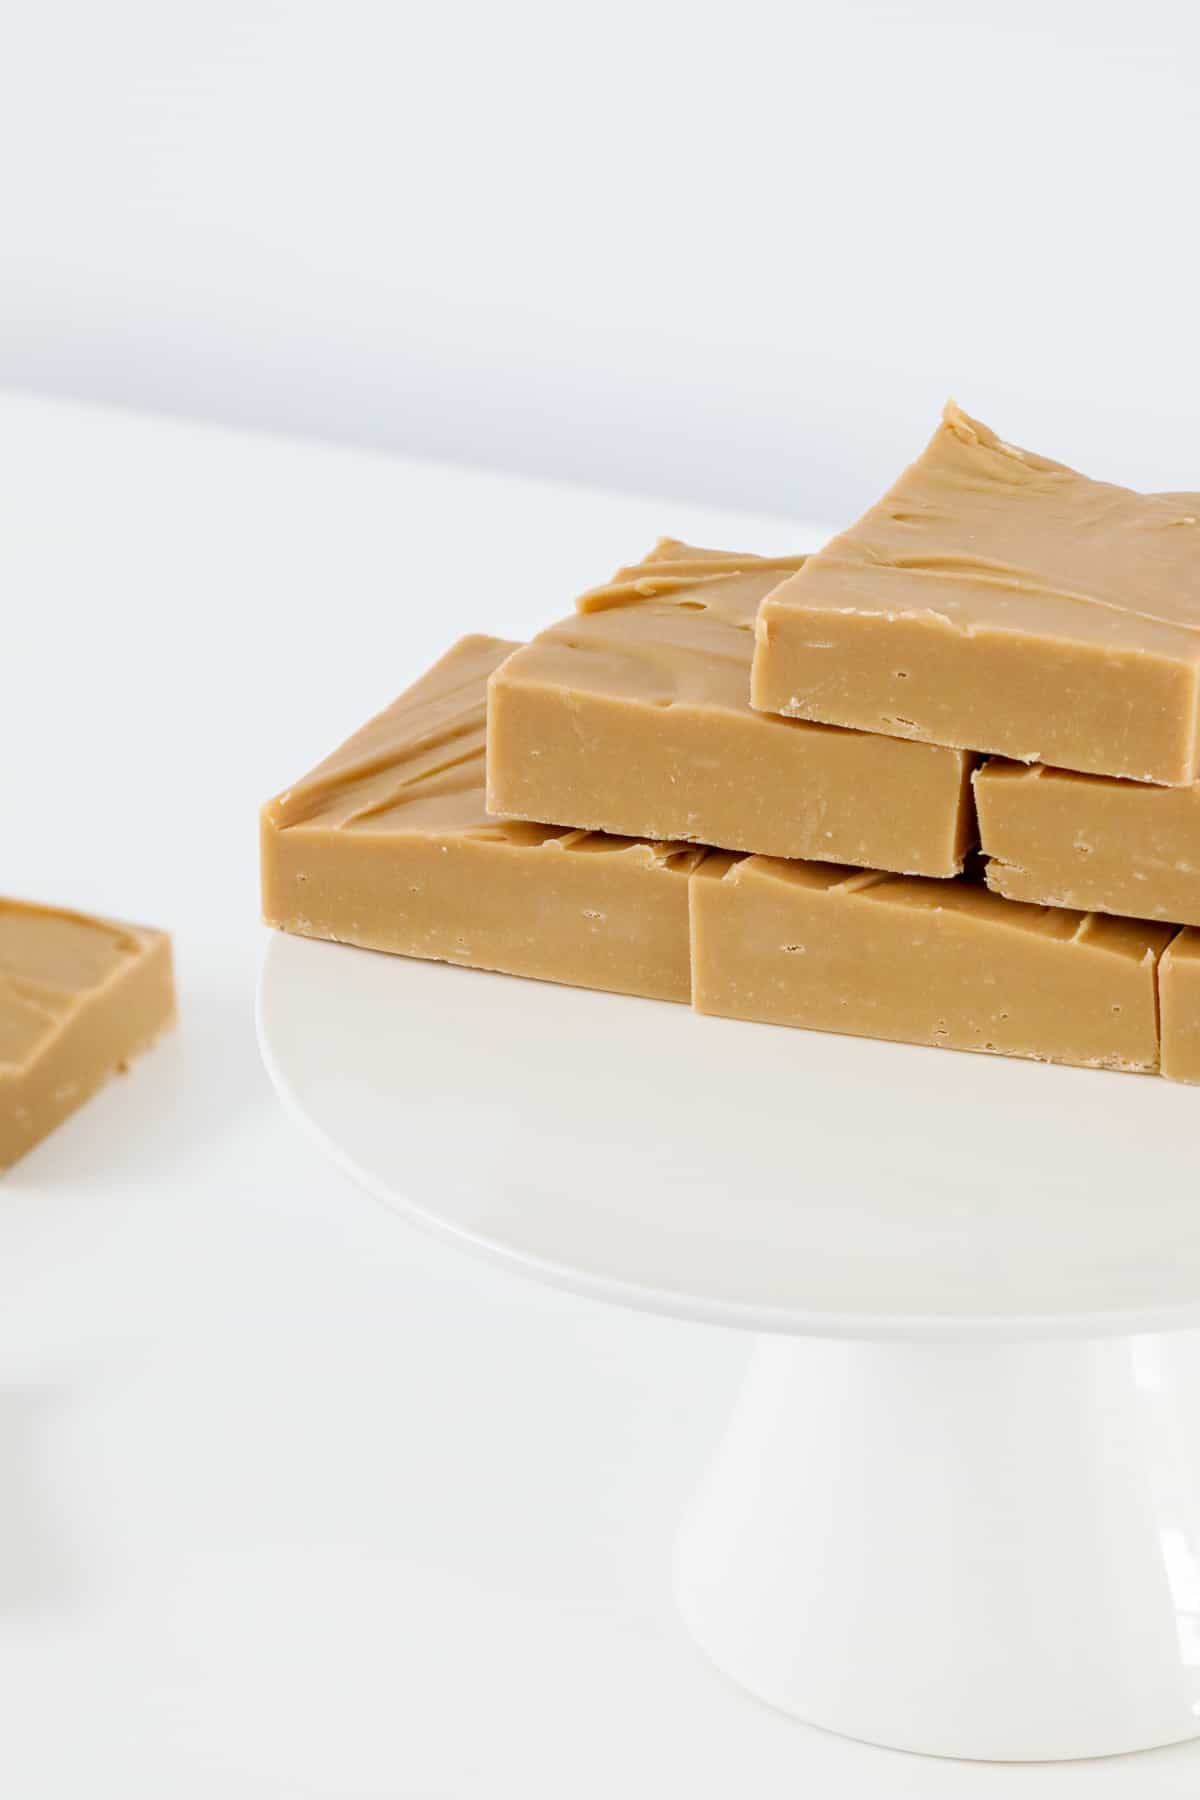
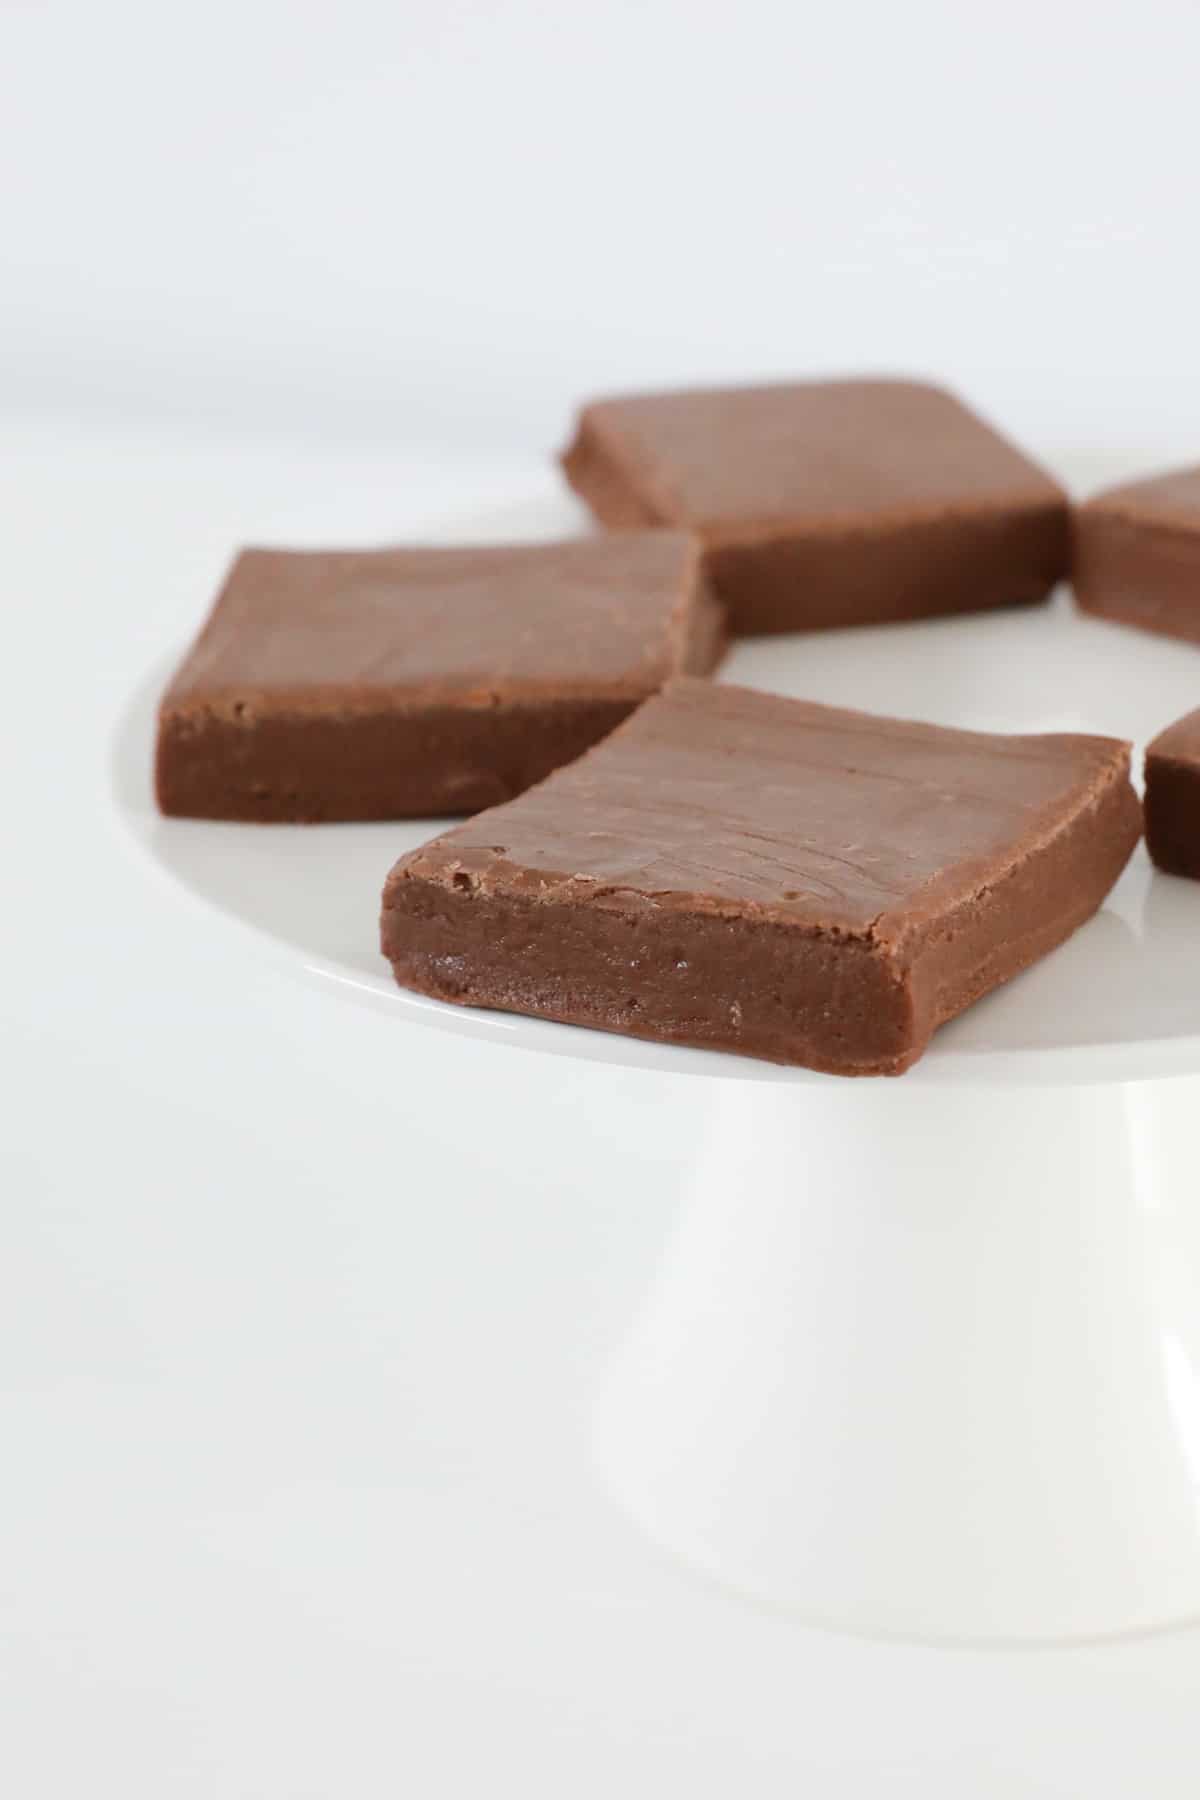
    A cake stand topped with chocolate fudge.

    FAQs

    Can I make this recipe without a Thermomix?

    Yes, you can make this chocolate fudge without a Thermomix by melting and stirring the chocolate and sweetened condensed milk until thickened in a microwave or on the stove-top.

    Can I add sprinkles or M&Ms etc to this recipe?

    Stir any add-ins through just before pouring into the tin. Sprinkle 100s and 1000s, coconut, chopped nuts etc over the top of the fudge once it's in the tin.

    Can you freeze chocolate fudge?

    Yes you can. Simply chill in the fridge overnight. Cut into pieces and freeze in an airtight container for up 3 months. Allow to defrost in the fridge before consuming.
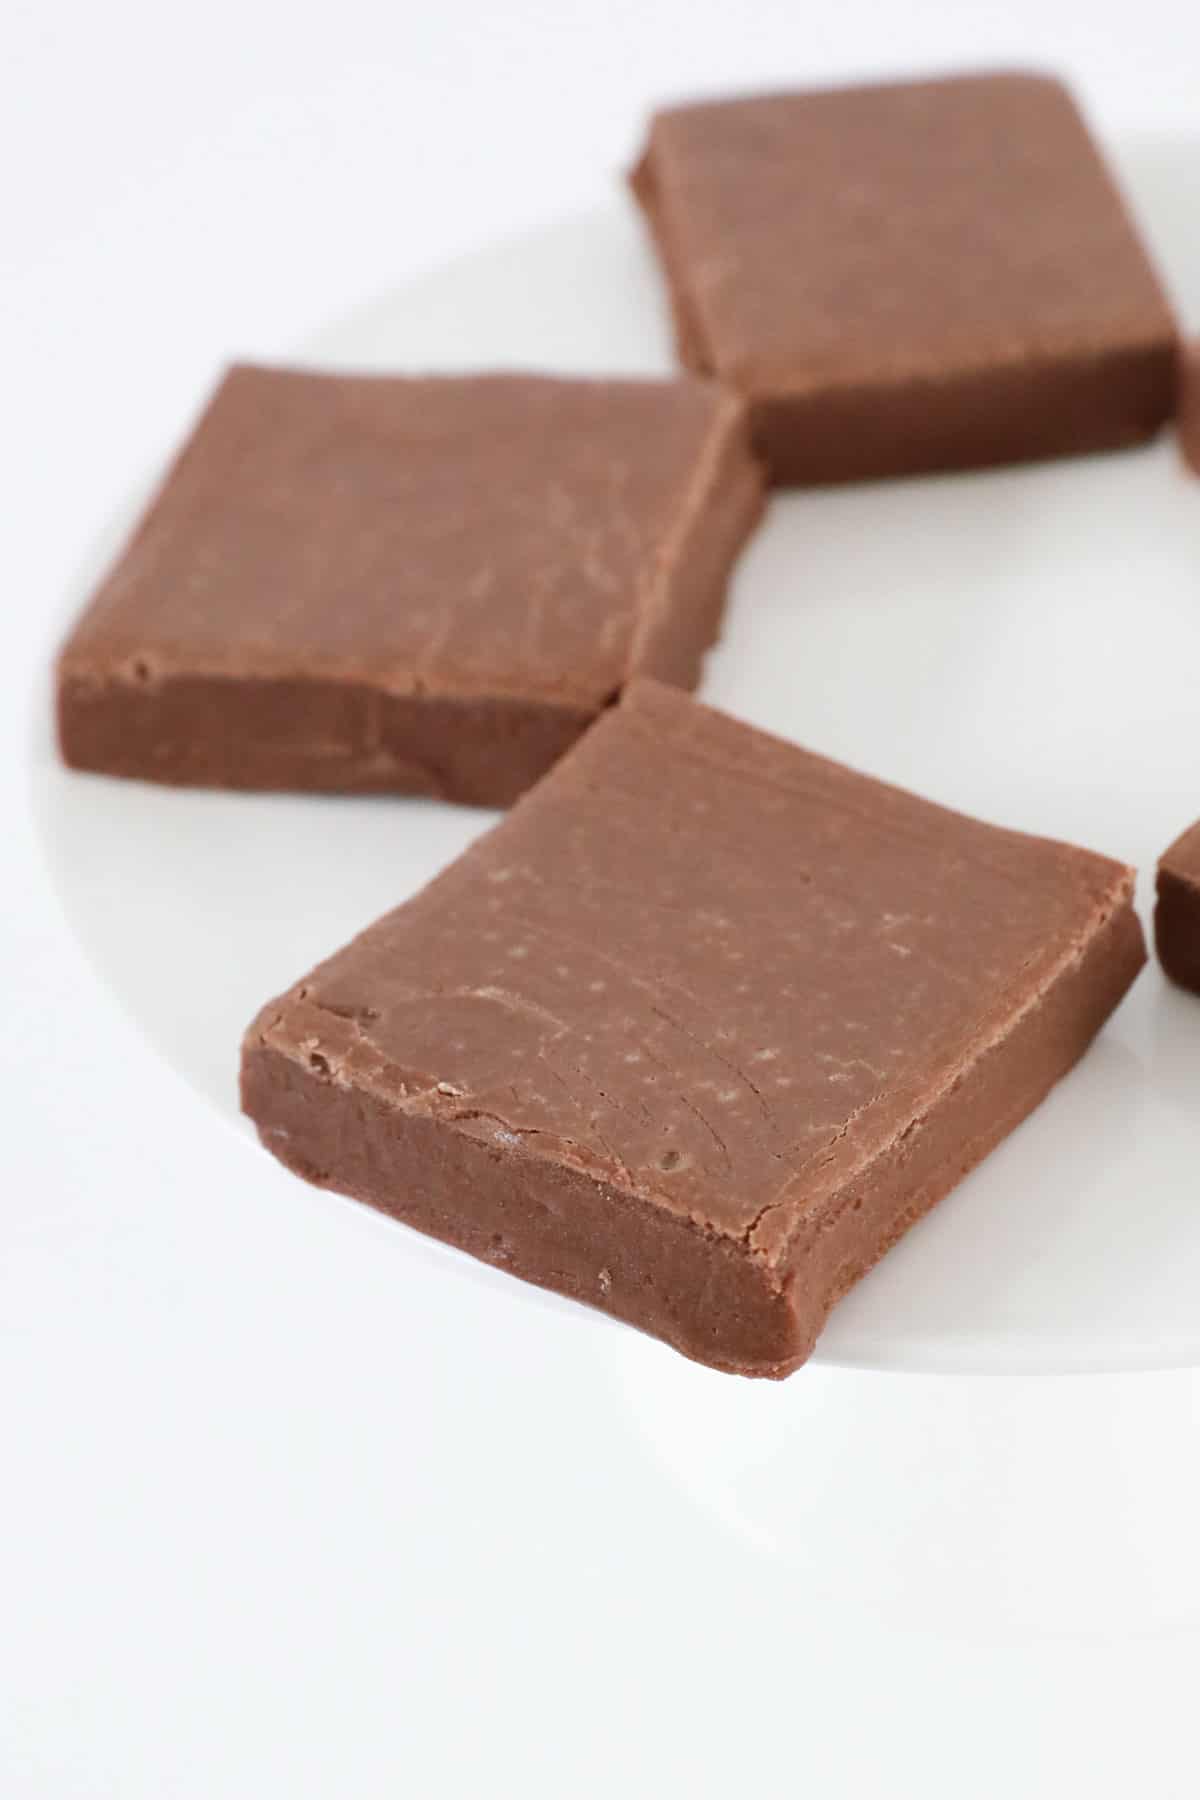
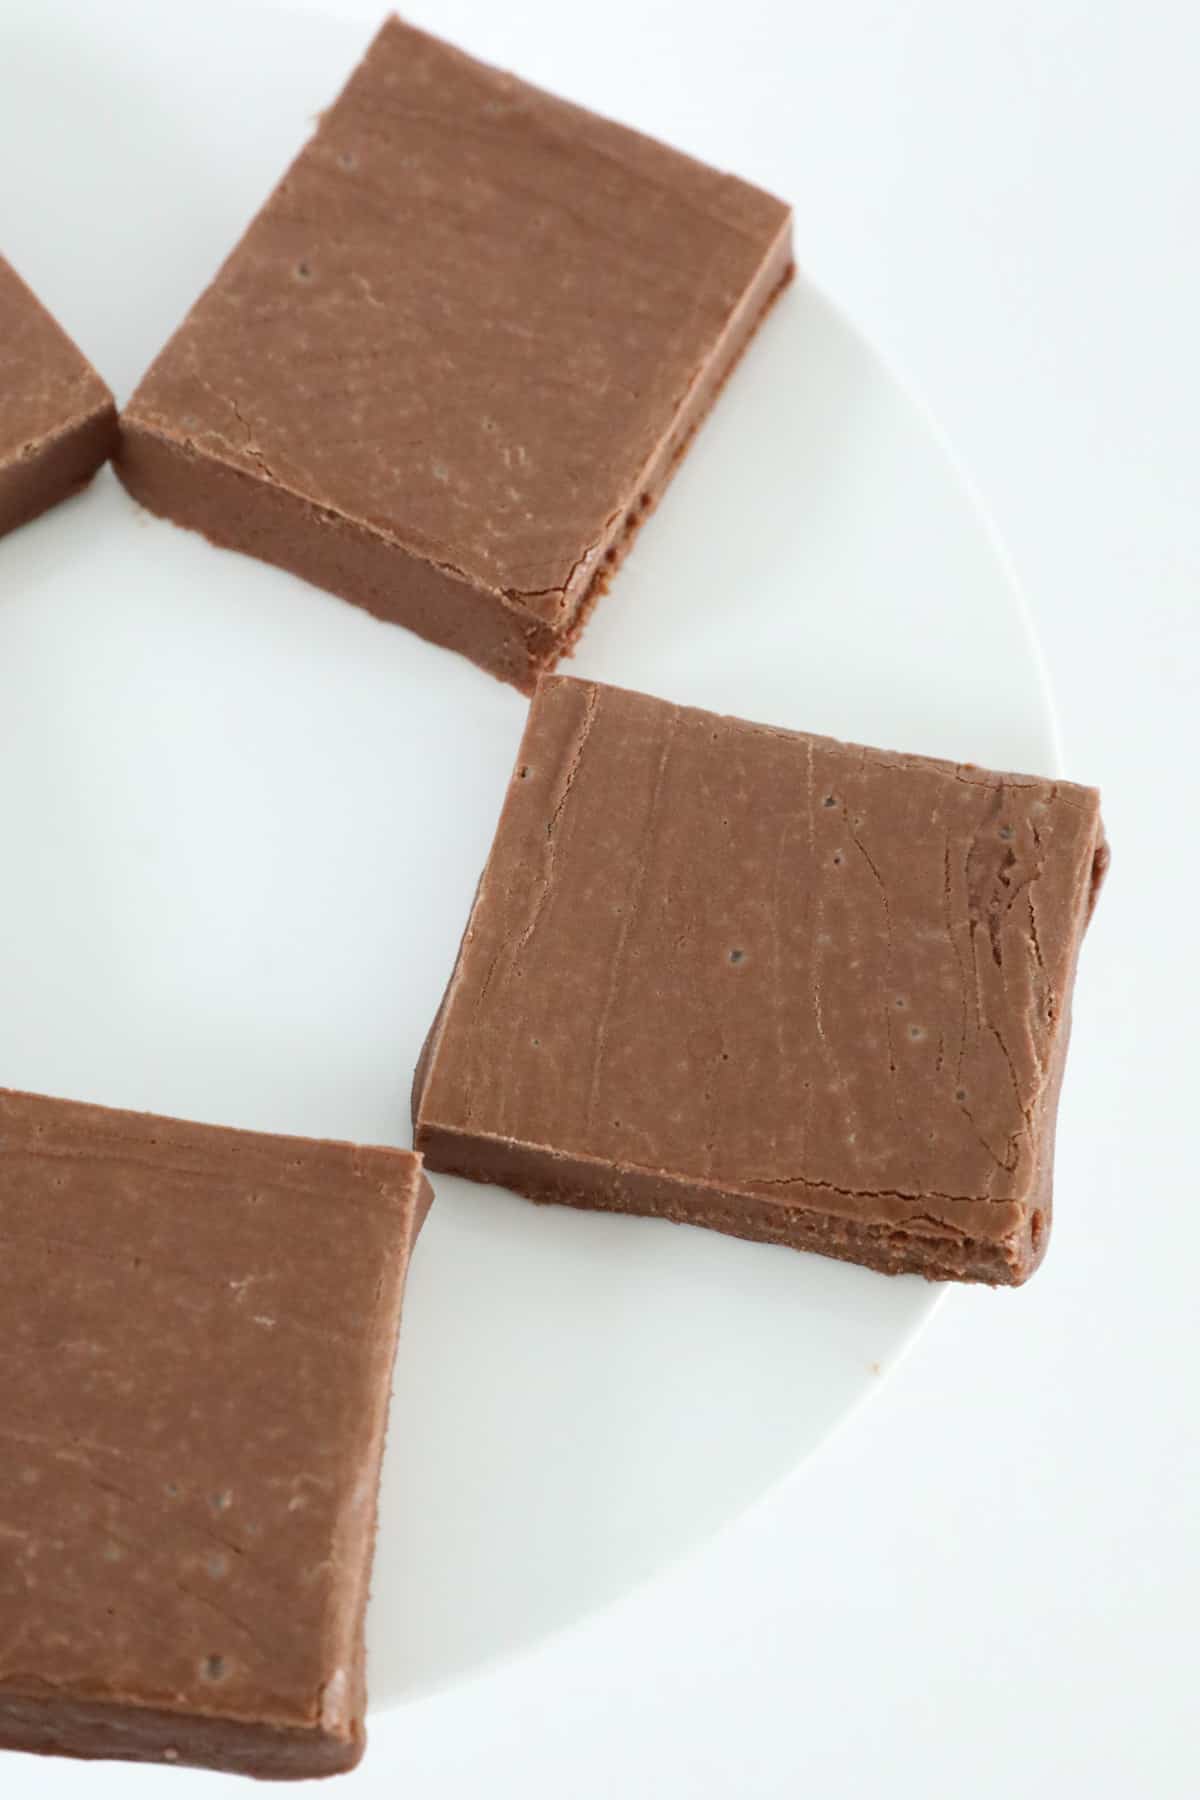
    An overhead shot of soft chocolate fudge.

    More Thermomix Fudge Recipes

    If you love making fudge in your Thermomix, add these delicious recipes to your baking list!
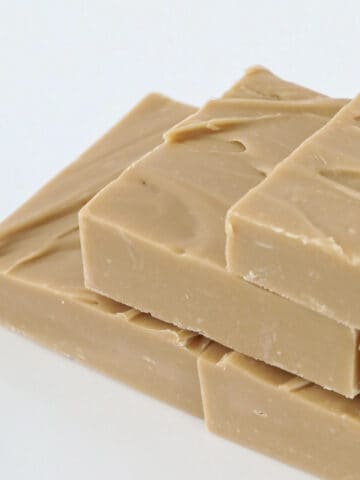
    • Pieces of Thermomix Peppermint Crisp Fudge on a plate.
      Thermomix Peppermint Crisp Fudge
    • Pieces of fudge in a stack.
      The Best Thermomix Caramel Fudge Recipe
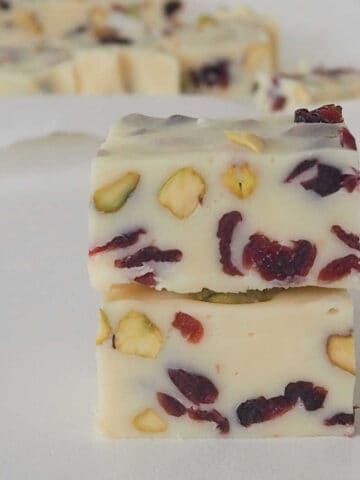
    • Thermomix Christmas Fudge sliced on a white bench.
      Thermomix Christmas Fudge
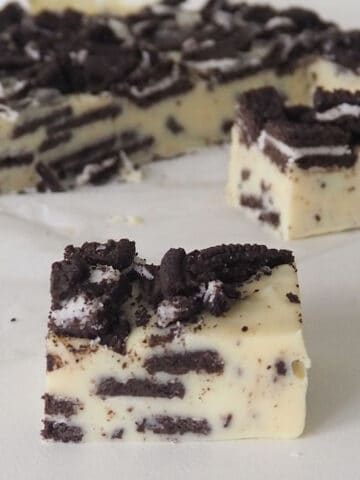
    • slices of Oreo fudge on a piece of white baking paper and white bench top.
      Thermomix Oreo Fudge

    SHOP OUR THERMOMIX COOKBOOKS

    Shop our entire range of Thermomix cookbooks (all hardcopy cookbooks also come with a FREE eBook version emailed to you immediately upon purchase). PLUS get free shipping on all orders over $50!


    ThermoBliss Cookbook full set.
    Making Thermomix Chocolate Fudge couldn't possibly be easier - just 2 ingredients (sweetened condensed milk and chocolate) and 10 minutes is all it takes!
    Print Recipe
    4.74 from 19 votes

    Thermomix Chocolate Fudge

    Making Thermomix Chocolate Fudge couldn't possibly be easier - just 2 ingredients (sweetened condensed milk and chocolate) and 10 minutes is all it takes!
    Cook Time10 minutes mins
    Total Time10 minutes mins
    Course: Dessert
    Cuisine: Western
    Servings: 20 serves
    Calories: 165kcal
    Author: Lucy & Lauren
    Cost: $5

    Equipment

    • Thermomix

    Ingredients

    • 400 g milk chocolate
    • 395 g sweetened condensed milk

    Instructions

    • Grease and line an 18cm X 28cm baking tray with baking paper and set aside.
    • Break the milk chocolate into pieces and place into the Thermomix bowl.
    • Add the sweetened condensed milk and cook for 10 minutes, 100 degrees, Speed 3.
    • Working quickly, pour the fudge into the prepared baking tray and chill in the fridge for 6 hours (preferably overnight), before cutting into pieces.

    Notes

    RECIPE NOTES & TIPS
    • Use full fat sweetened condensed milk (not skim sweetened condensed milk). This sets firmer and has a better texture and flavour.
    • Use a good quality chocolate (such as Cadbury, Nestle or Lindt).
    • Have your tin prepped before starting (greased and lined). This allows you to quickly pour the fudge in before it starts to set.
    • Allow the fudge to set in the fridge for 6 hours (preferably overnight) before cutting into pieces.
    • Store in an airtight container in the fridge for up to 1 week.
    • Note: This is a soft fudge and needs to be kept in the fridge.

    Nutrition

    Calories: 165kcal | Carbohydrates: 23g | Protein: 2g | Fat: 9g | Saturated Fat: 5g | Polyunsaturated Fat: 0.3g | Monounsaturated Fat: 3g | Cholesterol: 7mg | Sodium: 28mg | Potassium: 131mg | Fiber: 1g | Sugar: 21g | Vitamin A: 53IU | Vitamin C: 1mg | Calcium: 61mg | Iron: 1mg

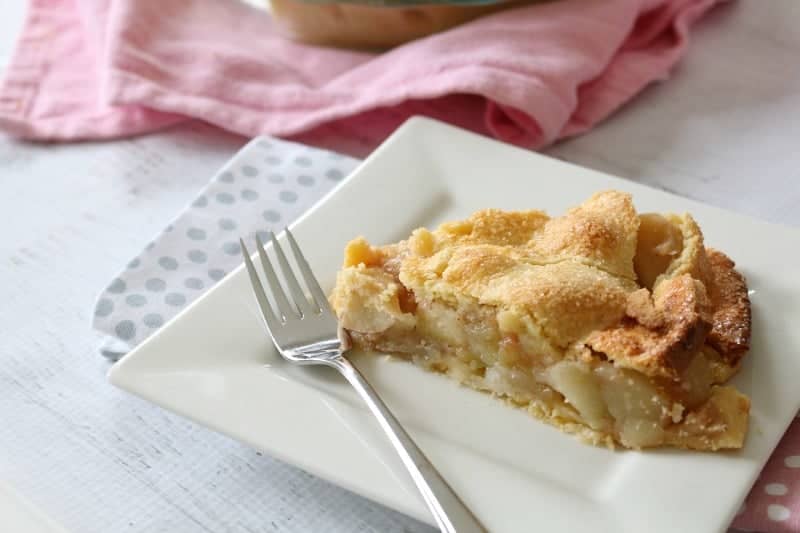
    Thermomix Apple Pie

    May 9, 2016

    Thermomix Apple Pie

    With the weather starting to cool down, there really is no better time to start making those delicious winter desserts. And our Thermomix Apple Pie is at the very top of my list!

    Thermomix Apple Pie

    Made from homemade Thermomix pastry, this apple pie is absolutely delicious. The flakey, crispy pastry will blow your mind... and really, is there anything better than a yummy apple filling!?

    Thermomix Apple Pie

    This is absolutely delicious on it's own. OR you can make it a thousand times better by adding a good drizzle of custard or a big, big scoop of ice-cream (both are winners in our house).

    Thermomix Apple Pie

    Thermomix Apple Pie
    Print Recipe
    4.88 from 16 votes

    Thermomix Apple Pie

    Nothing beats a homemade Thermomix Apple Pie made completely from scratch!
    Prep Time20 minutes mins
    Cook Time30 minutes mins
    Total Time50 minutes mins
    Course: Dessert
    Cuisine: Western
    Servings: 8
    Calories: 143kcal
    Author: Lucy & Lauren
    Cost: $5

    Equipment

    • Thermomix

    Ingredients

    • 1 quantity sweet shortcrust pastry
    • 7-8 apples , peeled, cored and chopped
    • ⅓ cup raw sugar
    • 1 tbs lemon juice
    • 1 teaspoon cinnamon
    • 1 egg , lightly beaten
    • 3 tbs raw sugar , for sprinkling

    Instructions

    • Prepare the sweet shortcrust pastry, knead into a ball, wrap in plastic wrap and place into the fridge for at least 30 minutes.
    • Preheat oven to 190 degrees celsius (170 if using fan forced)
    • Grease a 24cm pie dish and set aside.
    • Place the apple slices into the Varoma dish.
    • Fill the TM bowl with 500g water and cook for 15 minutes, Speed 2, Varoma temperature.
    • Sprinkle over the sugar, lemon juice and cinnamon and mix to combine.
    • Take the pastry out of the fridge and divide into two portions (make one portion slightly bigger than the other (about ⅔ to ⅓).
    • Lightly flour a bench or board and roll the larger pastry portion out until it is 3mm thick.
    • Place the pastry over the pie dish and press down so that it covers the base and sides.
    • Drain any excess liquid from the apple mixture.
    • Add the apple mixture to the pie dish and spread out evenly.
    • Roll out the remaining pastry portion until it is 3mm thick.
    • Place it over the top of the pie.
    • Trim off any excess. (You might like to use the excess pastry to create a border or a shape in the middle).
    • Brush the lightly beaten egg over the top of the pie. Sprinkle over the remaining raw sugar.
    • Cut a couple of slits into the top of the pastry.
    • Bake in the oven for 30-40 minutes or until the pie pastry is lightly golden and crispy.

    Nutrition

    Calories: 143kcal | Carbohydrates: 35g | Protein: 1g | Fat: 1g | Saturated Fat: 0.2g | Polyunsaturated Fat: 0.2g | Monounsaturated Fat: 0.2g | Trans Fat: 0.003g | Cholesterol: 20mg | Sodium: 10mg | Potassium: 185mg | Fiber: 4g | Sugar: 29g | Vitamin A: 117IU | Vitamin C: 8mg | Calcium: 17mg | Iron: 0.4mg


    Thermomix Banana Chocolate Chip Muffins

    May 4, 2016

    A banana muffin with chocolate chips.

    Our Thermomix Banana Chocolate Chip Muffins are a classic favourite... with the delicious addition of sweet chocolate chips.

    Perfect for school lunch boxes or afternoon tea - plus they'll be ready to eat in less than 30 minutes!

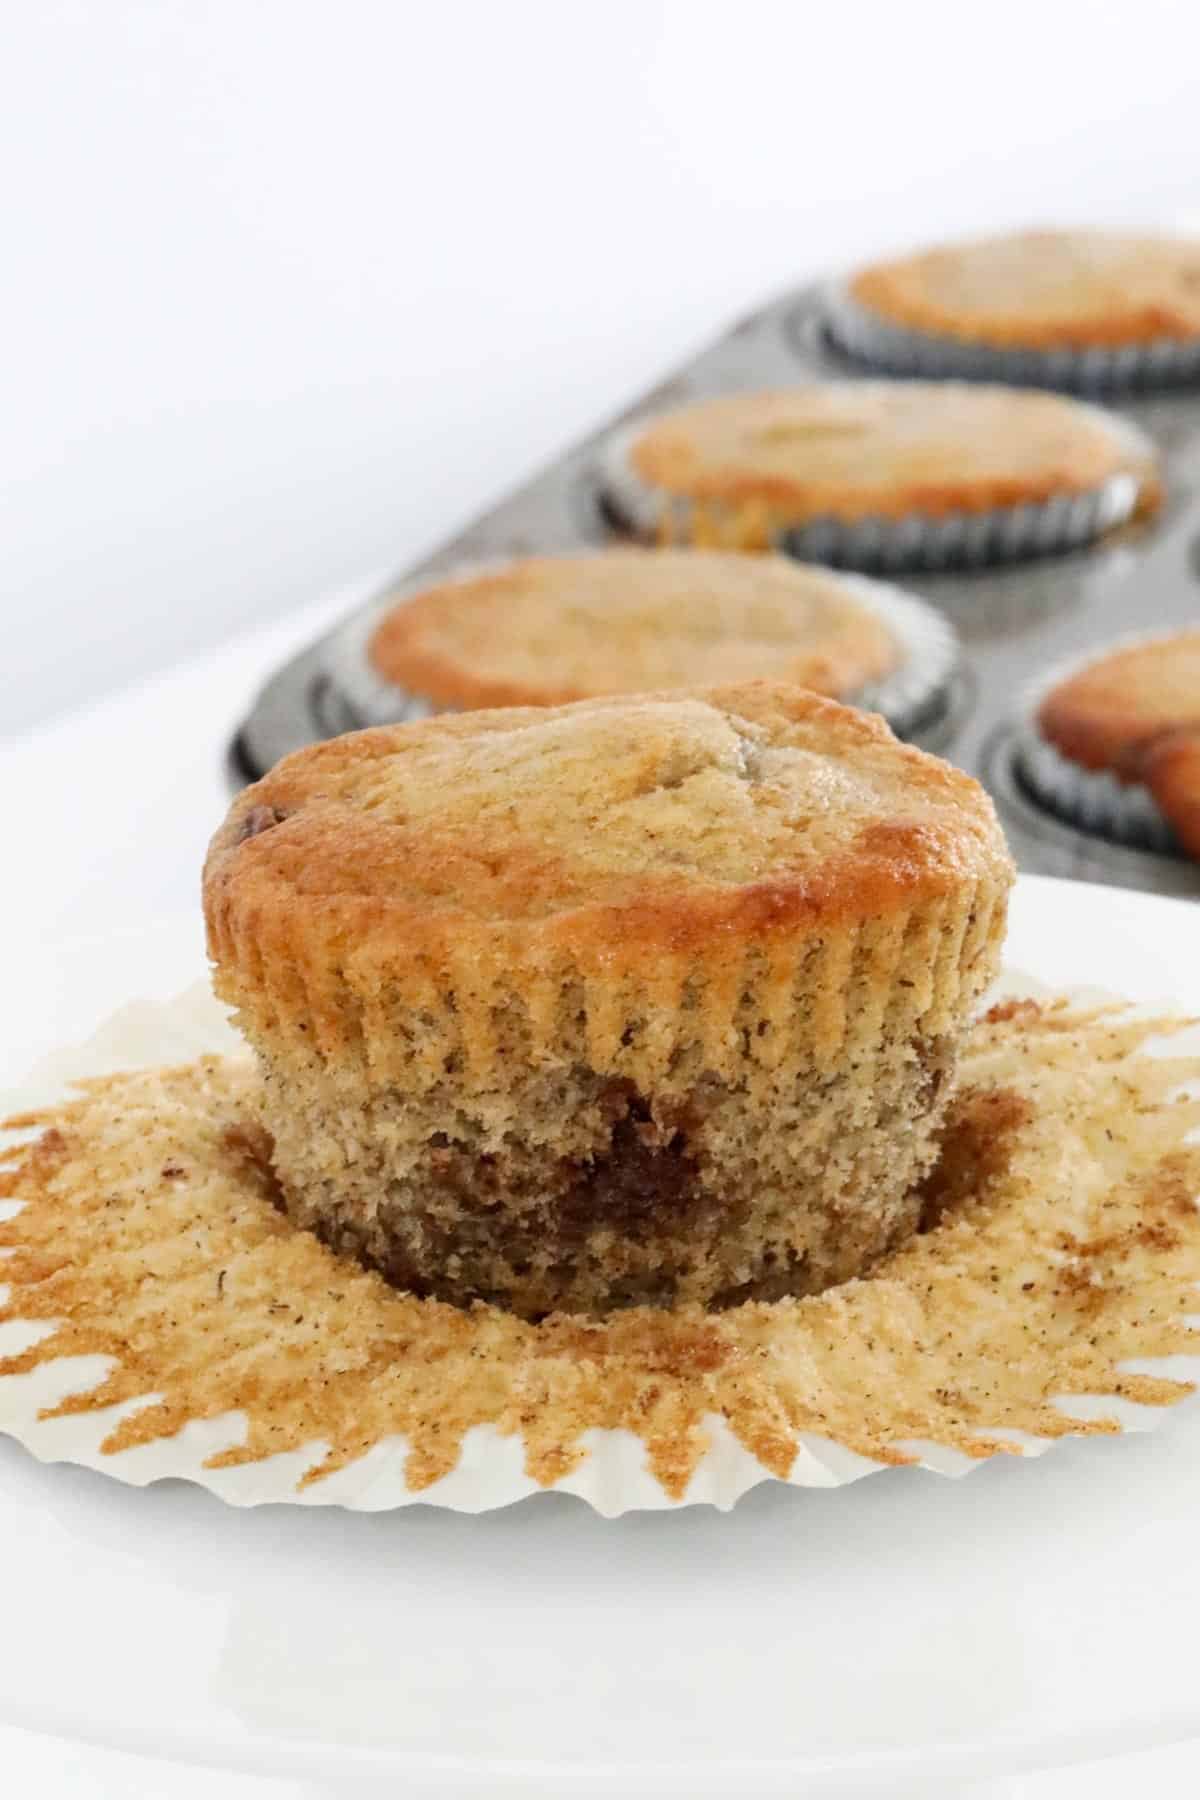
    A chocolate chip banana muffin with a paper case pulled down.

    These simple Thermomix Banana Chocolate Chip Muffins are an all-time family favourite. Not only are they a great way to use up ripe bananas, they're also absolutely delicious.

    Just like our blueberry muffins, chocolate chip & zucchini muffins and our fruit and yoghurt muffins, these Thermomix Banana Chocolate Chip Muffins are so quick and easy to make (and even easier to eat!).

    Why You're Going To Love This Recipe

    There's SO much to love about these sweet little muffins...

    • Great For Using Up Ripe Bananas - Put those brown overripe bananas to good use with our yummy Thermomix Banana Chocolate Chip Muffins. The riper the bananas, the better!
    • Quick & Easy - Just 10 minutes prep time and 15 minutes baking time means you'll be eating these warm muffins with gooey chocolate bursts in less than 30 minutes.
    • Perfect For School Lunch Boxes - The kids just LOVE these sweet little banana muffins.
    • Freezer Friendly - Muffins are best eaten within 1-2 days of baking, so if you don't think they'll all get eaten during that time, simply pop them in the freezer for grab and go snacks.
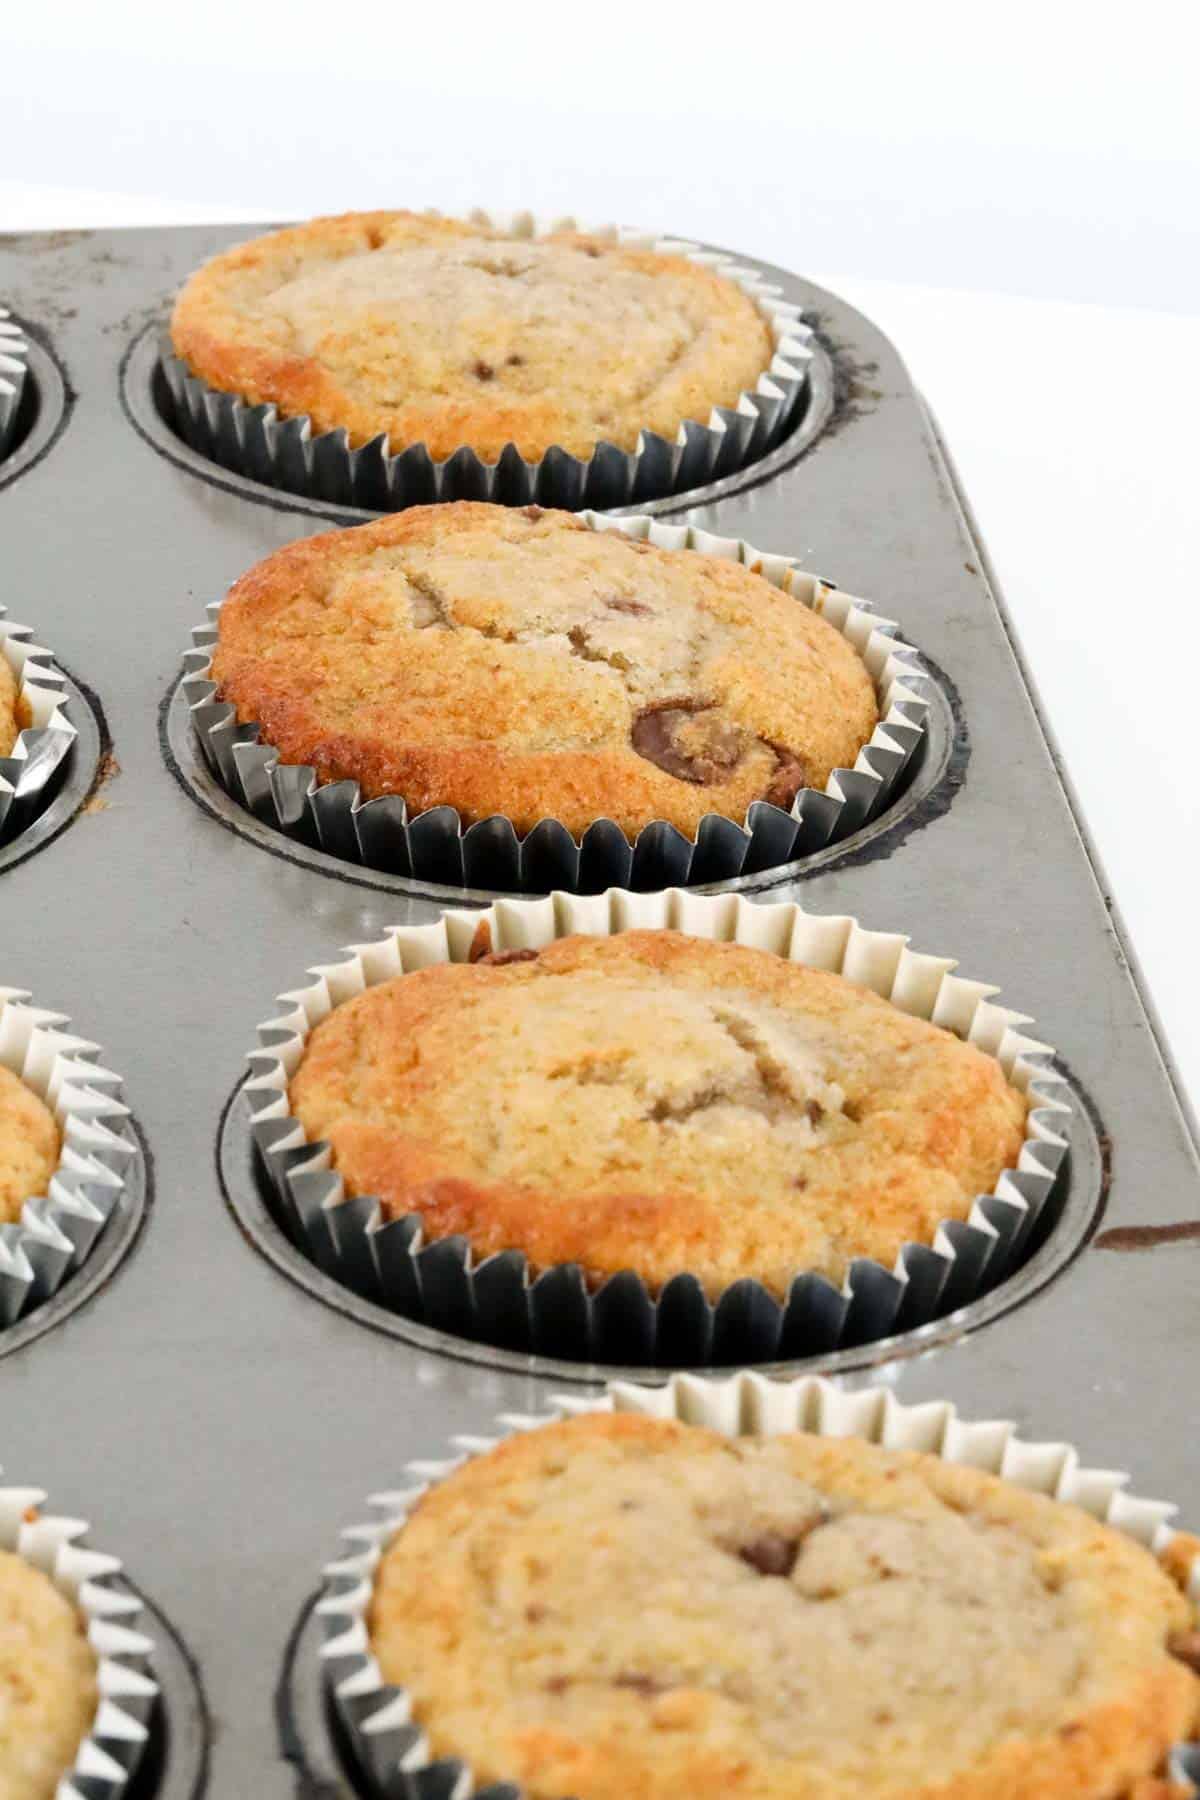
    Muffins in a muffin tray.

    What You Need

    Just a handful of pantry and fridge staples are needed for our Thermomix Banana Chocolate Chip Muffins...

    Please scroll to the recipe card below for ingredient quantities and the full detailed method.

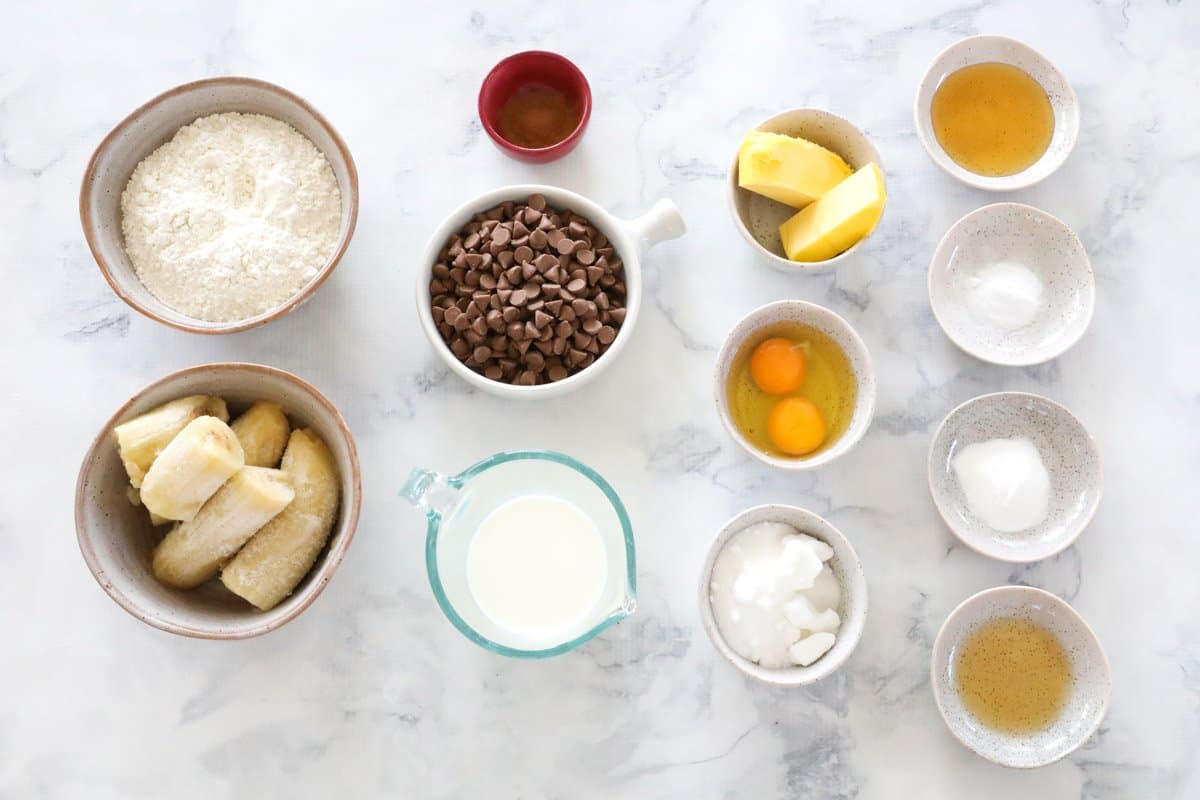
    The ingredients for banana choc chip muffins.
    • Bananas - the riper the bananas, the better! Use 2 large bananas (approximately 260g) in this recipe
    • Butter - you can use either salted or unsalted butter
    • Vanilla Extract - or vanilla essence
    • Honey - or substitute with rice malt syrup
    • Milk - for the best results, I recommend using full fat/full cream milk
    • Eggs - have your eggs at room temperature before using
    • Self-Raising Flour - use store-bought self-raising flour or make your own by sifting 2 teaspoons of baking powder through every 1 cup of plain flour
    • Caster Sugar - also known as superfine sugar
    • Baking Powder & Bi-Carbonate Soda - along with the self-raising flour, this helps the muffins to rise perfectly
    • Ground Cinnamon - for that classic banana and cinnamon flavour combination
    • Salt - adding a pinch of salt to sweet recipes helps to balance and enhance the flavours
    • Chocolate Chips - use regular chocolate chips, chocolate bits or baking bits

    Step By Step Instructions

    Our Thermomix Banana Chocolate Chip Muffins couldn't be easier to make!

    Please scroll to the recipe card below for ingredient quantities and the full detailed method.

    Step 1 - Mash The Banana

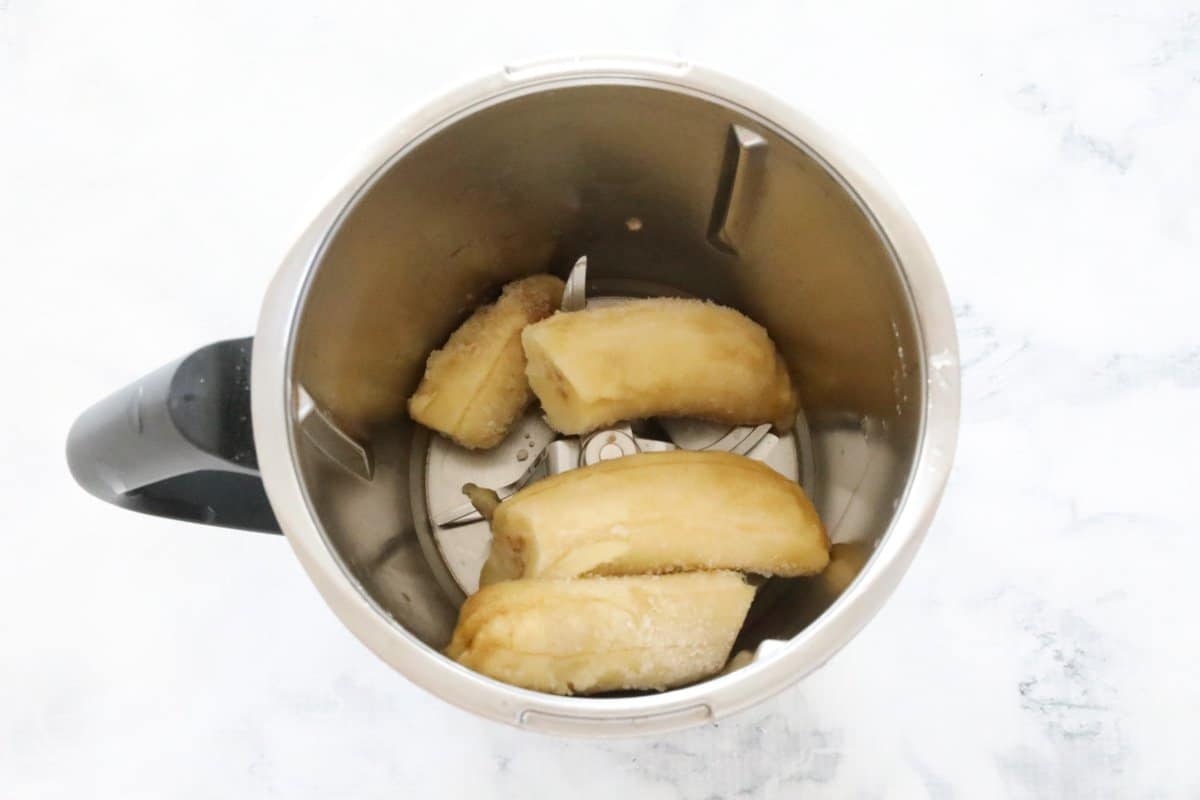
    Place chopped bananas into the Thermomix bowl and mix together until mashed.

    Bananas in a Thermomix bowl.

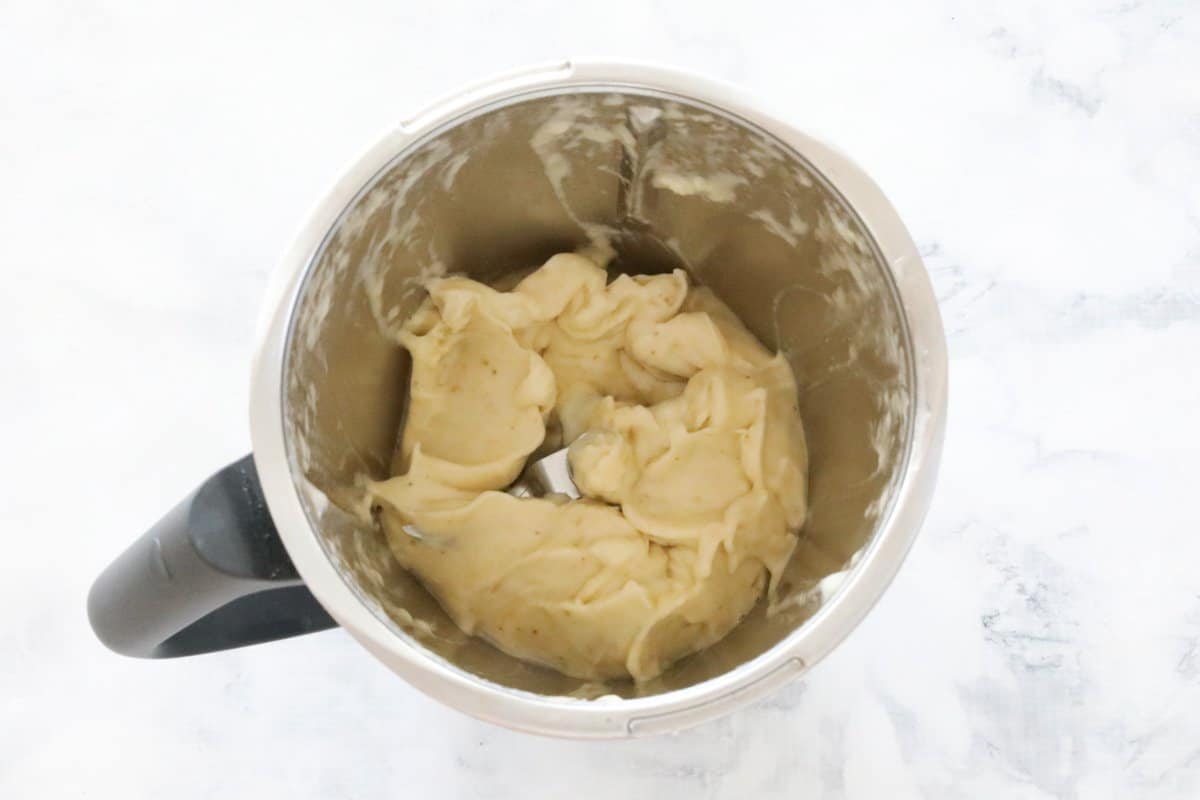
    Set the mashed banana aside in a seperate bowl until needed.

    Mashed bananas in a Thermomix bowl.

    Step 2 - Melt The Butter

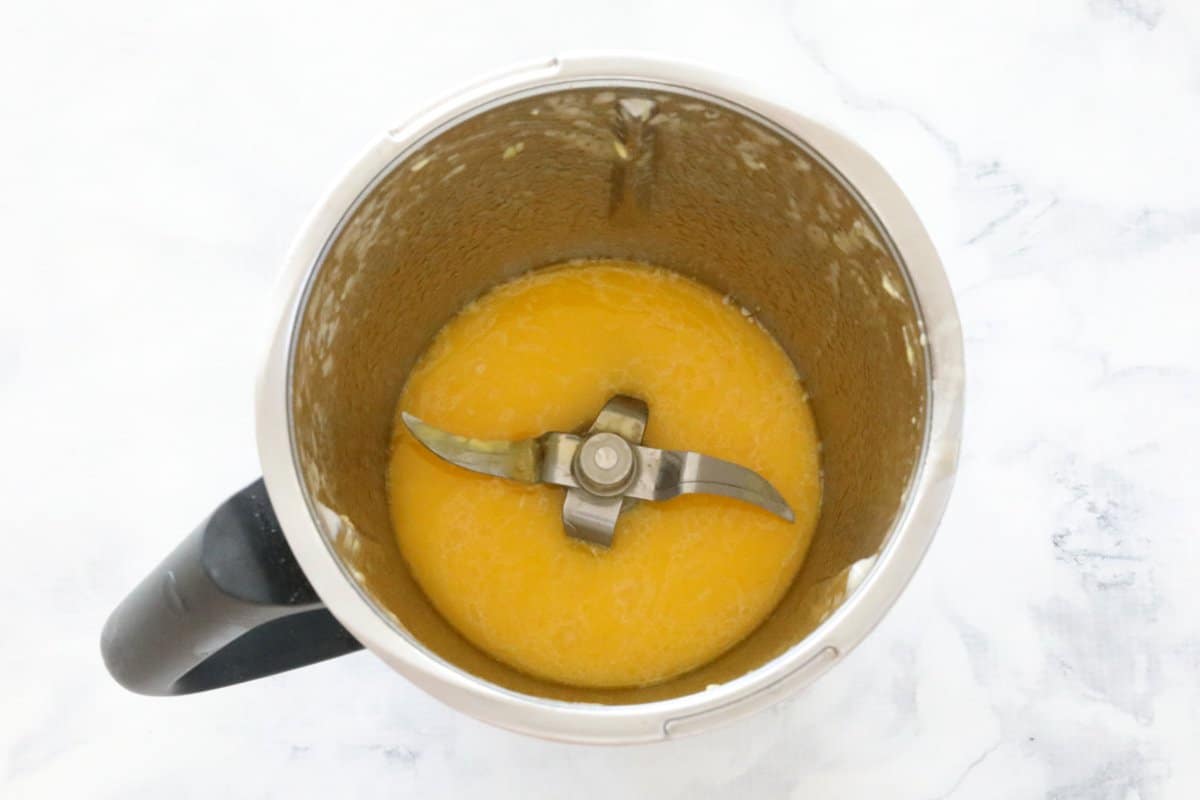
    Place the butter into the Thermomix bowl (no need to wash it after removing the mashed banana).

    Melt and then allow to cool slightly.

    Melted butter in a Thermomix bowl.

    Step 3 - Add The Wet Ingredients

    Add the vanilla, honey and milk and mix to combine.

    Slowly add the eggs while the blades are turning.

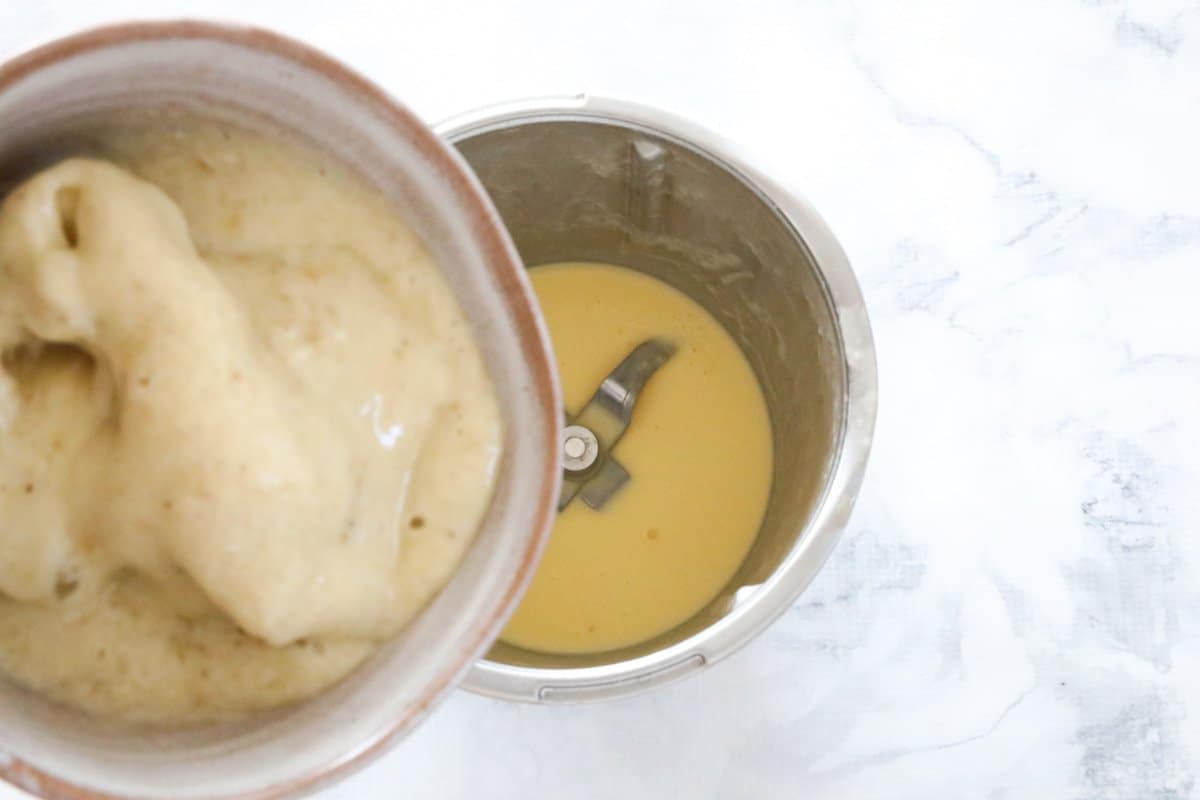
    Add the mashed banana and mix until completely combined.

    Mashed banana being poured onto melted butter.

    Step 4 - Add The Dry Ingredients

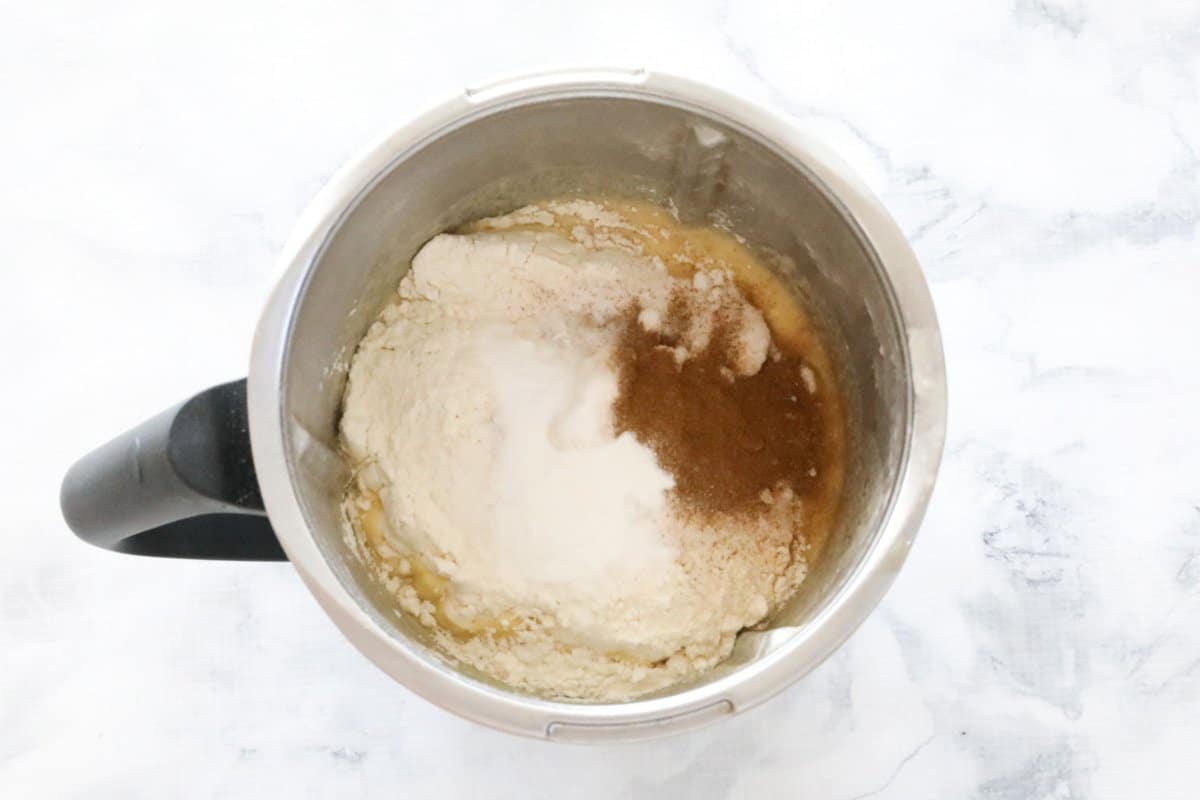
    Add the self-raising flour, caster sugar, baking powder, bi-carb soda, cinnamon and salt to the bowl and mix until only just combined - a few small lumps are fine.

    TIP: Be careful not to over-mix as this will cause the muffins to be dense.

    Flour and cinnamon in a Thermomix bowl.

    Step 5 - Add The Chocolate Chips

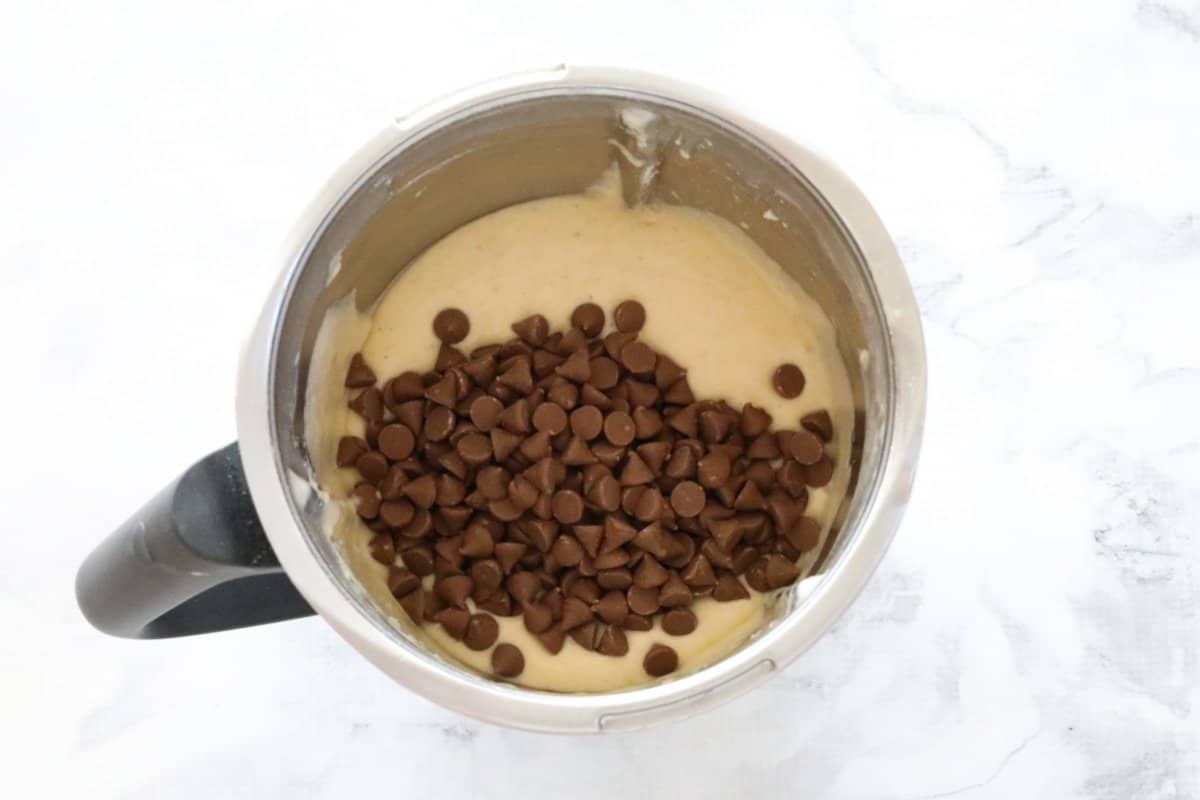
    Add the chocolate chips to the muffin mixture and mix through on REVERSE.

    It's important to make sure your blades are moving in Reverse for this step so that they don't chop the chocolate chips into tiny pieces!

    Chocolate chips on top of muffin mixture in a Thermomix bowl.

    Step 6 - Bake

    Bake the muffins until lightly golden and they spring back when touched lightly in the centre.

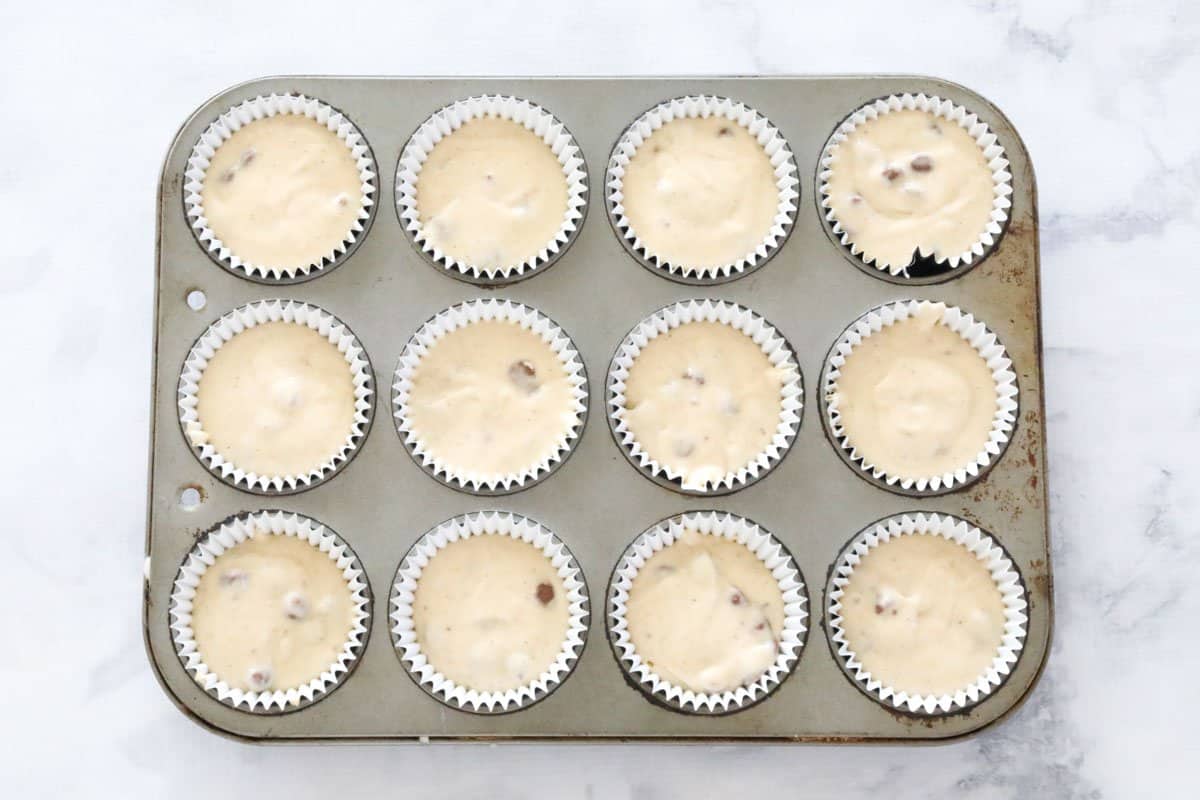
    Chocolate chip banana muffin mixture in a muffin tray.

    Expert Tips & FAQ

    Here's our top tips for the perfect Thermomix Banana Chocolate Chip Muffins!

    How do I know if my ripe bananas have gone bad?

    When baking with bananas the general rule is the riper the better! So your dark brown bananas as perfect to use. Bananas have gone bad (and shouldn't be used) if they have mould on them or a slimy liquid coming from them.

    Can I omit the chocolate chips?

    Absolutely! Our muffins are completely delicious with or without chocolate chips.

    Can I add nuts to this recipe?

    Yes you can! Chopped walnuts, macadamias and pecans are a few of my favourite additions.

    Storing

    Store muffins in an airtight container at room temperature. Muffins are best consumed within 1-2 days of baking.
    Note: do not store muffins in the fridge as this will dry them out.

    Freezing

    Freeze muffins in an airtight container for up to 3 months.

    A banana muffin with chocolate chips.

    Related Recipes

    If you've got a fruit bowl packed with over-ripe bananas, these recipes are exactly what you need!

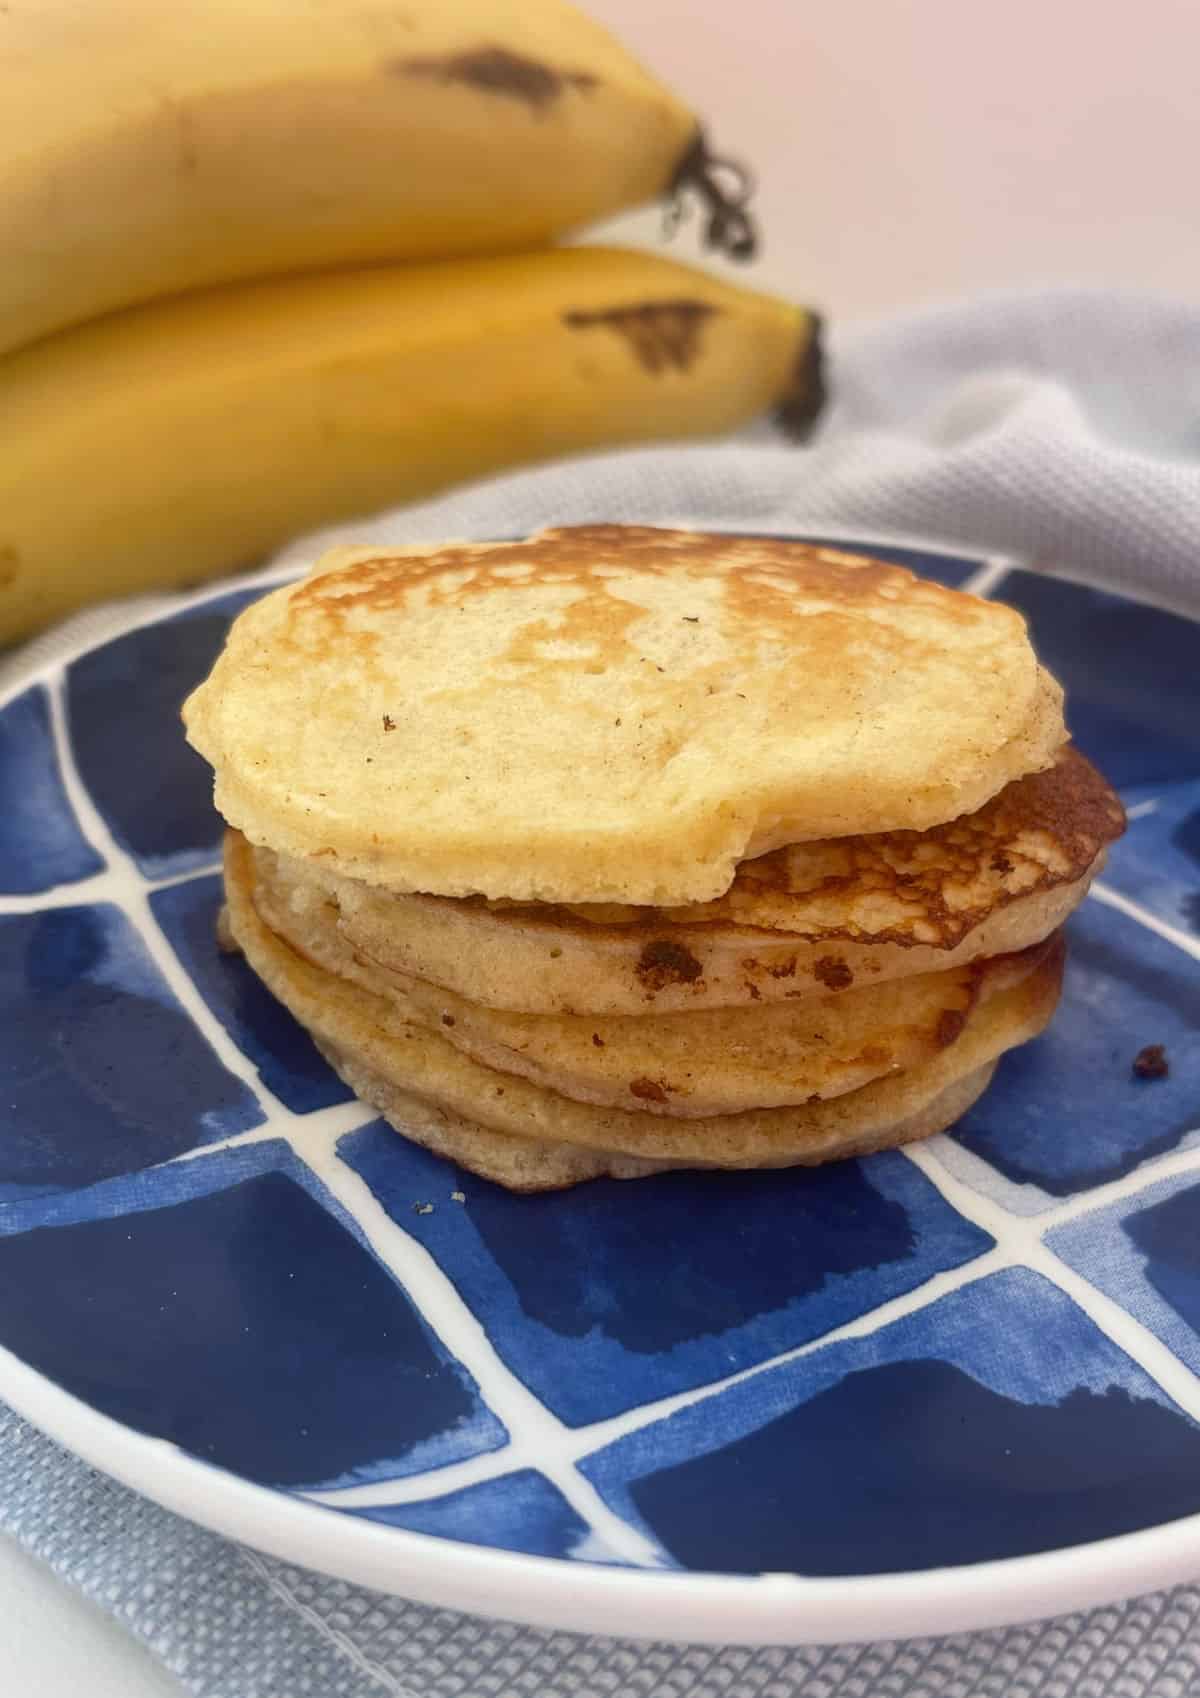
    • Stack of banana pancakes sitting on a white plate.
      Thermomix Banana Pancakes Recipe
    • Pieces of banana bread wrapped in a tea towel.
      Thermomix Banana Bread
    • Chocolate chunk muffins in a bowl.
      Thermomix Chocolate Banana Muffins
    • Banana smoothie in a tall glass sitting on a pink towel with a blue striped straw in glass.
      Thermomix Banana Smoothie
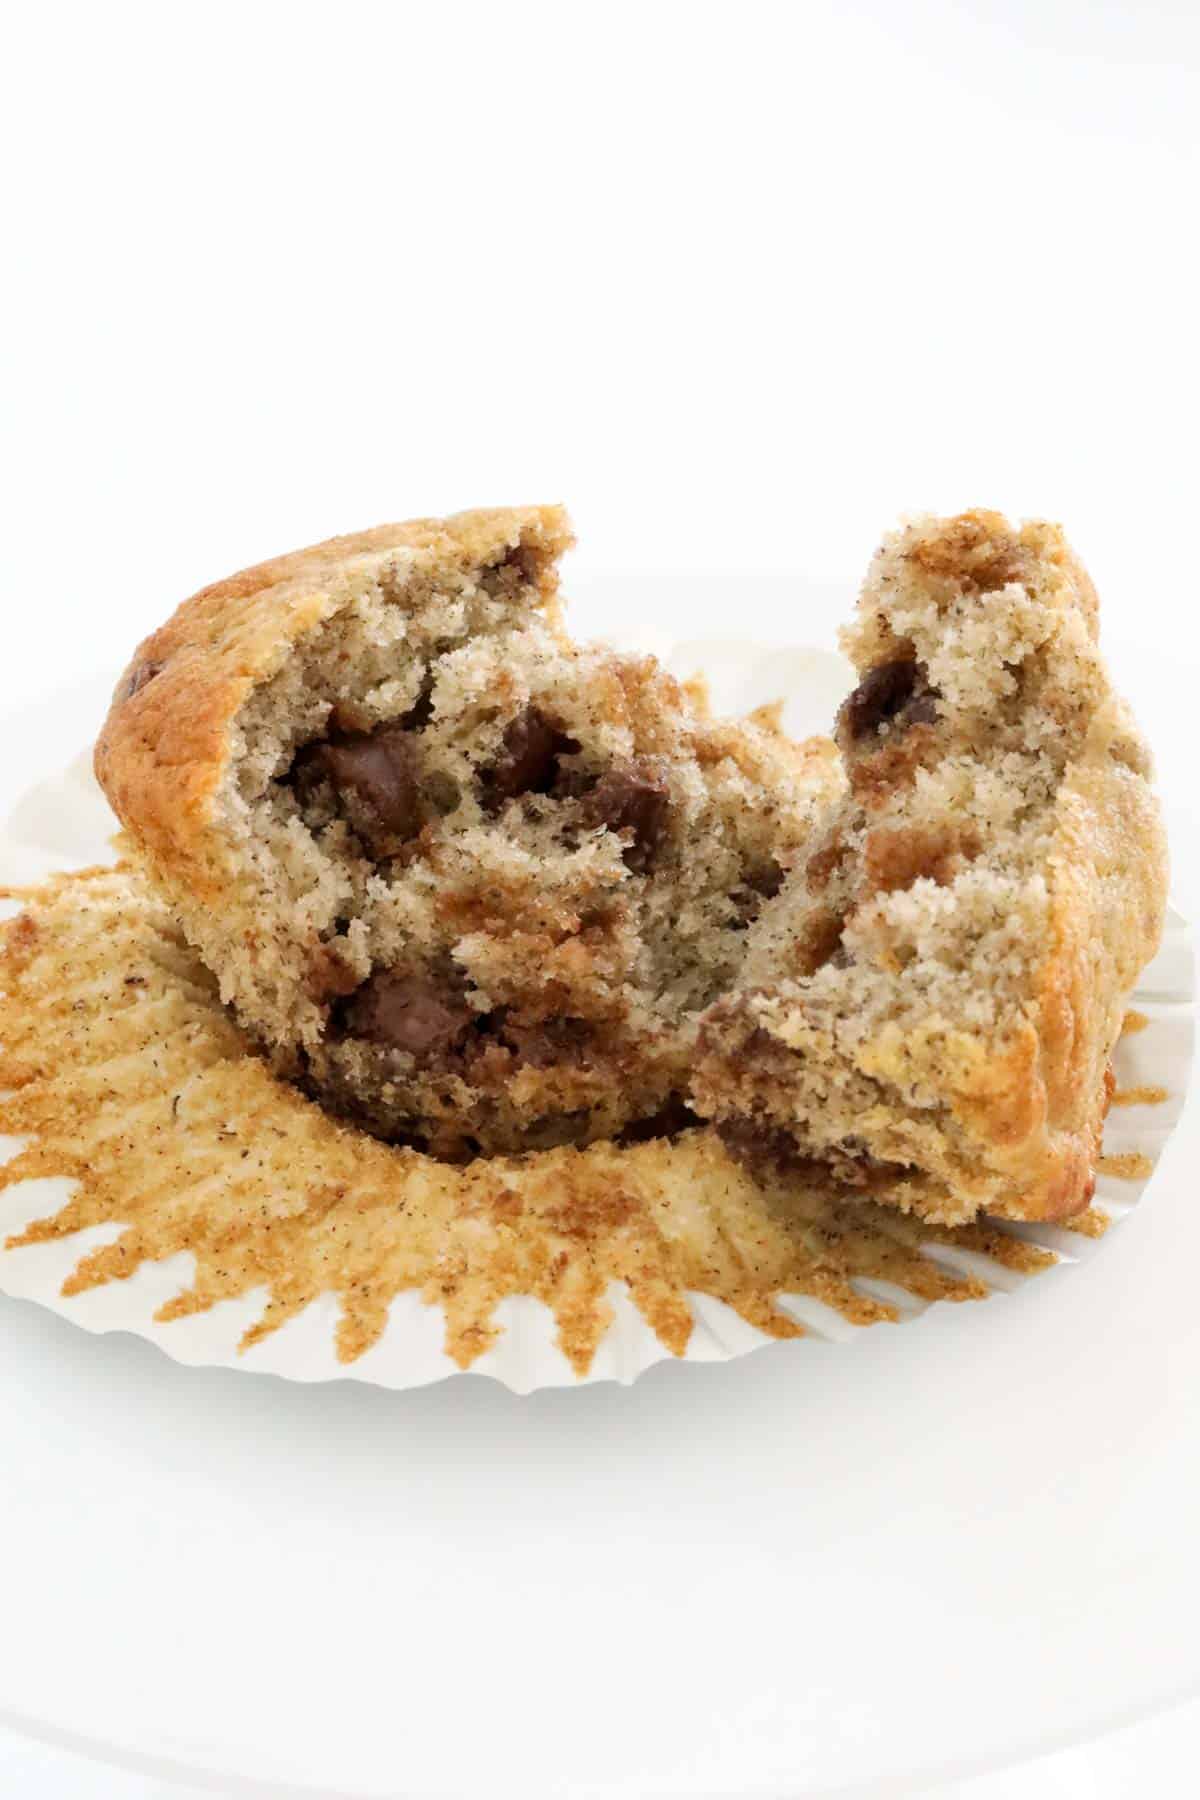
    A banana chocolate chip muffin split in half.

    Thermomix Lunch Box Cookbooks

    Browse our collection of Thermomix cookbooks, including our Lunch Box Snacks Value Bundle!

    All hardcopy cookbooks come with free eBooks emailed immediately upon purchase.

    Front Covers of Kid Snacks Volume 1 and 2 plus lunch box snacks book
    A banana muffin with chocolate chips.
    Print Recipe
    4.85 from 32 votes

    Banana Chocolate Chip Muffins

    Banana muffins are an absolute classic and when you add in some chocolate, you end up with something even better!
    Prep Time10 minutes mins
    Cook Time15 minutes mins
    Total Time25 minutes mins
    Course: Muffins
    Cuisine: Western
    Servings: 12 muffins
    Calories: 167.3kcal
    Author: Lucy & Lauren
    Cost: $5

    Equipment

    • Thermomix

    Ingredients

    • 260 g ripe bananas (approx 2 large)
    • 80 g butter
    • 1 teaspoon vanilla extract
    • 1 teaspoon honey
    • 125 g milk full cream
    • 2 eggs
    • 250 g self-raising flour
    • 100 g caster sugar
    • 1 teaspoon baking powder
    • ½ teaspoon bicarbonate of soda
    • 1 teaspoon ground cinnamon
    • pinch of salt
    • 200 g chocolate baking chips

    Instructions

    • Preheat oven to 180 degrees celsius (fan-forced).
    • Line a 12 hole muffin tray with paper cases.
    • Place bananas into the Thermomix bowl. Mash for 10 seconds, Speed 8. Pour into a bowl and set aside.
    • Place the butter into the Thermomix bowl (don't worry about cleaning it) and melt for 1 minute, 100 degrees, Speed 3.
    • Scrape down the sides and melt for a further 30 seconds, 100 degrees, Speed 3 (if needed). Allow to cool slightly.
    • Add the vanilla extract, honey and milk and mix together for 20 seconds, Speed 6.
    • With the blades spinning on Speed 3, add the eggs one at a time through the MC hole.
    • Add the mashed bananas and mix for a further 20 seconds or until well combined.
    • Add the self-raising flour, caster sugar, baking powder, bi-carb soda, cinnamon and salt and mix for 5 seconds, Speed 4 (use the spatula to help mix).
    • Add the chocolate chips and mix for 5-10 seconds, Reverse, Speed 4 or until just combined.
    • Divide the mixture evenly between the muffin cases filling to ⅔ full.
    • Cook for 15 minutes or until the muffins spring back when lightly touched in the middle.
    • Allow to cool in the tray for 5 minutes before transferring to a wire rack to cool completely.

    Notes

    RECIPE NOTES & TIPS
    Ripe Bananas - When baking with bananas the general rule is the riper the better! So your dark brown bananas as perfect to use. Bananas have gone bad (and shouldn't be used) if they have mould on them or a slimy liquid coming from them.
    Chocolate Chips - Our muffins are completely delicious with or without chocolate chips.
    Adding Nuts - Chopped walnuts, macadamias and pecans are a few of my favourite additions.
    Storing - Store muffins in an airtight container at room temperature. Muffins are best consumed within 1-2 days of baking.
    Note: do not store muffins in the fridge as this will dry them out.
    Freezing - Freeze muffins in an airtight container for up to 3 months.

    Nutrition

    Calories: 167.3kcal | Carbohydrates: 37.5g | Protein: 2.8g | Fat: 1.2g | Saturated Fat: 0.5g | Cholesterol: 15.8mg | Sodium: 315.2mg | Fiber: 1.3g | Sugar: 22.2g


    Thermomix Vanilla Custard

    May 2, 2016

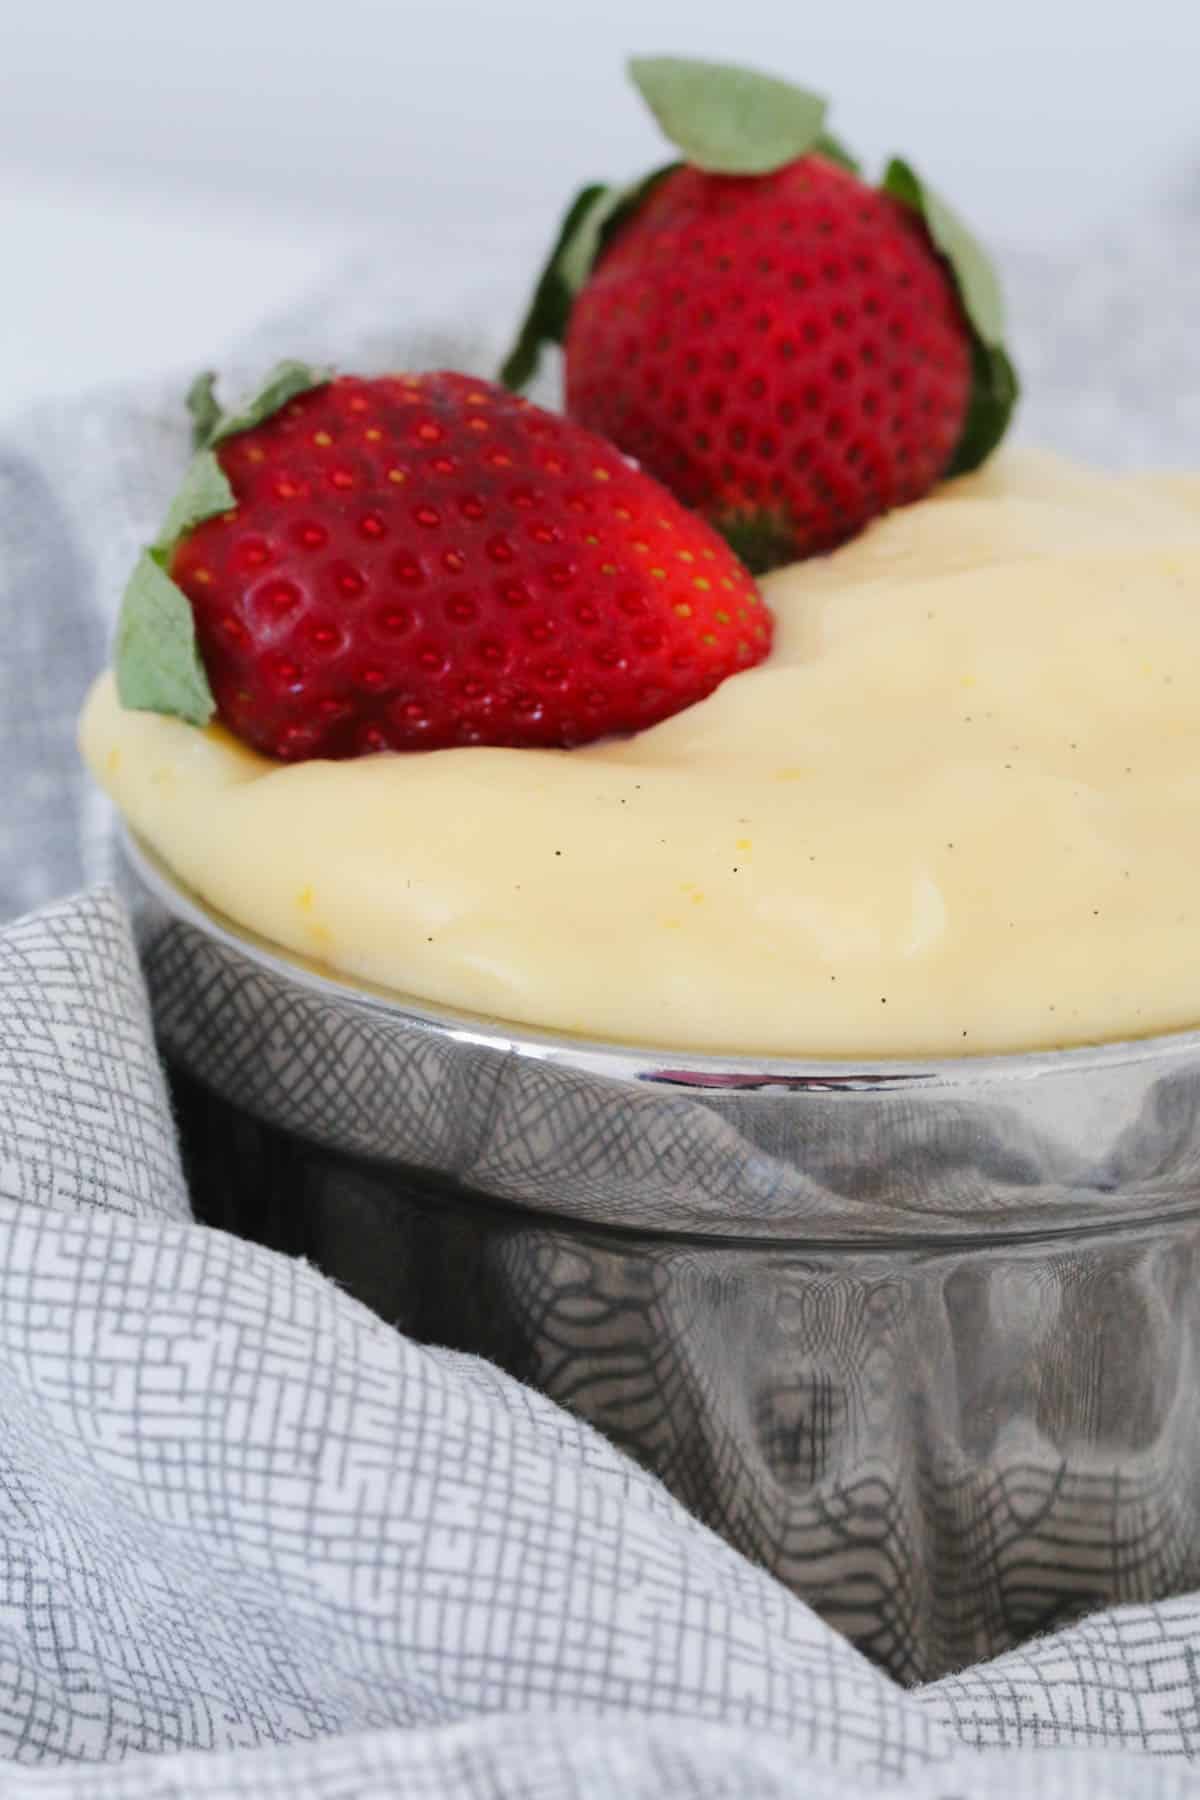
    Strawberries on top of vanilla custard in a silver bowl.

    Our Thermomix Vanilla Custard is made from 6 basic ingredients and is ready to eat in just 8 minutes! Delicious on its own or served with your favourite dessert.

    Strawberries on top of vanilla custard in a silver bowl.

    Our Thermomix Vanilla Custard is one of the easiest recipes you'll ever make in your Thermomix!

    Along with our chocolate fudge sauce, salted caramel sauce, caramel custard and chocolate custard, this vanilla custard recipe is equally as delicious as it is easy!

    Strawberries on top of a silver bowl filled with custard.

    Why You're Going To Love This Recipe

    Once you try our Thermomix Vanilla Custard, it will become a family favourite in your house too!

    • Quick & Easy - It takes just 8 minutes to prepare and cook our Thermomix Vanilla Custard. From start to finish, you'll be eating dessert in no time!
    • Basic Ingredients - Our custard recipe is made using just a handful of basic ingredients... in fact, you might even have them sitting in your pantry or fridge right now!
    • Versatile - Serve this custard on its own or pour it over your favourite pudding, cake or dessert for an extra decadent treat.

    What You Need

    6 ingredients is all it takes to make this simple Thermomix Vanilla Custard.

    The ingredients for Thermomix vanilla custard.
    • lemon zest - use only the yellow part of the lemon (not the white pith)
    • caster sugar - also known as superfine sugar
    • cornflour - this works as the thickener in this recipe
    • milk - use full cream milk (not light or skim)
    • eggs
    • vanilla bean paste - or vanilla essence or vanilla extract

    Step By Step Instructions

    Our Thermomix Vanilla Custard will be on the table in just 8 minutes!

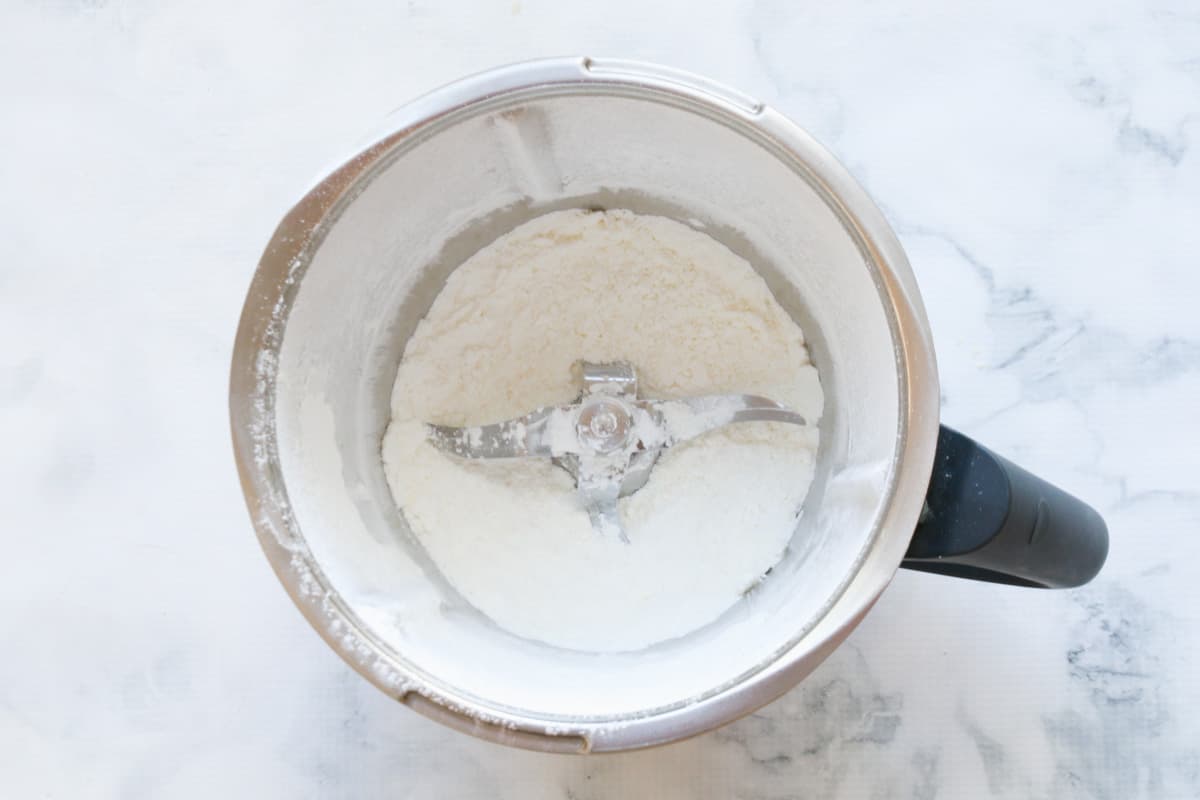
    Step 1 - Mill The Dry Ingredients

    Place the lemon zest, sugar and cornflour into the Thermomix bowl.

    Lemon zest and sugar in a Thermomix bowl.

    Mix until finely combined.

    Sugar in a Thermomix bowl.

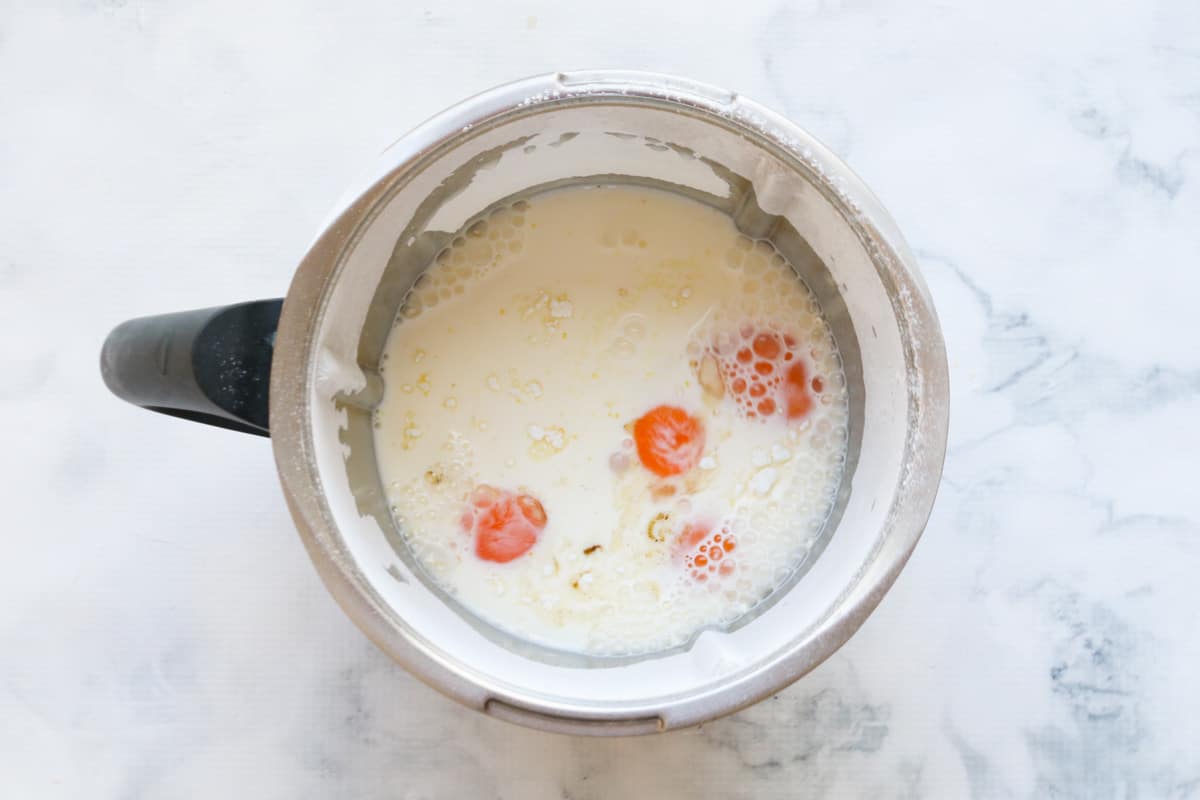
    Step 2 - Add The Wet Ingredients

    Add the eggs, milk and vanilla bean paste.

    Cook for 7 minutes.

    Eggs and milk in a Thermomix bowl.

    Expert Tips

    Here are a few top tips for making our Thermomix Vanilla Custard...

    What can I use in place of vanilla bean paste?

    Vanilla bean paste is quite an expensive ingredient and while it gives a delicious flavour, it's not essential to this recipe. It can be replaced with vanilla extract or vanilla essence.

    Do I have to use full cream milk?

    Yes! Skim or light milk will not thicken as well.

    How can I make my custard extra thick?

    If you would like your custard to be very thick, cook it for an extra 2-3 minutes (but remember that it will thicken on cooling).

    How can I store my custard if I don't want to use it immediately?

    If you don't want to use your custard immediately, pour it into a bowl and place cling-wrap so that it touches the surface of the custard to stop it from forming a 'skin'.

    Storing

    Store any leftover custard in an airtight container in the fridge. Place a sheet of cling-wrap over the top (see tip above).
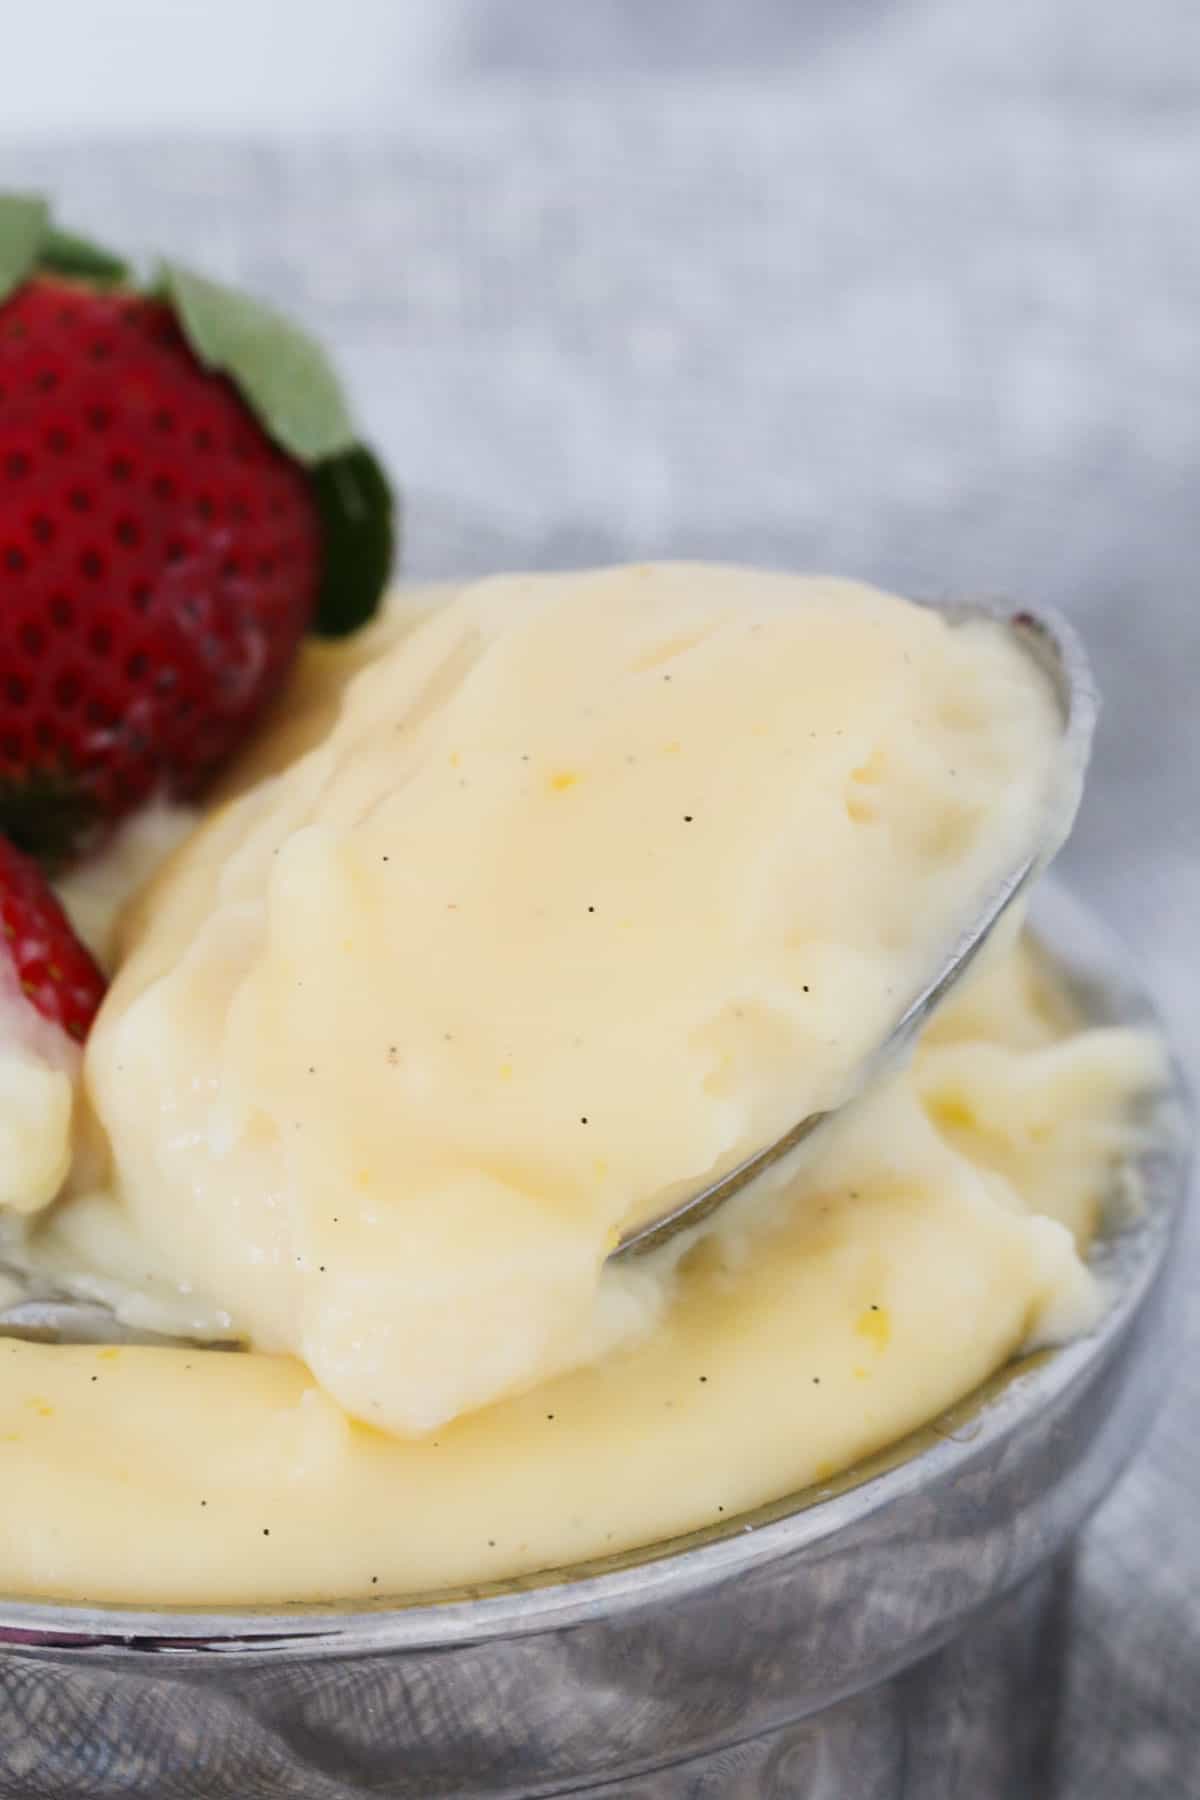
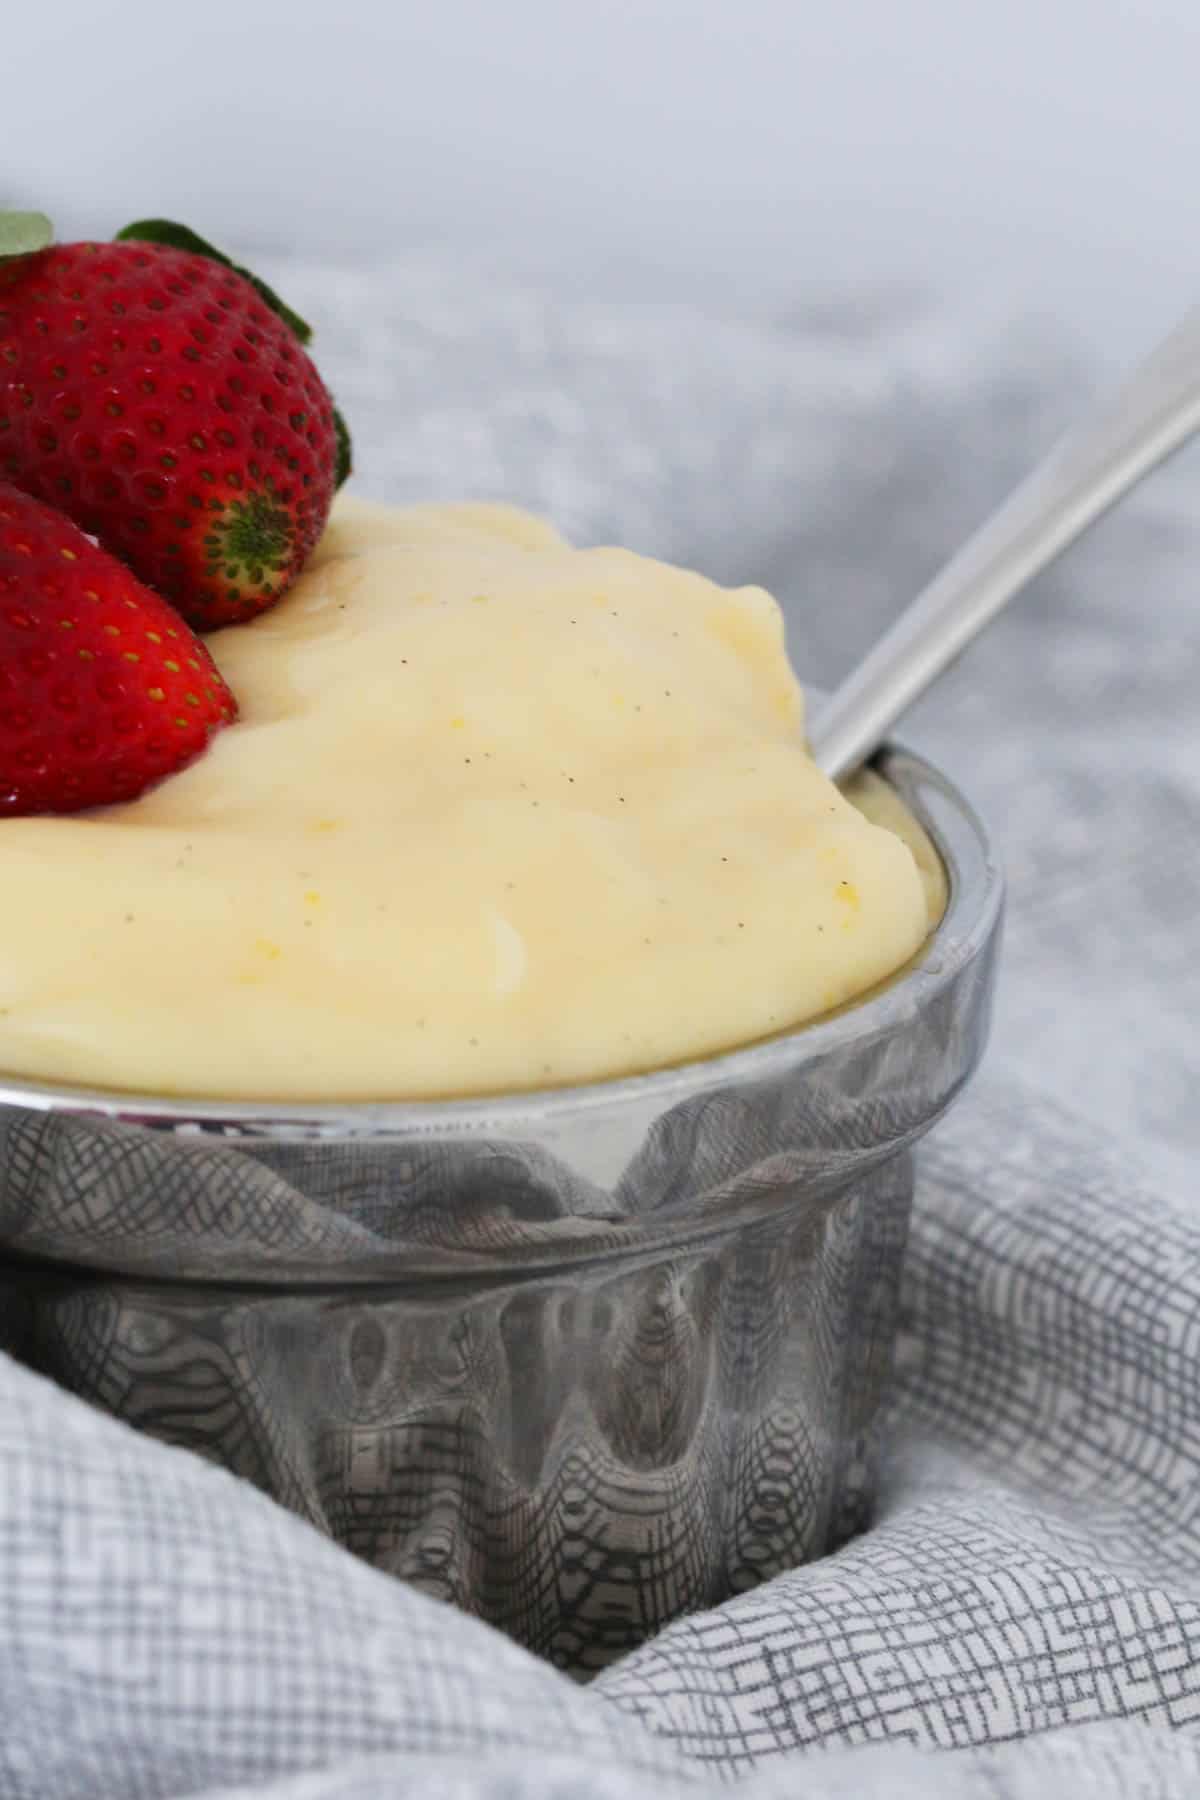
    A spoon of vanilla custard.

    Related Recipes

    Thermomix Vanilla Custard is delicious on its own... but it's even better when poured over your favourite dessert!

    Here are a few of our favourite desserts that pair perfectly with custard:

    • Apple Pie - everyones' favourite old fashioned dessert pairs perfectly with our Thermomix Vanilla Custard.
    • Raspberry & Ricotta Cake - a cake that is delicious served at afternoon tea or warmed up for a tasty dessert.
    • Pecan & Maple Slice - just like a pecan pie, but even more AMAZING!!!
    • Sticky Date Pudding - this classic dessert is made even better with a serving of vanilla custard.
    • Kahlua Brownies - rich and delicious chocolate brownies smothered in vanilla custard... a match made in heaven!
    A bowl of vanilla custard.
    Strawberries on top of vanilla custard in a silver bowl.
    Print Recipe
    4.87 from 43 votes

    Thermomix Vanilla Custard

    Our Thermomix Vanilla Custard is made from 6 basic ingredients and is ready to eat in just 8 minutes! Delicious on it's own or served with your favourite dessert.
    Prep Time1 minute min
    Cook Time7 minutes mins
    Total Time8 minutes mins
    Course: Dessert
    Cuisine: Western
    Servings: 6 people
    Calories: 192kcal
    Author: Lucy & Lauren
    Cost: $5

    Equipment

    • Thermomix

    Ingredients

    • zest of 1 lemon
    • 100 g caster sugar
    • 50 g cornflour
    • 500 g full cream milk
    • 4 eggs
    • 1 teaspoon vanilla bean paste or vanilla extract

    Instructions

    • Place the lemon zest, sugar and cornflour into the Thermomix bowl and mill for 10 seconds, Speed 9. Scrape down the sides of the bowl.
    • Add the milk, eggs and vanilla bean paste to the bowl. Cook for 7 minutes, 90 degrees, Speed 4.
    • Serve immediately.

    Notes

    RECIPE NOTES & TIPS
    Ingredients Info: 
    • lemon zest - use only the yellow part of the lemon (not the white pith)
    • caster sugar - also known as superfine sugar
    • cornflour - this works as the thickener in this recipe
    • milk - use full cream milk (not light or skim)
    • vanilla bean paste - or vanilla essence or vanilla extract
    More Recipe Tips:
    Extra Thick Custard - If you would like your custard to be very thick, cook it for an extra 2-3 minutes (but remember that it will thicken on cooling).
    Storing -  Store any leftover custard in an airtight container in the fridge. If you don't want to use your custard immediately, pour it into a bowl and place cling-wrap on top of the custard to stop it from forming a 'skin'. 
    Nutrition

    Calories: 192kcal | Carbohydrates: 29g | Protein: 6g | Fat: 6g | Saturated Fat: 2g | Polyunsaturated Fat: 1g | Monounsaturated Fat: 2g | Trans Fat: 1g | Cholesterol: 117mg | Sodium: 78mg | Potassium: 151mg | Fiber: 1g | Sugar: 21g | Vitamin A: 293IU | Calcium: 111mg | Iron: 1mg

    Thermomix Baileys Chocolate Sauce

    April 27, 2016

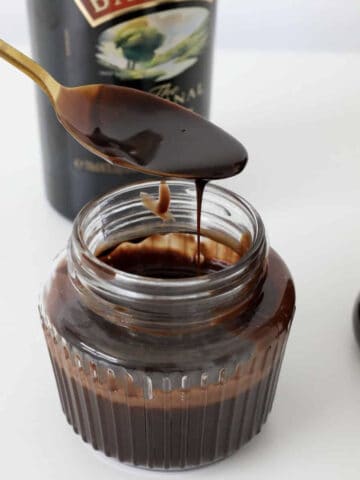
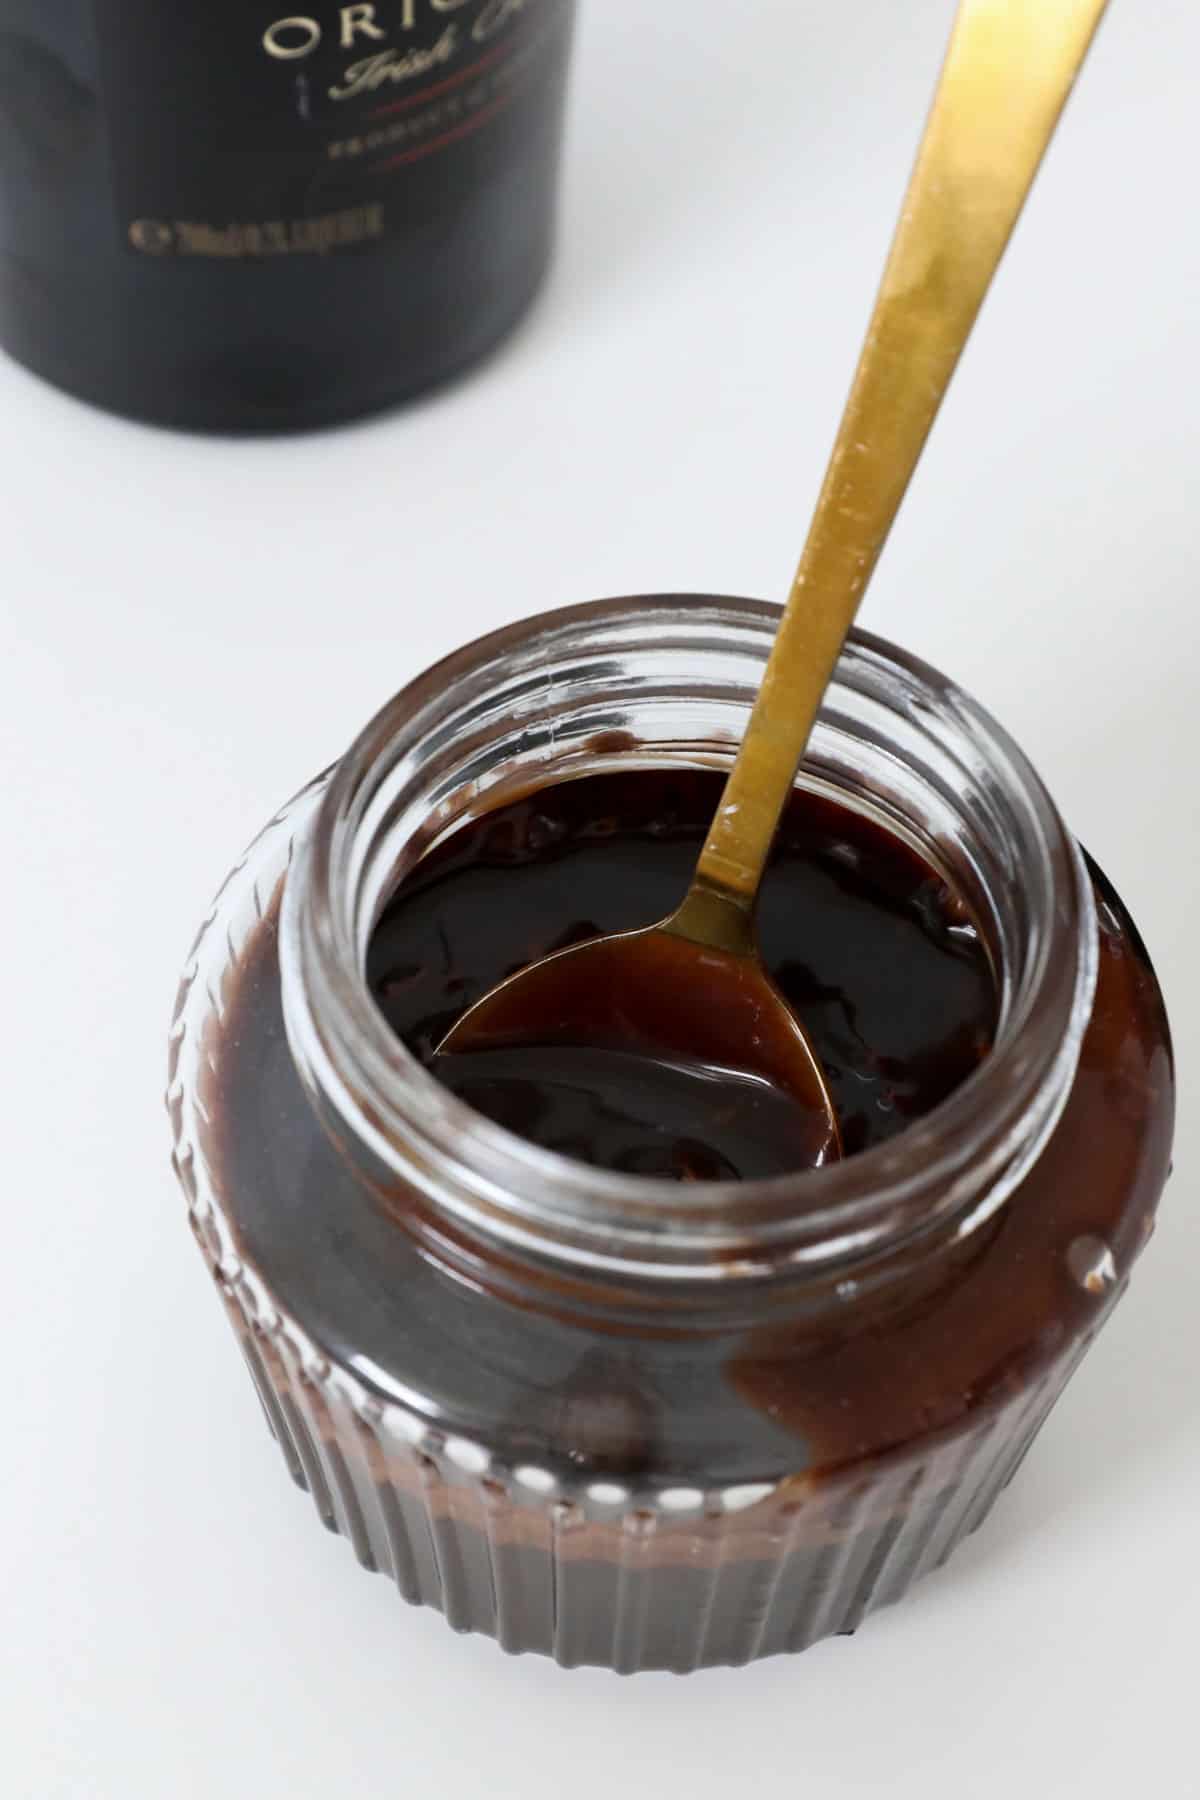
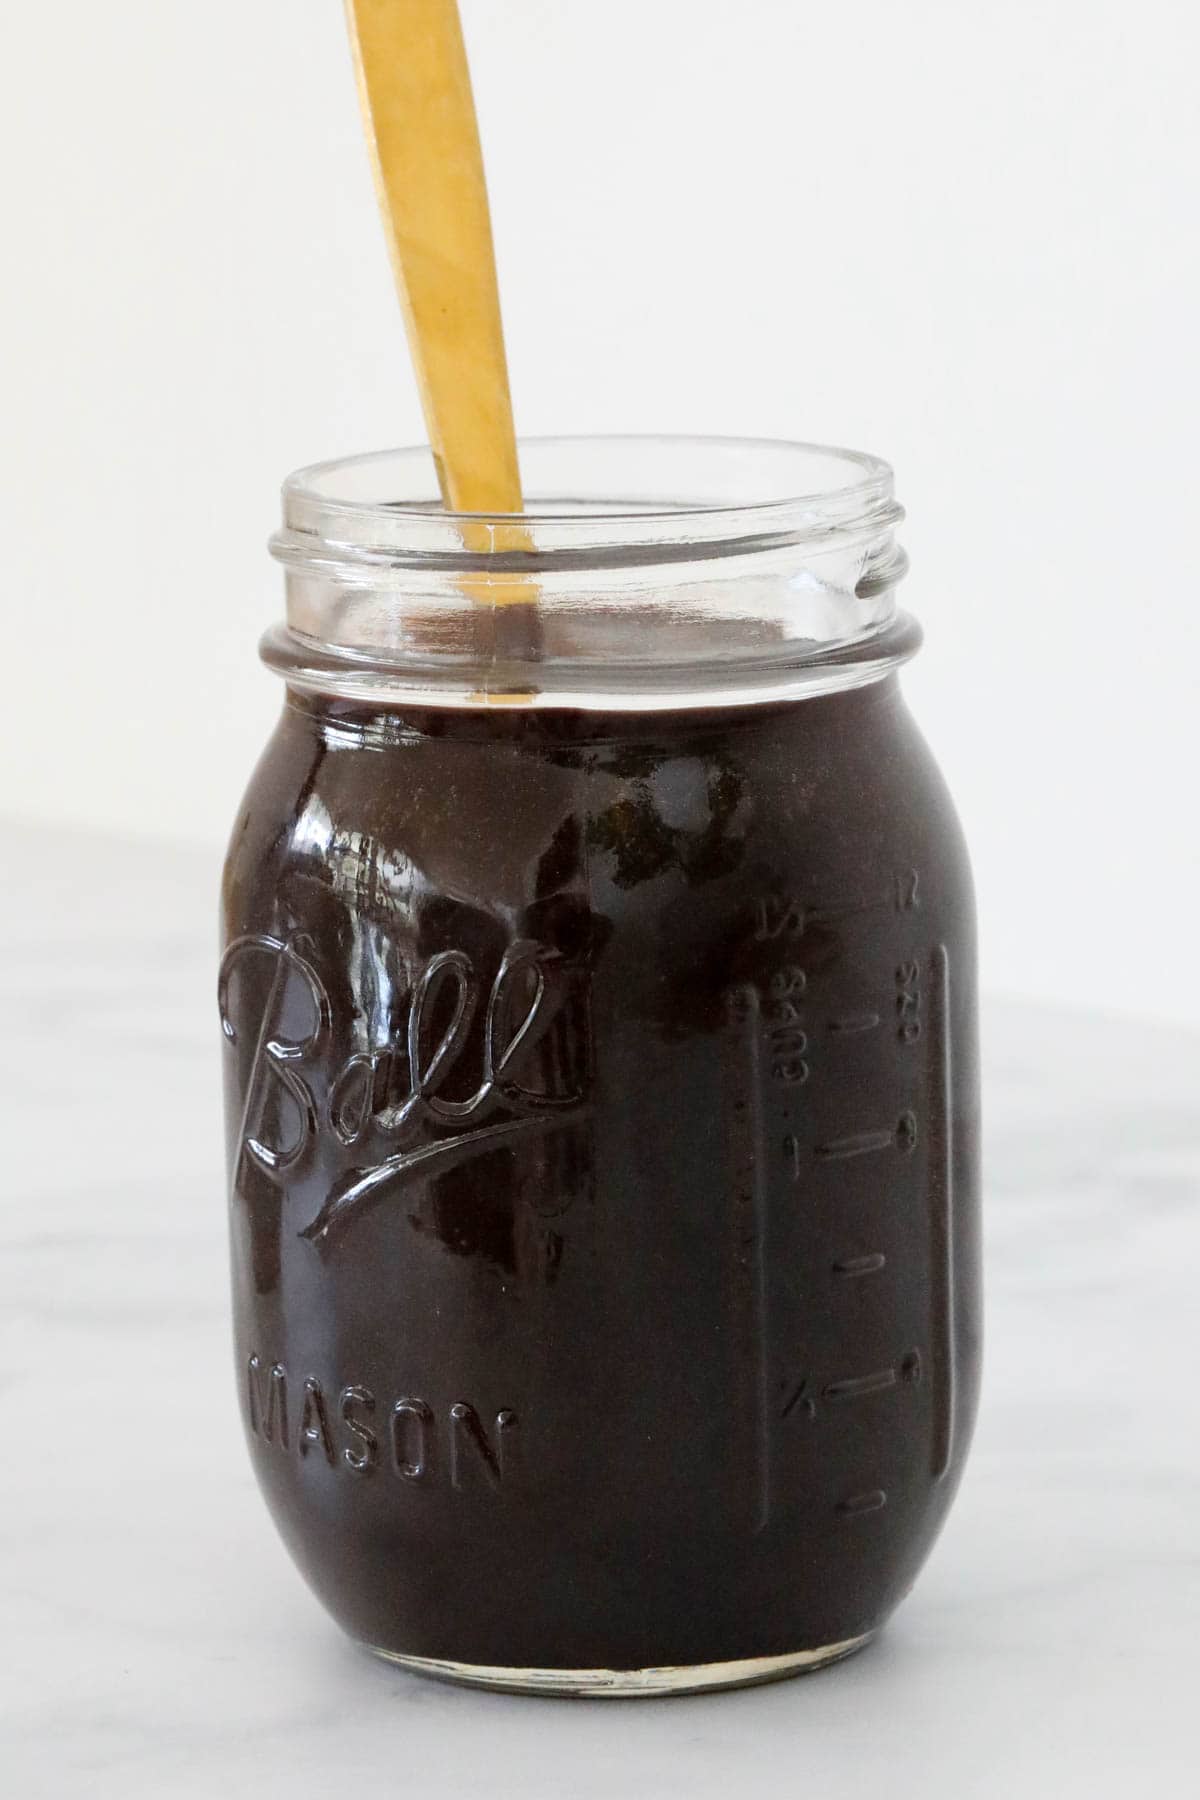
    A gold spoon with chocolate sauce dripping from it.

    Our Thermomix Baileys Chocolate Sauce is rich, decadent and completely adults-only. Serve it poured over a bowl of ice-cream or your favourite desserts or brownies.

    Made from just 6 ingredients and ready in 15 minutes!

    A gold spoon with chocolate sauce dripping from it.

    If you're looking for a deliciously rich chocolate sauce... this is the recipe for you! Thick, fudgy and flavoured with Baileys Irish Cream (use store-bought or our famous homemade Thermomix Baileys recipe).

    Our Thermomix Baileys Sauce makes a perfect gift for family or friends - but be sure to make yourself an extra batch to keep all for yourself!

    Why You're Going To Love This Recipe

    • Quick & Easy - from start to finish, this sauce will be ready to serve in just 15 minutes!
    • Made from pantry staples - apart from the Baileys Irish Cream, this recipe is made using basic ingredients you may already have at home.
    • Versatile - pour it over ice-cream, puddings, brownies, cakes and more!
    • Lasts for 1 week - store in a sterilised jar for up to 1 week.
    • The perfect gift - give bottles of homemade Thermomix Baileys Chocolate Sauce to friends and family at Christmas or add a bottle to a food hamper to make it that little bit extra special!
    A glass of homemade chocolate sauce in front of a bottle of Baileys Irish cream.

    What You Need

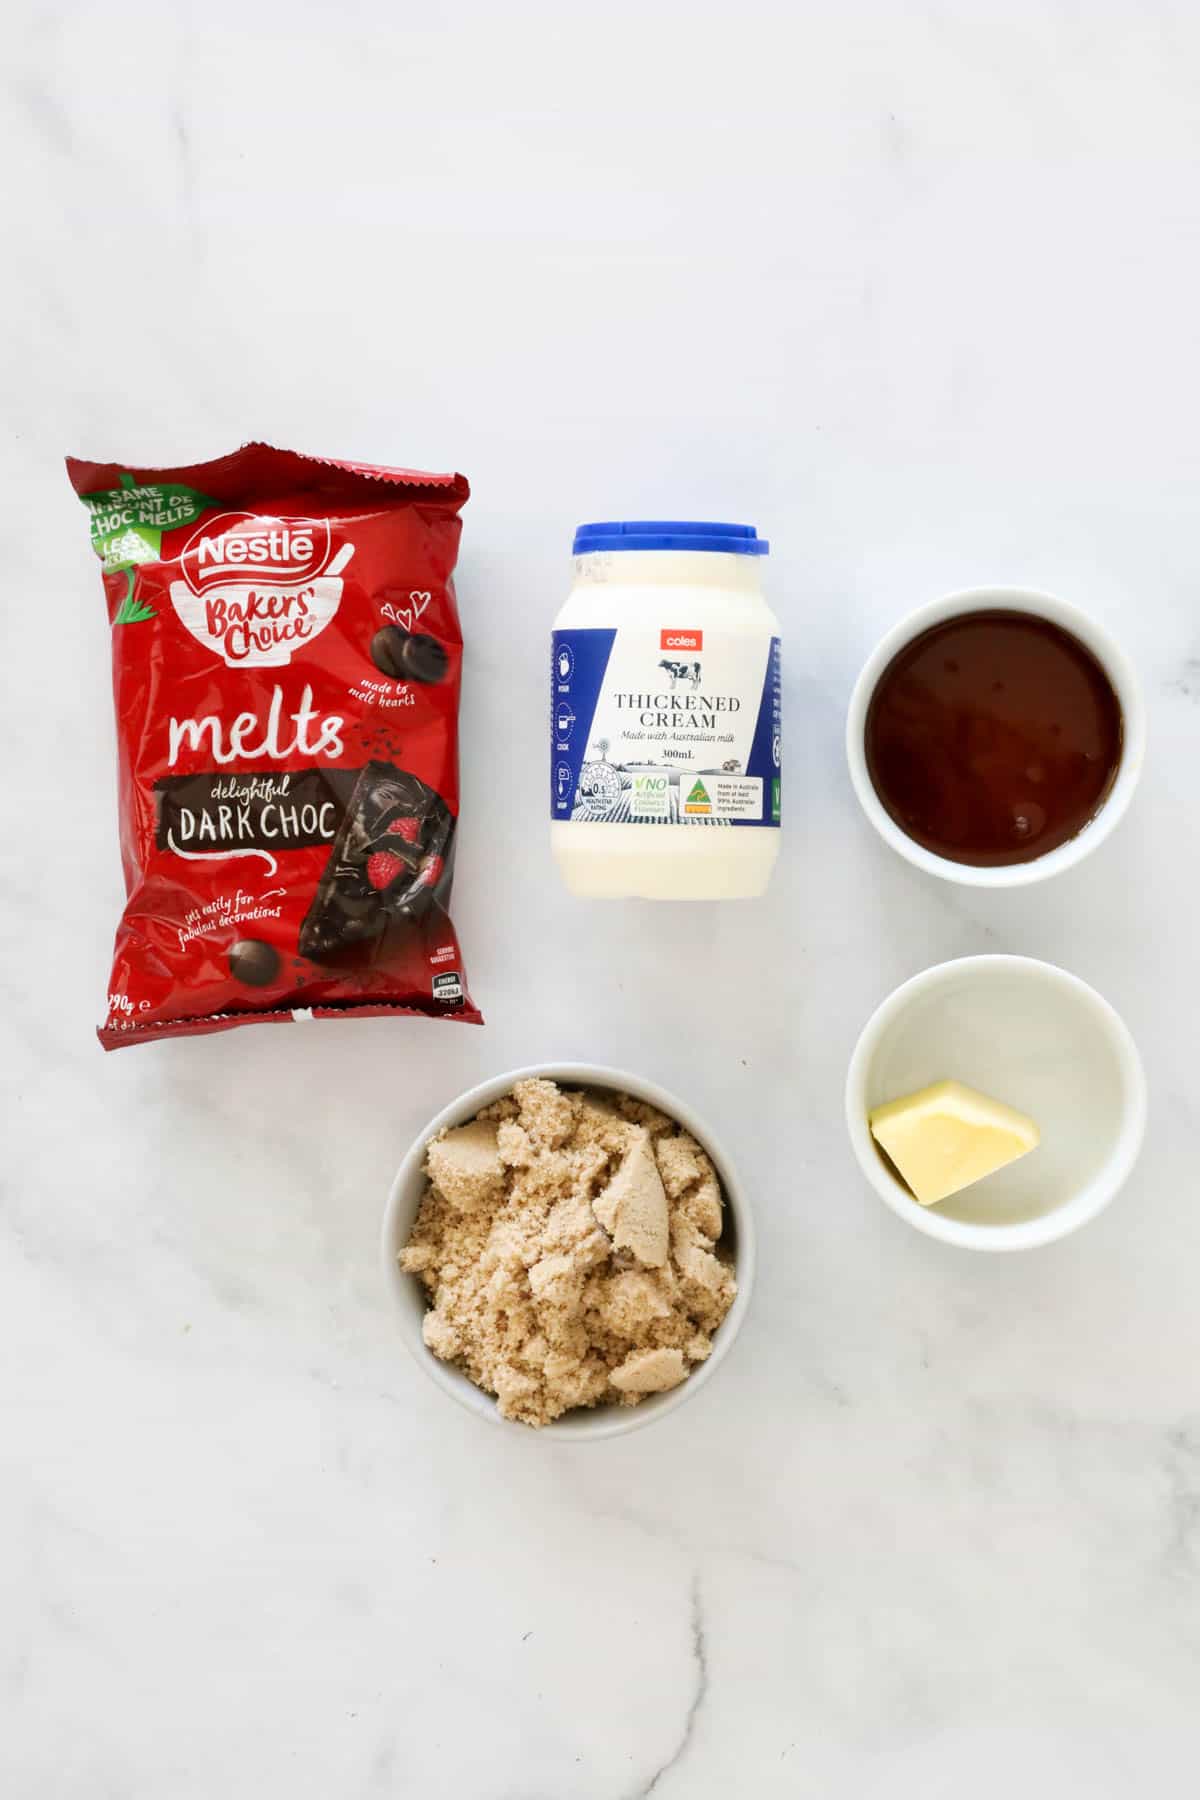
    Our Thermomix Baileys Chocolate Sauce is made using 6 ingredients:

    The ingredients for chocolate Baileys fudge sauce.
    • dark chocolate - choose a good quality dark cooking chocolate (like Nestle or Cadbury)
    • cream - use thickened cream or pouring cream (not whipped cream)
    • brown sugar - light or dark brown sugar can be used. Dark brown sugar will result in a richer caramel flavour
    • golden syrup - if you can't buy golden syrup, you can use rice malt syrup or corn syrup instead
    • butter - use salted or unsalted butter
    • Baileys Irish Cream - use store-bought Baileys Irish Cream or make your own.

    Step By Step Thermomix Instructions

    Just 3 simple steps and 15 minutes is all it takes to make homemade Baileys chocolate sauce.

    Step 1 - Grate The Chocolate

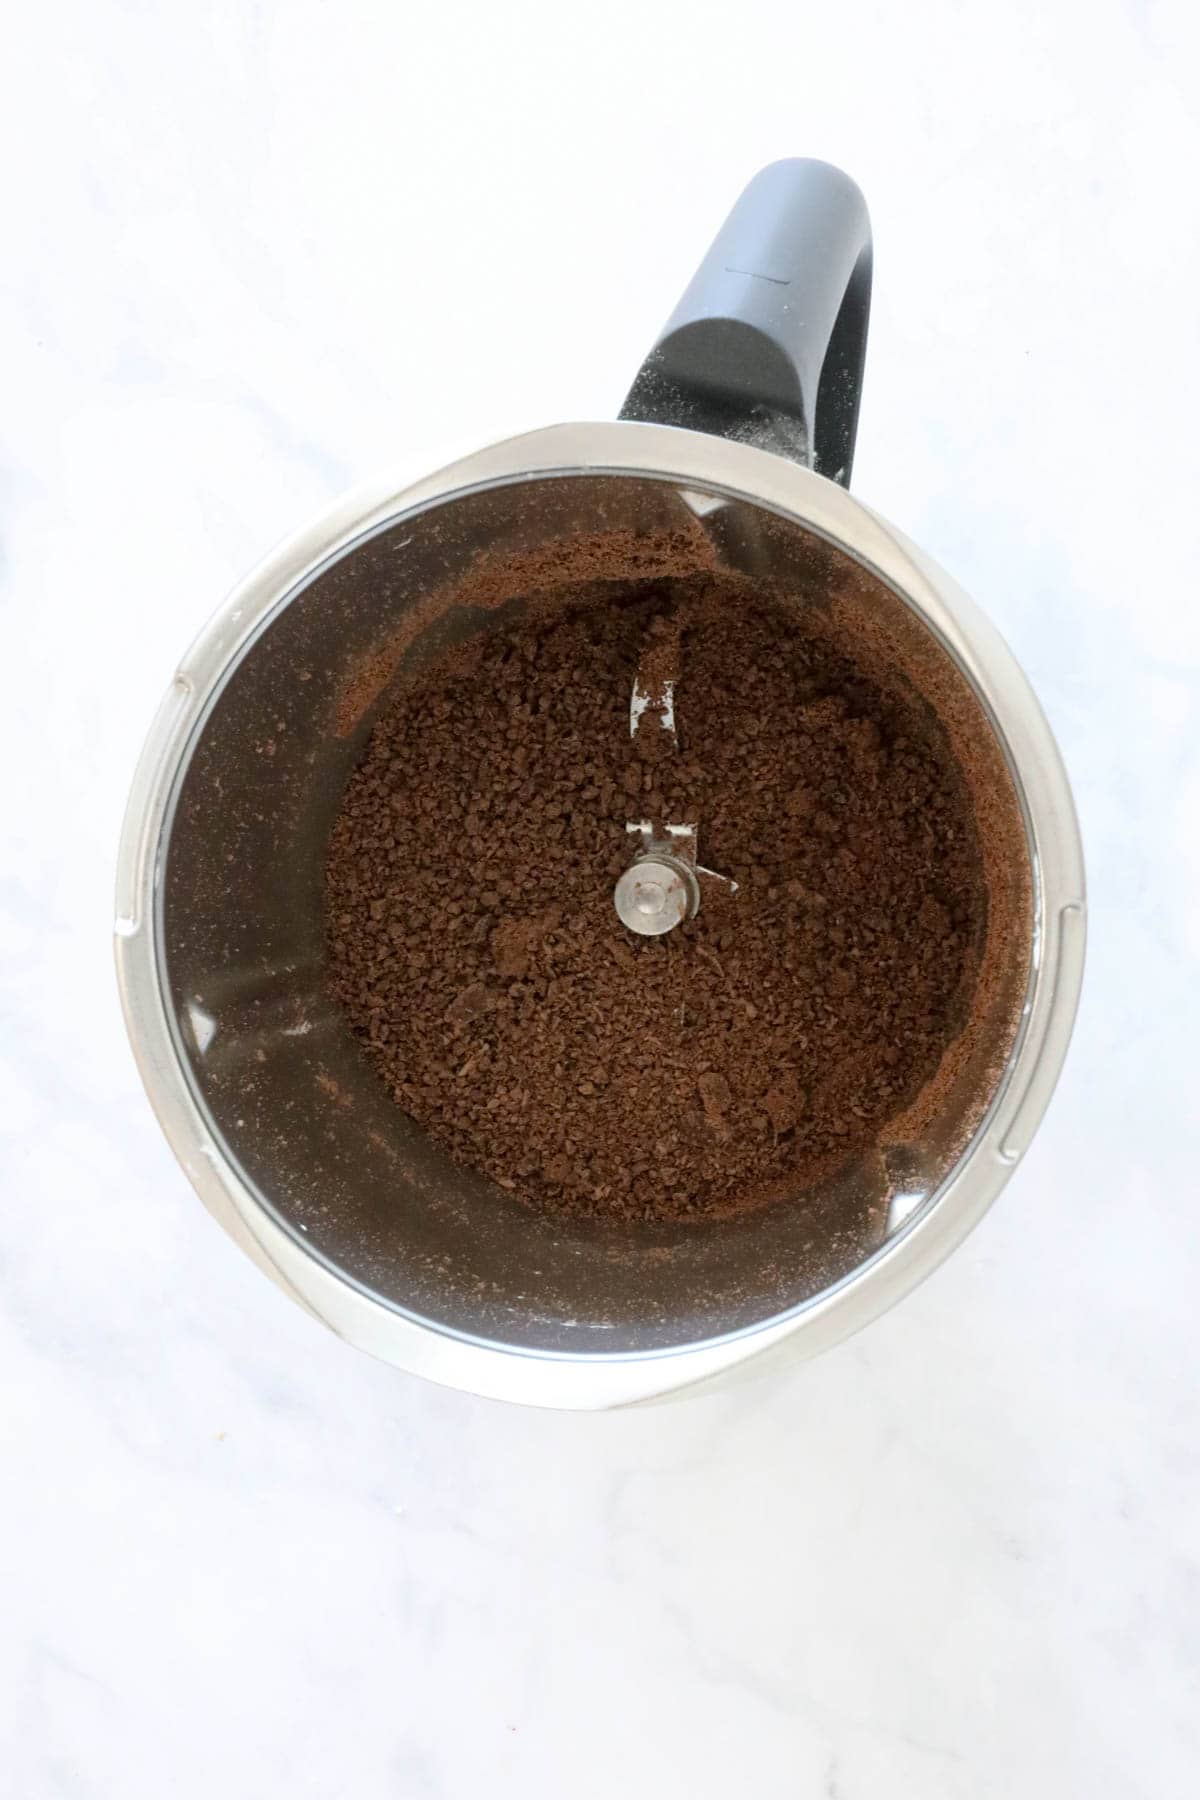
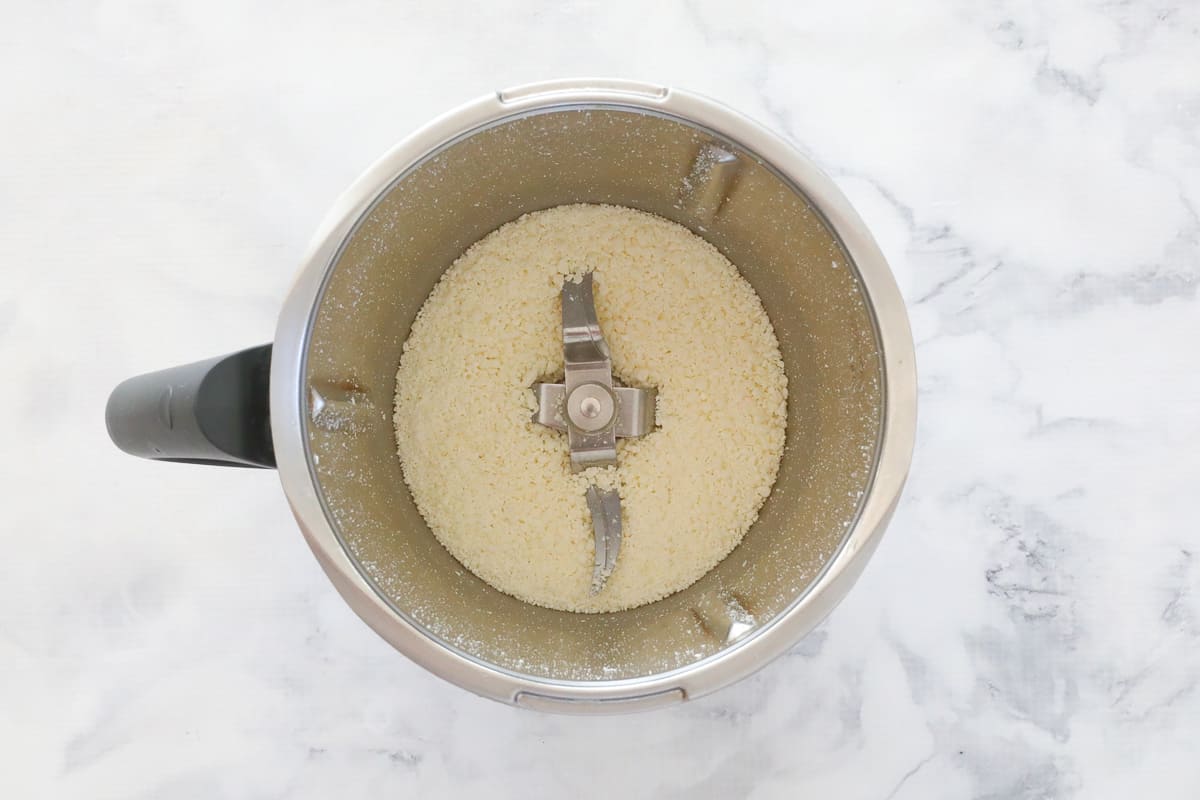
    Break the chocolate into the Thermomix bowl and grate for 6 seconds, Speed 8.

    Grated chocolate in a Thermomix.

    Step 2 - Cook The Sauce

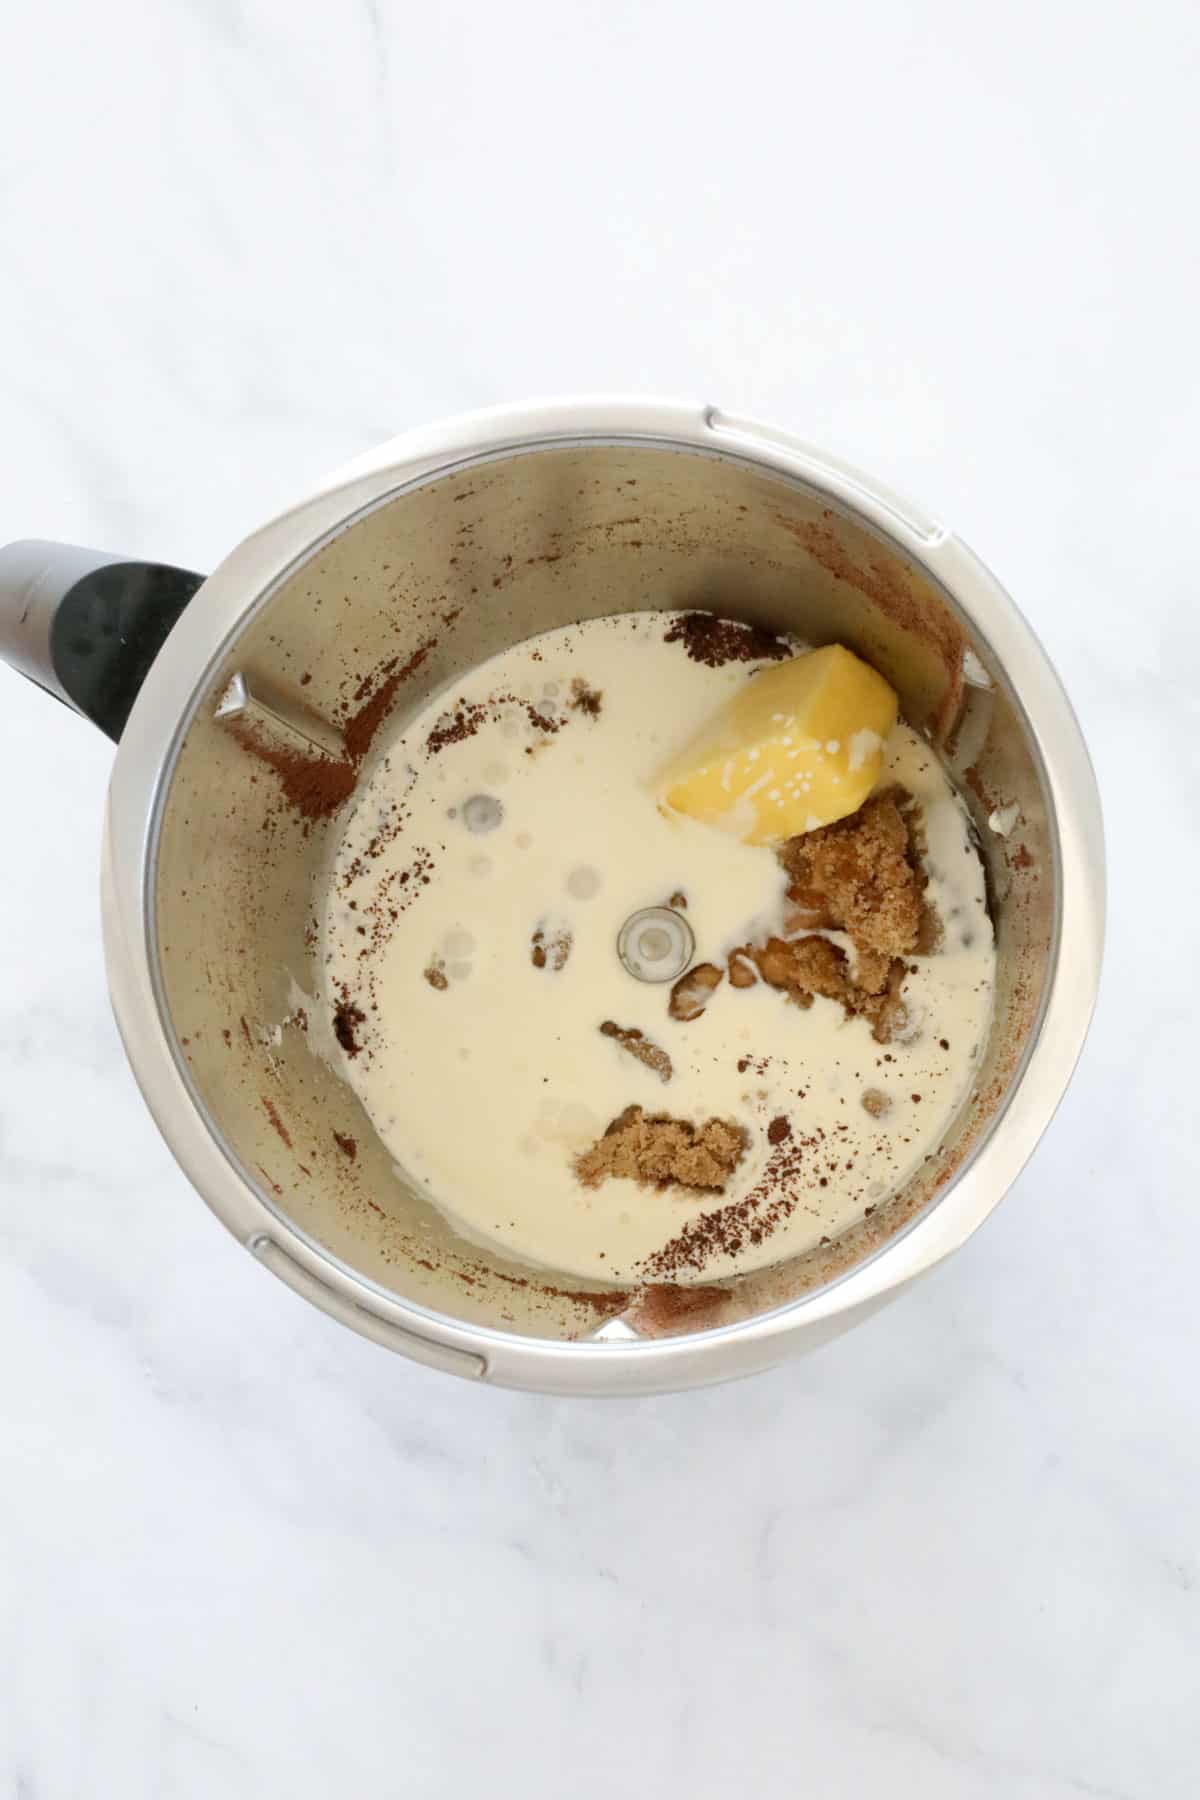
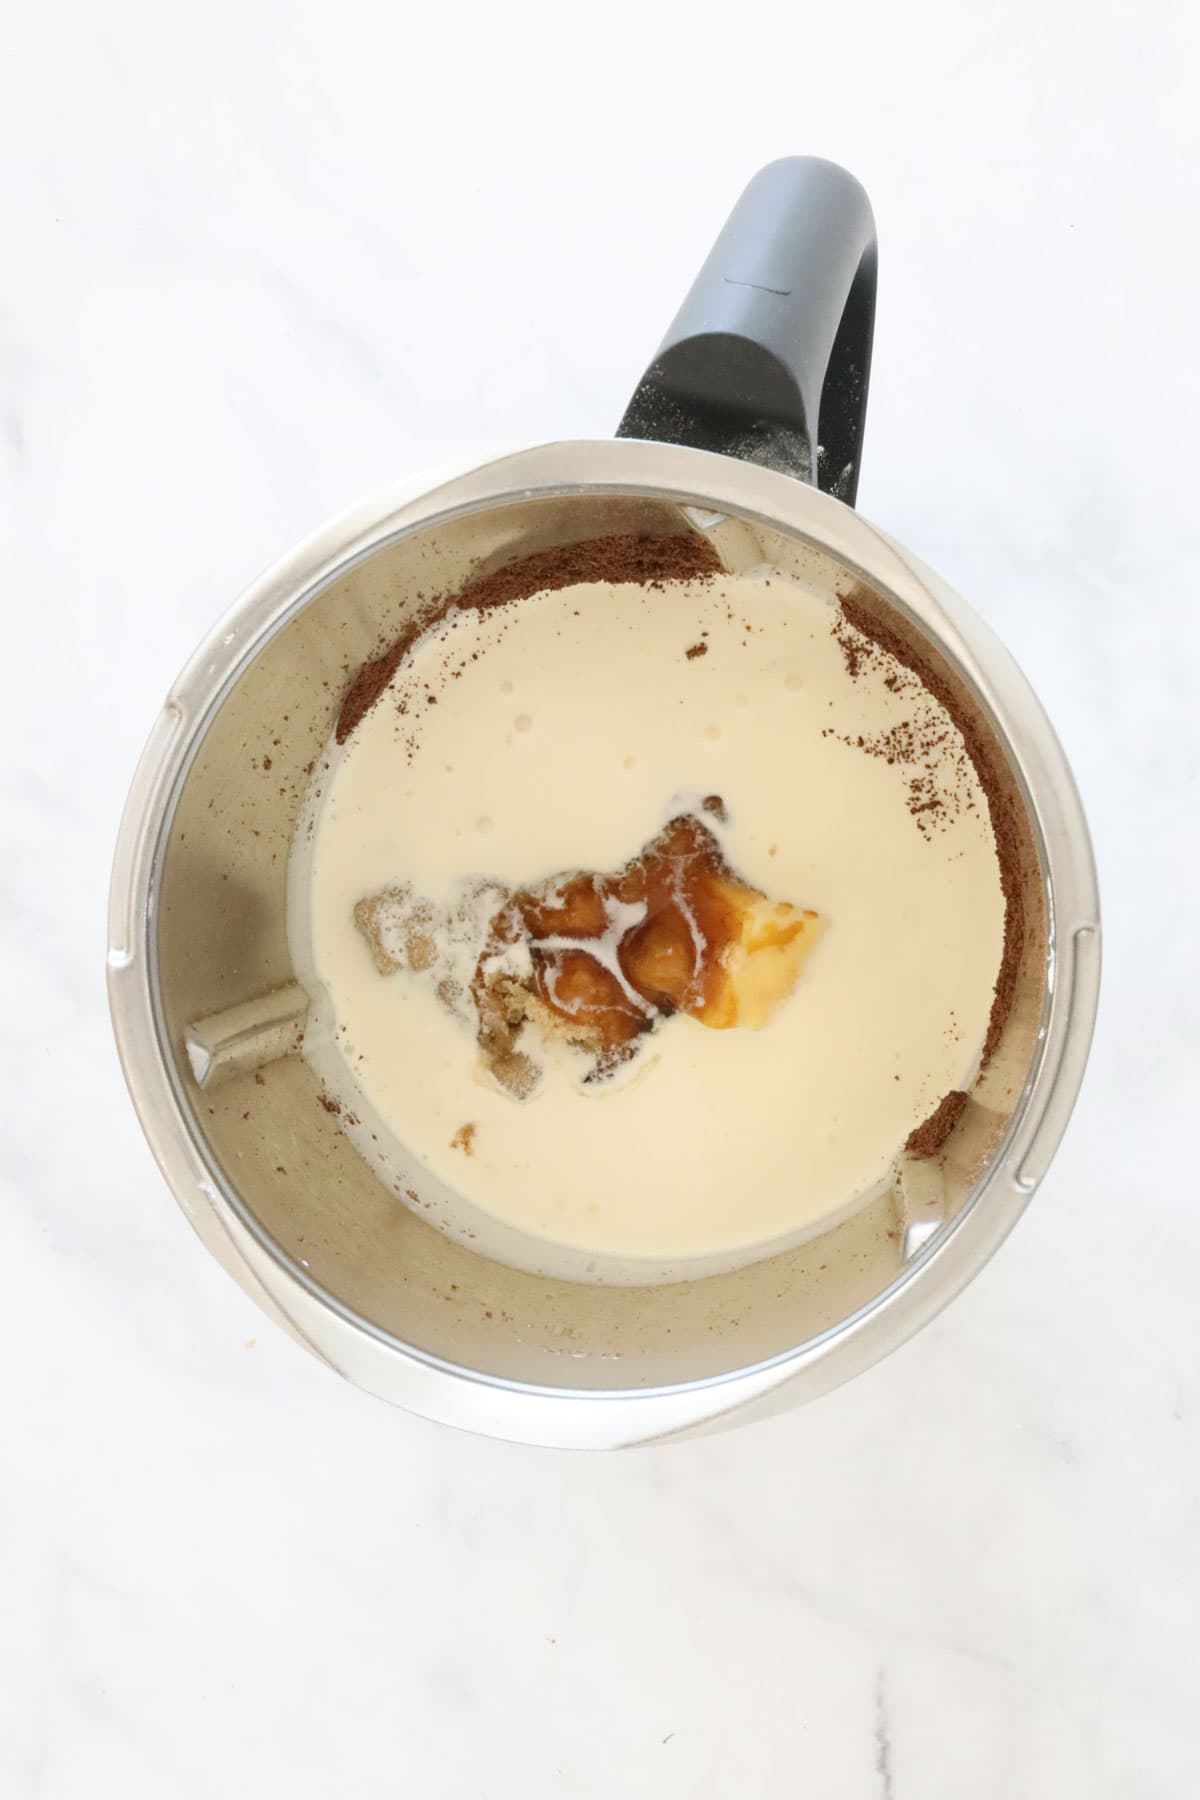
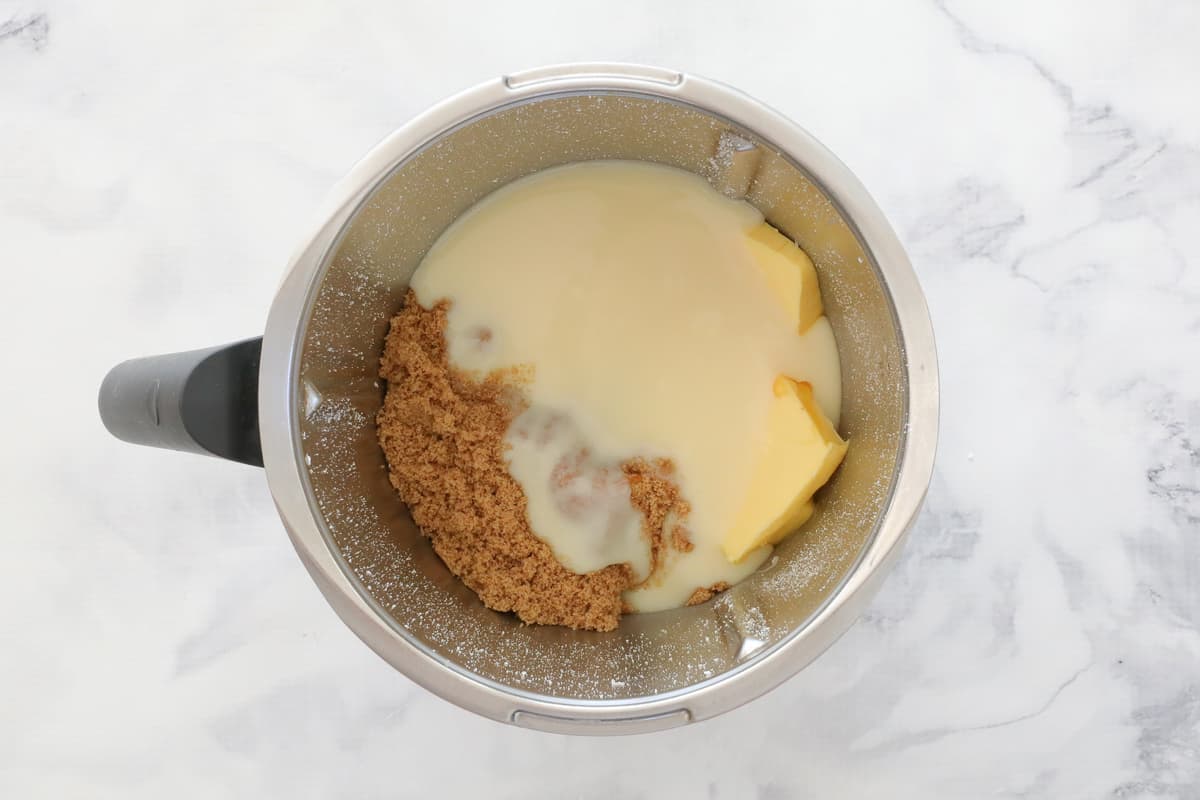
    Add the cream, brown sugar, golden syrup and butter and cook for 12 minutes, 100 degrees, Speed 2.

    The ingredients for chocolate fudge sauce in a Thermomix bowl.

    Step 3 - Stir Through The Baileys

    Stir the Baileys Irish Cream through with a spatula.

    Baileys being poured into homemade chocolate sauce.

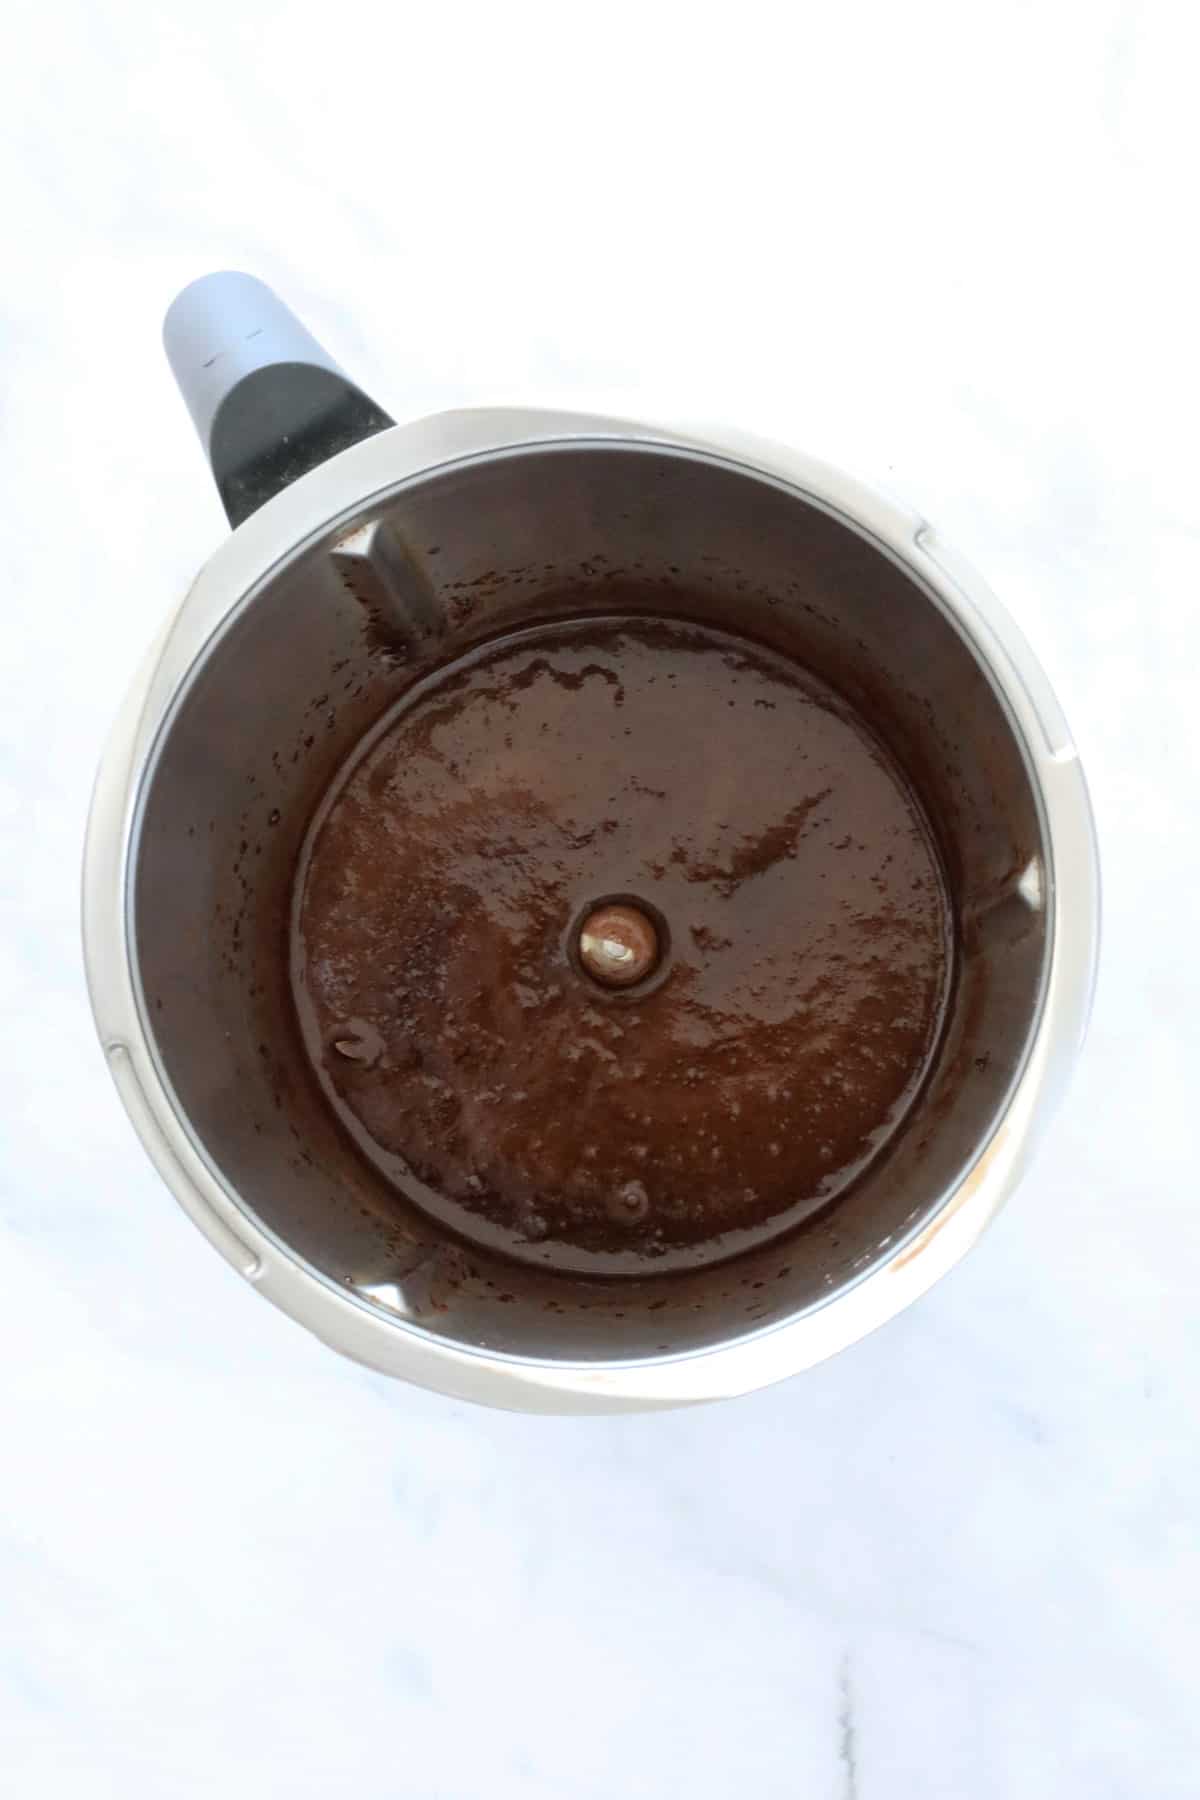
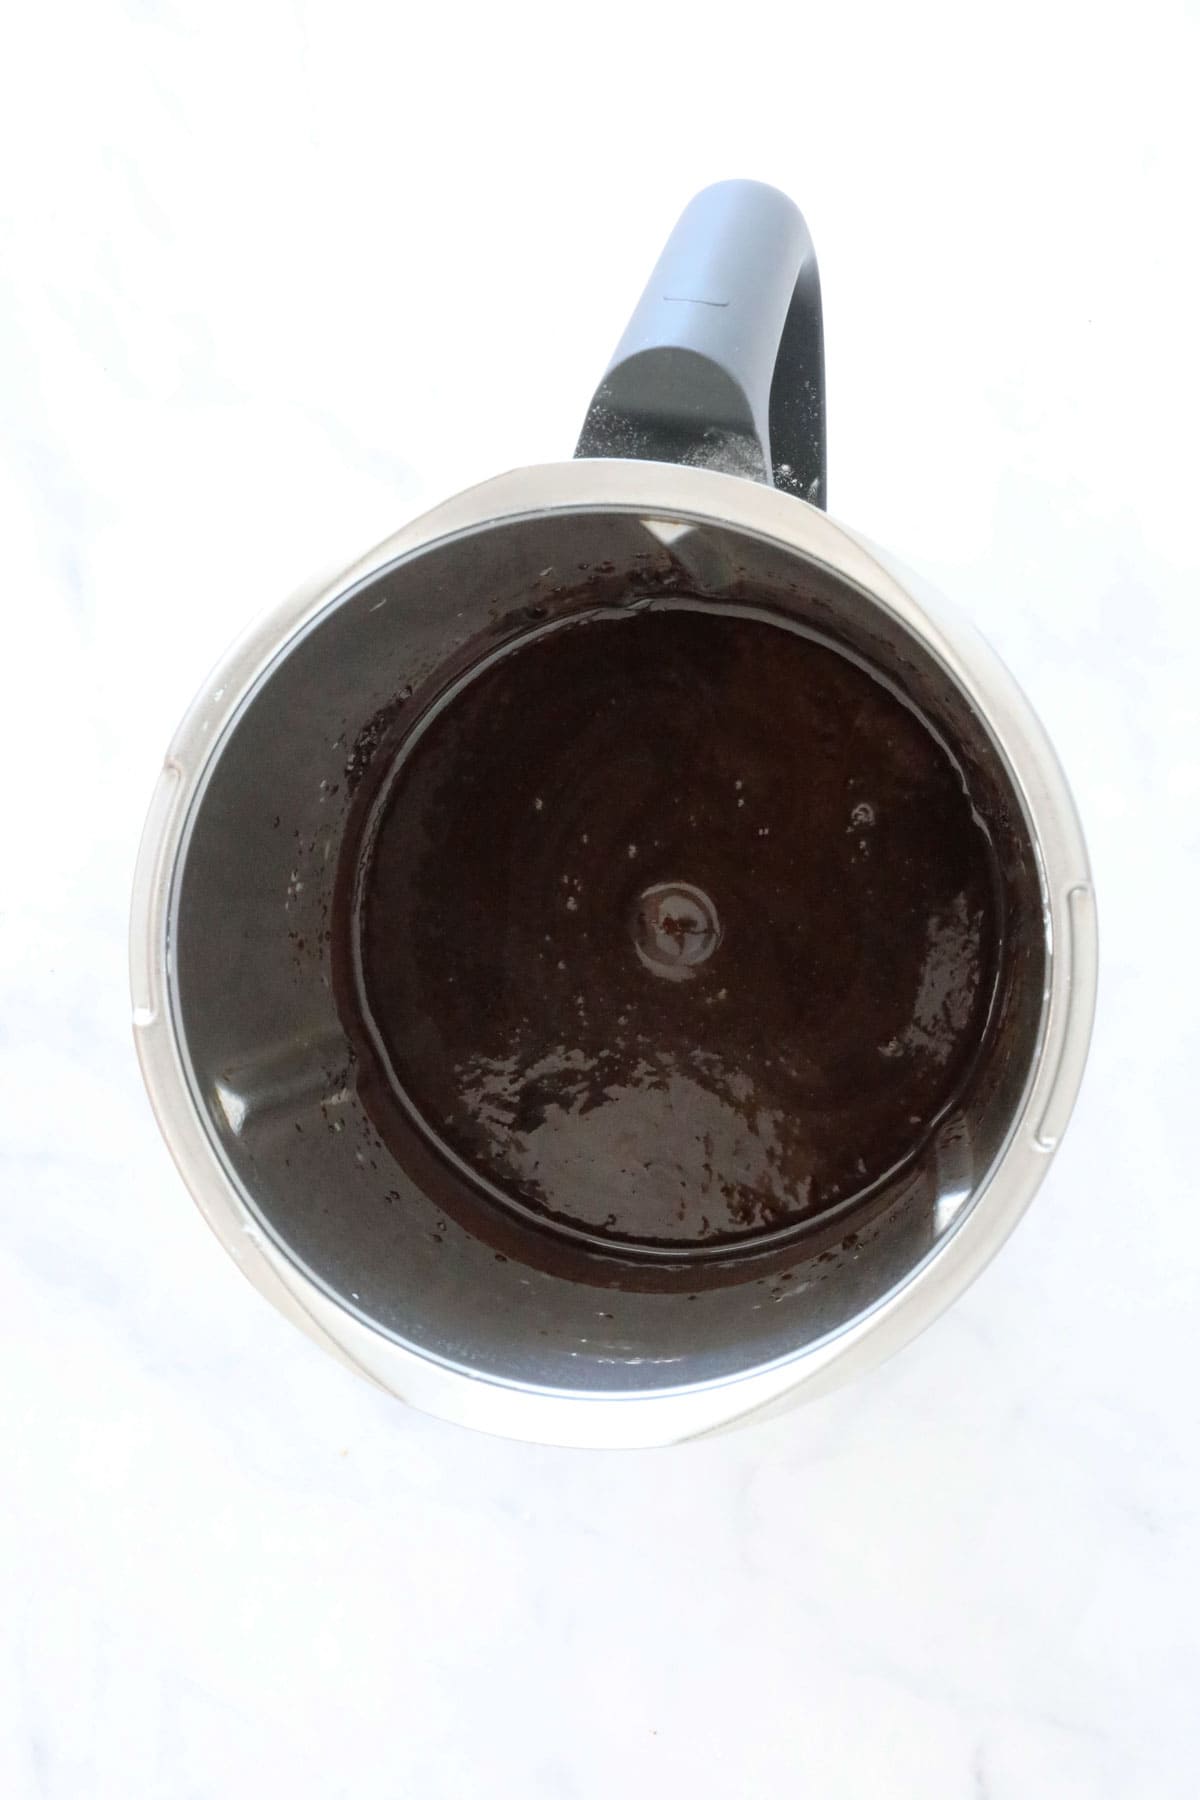
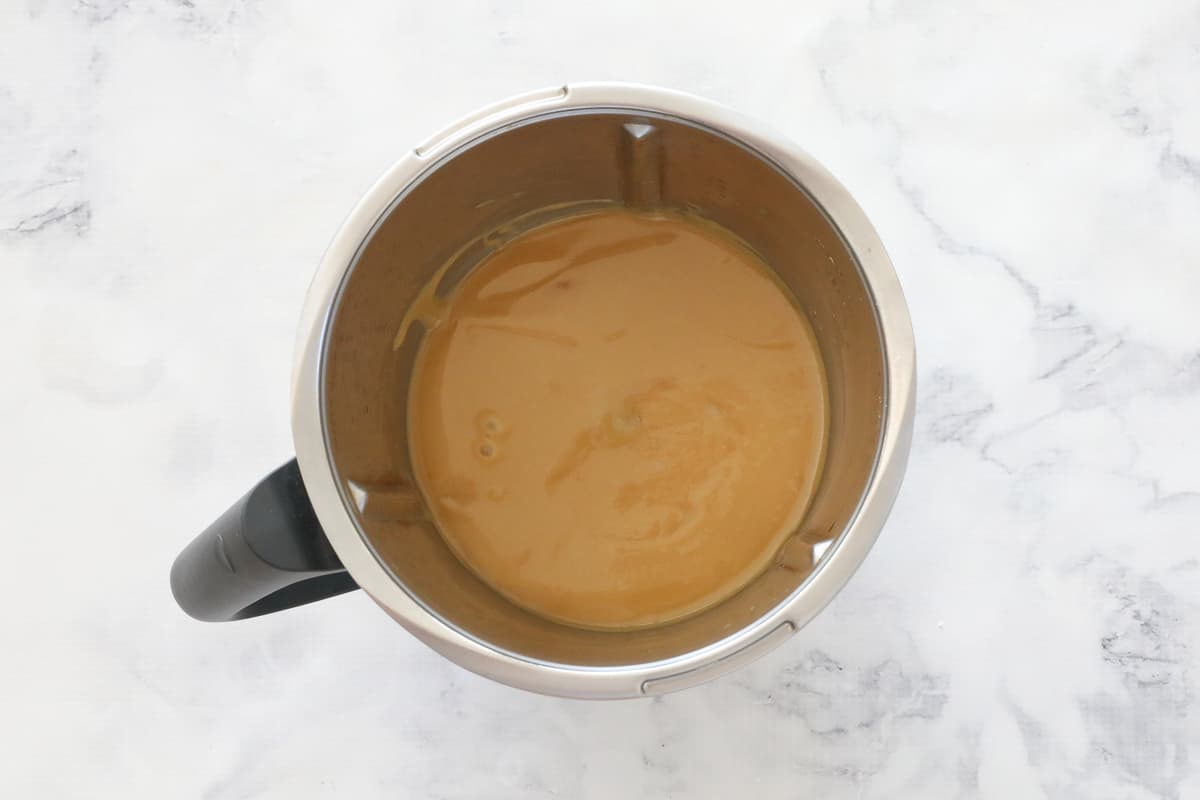
    Note: the sauce will thicken as it cools.

    Chocolate sauce in a Thermomix.

    Expert Tips

    • Use a good quality dark cooking chocolate (like Nestle or Cadbury).
    • Use thickened cream or pouring cream (not whipped cream)
    • You can use store-bought Baileys Irish Cream or make your own.
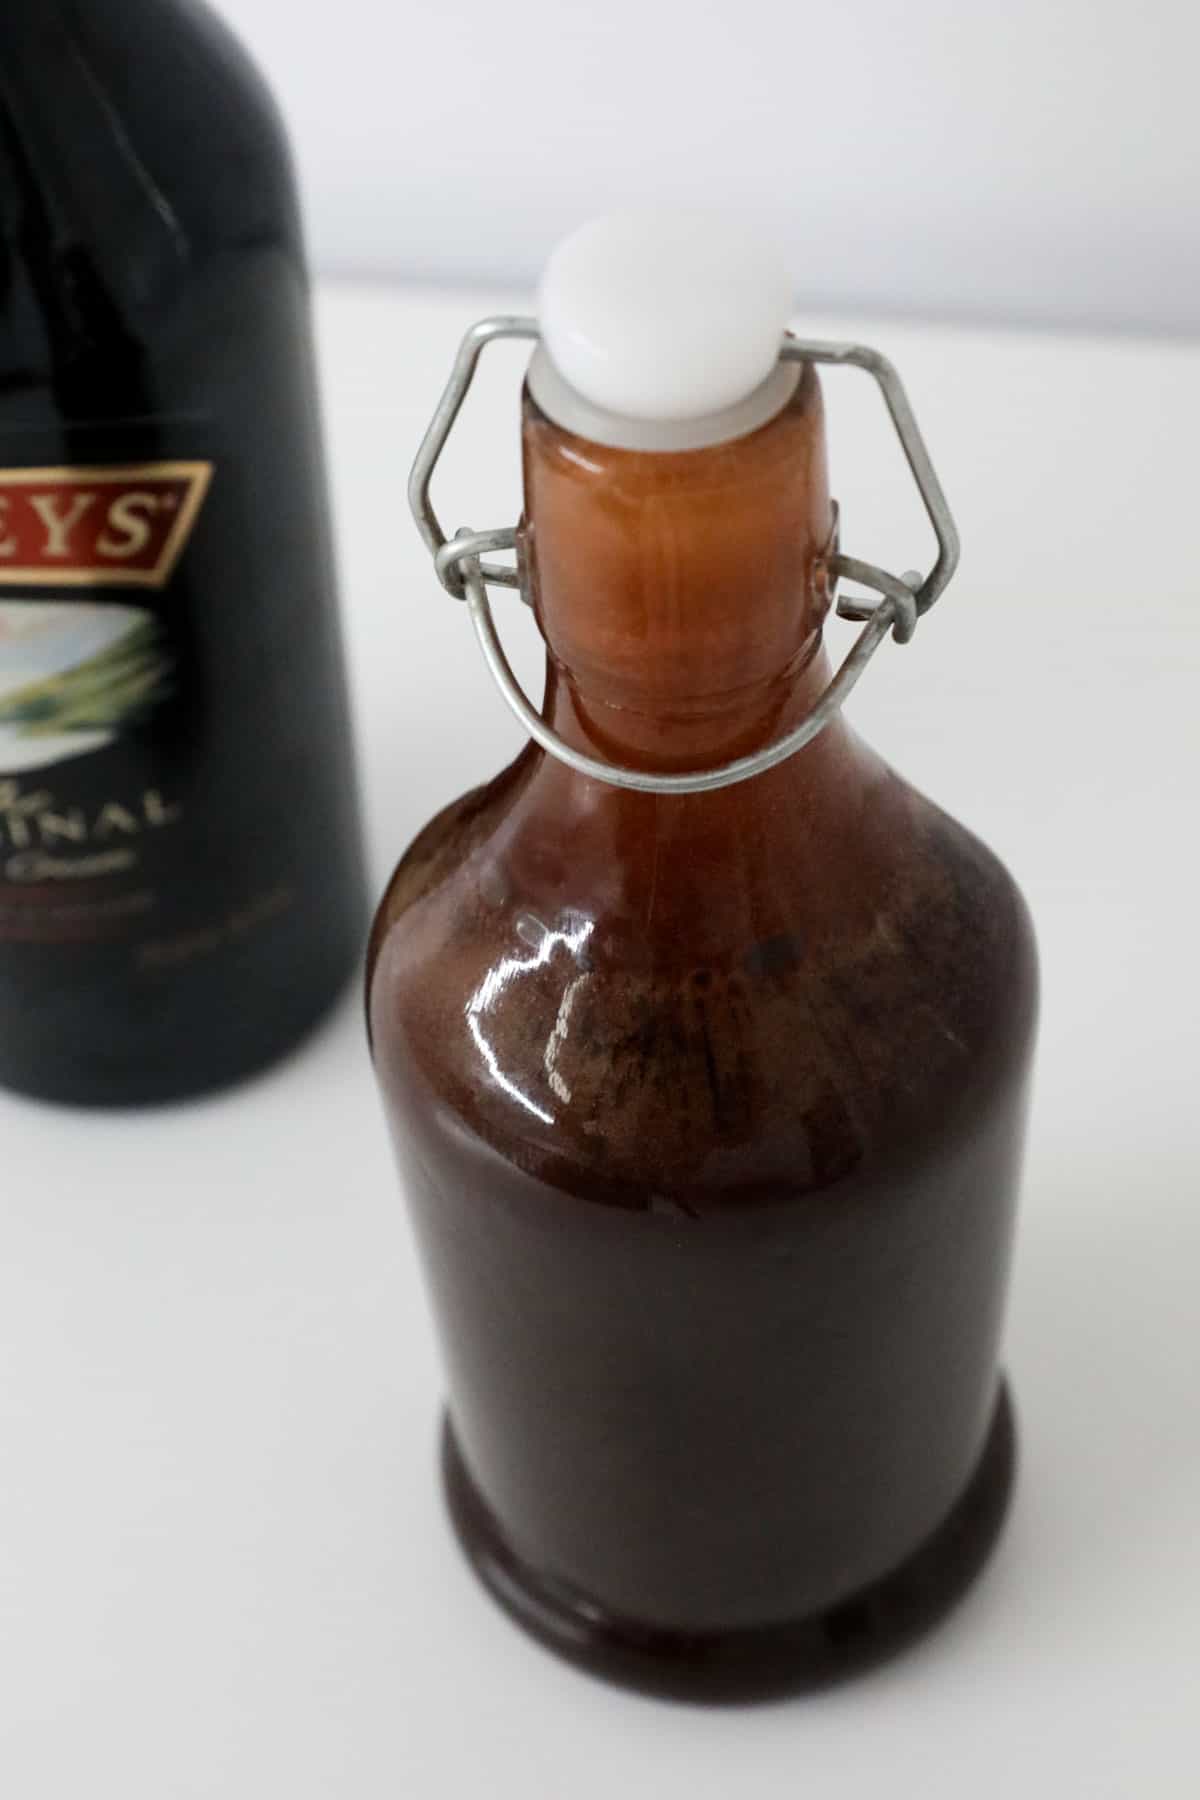
    • Store in a sterilised jar in the fridge for up to 1 week.
    • If your sauce is too thick straight from the fridge, simply place in a bowl of boiling hot water for a few minutes to soften.
    • This recipe is not suitable for freezing.
    • Pour over the top of a bowl of ice-cream or your favourite cakes, desserts and brownies for the ultimate adults-only treat.
    A glass filled with homemade Thermomix chocolate Baileys sauce.

    FAQs

    Can I use homemade Baileys in this recipe?

    Absolutely! We suggest using this Thermomix Baileys recipe.

    What can I use in place of the golden syrup?

    If you can't buy golden syrup, you can use rice malt syrup or corn syrup instead.

    Help! My sauce is too runny!

    Don't worry! The Thermomix Baileys sauce will thicken as it cools.

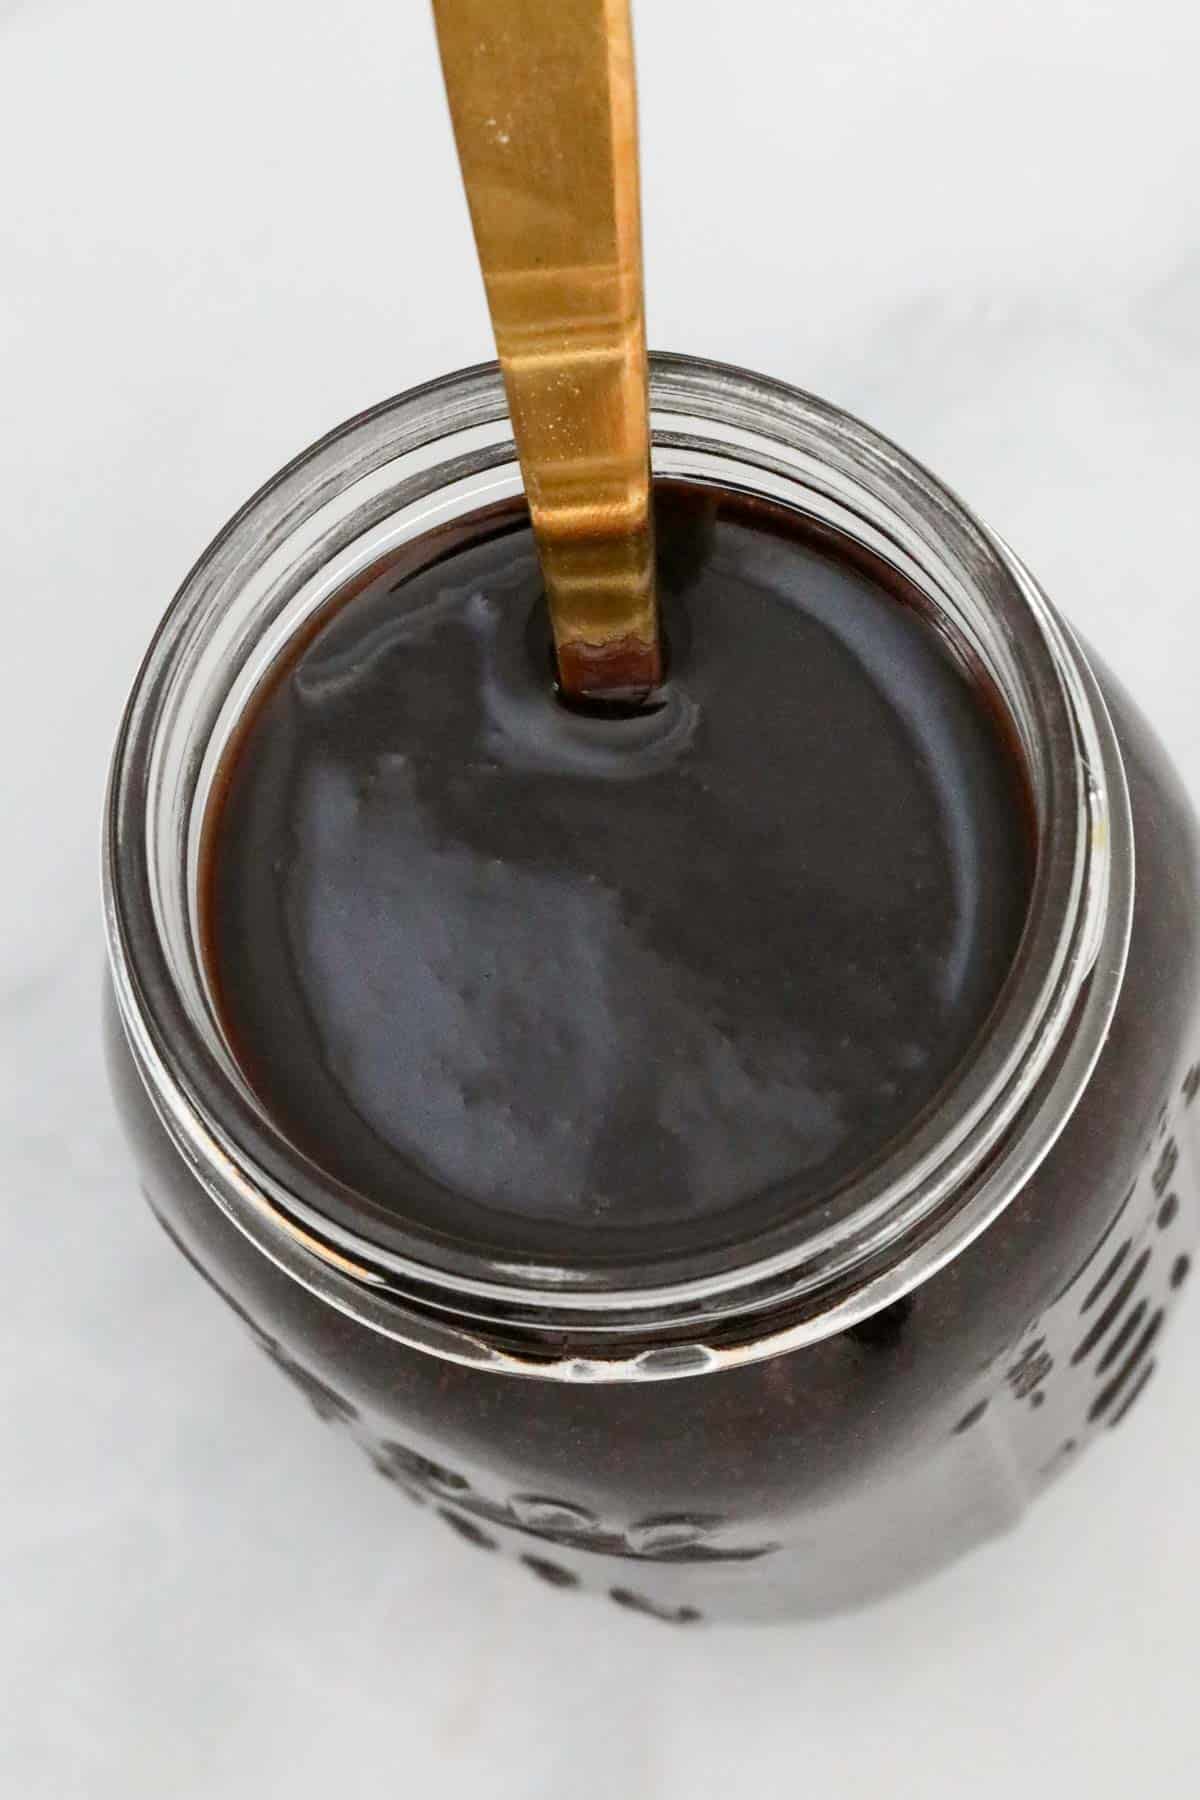
    A gold spoon in a glass full of chocolate fudge Baileys sauce.

    More Thermomix Dessert Recipes

    If you love our homemade Thermomix Baileys Sauce, then you're going to LOVE these boozy recipes too!

    • Glass jars filled with cream Irish cream.
      Thermomix Baileys
    • A chocolate martini.
      Thermomix Chocolate Baileys Cocktail
    • Chocolate fudge with almonds and raisins on a white cake stand.
      Thermomix Rum & Raisin Fudge
    • A glass of raspberry drink with mint.
      Thermomix Raspberry Gin Cocktail

    SHOP OUR THERMOMIX COOKBOOKS

    Shop our entire range of Thermomix cookbooks (all hardcopy cookbooks also come with a FREE eBook version emailed to you immediately upon purchase). PLUS get free shipping on all orders over $50!

    ThermoBliss Cookbook full set.


    A gold spoon with chocolate sauce dripping from it.
    Print Recipe
    4.75 from 4 votes

    Thermomix Baileys Chocolate Sauce

    Our Thermomix Baileys Chocolate Sauce is rich, decadent and adults-only. Serve it poured over a bowl of ice-cream or your favourite desserts or brownies.
    Prep Time3 minutes mins
    Cook Time12 minutes mins
    Total Time15 minutes mins
    Course: Desserts, Sauces
    Cuisine: Western
    Servings: 12 serves
    Calories: 242kcal
    Author: Lucy & Lauren
    Cost: $10

    Equipment

    • Thermomix

    Ingredients

    • 200 g dark chocolate
    • 250 g thickened cream
    • 100 g brown sugar
    • 30 g golden syrup
    • 20 g butter
    • 60 g Baileys Irish Cream see notes

    Instructions

    • Place the dark chocolate into the Thermomix machine. Grate for 6 seconds, Speed 8.
    • Add all remaining ingredients (except for the Baileys).
    • Cook for 12 minutes, 100 degrees, Speed 2.
      Note: the sauce will thicken on cooling.
    • Stir through the Baileys Irish Cream with the spatula.
    • Pour into a sterilised jar and store in the fridge for up to a week.

    Notes

    RECIPE NOTES & TIPS
    • Use a good quality dark cooking chocolate (like Nestle or Cadbury).
    • Use thickened cream or pouring cream (not whipped cream)
    • You can use store-bought Baileys Irish Cream or make your own.
    • Store in a sterilised jar in the fridge for up to 1 week.
    • If your sauce is too thick straight from the fridge, simply place in a bowl of boiling hot water for a few minutes to soften.
    • This recipe is not suitable for freezing.
    • Pour over the top of a bowl of ice-cream or your favourite cakes, desserts and brownies for the ultimate adults-only treat.

    Nutrition

    Calories: 242kcal | Carbohydrates: 21g | Protein: 2g | Fat: 17g | Saturated Fat: 10g | Polyunsaturated Fat: 1g | Monounsaturated Fat: 4g | Trans Fat: 0.1g | Cholesterol: 28mg | Sodium: 22mg | Potassium: 150mg | Fiber: 2g | Sugar: 17g | Vitamin A: 354IU | Vitamin C: 0.1mg | Calcium: 33mg | Iron: 2mg

    Thermomix Pumpkin & Feta Tart

    April 20, 2016

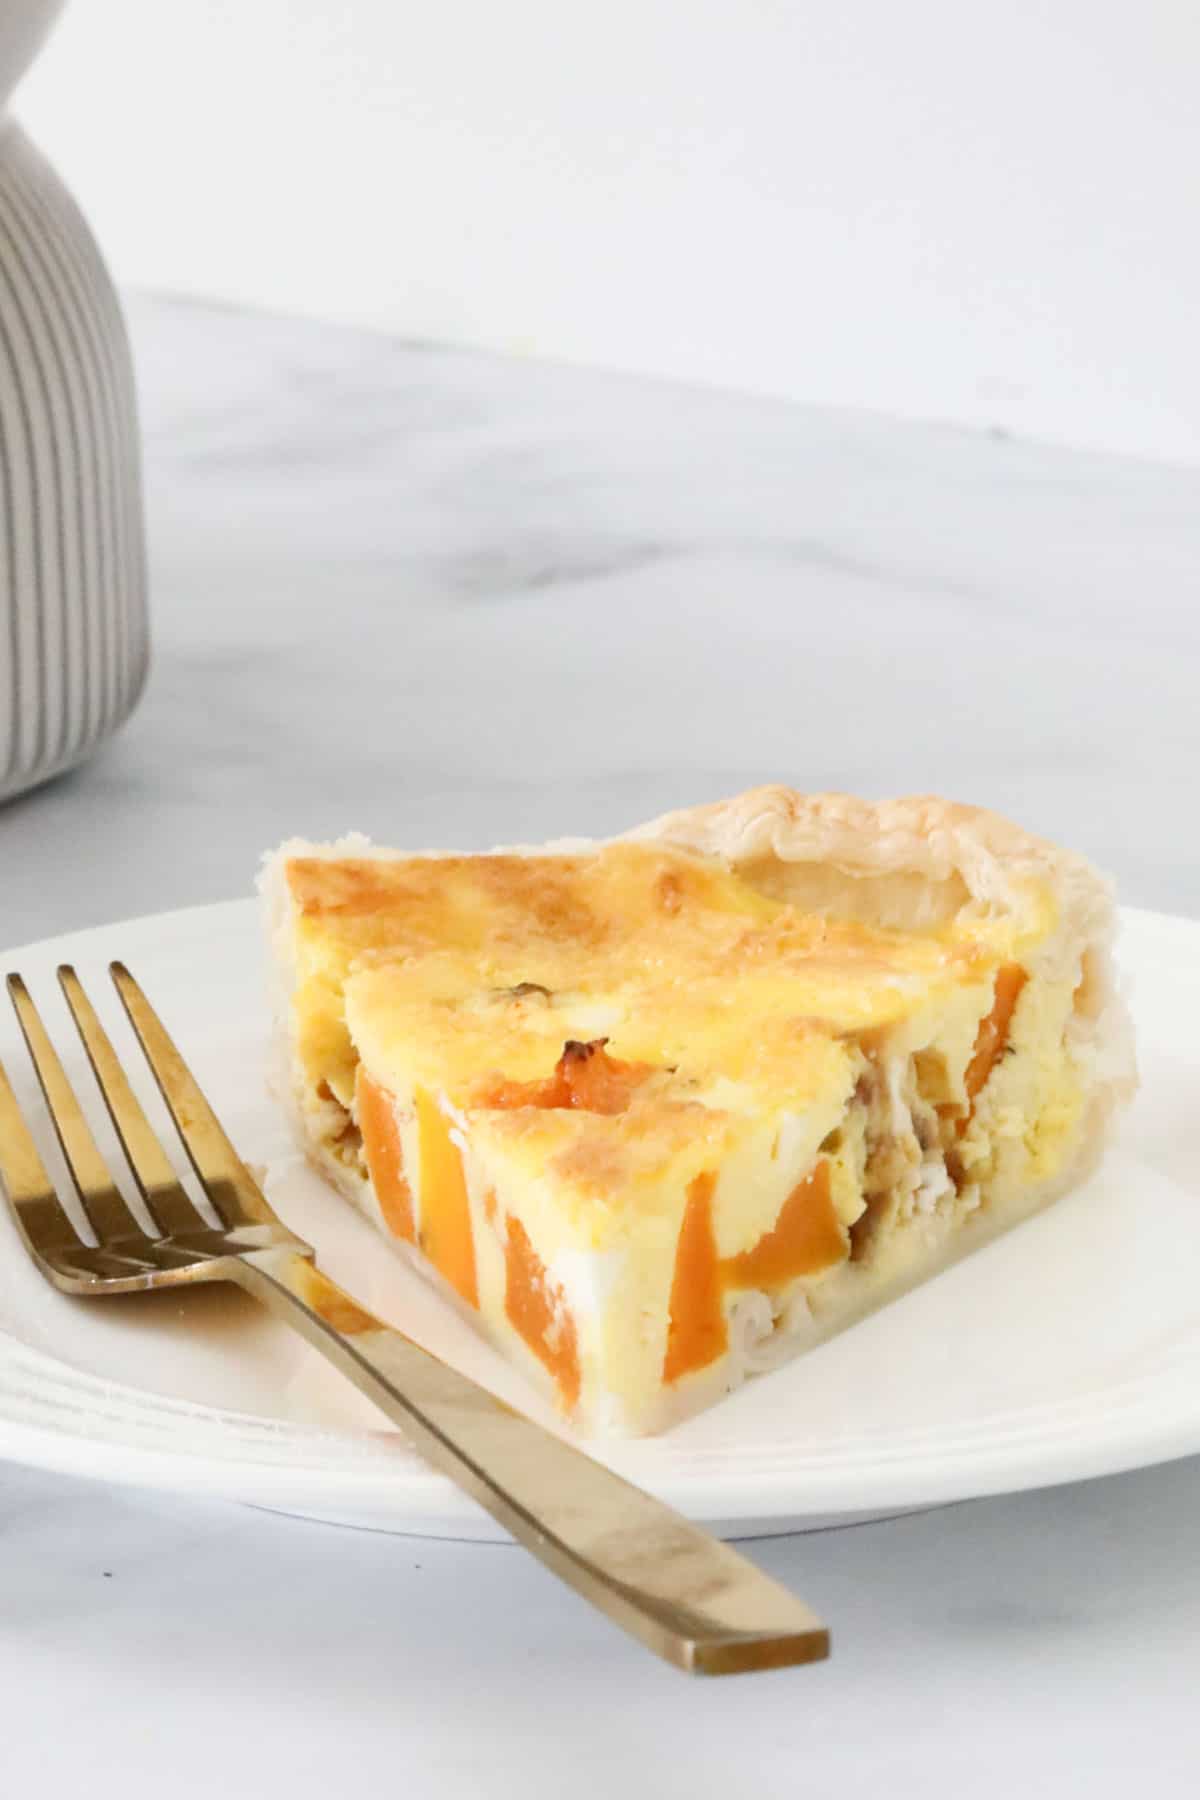
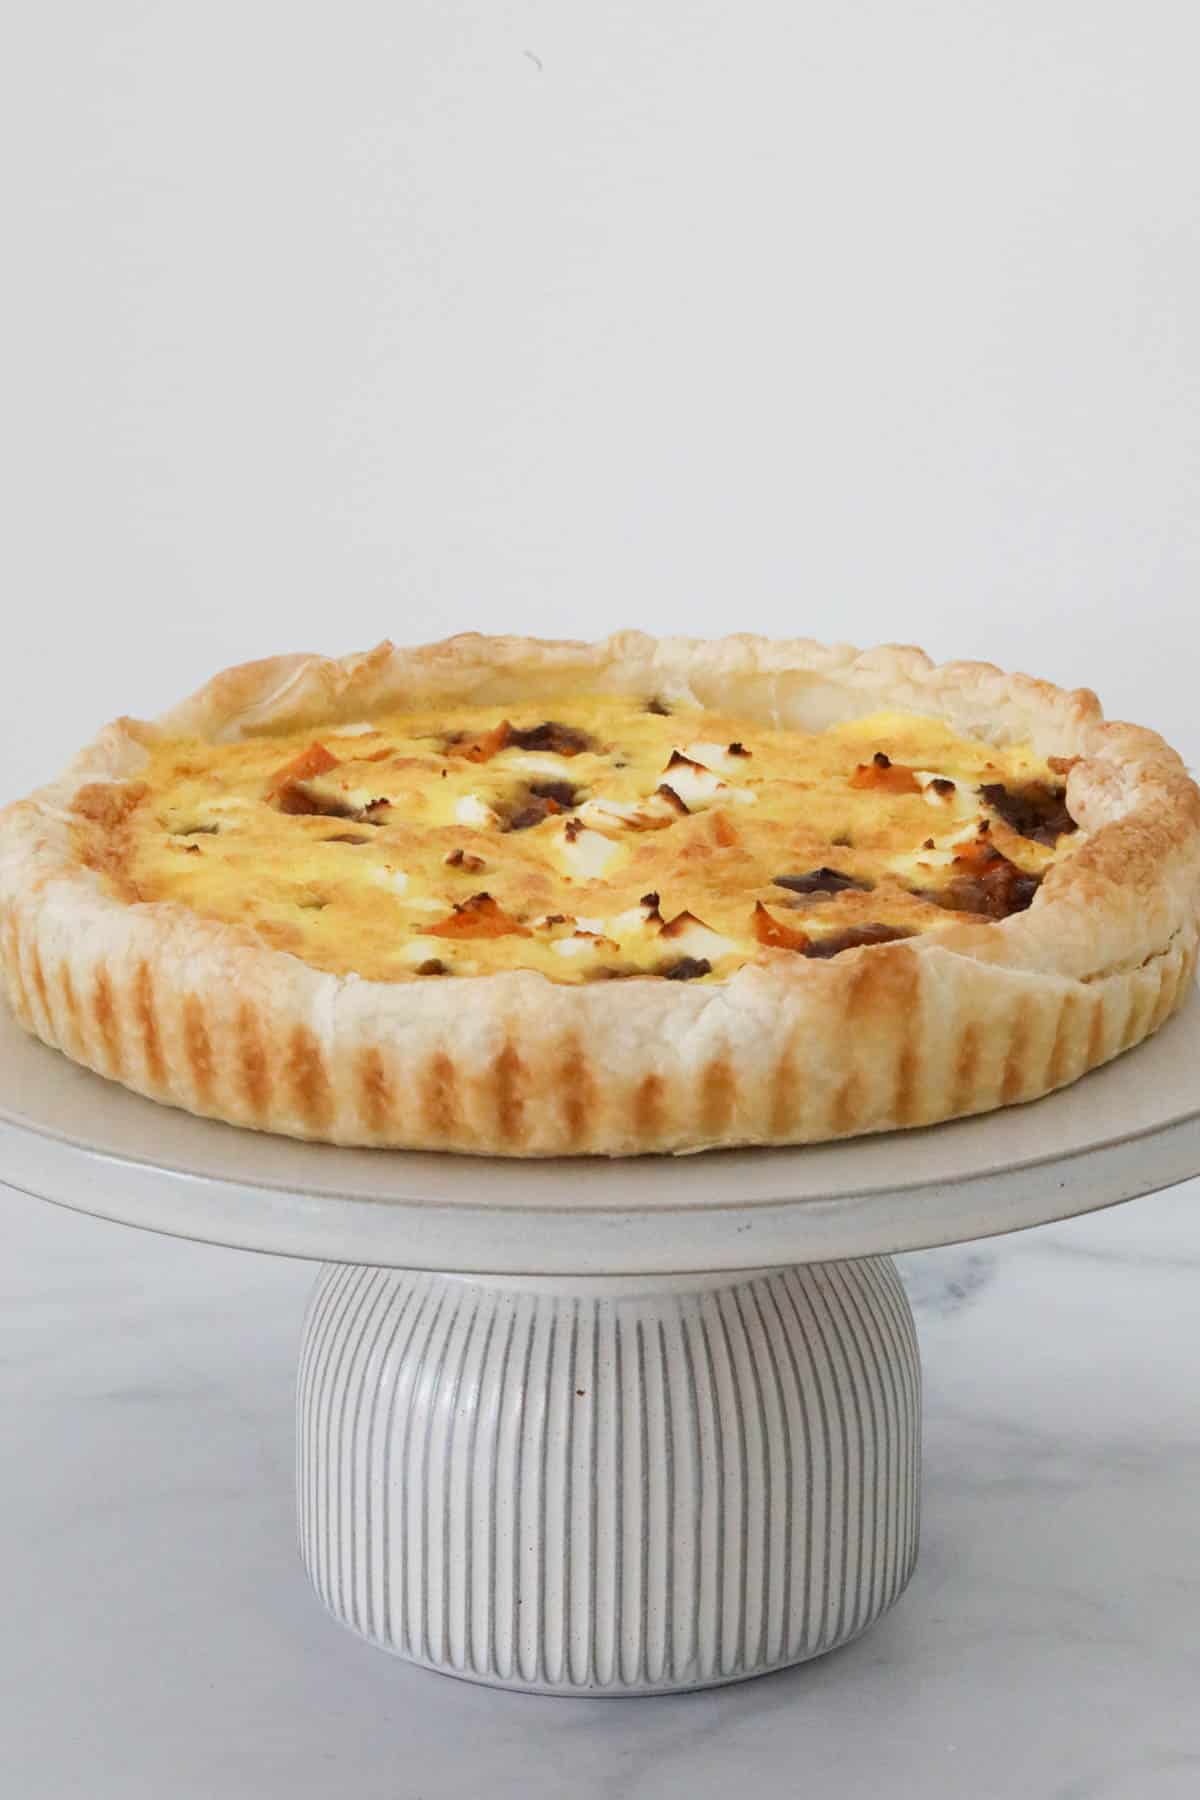
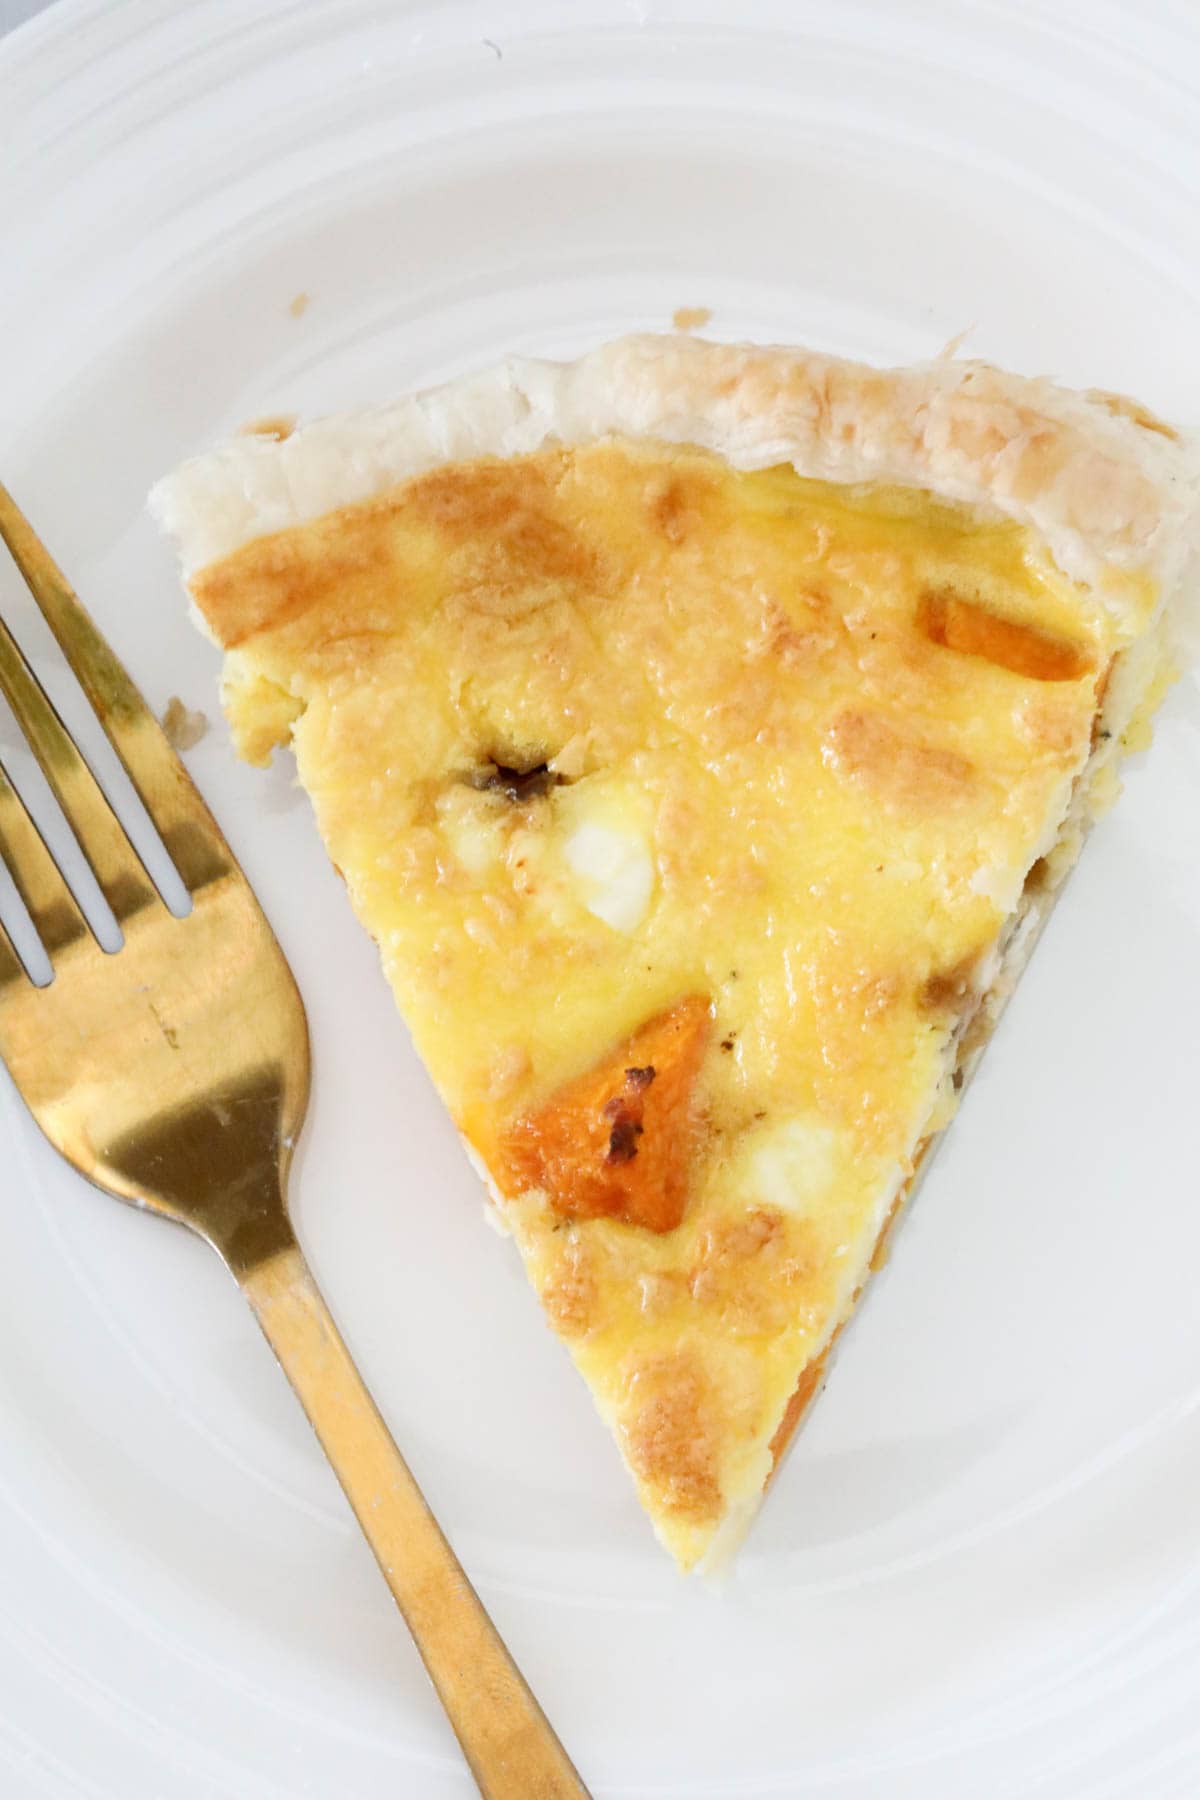
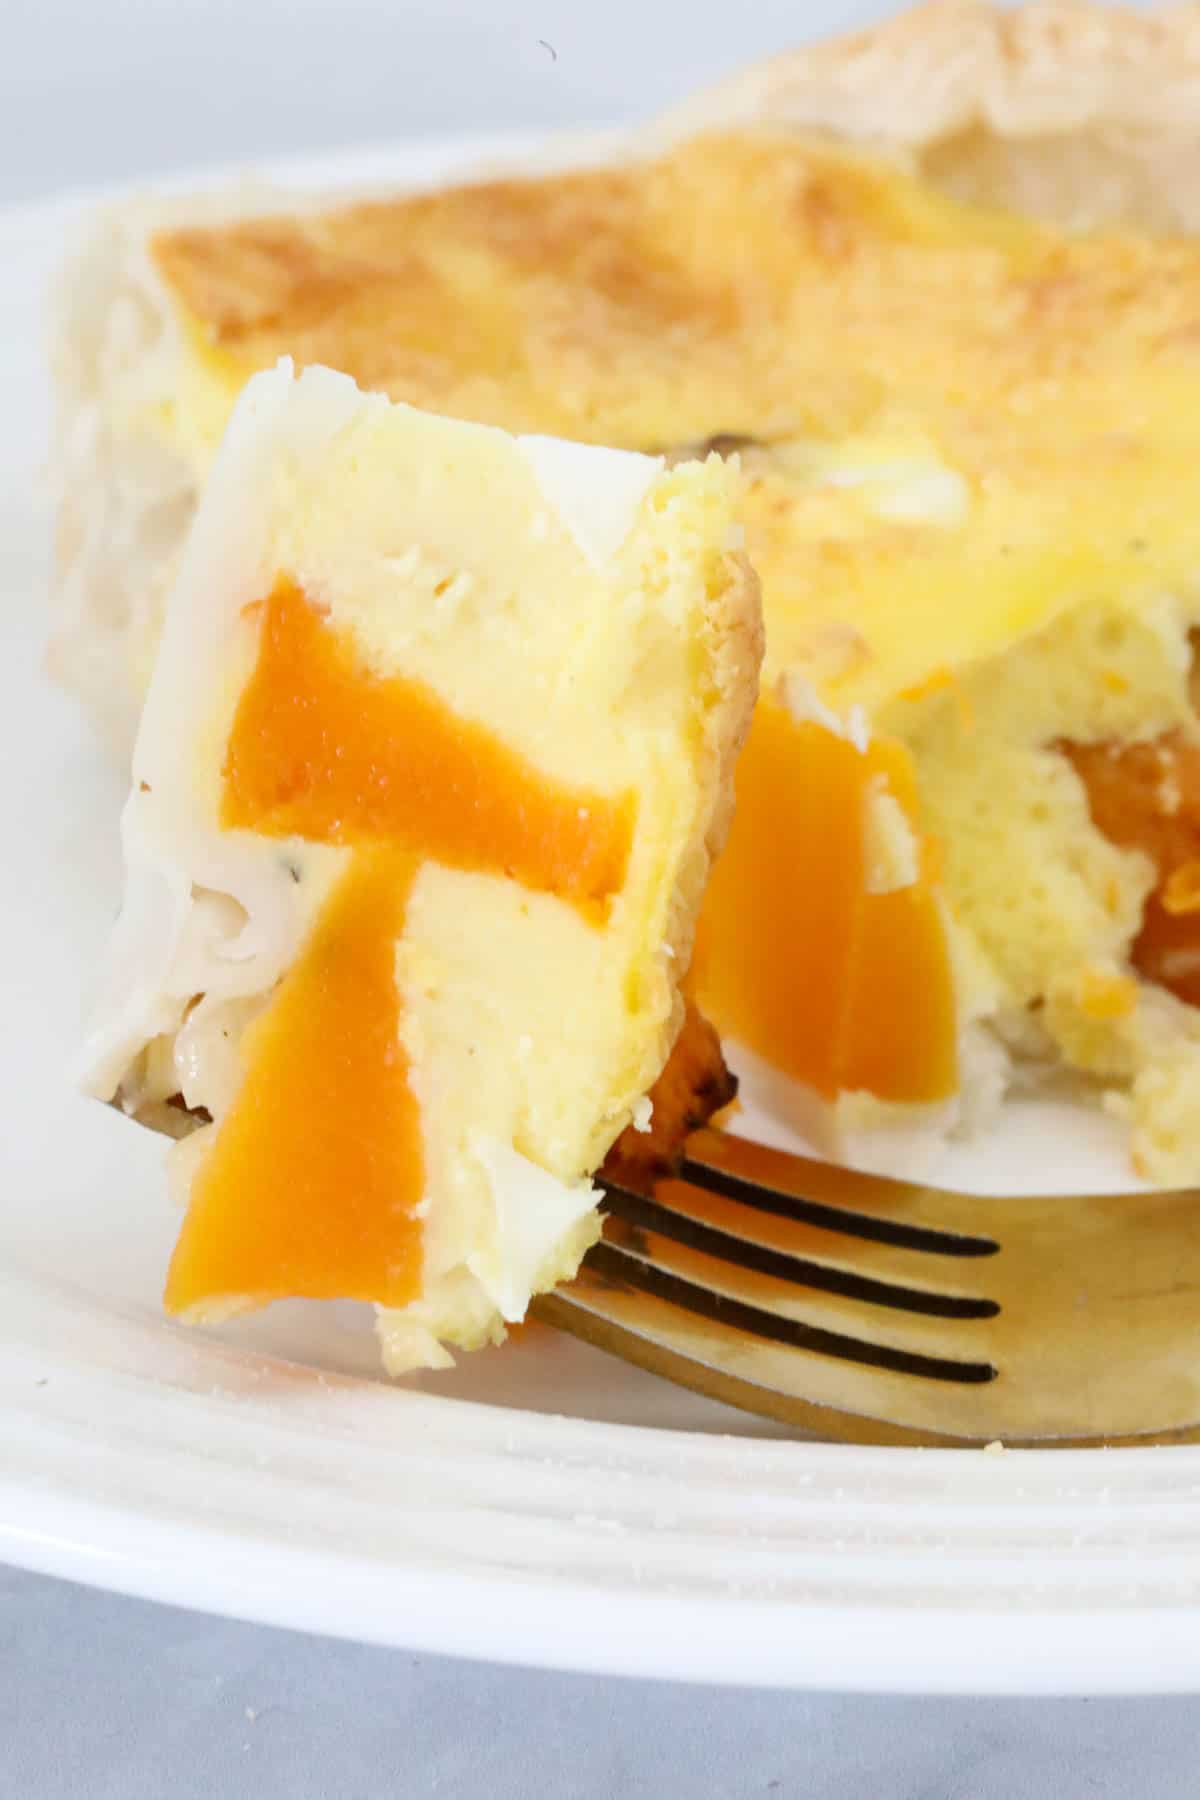
    A piece of pumpkin and feta quiche.

    Our Thermomix Pumpkin & Feta Tart is the perfect midweek dinner - fast, fresh and packed full of BIG flavours!

    A pumpkin and feta puff pastry tart.

    If you're looking for a light and flavoursome meal, this is it!

    Flaky pastry filled with creamy egg, feta, pumpkin and caramelised onion.... the perfect combo!

    Just like our Egg & Bacon Quiche and Vegetable Quiche, we know you're going to love this vegetarian Thermomix Pumpkin & Feta Tart too!

    Why You're Going To Love This Recipe

    What's not to love about a meat-free meal that ready in 45 minutes!

    • Combination of flavours - the creamy feta combined with soft roasted pumpkin, sweet caramelised onion and flaky pastry is simply the BEST!
    • Ready in under 1 hour - if you use puff pastry sheets, you'll have dinner on the table in just 45 minutes.
    • Vegetarian - perfect for meat-free Mondays... or if you're reducing your meat intake.
    • Freezer-friendly - freeze any leftovers for easy 'grab and reheat' lunches.
    A piece of pumpkin and feta quiche.

    What You Need

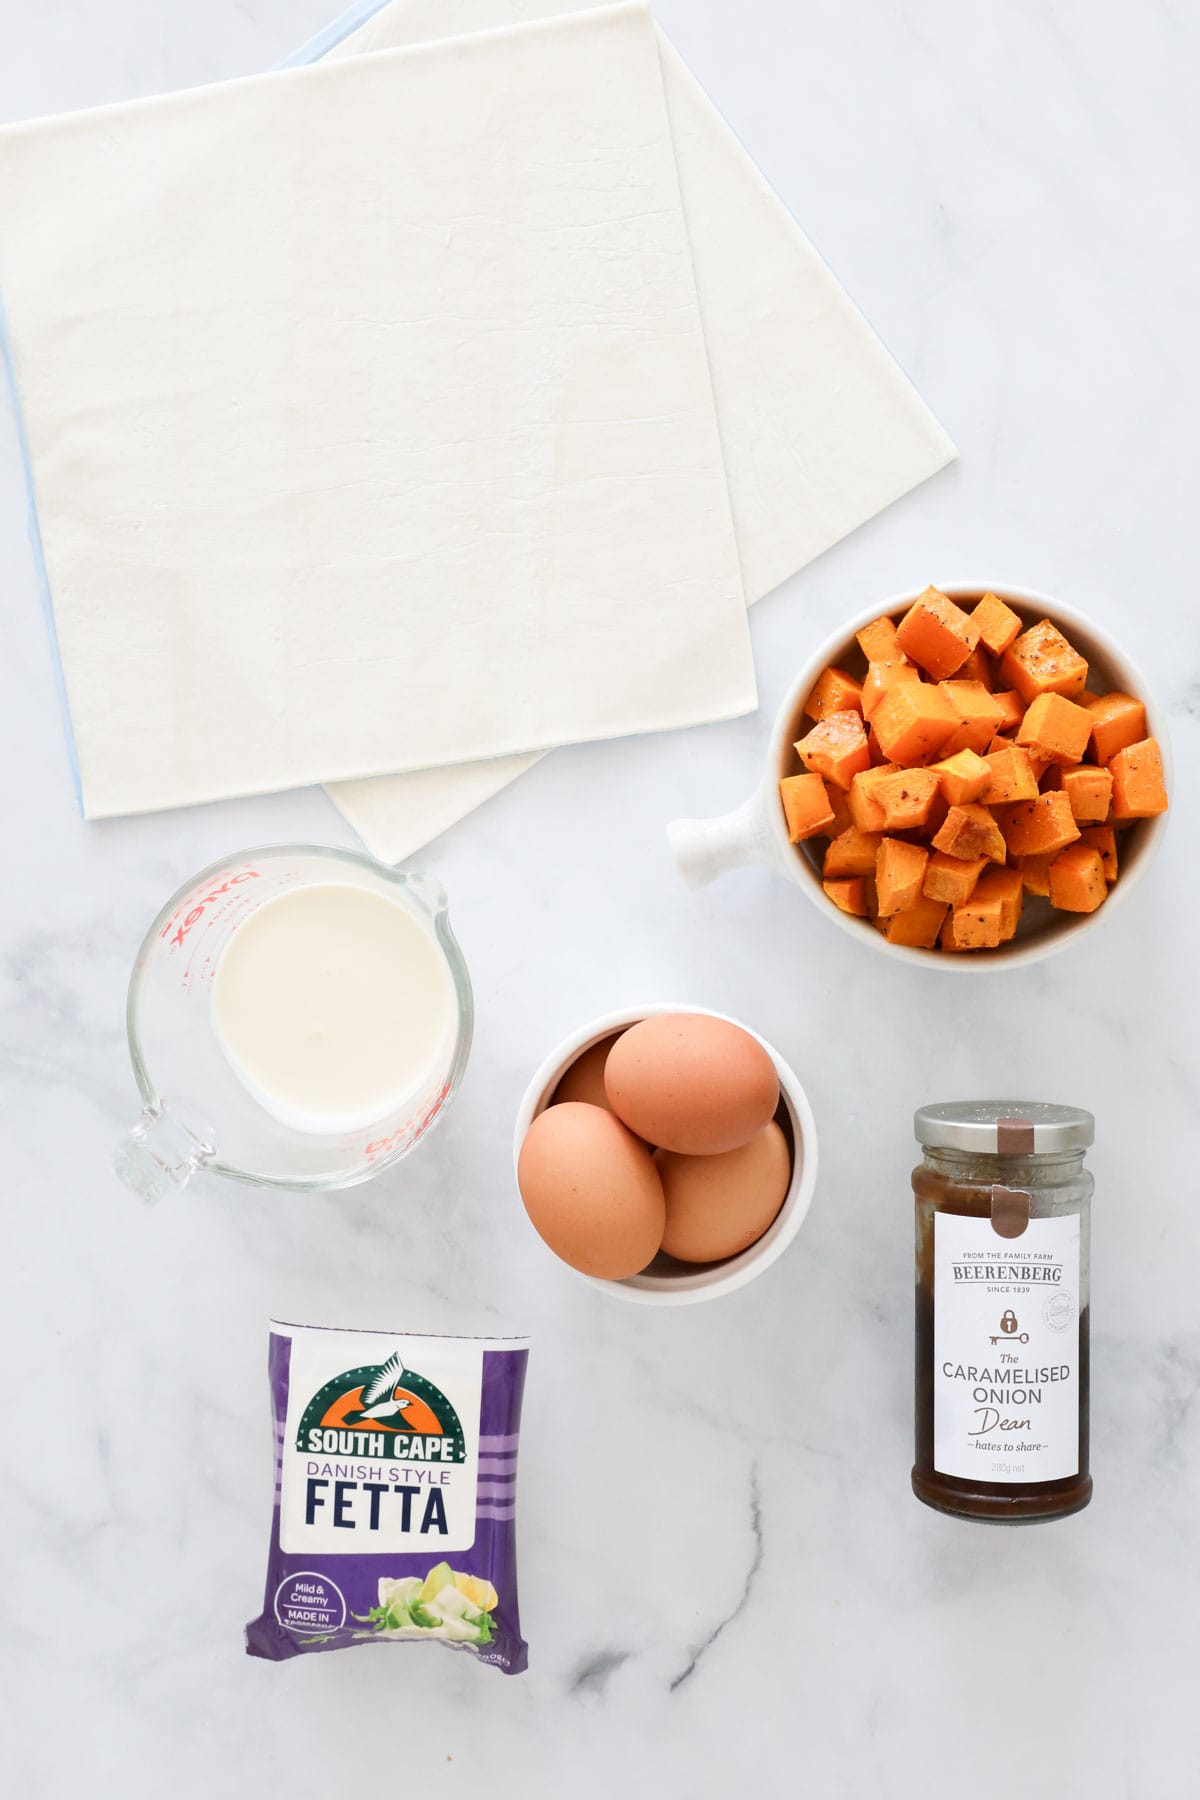
    Our Thermomix Pumpkin & Feta Tart requires just 6 ingredients!

    Please scroll to the recipe card at the bottom of the post for ingredient quantities and the full detailed method.

    The ingredients for a pumpkin and feta tart.
    • Pastry - choose between puff pastry sheets or make our olive oil pastry recipe
    • Roasted Pumpkin - perfect for using up leftovers after a roast dinner!
    • Feta - choose a soft feta (like Danish feta or a goats cheese)
    • Eggs - use large eggs (approximately 60g each)
    • Milk - use full cream milk or substitute with creamy for an ultra-creamy option (my personal fave)
    • Caramelised Onion - I like the Beerenberg brand, however, you can use any brand you like (or even homemade). This really lifts the flavour of the Thermomix Pumpkin & Feta Tart.

    Step By Step Instructions

    Follow our simple steps for an easy family dinner.

    Please scroll to the recipe card at the bottom of the post for ingredient quantities and the full detailed method.

    Step 1 - Prepare The Pastry

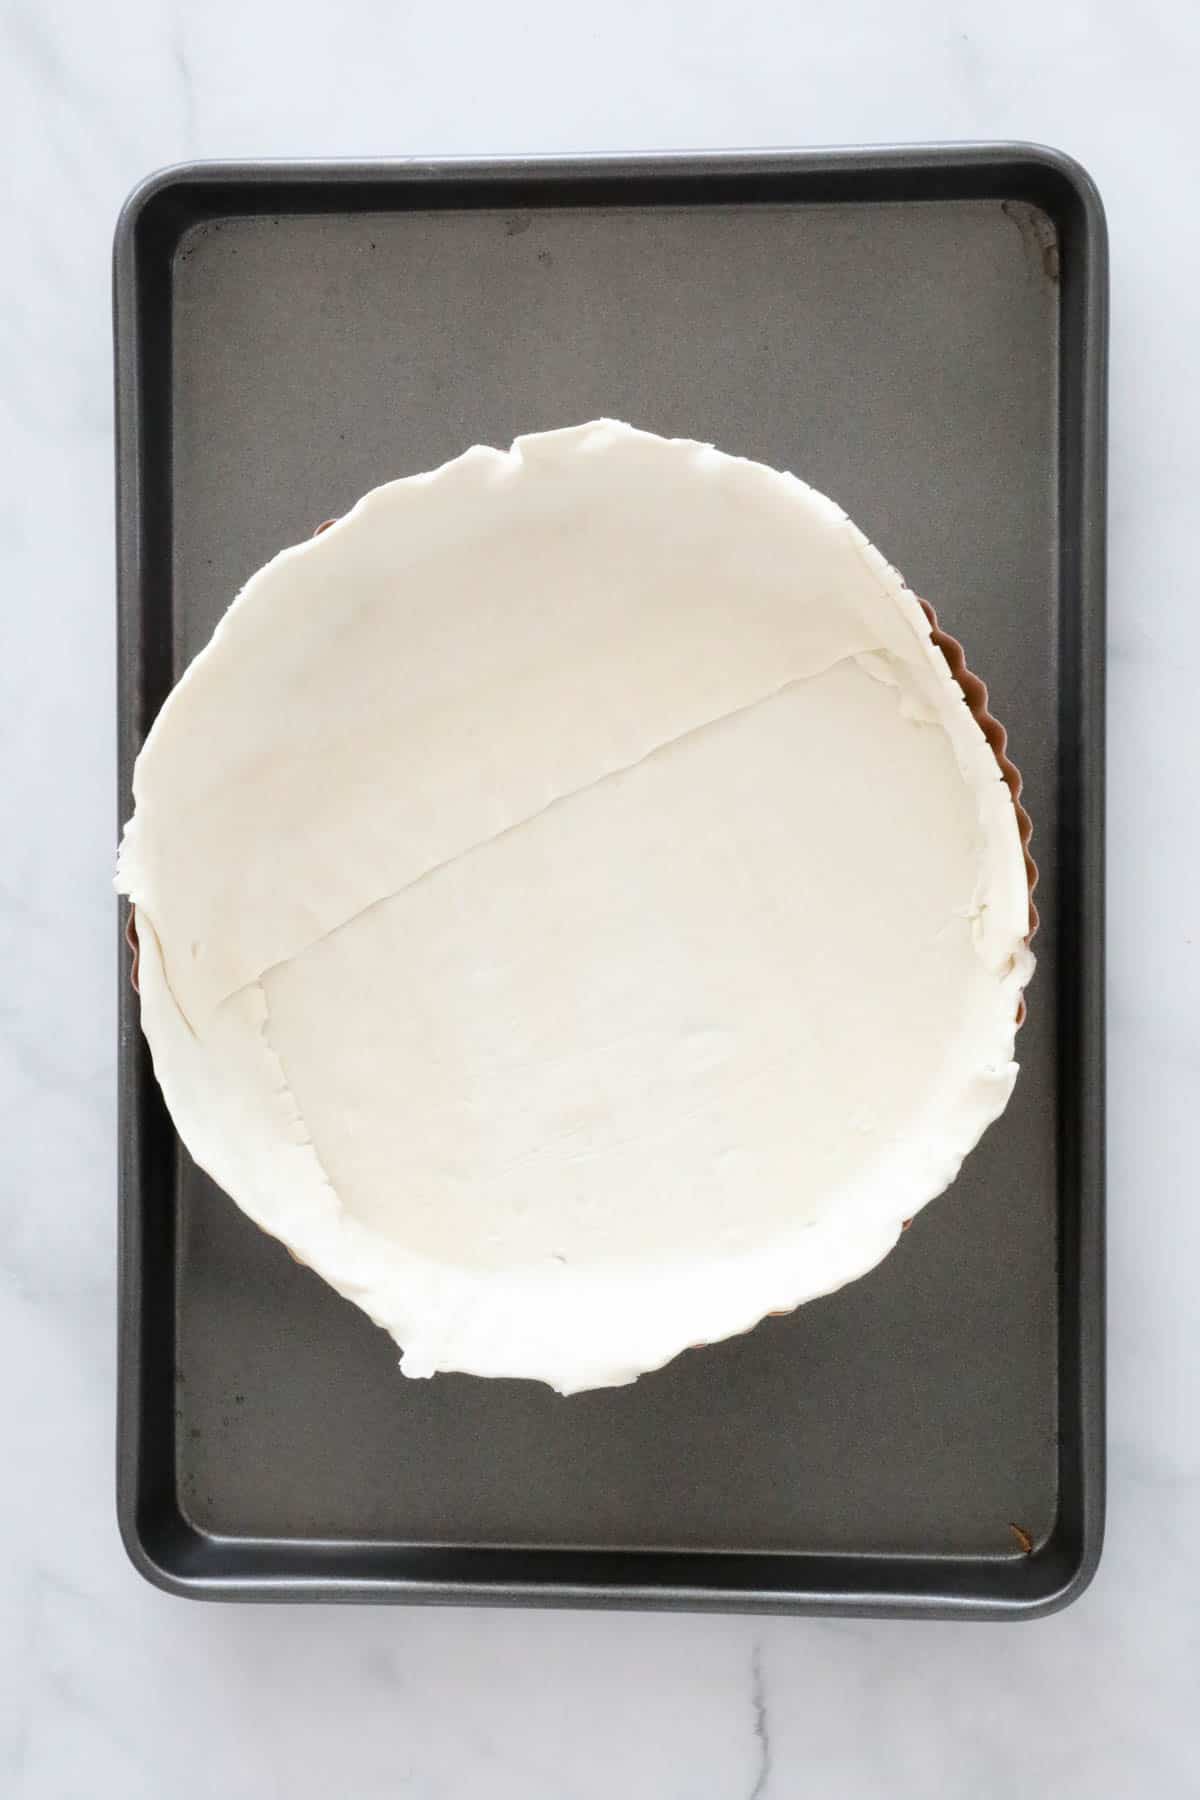
    Press the pastry sheets into the base of a quiche or tart tin. Set aside.

    Alternatively, prepare our olive oil pastry recipe and blind-bake it before proceeding with our recipe.

    Puff pastry in a tin.

    Step 2 - Add The Fillings

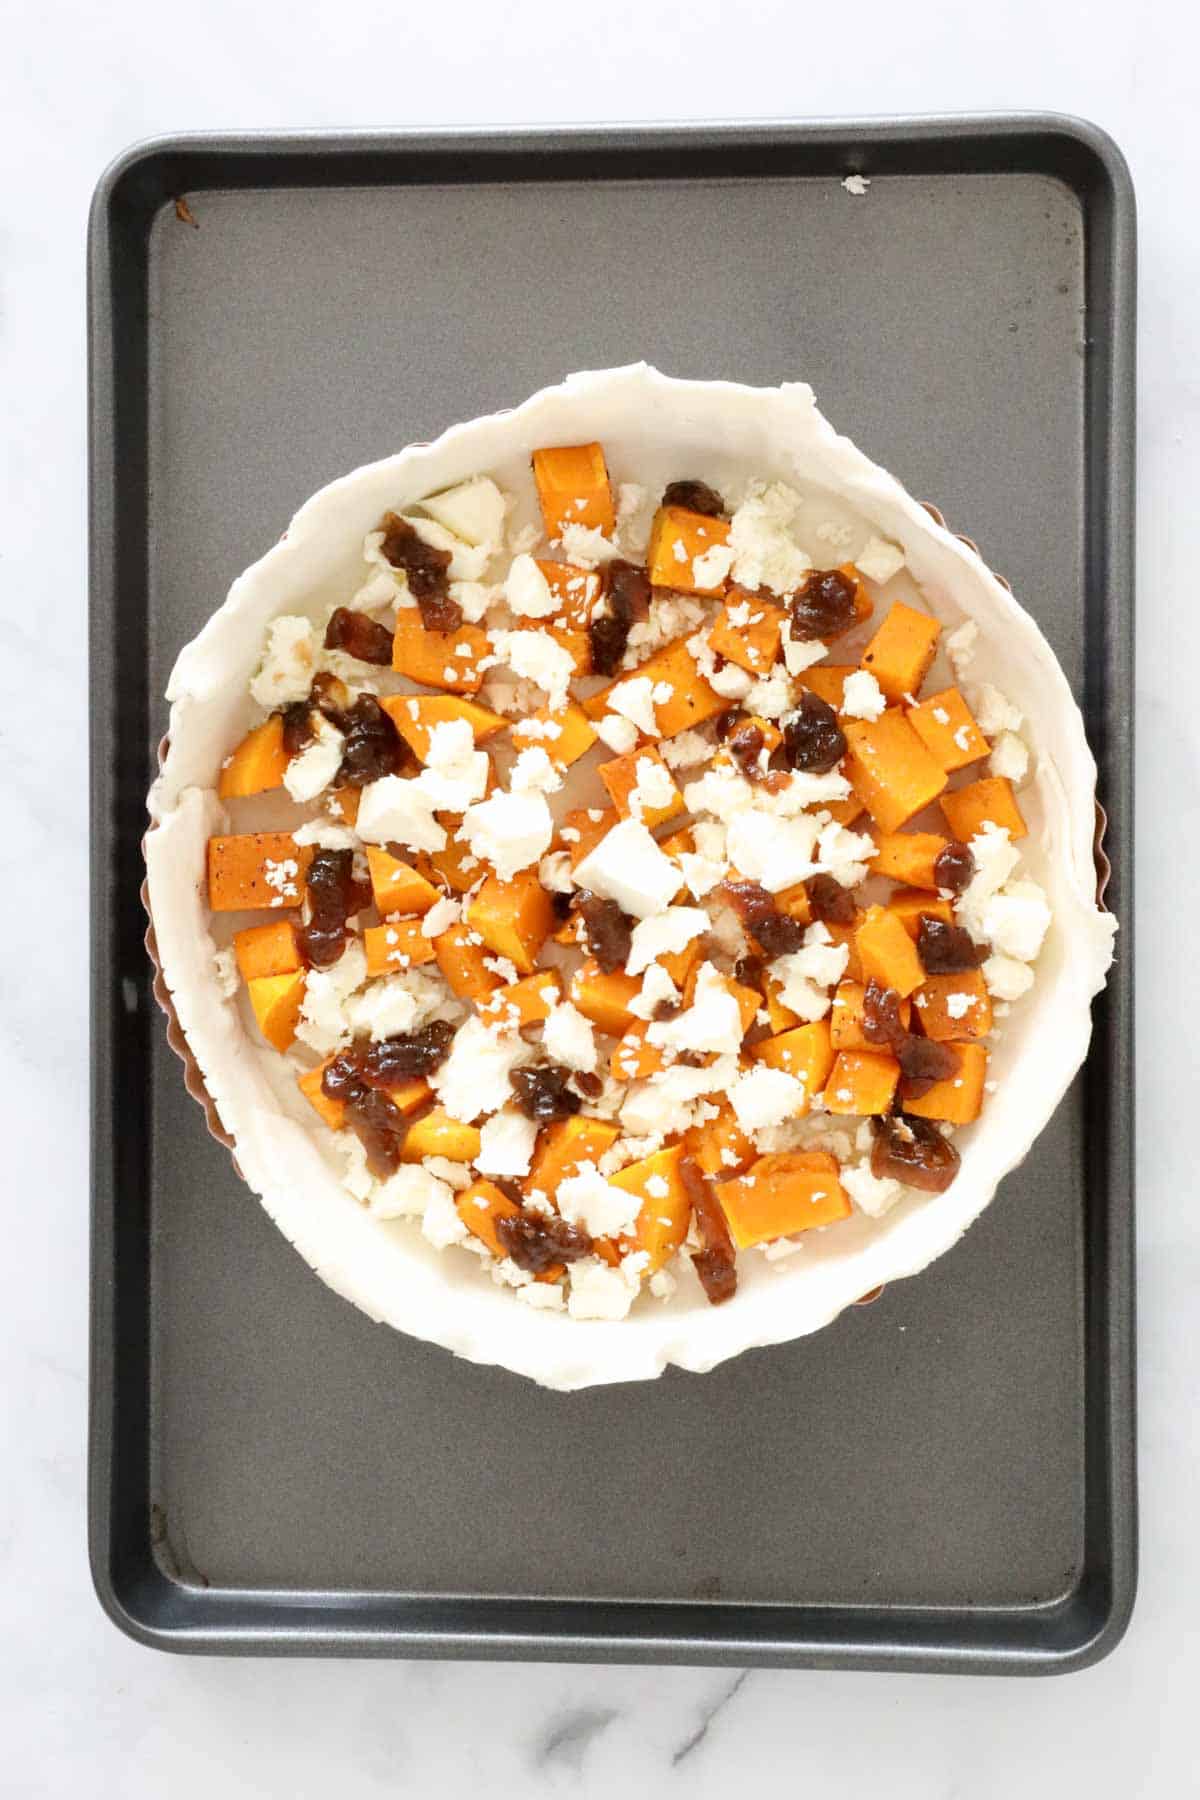
    Sprinkle the roasted pumpkin, feta and caramelised onion over the puff pastry.

    Pumpkin, feta and caramelised onion on puff pastry.

    Step 3 - Prepare The Egg Filling

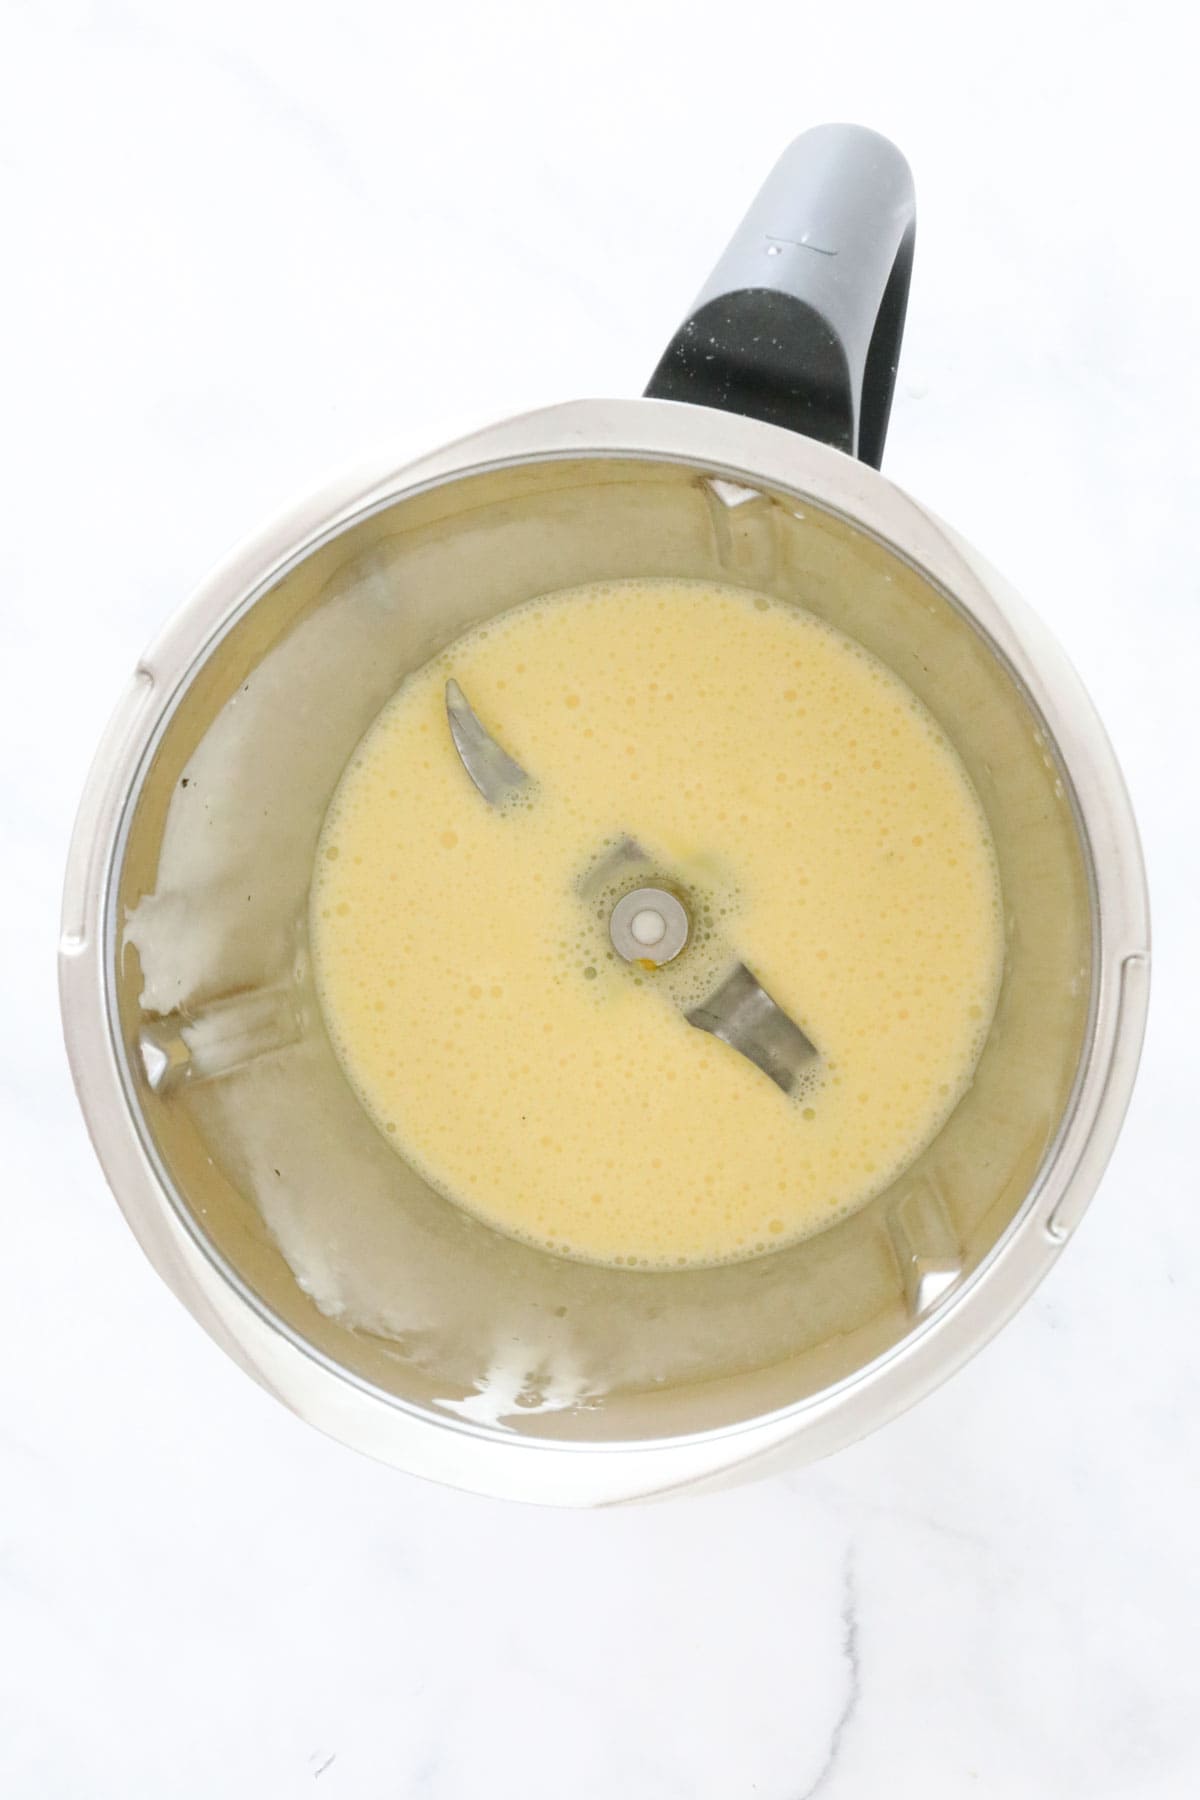
    Place the eggs and milk (or cream) into the Thermomix bowl.

    Season with salt and pepper and mix to combine.

    Egg mixture in a Thermomix.

    Step 4 - Bake

    Pour the egg mixture over the pastry filling almost to the top.

    Bake for 30 minutes or until golden, flaky and cooked through.

    Expert Tips

    • For the ultimate tart, prepare our olive oil pastry recipe and then blind bake.
    • For a time-saving option, use puff pastry sheets.
    • If using puff pastry sheets, there's no need to blind bake.
    • Use leftover roast pumpkin OR cut pumpkin into 2-3 cm cubes, drizzle with olive oil and season with salt and pepper. Bake in an oven preheated to 200 degrees celsius for 20 minutes or until the pumpkin has softened.
    • Use a creamy, soft feta cheese (like Danish feta or a goats cheese).
    • Add fresh rosemary before baking if you like.
    • Cook until the pastry is golden and flaky and the filling has cooked through.
    • Store any leftovers in an airtight container in the fridge for up to 2 days.
    • Freeze leftovers for up to 3 months.
    A puff pastry pumpkin tart.

    FAQS

    If I make my own pastry, do I need to blind bake it?

    Yes! Homemade pastry needs to be blind-baked before adding the fillings.

    Can I substitute the pumpkin for sweet potato?

    Absolutely.

    Is milk or cream better?

    I personally prefer cream as it gives a richer, creamier texture. However, milk is also find to use (full cream milk is best).

    An overhead shot of pumpkin feta quiche.

    Related Recipes

    Looking for more easy family dinners?

    Here's a few of our favourites:

    • Overhead view of a large spoon scooping up a Chicken Parma Ball.
      Thermomix Chicken Parma Balls
    • A Mexican beef salad bowl.
      Thermomix Mexican Beef Bowls
    • Overhead view of Bowl of Thermomix Zucchini Pea and Bacon risotto sitting on a black hand towel with a gold fork next to it. in the background is a zucchini and a white bowl with cheese in it.
      Thermomix Zucchini, Pea and Bacon Risotto
    • An overhead shot of a bowl of japanese curry.
      Thermomix Japanese Chicken Curry
    A forkful of pumpkin quiche.

    SHOP OUR RANGE OF THERMOMIX COOKBOOKS

    Browse our collection of hardcopy Thermomix cookbooks here.

    There's everything from family dinners to kids snacks, desserts to cookies, slices to Christmas recipes, cocktails to chocolate recipes and more!

    A bundle of 15 Thermomix Cookbooks.
    A piece of pumpkin and feta quiche.
    Print Recipe
    5 from 1 vote

    Thermomix Pumpkin & Feta Tart

    Our Thermomix Pumpkin & Feta Tart is the perfect family dinner!
    Prep Time15 minutes mins
    Cook Time30 minutes mins
    Total Time45 minutes mins
    Course: Dinner
    Cuisine: Western
    Diet: Vegetarian
    Servings: 8 serves
    Calories: 367kcal
    Author: Lucy & Lauren
    Cost: $10

    Equipment

    • Thermomix
    • Oven

    Ingredients

    For The Pastry (choose ONE option)

    • 2 sheets puff pastry OR 1 X quantity Thermomix olive oil pastry defrosted
    • 1 quantity olive oil pastry

    For The Filling

    • 250 g roasted pumpkin chopped
    • 100 g feta cheese crumbled into chunks
    • 4 eggs
    • 100 g milk (or cream)
    • 3 teaspoon caramelised onion
    • sea salt and pepper to season
    • fresh rosemary optional

    Instructions

    If making your own olive oil pastry

    • Make the pastry according to these instructions.
    • Remove from the fridge and roll out to approximately 1 and ½ cm thick. Place into a well-greased 23cm loose bottomed quiche or tart tin.
    • Preheat oven to 200 degrees celsius.
    • Blind bake with pie weights or rice for 15 minutes.
    • Remove from the oven.

    If using puff pastry sheets

    • If using puff pastry sheets, place the sheets over a loose bottomed tart tin and trim the edges.

    Assembling the tart

    • Place the roasted pumpkin, feta cheese and dollops of caramelised onion onto the pastry.
    • Add the eggs, milk, salt and pepper to the Thermomix bowl and mix for 20 seconds, Speed 4.
    • Pour the egg mixture over top of the pumpkin and feta.
    • Sprinkle over the fresh rosemary (optional).
    • Bake in the oven for 30 minutes or until golden and cooked through.

    Notes

    RECIPE NOTES & TIPS
    • For the ultimate tart, prepare our olive oil pastry recipe and then blind bake.
    • For a time-saving option, use puff pastry sheets.
    • If using puff pastry sheets, there's no need to blind bake.
    • Use leftover roast pumpkin OR cut pumpkin into 2-3 cm cubes, drizzle with olive oil and season with salt and pepper. Bake in an oven preheated to 200 degrees celsius for 20 minutes or until the pumpkin has softened.
    • Use a creamy, soft feta cheese (like Danish feta or a goats cheese).
    • Add fresh rosemary before baking if you like.
    • Cook until the pastry is golden and flaky and the filling has cooked through.
    • Store any leftovers in an airtight container in the fridge for up to 2 days.
    • Freeze leftovers for up to 3 months.

    Nutrition

    Calories: 367kcal | Carbohydrates: 25g | Protein: 13g | Fat: 25g | Saturated Fat: 7g | Polyunsaturated Fat: 6g | Monounsaturated Fat: 9g | Trans Fat: 0.02g | Cholesterol: 92mg | Sodium: 372mg | Potassium: 244mg | Fiber: 2g | Sugar: 1g | Vitamin A: 183IU | Vitamin C: 0.3mg | Calcium: 95mg | Iron: 3mg

    Thermomix Chicken Nuggets

    April 18, 2016

    A half eaten panko crumbed chicken nugget

    Our homemade Thermomix Chicken Nuggets require just 5 ingredients and will be ready to enjoy in under 25 minutes!

    A half eaten panko crumbed chicken nugget

    Say hello to our golden, crunchy and delicious Thermomix chicken nuggets!

    This recipe is an absolute favourite with the kids... simply serve with tomato sauce or chutney for a tasty snack.

    Just like our polenta chips, arancini balls, sushi and our egg and bacon quiches, these nuggets make the perfect party food or savoury finger food option!

    Why You're Going To Love This Recipe

    Homemade nuggets are always a hit with the kids!

    • Easy Snack - our nuggets make the perfect weekend lunch, football watching snack or easy dinner.
    • No Additives or Preservatives - unlike packaged chicken nuggets, you'll know exactly what's going into these homemade nuggets!
    • Loved By Kids - these crunchy golden Thermomix chicken nuggets are always a guaranteed winner with the kids (big and little!).
    • Freezer-Friendly - you can freeze cooked or uncooked chicken nuggets for up to 3 months.
    A plate full of golden crumbed chicken nuggets.

    What You Need

    Our homemade Thermomix chicken nuggets are made using just 5 ingredients and have NO added preservatives or additives!

    Please scroll to the recipe card at the bottom of the post for ingredient quantities and the full detailed method.

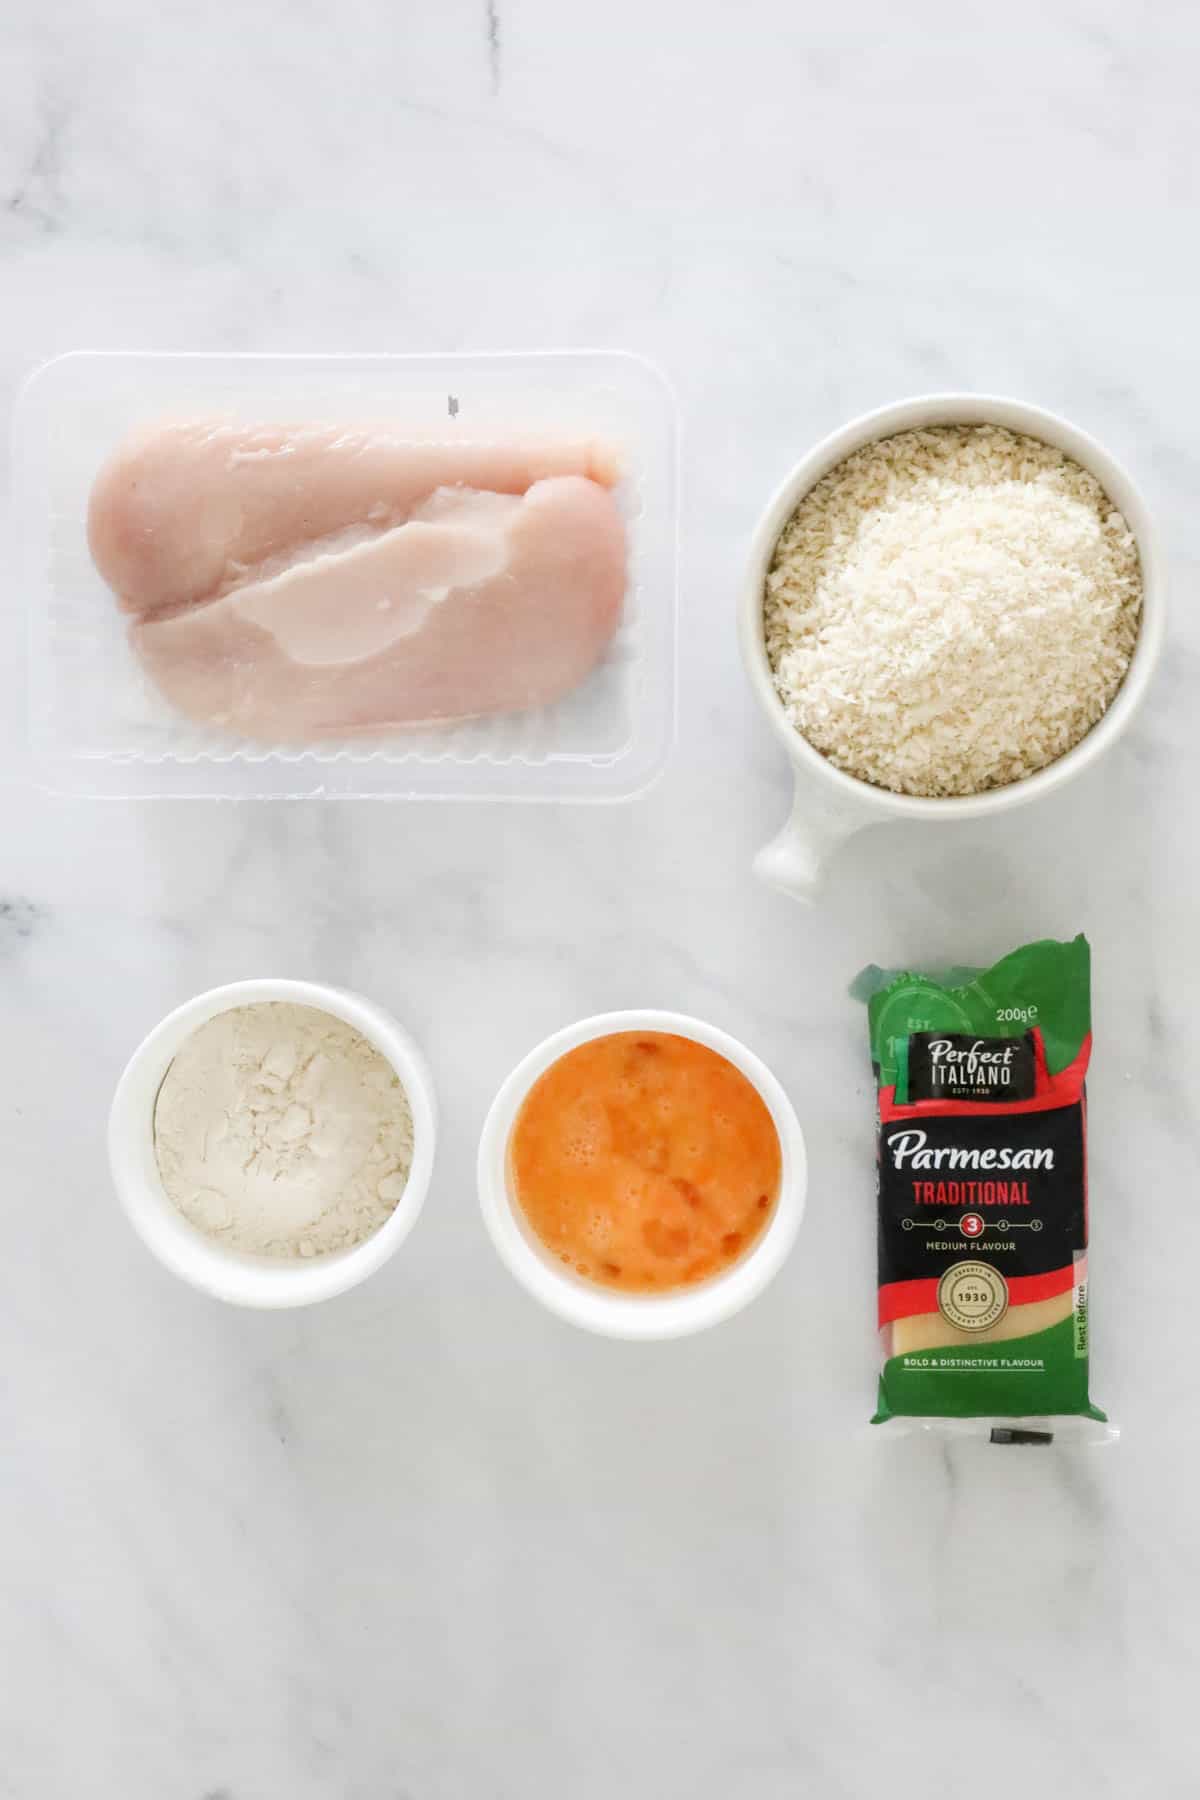
    The ingredients for Thermomix Chicken Nuggets.
    • Chicken - use skinless chicken breasts (or substitute with chicken thighs). You can also use store-bought minced chicken if you prefer.
    • Panko Crumbs - you can substitute panko crumbs with regular breadcrumbs, however, panko crumbs will give you the crunchiest result.
    • Parmesan Cheese - when mixed with the panko crumbs, the parmesan helps to give the nuggets a cheesy, flavoursome crumb.
    • Flour - use plain flour to dip the nuggets in.
    • Egg - use lightly whisked eggs to coat the nuggets.

    Step By Step Instructions

    Chicken nuggets are ALWAYS a popular option in our house.

    See how easy it is to make them with the help of your Thermomix...

    Please scroll to the recipe card at the bottom of the post for ingredient quantities and the full detailed method.

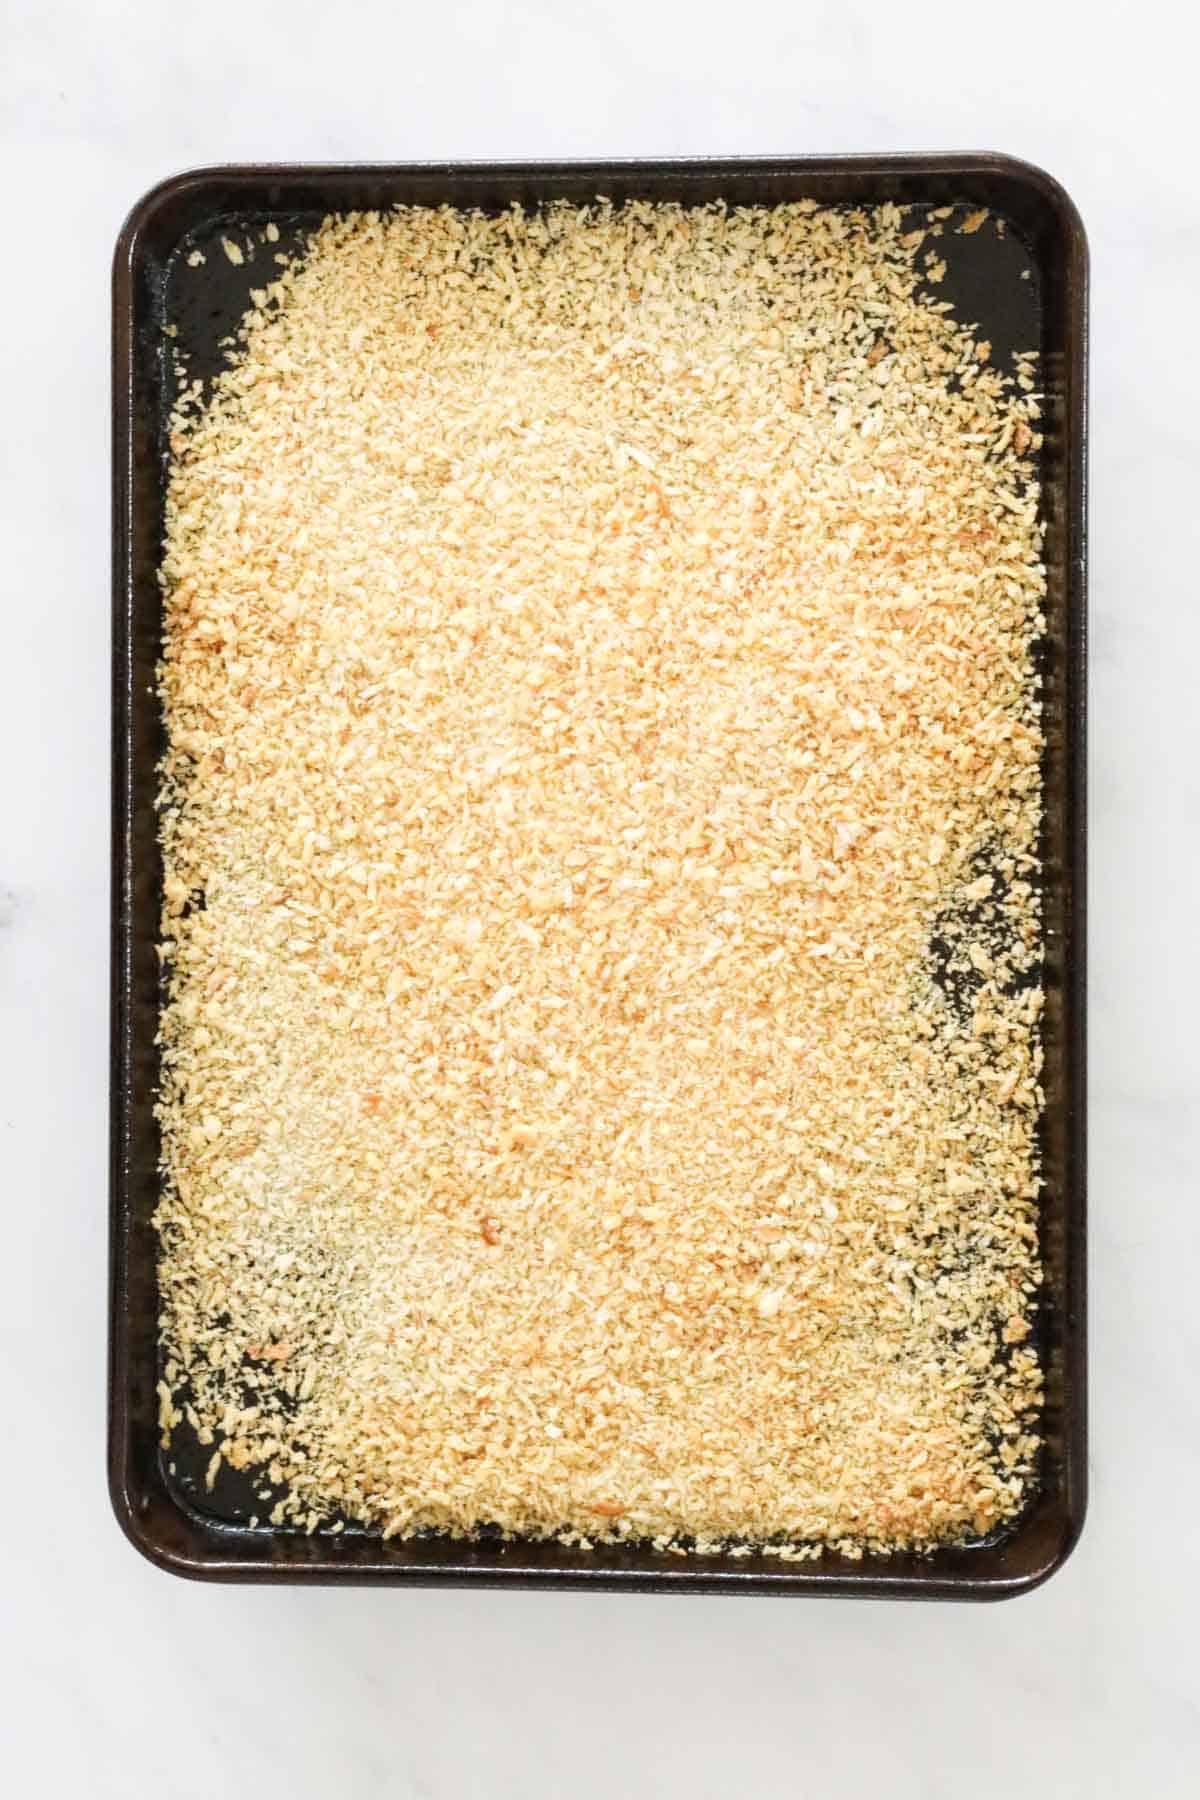
    Step 1 - Bake The Panko Crumbs

    Place the panko crumbs in a thin layer on a large flat tray.

    Spray with cooking oil and bake for 10 minutes or until golden.

    Set aside on a plate.

    panko crumbs on a tray

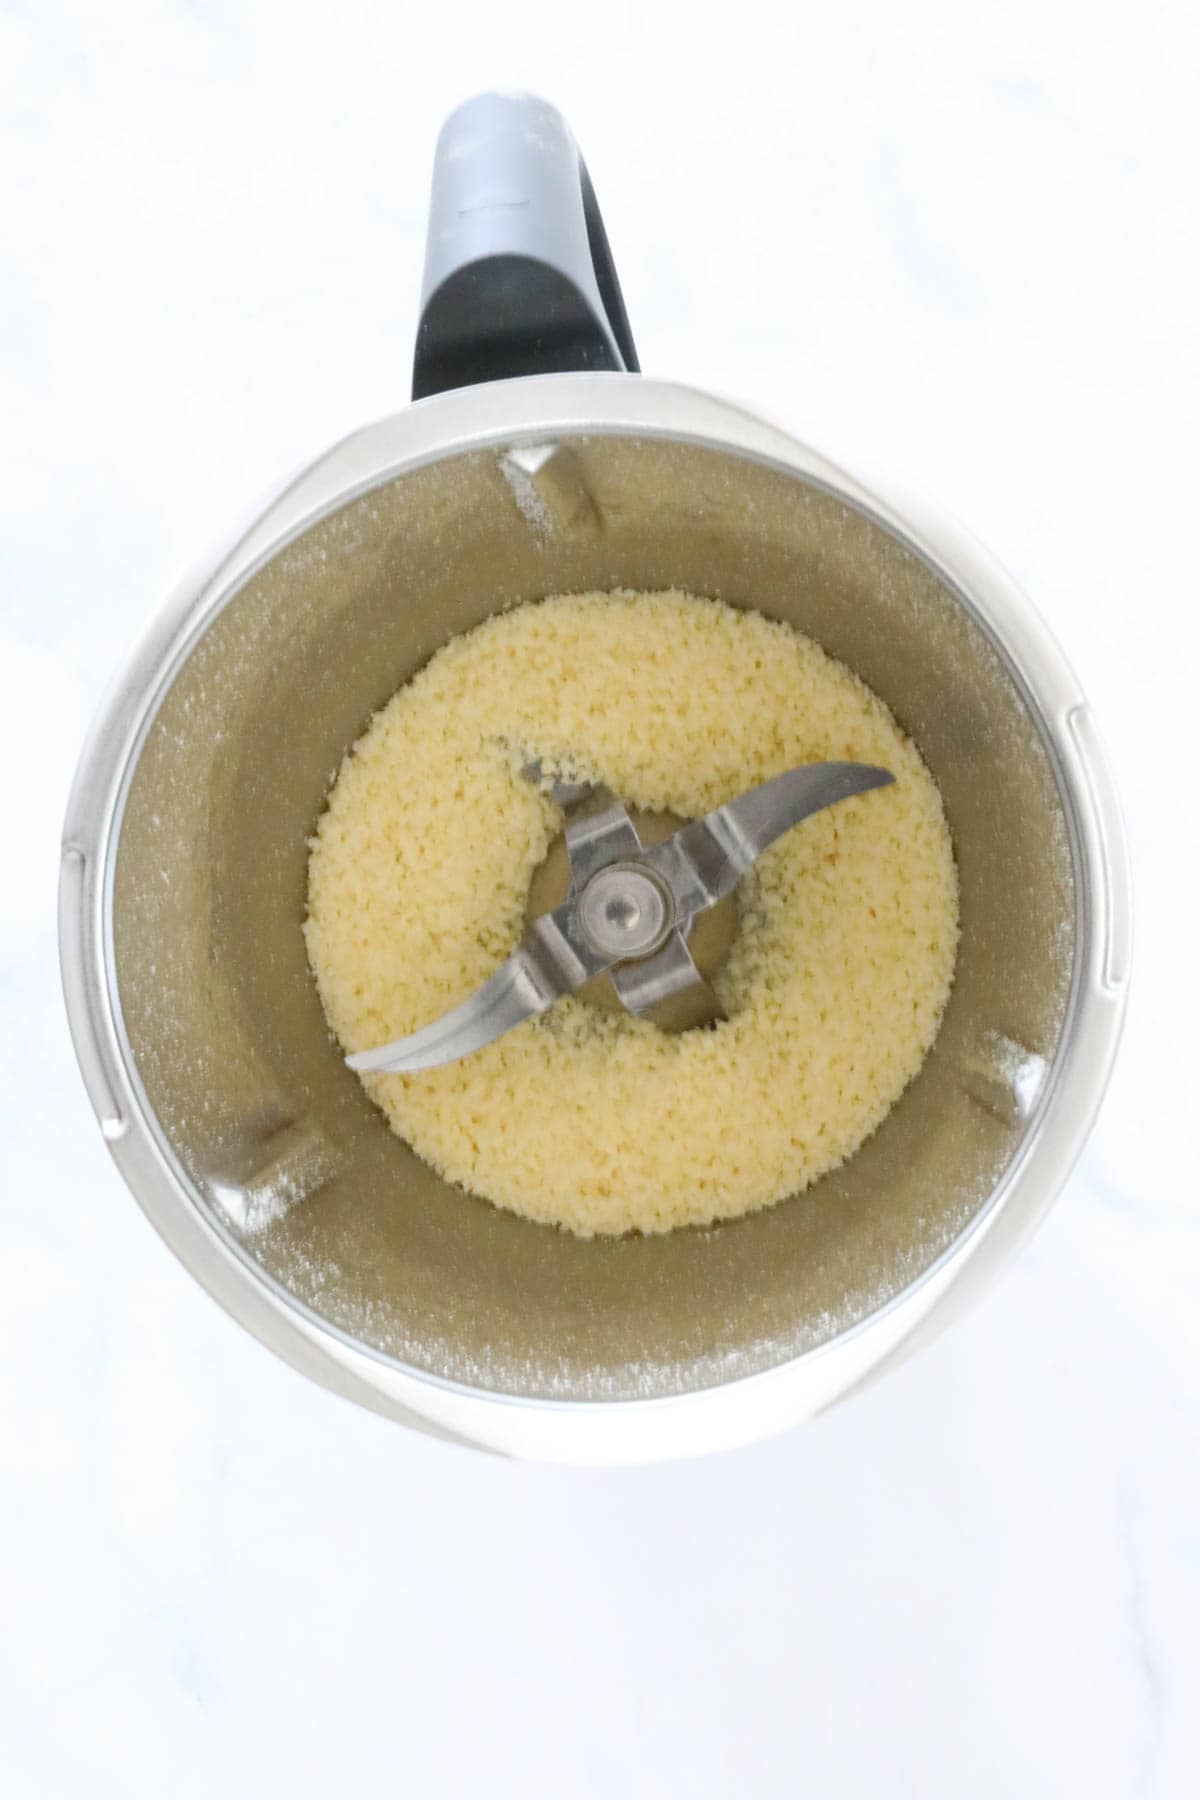
    Step 2 - Grate The Parmesan Cheese

    Place the parmesan into the Thermomix bowl and mix until finely grated.

    Add the parmesan to the panko crumbs and stir to combine.

    parmesan in a thermomix bowl

    Step 3 - Mince The Chicken

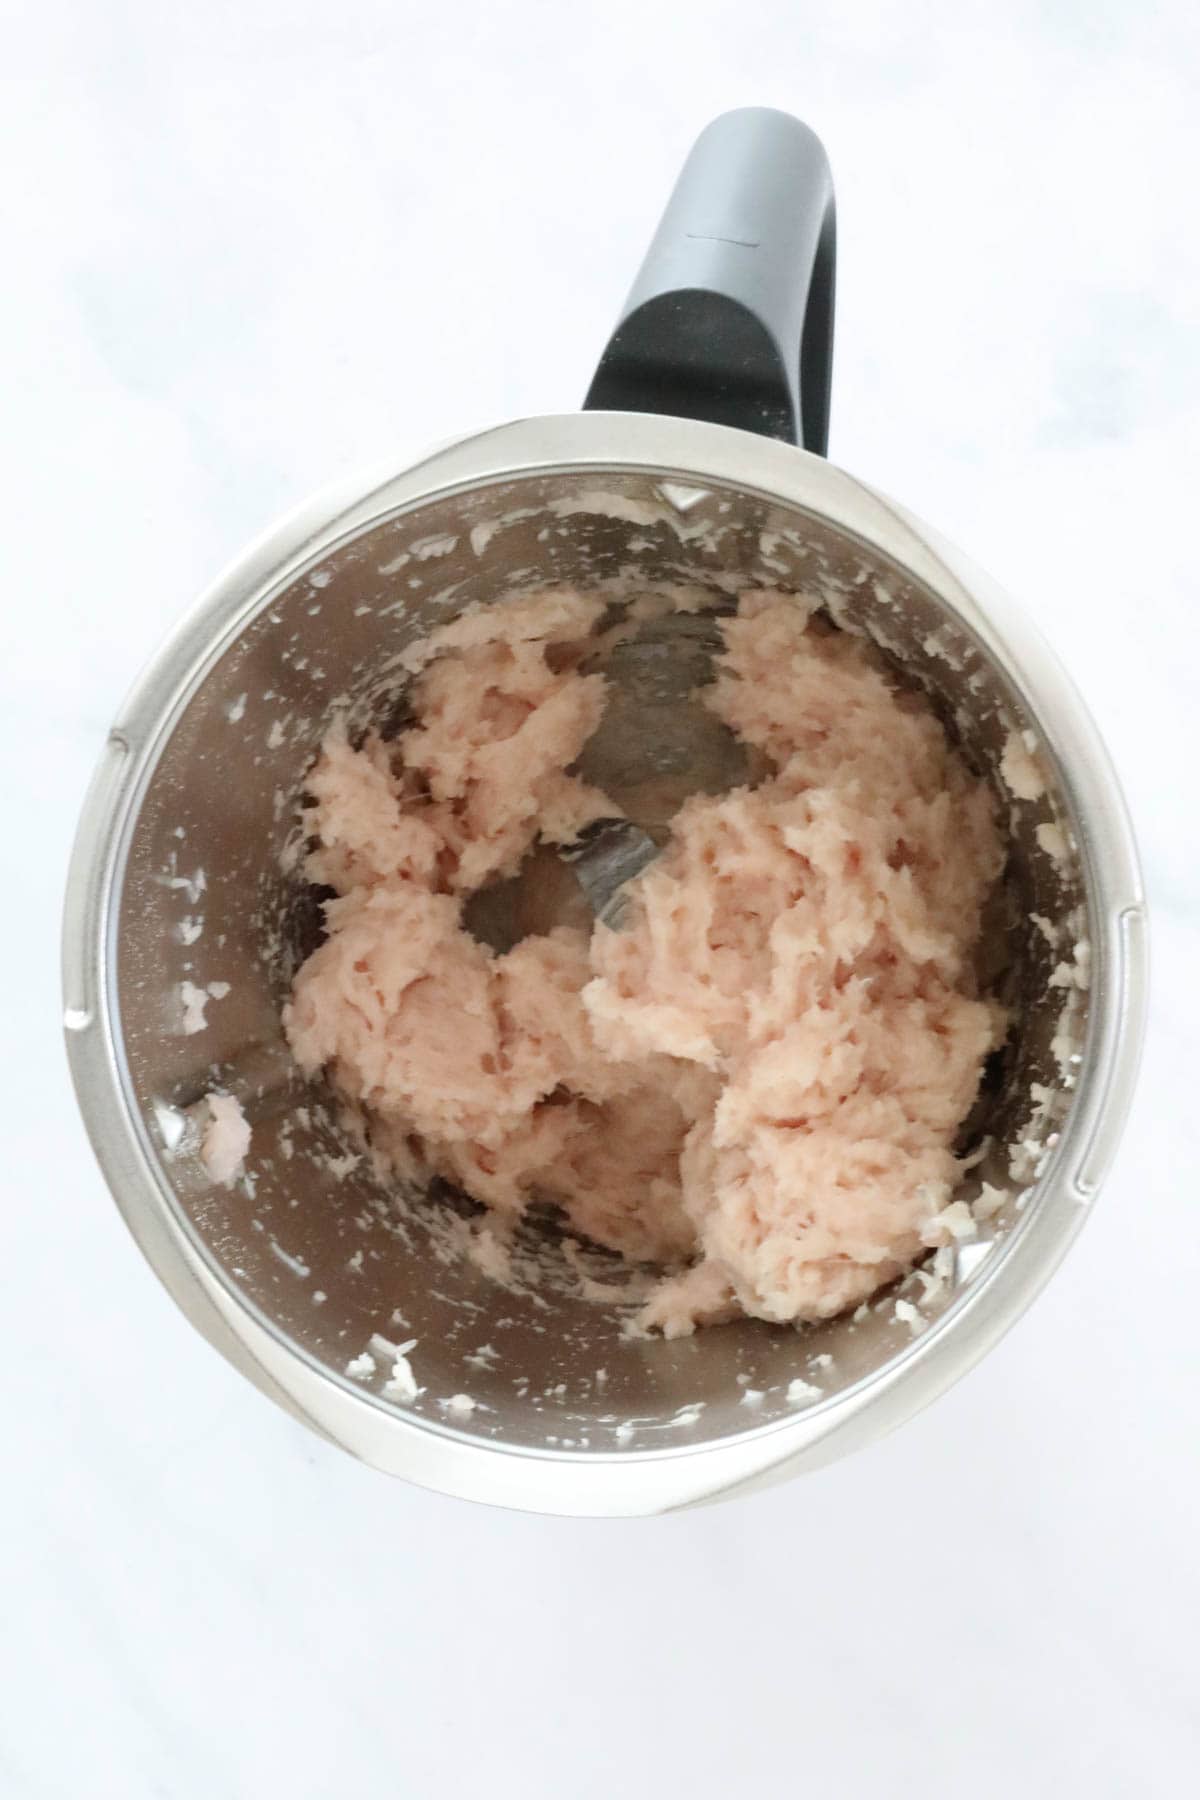
    Place the roughly chopped chicken breasts into the Thermomix bowl and mix until finely minced.

    chicken mince in a Thermomix bowl

    Step 4 - Assemble The Nuggets

    Shape the chicken mince into 'nuggets' - using approximately 1 tablespoon of mixture per nugget.

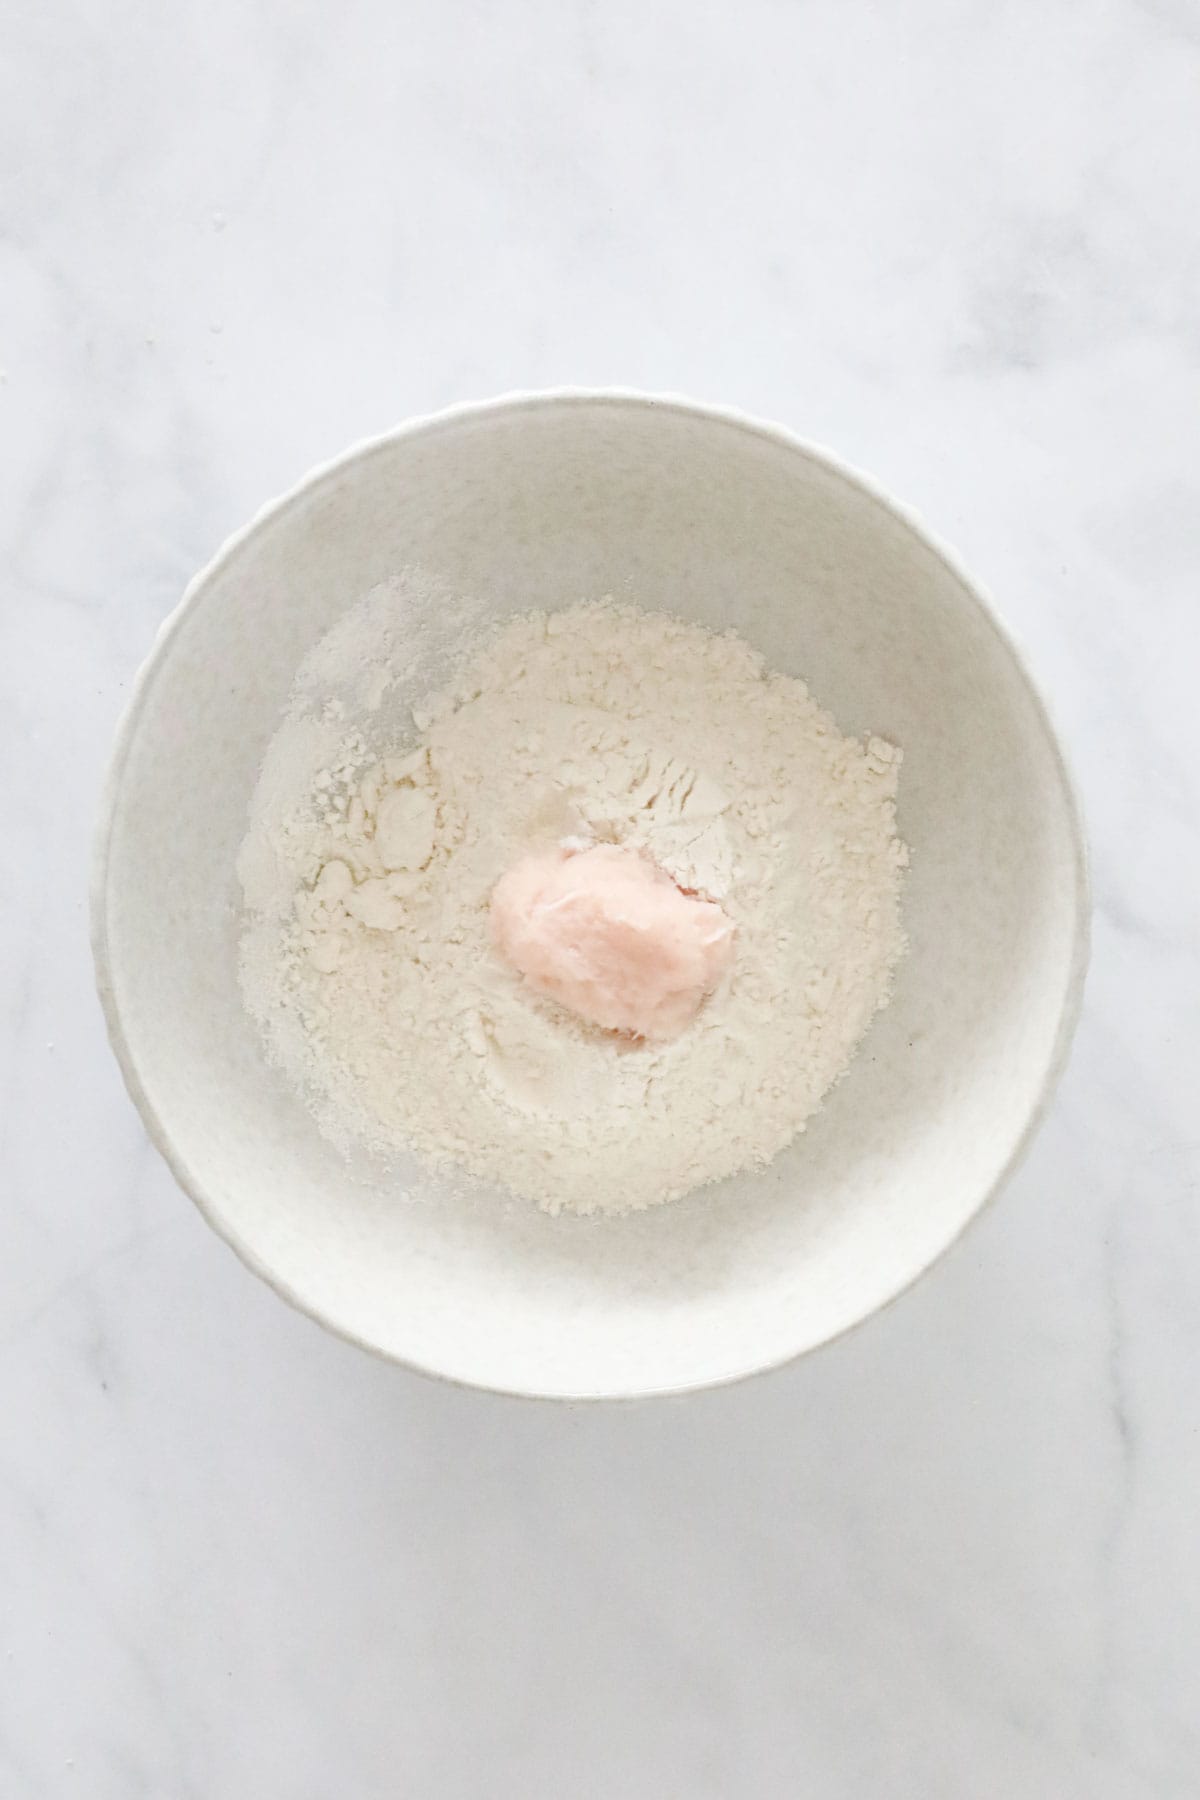
    Lightly coat the chicken mince in flour.

    chicken mince in the shape of a nugget being dipped in flour

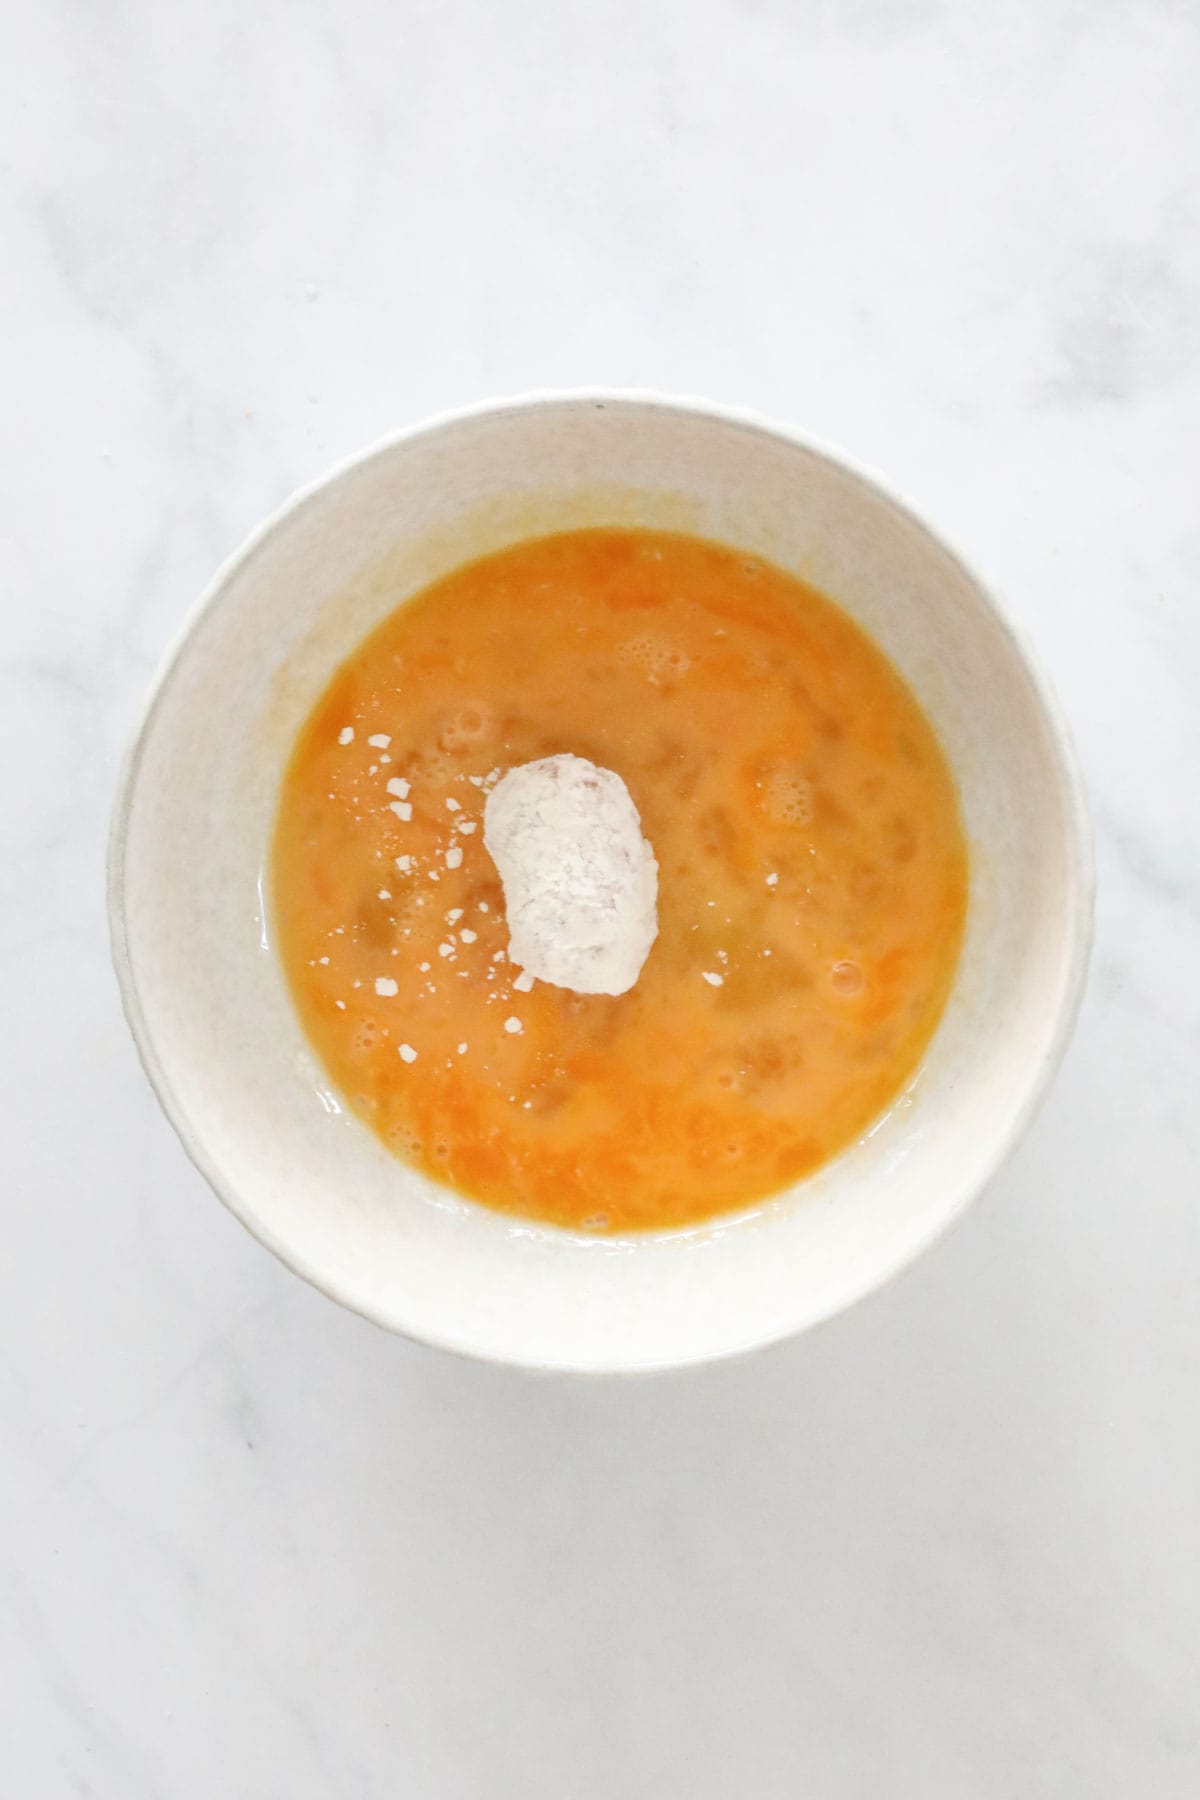
    Add then dip into lightly whisked eggs.

    Allow any excess egg to drip off.

    a floured chicken nugget being dipped into egg

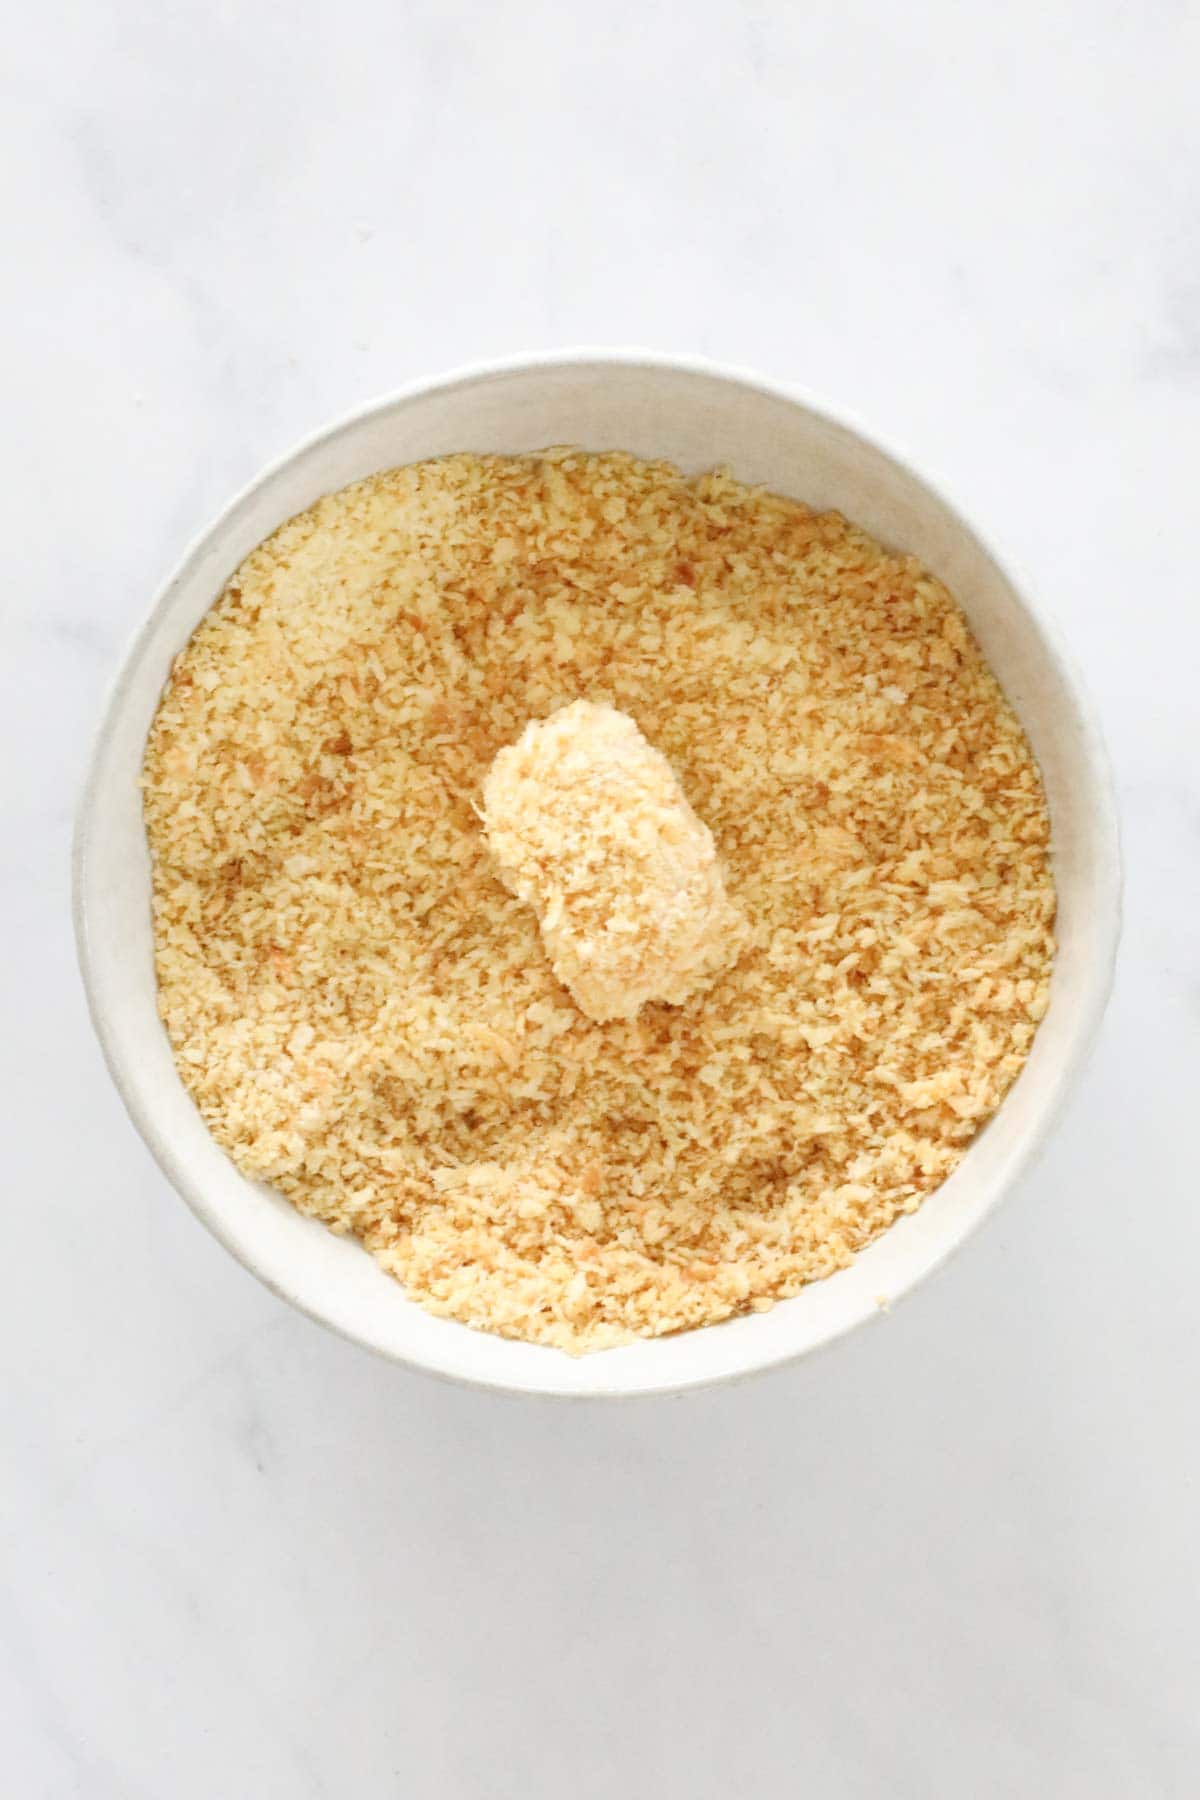
    Coat the nuggets in the panko/parmesan crumb mixture.

    a nugget being dipped into panko crumbs

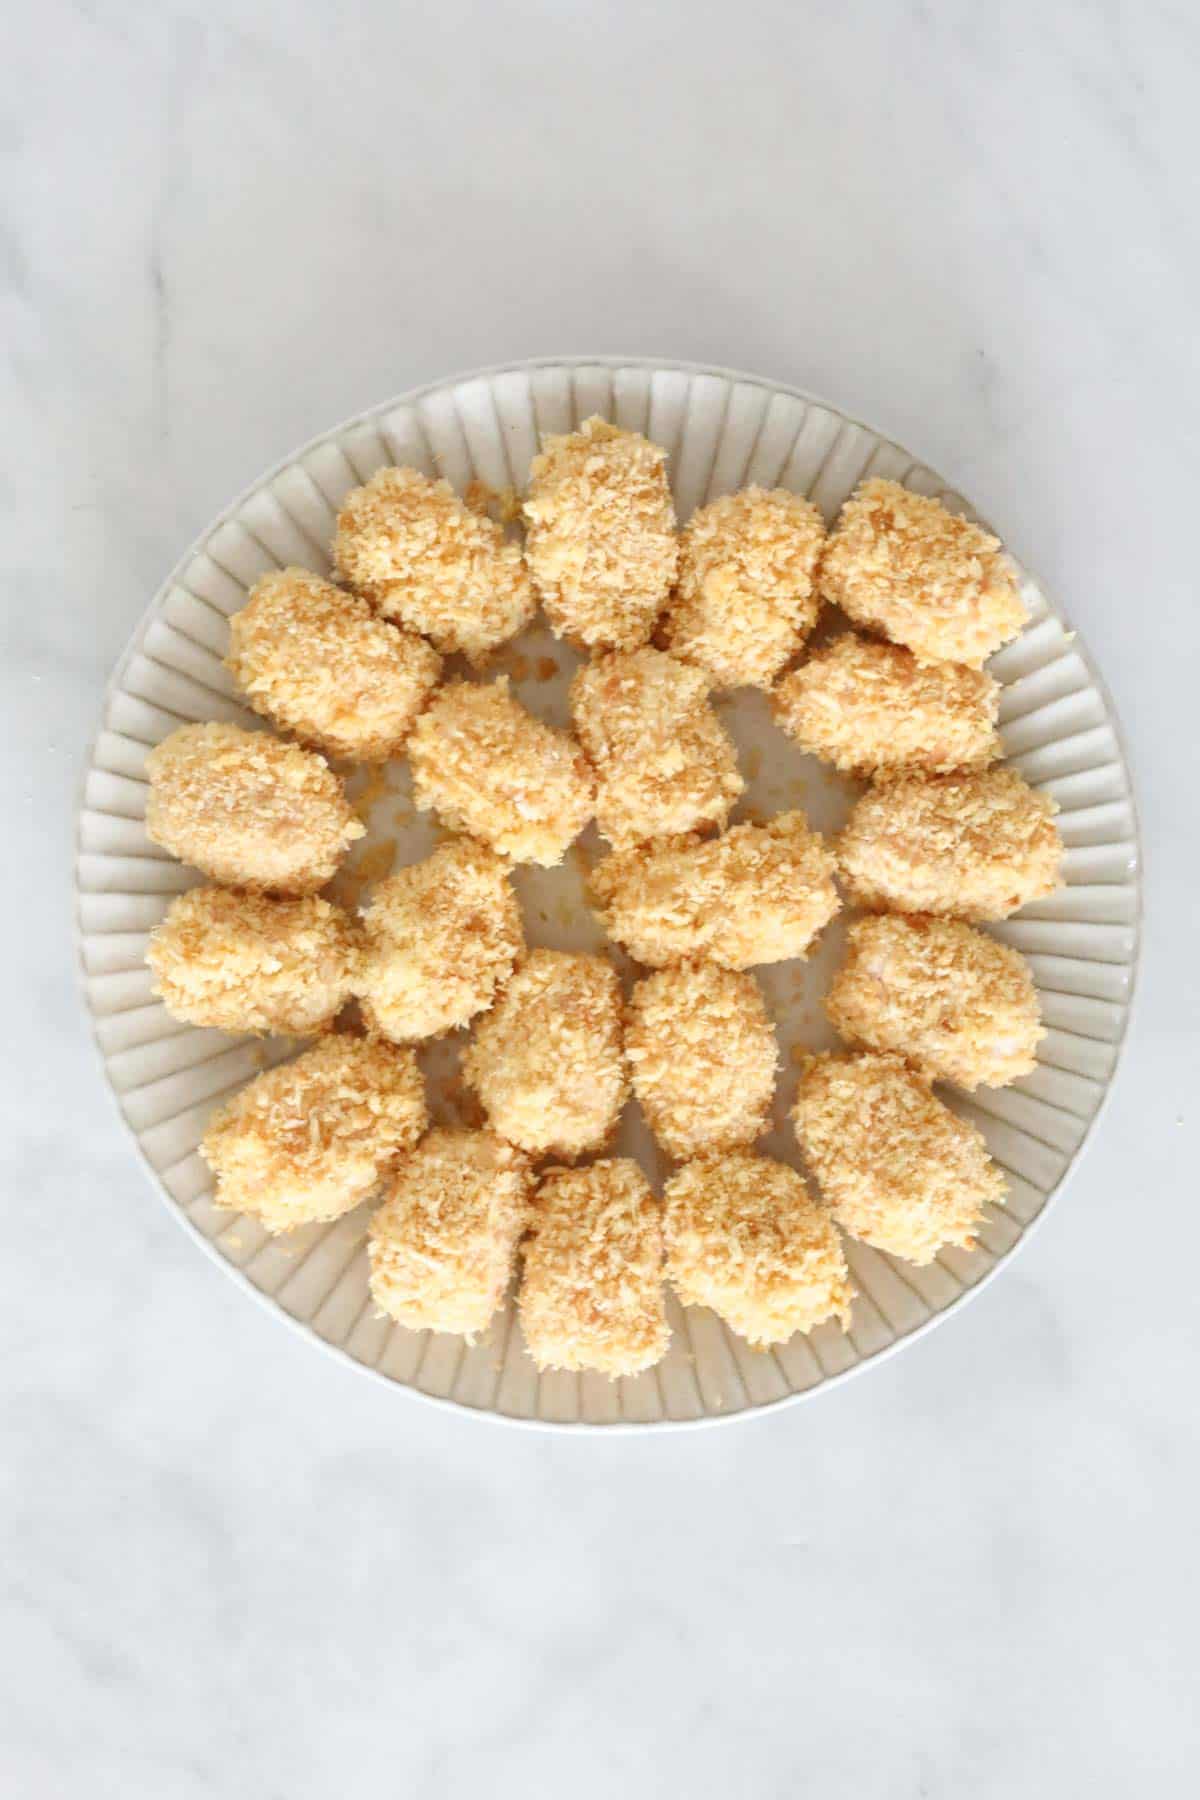
    Place the nuggets onto a large flat baking tray and bake for 12-14 minutes or until cooked through and piping hot in the centre.

    Homemade panko crumbed nuggets on a plate.

    Expert Tips

    Follow our top tips for delicious Thermomix chicken nuggets:

    • you can use store-bought chicken mince rather than mincing your own chicken
    • you can substitute the chicken breasts with thighs if you prefer
    • shaping the chicken into a traditional 'nugget shape' is always popular with the kids
    • baking the panko crumbs first ensures that your nuggets are golden and crunchy!
    • you can cook the nuggets in the oven or the air-fryer
    • store any leftover nuggets in the fridge for up to 2 days. Reheat thoroughly before consuming.
    • you can freeze cooked or uncooked nuggets for up to 3 months.
    A homemade chicken nugget being dipped into sauce.

    FAQs

    Can I make this recipe without a Thermomix?

    Yes! You can use a high powered food processor (with very strong blades) instead.

    Can I use storebought chicken mince instead of mincing chicken breasts?

    Yes! You absolutely can use store-bought chicken mince.

    Do I really need to cook the panko crumbs first?

    If you'd like the ultimate golden, crunchy chicken nuggets, then yes you do!

    A half eaten homemade chicken nugget

    Related Recipes

    As Mum's of busy kids... we're all about having plenty of easy, kid-approved snack recipes on hand!

    We think you'll enjoy these ones too!

    • An overhead shot of spinach and cheese scrolls.
      Thermomix Spinach, Sun-Dried Tomato & Feta Scrolls
    • A bowl of homemade baked beans.
      Thermomix Baked Beans
    • An overhead shot of polenta chips.
      How To Make Thermomix Polenta Chips
    • sideview of stack of homemade sausage rolls
      Thermomix Sausage Rolls |Classic Recipe

    SHOP OUR RANGE OF THERMOMIX COOKBOOKS

    Browse our collection of hardcopy Thermomix cookbooks here.

    There's everything from family dinners to kids snacks, desserts to cookies, slices to Christmas recipes, cocktails to chocolate recipes and more!

    Complete set o 16 ThermoBliss recipe books.
    A half eaten panko crumbed chicken nugget
    Print Recipe
    4.89 from 9 votes

    Thermomix Chicken Nuggets

    Our homemade Thermomix chicken nuggets are oven baked to perfection! A favourite with the little (and big!) kids.
    Prep Time10 minutes mins
    Cook Time14 minutes mins
    Total Time24 minutes mins
    Course: Snacks
    Cuisine: Western
    Servings: 24 nuggets
    Calories: 57kcal
    Author: Lucy & Lauren
    Cost: $5

    Equipment

    • Thermomix
    • Oven

    Ingredients

    • 135 g panko crumbs
    • 65 g parmesan cheese
    • 75 g plain flour
    • 2 eggs lightly beaten
    • 500 g chicken breast skinless (or chicken mince)

    Instructions

    • Preheat the oven to 180 degrees celsius (fan-forced).
      Line a baking tray with baking paper.
    • Place the panko crumbs onto a baking tray, spray with cooking oil and bake for approximately 5-10 minutes or until lightly golden (you'll need to give the tray a shake every few minutes).
    • Set panko crumbs aside in a bowl.
    • Increase oven temperature to 200 degrees celsius (fan-forced).
    • Place the parmesan cheese into the Thermomix bowl. Grate for 8 seconds, Speed 8.
      Pour the parmesan cheese into the bowl with the panko crumbs, mix to combine and then set aside.
    • Place the plain flour into a bowl.
      Crack the eggs into a separate bowl and beat well.
      Set the bowls aside with the panko crumb bowl.
    • Chop the chicken breasts roughly, and then place them into the Thermomix bowl.
      Mix for 10 seconds, Speed 8 or until the chicken is completely minced.
    • Shape the chicken mince into nuggets (about 1 tablespoon in size).
    • One at a time, coat the chicken nuggets in the plain flour (shake off any excess), then the egg mixture, and finally the panko crumb mixture.
    • Place crumbed nuggets onto the baking tray.
    • Spray lightly with cooking spray and bake for approximately 12-14 minutes, turning halfway through the cooking time.

    Notes

    RECIPE NOTES & TIPS
    • you can use store-bought chicken mince rather than mincing your own chicken
    • you can substitute the chicken breasts with thighs if you prefer
    • shaping the chicken into a traditional 'nugget shape' is always popular with the kids
    • baking the panko crumbs first ensures that your nuggets are golden and crunchy!
    • you can cook the nuggets in the oven or the air-fryer (if using an air fryer, cook at 180 degrees celsius for 12-14 minutes or until piping hot and cooked through). 
    • store any leftover nuggets in the fridge for up to 2 days. Reheat thoroughly before consuming.
    • you can freeze cooked or uncooked nuggets for up to 3 months.

    Nutrition

    Calories: 57kcal | Carbohydrates: 4g | Protein: 6g | Fat: 2g | Saturated Fat: 1g | Polyunsaturated Fat: 0.2g | Monounsaturated Fat: 0.5g | Trans Fat: 0.004g | Cholesterol: 28mg | Sodium: 81mg | Potassium: 92mg | Fiber: 0.2g | Sugar: 0.2g | Vitamin A: 42IU | Vitamin C: 0.3mg | Calcium: 33mg | Iron: 0.4mg

    Thermomix Green Smoothie

    April 13, 2016

    An overhead shot of a green smoothie.

    Our super healthy Thermomix Green Smoothie is packed full of baby spinach, kale, cucumber, coconut water and more!

    Ready to enjoy in just 2 minutes...

    An overhead shot of a green smoothie.

    Nothing beats the Thermomix machine when it comes to preparing delicious juices and smoothies (... or cocktails for that matter!).

    Whether you're looking for a nice cold smoothie on a hot day, or wanting to up your fruit and veggie intake with a delicious breakfast on the run, our Thermomix Green Smoothie is just what you need!

    Why You're Going To Love This Recipe

    What's not to love about a healthy and tasty smoothie that's ready in no time!

    • Nutritious - our Thermomix Green Smoothie is healthy and packed with fruits and vegetables.
    • Ready in 2 minutes - From start to finish, you'll be enjoying this smoothie in 2 minutes!
    • Versatile - mix and match with any of your favourite fruits and vegetables.
    • Full of fruits and vegetables - packed with kale, baby spinach, cucumber and banana... this green smoothie is delicious AND healthy!
    Two glasses of green smoothie.

    What You Need

    Our Thermomix Green Smoothie is made using a handful of nutritious fruits and vegetables.

    Please scroll to the recipe card at the bottom of the post for ingredient quantities and the full detailed method.

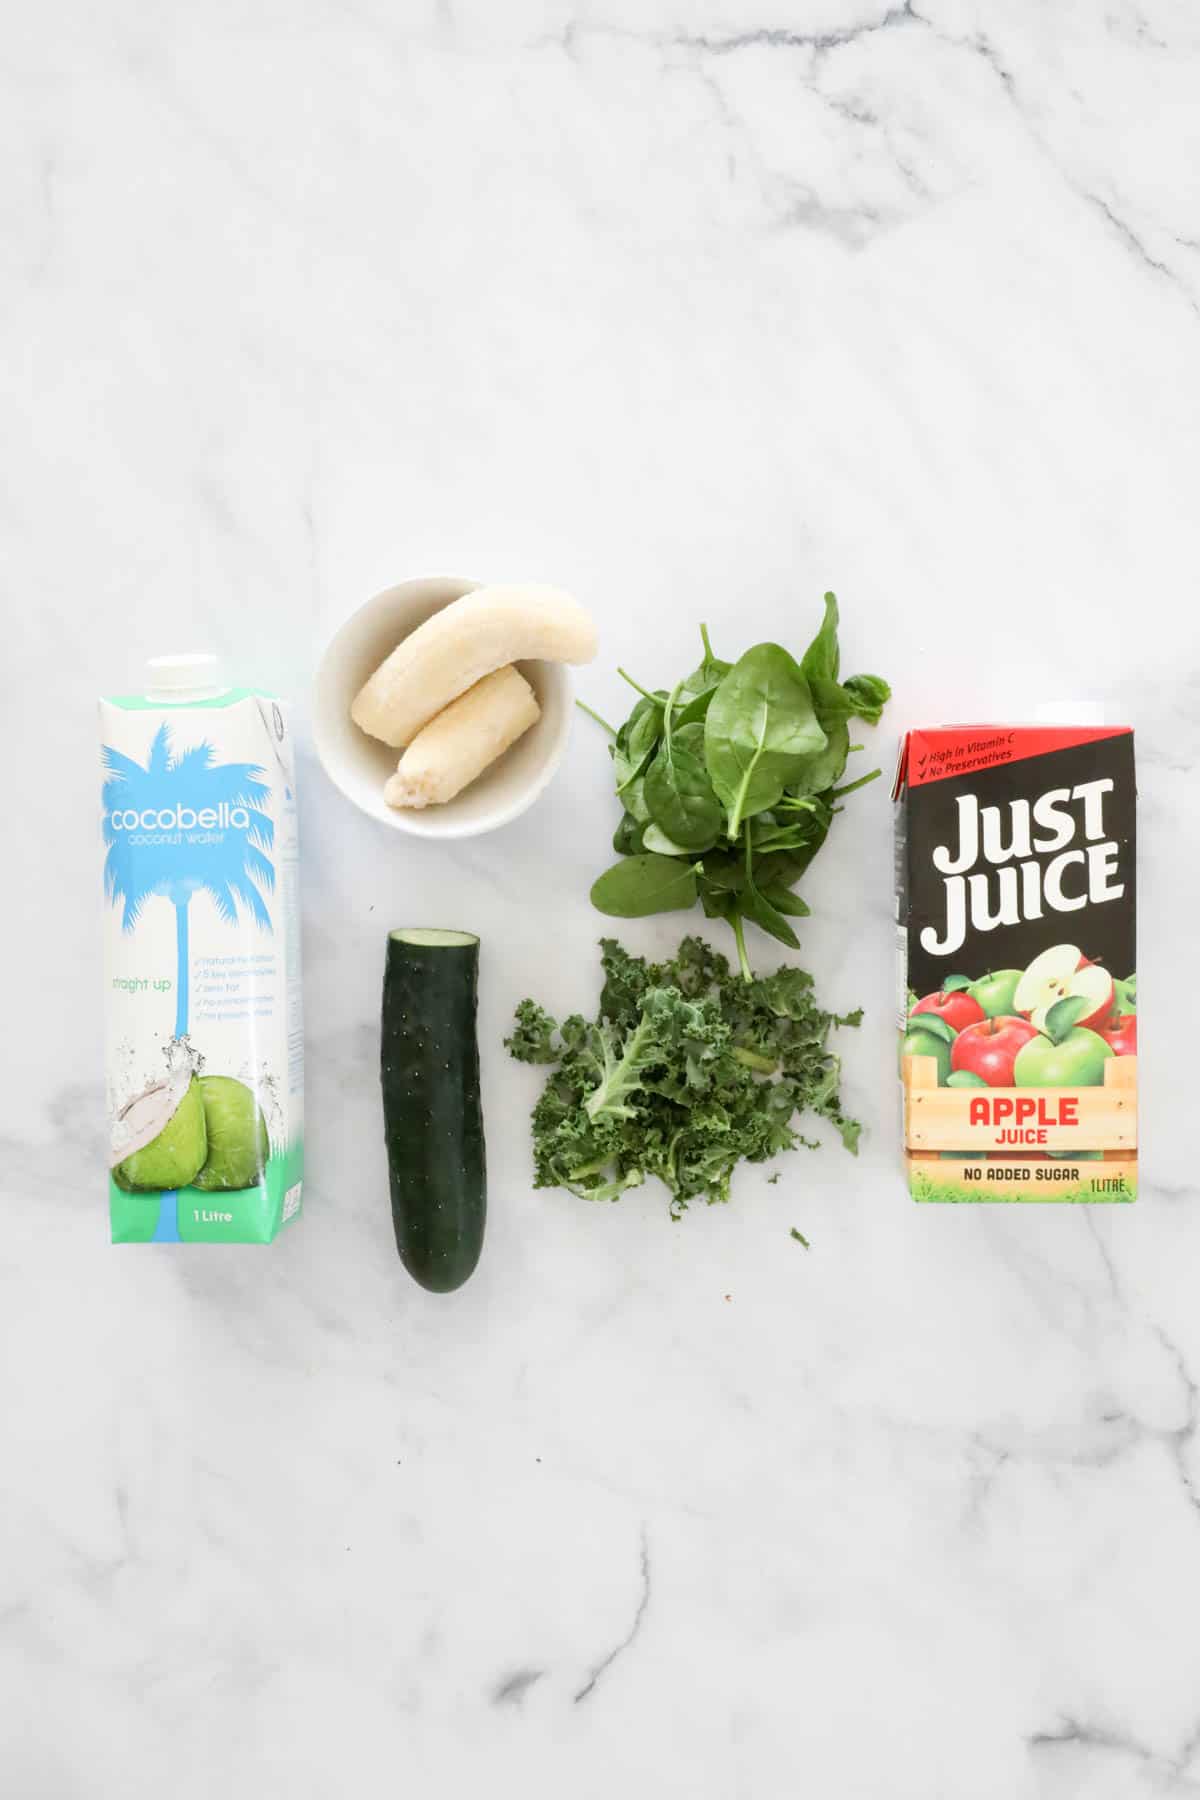
    The ingredients for a green smoothie.
    • Kale - this leafy green vegetable is blitzed to completely smooth in the Thermomix
    • Baby Spinach - or use regular spinach
    • Cucumber - use one medium cucumber or half a large cucumber
    • Frozen Banana - this gives the smoothie a creamy flavour
    • Coconut Water - any brand you like
    • Apple Juice - optional. This gives the smoothie a light sweetness. You can omit it if you prefer.
    • Lemon Juice - add a squeeze of lemon juice for added tang and freshness!

    Step By Step Instructions

    It takes just 2 minutes to prepare this all-in-one Thermomix Green Smoothie!

    Please scroll to the recipe card at the bottom of the post for ingredient quantities and the full detailed method.

    Step 1 - Mix

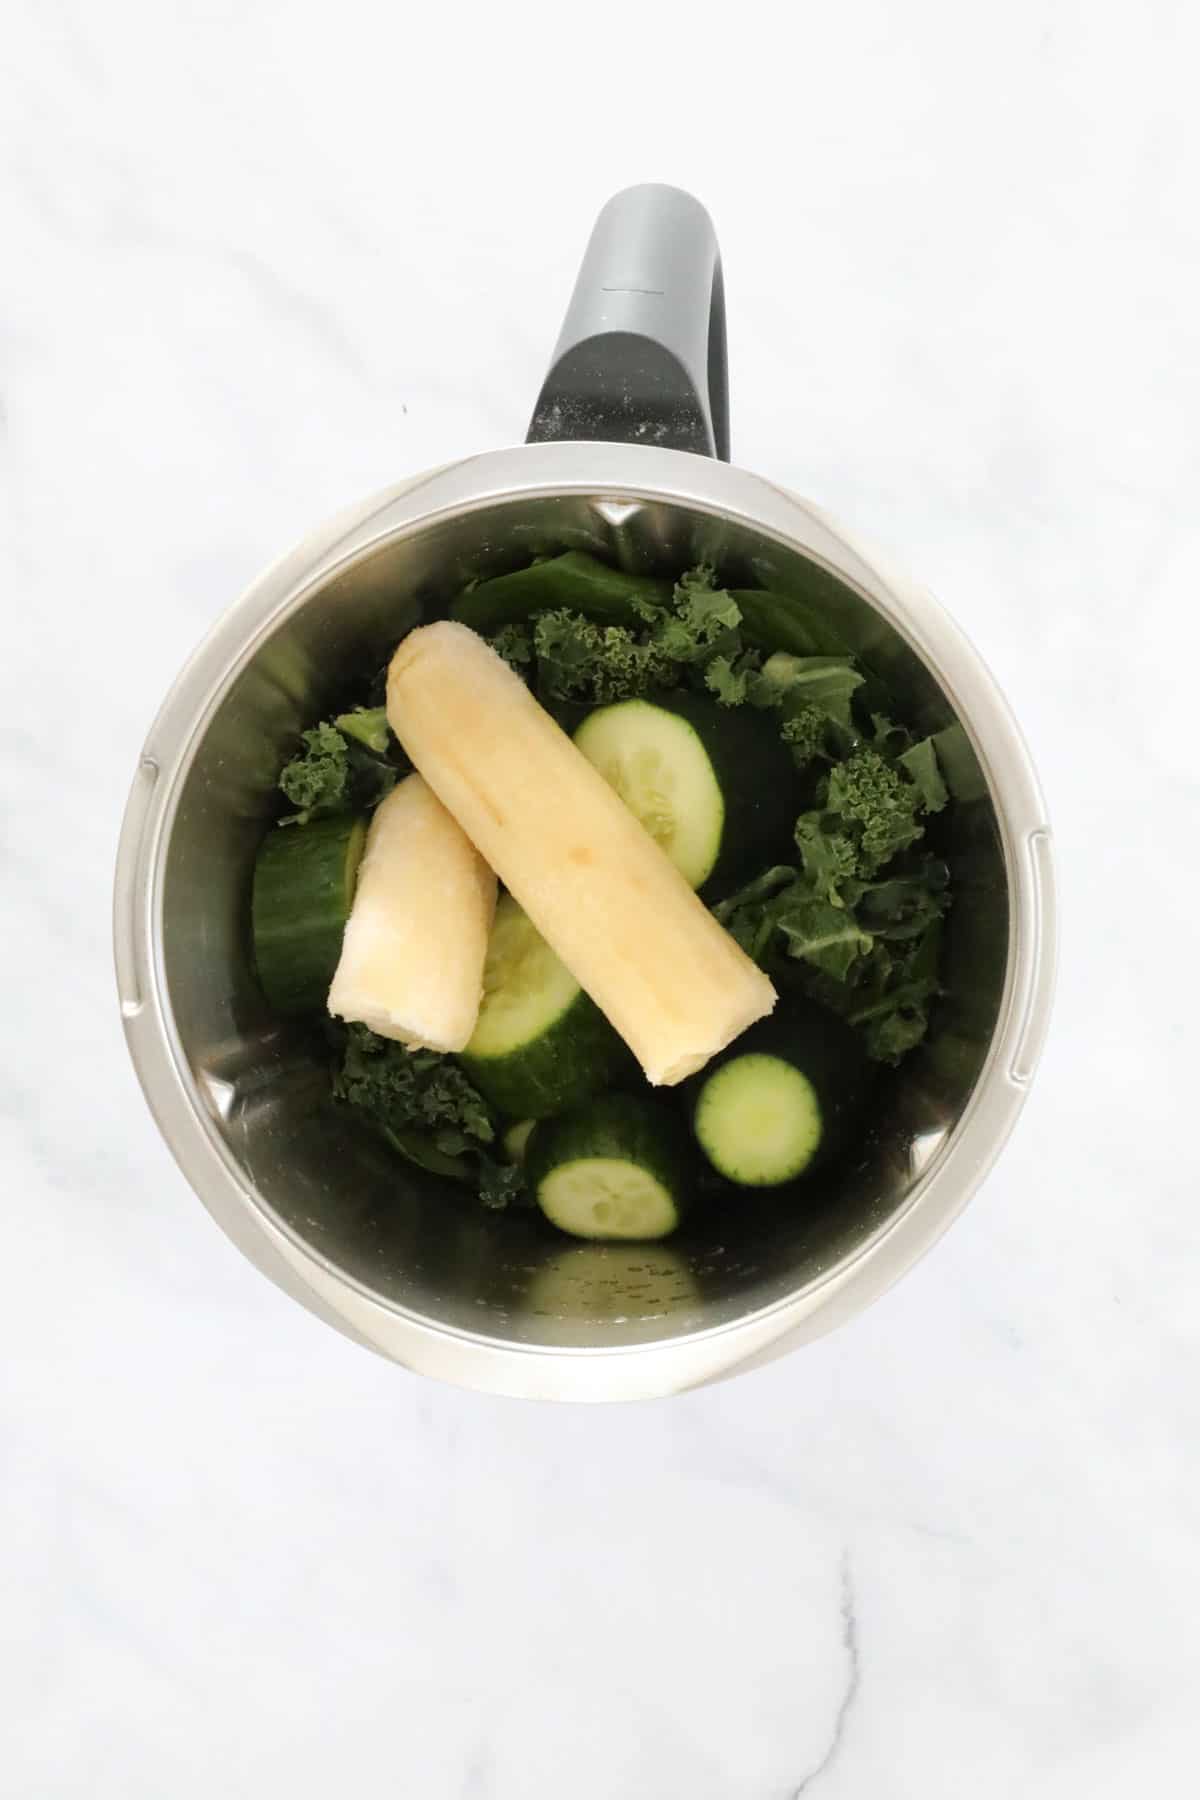
    Place all of the ingredients into the Thermomix bowl.

    Mix on Speed 10 for 2 minutes or until completely smooth.

    Enjoy immediately.

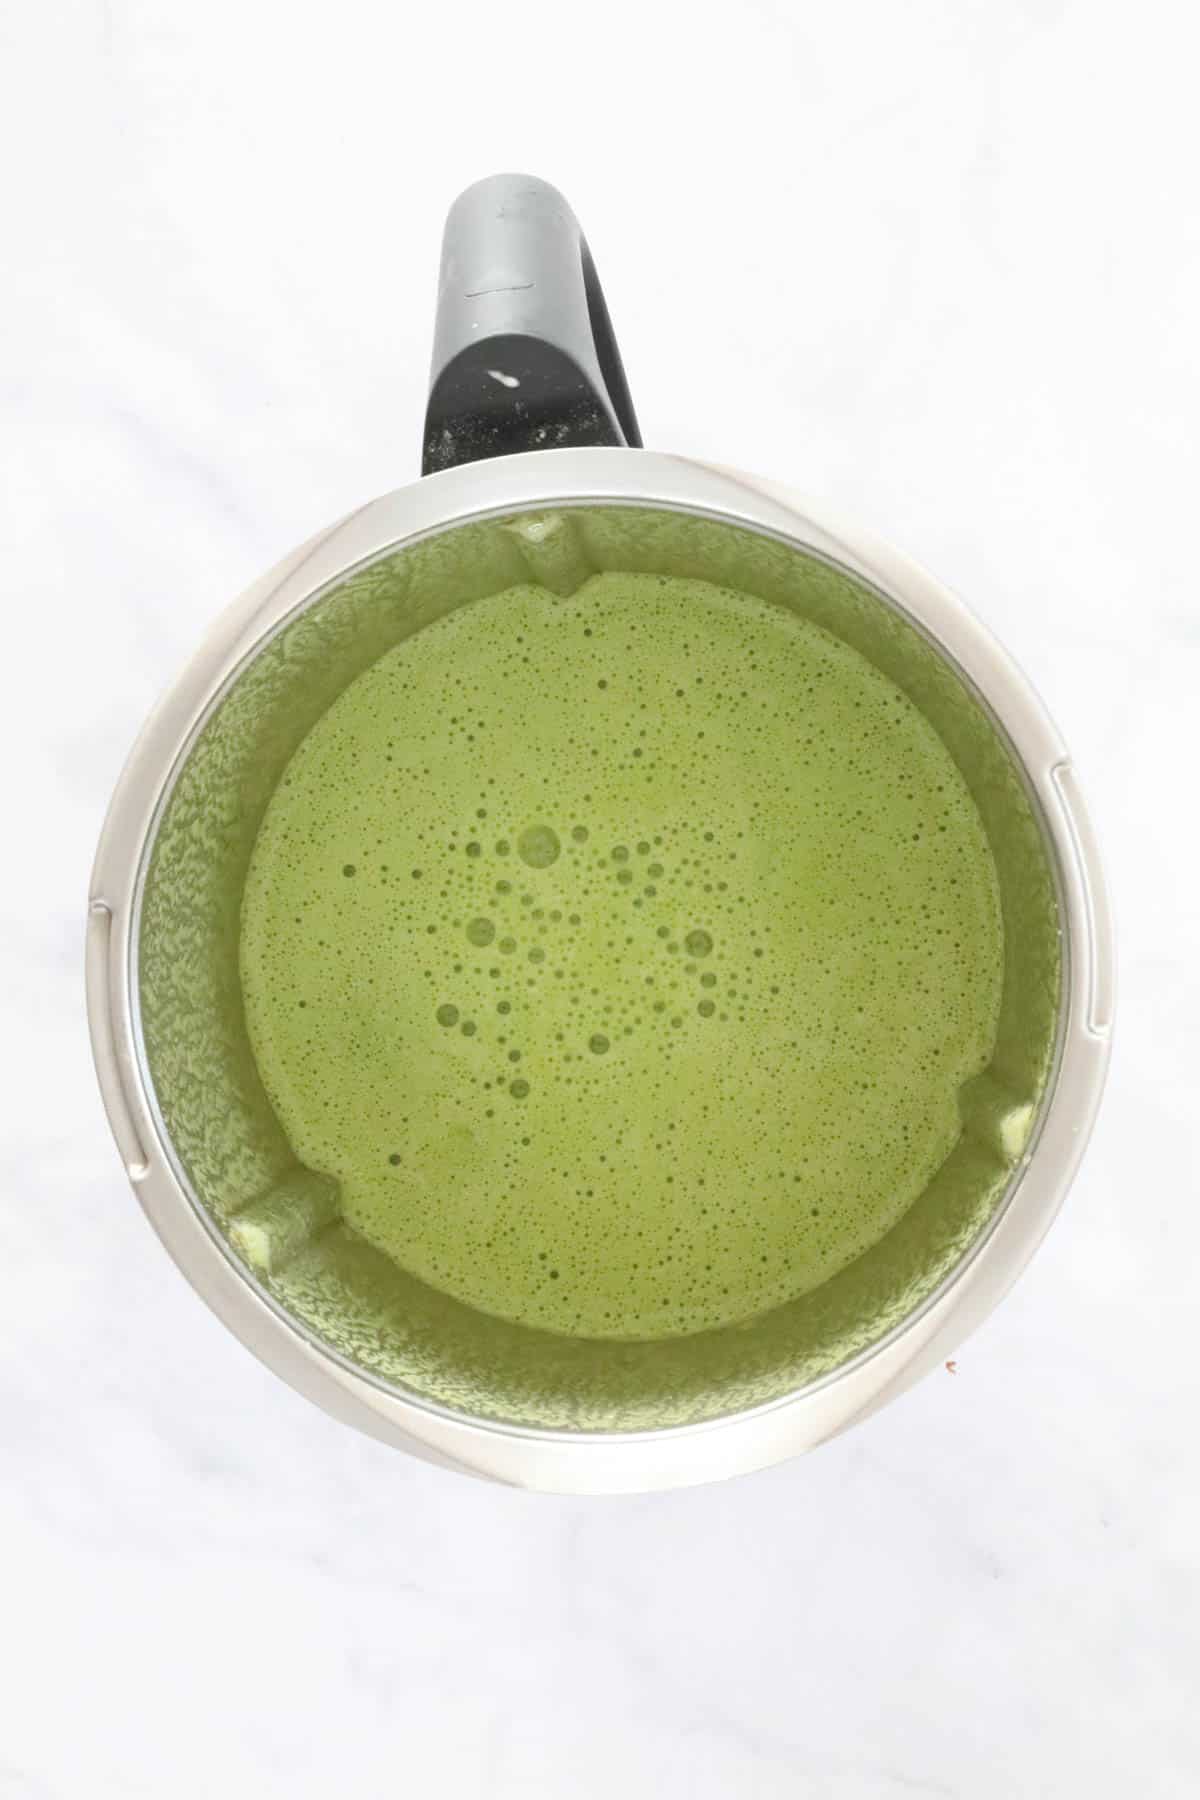
    A Thermomix filled with green liquid.

    Expert Tips

    Wanting to make the perfect green smoothie in your Thermomix? Here's how!

    • The Thermomix will blitz the fruits and vegetables into a completely smooth drink... without any chunks or bits of kale/spinach remaining.
    • Omit the apple juice if you prefer (I like to keep it in because it gives the smoothie a sweetness that kids love).
    • Using a frozen banana is what gives this smoothie it's creamy texture.
    • Serve immediately.
    • This smoothie makes 2 large serves or 4 smaller (kid-size) serves.
    • This recipe is not suitable for freezing.
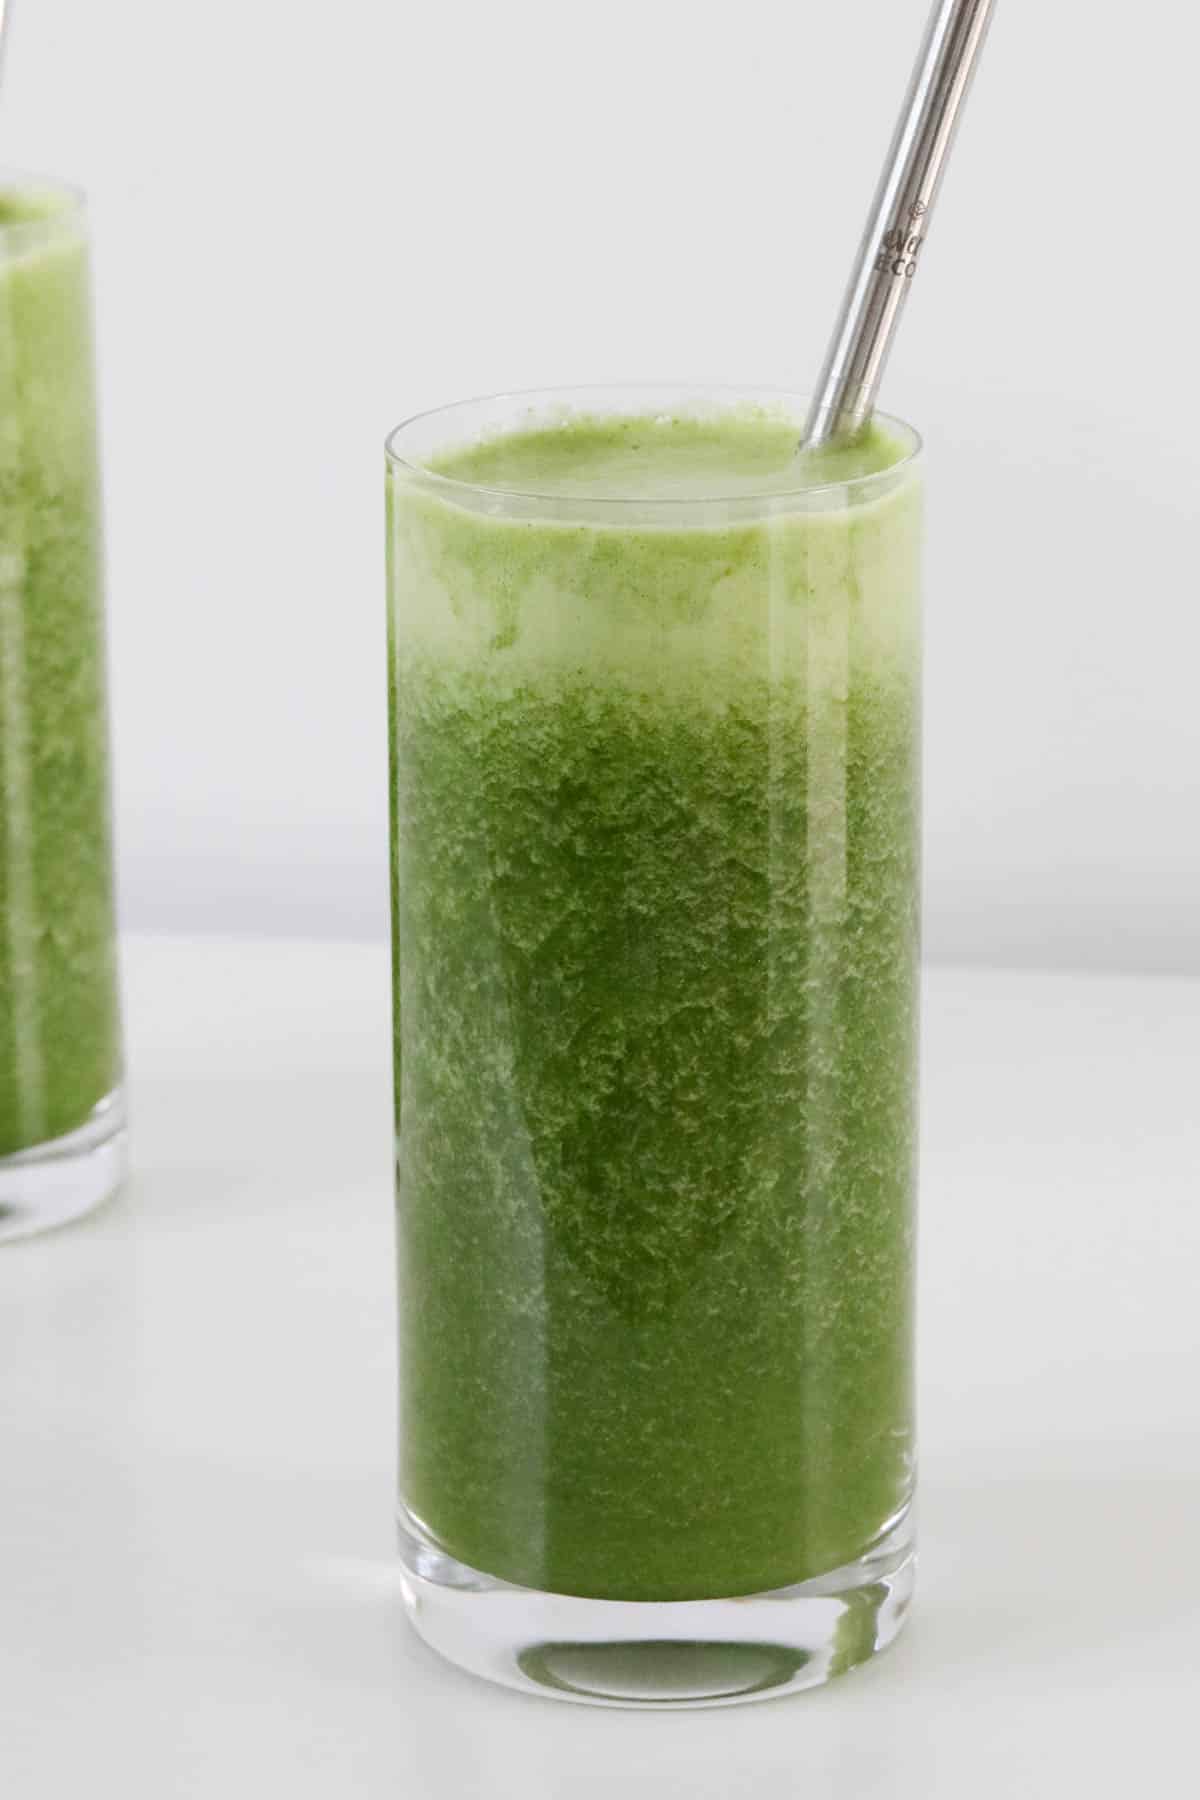
    A healthy green juice in a glass.

    FAQs

    Can I double this recipe?

    You can, provided that you do not exceed the MAX line (the size of the Thermomix bowl differs between models).

    Can I make this smoothie without a Thermomix?

    Yes, you can use a blender or Vitamix if you prefer.

    Can I use regular spinach if I don't have baby spinach?

    Yes! Either baby spinach or regular spinach is fine to use.

    A glass of a green juice.

    Related Recipes

    The Thermomix makes it SO easy to make tasty and nutritious smoothies (perfect for a quick breakfast or an after school treat!).

    Here's a few of our favourite smoothie recipes:

    • An overhead shot of a hand holding a smoothie.
      Thermomix Strawberry Smoothie
    • Side view of a mango smoothie sitting on a pink towel.
      Thermomix Mango Smoothie
    • Banana smoothie in a tall glass sitting on a pink towel with a blue striped straw in glass.
      Thermomix Banana Smoothie
    • Thermomix Healthy Chocolate Banana Smoothie
      Healthy Thermomix Chocolate Banana Smoothie

    SHOP OUR RANGE OF THERMOMIX COOKBOOKS

    Browse our collection of hardcopy Thermomix cookbooks here.

    There's everything from family dinners to kids snacks, desserts to cookies, slices to Christmas recipes, cocktails to chocolate recipes and more!

    ThermoBliss complete set
    An overhead shot of a green smoothie.
    Print Recipe
    4.82 from 16 votes

    Thermomix Green Smoothie

    A dairy-free Thermomix Green Smoothie packed with kale, cucumber and baby spinach! The BEST healthy and nutritious smoothie ever!
    Prep Time2 minutes mins
    Total Time2 minutes mins
    Course: Drinks
    Cuisine: Western
    Servings: 2 serves
    Calories: 131kcal
    Author: Lucy & Lauren
    Cost: $5

    Equipment

    • Thermomix

    Ingredients

    • 50 g baby spinach
    • 20 g kale
    • 200 g cucumber approx 1
    • 200 g water
    • 1 frozen banana chopped
    • 200 g coconut water
    • 100 g apple juice (optional or substitute for extra coconut water or water)
    • Juice of 1 lemon

    Instructions

    • Place all of the ingredients into the Thermomix bowl.
    • Mix for 2 minutes, Speed 10.
    • Serve immediately.

    Notes

    RECIPE NOTES & TIPS
    • The Thermomix will blitz the fruits and vegetables into a completely smooth drink... without any chunks or bits of kale/spinach remaining.
    • Omit the apple juice if you prefer (I like to keep it in because it gives the smoothie a sweetness that kids love).
    • Using a frozen banana is what gives this smoothie it's creamy texture.
    • Serve immediately.
    • This smoothie makes 2 large serves or 4 smaller (kid-size) serves.
    • This recipe is not suitable for freezing.

    Nutrition

    Calories: 131kcal | Carbohydrates: 29g | Protein: 4g | Fat: 1g | Saturated Fat: 0.3g | Polyunsaturated Fat: 0.3g | Monounsaturated Fat: 0.1g | Sodium: 157mg | Potassium: 1000mg | Fiber: 6g | Sugar: 17g | Vitamin A: 6306IU | Vitamin C: 53mg | Calcium: 170mg | Iron: 2mg

    Easy Thermomix Lemon Recipes

    April 6, 2016

    You know the feeling when you have tonnes of lemons in your fruit bowl... and no idea what to do with them all!? Yep, that happens to us too! And so, we've put together a collection of our favourite Thermomix recipes that use up all of those yummy lemons you have lying around.

    Collage of Lemon recipes to make in a Thermomix.

    Thermomix Lemon Curd

    One of the first things I like to do whenever I have too many lemons is make this Thermomix Lemon Curd.

    As well as keeping to enjoy it yourself, this Lemon Curd also makes a great homemade gift.

    How to Make Lemon Curd in a Thermomix

    It couldn't be easier to make your own homemade lemon curd in the Thermomix with just 4 ingredients... and in less than 15 minutes!
    How to Make Lemon Curd in a Thermomix Recipe
    Lemon curd in a wooden bowl.

    Thermomix Lemon & Ricotta Cake (Gluten-Free)

    This light and delicate Thermomix Lemon and Ricotta Cake is the perfect dessert to share with family and friends.

    It is also gluten free so no one has to miss out!

    Thermomix Lemon & Ricotta Cake (Gluten-Free)

    A dense and moist Gluten-Free Thermomix Lemon & Ricotta Cake made using just 6 ingredients!
    Thermomix Lemon & Ricotta Cake (Gluten-Free) Recipe
    An overhead shot of a piece of almond topped cake.

    Thermomix Lemon and Poppy Seed Cake

    It doesn't get better than this Thermomix Lemon and Poppy Seed Cake! Packed with flavour, this light cake is the perfect accompaniment to your cup of tea.

    Thermomix Lemon and Poppy Seed Cake

    Our classic Thermomix Lemon and Poppy Seed Cake is the perfect sweet treat!
    Thermomix Lemon and Poppy Seed Cake Recipe
    Overhead view of Lemon and Poppy Seed Cake Sliced and sitting on a pale timber serving board.

    Thermomix Lemon Curd Cupcakes

    These Thermomix Lemon Curd Cupcakes are made using our famous Lemon Curd recipe and they are just packed with flavour.

    If you don't have time to make your own lemon curd, simply use store bought curd instead.

    Thermomix Lemon Curd Cupcakes

    Our Thermomix Lemon Curd Cupcakes are so light, tangy and sweet!
    Thermomix Lemon Curd Cupcakes Recipe
    Thermomix Lemon Curd Cupcakes

    Thermomix Lemon Crumble Slice

    Our famous Thermomix Lemon Crumble Slice ticks all the boxes - sweet, creamy and easy to make!

    This slice is perfect for your next special occasion or why not make it to enjoy with your afternoon cup of tea?

    Thermomix Lemon Crumble Slice

    Our most popular Thermomix Lemon Crumble Slice is simply the best! Creamy lemon filling sandwiched between crunchy oat crumble!
    Thermomix Lemon Crumble Slice Recipe
    A piece of crumble slice with a lemon filling.

    Thermomix Baked Lemon Cheesecake

    This baked Lemon Cheesecake really is a favourite! You will love how easy it is to put together and you won't be able to stop yourself from eating just one slice!

    Thermomix Baked Lemon Cheesecake

    A simple and delicious Thermomix Baked Lemon Cheesecake.. the perfect dessert for any occasion!
    Thermomix Baked Lemon Cheesecake Recipe
    A simple and delicious Thermomix Baked Lemon Cheesecake.. the perfect dessert for any occasion!

    Thermomix Lemon & Coconut Slice

    This classic Lemon and Coconut Slice is one of the easiest recipes there is to make!

    Along with being packed with flavour, this slice is also freezer friendly.

    Thermomix Lemon & Coconut Slice

    Our most popular Thermomix Lemon & Coconut Slice takes just 15 minutes to prepare. A favourite in school lunchboxes or for morning tea, this simple slice is always a hit!
    Thermomix Lemon & Coconut Slice Recipe
    Pieces of lemon coconut slice on a board.

    Thermomix Lemon Cupcakes

    These Lemon cupcakes are the ultimate sweet, soft and fluffy treat! They are full of flavour and topped with a lemon buttercream frosting - yum!

    Thermomix Lemon Cupcakes

    Lemon cupcakes are the ultimate sweet, soft and fluffy treat! Topped with a luscious and zesty lemon buttercream frosting... these moist cupcakes will be ready to eat in less than 40 minutes!
    Thermomix Lemon Cupcakes Recipe
    Lemon cupcake with lemon butter creaming icing sitting on white surface with cupcake wrapper pulled down.

    Thermomix Lemon Butter Cake

    Our Thermomix Lemon Butter Cake is a delicious twist on our famous Butter Cake recipe.

    This cake can also be made ahead of time and frozen until needed.

    Easy Thermomix Lemon Cake

    Our easy Thermomix Lemon Cake is deliciously soft and light with just the right hit of lemon flavour.
    Easy Thermomix Lemon Cake Recipe
    Easy Thermomix Lemon Cake

    Thermomix Lemon Cheesecake Slice

    This delicious recipe combines two of our favourite things - cheesecake and slice!

    It makes the perfect dessert or special treat for your next occasion.

    Thermomix Lemon Cheesecake Slice

    This No Bake Lemon Cheesecake Slice combines two of my favourite things AND it can also be made using a Thermomix!
    Thermomix Lemon Cheesecake Slice Recipe

    Looking for More?

    You can find more delicious recipes in our Books and eBooks - shop the range here.

    ThermoBliss complete set

    Thermomix Cream Cheese Frosting Recipe

    April 5, 2016

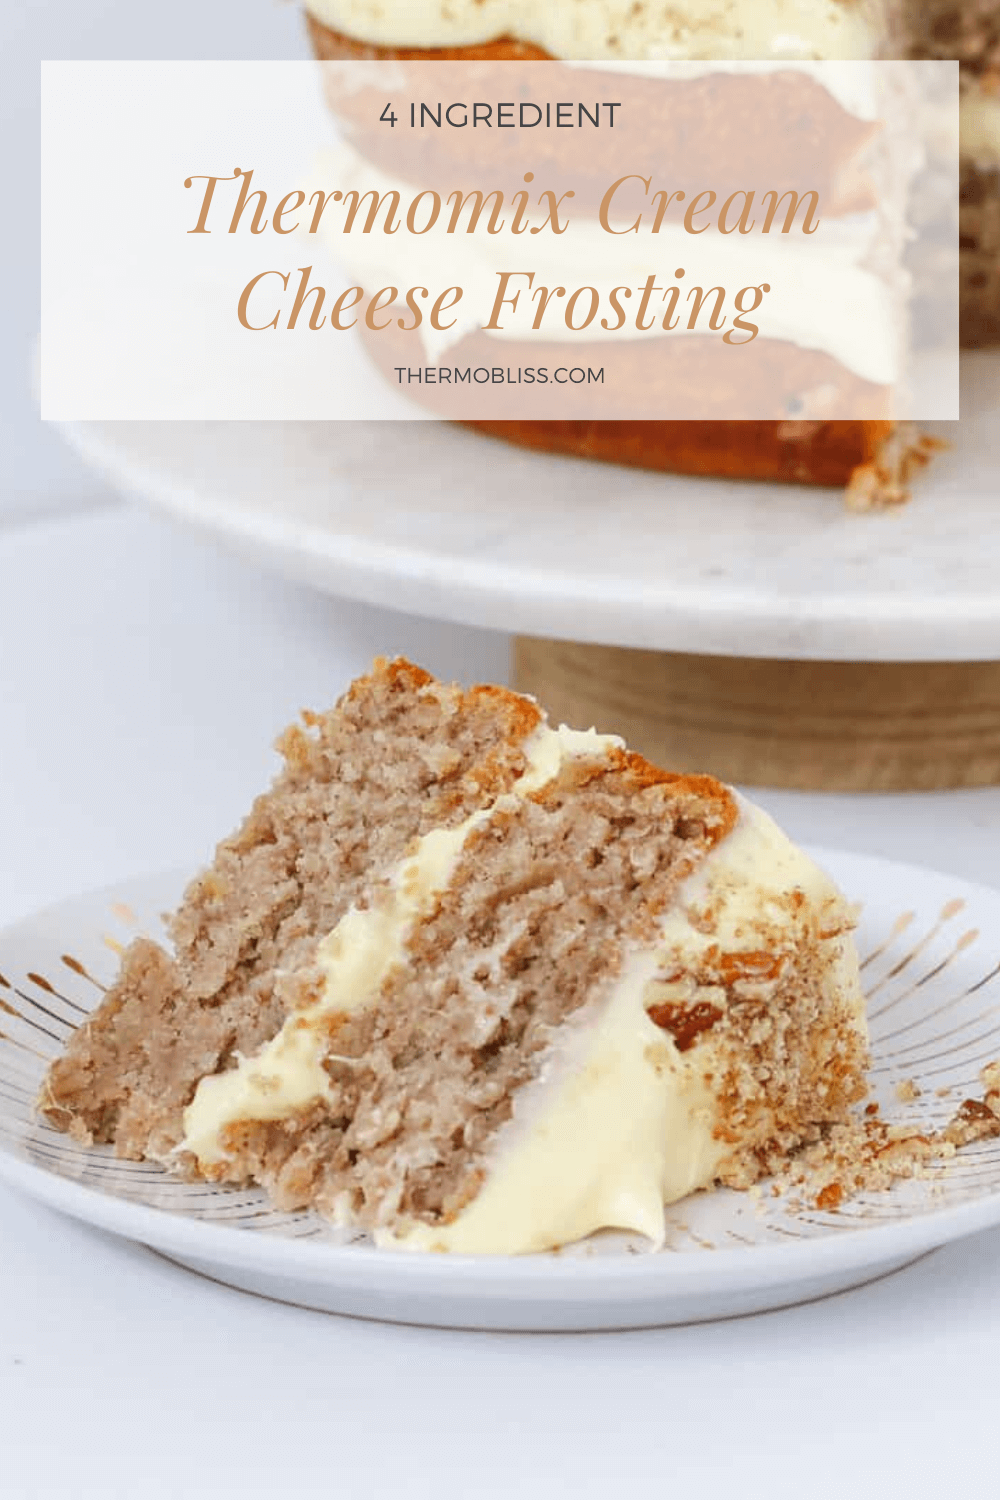
    A piece of cake with cream cheese frosting.

    A four ingredient Thermomix Cream Cheese Frosting recipe that's perfect for icing cakes, cupcakes, loaves, muffins and more!

    A Pinterest image of a piece of frosted cake with the text overlay 'Thermomix Cream Cheese Frosting'

    When it comes to baking your favourite cakes and cupcakes, there's no doubt that cream cheese frosting is the ultimate match made in heaven!

    Whether it's smothered over a classic butter cake or strawberry and banana loaf, piped onto your favourite lemon cupcakes or spread over a lemon and poppyseed cake, there's no denying that when it comes to icing cakes and cupcakes, cream cheese frosting is always the winner!

    Recipes Using Cream Cheese Frosting

    While we all secretly love eating cream cheese frosting straight from the Thermomix bowl, it's also super delicious on top of your favourite recipes!

    • Banana Cake - the classic combination of moist, dense banana cake topped with sweet cream cheese frosting just cant be beat!
    • Hummingbird Cake - fresh, light an zesty! This delicious cake is perfect for afternoon tea.
    • Banana Bread - Smother a layer of Thermomix cream cheese frosting over your favourite banana bread for a decadent treat.
    • Lemon Loaf - our simple lemon loaf tastes even better when frosted!
    • Lemon & Blueberry Cake - a classy cake that becomes a showstopper once the cream cheese frosting is added.
    • Blueberry Muffins - spread cream cheese frosting over your blueberry muffins for a sweet treat.

    What You Need

    All you need is just a few basic ingredients:

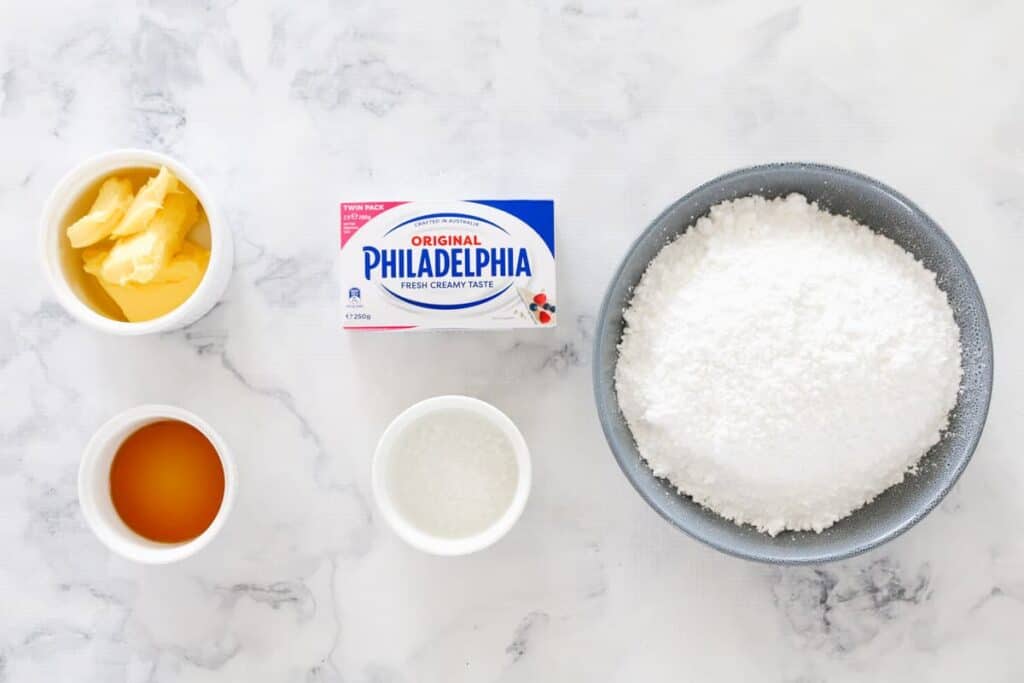
    The ingredients for Thermomix cream cheese frosting.
    • cream cheese - choose a block of full fat cream cheese (not light, skim or spreadable).
    • butter - either salted or unsalted is fine.
    • icing sugar - choose pure icing sugar for a firmer frosting or icing sugar mixture for a softer frosting.
    • vanilla extract -
    • pinch of salt - optional

    Step By Step Instructions

    It could not possibly be easier to make cream cheese frosting in your Thermomix!

    Step 1 - Sift The Icing Sugar

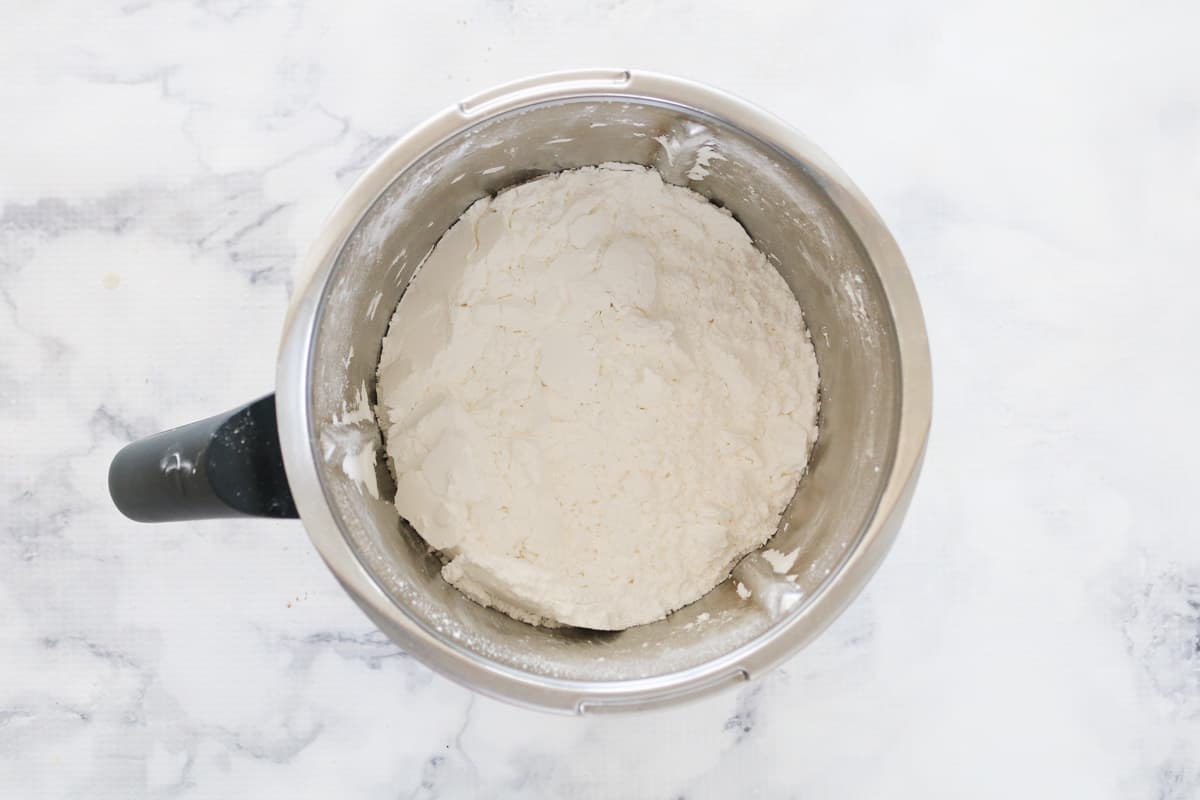
    Place the icing sugar into the Thermomix bowl. Remove any lumps by pressing Turbo for 5-10 seconds. Scrape down the sides of the bowl.

    Icing sugar in a Thermomix bowl.

    Step 2 - Add The Remaining Ingredients

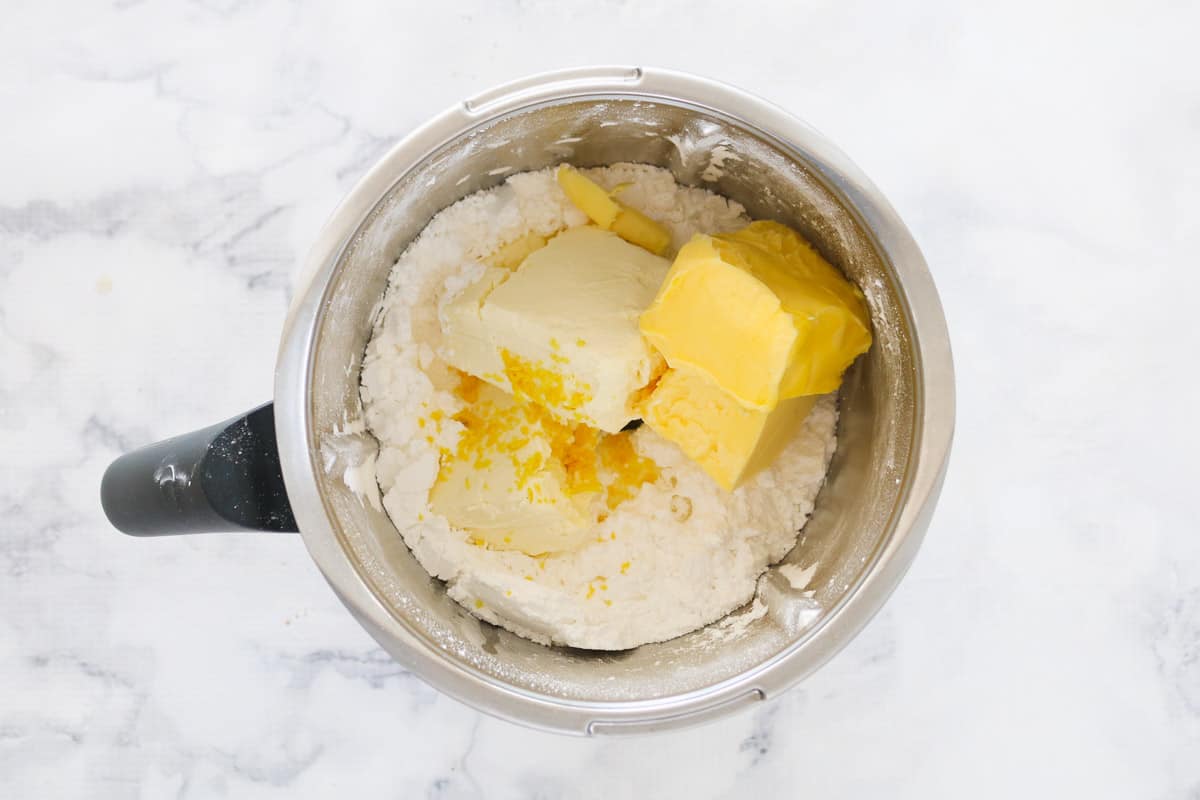
    Add the butter, cream cheese and vanilla extract. Mix on Speed 5 for 15 seconds.

    Butter, cream cheese and vanilla extract in a Thermomix bowl.

    Step 1 - Scrape And Mix Again

    Scrape down the sides of the bowl and mix again for a further 15 seconds.

    Cream cheese frosting in a Thermomix bowl.

    Expert Tips

    Room temperature ingredients

    For a smooth result, ensure that your cream cheese and butter are at room temperature before using.

    Type of icing sugar

    Choose pure icing sugar for a firmer frosting or icing sugar mixture for a softer frosting.

    Consistency of frosting

    If your frosting is too runny, add extra icing sugar and mix again. If the frosting is too thick, add a tiny splash of milk and mix again.

    Storing

    Keep the frosting stored in the fridge and consume within 3 days.

    Adding lemon juice and zest

    For a lemony twist, add the grated zest and juice from 1 lemon (optional) and omit the vanilla extract.

    Add a pinch of salt

    Adding a pinch of salt to your frosting will counterbalance the sweetness of the icing sugar.

    A hummingbird cake with cream cheese frosting.

    Related Recipes

    When it comes to baking, there's a few essential frosting recipes you need!

    Here's our most popular frosting, icing and buttercream recipes:

    Classic Buttercream - this is our absolute go-to recipe for birthday cakes!

    Chocolate Buttercream - love the classic version but have a craving for chocolate? This is the answer!

    Peanut Butter Frosting - this simple frosting is delicious smothered over chocolate cupcakes and mud cakes.

    White Chocolate Buttercream - a sweet and creamy buttercream that everyone loves!

    A piece of cake with cream cheese frosting.
    Print Recipe
    4.91 from 10 votes

    Thermomix Cream Cheese Frosting

    A 4 ingredient Thermomix Cream Cheese Frosting recipe that is perfect for icing cakes, cupcakes, loaves, muffins and more!
    Prep Time5 minutes mins
    Total Time5 minutes mins
    Course: Cakes
    Cuisine: baking
    Servings: 12 serves
    Calories: 259kcal
    Author: Lucy & Lauren

    Equipment

    • Thermomix

    Ingredients

    • 360 g icing sugar
    • 250 g cream cheese room temperature
    • 115 g butter room temperature
    • 2 teaspoon vanilla extract
    • pinch of salt optional

    Instructions

    • Weigh the icing sugar into the Thermomix bowl. Sift by pressing Turbo for 5-10 seconds.
    • Add all of the remaining ingredients to a clean Thermomix bowl and mix for 15 seconds, Speed 5 or until smooth.
    • Scrape down the sides and mix for a further 15 seconds on Speed 5.

    Notes

    RECIPE NOTES & TIPS
    Ingredients Info:
    • cream cheese - choose a block of full fat cream cheese (not light, skim or spreadable).
    • butter - either salted or unsalted is fine.
    • icing sugar - choose pure icing sugar for a firmer frosting or icing sugar mixture for a softer frosting.
     More Recipe Tips:
    • For a smooth result, ensure that your cream cheese and butter are at room temperature before using.
    • If your frosting is too runny, add extra icing sugar and mix again. If the frosting is too thick, add a tiny splash of milk and mix again.
    • Keep the frosting stored in the fridge and consume within 3 days.
    • For a lemony twist, add the grated zest and juice from 1 lemon (optional) and omit the vanilla extract. You may find that you need to add extra sugar when using lemon juice as it makes the frosting softer. 
    • Adding a pinch of salt to your frosting will counterbalance the sweetness of the icing sugar.

    Nutrition

    Calories: 259kcal | Carbohydrates: 31g | Protein: 1g | Fat: 15g | Saturated Fat: 9g | Trans Fat: 1g | Cholesterol: 44mg | Sodium: 136mg | Potassium: 33mg | Sugar: 30g | Vitamin A: 519IU | Calcium: 23mg | Iron: 1mg

    Easy Thermomix Lemon Cake

    March 29, 2016

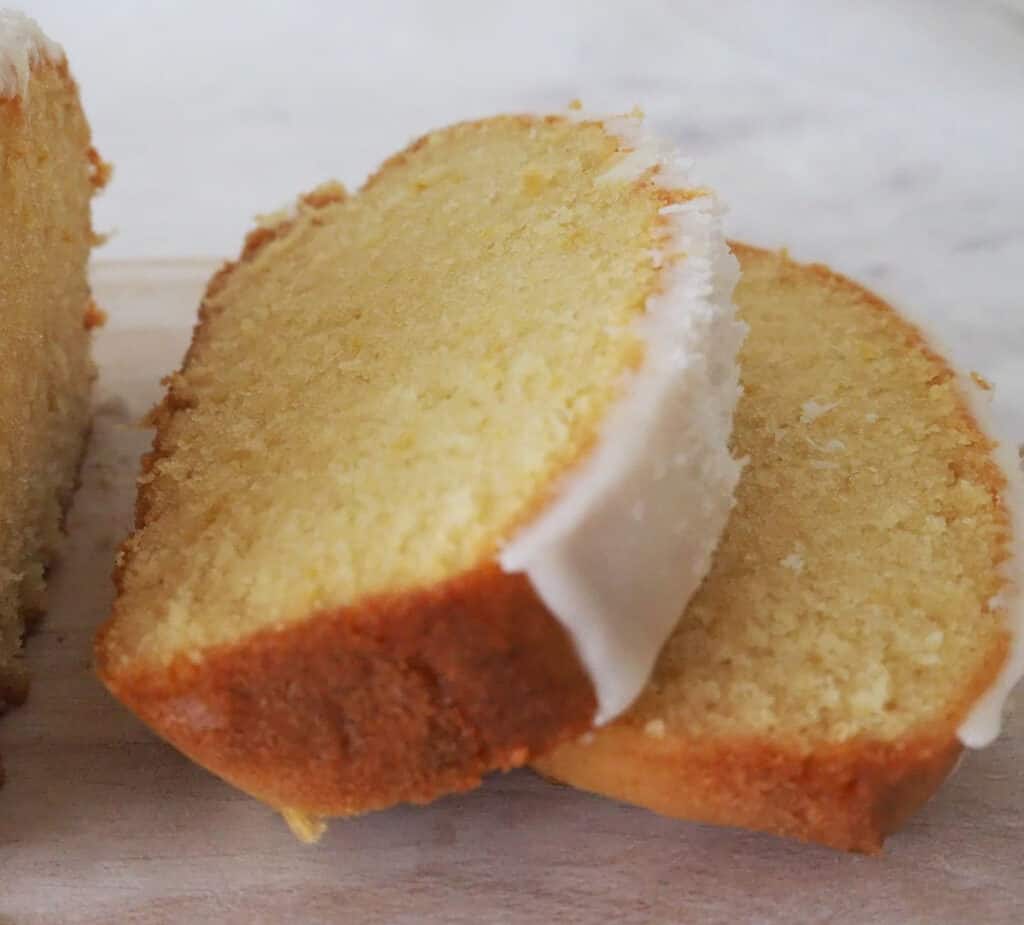
    Sliced Lemon Cake

    Our easy Thermomix Lemon Cake recipe has just the right amount of lemon flavour so that it can be enjoyed by the whole family! It is made with just a few basic ingredients, so it's budget friendly, and will be ready to enjoy in one hour!

    Sliced Lemon Cake

    Why you will love this Thermomix Lemon Cake Recipe:

    • It is budget friendly, you most likely have all the ingredients in your pantry and fridge!
    • It is freezer friendly, you can store this cake either iced or un-iced for up to three months.
    • Versatile - you can make this mixture into muffins if you wish.
    Sliced Lemon Cake

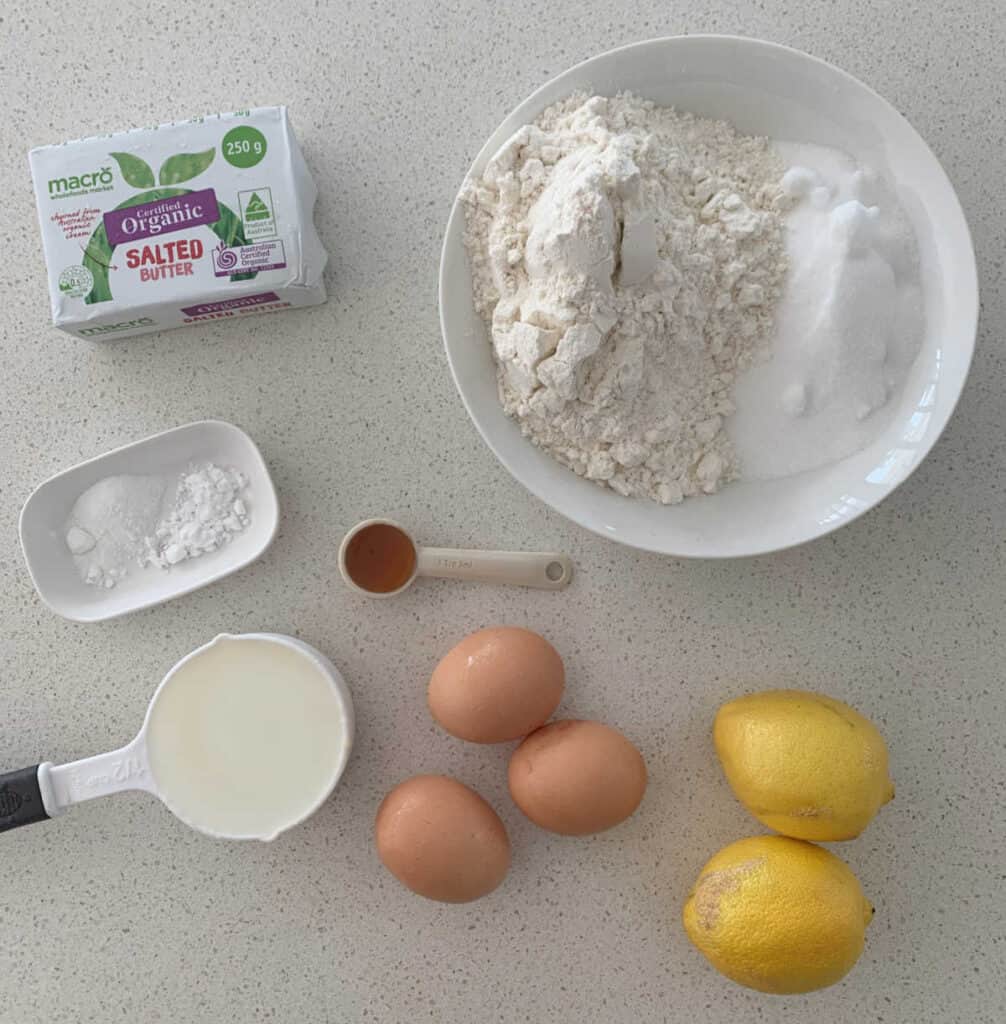
    Thermomix Lemon Cake Ingredients

    • If you don't have any plain flour, you can use self-raising flour in its place. Just omit the baking powder and bicarbonate of soda.
    • Butter - it's important to make sure your butter is at room temperature before making this recipe, otherwise the mixing time will need to be increased.
    • You will need approximately 3 lemons for this recipe.
    Lemon Butter Cake Ingredients

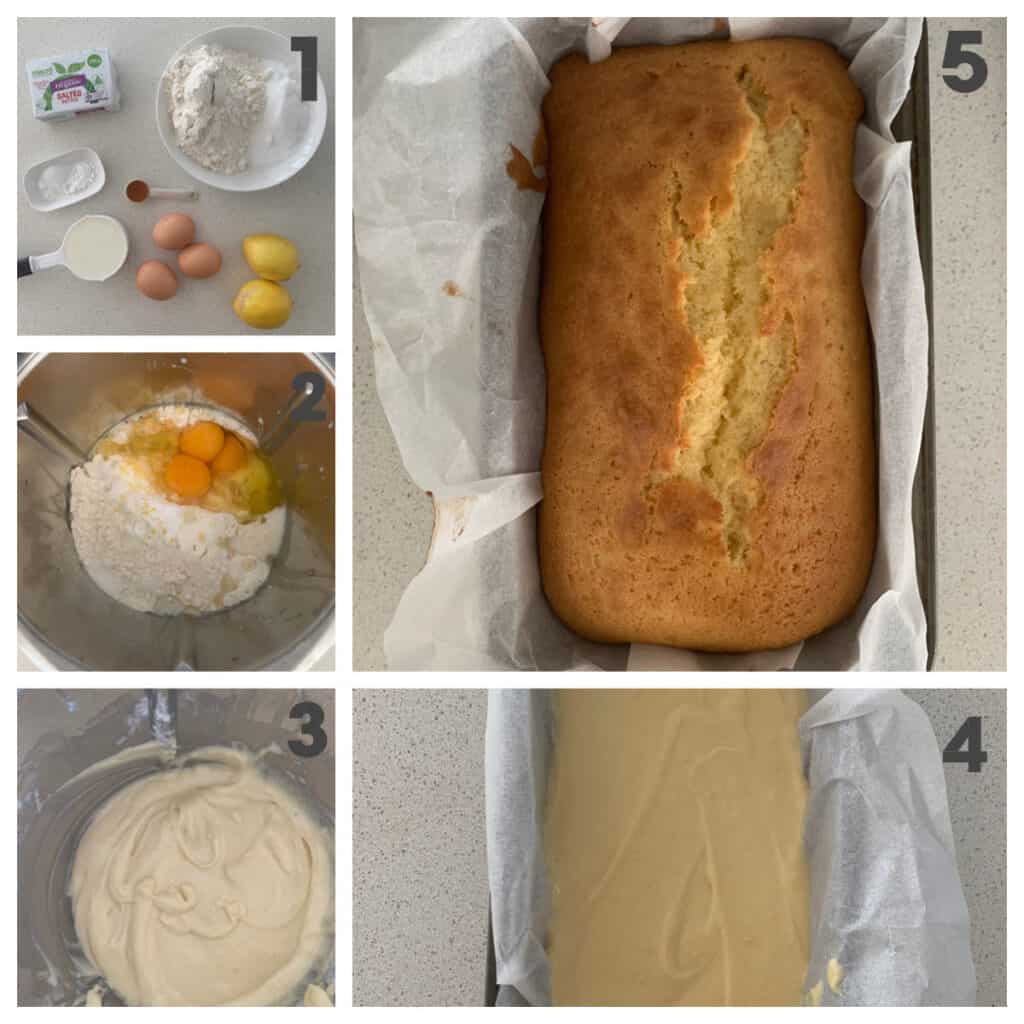
    How to Make our Lemon Cake in your Thermomix:

    Making this recipe is simple! To begin, you will need to cream the butter and sugar before adding the remaining ingredients and mixing it together.

    How to make a Lemon Butter Cake

    Tips for Making our Thermomix Lemon Cake Recipe:

    • If you are using a conventional oven, increase the temperature by 10-20 degrees Celsius, and keep a close eye on the cake towards the end of the baking time.  
    • This cake is freezer friendly, all you need to do is wrap in baking paper and foil and store in the fridge for up to three months.
    • You can freeze this cake either iced or un-iced.
    • This cake can be baked in a round or ring tin, please note the cooking time will vary.

    Frequently Asked Questions:

    What size is a loaf tin?

    The loaf tin we used for this recipe is approximately 25 x 14 x 7cm

    Can you freeze Lemon Cake?

    Yes you can, this cake can be frozen for up to three months either iced or un-iced.

    More easy Thermomix Cake Recipes:

    • Thermomix Butter Cake
    • Marble Cake
    • Thermomix Orange Cake Recipe
    • The BEST Thermomix Chocolate Cake Recipe
    • Thermomix Pound Cake Recipe
    Easy Thermomix Lemon Cake
    Print Recipe
    4.67 from 42 votes

    Easy Thermomix Lemon Cake

    Our easy Thermomix Lemon Cake is deliciously soft and light with just the right hit of lemon flavour.
    Prep Time10 minutes mins
    Cook Time50 minutes mins
    Total Time1 hour hr
    Course: Cakes
    Cuisine: Australian
    Servings: 8
    Calories: 450kcal
    Author: Lucy & Lauren

    Equipment

    • 24 x 14cm loaf tin

    Ingredients

    For The Cake

    • 125 grams butter softened
    • 220 grams caster sugar
    • 3 eggs
    • 1 teaspoon vanilla extract
    • 225 grams plain flour
    • ½ teaspoon baking powder
    • ¼ teaspoon bicarbonate of soda
    • 125 grams milk
    • 1 tblsp lemon rind finely grated

    For The Icing

    • 190 grams icing sugar (1¼ Cups)
    • 2 tablespoon lemon juice

    Instructions

    For The Cake

    • Preheat your oven to 160 degrees Celsius (fan-forced). Line a large loaf tin with baking paper and set aside until needed.
    • Place the softened butter and sugar into your Thermomix bowl and mix 30 seconds, Speed 5 until pale and creamy.
    • Add the eggs and vanilla extract and and mix for 30 seconds, Speed 5.
    • Add the remainder of your ingredients and mix for 10 seconds, Speed 4 or until your mixture is smooth and well combined. Mix for a further 5 - 10 seconds on Speed 4 if necessary.
    • Pour the mixture into your prepared loaf tin and place in the preheated oven to bake for 45 - 50 minutes, or until the cake is cooked through when tested with a skewer.
    • Carefully remove the cake from the oven and let it cool in the tin for 10 minutes before transferring to a wire rack to cool completely.

    For The Icing

    • Prepare the lemon icing by sifting the icing sugar into a bowl and mixing it with the lemon juice until smooth.
    • Use a spatula or a butter knife to spread the icing over the completely cooled °cake.

    Notes

    • If you are using a conventional oven, increase the temperature by 10-20 degrees Celsius, and keep a close eye on the cake towards the end of the baking time.  
    • This cake is freezer friendly, wrap in baking paper and foil and store in the fridge for up to three months.
    • You can freeze this cake either iced or un-iced.
    • This cake can be baked in a round or ring tin, please note the cooking time will vary.

    Nutrition

    Calories: 450kcal | Carbohydrates: 74g | Protein: 6g | Fat: 15g | Saturated Fat: 9g | Polyunsaturated Fat: 1g | Monounsaturated Fat: 4g | Trans Fat: 1g | Cholesterol: 97mg | Sodium: 204mg | Potassium: 86mg | Fiber: 1g | Sugar: 52g | Vitamin A: 506IU | Vitamin C: 4mg | Calcium: 53mg | Iron: 2mg

    Thermomix Gyoza (Pan-Fried)

    March 28, 2016

    Homemade gyozas on a plate.

    Delicious pan-fried Thermomix Gyoza made with a delicious Asian-inspired pork, cabbage, garlic, ginger and soy filling.

    Ready to eat in under 30 minutes!

    A plate of homemade dumplings.

    I love that the Thermomix makes it SO easy to make all your favourite takeaway recipes... at home (and without any additives or preservatives!).

    Just like our pizza dough, chicken curry or chicken and corn soup, these takeaway options are so simple to make in your Thermomix!

    Why You're Going To Love This Recipe

    What's not to love about our tasty fake-away Thermomix gyoza!

    • Quick & Easy - our Thermomix gyoza recipe will be ready to eat in under 30 minutes.
    • Versatile - substitute the pork mince for chicken, beef or prawn meat if you prefer!
    • Freezer-Friendly - freeze any uncooked gyoza for up to 2 months.
    • Double or Triple - this recipe can easily be doubled or tripled.
    • Suitable for all models of the Thermomix - this recipe can be made in any of the models of a Thermomix.
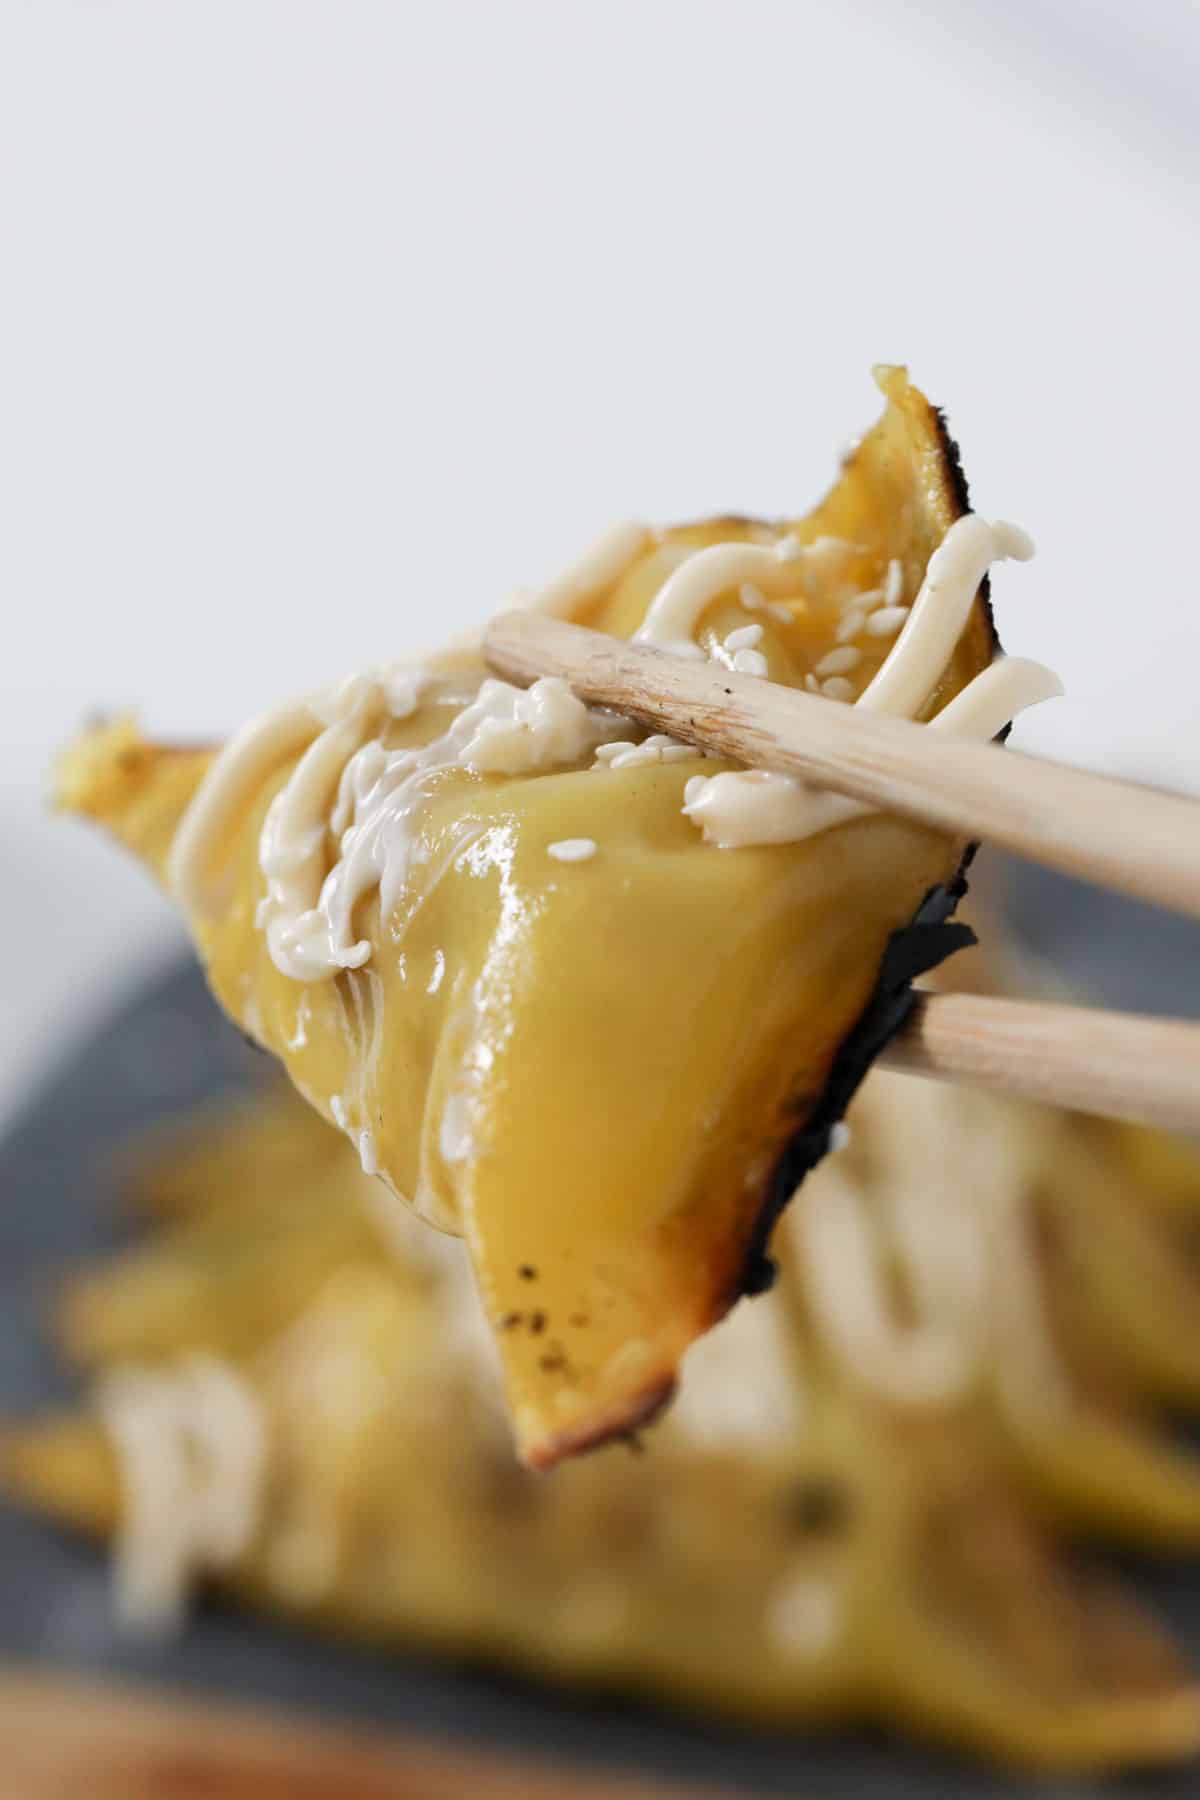
    A chopstick holding a gyoza.

    What You Need

    These tasty Thermomix gyoza are packed full of classic Asian flavours!

    Please scroll to the recipe card at the bottom of the post for ingredient quantities and the full detailed method.

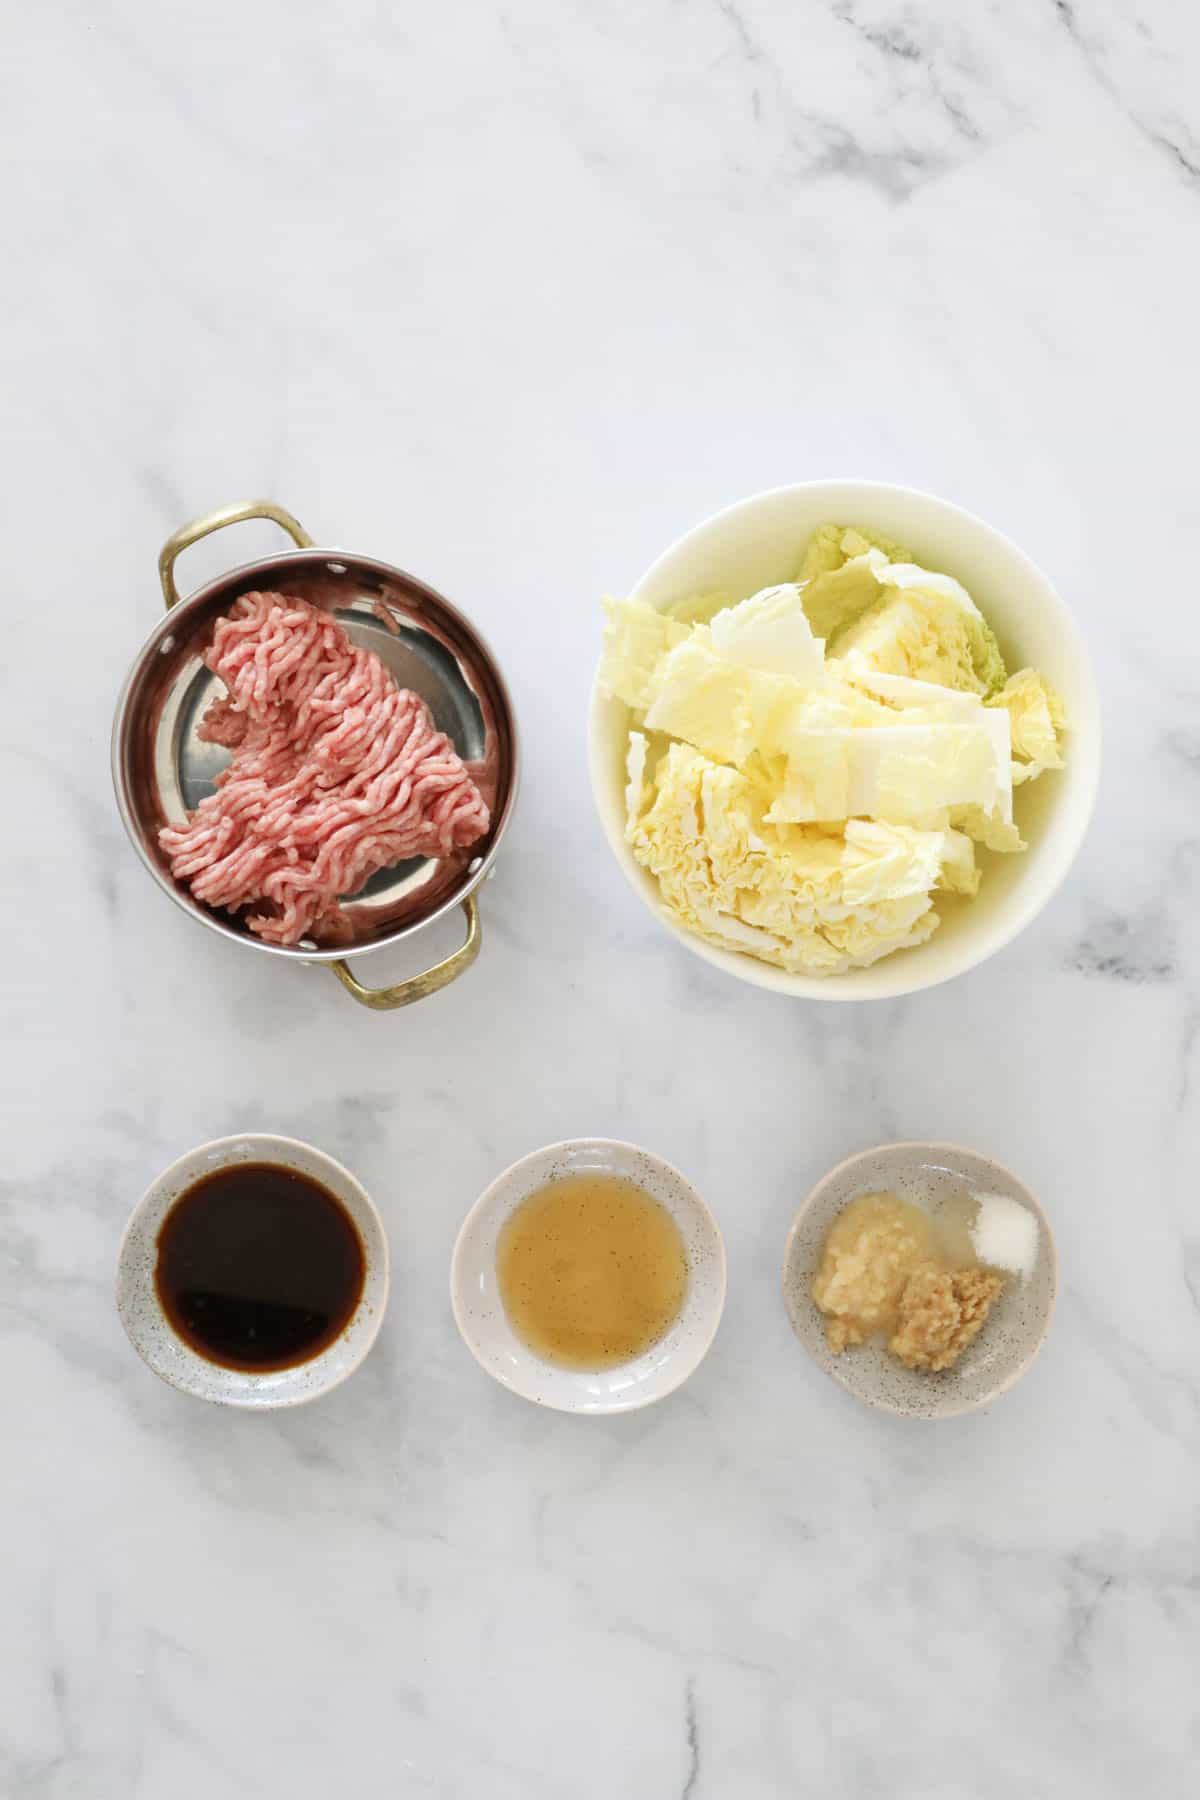
    The ingredients for pork dumplings.
    • White Cabbage - approximately ¼ of a small white cabbage
    • Pork Mince - pork mince is my favourite or you can substitute with chicken, beef or prawn
    • Garlic & Ginger - use freshly minced garlic and ginger or jarred/minced
    • Soy Sauce - use regular or light soy sauce
    • Sesame Oil - this gives the gyoza mixture a delicious Asian flavour
    • Caster Sugar - also known as superfine sugar
    • Wonton Wrappers - or gowgeee wrappers. These can be purchased from the refrigerated section of the supermarket (generally near the fresh lasagne sheets and ravioli).

    Step By Step Instructions

    Make your own Thermomix Gyoza in just a few minutes!

    Let the Thermomix do all the hard work for you!

    Please scroll to the recipe card at the bottom of the post for ingredient quantities and the full detailed method.

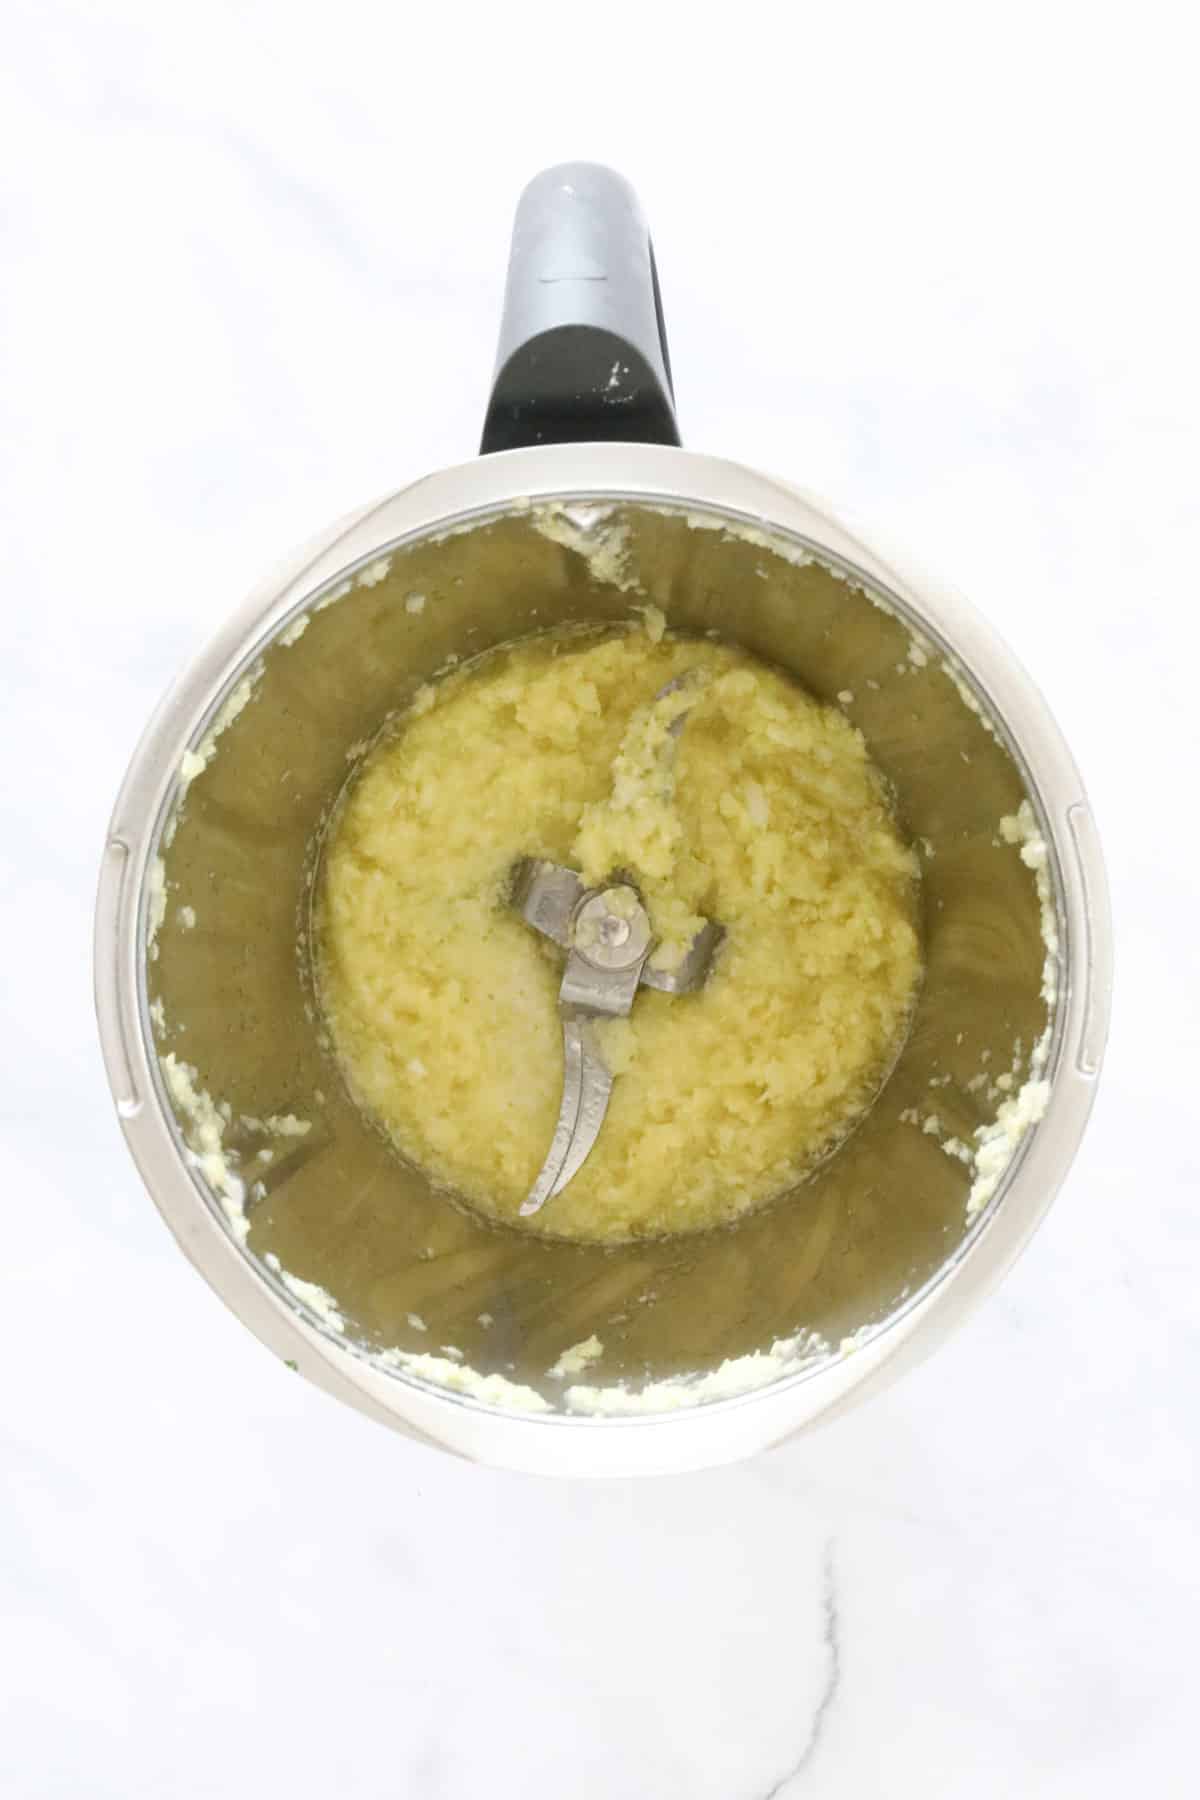
    Step 1 - Chop & Strain The Cabbage

    Place the cabbage into the Thermomix bowl.

    Mix until very finely chopped.

    Remove from the Thermomix and strain all of the liquid off the cabbage (using your hands or squeeze the cabbage in paper towel).

    Cabbage chopped in a Thermomix.

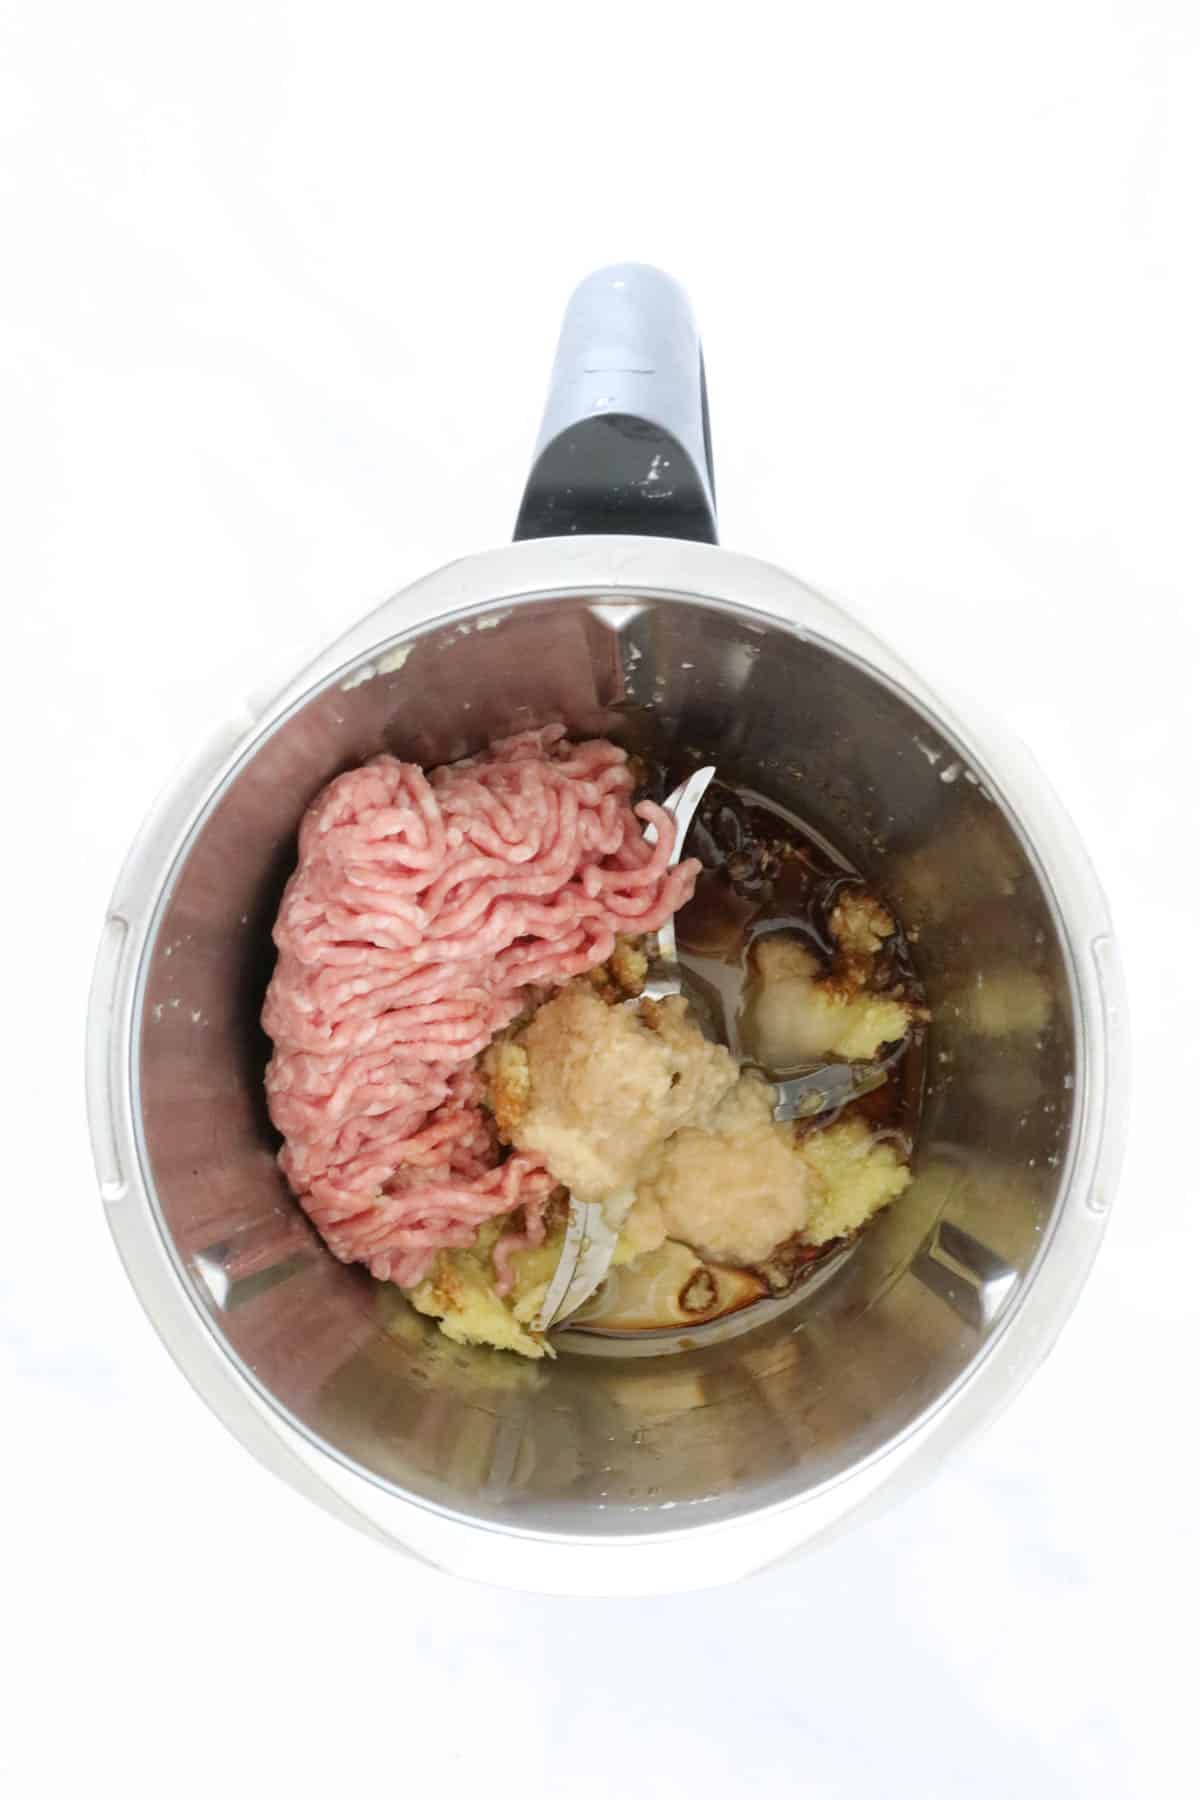
    Step 2 - Mix

    Return the strained cabbage and the remaining Thermomix gyoza ingredients into the Thermomix bowl.

    Pork mince and gyoza seasonings in a Thermomix.

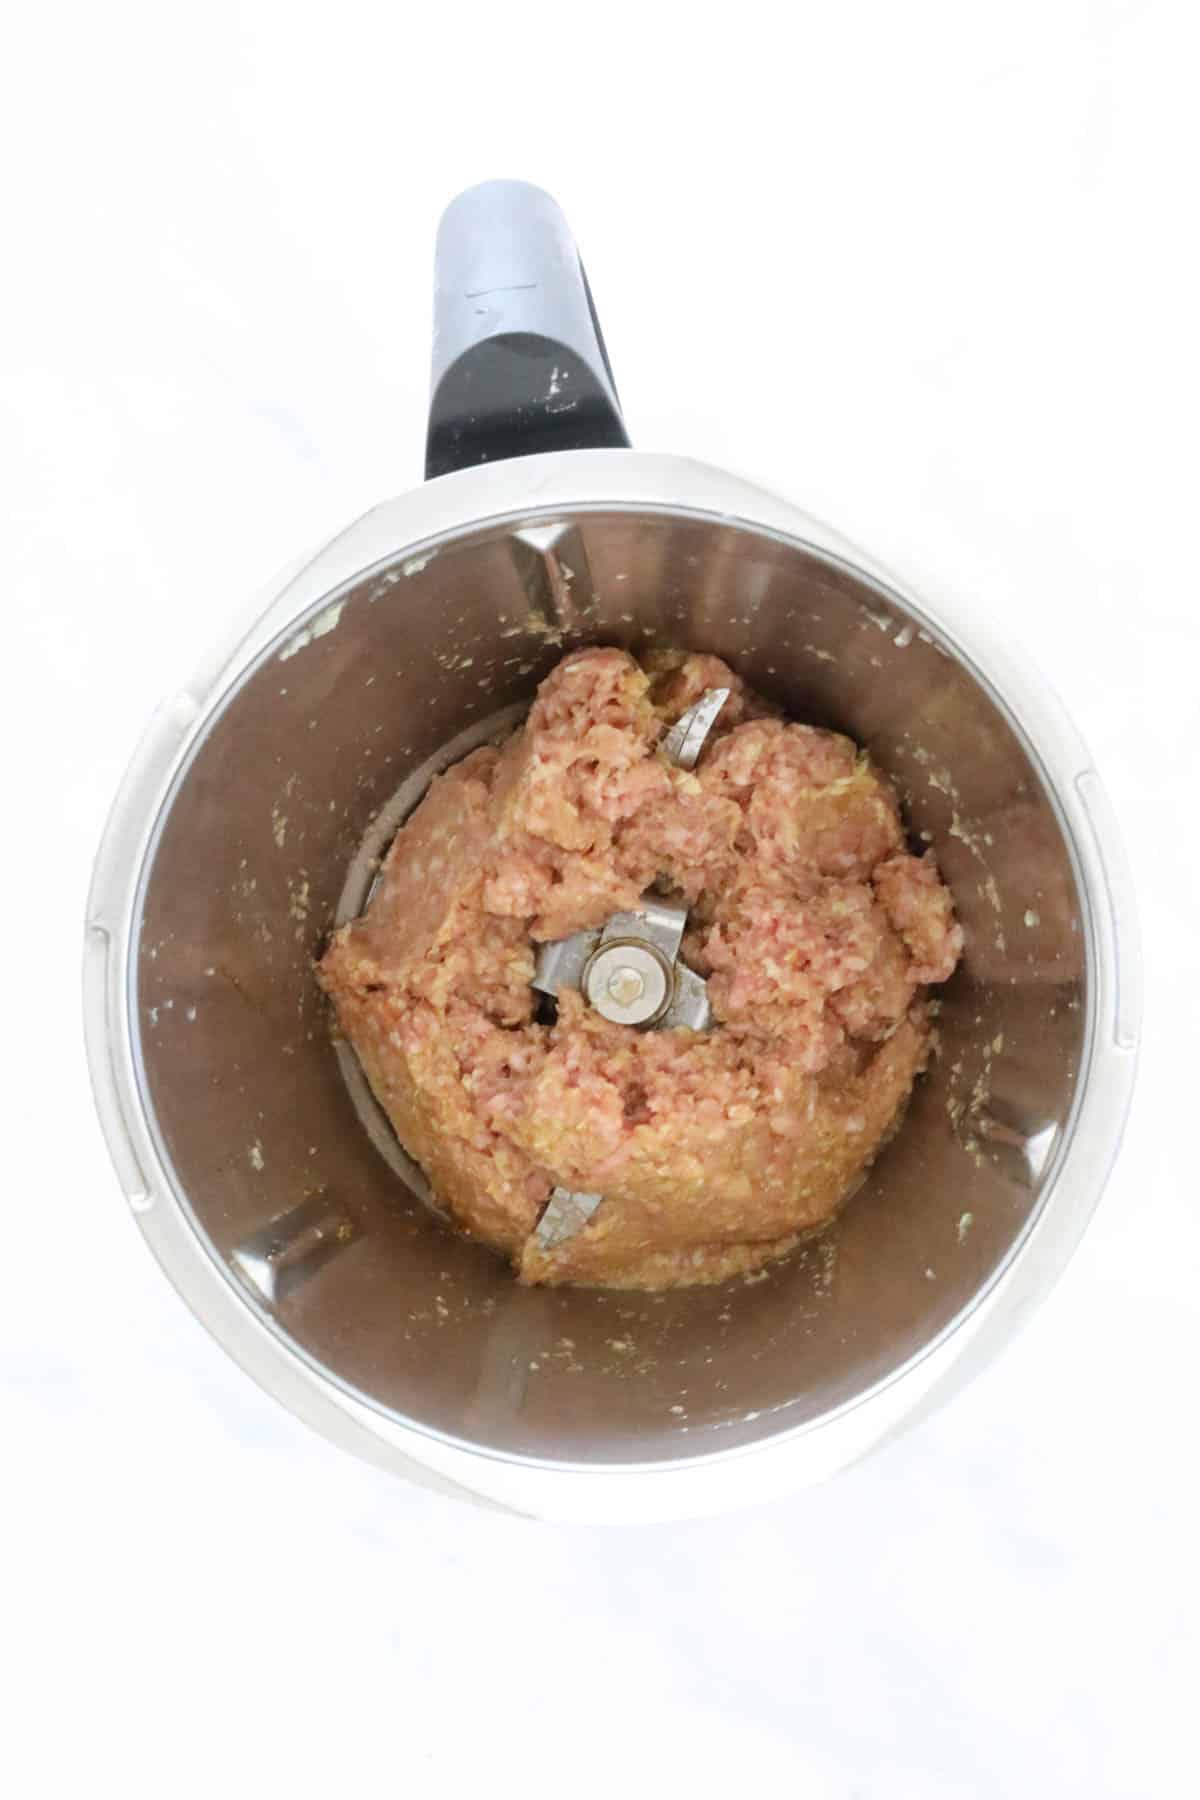
    Mix until well combined (scraping down the sides of the bowl occasionally).

    Pork mince in a Thermomix.

    Step 3 - Cook The Gyoza

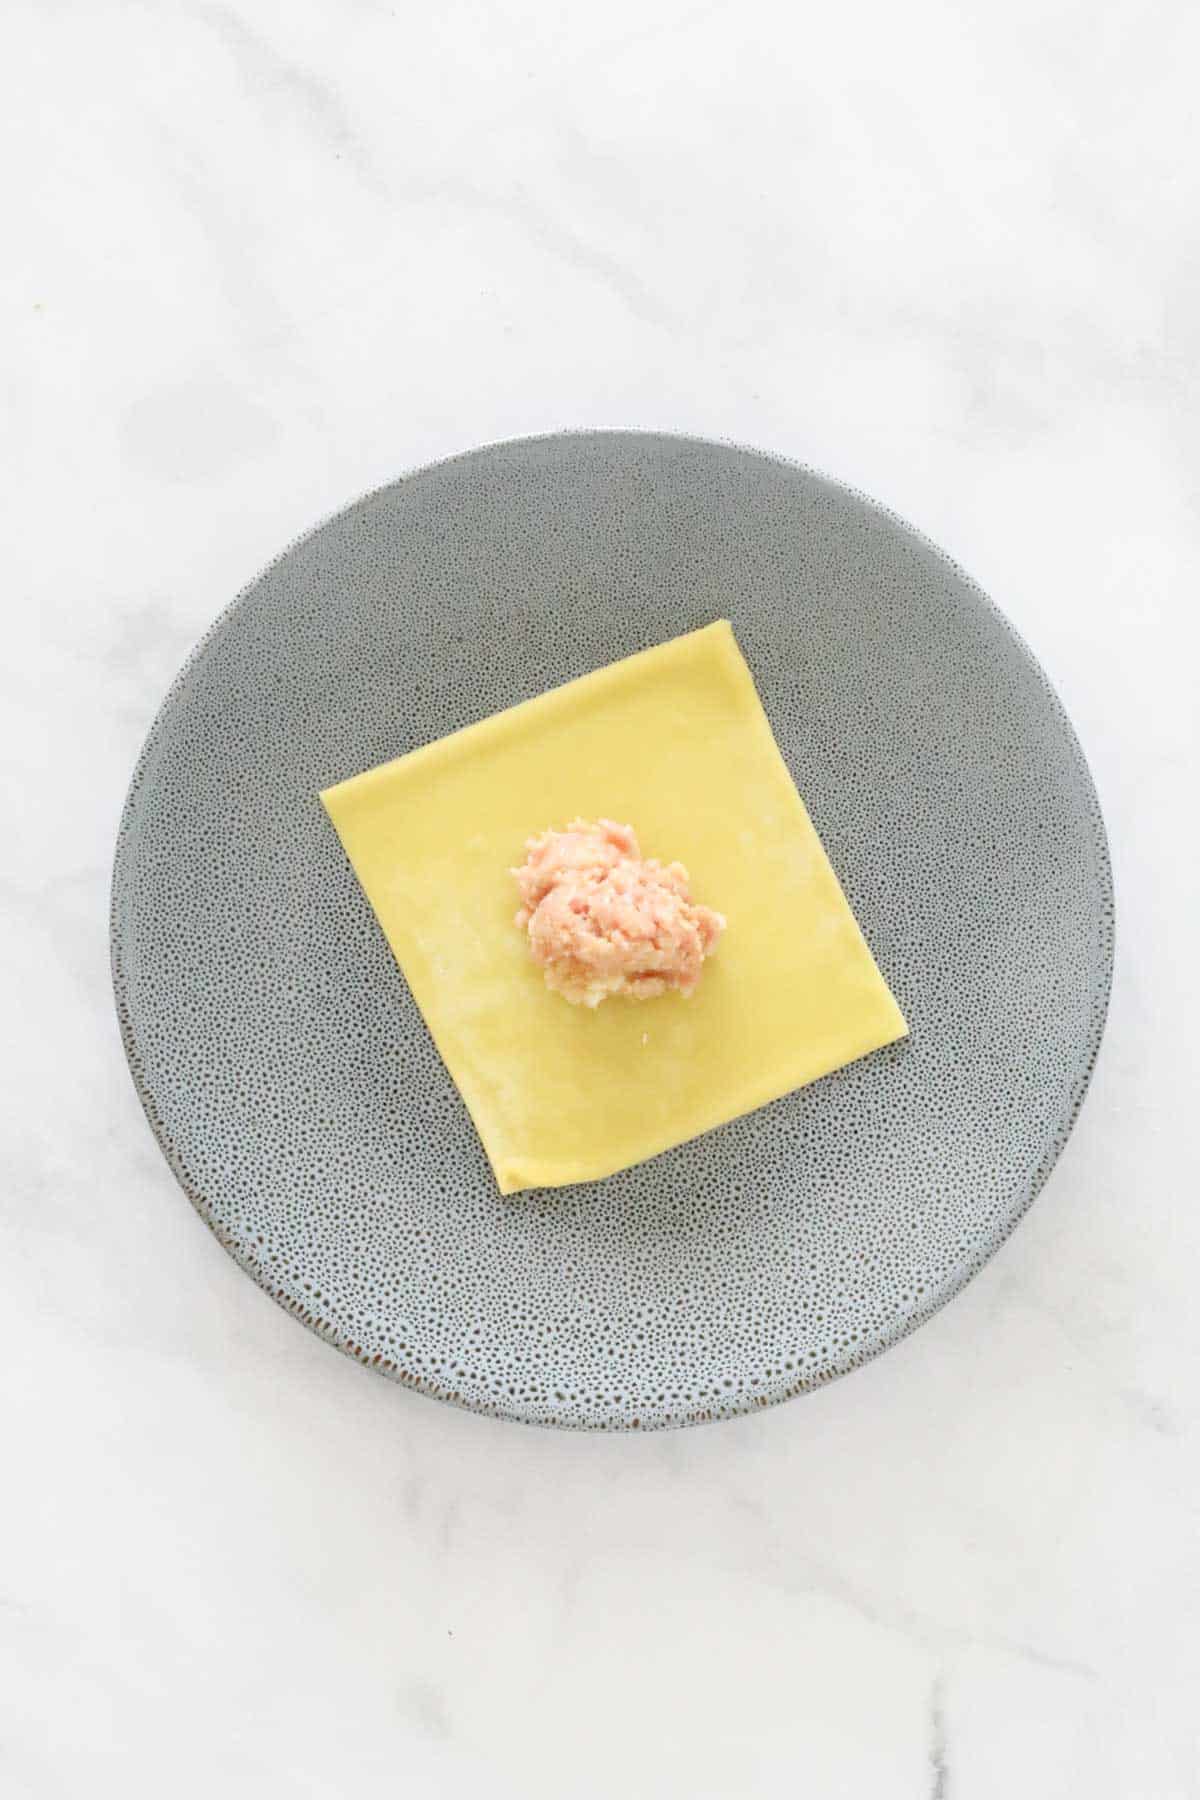
    Place one teaspoonful of pork mixture into the centre of each wonton wrapper.

    A spoonful of dumpling mixture on a wonton wrapper.

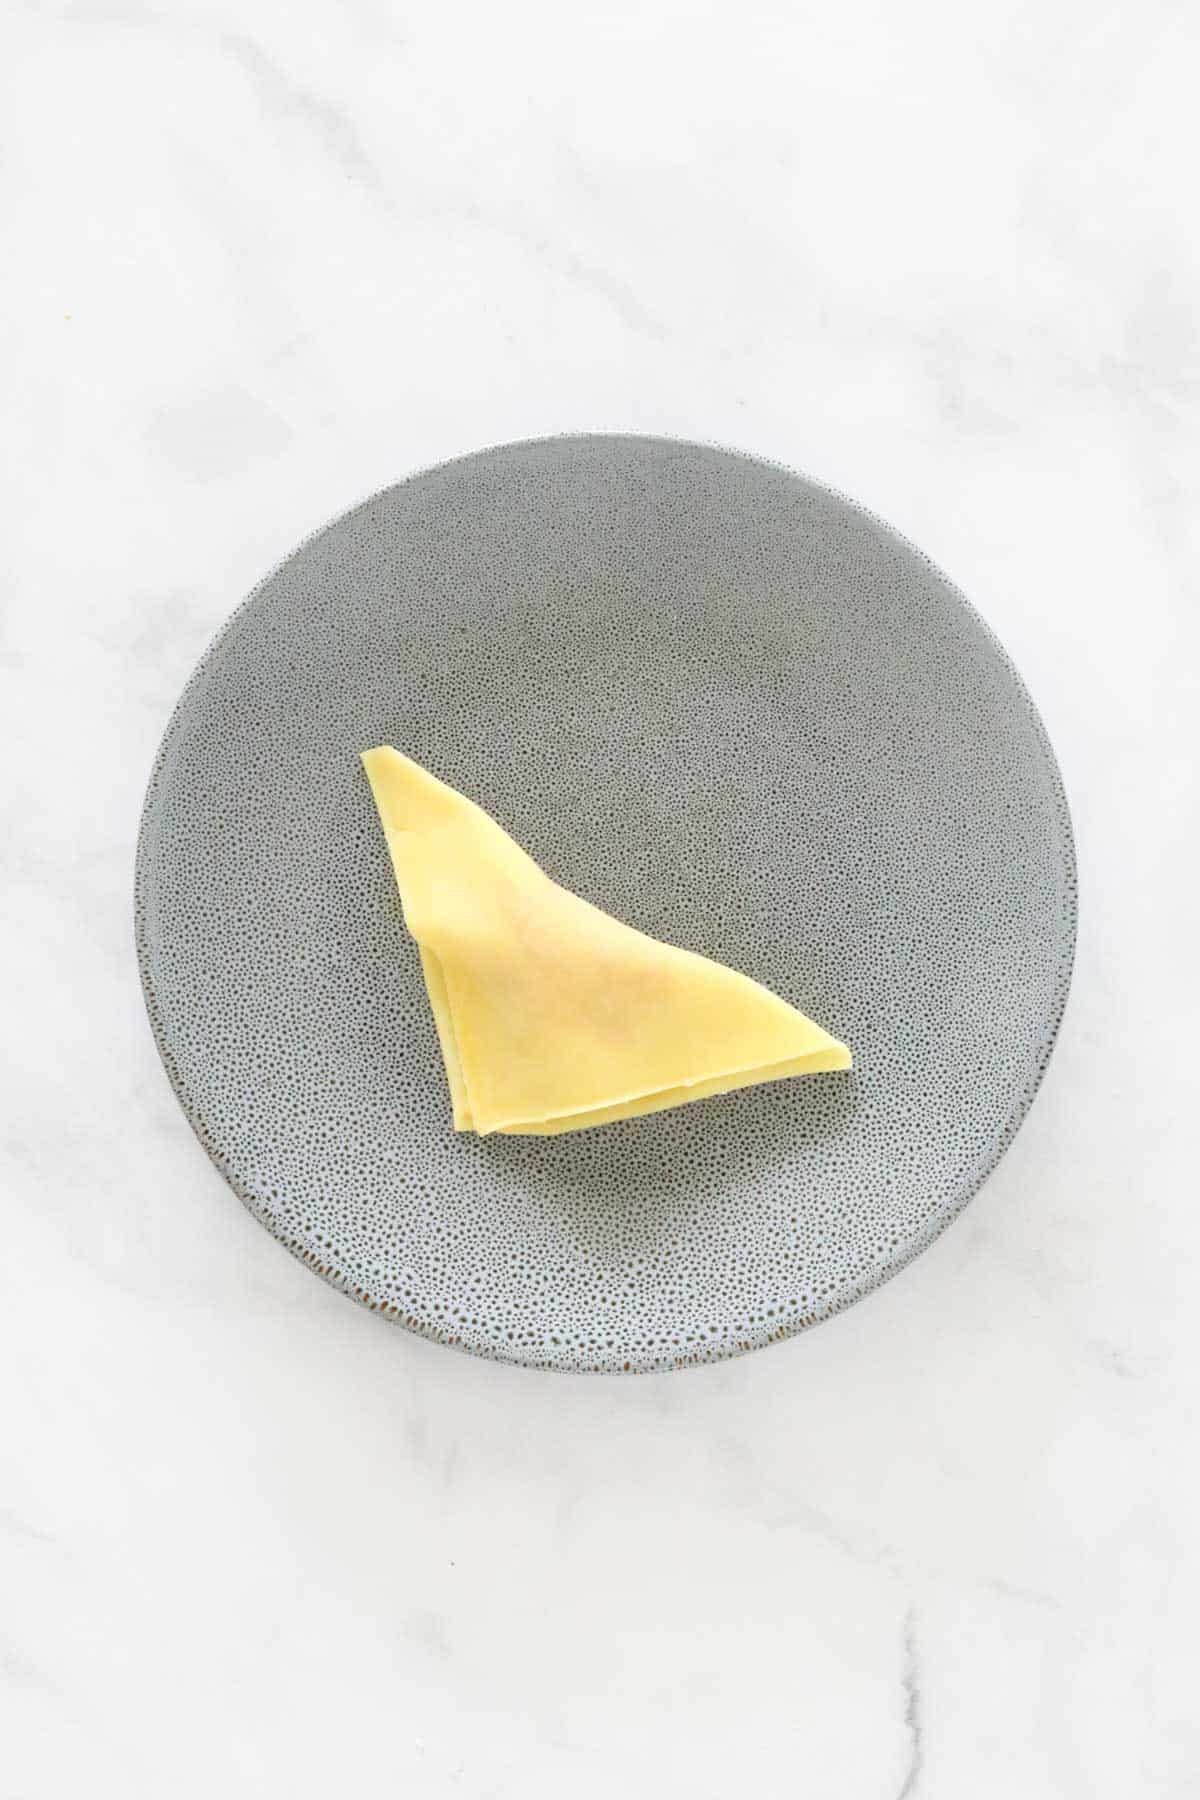
    Lightly wet the edges with water and fold over to seal.

    A wonton wrapper folded in half.

    Cook the gyoza as per the recipe card below or refrigerate/freeze until ready to use.

    Expert Tips

    • Pork mince can be substituted for chicken or beef mince. Alternatively you can use raw prawn meat (chopped).
    • You can use fresh or jarred minced garlic and ginger.
    • Wonton wrappers are available from all major supermarkets or Asian grocery stores. They are in the refrigerated section (generally near the fresh lasagne sheets and ravioli pasta).
    • Thermomix gyoza are best served immediately after cooking.
    • Store uncooked gyoza in an airtight container in the fridge for up to 2 days.
    • Store uncooked gyoza in the freezer for up to 2 months.
    • Gyoza can be cooked directly from frozen. Ensure you increase the cooking time and cook until the gyoza are piping hot in the centre and cooked through.
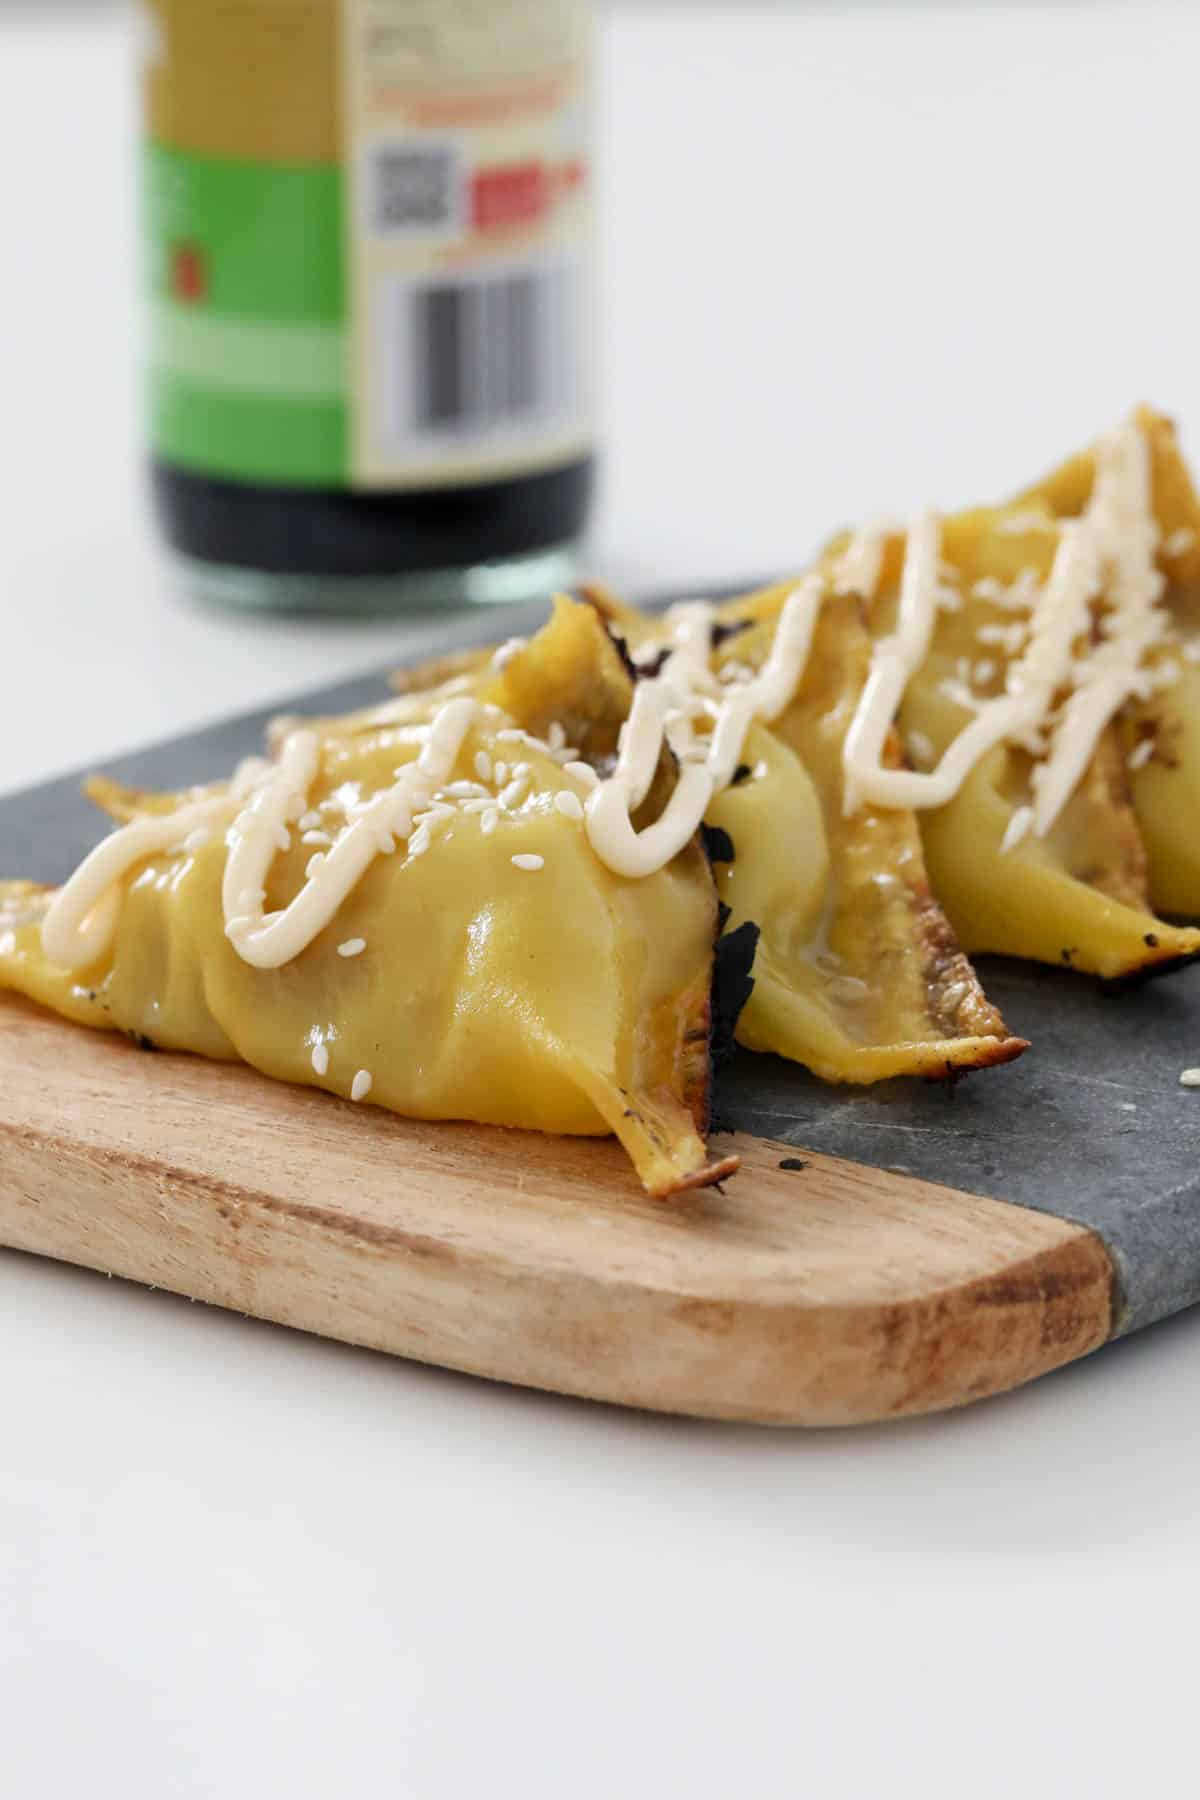
    Kewpie and sesame seeds on top of wontons.

    FAQs

    Can I substitute the pork mince for beef or chicken?

    Yes, absolutely! Simply use the same weight as in the recipe card below.

    Can this recipe be doubled?

    Yes it can!

    Can I freeze uncooked gyozas?

    Yes you can. Simply place them in an airtight container with sheets of baking paper between the layers. The gyozas can be cooked directly from frozen (simply increase the cooking time and ensure that they're piping hot in the centre and cooked through).

    Homemade gyozas on a plate.

    Related Recipes

    Looking for more delicious Thermomix savoury snacks?

    Here's a few of our favourites:

    • A stack of zucchini fritters with chutney on top.
      Thermomix Zucchini Fritters
    • A pile of pastries.
      Thermomix Vegetarian Sausage Rolls
    • Rolls of homemade chicken and avocado sushi.
      Thermomix Sushi
    • A stack of golden chargrilled lamb gozlemes.
      Thermomix Lamb, Spinach & Feta Gozleme

    SHOP OUR RANGE OF THERMOMIX COOKBOOKS

    Browse our collection of hardcopy Thermomix cookbooks here.

    There's everything from family dinners to kids snacks, desserts to cookies, slices to Christmas recipes, cocktails to chocolate recipes and more!

    ThermoBliss complete set
    Homemade gyozas on a plate.
    Print Recipe
    5 from 2 votes

    Thermomix Gyoza (Pan Fried)

    Delicious pan-fried Thermomix gzoya made with a delicious Asian-inspired pork, cabbage, garlic, ginger and soy filling.
    Prep Time15 minutes mins
    Cook Time8 minutes mins
    Total Time23 minutes mins
    Course: Dinner
    Cuisine: asian
    Servings: 30 serves
    Calories: 28kcal
    Author: Lucy & Lauren
    Cost: $5

    Equipment

    • Thermomix
    • Stovetop and Frying Pan

    Ingredients

    For the gyoza

    • 150 g white cabbage (about ¼ of the cabbage)
    • 200 g pork mince
    • 1 garlic clove , crushed
    • 1 teaspoon ginger , minced
    • 2 teaspoon soy sauce
    • 1 teaspoon sesame oil
    • ½ teaspoon caster sugar
    • 30 gowgee or wonton wrappers
    • 1 tbs sesame oil (1 tbs per batch)
    • ¼ cup (60ml) water (¼ cup per batch

    For the serving sauce

    • 2 tbs soy sauce
    • 2 tbs sweet chilli sauce
    • 1 teaspoon ginger , minced
    • sesame seeds and Japanese mayo to serve (optional)

    Instructions

    • Place the cabbage into the Thermomix bowl and press Turbo for 3-4 seconds (scraping down after two seconds) - the cabbage should be very finely sliced.
    • Remove the cabbage from the bowl and place into a strainer. Squeeze out any excess liquid and then return to the bowl.
    • Add the pork mince, crushed garlic, ginger, soy sauce, sesame oil and caster sugar. Mix for 10 seconds, Reverse, Speed 3.
      Scrape down the sides of the bowl and repeat for a further 10 seconds (the mixture should be completely combined - if not, mix for a little longer - using the spatula to assist).
    • Place 1 teaspoon of gyoza filling into the middle of each wonton wrapper.
    • Wet the edges with water, fold one half on top of the other and press the edges together.
    • Heat the sesame oil in a frying pan over a medium heat.
    • Add the gyozas (in batches) and allow to cook for 2-3 minutes or until golden on one side.
    • Pour ¼ cup of water over the gyozas and place a lid onto the frying pan.
    • Leave to cook for a couple of minutes or until the water has evaporated and the mixture is hot in the centre.
    • Repeat the cooking process with the remaining batches.
    • Serve immediately with a serving sauce made from soy sauce, sweet chilli sauce and ginger, sesame seeds and Japanese mayo.

    Notes

    • Pork mince can be substituted for chicken or beef mince. Alternatively you can use raw prawn meat (chopped).
    • You can use fresh or jarred minced garlic and ginger.
    • Wonton wrappers are available from all major supermarkets or Asian grocery stores. They are in the refrigerated section (generally near the fresh lasagne sheets and ravioli pasta).
    • Thermomix gyoza are best served immediately after cooking.
    • Store uncooked gyoza in an airtight container in the fridge for up to 2 days.
    • Store uncooked gyoza in the freezer for up to 2 months.
    • Gyoza can be cooked directly from frozen. Ensure you increase the cooking time and cook until the gyoza are piping hot in the centre and cooked through.

    Nutrition

    Calories: 28kcal | Carbohydrates: 1g | Protein: 1g | Fat: 2g | Saturated Fat: 1g | Polyunsaturated Fat: 0.4g | Monounsaturated Fat: 1g | Cholesterol: 5mg | Sodium: 105mg | Potassium: 32mg | Fiber: 0.1g | Sugar: 1g | Vitamin A: 5IU | Vitamin C: 2mg | Calcium: 3mg | Iron: 0.1mg

    Cheesy Thermomix Crackers

    March 23, 2016

    Homemade crackers next to a dip.

    Our 5 ingredient homemade Cheesy Thermomix Crackers are so simple to prepare and taste delicious served with your favourite dips!

    Homemade crackers next to a dip.

    You won't believe how easy it is to make our Cheesy Thermomix Crackers! It's also a great recipe to get the kids helping out with.

    Serve them on their own as a tasty savoury snack, or dip them into our Roasted Pumpkin Dip, Hummus, Creamy Avocado Dip or Baba Ghannoush!

    Let's get started...

    Why You're Going To Love This Recipe

    Kids and adults alike, love these tasty little crackers!

    • Extra Cheesy - made with two varieties of cheese (parmesan and tasty!) means these crackers are extra delicious.
    • Mini Bite Sized Snacks - pop a handful into school lunchboxes for a yummy savoury treat.
    • No Additives or Preservatives - unlike store-bought crackers, our recipe contains ZERO additives or preservatives meaning you know exactly what you're eating!
    • Kids Recipe - the kids will LOVE helping to prepare the dough, roll it out and cut out the cracker shapes. Use any mini cutter you like (you could even make stars or love hearts!).
    Dip and crackers on a plate.

    What You Need

    There's no need to make an extra trip to the supermarket because our Thermomix Crackers are made using just a handful of pantry staples.

    Please scroll to the recipe card at the bottom of the post for ingredient quantities and the full detailed method.

    The ingredients for homemade crackers.
    • Cheeses - we like to use a combination of tasty/cheddar cheese and parmesan cheese in this recipe.
    • Plain Flour - also known as all purpose flour.
    • Ground Paprika - for a delicious hit of flavour!
    • Salt - just a pinch.
    • Water - to bring the dough together.

    Step By Step Instructions

    It takes just 10 minutes to prepare this easy cheesy Thermomix cracker dough!

    Please scroll to the recipe card at the bottom of the post for ingredient quantities and the full detailed method.

    Step 1 - Grate The Cheeses

    Place the tasty/cheddar cheese and the parmesan cheese into the Thermomix bowl.

    Mix to grate.

    Grated cheese in a Thermomix.

    Step 2 - Add The Dry Ingredients

    Add the flour, paprika and salt to the cheese mixture.

    Paprika and flour in a Thermomix.

    Mix to combine.

    Powder in a Thermomix.

    Step 3 - Add The Water & Knead

    Slowly add the water and then use the Interval/Kneading Function to knead the dough.

    Cracker dough in a Thermomix.

    Step 4 - Roll The Dough Out

    Divide the dough into 2 portions.

    Place each portion (one at a time) between two sheets of baking paper.

    Use a rolling pin to roll the dough out very thin (approx 2mm).

    TIP: The thinner you roll the dough, the crunchier the crackers will be!

    Use a mini cutter (approx 4cm) to cut the dough into little shapes.

    Crackers being cut out from dough.

    Step 5 - Cook The Thermomix Crackers

    Place the crackers onto baking paper lined trays and cook for 15 minutes or until crunchy.

    TIP: The longer you cook the crackers, the crunchier they will be!

    Round crackers on a tray.

    Expert Tips

    • For crunchy Thermomix crackers, roll the dough out VERY thin (approx 2mm) and cook until crunchy.
    • Once kneaded, the dough will still be slightly crumbly but will come together on your hands.
    • Using a combination of tasty/cheddar cheese and parmesan cheese gives the ultimate flavour.
    • These crackers can be stored in a dry, room temperature spot for up to 3 days, however, they're at their best on the day of cooking.
    • This recipe is not suitable for freezing.
    Cheesy crackers on a plate.

    FAQs

    Can I make these crackers using an older model of the Thermomix?

    Yes! You can make this recipe using any of the Thermomix models.

    How can I make these crunchy?

    Make sure you cook them for long enough! They will puff up after a short period in the oven, but you'll want to keep cooking the Thermomix crackers for longer if you'd like them extra crunchy! The longer you cook them, the crunchier they'll be!

    What should I serve with the crackers?

    Any of your favourite dips, cheeses and deli meats! Or pop a couple of crackers into you kids lunchbox for an easy savoury snack.

    Homemade round crackers.

    Related Recipes

    Looking for more easy and delicious Thermomix savoury snacks? Look no further!

    • Egg and bacon pastries.
      Thermomix Egg & Bacon Quiches
    • Rolls of homemade chicken and avocado sushi.
      Thermomix Sushi
    • Side view of three pizza scrolls sitting on a white plate. In the background there is a baking tray sitting on a blue striped tea towel.
      Thermomix Pizza Scrolls
    • A pile of pastries.
      Thermomix Vegetarian Sausage Rolls

    SHOP OUR RANGE OF THERMOMIX COOKBOOKS

    Browse our collection of hardcopy Thermomix cookbooks here.

    There's everything from family dinners to kids snacks, desserts to cookies, slices to Christmas recipes, cocktails to chocolate recipes and more!

    ThermoBliss complete set
    Homemade crackers next to a dip.
    Print Recipe
    4.88 from 8 votes

    Cheesy Thermomix Crackers

    Our 5 ingredient homemade Cheesy Thermomix Crackers are so simple to prepare and taste delicious served with your favourite dips!
    Prep Time10 minutes mins
    Cook Time15 minutes mins
    Total Time25 minutes mins
    Course: Snacks
    Cuisine: Australian
    Servings: 40 Crackers
    Calories: 32kcal
    Author: Lucy & Lauren
    Cost: $5

    Equipment

    • Thermomix
    • Oven

    Ingredients

    • 40 g parmesan cheese
    • 100 g tasty cheese
    • 200 g plain flour
    • 1 teaspoon ground paprika
    • ½ teaspoon salt
    • 100 g water

    Instructions

    • Preheat oven to 180 degrees celsius (fan-forced).
    • Place the parmesan and tasty cheeses into the Thermomix bowl. Mix on Speed 8 for 10 seconds.
    • Add the plain flour, paprika and salt and mix for 10 seconds, Speed 5.
    • Slowly add the water and mix for a further 20 seconds, Speed 5.
    • Knead on Interval Speed for 1 minute.
    • Place one sheet of baking paper on the bench.
    • Roll half of the dough into a ball and place onto the baking paper sheet.
    • Top with another baking paper sheet.
    • Roll the dough out to 2mm thick (the thinner your dough is, the crispier your crackers will be).
    • Cut the dough into shapes with a cookie cutter (I used a 4cm serrated edge round cookie cutter).
      Repeat with the remaining dough.
    • Place the crackers onto flat baking trays and cook in the oven for 15 minutes or until lightly golden and crunchy.
    • Leave on the baking trays for 5 minutes and then transfer to a wire rack to cool completely.

    Notes

    RECIPE NOTES & TIPS
    • For crunchy crackers, roll the dough out VERY thin (approx 2mm) and cook until crunchy.
    • Once kneaded, the dough will still be slightly crumbly but will come together on your hands.
    • Using a combination of tasty/cheddar cheese and parmesan cheese gives the ultimate flavour.
    • These crackers can be stored in a dry, room temperature spot for up to 3 days, however, they're at their best on the day of cooking.
    • This recipe is not suitable for freezing.

    Nutrition

    Calories: 32kcal | Carbohydrates: 4g | Protein: 1g | Fat: 1g | Saturated Fat: 1g | Polyunsaturated Fat: 0.1g | Monounsaturated Fat: 0.3g | Cholesterol: 3mg | Sodium: 62mg | Potassium: 9mg | Fiber: 0.2g | Sugar: 0.03g | Vitamin A: 57IU | Vitamin C: 0.001mg | Calcium: 30mg | Iron: 0.3mg

    Thermomix Chocolate Fudge Sauce

    March 21, 2016

    A spoon with chocolate sauce dripping off it.

    Our Thermomix Chocolate Fudge Sauce is perfect for pouring over ice-cream, drizzling over brownies, or giving as a homemade gift.

    A glass jar of fudge sauce.

    This is one of the oldest recipes on ThermoBliss... and it's still a favourite!

    Chocolate fudge sauce is one of those old fashioned classics that is delicious poured on your favourite desserts, chocolate brownies or drizzled over ice-cream.

    I'm sure you'll love this one as much as we do!

    Why You're Going To Love This Recipe

    Our Thermomix Chocolate Fudge Sauce is simply delicious!

    • Pour over your favourite desserts - take a bowl of ice-cream to the next level with a big drizzle of fudge sauce... or pour it over caramel pudding or chocolate brownies!
    • Change the flavour - add your favourite liqueur (Kahlua or Baileys etc) or peppermint essence to mix things up!
    • Quick & Easy - your fudge sauce will be ready in just minutes.
    A spoon with chocolate sauce dripping down.

    What You Need

    Our Thermomix choc fudge sauce is super simple to make and uses just 5 ingredients!

    Please scroll to the recipe card at the bottom of the post for ingredient quantities and the full detailed method.

    The ingredients for chocolate fudge sauce.
    • Chocolate - use dark cooking chocolate as it melts easily. I like Nestle or Cadbury brands.
    • Butter - use salted or unsalted butter.
    • Cream - choose a thickened or heavy pouring cream.
    • Brown Sugar
    • Golden Syrup - or substitute with corn syrup, honey or rice malt syrup.

    Step By Step Instructions

    Just 1.2.3 simple steps is all it takes to prepare chocolate fudge sauce in your Thermomix!

    Please scroll to the recipe card at the bottom of the post for ingredient quantities and the full detailed method.

    Step 1 - Grate The Chocolate

    Place the chocolate into the Thermomix bowl and mix until finely grated.

    Grated chocolate in the Thermomix bowl.

    Step 2 - Add The Remaining Ingredients

    Add the cream, brown sugar, golden syrup and butter to the bowl.

    Cream and golden syrup in a Thermomix.

    Step 3 - Cook

    Cook the sauce for 12 minutes or until smooth and glossy.

    Chocolate mixture in a Thermomix.

    Expert Tips

    Follow our simple tips for the perfect Thermomix chocolate fudge sauce:

    • If you don't have golden syrup, you can replace it with rice malt syrup, honey or corn syrup.
    • Use a thickened or heavy pouring cream.
    • When cooking the sauce, remove the MC (measuring cup) but replace it with the splatter guard (TM6) or sit the rice basket on top (older models). This allows the steam to escape while also avoiding splatters.
    • This sauce will harden in the fridge. Simply pop into the microwave to reheat before serving.
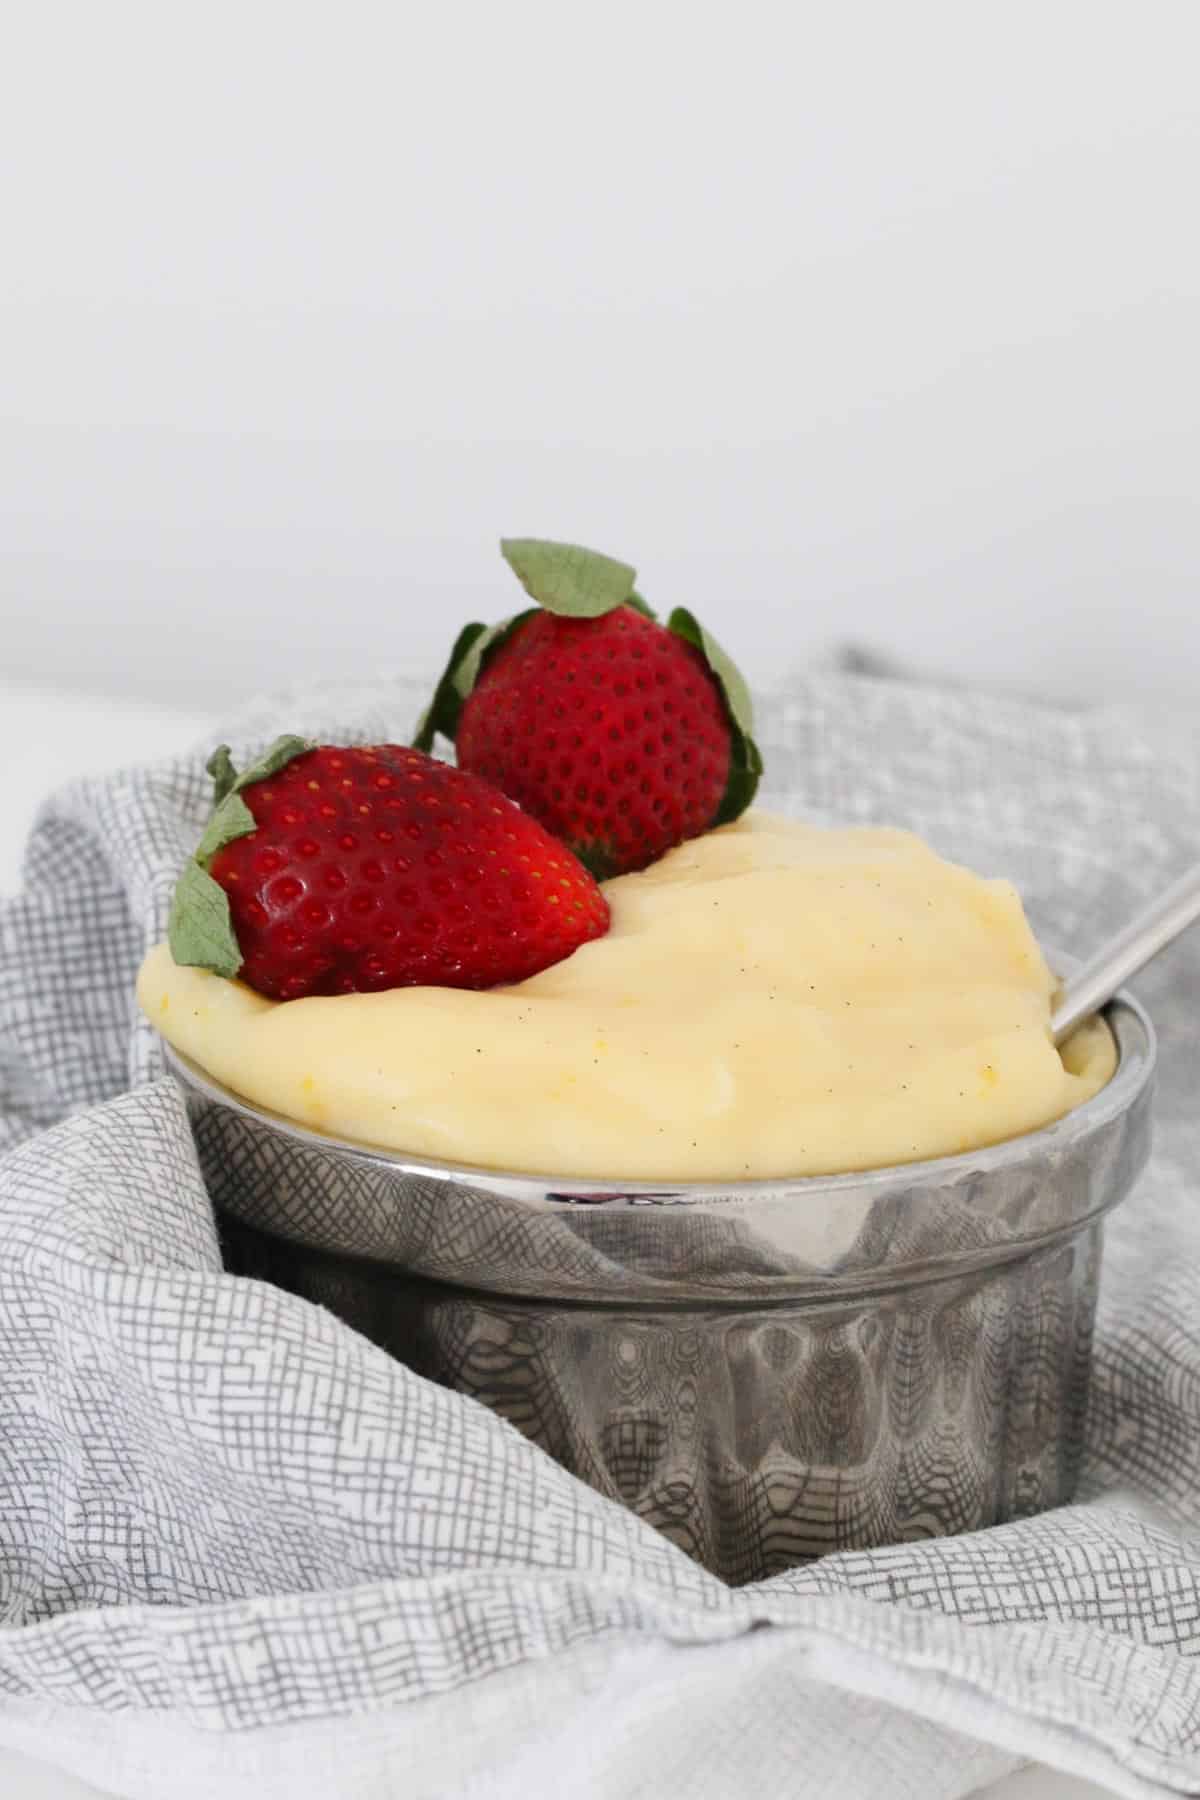
    • You can add any liqueurs to this fudge sauce.
    • To make this a peppermint fudge sauce, simply add 2-3 drops peppermint extract.
    • Store in a sterilised jar in the fridge for up to 1 week.
    • This recipe is not suitable for freezing.
    An overhead shot of chocolate sauce.

    FAQS

    Can I make this recipe without a Thermomix?

    Yes! Absolutely! This recipe can also be made on the stove top.

    Can I make fudge sauce in an older Thermomix model?

    Yes you can - this recipe is suitable for all Thermomix models.

    Can I double this recipe?

    You can as long as you don't exceed the MAX line.
    You will also need to increase the cooking time slightly.

    A glass jar of fudge sauce.

    Related Recipes

    When it comes to making perfect sauces, the Thermomix really is a dream machine!

    Here's a few more of our favourite Thermomix sauce recipes:

    • A gold spoon with chocolate sauce dripping from it.
      Thermomix Baileys Chocolate Sauce
    • A spoon in a glass jar of caramel sauce.
      Thermomix Butterscotch Sauce
    • Spoon drizzling salted caramel sauce into a white bowl that is sitting on a blue striped towel.
      Thermomix Salted Caramel Sauce
    • Cheese sauce being poured into a small white bowl that is sitting on top of a dark grey tea towel.
      How to Make Cheese Sauce in a Thermomix
    A jug pouring chocolate sauce.

    SHOP OUR RANGE OF THERMOMIX COOKBOOKS

    Browse our collection of hardcopy Thermomix cookbooks here.

    There's everything from family dinners to kids snacks, desserts to cookies, slices to Christmas recipes, cocktails to chocolate recipes and more!

    A bundle of 15 Thermomix Cookbooks.
    A spoon with chocolate sauce dripping off it.
    Print Recipe
    4.78 from 9 votes

    Thermomix Chocolate Fudge Sauce

    Pour our Thermomix Chocolate Fudge Sauce over a big bowl of ice cream or your favourite dessert!
    Prep Time2 minutes mins
    Cook Time12 minutes mins
    Total Time14 minutes mins
    Course: Dessert
    Cuisine: Western
    Servings: 6 serves
    Calories: 401kcal
    Author: Lucy & Lauren
    Cost: $5

    Equipment

    • Thermomix

    Ingredients

    • 200 g dark cooking chocolate
    • 250 g cream thickened or heavy pouring
    • 100 g brown sugar
    • 2 tbs golden syrup
    • 20 g butter

    Instructions

    • Place the dark chocolate into the Thermomix bowl and mix for 5 seconds, Speed 8. Scrape down the sides of the bowl.
    • Add all remaining ingredients and cook for 12 minutes, 100 degrees, Speed 2 (with the MC off and the splatter guard or rice basket over the top).
    • Pour into a sterilised jar and store in the fridge for up to a week.

    Notes

    RECIPE NOTES & TIPS
    • If you don't have golden syrup, you can replace it with rice malt syrup, honey or corn syrup.
    • Use a thickened or heavy pouring cream.
    • When cooking the sauce, remove the MC (measuring cup) but replace it with the splatter guard (TM6) or sit the rice basket on top (older models). This allows the steam to escape while also avoiding splatters.
    • This sauce will harden in the fridge. Simply pop into the microwave to reheat before serving.
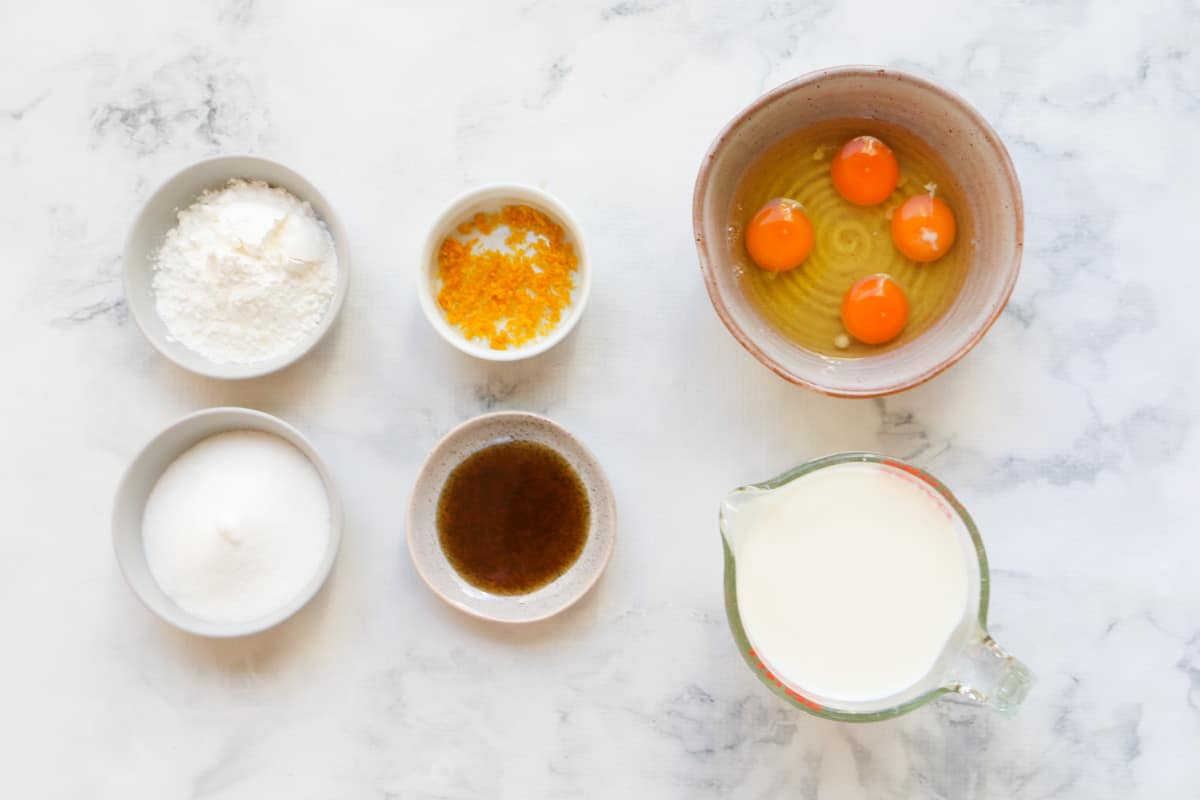
    • You can add any liqueurs to this fudge sauce.
    • To make this a peppermint fudge sauce, simply add 2-3 drops peppermint extract.
    • Store in a sterilised jar in the fridge for up to 1 week.
    • This recipe is not suitable for freezing.

    Nutrition

    Calories: 401kcal | Carbohydrates: 44g | Protein: 2g | Fat: 27g | Saturated Fat: 16g | Polyunsaturated Fat: 1g | Monounsaturated Fat: 8g | Trans Fat: 0.1g | Cholesterol: 53mg | Sodium: 46mg | Potassium: 160mg | Fiber: 2g | Sugar: 39g | Vitamin A: 505IU | Vitamin C: 0.3mg | Calcium: 51mg | Iron: 1mg

    Thermomix Tim Tam Slice

    March 10, 2016

    A piece of chocolate slice.

    Our chewy chocolate Thermomix Tim Tam Slice is always popular! Prepped, baked and ready to eat in just 30 minutes!

    Pieces of chocolate slice on a white plate.

    Say hello to the easiest chocolate slice recipe.... with Tim Tams as the star ingredient!

    Use classic chocolate Tim Tams or mix it up and use any flavour you like.

    Our chewy chocolate coconut slice is prepared in the Thermomix in just minutes, then leave it to bake away in the oven.

    Looking for more Thermomix slice recipes?

    Try our Classic Chocolate Slice, Weet-Bix Slice, Honey & Almond Slice or Jelly Slice recipes too.

    Why You're Going To Love This Recipe

    This simple Thermomix slice is made using everyones favourite Aussie ingredient... Tim Tams!

    • An Australian Classic - use the original chocolate Tim Tams, or substitute them with your favourite flavour!
    • Chewy Chocolate Slice - you can't beat the texture of this chewy slice with chunks of Tim Tams and coconut throughout.
    • Great For Lunch Boxes - this nut-free recipe makes a yummy lunch box treat.
    • Freezer-Friendly - freeze any leftovers for up to 1 month.
    An up close photo of Tim Tam chocolate slice.

    What You Need

    Just 6 ingredients are needed to make our Thermomix Tim Tam Slice!

    Please scroll to the recipe card at the bottom of the post for the ingredient quantities and the full detailed method.

    The ingredients for tim tam slice.
    • Tim Tams - you can use classic chocolate Tim Tams or any flavour you like! If you're not in Australia, try substituting with Penguins which are similar (available in the UK).
    • Self-Raising Flour - also known as self rising flour.
    • Coconut - you can use either shredded or desiccated coconut in this recipe.
    • Brown Sugar - you can use regular light or dark brown sugar.
    • Cocoa Powder - use unsweetened cocoa powder.
    • Sweetened Condensed Milk - for best results when baking, choose full fat (not skim) sweetened condensed milk.

    Step By Step Instructions

    It couldn't be easier to whip up our Thermomix Tim Tam Slice!

    Please scroll to the recipe card at the bottom of the post for the ingredient quantities and the full detailed method.

    Step 1 - Crush The Tim Tams

    Place the Tim Tams into the Thermomix bowl and crush (you can crush them as finely or chunky as you like!).

    Personally, I find 2 seconds is a good amount of time.

    Crushed Tim Tams in a Thermomix.

    Step 2 - Mix

    Add the self raising flour, brown sugar, cocoa powder, coconut and sweetened condensed milk and mix together on REVERSE.

    Coconut in a Thermomix.

    Scrape down the sides of the bowl and mix again using the REVERSE function.

    Chocolate slice mixture in a Thermomix.

    Step 3 - Bake

    Spoon the mixture into a prepared baking tin. Smooth the mixture out with the back of a spoon.

    Bake for 20 minutes or until a skewer inserted into the middle comes out clean (or with a few crumbs on it).

    Allow to cool before cutting into pieces.

    A chocolate slice in a square tin.

    Expert Tips

    • Tim Tams are a popular Australian chocolate coated biscuit. You can use any flavour you like.
    • If you're in the UK, you can substitute the Tim Tams for Penguin biscuits instead.
    • Either desiccated or shredded coconut can be used.
    • Ensure you grease and line your baking tin with baking paper before using. This allows for easy removal of the slice once it's baked.
    • Allow the slice to cool before cutting into pieces.
    • Store at room temperature in an airtight container for up to 1 week.
    • Freeze for up to 1 month.
    A cake stand topped with chocolate slice.

    FAQs

    Can I make this recipe in an older version of the Thermomix?

    Yes! This recipe is suitable for use in any of the Thermomix models.

    Can I use different flavoured Tim Tams!

    Yes! Substitute chocolate Tim Tams with any flavour you like.

    How do I know when the slice is ready?

    Bake the Thermomix Tim Tam Slice for 20 minutes or until a skewer inserted into the middle comes out clean (or with a few crumbs on it).

    A piece of chocolate slice.

    Related Recipes

    Love chocolate?

    Try these yummy recipes too:

    • Tim Tam Balls sitting in a blue and white bowl that is on a blue and white striped tea towel. There is a pack of Tim Tams in the background.
      Thermomix Chocolate Tim Tam Balls
    • A half eaten chocolate Tim Tam ball.
      Thermomix Tim Tam Truffles
    • A piece of Toblerone Cheesecake made in a Thermomix.
      Thermomix Toblerone Cheesecake
    • Overhead view of a piece of Mars Bar Brownie sitting on a stone serving tray.
      Thermomix Mars Bar Brownies

    SHOP OUR RANGE OF THERMOMIX COOKBOOKS

    Browse our collection of hardcopy Thermomix cookbooks here.

    There's everything from family dinners to kids snacks, desserts to cookies, slices to Christmas recipes, cocktails to chocolate recipes and more!

    A bundle of 15 Thermomix Cookbooks.
    A piece of chocolate slice.
    Print Recipe
    4.92 from 12 votes

    Thermomix Tim Tam Slice

    Our Thermomix Tim Tam Slice is chewy, chocolatey and so tasty!
    Prep Time10 minutes mins
    Cook Time20 minutes mins
    Total Time30 minutes mins
    Course: Slices
    Cuisine: Western
    Servings: 16 serves
    Calories: 149kcal
    Author: Lucy & Lauren
    Cost: $5

    Equipment

    • Thermomix
    • 20cm square baking tin.
    • Oven

    Ingredients

    • 150 g self raising flour
    • 90 g brown sugar
    • 15 g cocoa powder
    • 45 g coconut shredded or desiccated
    • 395 g sweetened condensed milk
    • 200 g Tim Tams

    Instructions

    • Preheat your oven to 160 degrees celsius (fan-forced) and line a 20cm square cake tin with baking paper.
    • Break the Tim Tams in half and chop for 2 seconds, Speed 4. If you want smaller chunks, mix for a further 3 seconds.
    • Add the self raising flour, brown sugar, cocoa powder, coconut and sweetened condensed milk and mix for 10 seconds, REVERSE, Speed 4.
      Scrape down the sides of the bowl and mix for a further 10 seconds, REVERSE, Speed 4.
      If your mixture hasn't quite combined, mix for a further 5 - 10 seconds.
    • Pour the mixture into your prepared tin (don't worry, it will be VERY sticky!) and smooth the surface with a spoon.
    • Place the slice into the oven and cook for 20 minutes. Allow the slice to cool completely before cutting into small pieces.

    Notes

    RECIPE NOTES & TIPS
    • Tim Tams are a popular Australian chocolate coated biscuit. You can use any flavour you like.
    • If you're in the UK, you can substitute the Tim Tams for Penguin biscuits instead.
    • Either desiccated or shredded coconut can be used.
    • Ensure you grease and line your baking tin with baking paper before using. This allows for easy removal of the slice once it's baked.
    • Allow the slice to cool before cutting into pieces.
    • Store at room temperature in an airtight container for up to 1 week.
    • Freeze for up to 1 month.

    Nutrition

    Calories: 149kcal | Carbohydrates: 27g | Protein: 3g | Fat: 3g | Saturated Fat: 2g | Polyunsaturated Fat: 0.2g | Monounsaturated Fat: 1g | Cholesterol: 8mg | Sodium: 40mg | Potassium: 126mg | Fiber: 1g | Sugar: 20g | Vitamin A: 65IU | Vitamin C: 1mg | Calcium: 77mg | Iron: 0.3mg

    Thermomix Roasted Capsicum & Sun-Dried Tomato Dip

    March 7, 2016

    A bowl of capsicum dip with a cracker in it.

    Our Thermomix Roasted Capsicum & Sun-Dried Tomato Dip is the perfect addition to any cheese platter. Serve with crackers, deli meats, cheese and vegetable sticks.

    A cracker in a bowl of roasted capsicum dip.

    We go through a LOT of dip in our house and so instead of buying super expensive (and tiny!) ones from the supermarket, we make our own homemade dips in the Thermie! Not only is it a much cheaper option, it also makes much bigger batches!

    This Thermomix Roasted Capsicum & Sun-Dried Tomato Dip is super easy to make. The only time consuming bit is roasting the capsicum in the oven (but I usually try and do this while I've got the oven on cooking dinner anyway). If you're pressed for time, you can of course use store-bought roasted capsicums.

    Then it's simply a matter of popping all of the ingredients into the Thermomix, mixing them altogether, and then sitting down with a nice glass of wine, some crackers and cheese. Bliss!!

    Lets get started...!

    Why You're Going To Love This Recipe

    Who doesn't love a homemade flavoursome dip!?

    • No Additives - when you make your own dips in the Thermomix, you know EXACTLY what's going in to them. No additives or preservatives... just delicious fresh ingredients.
    • Budget-Friendly Option - making our Thermomix Roasted Capsicum & Sun-Dried Tomato Dip will save you a LOT of money compared to supermarket dips (plus you'll end up with a LOT more too!).
    • Makes A Big Batch - forget a teeny tiny store-bought dip that disappears in no time. Our recipe makes enough to fill a takeaway food container!
    • Versatile - don't have time to roast your own capsicum? No worries! Save time by using jarred roasted capsicums instead.
    An overhead shot of dip.

    What You Need

    Just a handful of ingredients are needed to make our Thermomix Roasted Capsicum & Sun-Dried Tomato Dip!

    Please scroll to the recipe card at the bottom of the post for ingredient quantities and the full detailed method.

    The ingredients for Thermomix Roasted Capsicum & Sun-Dried Tomato Dip.
    • Garlic - you can use minced fresh garlic or jarred minced garlic.. the choice is yours.
    • Chickpeas - drain the can of chickpeas but reserve the liquid (if you want your dip to be a little smoother, add some of the reserved liquid and mix through)
    • Tahini - the tahini (combined with the chickpeas) gives this dip a hummus-style flavour.
    • Lemon Juice - freshly squeezed or bottled lemon juice can be used.
    • Capsicum - roast your own capsicums or use jarred roast capsicum.
    • Sun-Dried Tomatoes - drain the excess liquid from the sun-dried tomatoes before using.
    • Olive Oil - use a good quality olive oil OR use the oil from the sun-dried tomatoes jar!
    • Sea Salt - for taste!

    Step By Step Instructions

    Simply mix and enjoy... our Thermomix Roasted Capsicum & Sun-Dried Tomato Dip couldn't possibly be any easier to make!

    Please scroll to the recipe card at the bottom of the post for ingredient quantities and the full detailed method.

    Step 1 - Mix

    Place all of the ingredients into the Thermomix bowl and mix until combined.

    Chickpeas and roasted capsicum in a Thermomix.

    Step 2 - Check The Consistency

    Scrape down the sides of the bowl.

    If you would like your dip smoother, mix it again for a few more seconds.

    If you would like it less thick, add a little of the reserved chickpea liquid and mix through.

    A roasted capsicum dip in a Thermomix.

    Serve immediately or store in an airtight container in the fridge for up to 5 days.

    Expert Tips

    • Roast the capsicum in an oven preheated to 200 degrees celsius (fan-forced) until soft and slightly charred. Alternatively, use store-bought jarred roasted capsicum (a great time saving option!).
    • Use olive oil OR use the oil from the jar of sun-dried tomatoes.
    • Reserve the drained chickpea liquid in case you'd like your dip so have a thinner texture.
    • Mix the ingredients longer for a smoother dip.
    • Store in an airtight container in the fridge for up to 5 days.
    • This recipe is not suitable for freezing.
    A bowl of dip with crackers in the background.

    FAQs

    Can I double this recipe?

    Yes! You'll need to mix the ingredients for slightly longer if you double the recipe.

    Can I use leftover roasted capsicum?

    Absolutely! This dip is a great way to use up leftover roast capsicum.

    How do I roast the capsicum?

    Roast the capsicum in an oven preheated to 200 degrees celsius (fan-forced) until soft and slightly charred (approximately 20-30 minutes).

    A bowl of orange dip.

    Related Recipes

    Looking for more yummy (and easy!) Thermomix dip recipes?

    Here's a few of our most popular dips:

    • Side view of French onion dip in a white bowl with dark striped rim that is sitting on a wooden serving platter with carrot sticks and crackers.
      Thermomix French Onion Dip
    • Crackers next to a creamy green dip.
      Thermomix Creamy Avocado Dip
    • A creamy dip with sweet chilli sauce.
      Thermomix Cream Cheese & Sweet Chilli Dip
    • Dip and crackers on a plate.
      Thermomix Roasted Pumpkin Dip

    SHOP OUR RANGE OF THERMOMIX COOKBOOKS

    Browse our collection of hardcopy Thermomix cookbooks here.

    There's everything from family dinners to kids snacks, desserts to cookies, slices to Christmas recipes, cocktails to chocolate recipes and more!

    Complete set o 16 ThermoBliss recipe books.
    A bowl of capsicum dip with a cracker in it.
    Print Recipe
    5 from 3 votes

    Thermomix Roasted Capsicum & Sun-Dried Tomato Dip

    Our Thermomix Roasted Capsicum & Sun-Dried Tomato Dip is busting with flavour!
    Prep Time5 minutes mins
    Total Time5 minutes mins
    Course: Dip
    Cuisine: Appetiser
    Diet: Vegetarian
    Servings: 12 serves
    Calories: 72kcal
    Author: Lucy & Lauren
    Cost: $5

    Equipment

    • Thermomix

    Ingredients

    • 1 teaspoon minced garlic
    • 400 g can chickpeas drained (reserve the liquid)
    • 40 g tahini
    • 30 g lemon juice
    • 1 red capsicum roasted in the oven, quartered (see tips)
    • 60 g sun-dried tomatoes
    • 20 g olive oil
    • ½ teaspoon sea salt

    Instructions

    • Add all of the ingredients into the Thermomix bowl. Mix for 20 seconds on Speed 4.
    • Scrape down the sides.
    • Mix for a further 20 seconds on Speed 4.
    • Check the consistency.
      If you would like it smoother, add a 1-2 tbs of the reserved chickpea liquid and mix for a further 20 seconds on Speed 4.

    Notes

    RECIPE NOTES & TIPS
    • Roast the capsicum in an oven preheated to 200 degrees celsius (fan-forced) until soft and slightly charred. Alternatively, use store-bought jarred roasted capsicum (a great time saving option!).
    • Use olive oil OR use the oil from the jar of sun-dried tomatoes.
    • Reserve the drained chickpea liquid in case you'd like your dip so have a thinner texture.
    • Mix the ingredients longer for a smoother dip.
    • Store in an airtight container in the fridge for up to 5 days.
    • This recipe is not suitable for freezing.
     

    Nutrition

    Calories: 72kcal | Carbohydrates: 9g | Protein: 3g | Fat: 3g | Saturated Fat: 0.5g | Polyunsaturated Fat: 1g | Monounsaturated Fat: 2g | Sodium: 196mg | Potassium: 253mg | Fiber: 2g | Sugar: 2g | Vitamin A: 361IU | Vitamin C: 16mg | Calcium: 21mg | Iron: 1mg

    Thermomix Arancini Balls

    February 29, 2016

    A close up of a pile of golden little arancini balls

    We all know how amazing Thermomix risotto is... and so it only makes sense to turn one of those delicious risottos into yummy little arancini balls.

    Arancini Balls 2

    When I make my arancini balls, I like to use a really basic risotto recipe. In fact, I virtually always use this one. I love that it's got a really simple lemony base, and because all of the yummy things get added to the top, you end up with the perfect risotto for arancini balls. If you're using a risotto that has lots of vegetables, chicken, bacon etc in it, just make sure that the chunks aren't too big or you'll have trouble getting your arancini balls to stick together properly. A really basic risotto is the perfect base for arancini balls.

    Arancini Balls 3

    It's also best to prepare your risotto the day before you need it, and leave it in the fridge overnight to firm up. You want a thick, firm risotto. Roll the risotto mixture around a small chunk of mozzarella cheese (which will give you that awesome stretchy cheesy filling), add some panko crumbs and bake in the oven until golden and crispy.

    A close up of a pile of golden little arancini balls

    I like to cook my arancini balls in a mini-muffin tin as it helps them to keep their shape. Mind you, because these arancini balls are oven-baked, they will slightly lose their perfect roundness (but I'd much prefer slightly odd-shaped balls than having to fry them!).

    Enjoy!

    xx

    A close up of a pile of golden little arancini balls
    Print Recipe
    4.91 from 11 votes

    Thermomix Arancini Balls

    Our Thermomix Arancini Balls are a great party finger food!
    Prep Time20 minutes mins
    Cook Time30 minutes mins
    Total Time50 minutes mins
    Course: Appetizer
    Cuisine: Italian
    Servings: 15 serves
    Calories: 144kcal
    Author: Lucy & Lauren
    Cost: $5

    Equipment

    • Thermomix
    • Oven

    Ingredients

    • 3 cups leftover risotto
    • 1 egg
    • ¼-1/2 cup breadcrumbs
    • 100 g mozzarella cheese (cut into 1.5 cm pieces)
    • 2 cups panko crumbs
    • 4 tbs olive oil
    • tomato relish , to serve

    Instructions

    • Preheat oven to 180 degrees celsius.
    • Place leftover risotto into a bowl (it's best if it's been left overnight in the fridge), add the egg and breadcrumbs and mix to combine.
    • Add more breadcrumbs if your mixture is too soft (it needs to be quite hard so that the balls keep their shape).
    • Return the mixture to the fridge for 30 minutes.
    • Place the panko crumbs into a bowl and use your fingers to mix through the olive oil, so that the crumbs are completely coated.
    • Roll 2 tablespoon-sized scoops of risotto mixture, flatten out and place a cube of mozzarella cheese in the centre. Roll back into a ball to completely enclose the cheese.
    • Place into the bowl of panko crumbs and cover completely.
    • Place each of the balls into the hole of a greased mini-muffin tin.
    • Bake for 30 minutes or until golden.
    • Serve with tomato relish.

    Nutrition

    Calories: 144kcal | Carbohydrates: 18g | Protein: 4g | Fat: 6g | Saturated Fat: 2g | Polyunsaturated Fat: 1g | Monounsaturated Fat: 3g | Trans Fat: 0.001g | Cholesterol: 16mg | Sodium: 118mg | Potassium: 38mg | Fiber: 0.4g | Sugar: 1g | Vitamin A: 61IU | Calcium: 54mg | Iron: 1mg


    Thermomix Pikelet Recipe

    February 25, 2016

    Stack of Pikelets with Raspberry Jam

    Our famous Thermomix Pikelet recipe can be ready to enjoy in less than 30 minutes! Made with just a few basic ingredients from your fridge and pantry, you will love how easy this recipe is to put together!

    Stack of Pikelets with Raspberry Jam

    Why you will love this Thermomix Pikelet Recipe:

    • Budget friendly - these Pikelets are made using basic ingredients that you will already have in your pantry or fridge.
    • Freezer Friendly - you can freeze these Pikelets for up to three months.
    • Perfect for the kids lunch boxes.
    • Make in bulk - you can double this recipe.
    Stack of Pikelets with Raspberry Jam

    Pikelet Ingredients

    • Self-raising flour - you can use plain flour instead, simply add 2 teaspoon of baking powder to the mixture. Also, you can use gluten free self-raising flour if you prefer.
    • Caster sugar (also known as superfine sugar) - if you prefer, you can leave the sugar out of this recipe.
    • Milk - this recipe works with coconut, oat and regular milks.
    Stack of Pikelets with Raspberry Jam

    How to Make Pikelets in a Thermomix

    These Pikelets couldn't be easier to make! Simply melt the butter, add the remaining ingredients and mix!

    Steps for making pikelets in a thermomix

    Frequently Asked Questions

    What is the difference between Pikelets and Pancakes?

    Pikelets are smaller in size compared to pancakes and the batter is thicker.

    Can you freeze homemade Pikelets?

    Yes you sure can! Place them in a ziplock bag or other freezer safe container for up to 3 months.

    Tips for Making this Thermomix Pikelet Recipe:

    • You can make the pikelet mixture up to 12 hours in advance, simply keep it in the fridge until needed.
    • The sugar can be omitted from this recipe.
    • These pikelets are freezer friendly.
    • For a gluten free version, switch to Gluten Free self-raising flour.

    You might also enjoy these recipes:

    • Thermomix Banana Pikelets
    • Ham Cheese and Tomato Pikelets
    • Pancakes | The Best Fluffy Pancake Recipe!
    • Thermomix Apple Pikelets
    • Four Ingredient Scones
    A plate with a pile of golden pikelets on it.
    Print Recipe
    4.80 from 15 votes

    Thermomix Pikelet Recipe

    Our famous Thermomix Pikelet recipe can be ready to enjoy in less than 30 minutes! Made with just a few basic ingredients from your fridge and pantry, you will love how easy this recipe is to put together!
    Prep Time5 minutes mins
    Cook Time20 minutes mins
    Total Time25 minutes mins
    Course: Breakfast, Snacks
    Cuisine: Australian
    Servings: 24 Pikelets
    Calories: 73kcal
    Author: Lucy & Lauren

    Equipment

    • Frying Pan
    • Thermomix

    Ingredients

    • 190 grams self raising flour
    • 2 tablespoons caster sugar
    • 200 grams milk
    • 60 grams butter
    • 1 egg
    • ½ teaspoon salt
    • 50 grams butter extra to grease frying pan

    Instructions

    • Place the butter into your Thermomix bowl and cook for 2 minutes, 60 degrees, speed 2 or until melted.
    • Add the self raising flour, caster sugar, milk, egg and a sprinkle of salt and mix for 10 seconds on speed 5. Scrape down the sides of the bowl and mix for a further 5 seconds, speed 4.
    • Preheat your frying pan with a little bit of butter over a medium high heat and add tablespoon amounts of the pikelet mixture.
    • When bubbles begin to appear on the surface of the pikelets, carefully flip them over and cook for a further 30 seconds on the other side before transferring to a plate and cover with foil to keep warm.
    • Continue until you have used all of the pikelet mixture.
    • Serve these pikelets warm with your choice of toppings.

    Notes

    • You can make the pikelet mixture up to 12 hours in advance, simply keep it in the fridge until needed.
    • The sugar can be omitted from this recipe.
    • These pikelets are freezer friendly.
    • For a gluten free version, switch to Gluten Free self-raising flour.

    Nutrition

    Calories: 73kcal | Carbohydrates: 7g | Protein: 1g | Fat: 4g | Saturated Fat: 3g | Polyunsaturated Fat: 0.2g | Monounsaturated Fat: 1g | Trans Fat: 0.2g | Cholesterol: 18mg | Sodium: 84mg | Potassium: 24mg | Fiber: 0.2g | Sugar: 1g | Vitamin A: 138IU | Calcium: 14mg | Iron: 0.1mg

    Thermomix Tzatziki Dip

    February 24, 2016

    Tzatziki Dip in a blue serving bowl surrounded by veggie sticks.

    Whether you're planning a party, or are just after a healthy and delicious dip to pop into the fridge, our Thermomix Tzatziki Dip is for you!! It takes just 5 minutes to whip up... and so you'll be gobbling down on it in no time at all.

    Tzatziki Dip in a blue serving bowl surrounded by veggie sticks.

    Why you will love this recipe:

    Quick to prepare - you can be enjoying this Tzatziki Dip with crackers or veggie sticks in no time at all!

    Perfect party food - make this dip up to three days in advance and then simply place into your favourite serving dish when ready to enjoy.

    Versatile - this recipe can easily be doubled - you'll just need to increase the mixing times slightly.

    Carrot stick with tzatziki dip being held up.

    Tzatziki Dip Ingredients

    Please note you will find a full list of ingredients and the method in the recipe card below.

    • Cucumber - we recommend using a Lebanese cucumber for this recipe.
    • Mint - dill can also be used. We do recommend using fresh versus dried herbs.
    • Natural yoghurt
    • Lemon juice
    • Olive oil
    Tzatziki Ingredients on a speckled bench.

    How to make Tzatziki in a Thermomix

    Step 1. Place the cucumber into the Thermomix and chop.

    Chopped cucumber pieces in a thermomix bowl.
    Chopped cucumber pieces.

    Step 2. Strain the excess liquid from the cucumber pieces.

    Cucumber pieces draining in a thermomix basket.

    Step 3. Chop the garlic and mint (or dill if using).

    garlic and mint in a thermomix bowl.

    Step 4. Add the remaining ingredients and mix well to combine.

    Tzatziki ingredients in a Thermomix bowl.

    Step 5. Serve with your favourite accompaniment.

    Side view of Tzatziki Dip in a blue serving bowl surrounded by veggie sticks.

    Recipe Hints and Tips

    We recommend using a Lebanese cucumber for this recipe.

    Make sure that you thoroughly strain the cucumber after chopping it. This will ensure that your dip stays nice and thick - and not runny!

    Fresh or store bought lemon juice can be used.

    Store in an airtight container in the fridge for up to three days.

    Serve with veggie sticks or crackers.

    Overhead view of Tzatziki Dip in a blue serving bowl surrounded by veggie sticks.

    You may also enjoy:

    • Thermomix Creamy Avocado Dip
    • Thermomix Mint & Cucumber Raita Dip
    • Thermomix Baba Ghanoush (Eggplant Dip)
    • Thermomix Hummus
    • Thermomix Cream Cheese & Sweet Chilli Dip
    • Cheesy Thermomix Crackers
    • Thermomix DipsTurkish Pide
    • Thermomix Naan Bread
    Tzatziki Dip in a blue serving bowl surrounded by veggie sticks.
    Print Recipe
    4.84 from 6 votes

    Thermomix Tzatziki Dip

    Whether you're planning a party, or are just after a healthy and delicious dip to pop into the fridge, our Thermomix Tzatziki Dip is for you!! It takes just 5 minutes to whip up... and so you'll be gobbling down on it in no time at all.
    Prep Time5 minutes mins
    Total Time5 minutes mins
    Course: Dip
    Cuisine: greek
    Servings: 8 people
    Calories: 37kcal
    Author: Lucy & Lauren
    Cost: $5

    Equipment

    • Thermomix

    Ingredients

    • 1 Lebanese cucumber
    • ½ garlic clove
    • 1 teaspoon dill or mint
    • 180 grams natural yoghurt
    • 10 grams lemon juice
    • 15 grams olive oil
    • ¼ teaspoon sea salt to season
    • ⅛ teaspoon pepper to season

    Instructions

    • Place cucumber into the TM bowl and chop 3 seconds, Speed 5.
    • Place cucumber into a sieve and strain completely (leave for approximately 10 minutes).
    • Add the garlic and dill or mint to the bowl and chop 3 seconds, Speed 7.
    • Scrape down the bowl.
    • Add the cucumber, natural yoghurt, lemon juice, olive oil and salt and pepper to the bowl.
    • Mix on Reverse, Speed 3, 15 seconds.
    • Store in the fridge until needed.

    Notes

    Quick to prepare - you can be enjoying this Tzatziki Dip with crackers or veggie sticks in no time at all!
    Perfect party food - make this dip up to three days in advance and then simply place into your favourite serving dish when ready to enjoy.
    Versatile - this recipe can easily be doubled - you'll just need to increase the mixing times slightly.

    Nutrition

    Calories: 37kcal | Carbohydrates: 3g | Protein: 1g | Fat: 3g | Saturated Fat: 1g | Polyunsaturated Fat: 0.2g | Monounsaturated Fat: 2g | Cholesterol: 3mg | Sodium: 84mg | Potassium: 93mg | Fiber: 0.2g | Sugar: 2g | Vitamin A: 62IU | Vitamin C: 2mg | Calcium: 34mg | Iron: 0.1mg

    Looking for even more?

    You can find more simple and delicious recipes in our books and eBooks, shop the range here.

    Image of 13 ThermoBliss recipes books on a marble look background.

    Jelly Slice Recipe by Thermobliss

    February 23, 2016

    Pieces of strawberry jelly slice.

    Our famous and super easy Thermomix Jelly Slice recipe is simply the BEST!

    A classic no-bake slice that everyone loves.

    Pieces of strawberry jelly slice on a chopping board.

    This easy Thermomix jelly slice is one of our oldest and most popular recipes!

    With it's buttery biscuit base, creamy filling and jelly topping, it's simply irresistable.

    Just like our passionfruit slice, Clinkers slice and caramel nut slice, this jelly slice recipe will make your next morning tea extra delicious!

    A piece of jelly slice.

    Why You're Going To Love This Recipe

    This is simply everyone's favourite easy Thermomix Jelly Slice recipe!

    • Classic Recipe - old fashioned recipes don't get much better than jelly slice! This recipe has well and truly stood the test of time... and now you can make it in your Thermomix!
    • No-Bake - there's no need to turn the oven on because this recipe involves ZERO baking! Simply prep each of the 3 layers and allow them to chill and set.
    • Perfect For Any Occasion - whether you're planning a special morning tea, having a bake sale or simply filling up school lunch boxes, jelly slice is always a hit.
    • Versatile - keep things classic with a strawberry jelly topping... or mix it up and use any of your favourite jelly flavours!

    What You Need

    Thermomix Jelly Slice may have 3 layers... but it really is SO easy to make!

    The ingredients for jelly slice.

    Please scroll to the recipe card at the bottom of the post for ingredient quantities and the full detailed method.

    • Butter - you can use either salted or unsalted butter in this recipe.
    • Biscuits - I recommend using Arnott's Marie biscuits, but you can use any plain, sweet biscuits you like!
    • Gelatine Powder - for setting the layers.
    • Lemon Juice - use freshly squeezed lemons (not bottled lemon juice). This helps to set the middle layer.
    • Sweetened Condensed Milk - use full fat (not skim) sweetened condensed milk as it sets firmer.
    • Jelly Crystals - choose any flavour of jelly crystals you like!

    Step By Step Instructions

    Wile this triple layered slice may look fancy, it's so simple to make!

    Please scroll to the recipe card at the bottom of the post for ingredient quantities and the full detailed method.

    Step 1 - Make The Biscuit Base

    Melt the butter in the Thermomix bowl.

    Melted butter in a Thermomix.

    Add the biscuits and crush until well combined.

    Biscuit crumbs in a Thermomix bowl.

    Press into a baking paper lined tray and chill in the fridge.
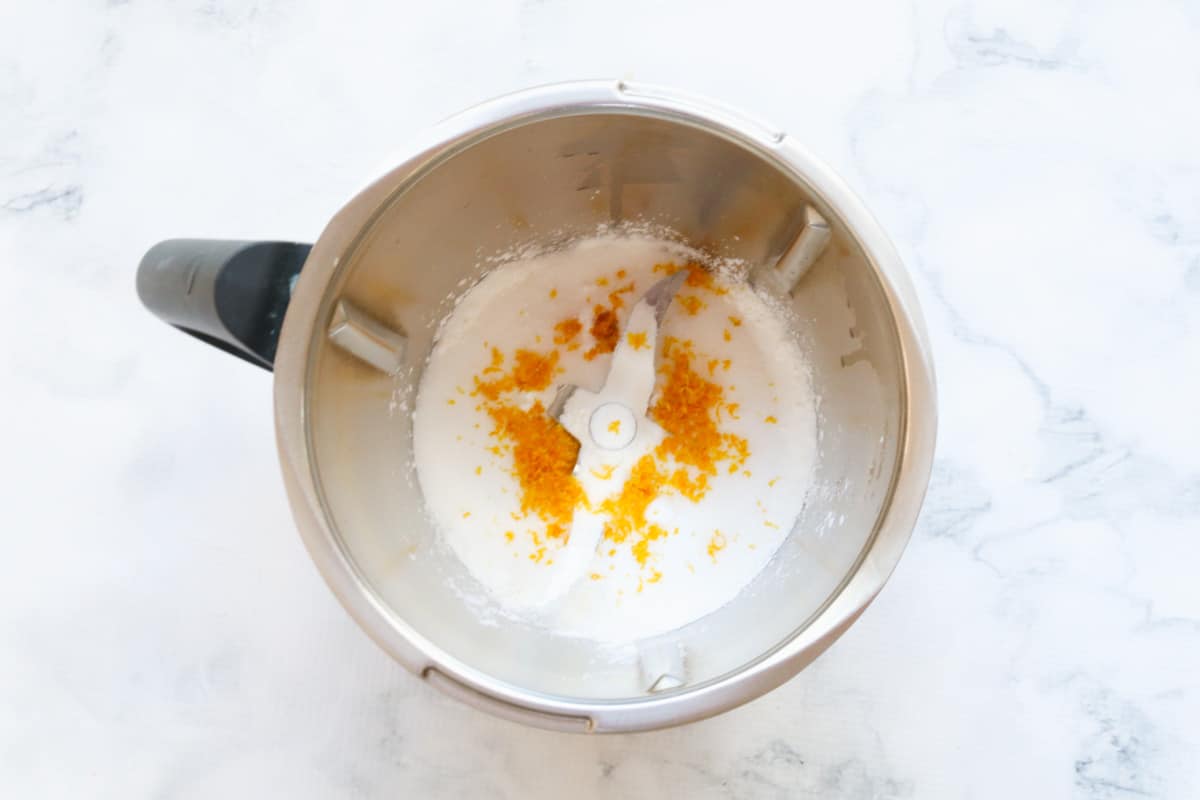
    A biscuit base in a slice tin.

    Step 2 - Make The Filling

    Mix the sweetened condensed milk, lemon juice and gelatine together.

    Creamy liquid in a Thermomix.

    Pour it over the biscuit base and place back into the fridge to set.

    creamy liquid in a thermomix

    Step 3 - Make The Jelly Topping

    Make the strawberry jelly (or any jelly flavour you like).

    Allow it to cool before pouring it over the set filling.

    Place back into the fridge to set.

    Pieces of jelly slice on a chopping board!

    Expert Tips

    Want to make the perfect Thermomix Jelly Slice? Here's how!

    • I recommend using Arnott's Marie biscuits, but you can use any plain, sweet biscuits you like!
    • Use freshly squeezed lemons (not bottled lemon juice). This helps to set the middle layer.
    • Use full fat (not skim) sweetened condensed milk as it sets firmer.
    • Allow the filling to set before pouring the cooled jelly over the top.
    • Make the jelly and then allow it to sit at room temperature to cool.
    • You can use any flavour of jelly crystals you like.
    • To cut the slice place it onto a chopping board. Use a large, flat, very sharp knife and press down firmly. Repeat until the entire slice has been cut into pieces.
    • Store jelly slice in the fridge for up to 5 days.
    • This recipe is not suitable for freezing.
    Red jelly slice on a plate.

    FAQs

    Can I use any flavour of jelly?

    Yes absolutely! Mix and match with any of your preferred jelly flavours. We have used strawberry jelly in this recipe as that's what is traditionally used.

    Do I need to wait for the middle layer to set before I pour the jelly over?

    Yes you do! If you pour the jelly onto the middle layer before it's set, the jelly will seep into the creamy filling rather than sitting in a nice layer on top.

    How do you cut jelly slice?

    Place the jelly slice onto a chopping board. Use a large, flat, very sharp knife and press down firmly. Repeat until the entire slice has been cut into pieces.

    Pieces of strawberry jelly slice.

    Related Recipes

    If you love making slices in your Thermomix, why not try these recipes too!?

    • Pieces of creamy passionfruit slice.
      Thermomix Passionfruit Slice
    • A close up of a piece of peppermint slice.
      Thermomix Peppermint Slice
    • A cake stand with nut caramel slice.
      Thermomix Caramel Nut Slice
    • An overhead shot of a Cadbury Caramello slice.
      Thermomix Caramello Slice

    OUR RANGE OF THERMOMIX COOKBOOKS

    Browse our collection of hardcopy Thermomix cookbooks here.

    There's everything from family dinners to kids snacks, desserts to cookies, slices to Christmas recipes, cocktails to chocolate recipes and more!

    ThermoBliss complete set
    Pieces of strawberry jelly slice.
    Print Recipe
    4.70 from 10 votes

    Easy Thermomix Jelly Slice

    Our famous and super easy Thermomix Jelly Slice recipe is simply the BEST! A classic no-bake slice that everyone loves!
    Prep Time1 hour hr
    Cook Time4 hours hrs
    Total Time5 hours hrs
    Course: Slices
    Cuisine: Australian
    Servings: 24 serves
    Calories: 166kcal
    Author: Lucy & Lauren
    Cost: $10

    Equipment

    • Thermomix

    Ingredients

    For The Base

    • 200 g butter
    • 250 g Arnott's Marie biscuits or any other plain biscuit

    For The Filling

    • 2½ tspns gelatine
    • ¾ cup boiling water
    • juice of 2 lemons (approx 90g)
    • 395 g sweetened condensed milk

    For The Top Layer

    • 1 packet strawberry jelly crystals
    • boiling water as per jelly packet instructions
    • 1 tspn gelatine extra

    Instructions

    For The Base

    • Line the base and the sides of an 18 x 28cm slice tin with baking paper, making sure you leave plenty hanging over the sides.
    • Chop the butter and place it into the Thermomix bowl. Melt for 3 minutes, 80 degrees, Speed 2 (or until melted).
    • Add the biscuits and crush for 10 seconds, Speed 9. Scrape down the sides of the bowl and repeat for a further 5 seconds.
    • Remove the biscuit mixture from the bowl and pour into the lined tray.
      Push the mixture down with the back of a metal spoon to create a flat surface.
      Place in the fridge while you prepare the filling.

    For The Filling

    • To make the filling, combine the gelatine in a jug with the boiling water and allow to cool slightly.
    • In a clean Thermomix bowl, add the lemon juice and sweetened condensed milk and mix for 45 seconds, Speed 3, with the measuring cup off.
      While the blades are turning, slowly pour the gelatine mixture into the bowl through the MC hole and mix until combined.
    • Remove the slice base from the fridge and pour over the filling.
      Place back into the fridge to set.

    For The Top Layer

    • In a clean Thermomix bowl, add the hot water and heat for 3 minutes, 90 degrees, Speed 2.
    • Add the jelly crystals and gelatine and mix on Speed 2 until they have dissolved. Pour the jelly into a seperate bowl and allow it to cool to room temperature.
    • Remove the slice from the fridge and carefully pour the jelly over the top.
      Place it back in the fridge to set for approximately 4 hours (overnight is best).

    Notes

    RECIPE NOTES & TIPS
    • I recommend using Arnott's Marie biscuits, but you can use any plain, sweet biscuits you like!
    • Use freshly squeezed lemons (not bottled lemon juice). This helps to set the middle layer.
    • Use full fat (not skim) sweetened condensed milk as it sets firmer.
    • Allow the filling to set before pouring the cooled jelly over the top.
    • Make the jelly and then allow it to sit at room temperature to cool.
    • You can use any flavour of jelly crystals you like.
    • To cut the slice place it onto a chopping board. Use a large, flat, very sharp knife and press down firmly. Repeat until the entire slice has been cut into pieces.
    • Store jelly slice in the fridge for up to 5 days.
    • This recipe is not suitable for freezing.

    Nutrition

    Calories: 166kcal | Carbohydrates: 15g | Protein: 2g | Fat: 11g | Saturated Fat: 6g | Polyunsaturated Fat: 1g | Monounsaturated Fat: 3g | Trans Fat: 0.3g | Cholesterol: 26mg | Sodium: 111mg | Potassium: 83mg | Fiber: 0.4g | Sugar: 11g | Vitamin A: 287IU | Vitamin C: 5mg | Calcium: 53mg | Iron: 0.3mg

    Thermomix Lemon Risotto

    February 22, 2016

    An overhead shot of fresh vegetables and prosciutto on top of a creamy risotto.

    Our fresh, creamy and zesty Thermomix Lemon Risotto is so simple to make and pairs perfectly with crunchy asparagus, grilled tomatoes and crispy prosciutto!

    An overhead shot of fresh vegetables and prosciutto on top of a creamy risotto.

    It's certainly no secret that the Thermomix makes the BEST, creamiest risottos!

    And as a busy mum, I very much appreciate a 'hands off' recipe that's ready in no time.

    Let the Thermomix do all the work and you'll end up with a lovely, creamy and zesty lemon risotto... all you have to do is lightly grill the asparagus, tomatoes and prosciutto to serve!

    Just like our chicken and mushroom risotto, seafood risotto and garlic prawn risotto, this lemon risotto is fast, fresh and simply delicious.

    Why You're Going To Love This Recipe

    This creamy Thermomix Lemon Risotto is sure to become a firm family favourite!

    • Quick & Easy - Have dinner on the table in less than 30 minutes... perfect for busy weeknights!!
    • Versatile - I like to top my risotto with grilled cherry tomatoes, asparagus and crispy prosciutto, however, it's also delicious served with salmon or prawns.
    • Suitable For All Thermomix Models - you can make our risotto in any model of the Thermomix.
    Crispy prosciutto and grilled veggies on top of risotto.

    What You Need

    Our creamy Thermomix Lemon Risotto is made using basic pantry staples!

    Please scroll to the recipe card at the bottom of the post for ingredient quantities and the full detailed method.

    The ingredients for lemon risotto.
    • Parmesan cheese - buy a block of parmesan and grate it finely in the Thermomix.
    • Garlic - I use pre-minced garlic to save time, however, you can use cloves and mince them in the Thermomix if you prefer.
    • Butter and olive oil - this is the perfect combination when making risotto.
    • Arborio rice - ensure you choose arborio rice as it's what makes the risotto rich and creamy.
    • Liquid vegetable stock - use store-bought liquid vegetable stock or make your own using water and 2 teaspoon of vegetable stock powder (or 2 tbs homemade vegetable stock).
    • Lemon juice - add more or less to taste. I generally find that the juice from 1 lemon gives enough of a zesty flavour without being too overpowering.
    • To serve - I like to grill cherry tomatoes, asparagus and prosciutto and add it to the top of the risotto.

    Step By Step Instructions

    It couldn't be easier to make lemon risotto using your Thermomix!

    Please scroll to the recipe card at the bottom of the post for ingredient quantities and the full detailed method.

    Step 1 - Grate The Parmesan

    Place the parmesan cheese into the Thermomix bowl and mix until finely grated.

    Set aside in a seperate bowl.

    Grated parmesan in a Thermomix.

    Step 2 - Saute

    Heat the garlic, butter and oil in the Thermomix.

    Butter and garlic in a Thermomix.

    Step 3 - Add The Arborio Rice

    Add the arborio rice to the Thermomix bowl and cook for 2 minutes.

    Rice in a thermomix.

    Step 4 - Cook The Risotto

    Add the liquid vegetable stock and cook for 16 minutes.

    Squeeze in the lemon juice and mix on Reverse to combine.

    Place the risotto into a ThermoServer for 10 minutes to thicken. Stir through half of the grated parmesan cheese.

    Creamy lemon risotto in a Thermomix.

    Step 5 - Serve

    Divide the risotto between the serving bowls.

    Top with grilled asparagus, cherry tomatoes, crispy prosciutto and the remaining parmesan cheese.

    Expert Tips

    Follow our top tips for the perfect Thermomix risotto!

    • ensure that you use arborio rice (this is the only type of rice suitable for risotto)
    • do not rinse the arborio rice before using - unlike other varieties of rice, you should not rinse arborio rice. Removing the starch will stop the risotto from becoming deliciously rich and creamy.
    • allow the risotto to rest in the ThermoServer for 10 minutes - this gives it enough time to thicken
    • serve with grilled asparagus, tomatoes and crispy prosciutto for a restaurant quality meal
    • use store-bought liquid chicken stock or use homemade chicken stock
    • for a vegetarian option, substitute the prosciutto for grilled salmon or prawns
    • store leftover risotto in the fridge for up to 3 days
    • if freezing risotto, allow it to cool completely and then place into an airtight container. Freeze for up to 3 months. Defrost and reheat in the microwave directly from frozen or allow to defrost in the fridge overnight and then reheat.
    Creamy lemon risotto with asparagus, tomatoes and prosciutto.

    FAQs

    Should I rinse the arborio rice before using?

    NO! Unlike other varieties of rice, arborio rice should NOT be rinsed! Rinsing the rice would remove the starch and prevent the risotto from becoming rich and creamy.

    Can I freeze leftover risotto?

    Yes! Leftover risotto can be frozen for up to 3 months.
    Please note: the grilled tomatoes, asparagus and prosciutto are not suitable for freezing.

    A forkful of creamy lemon risotto.

    Related Recipes

    Looking for more tasty Thermomix risotto recipes?

    We have PLENTY! Here's a few of our favourites:

    • A bowl of risotto with pumpkin, chicken, bacon and spinach.
      Thermomix Chicken, Pumpkin, Bacon & Baby Spinach Risotto
    • Overhead side view of Thermomix Bacon and Tomato Risotto.
      Thermomix Bacon & Tomato Risotto
    • Chorizo on a fork with risotto.
      Thermomix Chorizo, Tomato & Baby Spinach Risotto
    • Overhead view of Bowl of Thermomix Zucchini Pea and Bacon risotto sitting on a black hand towel with a gold fork next to it. in the background is a zucchini and a white bowl with cheese in it.
      Thermomix Zucchini, Pea and Bacon Risotto

    SHOP OUR RANGE OF THERMOMIX COOKBOOKS

    Browse our collection of hardcopy Thermomix cookbooks here.

    There's everything from family dinners to kids snacks, desserts to cookies, slices to Christmas recipes, cocktails to chocolate recipes and more!

    A bundle of 15 Thermomix Cookbooks.
    An overhead shot of fresh vegetables and prosciutto on top of a creamy risotto.
    Print Recipe
    5 from 3 votes

    Thermomix Lemon Risotto

    Our Thermomix Lemon Risotto with Asparagus, Prosciutto & Cherry Tomatoes is the ultimate date night dinner.
    Prep Time5 minutes mins
    Cook Time20 minutes mins
    Total Time25 minutes mins
    Course: Dinner
    Cuisine: Italian
    Servings: 4 serves
    Calories: 519kcal
    Author: Lucy & Lauren
    Cost: $10

    Equipment

    • Thermomix

    Ingredients

    • 60 g parmesan
    • 2 teaspoon minced garlic
    • 30 g butter
    • 15 g olive oil
    • 300 g arborio rice
    • 900 g liquid vegetable stock
    • Juice of 1 lemon
    • 1 bunch baby asparagus
    • 100 g prosciutto thinly sliced
    • 250 g cherry tomatoes

    Instructions

    • Grate the parmesan cheese for 10 seconds, Speed 8. Set aside.
    • Add the garlic and butter and oil and cook for 2 minutes, Varoma, Speed 1.
    • Add the arborio rice to the Thermomix bowl and cook for a further 2 minutes, Varoma, Speed 1.
    • Add the liquid vegetable stock and cook for 16 minutes, 100 degrees, REVERSE, Speed 1.
    • Add the lemon juice to taste and mix for 20 seconds, REVERSE, Speed 1.
    • Pour the risotto into the ThermoServer and allow to thicken for 10 minutes (stir through half of the grated parmesan cheese).
    • Meanwhile, cook the asparagus, prosciutto and cherry tomatoes in a frying pan or grill pan until the prosciutto is crispy and the asparagus is lightly grilled.
    • Divide the lemon risotto between the serving bowls and top with the prosciutto, asparagus, cherry tomatoes and remaining parmesan cheese.

    Notes

    RECIPE NOTES & TIPS
    • ensure that you use arborio rice (this is the only type of rice suitable for risotto)
    • do not rinse the arborio rice before using - unlike other varieties of rice, you should not rinse arborio rice. Removing the starch will stop the risotto from becoming deliciously rich and creamy.
    • allow the risotto to rest in the ThermoServer for 10 minutes - this gives it enough time to thicken
    • serve with grilled asparagus, tomatoes and crispy prosciutto for a restaurant quality meal
    • use store-bought liquid chicken stock or use homemade chicken stock
    • for a vegetarian option, substitute the prosciutto for grilled salmon or prawns
    • store leftover risotto in the fridge for up to 3 days
    • if freezing risotto, allow it to cool completely and then place into an airtight container. Freeze for up to 3 months. Defrost and reheat in the microwave directly from frozen or allow to defrost in the fridge overnight and then reheat.

    Nutrition

    Calories: 519kcal | Carbohydrates: 61g | Protein: 14g | Fat: 24g | Saturated Fat: 10g | Polyunsaturated Fat: 2g | Monounsaturated Fat: 10g | Trans Fat: 0.3g | Cholesterol: 43mg | Sodium: 466mg | Potassium: 128mg | Fiber: 2g | Sugar: 0.1g | Vitamin A: 314IU | Vitamin C: 0.5mg | Calcium: 192mg | Iron: 3mg

    Healthy Thermomix Chocolate Ice Cream

    February 18, 2016

    A spoonful of chocolate ice-cream.

    The BEST 2 Ingredient Healthy Thermomix Chocolate Ice Cream made from frozen bananas and cocoa powder!

    Perfect for a healthy breakfast, after-school snack or refreshing summer treat... ready in just 2 minutes.

    A spoonful of chocolate ice-cream.

    Looking for quick and easy snacks that are also healthy?

    We've got you covered!

    The kids will LOVE our version of healthy ice-cream (it tastes just like chocolate ice-cream) and is perfect for an after-school summer treat.

    Just like our mango version and our choc peanut butter version, the smooth, creamy ice-cream texture will keep them coming back for more!

    Why You're Going To Love This Recipe

    This is one of my son's all-time favourite after school snack! Here's why your kids (and you!) will love it so much:

    • Tastes like ice-cream... but it's healthy! - your kids will think they're devouring a bowl of ice-cream, without a clue that it's actually healthy!
    • Made from just 2 ingredients - all you need are frozen bananas and cocoa powder.
    • Ready in 2 minutes - serve those hungry tummies a bowl of 'nice-cream' in under 2 minutes.
    • Versatile - substitute the cocoa powder with frozen berries, mango or even peanut butter!
    • Healthy and delicious - this Healthy Thermomix Chocolate Ice Cream is a double winner!
    Healthy banana cocoa powder ice cream in a bowl.

    What You Need

    Just 2 Ingredients!!! How easy is that!?

    Please scroll to the recipe card at the bottom of the post for ingredient quantities and the full detailed method.

    Frozen banana chunks and cocoa powder on a backdrop.
    • Bananas - these must be frozen solid. Break or chop into chunks before adding to the Thermomix.
    • Cocoa Powder - or substitute for cacao powder.

    Step By Step Instructions

    Please scroll to the recipe card at the bottom of the post for ingredient quantities and the full detailed method.

    It's SO easy to make Healthy Thermomix Chocolate Ice Cream!

    Step 1 - Add The Ingredients

    Break or chop the bananas into your Thermomix bowl.

    Add the cocoa powder.

    Frozen bananas and cocoa powder in a Thermomix.

    Step 2 - Mix

    Chop for 15 seconds, Speed 8.

    Scrape down the sides of the bowl.

    Chopped banana and cocoa powder.

    Mix for a further 1 minute, Speed 4.

    Chocolate ice cream made with bananas in a jug.

    Step 3 - Serve

    For best results, serve immediately!

    Expert Tips

    • Use frozen bananas (not fresh) and break or chop into chunks before mixing
    • Substitute the cocoa powder with cacao powder if preferred
    • Serve immediately... the 'ice-cream' will melt quickly!
    • Not suitable for refreezing
    • Substitute the cocoa powder for other frozen fruits such as berries and mango!
    • Serve on it's own or with yoghurt and fresh fruit
    • This recipe can easily be doubled or tripled
    An overhead shot of banana cocoa powder ice cream.

    FAQs

    All your Healthy Thermomix Chocolate Ice Cream questions answered!

    Do the bananas need to be frozen?

    Yes they do! Frozen bananas blend into super creamy, luscious 'ice-cream'.

    Can I add other frozen fruits?

    Yes! Omit the cocoa powder and try adding frozen berries or mango along with the frozen banana.

    Can I refreeze healthy Thermomix chocolate ice cream?

    No - this is best served immediately from the Thermomix (it will melt quickly!).

    Healthy banana cocoa powder ice cream in a bowl.

    Related Recipes

    Looking for some more healthy Thermomix snacks (that the kids will LOVE!)?

    Here's a few of our most popular recipes:

    • Mango Nice Cream in a white speckled bowl sitting on a blue towel.
      Thermomix 2 Ingredient Mango Ice Cream Recipe
    • An overhead shot of peanut butter chocolate ice cream.
      Thermomix Healthy Peanut Butter & Chocolate Ice Cream
    • A spoon scooping from a berry acai bowl topped with banana and coconut.
      Healthy Thermomix Acai Bowl
    • Thermomix Healthy Chocolate Banana Smoothie
      Healthy Thermomix Chocolate Banana Smoothie
    A spoonful of chocolate ice-cream.
    Print Recipe
    4.89 from 9 votes

    Healthy Thermomix Chocolate Ice Cream

    The BEST 2 Ingredient Healthy Thermomix Chocolate Ice Cream made from frozen bananas and cocoa powder!
    Prep Time2 minutes mins
    Total Time2 minutes mins
    Course: Breakfast, Desserts
    Cuisine: healthy
    Servings: 2 serves
    Calories: 116kcal
    Author: Lucy & Lauren
    Cost: $1

    Equipment

    • Thermomix

    Ingredients

    • 2 frozen bananas large, roughly chopped
    • 10 g cocoa powder or cacao powder

    Instructions

    • Place the frozen banana pieces and cocoa powder into your Thermomix bowl.
    • Mix for 15 seconds, slowly working your way up to Speed 8.
    • Scrape down the sides of the bowl and mix for a 1 minute, Speed 4, or until smooth and creamy.

    Notes

    RECIPE NOTES & TIPS
    • Use frozen bananas (not fresh) and break or chop into chunks before mixing
    • Substitute the cocoa powder with cacao powder if preferred
    • Serve immediately... the 'ice-cream' will melt quickly!
    • Not suitable for refreezing
    • Substitute the cocoa powder for other frozen fruits such as berries and mango!
    • Serve on it's own or with yoghurt and fresh fruit
    • This recipe can easily be doubled or tripled

    Nutrition

    Calories: 116kcal | Carbohydrates: 30g | Protein: 2g | Fat: 1g | Saturated Fat: 1g | Polyunsaturated Fat: 0.1g | Monounsaturated Fat: 0.3g | Sodium: 2mg | Potassium: 498mg | Fiber: 5g | Sugar: 14g | Vitamin A: 76IU | Vitamin C: 10mg | Calcium: 12mg | Iron: 1mg

    Thermomix Coconut Ice

    February 17, 2016

    A cake stand topped with coconut ice.

    Our old fashioned Thermomix Coconut Ice is made using just 5 ingredients and takes 10 minutes to prepare.

    Perfect for lunchboxes, morning tea, fetes and fundraisers!

    A cake stand topped with pieces of coconut ice.

    Say hello to one of our most popular slice recipes!

    This simple coconut ice recipe is as delicious as it is pretty!

    Just like our Licorice Allsort Slice, Caramello Slice and Snickers Slice, this Coconut Slice recipe is completely NO-BAKE and takes just a few minutes to prepare!

    Why You're Going To Love This Recipe

    Our classic Thermomix Coconut Ice recipe is a good old fashioned favourite!

    • 5 Ingredients - all you need is icing sugar, cream of tartar, sweetened condensed milk, desiccated coconut and pink food colouring
    • 10 Minutes Prep Time - it takes just 10 minutes to prepare this classic slice
    • No-Bake Recipe - there's no need to turn the oven on with this easy no-bake recipe
    • Budget-Friendly - this coconut ice recipe is made from pantry staples making it a budget-friendly option
    Two layered coconut slice on a board.

    What You Need

    All you need is 5 basic ingredients to make Thermomix Coconut Ice!

    Please scroll to the recipe card at the bottom of the post for ingredient quantities and the full detailed method.

    The ingredients for coconut ice.
    • Icing Sugar - use pure icing sugar (not icing sugar mixture) as it sets firmer.
    • Cream of Tartar - you can buy cream of tartar from the baking aisle of the supermarket (near the baking powder and gelatine).
    • Sweetened Condensed Milk - use full fat (not skim) condensed milk for the best results.
    • Coconut - use dry, fine desiccated coconut (not shredded or moistened).
    • Pink Food Colouring - add more or less depending on how pink you'd like it to be.

    Step By Step Instructions

    It takes just 5 simple steps to make Thermomix Coconut Ice!

    Please scroll to the recipe card at the bottom of the post for ingredient quantities and the full detailed method.

    Step 1 - Sift

    Place the icing sugar and the cream of tartar into the Thermomix bowl.

    Mix until well sifted.

    Icing sigar in a Thermomix bowl.

    Step 2 - Add The Coconut & Condensed Milk

    Pour the sweetened condensed milk into the Thermomix bowl. Add the desiccated coconut.

    Sweetened condensed milk and coconut in a Thermomix bowl.

    Mix to combine.

    White coconut mixture in a Thermomix.

    Step 3 - Press The White Layer Into The Tin

    Take half of the mixture and press it firmly into the prepared tin.

    White coconut mixture in a baking tin.

    Step 4 - Add The Pink Food Colouring

    Add drops of food colouring (more or less depending on how vibrant you'd like the colour to be).

    Mix until the colour has dispersed.

    Pink coconut mixture in a Thermomix bowl.

    Step 5 - Add The Pink Layer

    Press the pink coconut layer on top of the white layer.

    Chill until firm and set.

    Pink coconut mixture pressed into a baking tin.

    Cut into pieces.

    An overhead shot of coconut ice.

    Expert Tips

    • Use pure icing sugar (not icing sugar mixture) as it sets firmer
    • Cream of tartar can be found in the baking aisle of the supermarket (near the baking powder and gelatine)
    • Use full fat (not skim) sweetened condensed milk as it sets firmer
    • Use dry desiccated coconut (not moistened or shredded)
    • Add more or less pink food colouring (depending on how vibrant you'd like the pink layer to be)
    • Store in an airtight container in the fridge for up to 1 week
    • Freeze for up to 3 months
    Pieces of white and pink coconut ice.

    FAQs

    What's the difference between pure icing sugar and icing sugar mixture?

    Pure icing sugar has nothing added to it while icing sugar mixture has cornflour added. Pure icing sugar sets firmer than icing sugar mixture.

    What is cream of tartar?

    Cream of tartar is a white powder that stabilises and firms ingredients.

    Can I use other colours of food colouring?

    Pink is the traditional colour used in coconut ice, however, you can use any colour you like!

    A hand holding a piece of coconut slice.

    Related Recipes

    If you love old fashioned recipes, then you might also like to try these classic Thermomix slice recipes too:

    • Two pieces Mars Bar Slice sitting on top of each other.
      Thermomix Mars Bar Slice
    • Pieces of baked jam coconut slice on a cake stand.
      Thermomix Jam and Coconut Slice
    • Anzac Slice cut into 16 pieces. Sitting on a sheet of baking paper on top of a blue striped tea towel.
      Thermomix Anzac Slice
    • Pieces of chocolate slice with sprinkles on top.
      Thermomix Weet-Bix Slice

    OUR RANGE OF THERMOMIX COOKBOOKS

    Browse our collection of hardcopy Thermomix cookbooks here.

    There's everything from family dinners to kids snacks, desserts to cookies, slices to Christmas recipes, cocktails to chocolate recipes and more!

    ThermoBliss complete set
    A cake stand topped with coconut ice.
    Print Recipe
    4.86 from 7 votes

    Thermomix Coconut Ice

    Made with just FIVE ingredients, our Thermomix Coconut Ice recipe is a simple no-bake recipe that takes less than 10 minutes to prepare.
    Prep Time10 minutes mins
    Chilling Time1 hour hr
    Total Time1 hour hr 10 minutes mins
    Course: Slices
    Cuisine: Australian
    Servings: 16 pieces
    Calories: 276kcal
    Author: Lucy & Lauren
    Cost: $5

    Equipment

    • Thermomix
    • 20 X 20cm baking tin

    Ingredients

    • 300 grams pure icing sugar
    • ¼ teaspoon cream of tartar
    • 395 grams sweetened condensed milk
    • 300 grams desiccated coconut
    • 5-6 drops pink food colouring

    Instructions

    • Grease and line a small square baking tin (approx 20X20cm) with baking paper and set aside.
    • Place the icing sugar and cream of tartar into the Thermomix bowl and mix for 10 seconds, Speed 9.
    • Add the coconut and sweetened condensed milk to the bowl and mix for 10 seconds, Speed 4. Scrape down the sides of the bowl and repeat for a further 5 seconds.
    • Press half of the mixture firmly into the prepared tray.
    • Add the food colouring to the Thermomix bowl and mix for 10 seconds, Speed 4 - use the spatula to help mix the food colouring completely through the mixture.
    • Press the pink mixture on top of the white layer and place into the fridge to set.

    Notes

    RECIPE NOTES & TIPS
    • Use pure icing sugar (not icing sugar mixture) as it sets firmer
    • Cream of tartar can be found in the baking aisle of the supermarket (near the baking powder and gelatine)
    • Use full fat (not skim) sweetened condensed milk as it sets firmer
    • Use dry desiccated coconut (not moistened or shredded)
    • Add more or less pink food colouring (depending on how vibrant you'd like the pink layer to be)
    • Store in an airtight container in the fridge for up to 1 week
    • Freeze for up to 3 months

    Nutrition

    Calories: 276kcal | Carbohydrates: 37g | Protein: 3g | Fat: 14g | Saturated Fat: 12g | Polyunsaturated Fat: 0.2g | Monounsaturated Fat: 1g | Cholesterol: 8mg | Sodium: 39mg | Potassium: 202mg | Fiber: 3g | Sugar: 33g | Vitamin A: 66IU | Vitamin C: 1mg | Calcium: 75mg | Iron: 1mg

    Thermomix Dips

    February 16, 2016

    Collage of four photos of dips made in a thermomix.

    Looking for the BEST Thermomix Dips? You are in the right place! We've got all of our classic favourite plus some new delicious dip recipes that you will just love.

    When it comes to dips, the possibilities really are endless and really only limited by your imagination!  We've put together a collection of some of our favourite Dips to help inspire you to come up with your own yummy creations!

    Collage of five photos of dips made in a thermomix.

    Thermomix Hummus

    This Hummus was one of the very first recipes I made in my Thermomix and still makes a regular appearance in our house!

    Thermomix Hummus

    Our classic Thermomix Hummus recipe takes just 2 minutes to prepare and is made from 6 pantry staple ingredients. Once you've made homemade hummus in your Thermomix, you'll never buy store-bought hummus again!
    Thermomix Hummus Recipe
    A bowl of hummus with paprika sprinkled on top.

    Thermomix Corn Relish Dip

    This easy Thermomix Corn Relish Dip is a delicious and simple two ingredient recipe that can be ready to enjoy in under 5 minutes!

    Thermomix Corn Relish Dip

    Enjoy this easy Thermomix Corn Relish Dip recipe with your favourite accompaniments, we love to enjoy it with veggie sticks or our favourite savoury crackers. 
    Thermomix Corn Relish Dip Recipe
    Thermomix corn relish dip in a blue bowl surrounded by crackers.

    Thermomix Tzatziki Dip

    Everyone needs a good Tzatziki Dip and once you have tried our recipe you won't look back!

    Thermomix Tzatziki Dip

    Whether you're planning a party, or are just after a healthy and delicious dip to pop into the fridge, our Thermomix Tzatziki Dip is for you!! It takes just 5 minutes to whip up... and so you'll be gobbling down on it in no time at all.
    Thermomix Tzatziki Dip Recipe
    Tzatziki Dip in a blue serving bowl surrounded by veggie sticks.

    Thermomix Roasted Pumpkin Dip

    If you love our hummus dip, you are going to LOVE this Roasted Pumpkin Dip!

    Thermomix Roasted Pumpkin Dip

    Our simple Thermomix Roasted Pumpkin Dip is perfect for your next grazing platter.
    Thermomix Roasted Pumpkin Dip Recipe
    Dip and crackers on a plate.

    Thermomix Herb & Garlic Dip

    Our Herb and Garlic Dip is made with just a few simple ingredients and can be ready to enjoy in just FIVE minutes!

    Thermomix Herb & Garlic Dip

    Our Thermomix Herb and Garlic Dip is made with just a few simple ingredients and can be ready to enjoy in just FIVE minutes!
    Thermomix Herb & Garlic Dip Recipe
    Side view of Thermomix Herb and Garlic Dip in a white bowl.

    Thermomix Baba Ghanoush (Eggplant Dip)

    Another one of our favourite dips to make is this Baba Ghanoush - have you tried it yet?

    Thermomix Baba Ghanoush (Eggplant Dip)

    Need a new dip to go with your favourite crackers? Our Thermomix Baba Ghanoush will become your new go to recipe when you are entertaining.
    Thermomix Baba Ghanoush (Eggplant Dip) Recipe
    Baba Ghanoush drizzled with olive oil in a white speckled bowl sitting on chopping board.

    Thermomix Roasted Capsicum & Sun-Dried Tomato Dip

    When it comes to Dips, it don'ts get much better than this Roasted Capsicum and Sun-Dried Tomato Dip!

    Thermomix Roasted Capsicum & Sun-Dried Tomato Dip

    Our Thermomix Roasted Capsicum & Sun-Dried Tomato Dip is busting with flavour!
    Thermomix Roasted Capsicum & Sun-Dried Tomato Dip Recipe
    A bowl of capsicum dip with a cracker in it.

    Thermomix Guacamole

    This easy Guacamole Recipe is perfect for your entire family! It's great as a snack, in the kids lunch boxes or at your next party.

    Thermomix Guacamole

    Made with just five ingredients and ready in less than 10 minutes, this truly is the BEST Guacamole recipe out ther
    Thermomix Guacamole Recipe
    Thermomix Guacamole

    Thermomix Mint & Cucumber Raita Dip

    This Mint & Cucumber Raita Dip is fast, fresh and packed full of flavour!

    Serve it with homemade roti bread and your favourite curry or meat dish.

    Thermomix Raita Dip

    This Thermomix Mint & Cucumber Raita Dip is fast, fresh and packed full of flavour! Serve it with homemade roti bread and your favourite curry or meat dish.
    Thermomix Raita Dip Recipe
    A bowl of mint and cucumber raita dip made in a Thermomix.

    Thermomix Cream Cheese & Sweet Chilli Dip

    Once you have tried this Cream Cheese & Sweet Chilli Dip, you will never buy a store bought version again!

    Thermomix Cream Cheese & Sweet Chilli Dip

    Our Thermomix Cream Cheese & Sweet Chilli Dip is perfect for your next grazing platter.
    Thermomix Cream Cheese & Sweet Chilli Dip Recipe
    A creamy dip with sweet chilli sauce.

    Thermomix Creamy Avocado Dip

    You cannot go wrong with the creamy Avocado Dip, especially when it is ready to serve in just TWO MINUTES!

    Thermomix Creamy Avocado Dip

    A healthy and simple Thermomix Creamy Avocado Dip that's ready to serve in under 2 minutes!
    Thermomix Creamy Avocado Dip Recipe
    Crackers next to a creamy green dip.

    Thermomix Cheesy Cobb Loaf Recipe

    This  Bacon and Cheese Cobb Loaf is hands down one of my favourites dips.

    Thermomix Bacon and Cheese Cob Loaf Recipe

    Our famous Thermomix Bacon and Cheese Cob Loaf Recipe is always a favourite with family and friends.
    Thermomix Bacon and Cheese Cob Loaf Recipe Recipe
    Close up of THermomix Bacon and Cheese Cob Loaf, piece of bread sticking out the top.

    Thermomix Spinach Cob Loaf

    You might also like to try our Spinach Cob Loaf Dip.

    Served with bread, crackers or veggie sticks, it's always a winner!

    Thermomix Spinach Cob Loaf

    This Thermomix Spinach Cob Loaf is made with just SIX Ingredients and is a simple recipe perfect for entertaining.
    Thermomix Spinach Cob Loaf Recipe
    Overhead view of a spinach cob loaf on a white oval platter with toasted bread pieces around it.

    Thermomix French Onion Dip

    This absolute classic dip is so easy to make in the Thermomix... and save yourself lots of money by avoiding buying store-bought French Onion dip!

    Thermomix French Onion Dip Recipe

    Made with 4 ingredients and requiring less than 15 minutes of preparation time, this easy Thermomix dip is the ultimate snack!
    Thermomix French Onion Dip Recipe Recipe
    Side view of French onion dip in a white bowl with dark striped rim that is sitting on a wooden serving platter with carrot sticks and crackers.

    Looking for More?

    • Thermomix Aioli
    • Cheesy Thermomix Crackers
    • Thermomix Tortillas
    • Thermomix Roti Bread (4 Ingredients)

    You can find more simple and delicious recipes in our books and eBooks. Shop the full range here.

    ThermoBliss complete set

    Thermomix Banana Smoothie

    February 8, 2016

    Banana smoothie in a tall glass sitting on a pink towel with a blue striped straw in glass.

    This Thermomix Banana Smoothie can be ready to enjoy in under 5 minutes - it doesn't get better than that! Made with simple ingredients, our Thermomix Banana Smoothie makes the perfect breakfast or snack for the whole family.

    Banana smoothie in a tall glass sitting on a pink towel with a blue striped straw in glass.

    I love to make smoothies for breakfast (especially when the weather is warm!). They're easy, healthy and most importantly - super quick!!

    You will love:

    Quick to prepare - this Banana Smoothie can be ready to enjoy in under 5 minutes.

    Versatile - only want to make one smoothie? Simply half the recipe. You can also double this recipe, just make sure you do not exceed the maximum capacity of your Thermomix bowl.

    Simple Ingredients - made with banana, yoghurt, milk, honey and ice, you won't need to buy any special ingredients to make this delicious smoothie.

    Family friendly - this recipe is perfect for the entire family. You can omit the honey if making for younger children.

    Close up overhead view of a banana smoothie sprinkled with cinnamon. In the background there is a bunch of bananas.

    Ingredients

    Please note you will find the full list of ingredients and instructions in the recipe card below.

    • Bananas - either fresh or frozen can be used.
    • Milk - your favourite type of milk can be used for this recipe. It is also delicious made with coconut milk!
    • Yoghurt - we recommend using greek, natural or vanilla.
    • Ice
    • Cinnamon - optional
    Ingredients to make a banana smoothie

    How to make a Banana Smoothie in a Thermomix

    Step 1. Place all of your ingredients into your Thermomix bowl.

    Ingredients to make a banana smoothie in a thermomix bowl.

    Step 2. Blend until smooth and creamy.

    Step 3. Divide the smoothie between serving glasses and enjoy!

    Overhead view of a banana smoothie sprinkled with cinnamon sitting on a pink towel.

    Recipe Hints and Tips

    When you're making this Thermomix Banana Smoothie, try and use the ripest bananas you can get your hands on. The riper the better, as it will naturally sweeten the smoothie.

    Frozen bananas work best in smoothies, but if you don't have any in the freezer, you can substitute for fresh ones.

    Any type of milk can be used. We also enjoy this smoothie made with coconut milk.

    The honey can be omitted in this recipe.

    Only want to make one smoothie? Simply half the ingredients.

    This recipe can be doubled, please ensure you do not exceed the maximum capacity of your machine. Also note the time to combine the ingredients will increase.

    Thermomix Banana Smoothie

    FAQ

    Are Banana Smoothies healthy?

    Banana Smoothies can be a healthier snack or breakfast option. To reduce the amount of sugar, you can omit the honey in this recipe.

    Is it best to use fresh or frozen bananas when making smoothies?

    It is best to use frozen bananas when making a smoothie as this will give you a creamy smoothie. You certainly can use fresh bananas, we recommend adding ice cubes.

    Thermomix Banana Smoothie

    You may also enjoy:

    • The BEST Thermomix Smoothie Recipes
    • Thermomix Strawberry Smoothie
    • Thermomix Mango Smoothie
    • Super Green Thermomix Smoothie
    • Thermomix Healthy Apricot Balls
    • Thermomix 2 Ingredient Mango Ice Cream Recipe
    • Healthy Peanut Butter & Chocolate Ice Cream
    • Healthy Thermomix Recipes
    Banana smoothie in a tall glass sitting on a pink towel with a blue striped straw in glass.
    Print Recipe
    4.91 from 10 votes

    Thermomix Banana Smoothie

    Our Thermomix Banana Smoothie is a quick and easy breakfast on the go! Add a sprinkle of cinnamon on top for the perfect combination.
    Prep Time2 minutes mins
    Total Time2 minutes mins
    Course: Drinks
    Cuisine: Western
    Servings: 2 serves
    Calories: 283kcal
    Author: Lucy & Lauren
    Cost: $2

    Equipment

    • Thermomix

    Ingredients

    • 2 bananas (preferably frozen but fresh is ok)
    • 375 g milk
    • 120 g yoghurt (greek, natural or vanilla)
    • 1 tbs honey
    • 8 ice cubes (omit if using frozen bananas)
    • ⅛ teaspoon cinnamon to sprinkle (optional)

    Instructions

    • Place all ingredients into the Thermomix bowl.
    • Increase to Speed 10 for 30 seconds or until smooth and creamy.
    • Pour into a glass, sprinkle with cinnamon and serve.

    Notes

    When you're making this Thermomix Banana Smoothie, try and use the ripest bananas you can get your hands on. The riper the better, as it will naturally sweeten the smoothie.
    Frozen bananas work best in smoothies, but if you don't have any in the freezer, you can substitute for fresh ones.
    Any type of milk can be used. We also enjoy this smoothie made with coconut milk.
    The honey can be omitted in this recipe.
    Only want to make one smoothie? Simply half the ingredients.
    This recipe can be doubled, please ensure you do not exceed the maximum capacity of your machine. Also note the time to combine the ingredients will increase.

    Nutrition

    Calories: 283kcal | Carbohydrates: 49g | Protein: 11g | Fat: 7g | Saturated Fat: 4g | Polyunsaturated Fat: 0.3g | Monounsaturated Fat: 1g | Cholesterol: 24mg | Sodium: 122mg | Potassium: 862mg | Fiber: 3g | Sugar: 37g | Vitamin A: 383IU | Vitamin C: 11mg | Calcium: 358mg | Iron: 0.4mg

    Looking for even more?

    You can find even more simple and delicious recipes in our books and eBooks - shop the range here.

    ThermoBliss complete set

    Thermomix Chicken Tenders

    February 4, 2016

    Overhead view of a plate of chicken tenders.

    These Thermomix Chicken Tenders recipe is a great alternative to store bought chicken tenders (and much cheaper too) and they are guaranteed to be a hit with your entire family!

    Overhead view of a plate of chicken tenders.

    This is a great recipe to put together for an easy lunch or dinner and you could even make a couple of batches for your next party.  Once cooked, these Thermomix Chicken Tenders can also be stored in the freezer, making them as easy midweek dinner when served with a few veggies or salad.

    You will love

    • Quick to prepare - you need less than 15 minutes of preparation time to put these Chicken Tenders together.
    • Versatile - cooking for a crowd? This recipe can easily be doubled or even tripled.
    • Make ahead - freeze these Chicken Tenders either cooked or uncooked for up to two months.
    Side view of chicken tenders on a grey plate.

    Ingredients

    Please note you will find the full list of ingredients and their quantities in the recipe card below.

    • Chicken - I prefer to use chicken breast, however you can also use chicken thighs.
    • Breadcrumbs, either plain or panko breadcrumbs can be used.
    • Eggs - you will need 2 x 70 gram eggs for this recipe.
    • Parmesan Cheese - either grate you own or use store bought cheese.
    • Dried Mixed Herbs
    • Salt and Pepper.
    Thermomix Chicken Tenders ingredients.

    How to Make Chicken Tenders

    Please note you will find the full method in the recipe card below.

    Step 1. Grate the cheese. Add the breadcrumbs, mixed herbs and salt and pepper. Mix to combine.

    Chicken tenders coating in a thermomix bowl.

    Step 2. Transfer to a bowl.

    Step 3. Lightly beat the eggs and place into a bowl.

    Egg wash, bread crumbs and chicken pieces on a white bench.

    Step 4. Dip the chicken strips into the egg before coating in the breadcrumb mixture. Place onto a baking tray.

    Uncooked chicken tenders on a baking tray.

    Step 5. Repeat until all the chicken strips are coated. Bake until golden.

    Close up view of chicken tenders.

    Recipes Hints and Tips

    This recipe works best with chicken breast, however chicken thighs can also be used.

    Prepare the breadcrumb mixture up to two days in advance, store in an airtight container in the fridge until required.

    Baking time may vary depending on the size of the chicken strips.

    This recipe can be doubled.

    Freeze the breadcrumb mixture for up to three months.

    These chicken tenders can be frozen for up to two months either cooked or uncooked. Store in a freezer safe container.

    Frequently Asked Questions

    What temperature do you cook chicken at?

    For best results, cook chicken at 200 degrees celsius (180 degrees fan-forced).

    Why are my homemade chicken tenders tough?

    Overcooking is the main reason for tough chicken.

    Side view of chicken tenders on a grey plate.

    More simple Thermomix Chicken Recipes

    • Top 10 Thermomix Chicken Dinners
    • Thermomix Japanese Chicken Curry
    • Thermomix Chicken, Pumpkin, Bacon & Baby Spinach Risotto
    • Thermomix Lemon Herb Chicken

    Looking for even more?

    You can find even more simple Thermomix recipes in our books and eBooks. Shop the range here.

    Complete set o 16 ThermoBliss recipe books.
    Overhead view of a plate of chicken tenders.
    Print Recipe
    5 from 2 votes

    Thermomix Chicken Tenders

    Simple Thermomix chicken tenders that the whole family will love! These chicken strips are so versatile and make a great addition to any family dinner.
    Prep Time15 minutes mins
    Cook Time25 minutes mins
    Total Time40 minutes mins
    Course: Dinner
    Cuisine: Western
    Servings: 12 serves
    Calories: 134kcal
    Author: Lucy & Lauren
    Cost: $15

    Equipment

    • Thermomix
    • Oven
    • 1 x Baking Tray

    Ingredients

    • 500 grams chicken breast
    • 1 cup bread crumbs approximately three slices of day old bread
    • 100 grams parmesan cheese finely grated
    • 2 teaspoons mixed herbs
    • salt and pepper
    • 2 eggs

    Instructions

    • Preheat your oven to 190 degrees celsius (fan-forced) and line a tray with baking paper.
    • Slice the chicken breast into strips and place in the fridge until needed.
    • Lightly beat the eggs and place them into a bowl - set aside until needed.
    • Place the Parmesan Cheese into your Thermomix bowl and mix for 10 seconds on speed 9.
    • Add the bread crumbs, mixed herbs and sesame seeds along with a sprinkle of salt and pepper and mix for 10 seconds on speed 5 or until combined.
    • Pour the mixture into a separate bowl and coat the chicken strips in the egg before transferring to the bowl with the bread crumb mixture and turn to coat.
    • Place the coated chicken strips onto your baking tray and cook for 25 minute or until golden and cooked through.

    Notes

    This recipe works best with chicken breast, however chicken thighs can also be used.
    Prepare the breadcrumb mixture up to two days in advance, store in an airtight container in the fridge until required.
    Baking time may vary depending on the size of the chicken strips.
    This recipe can be doubled.
    Freeze the breadcrumb mixture for up to three months.
    These chicken tenders can be frozen for up to two months either cooked or uncooked. Store in a freezer safe container.

    Nutrition

    Calories: 134kcal | Carbohydrates: 7g | Protein: 14g | Fat: 5g | Saturated Fat: 2g | Polyunsaturated Fat: 1g | Monounsaturated Fat: 2g | Trans Fat: 0.01g | Cholesterol: 60mg | Sodium: 258mg | Potassium: 196mg | Fiber: 1g | Sugar: 1g | Vitamin A: 119IU | Vitamin C: 1mg | Calcium: 134mg | Iron: 1mg

    Thermomix Banana Pikelets

    February 2, 2016

    Stack of banana PIKELETS on a blue and white striped plate. In the background there are a bunch of bananas.

    These Thermomix Banana Pikelets make a great breakfast, lunchbox treat or dessert for the whole family.  They take just minutes to prepare and the hardest part is waiting for them to cook!

    Stack of banana PIKELETS on a blue and white striped plate. In the background there are a bunch of bananas.

    Although you can't go past our Thermomix Pikelet recipe, these Banana Pikelets make a great sweet alternative.

    You will love:

    Budget friendly - these pikelets are made with pantry staples.

    Versatile - perfect for breakfast, afternoon snack, dessert or the kids lunchbox.

    Low waste - have some brown bananas you need to use? This recipe is perfect!

    Freezer friendly - place into a freezer safe container or bag and store for up to three months

    Child's hand reaching for a banana pikelet.

    Ingredients

    Please note you will find a full list of ingredients and the cooking method in the recipe card below.

    • Self-raising flour
    • Milk - You can use full cream or skim milk.
    • Caster Sugar
    • Baking Powder
    • Vanilla Extract
    • Bananas - the browner the better!
    Ingredients to make banana spikelets on a bench top.

    How to make Banana Pikelets in a Thermomix

    Step 1. Place all of the ingredients into Thermomix bowl.

    Banana Pikelet ingredietnts in a thermomix bowl.

    Step 2. Mix until you have a smooth batter.

    Combined ingredients for banana pikelets in a thermomix bowl.

    Step 3. Using a ¼ cup, scoop up the mixture and place into a preheated frying pan. Cook for 1 -2 minutes or until bubbles begin to appear on the surface of the pikelet. Flip and cook for a further minute.

    Banana pikelet in a frying pan with bubbles on one side.

    Step 4. Continue until all of the mixture has been used.

    Stack of banana PIKELETS on a blue and white striped plate. In the background there are a bunch of bananas.

    Recipe Hints and Tips

    You will need approximately 2 bananas for this recipe.

    The browner the bananas are, the better!

    Either full cream or skim milk can be used. If using a non-dairy milk, you may find the consistency is too dry. Simply add extra tablespoons of milk to your batter until it is a pouring consistency.

    To keep your Thermomix Banana Pikelets warm while you are putting them together, simply pop the cooked Banana Pikelets into a Thermoserver.

    To serve, add some sliced banana and a little drizzle of honey, raspberry jam or even a little smear of butter. These pikelets can also be enjoyed plain.

    Store leftover pikelets in an airtight container in the fridge and enjoy within three days.

    Freeze these Thermomix Banana Pikelets for up to three months.

    FAQ

    How long can you freeze pikelets for?

    Pikelets can be frozen for up to three months.

    Why aren't my pikelets fluffy?

    Firstly check to make sure you have used self-raising flour and not plain flour as this will impact the rise (fluffiness) of your pikelets.

    Overhead view of Stack of banana PIKELETS on a blue and white striped plate. In the background there are a bunch of bananas.

    You may also enjoy:

    • Thermomix Pikelet Recipe
    • Thermomix Banana Apple Pikelets
    • Thermomix Strawberry and Banana Loaf
    • Thermomix Choc Banana Muffins
    • Thermomix Banana Chocolate Chip Muffins
    • Thermomix Banana Smoothie
    • The BEST Thermomix Smoothie Recipes
    Stack of banana PIKELETS on a blue and white striped plate. In the background there are a bunch of bananas.
    Print Recipe
    5 from 5 votes

    Thermomix Banana Pikelets

    Our Thermomix Banana Pikelets are the most delicious breakfast or grab and go snack!
    Prep Time3 minutes mins
    Cook Time15 minutes mins
    Total Time18 minutes mins
    Course: Breakfast
    Cuisine: Western
    Servings: 24 serves
    Calories: 81kcal
    Author: Lucy & Lauren
    Cost: $5

    Equipment

    • Thermomix
    • Frying Pan
    • Stove-top

    Ingredients

    • 230 grams self-raising flour
    • ½ teaspoon baking powder
    • 60 grams caster sugar
    • ½ teaspoon vanilla essence
    • 2 eggs 70 gram eggs
    • 250 g bananas see notes
    • 300 grams milk
    • 50 grams Butter to grease frying pan

    Instructions

    • Cut your bananas into thirds.
    • Place the self raising flour, baking powder, caster sugar, vanilla essence, milk, eggs and bananas into your Thermomix bowl and mix for 10 seconds on speed 5.
    • Preheat your frying pan with a little bit of butter over a medium high heat and add tablespoon amounts of the banana pikelet mixture.
    • When bubbles begin to appear on the surface, carefully flip them over and cook for a further 30 seconds on the other side before transferring to a Thermoserver or plate covered with foil to keep warm.
    • Continue until you have used all of the mixture.

    Notes

    You will need approximately 2 bananas for this recipe.
    The browner the bananas are, the better!
    Either full cream or skim milk can be used. If using a non-dairy milk, you may find the consistency is too dry. Simply add extra tablespoons of milk to your batter until it is a pouring consistency.
    To keep your Thermomix Banana Pikelets warm while you are putting them together, simply pop the cooked Banana Pikelets into a Thermoserver.
    To serve, add some sliced banana and a little drizzle of honey, raspberry jam or even a little smear of butter. These pikelets can also be enjoyed plain.
    Store leftover pikelets in an airtight container in the fridge and enjoy within three days.
    Freeze these Thermomix Banana Pikelets for up to three months.

    Nutrition

    Calories: 81kcal | Carbohydrates: 12g | Protein: 2g | Fat: 3g | Saturated Fat: 1g | Polyunsaturated Fat: 0.2g | Monounsaturated Fat: 1g | Trans Fat: 0.1g | Cholesterol: 20mg | Sodium: 33mg | Potassium: 71mg | Fiber: 1g | Sugar: 4g | Vitamin A: 99IU | Vitamin C: 1mg | Calcium: 25mg | Iron: 0.2mg

    Looking for more?

    You can find more simple and delicious recipes in our books and eBooks, shop the range here.

    ThermoBliss complete set

    Thermomix Roasted Pumpkin Dip

    February 1, 2016

    Dip and crackers on a plate.

    Our simple and flavour-packed Thermomix Roasted Pumpkin Dip is always popular on grazing boards and cheese platters.

    Dip and crackers on a plate.

    Our classic hummus recipe is one of my all-time favourites... but this Thermomix Roasted Pumpkin Dip is even better! I know that's a huge call, but this really is SO good!

    Serve this creamy, nutritious dip with our homemade Thermomix crackers, gozleme or roti bread!

    Planning a party? Add this Thermomix Roasted Pumpkin Dip to your next grazing platter or cheese board.

    Why You're Going To Love This Recipe

    This super simple Thermomix Pumpkin Dip is perfect for any occasion!

    • Hummus Variation - love hummus dip but looking for something a little different? This pumpkin dip a delicious variation to a classic hummus dip - they're both made with chickpeas and tahini for that famous hummus taste.
    • Ready In Just Minutes - if you already have leftover roasted pumpkin sitting in the fridge, this dip will be ready to eat in just 2 minutes.
    • Healthy & Nutritious - this healthy Thermomix Pumpkin dip is not only a healthy snack, it also tastes great too (and it's the perfect way to use up any leftover roast pumpkin you have lying around!).
    • Suitable For All Thermomix Models - this recipe can be made in any of the Thermomix models.
    A bowl filled with pumpkin dip.

    What You Need

    Say hello to your new favourite dip (that tastes WAY better than any store-bought dip ever could!).

    Please scroll to the recipe card at the bottom of the post for ingredient quantities and the full detailed method.

    The ingredients for a pumpkin dip.
    • Roast Pumpkin - to make our Thermomix Roasted Pumpkin Dip, you'll need 200g roasted pumpkin. I often make this dip with leftover roasted pumpkin from the previous nights roast.
    • Chickpeas - rinsed and drained (reserve the chickpea water in case you'd like your dip to be smoother (see tips below)
    • Tahini - use store-bought tahini or make your own using toasted sesame seeds, oil and salt.
    • Garlic - I use jarred minced garlic but you can use a fresh garlic clove if you prefer.
    • Lemon - freshly squeezed is best, but you can use bottled lemon juice if you prefer.
    • Olive Oil - use a good quality mild olive oil.
    • Ground Cumin or Moroccan Seasoning - for a delicious spiced flavour hit.

    Step By Step Instructions

    This simple 2 minute Thermomix Pumpkin Dip recipe couldn't be easier to make.

    Please scroll to the recipe card at the bottom of the post for ingredient quantities and the full detailed method.

    Step 1 - Add The Ingredients & Mix

    Place the cooled roasted pumpkin, tahini, lemon juice, drained chickpeas, olive oil, garlic and cumin (or Moroccan seasoning) into the Thermomix bowl.

    Mix for 20 seconds and scrape down the sides of the bowl.

    Roasted pumpkin, chickpeas and tahini in a Thermomix bowl.

    Mix for a further 20 seconds.

    Check the consistency of the dip. If you'd like it smoother, add a small amount of the reserved chickpea water and mix again.

    Serve immediately or store in an airtight container in the fridge for up to 3 days.

    Pumpkin mixture in a Thermomix bowl.

    Expert Tips

    • Using leftover roasted pumpkin will save you time! Ensure the pumpkin is cooled before mixing.
    • Reserve the chickpea water in case you'd like your dip to have a smoother consistency.
    • Sprinkle with dukkah before serving (optional).
    • Serve immediately or store in an airtight container in the fridge for up to 3 days.
    • You can use store-bought hulled or unhulled tahini or make your own.
    • This recipe can be doubled - just ensure that you don't exceed the MAX line of your Thermomix machine.
    • This Thermomix pumpkin dip is not suitable for freezing.
    An overhead shot of dukkah on top of a pumpkin dip.

    FAQs

    Can I use leftover roast pumpkin from the previous nights dinner?

    Absolutely! This is a great time saving option.

    Does the pumpkin need to be cool before mixing?

    Yes it does!

    How do I roast pumpkin?

    Heat your oven to 200 degrees celsius (fan-forced). Cut the pumpkin into small chunks, drizzle with olive oil and season with salt and pepper. Cook for 20-30 minutes or until soft.

    A hand holding a cracker with pumpkin dip.

    Related Recipes

    Love making dips in your Thermomix? Here's a few more of our most popular dips!

    • Crackers next to a creamy green dip.
      Thermomix Creamy Avocado Dip
    • A bowl of mint and cucumber raita dip made in a Thermomix.
      Thermomix Mint & Cucumber Raita Dip
    • A creamy dip with sweet chilli sauce.
      Thermomix Cream Cheese & Sweet Chilli Dip
    • A bowl of capsicum dip with a cracker in it.
      Thermomix Roasted Capsicum & Sun-Dried Tomato Dip

    SHOP OUR RANGE OF THERMOMIX COOKBOOKS

    Browse our collection of hardcopy Thermomix cookbooks here.

    There's everything from family dinners to kids snacks, desserts to cookies, slices to Christmas recipes, cocktails to chocolate recipes and more!

    ThermoBliss complete set
    Dip and crackers on a plate.
    Print Recipe
    5 from 1 vote

    Thermomix Roasted Pumpkin Dip

    Our simple Thermomix Roasted Pumpkin Dip is perfect for your next grazing platter.
    Prep Time10 minutes mins
    Total Time10 minutes mins
    Course: Appetizer, Dip
    Cuisine: Western
    Servings: 6 serves
    Calories: 304kcal
    Author: Lucy & Lauren
    Cost: $5

    Equipment

    • Thermomix

    Ingredients

    • 1 teaspoon minced garlic
    • 400 g chickpeas rinsed and drained (reserve the liquid)
    • 40 g tahini
    • 30 g lemon juice
    • 20 g olive oil
    • ½ teaspoon sea salt
    • 200 g roasted pumpkin
    • ½ teaspoon ground cumin or Moroccan seasoning

    Instructions

    • Place all of the ingredients to the Thermomix bowl. Mix for 20 seconds, Speed 4.
    • Scrape down the sides of the bowl.
    • Mix for a further 20 seconds on Speed 4. Check the consistency.
    • If you would like the dip to be smoother, add ¼ cup of the reserved chickpea liquid and mix for a further 20 seconds, Speed 4.
    • Sprinkle with dukkah (optional) and serve.

    Notes

    RECIPE NOTES & TIPS
    • Using leftover roasted pumpkin will save you time! Ensure the pumpkin is cooled before mixing.
    • Alternatively, heat your oven to 200 degrees celsius (fan-forced). Cut the pumpkin into small chunks, drizzle with olive oil and season with salt and pepper. Cook for 20-30 minutes or until soft.
    • Reserve the chickpea water in case you'd like your dip to have a smoother consistency.
    • Sprinkle with dukkah before serving (optional).
    • Serve immediately or store in an airtight container in the fridge for up to 3 days.
    • You can use store-bought hulled or unhulled tahini or make your own.
    • This recipe can be doubled - just ensure that you don't exceed the MAX line of your Thermomix machine.
    • This Thermomix pumpkin dip is not suitable for freezing.

    Nutrition

    Calories: 304kcal | Carbohydrates: 15g | Protein: 14g | Fat: 23g | Saturated Fat: 4g | Polyunsaturated Fat: 8g | Monounsaturated Fat: 9g | Trans Fat: 0.01g | Sodium: 466mg | Potassium: 383mg | Fiber: 5g | Sugar: 1g | Vitamin A: 16IU | Vitamin C: 3mg | Calcium: 47mg | Iron: 4mg

    Thermomix Passionfruit Slice

    January 26, 2016

    Pieces of creamy passionfruit slice.

    Our old fashioned Thermomix Passionfruit Slice has a crunchy base topped with a sweet and creamy passionfruit layer.

    It takes just 10 minutes to prepare this simple slice made from pantry staples.

    Pieces of creamy passionfruit slice.

    When it comes to good old fashioned slice recipes, things don't get much more popular than baked passionfruit slice!

    With its creamy sweetened condensed milk and passionfruit topping and that classic crunchy baked base, this slice is the perfect afternoon tea treat.

    Just like our Thermomix Jelly Slice, Caramel Nut Slice and Mars Bar Slice, this passionfruit slice will bring back so many childhood memories.

    Why You're Going To Love This Recipe

    Our Thermomix Passionfruit Slice is a 'must make' recipe. Trust us!

    • Quick & Easy - it takes just 10 minutes of active preparation time to make this slice. The hardest part is waiting for it to cook!
    • Made Using Basic Ingredients - with the exception of the passionfruit pulp, all of the ingredients in passionfruit slice are pantry and fridge staples... making this a very budget-friendly recipe.
    • Perfect For Afternoon Tea - the ultimate treat to enjoy with a cuppa!
    • Suitable For All Thermomix Models - this slice recipe can be made in all of the Thermomix models.
    A chopping board with passionfruit slice.

    What You Need

    Please scroll to the recipe card at the bottom of the post for ingredient quantities and the full detailed method.

    Raid your fridge and pantry... you'll more than likely find that you already have the ingredients sitting there!

    The ingredients for passionfruit slice.

    For The Base

    • Self Raising Flour - you can use store-bought self raising flour or make your own
    • Coconut - use fine, dried desiccated coconut
    • Caster Sugar - this superfine sugar is perfect for baking
    • Butter - use salted or unsalted butter

    For The Topping

    • Sweetened Condensed Milk - we recommend using full fat (not skim) sweetened condensed milk as it sets firmer than skim
    • Lemon Juice - use freshly squeezed lemon juice. This helps to thicken and set the sweetened condensed milk.
    • Passionfruit Pulp - you can use tinned passionfruit pulp or fresh passionfruit pulp.

    Step By Step Instructions

    Preparing Thermomix Passionfruit Slice is just SO easy!

    A perfect recipe for beginner bakers.

    Please scroll to the recipe card at the bottom of the post for ingredient quantities and the full detailed method.

    Step 1 - Make The Base

    Melt the butter in the Thermomix.

    Melted butter in a Thermomix.

    Add the self raising flour, caster sugar and coconut and mix until crumbly.

    Note: the mixture will be VERY crumbly at this stage.

    Crumbly mixture in a Thermomix.

    Press the mixture very firmly into a greased and lined 18cmX28cm baking tin and bake for 12 minutes or until lightly golden.

    An unbaked slice base.

    Step 2 - Prepare The Topping

    Place the sweetened condensed milk, lemon juice and passionfruit pulp into the Thermomix bowl.

    Mix on REVERSE until combined.

    Creamy passionfruit mixture in a Thermomix.

    Pour over the top of the cooked base and place back into the oven for a further 15 minutes or until firm to the touch.

    An overhead shot of a creamy unbaked slice in a tin.

    Allow to cool before cutting into pieces.

    Expert Tips

    Follow our top tips for the perfect Thermomix passionfruit slice!

    • Don't be concerned that your base mixture is crumbly - that's exactly how it should be at that stage!
    • Press the base mixture down very firmly into the prepared tin.
    • Grease and line a slice tin with baking paper to allow for easy removal of the slice once cooked and cooled.
    • You can use fresh or tinned passionfruit pulp.
    • Use freshly squeezed lemon juice.
    • Bake until the slice is firm to the touch.
    • Store passionfruit slice in the fridge for up to 1 week.
    • You can freeze passionfruit slice for up to 3 months. Allow to defrost in the fridge before consuming.
    A cake stand topped with passionfruit slice.

    FAQs

    What is the Reverse function?

    When mixing the topping, it's important to use the Reverse function so that the blades mix rather than chop. If you don't use Reverse, the passionfruit seeds will be chopped into tiny pieces!

    Can I make this in an older version of the Thermomix?

    Yes! This recipe is suitable for all of the models of the Thermomix.

    How many passionfruit will I need if using fresh passionfruit?

    Approximately 3, however, this is dependent on how how pulp each passionfruit contains.

    Passionfruit pulp in a creamy slice.

    Related Recipes

    Keep those hungry tummies satisfied with our sweet and simple Thermomix slices!

    • Pieces of baked jam coconut slice on a cake stand.
      Thermomix Jam and Coconut Slice
    • Pieces of chocolate slice with sprinkles on top.
      Thermomix Weet-Bix Slice
    • Crunchy honey almond slice.
      Thermomix Honey Almond Slice
    • Maltesers on top of a white chocolate topped slice.
      Thermomix Malteser Slice

    OUR RANGE OF THERMOMIX COOKBOOKS

    Browse our collection of hardcopy Thermomix cookbooks here.

    There's everything from family dinners to kids snacks, desserts to cookies, slices to Christmas recipes, cocktails to chocolate recipes and more!

    ThermoBliss complete set
    Pieces of creamy passionfruit slice.
    Print Recipe
    4.91 from 30 votes

    Thermomix Passionfruit Slice

    Our old fashioned Thermomix Passionfruit Slice has a crunchy base topped with a sweet and creamy passionfruit layer.
    Prep Time10 minutes mins
    Cook Time27 minutes mins
    Total Time37 minutes mins
    Course: Slices
    Cuisine: Western
    Servings: 24 serves
    Calories: 177kcal
    Author: Lucy & Lauren
    Cost: $5

    Equipment

    • Thermomix
    • Oven

    Ingredients

    • 150 g self raising flour
    • 85 g desiccated coconut
    • 115 g caster sugar
    • 100 g butter
    • 580 g sweetened condensed milk
    • 100 g lemon juice freshly squeezed (approx 2 lemons)
    • 100 g passionfruit pulp

    Instructions

    • Preheat your oven to 180 degrees and line an 18X28cm slice tin with baking paper.
    • Place the butter into your Thermomix bowl and cook for 3 minutes, 60 degrees, Speed 2, or until the butter has melted.
    • Add the self raising flour, desiccated coconut and caster sugar to your Thermomix bowl and mix for 20 seconds, Speed 4.
      TIP: scrape down the sides of you bowl half way through the mixing time.
    • Pour the contents of your Thermomix bowl into your prepared baking tray (it will be crumbly) and press down with a spoon to flatten the surface.
    • Place the baking tray into your oven and bake for 12 minutes or until golden brown.
      Reduce the temperature of your oven to 150 degrees.
    • Put the sweetened condensed milk, passionfruit pulp and lemon juice into a clean Thermomix bowl and mix for 10 seconds, Speed 4, REVERSE to combine. Scrape down the sides of the bowl and mix for a further 5 seconds, Speed 4, REVERSE before pouring pouring the mixture over the top of your cooked slice base.
    • Bake in the oven to bake for 15 minutes or until it is firm to the touch.
      Place the slice into the fridge for 2 - 3 hours to allow it to cool completely.

    Notes

    RECIPE NOTES & TIPS
    • Don't be concerned that your base mixture is crumbly - that's exactly how it should be at that stage!
    • Press the base mixture down very firmly into the prepared tin.
    • Grease and line a slice tin with baking paper to allow for easy removal of the slice once cooked and cooled.
    • You can use fresh or tinned passionfruit pulp.
    • Use freshly squeezed lemon juice.
    • Bake until the slice is firm to the touch.
    • Store passionfruit slice in the fridge for up to 1 week.
    • You can freeze passionfruit slice for up to 3 months. Allow to defrost in the fridge before consuming.

    Nutrition

    Calories: 177kcal | Carbohydrates: 25g | Protein: 3g | Fat: 8g | Saturated Fat: 6g | Polyunsaturated Fat: 0.3g | Monounsaturated Fat: 2g | Trans Fat: 0.1g | Cholesterol: 17mg | Sodium: 60mg | Potassium: 136mg | Fiber: 1g | Sugar: 19g | Vitamin A: 222IU | Vitamin C: 4mg | Calcium: 72mg | Iron: 0.3mg

    Healthy Thermomix Chocolate Banana Smoothie

    January 25, 2016

    Thermomix Healthy Chocolate Banana Smoothie

    Sometimes in the morning all you have time for is a quick and easy smoothie for breakfast... and so we have some good news for you! Our Healthy Thermomix Chocolate Banana Smoothie takes less than 2 minutes to make AND it tastes absolutely delicious.

    Thermomix Healthy Chocolate Banana Smoothie

    This one is also sure to be a winner with the kids! It tastes just like a store-bought chocolate milkshake - but it's completely healthy! The chocolate flavour comes from the addition of cocoa (or cacao) powder. How easy is that!

    Thermomix Healthy Chocolate Banana Smoothie

    This recipe works best with frozen bananas, however, if you only have fresh ones on hand that's absolutely fine. Just throw in a handful of ice cubes to the mix and you'll end up with virtually the same result.

    Thermomix Healthy Chocolate Banana Smoothie

    And so, next time you need breakfast on the run, a mid-afternoon pick me up, or a late night 'treat', then whip up one of our choc banana smoothies. You certainly won't regret it!

    Thermomix Healthy Chocolate Banana Smoothie

    Thermomix Healthy Chocolate Banana Smoothie
    Print Recipe
    5 from 2 votes

    Healthy Thermomix Chocolate Banana Smoothie

    The kids will love our Thermomix Chocolate Banana Smoothie so much... they won't have a clue that it's actually healthy too!
    Prep Time2 minutes mins
    Total Time2 minutes mins
    Course: Drinks
    Cuisine: healthy recipes
    Servings: 2 serves
    Calories: 289kcal
    Author: Lucy & Lauren
    Cost: $2

    Equipment

    • Thermomix

    Ingredients

    • 2 bananas (preferably frozen but fresh is ok)
    • 375 g milk
    • 120 g yoghurt (greek, natural or vanilla)
    • 1 tbs honey
    • 1 tbs cocoa (or cacao) powder
    • 8 ice cubes (omit if using frozen bananas)

    Instructions

    • Place all ingredients into the Thermomix bowl.
    • Increase to Speed 10 for 30 seconds or until smooth and creamy.
    • Pour into a glass and serve.

    Nutrition

    Calories: 289kcal | Carbohydrates: 50g | Protein: 11g | Fat: 7g | Saturated Fat: 4g | Polyunsaturated Fat: 0.3g | Monounsaturated Fat: 1g | Cholesterol: 24mg | Sodium: 122mg | Potassium: 900mg | Fiber: 4g | Sugar: 37g | Vitamin A: 383IU | Vitamin C: 11mg | Calcium: 361mg | Iron: 1mg


    Thermomix Chia & Seeds Loaf

    January 20, 2016

    An overhead shot of a seeds loaf.

    The very BEST healthy and nutritious Thermomix Chia & Seeds Loaf recipe!

    Perfect for sandwiches or toast.

    Slices of homemade chia seed bread.

    When it comes to baking your own homemade loaves, breads and scrolls, the Thermomix truly is a dream machine!

    Let it prepare the perfect dough for you... and then allow it to prove and rise in your ThermoServer before baking.

    It's just SO easy...!

    You simply wont be able to resist the delicious smell wafting from the oven as your 'crunchy-on-top and soft-on-the-inside' Thermomix Chia & Seeds Loaf bakes!

    Why You're Going To Love This Recipe

    There's so much to love about our Thermomix Chia & Seeds Loaf recipe!

    • Homemade - once you've made your own homemade bread, you'll never want to go back to store-bought again! The crunch of the seeds on top is the perfect contrast to the soft chia bread inside.
    • Basic Ingredients - this versatile Thermomix loaf recipe can be made using any of your favourite seeds.
    • No Additives or Preservatives - unlike store-bought bread, our homemade recipe contains absolutely NO additives or preservatives!
    • Easy Recipe - you won't believe how easy and foolproof it is to bake your own bread.
    An overhead shot of a seeds loaf.

    What You Need

    Our Thermomix Chia & Seeds Loaf is made using pantry staple ingredients, plus chia seeds and pepitas for added crunch!

    Please scroll to the recipe card at the bottom of the post for ingredient quantities and the full detailed method.

    The ingredients for a homemade seed loaf.
    • Yeast - use dried instant yeast
    • Bakers flour - I recommend using Bakers flour for this recipe. However, you can use plain flour if that's all you have on hand
    • Salt
    • Oats - you can use rolled oats or quick oats for this recipe
    • Chia Seeds - black or white chia seeds (or a combination) can be used
    • Sesame Seeds and Poppy Seeds - for crunch!
    • Pepitas - or sunflower kernels
    • Honey - use regular runny honey
    • Olive Oil - use a mild olive oil

    Step By Step Instructions

    You won't believe how simple it is to bake your own bread using the Thermomix!

    Please scroll to the recipe card at the bottom of the post for ingredient quantities and the full detailed method.

    Step 1 - Prepare The Dough

    Place all ingredients into the Thermomix bowl.

    The ingredients for bread in a Thermomix.

    Use the Kneading function to knead the dough until combined.

    Note: the dough will be VERY sticky - this is normal.

    Seed dough in a Thermomix.

    Step 2 - Prove The Dough

    Place the dough into a ThermoServer and leave it in a warm spot for 30 minutes or until doubled in size.

    TIP: If you don't have a ThermoServer, place the dough into a greased bowl and cover with a tea towel. Leave in a warm spot to rise.

    Seed dough in a ThermoServer.

    The dough will be very soft and sticky at this point.

    Seed dough in a ThermoServer.

    Step 3 - Bake

    Sprinkle extra seeds over the top of the loaf.

    Bake the bread in the oven for 40 minutes or until the top is golden and crunchy and the loaf sounds hollow when tapped in the centre.

    A seed loaf in a baking tin.

    Allow to cool for 5 minutes before placing onto a wire rack to cool completely.

    Expert Tips

    Follow our top tips for the perfect Thermomix Chia & Seeds Loaf!

    • Use Bakers flour or bread flour for the best results. You 'can' use plain flour, however, your loaf wont have the same texture as it would with Bakers flour.
    • Mix and match with any of your favourite seeds.
    • Allow the dough to rise and almost double in size before baking.
    • The loaf is cooked with the top is golden and crunchy and the loaf sounds hollow when tapped in the centre.
    • Allow to cool for a few minutes in the baking tin before transferring to a wire rack to cool completely.
    • Store any leftover bread at room temperature wrapped in a clean, dry tea towel (or a bread bag) for up to 3 days.
    • Alternatively, freeze slices of the bread for up to 3 months.
    A loaf of homemade bread cut up.

    FAQs

    Can I make this recipe without a Thermomix?

    Yes! You can use a mixer with a dough attachment or you can knead the dough on a floured board by hand.

    Can I make this Thermomix Chia & Seeds Loaf in an older Thermomix?

    Yes, our recipe is suitable for use in any of the Thermomix models.

    What is the Kneading function?

    The Kneading function is a function of the Thermomix machine. It was also known as Interval function in the older models.

    An overhead shot of a loaf of bread.

    Related Recipes

    Love baking loaves and breads in your Thermomix?

    Here's a few more of our most popular recipes:

    • Slices of homemade white bread.
      Easy Thermomix White Bread Loaf Recipe
    • Poppyseeds on top of a savoury ham and cheese scoll.
      Thermomix Ham and Cheese Scrolls
    • Scrolls on a wire rack.
      Thermomix Sundried Tomato Pesto & Cheese Pull Apart Bread
    • Thermomix Naan Bread
      Thermomix Naan Bread

    SHOP OUR RANGE OF THERMOMIX COOKBOOKS

    Browse our collection of hardcopy Thermomix cookbooks here.

    There's everything from family dinners to kids snacks, desserts to cookies, slices to Christmas recipes, cocktails to chocolate recipes and more!

    ThermoBliss complete set
    An overhead shot of a seeds loaf.
    Print Recipe
    4.82 from 22 votes

    Thermomix Chia & Seeds Loaf

    The smell of fresh bread baking in the oven just can't be beaten! There really is nothing like it!
    Prep Time10 minutes mins
    Cook Time45 minutes mins
    Rising Time30 minutes mins
    Total Time1 hour hr 25 minutes mins
    Course: Basics
    Cuisine: Australian
    Servings: 12 serves
    Calories: 257kcal
    Author: Lucy & Lauren
    Cost: $5

    Equipment

    • 1 x Loaf Tin
    • Thermomix
    • Oven

    Ingredients

    • 500 g lukewarm water
    • 2 teaspoon dried instant yeast
    • 500 g Bakers flour (or plain flour)
    • 1 teaspoon salt
    • 50 g rolled oats
    • 30 g chia seeds
    • 30 g sesame seeds (plus extra to sprinkle)
    • 30 g poppy seeds (plus extra to sprinkle)
    • 40 g pepitas or sunflower kernals (plus extra to sprinkle)
    • 30 g honey
    • 30 g olive oil

    Instructions

    • Grease a rectangular loaf tin and set aside.
    • Place all ingredients into the Thermomix bowl and knead for 2 mins 30 seconds, Kneading/Interval function.
      Note: the mixture will be VERY sticky at this point.
    • Pour the dough into the greased tin and set aside in a warm place to prove for 30 minutes (or until doubled in size).
    • Preheat oven to 200 degrees celsius (fan-forced).
    • Sprinkle extra seeds and pepitas over the top of the loaf.
    • Bake in the oven for 40-45 minutes or until the loaf sounds hollow when tapped in the centre.
    • Leave the bread in the loaf tin for 5 minutes and then place onto a wire rack to cool completely.
    • Once cooled, wrap the bread in foil and then place into an airtight container.

    Notes

    RECIPE NOTES & TIPS
    • Use Bakers flour or bread flour for the best results. You 'can' use plain flour, however, your loaf wont have the same texture as it would with Bakers flour.
    • Mix and match with any of your favourite seeds.
    • Allow the dough to rise and almost double in size before baking.
    • The loaf is cooked with the top is golden and crunchy and the loaf sounds hollow when tapped in the centre.
    • Allow to cool for a few minutes in the baking tin before transferring to a wire rack to cool completely.
    • Store any leftover bread at room temperature wrapped in a clean, dry tea towel (or a bread bag) for up to 3 days.
    • Alternatively, freeze slices of the bread for up to 3 months.

    Nutrition

    Calories: 257kcal | Carbohydrates: 40g | Protein: 7g | Fat: 8g | Saturated Fat: 1g | Polyunsaturated Fat: 3g | Monounsaturated Fat: 3g | Trans Fat: 0.01g | Sodium: 199mg | Potassium: 133mg | Fiber: 4g | Sugar: 2g | Vitamin A: 2IU | Vitamin C: 0.1mg | Calcium: 88mg | Iron: 3mg

    Thermomix Apricot and Coconut Balls

    January 19, 2016

    Themomix Apricot Balls sitting in a blue dish.

    Made with just THREE ingredients, these Thermomix Apricot and Coconut Balls are the ultimate sweet snack! You can be enjoying these delicious little bites in less than 10 minutes and they can also be frozen too.

    Overhead view ofThemomix Apricot Balls sitting in a blue dish.

    Along with making a great lunchbox treat for the kids, these Thermomix Apricot and Coconut Balls are also perfect to take to work for a morning tea or after dinner if you are craving something a little sweet.

    Why you will love this recipe:

    Quick to prepare - these Thermomix Apricot and Coconut Balls take less than 10 minutes to prepare.

    Three ingredients - it doesn't get easier!

    Freezer friendly - store in the freezer for a quick and delicious snack.

    Versatile - recipe can be doubled, please ensure you don't exceed the maximum capacity of your machine.

    Close up of two apricot balls, behind them is more Apricot Balls sitting in a blue dish.

    Ingredients

    Please note you will find the full ingredient list and recipe method in the recipe card below.

    • Dried Apricots
    • Desiccated Coconut
    • Sweetened Condensed Milk
    Ingredients to make Apricot and Coconut Balls on a speckled bench.

    How to Make Thermomix Apricot and Coconut Balls:

    1. Chop the dried apricots until they are in small pieces.
    chopped apricots in a Thermomix bowl.

    2. Add the desiccated coconut and sweetened condensed milk and mix until combined.

    Ingredients to make apricot and coconut balls in a thermomix.
    Mixture in a thermomix for apricot and coconut balls.

    3. Scoop up the mixture and roll into balls.

    adult holding ball of apricot and coconut mixture.

    4. Roll the balls in desiccated coconut and place into an airtight container.

    Apricot and Coconut balls sitting in a clear plastic container.

    Expert Tips:

    You will need half a tin of sweetened condensed milk for this recipe.

    Desiccated coconut is best used for this recipe.

    You can use any type of dried apricots.

    Store in an airtight container in the fridge and enjoy within one week.

    These Thermomix Apricot and Coconut Balls can also be frozen for up to two months.

    FAQ

    Do you need to soak dried apricots?

    You do not need to soak dried apricots for this Apricot and Coconut Balls recipe.

    Are dried apricots healthy?

    Dried apricots can be a healthier snack option, however they are high in sugar and best enjoyed as part of a balanced diet.

    Themomix Apricot Balls sitting in a blue dish.

    You may also enjoy these recipes:

    • Thermomix Weet-Bix Balls
    • Thermomix Healthy Apricot Balls
    • Thermomix Passionfruit Slice
    • Easy Thermomix No-Bake Muesli Bars
    • Thermomix Banana Pancakes Recipe
    • Two Ingredient Thermomix Apricot and Coconut Slice
    Apricot and coconut balls in a blue and cream bowl with apricots in the background.
    Print Recipe
    4.75 from 4 votes

    Thermomix Apricot and Coconut Balls

    Made with just three ingredients, these Thermomix Apricot and Coconut Balls take just 10 minutes to prepare!
    Prep Time10 minutes mins
    Chilling Time1 hour hr
    Total Time1 hour hr 10 minutes mins
    Course: Snacks
    Cuisine: Australian
    Servings: 24 Balls
    Calories: 123kcal
    Author: Lucy & Lauren
    Cost: $5

    Equipment

    • Thermomix

    Ingredients

    • 250 grams dried apricots
    • 200 grams sweetened condensed milk
    • 130 grams desiccated coconut

    Extra

    • 130 grams desiccated coconut

    Instructions

    • Place the extra coconut into a bowl to roll the balls, set aside until needed.
    • Place the dried apricots into the your Thermomix bowl and blitz using Turbo for 1 second 5 times - or longer if you want finer apricot chunks.
    • Add the sweetened condensed milk and coconut to your Thermomix bowl and mix together for 10 seconds on Speed 3 or until combined.
    • Use a tablespoon to scoop up the mixture and roll into balls. If you feel the mixture is too soft, simply add a little more coconut.
    • Roll the balls in the extra coconut and place into a container.
    • Once you have used all of the mixture, place the container into the fridge for one hour to allow the Thermomix Apricot and Coconut Balls to firm

    Notes

    • You will need half a tin of sweetened condensed milk for this recipe.
    • It is best to use desiccated coconut for this recipe.
    • You can use any type of dried apricots.
    • These Apricot and Coconut Balls are best stored in an airtight container in the fridge and enjoyed within a week.
    • They can also be frozen for up to two months.

    Nutrition

    Calories: 123kcal | Carbohydrates: 14g | Protein: 2g | Fat: 8g | Saturated Fat: 7g | Polyunsaturated Fat: 0.1g | Monounsaturated Fat: 1g | Cholesterol: 3mg | Sodium: 16mg | Potassium: 211mg | Fiber: 3g | Sugar: 11g | Vitamin A: 398IU | Vitamin C: 0.5mg | Calcium: 32mg | Iron: 1mg

    Looking for even more?

    You can find even more easy recipes in our books and eBooks, shop the full range here.

    ThermoBliss complete set

    Thermomix Spinach, Sun-Dried Tomato & Feta Scrolls

    January 14, 2016

    An overhead shot of spinach and cheese scrolls.

    Our Thermomix Spinach, Sun-Dried Tomato & Feta Scrolls require NO yeast and ZERO proving time!

    Packed full of flavour, prepped, baked and ready to eat in just 40 minutes.

    n overhead shot of spinach and cheese scrolls.

    Our savoury Thermomix scrolls are so versatile and delicious!

    Just like our ham & cheese scrolls, pizza scrolls and apple and cinnamon scrolls, our Thermomix Spinach, Sun-Dried Tomato & Feta Scrolls recipe contains no yeast... meaning that you can prep and bake immediately without waiting for the dough to prove!

    Enjoy in school lunchboxes or as a side to a big bowl of nourishing soup.

    Why You're Going To Love This Recipe

    Who can resist a savoury scroll that's simply PACKED with big, bold flavours!?

    • Versatile - mix and match with any of your favourite scroll fillings! Try adding olives, salami and red onion slices too.
    • Yeast-Free - which means that there's NO proving time required. Prepped, baked and ready to eat in just 40 minutes.
    • Freezer-Friendly - freeze any leftovers for easy 'grab and reheat' snacks... or as handy lunch box fillers.
    • A tasty alternative to sandwiches - sick of the same old boring sandwiches? Mix things up with a batch of homemade savoury scrolls instead.
    A crunchy oven baked scroll.

    What You Need

    Use our suggested fillings, or mix and match with any you like, for the most delicious Thermomix savoury scrolls.

    Please scroll to the recipe card at the bottom of the post for ingredient quantities and the full detailed method.

    The ingredients for Thermomix Spinach, Sun-Dried Tomato & Feta Scrolls.
    • Flour - self raising flour is used in our Thermomix Spinach, Sun-Dried Tomato & Feta Scrolls recipe as it's the raising agent (and avoids the need for yeast).
    • Salt - sea salt or regular cooking salt
    • Butter - salted or unsalted
    • Milk - full cream milk is recommended, however, light or skim milk can be used.
    • Chutney - use any type of chutney you like. We generally use a classic tomato chutney.
    • Cheese - grated cheddar or tasty cheese.
    • Feta - I recommend using a soft feta, like a Danish feta as it crumbles easily.
    • Baby Spinach - fresh baby spinach leaves.
    • Sun-Dried Tomatoes - use strips of sundried tomatoes or cut whole sundried tomatoes into smaller people.

    Step By Step Thermomix Instructions

    Follow our simple steps for the yummiest Thermomix Spinach, Sun-Dried Tomato & Feta Scrolls!

    Please scroll to the recipe card at the bottom of the post for ingredient quantities and the full detailed method.

    Step 1 - Make The Dough

    Mix the flour, butter and salt until it resembles breadcrumbs.

    Breadcrumbs in a Thermomix.

    Add the milk and mix to combine.

    Then knead for 2 minutes.

    Dough in a Thermomix.

    Step 2 - Roll Out The Dough & Add The Fillings

    Use a rolling pin to roll the dough out on a lightly floured board or bench until very thin (the thinner the dough, the crispier your scrolls will be).

    Spread the chutney over the top of the dough.

    Chutney on rolled out dough.

    Add the remaining fillings, leaving a 2 cm gap around the outside edge.
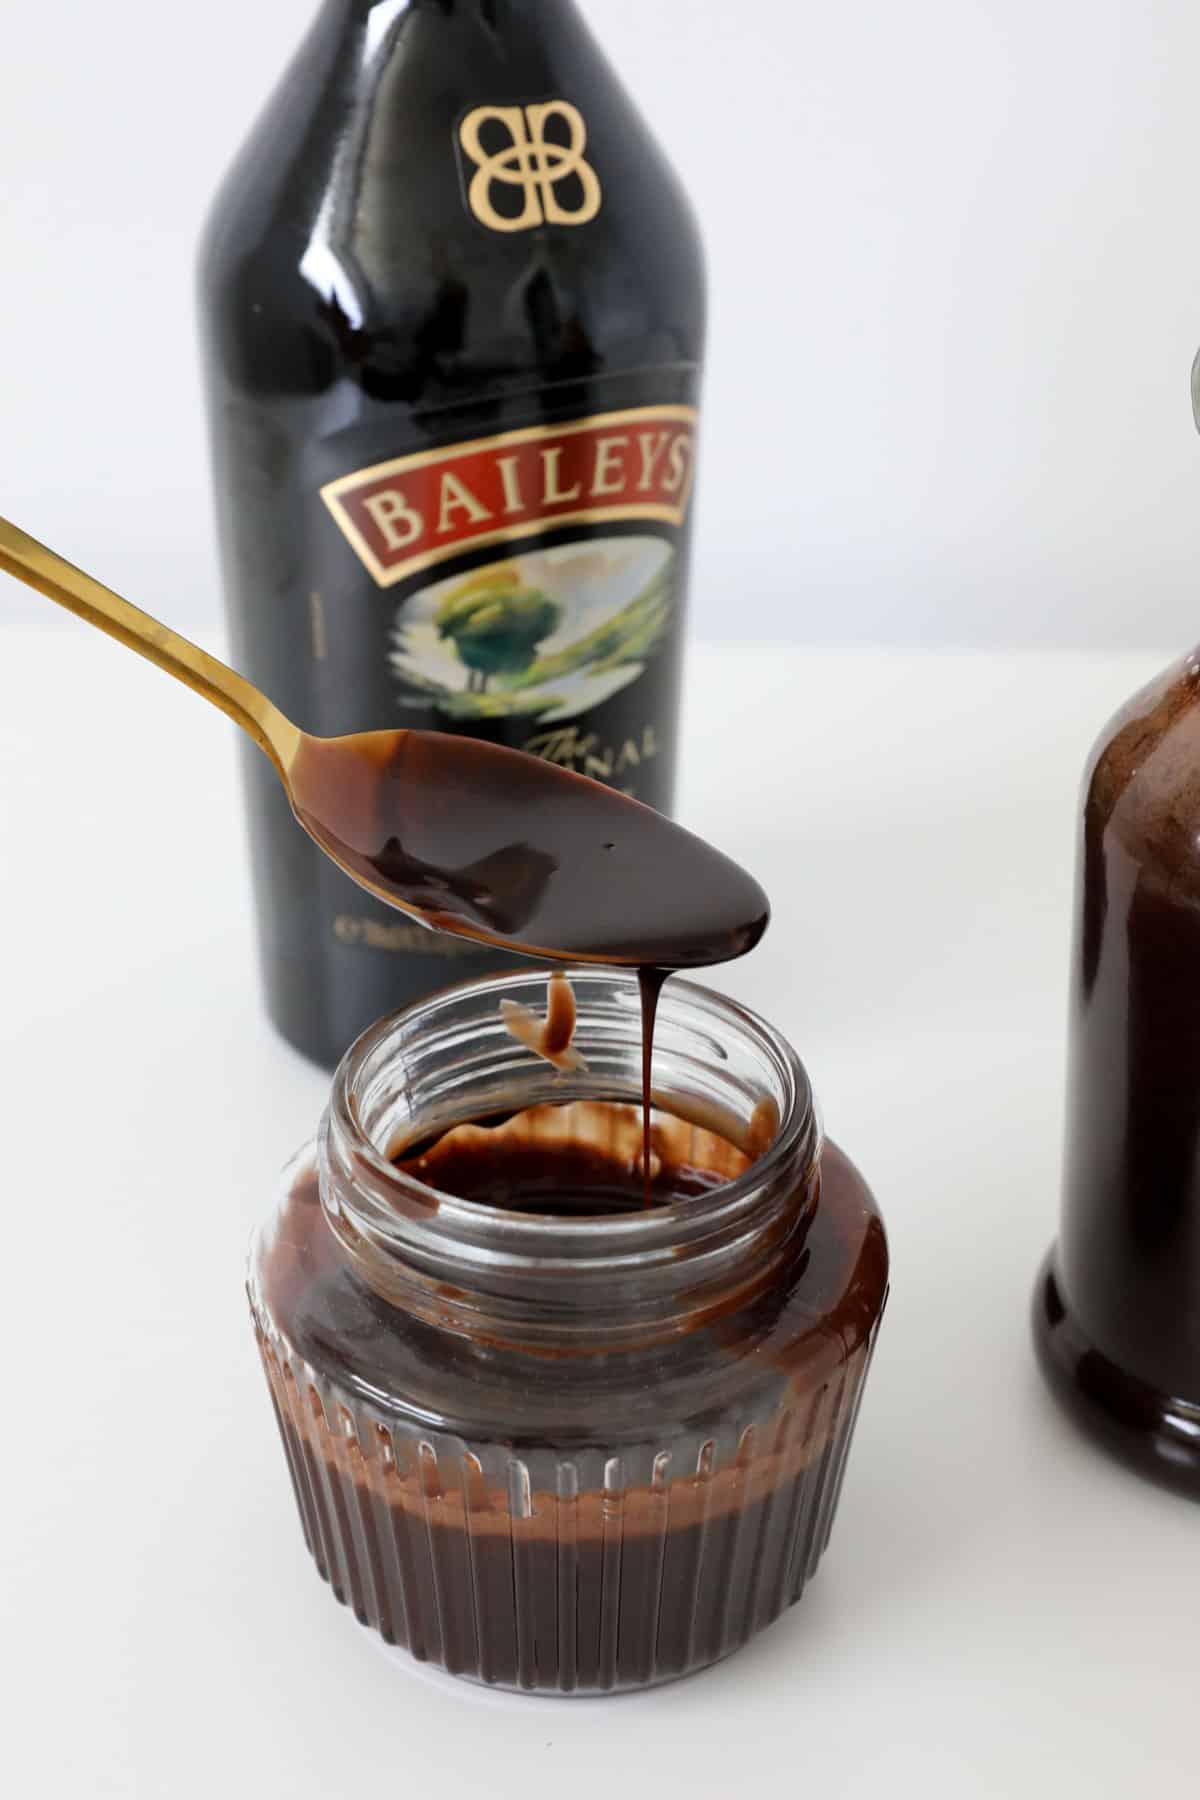
    Cheese, feta, spinach and sundried tomatoes on rolled out dough.

    Step 3 - Roll To Enclose

    Tightly roll the dough and fillings into a very long log.

    Use a sharp knife to cut the dough into smaller scrolls.

    Pinwheel scroll with spinach being cut on a board.

    Step 4 - Bake

    Place the scrolls onto a flat baking tray and bake for 25 minutes or until golden brown and the dough sounds hollow and firm when tapped.

    Savoury pinwheel scrolls on a baking tray.

    Expert Tips

    Follow our simple tips and advice for delicious Thermomix Spinach, Sun-Dried Tomato & Feta Scrolls!

    • Mix and match with any of your favourite fillings (salami, olives and red onion are also delicious).
    • This dough requires no proving or rising time.
    • The thinner you roll the dough out, the crispier your scrolls will be!
    • Roll your scroll log as tightly as possible.
    • Use a very sharp knife to cut the logs into smaller scroll slices.
    • The cooking time will depend on your oven and also how thick your dough is. Continue cooking until the dough is golden brown and sounds hollow when tapped.
    • Place the scrolls onto the tray, leaving a gap to allow for spreading.
    • These scrolls are best served warm but can be served at home temperature or in school lunchboxes.
    • Serve on their own or with a big bowl of healthy soup.
    • Freeze any leftover scrolls for up to 2 months.
    A stack of Thermomix Spinach, Sun-Dried Tomato & Feta Scrolls.

    FAQs

    Why don't these scrolls need yeast?

    In this particular recipe, we use self-raising flour as the rising agent. This means that there's no need for yeast or any proving/rising time.

    Can I use different fillings?

    Absolutely! Try adding sliced olives, red onion and salami too!

    Can you freeze these scrolls?

    Yes you can. Simply allow the scrolls to cool completely and then freeze in an airtight sealable bag for up to 2 months. Allow to defrost at room temperature before serving.

    An overhead shot of a savoury baked scroll.

    Related Recipes

    Pack the freezer with some of our most popular Thermomix savoury snacks and scrolls!

    • close up of cheese and vegemite scrolls on platter
      Thermomix Vegemite and Cheese Scrolls
    • Overhead view of a spinach cob loaf on a white oval platter with toasted bread pieces around it.
      Thermomix Spinach Cob Loaf
    • A stack of golden chargrilled lamb gozlemes.
      Thermomix Lamb, Spinach & Feta Gozleme
    • Slices of homemade Turkish bread.
      Thermomix Turkish Pide

    OUR RANGE OF THERMOMIX COOKBOOKS

    Browse our collection of hardcopy Thermomix cookbooks here.

    There's everything from family dinners to kids snacks, desserts to cookies, slices to Christmas recipes, cocktails to chocolate recipes and more!

    A bundle of 15 Thermomix Cookbooks.
    An overhead shot of spinach and cheese scrolls.
    Print Recipe
    5 from 1 vote

    Thermomix Spinach, Sun-Dried Tomato & Feta Scrolls

    Our Thermomix Spinach, Sun-Dried Tomato & Feta Scrolls require NO yeast and ZERO proving time! Packed full of flavour, prepped, baked and ready to eat in just 40 minutes.
    Prep Time15 minutes mins
    Cook Time25 minutes mins
    Total Time40 minutes mins
    Course: Snacks
    Cuisine: breads
    Servings: 12 scrolls
    Calories: 219kcal
    Author: Lucy & Lauren
    Cost: $5

    Equipment

    • Thermomix
    • Oven

    Ingredients

    • 300 g self raising flour
    • ¼ teaspoon salt
    • 90 g butter
    • 160 g milk
    • 80 g tomato chutney (or similar)
    • 50 g cheese tasty or cheddar, grated
    • 100 g feta
    • 60 g baby spinach
    • 100 g sun-dried tomatoes
    • a little milk to brush the side

    Instructions

    • Preheat your oven to 210 degrees celsius (fan-forced) and line an oven tray with baking paper.
    • Place the flour, butter and salt into the Thermomix bowl and mix for 10 seconds, Speed 9 or until mixture is the same consistency as breadcrumbs.
    • Add the milk and mix for 7 seconds, Speed 4 to combine.
    • Use the kneading/Interval function to knead the dough for 2 minutes.
    • Turn the dough out onto a lightly floured bench and using a rolling pin, roll the dough out until you have a very large thin rectangle.
    • Spread the tomato chutney over the dough, leaving a 2cm gap around the edges.
    • Sprinkle the grated cheese, feta, baby spinach and sun-dried tomatoes over the chutney, before brushing one long edge with milk.
    • Starting at the long side (without the milk) carefully roll the dough until enclosed.
    • Cut into 12 slices – approximately 2cm thick.
    • Place on a baking tray and bake in oven for 25 minutes or until golden brown on top and cooked through.

    Notes

    RECIPE NOTES & TIPS
    • Mix and match with any of your favourite fillings (salami, olives and red onion are also delicious).
    • This dough requires no proving or rising time.
    • The thinner you roll the dough out, the crispier your scrolls will be!
    • Roll your scroll log as tightly as possible.
    • Use a very sharp knife to cut the logs into smaller scroll slices.
    • The cooking time will depend on your oven and also how thick your dough is. Continue cooking until the dough is golden brown and sounds hollow when tapped.
    • Place the scrolls onto the tray, leaving a gap to allow for spreading.
    • These scrolls are best served warm but can be served at home temperature or in school lunchboxes.
    • Serve on their own or with a big bowl of healthy soup.
    • Freeze any leftover scrolls for up to 2 months.

    Nutrition

    Calories: 219kcal | Carbohydrates: 24g | Protein: 7g | Fat: 11g | Saturated Fat: 6g | Polyunsaturated Fat: 1g | Monounsaturated Fat: 2g | Trans Fat: 0.2g | Cholesterol: 30mg | Sodium: 253mg | Potassium: 396mg | Fiber: 2g | Sugar: 4g | Vitamin A: 1162IU | Vitamin C: 6mg | Calcium: 115mg | Iron: 1mg

    The BEST Thermomix Homemade Food Gifts

    December 7, 2015

    A collage of homemade Thermomix food gifts.

    With Christmas just around the corner, there's no better time to start preparing Thermomix Homemade Food Gifts... from rocky road to fudge, sauces and curds to cookies and more!

    A collage of homemade Thermomix food gifts.

    One of the best things about having a Thermomix sitting in your kitchen, is just how quick and easy it is to whip up food gifts for your friends, family, neighbours and work colleagues at Christmas time!

    We think you're going to LOVE these homemade food gift recipes!

    The BEST Thermomix Homemade Food Gifts

    Salted Caramel Sauce

    A deliciously sweet and salty caramel sauce. Pour into sealable glass jars and tie with a ribbon for a yummy Christmas gift!

    Thermomix Salted Caramel Sauce

    Our Thermomix Salted Caramel Sauce goes with EVERYTHING!
    Thermomix Salted Caramel Sauce Recipe
    Spoon drizzling salted caramel sauce into a white bowl that is sitting on a blue striped towel.

    Easy Gingerbread Cookies

    A classic Christmas recipe that makes a lovely gift for family, friends and teachers!

    Thermomix Baileys

    Our homemade adults-only Baileys is SO easy to make in your Thermomix... just make sure you make a double batch and keep some for yourself.

    Thermomix Baileys

    Hands up if you love Baileys Irish Cream? Well you’re going to absolutely adore our Thermomix Baileys recipe then! It’s creamy, chocolatey and has just the right amount of whiskey.
    Thermomix Baileys Recipe
    Glass jars filled with cream Irish cream.

    Thermomix Turkish Delight Rocky Road

    A classic chocolate rocky road filled chunks of Turkish Delight chocolate. Wrap pieces in cellophane and tie with a ribbon.

    Thermomix Turkish Delight Rocky Road

    A delicious 10 minute Thermomix Turkish Delight Rocky Road recipe packed full of marshmallows, peanuts, coconut and of course, Turkish Delight!
    Thermomix Turkish Delight Rocky Road Recipe
    Pieces of rocky road on a cake stand.

    Thermomix White Chocolate & Oreo Fudge

    A very sweet and yummy fudge that absolutely everyone LOVES (especially kids!).

    Thermomix Oreo Fudge

    Our easy Thermomix Oreo Fudge is made with just 3 ingredients and takes 10 minutes to prepare!
    Thermomix Oreo Fudge Recipe
    slices of Oreo fudge on a piece of white baking paper and white bench top.

    White Chocolate & Cranberry Cookies

    The flavour combination of white chocolate and cranberry absolutely screams Christmas!

    Thermomix White Chocolate & Cranberry Cookies

    Soft and chewy Thermomix White Chocolate & Cranberry Cookies that are perfect for Christmas (or anytime of the year!). 
    Thermomix White Chocolate & Cranberry Cookies Recipe
    Chocolate chip and cranberry cookies on a white cake stand.

    Christmas Fudge

    A sweet and creamy white chocolate fudge with chunks of pistachios and cranberries throughout.

    Thermomix Christmas Fudge

    This Thermomix Christmas Fudge is made with just four ingredients, is quick to prepare and makes a great gift for friends and family!
    Thermomix Christmas Fudge Recipe
    Thermomix Christmas Fudge sliced on a white bench.

    Thermomix Chocolate Baileys Sauce

    Aa chocolate sauce infused with Baileys Irish Cream - an adults only decadent treat.

    Thermomix Baileys Chocolate Sauce

    Our Thermomix Baileys Chocolate Sauce is rich, decadent and adults-only. Serve it poured over a bowl of ice-cream or your favourite desserts or brownies.
    Thermomix Baileys Chocolate Sauce Recipe
    A gold spoon with chocolate sauce dripping from it.

    Caramel Fudge

    Our famous caramel fudge recipe is so easy to make... and makes the perfect Thermomix homemade food gift.

    The Best Thermomix Caramel Fudge Recipe

    This is the BEST Thermomix Caramel Fudge Recipe you'll ever make!
    The Best Thermomix Caramel Fudge Recipe Recipe
    Pieces of fudge in a stack.

    Christmas Bark

    The kids will love helping to make this super easy 3 ingredients Christmas inspired chocolate bark.

    Thermomix White Chocolate and Maltesers Christmas Bark

    Thermomix White Chocolate and Maltesers Christmas Bark takes just 5 minutes to prepare and is made from 3 ingredients! A delicious Christmas baking activity that the kids will love.
    Thermomix White Chocolate and Maltesers Christmas Bark Recipe
    A stack of Christmas bark.

    Christmas Hedgehog Slice

    Just like a classic hedgehog slice.... but Christmas-inspired! Think pistachios, cranberries and chunk of biscuits.

    Thermomix Christmas Hedgehog Slice

    A delicious Thermomix Christmas Hedgehog Slice made from just 6 ingredients... and in less than 10 minutes! The perfect Christmas treat.
    Thermomix Christmas Hedgehog Slice Recipe
    Pieces of white chocolate slice with pistachios and cranberries.

    Sugar Cookies

    Everyone's favourite Christmas biscuits are so easy to prepare. Have the kids decorate them before gifting to friends and family.

    Thermomix Sugar Cookies Recipe

    This easy Thermomix Sugar Cookies Recipe makes PERFECT cut out biscuits that everyone will love to decorate - and eat!
    Thermomix Sugar Cookies Recipe Recipe
    Stack of Sugar Cookies on a white bench top.

    Want even more Thermomix homemade food gifts?

    Browse our hardcopy Christmas Cookbooks here!

    Christmas Books Volume 1 and 2

    SHOP OUR THERMOMIX COOKBOOKS

    Shop our entire range of Thermomix cookbooks (all hardcopy cookbooks also come with a FREE eBook version emailed to you immediately upon purchase). PLUS get free shipping on all orders over $60!

    ThermoBliss complete set

    Thermomix White Chocolate and Maltesers Christmas Bark

    December 3, 2015

    A stack of Christmas bark.

    Thermomix White Chocolate and Maltesers Christmas Bark takes just 5 minutes to prepare and is made from 3 ingredients! A delicious Christmas baking activity that the kids will love.

    A stack of Christmas bark.

    One of my favourite things about the lead up to Christmas is all the fun Christmas recipes to make with the kids!

    From our simple sugar cookies to gingerbread, Christmas crackles to wreath biscuits... and of course, this Thermomix White Chocolate and Maltesers Christmas Bark, it's never been easier or more fun to get baking with the kids.

    Pieces of Christmas bark.

    Why You're Going To Love This Recipe

    What's not to love about a simple and tasty Christmas chocolate bark!

    • 3 Ingredients - This entire recipe is made using just 3 ingredients. How easy is that!?
    • Kid-Friendly Recipe - This is the perfect recipe to make with the kids in the lead up to Christmas. Older kids will be able to make the entire recipe on their own, while younger kids may need assistance melting and spreading the chocolate.
    • Edible Gift - Our Thermomix White Chocolate and Maltesers Christmas Bark makes a yummy gift for friends, family, teachers and neighbours.
    • Quick & Easy - With just 5 minutes prep time and a couple of basic steps, the hardest part of this recipe is waiting for it to chill in the fridge!

    What You Need

    Just 3 ingredients are needed to make our Thermomix White Chocolate and Maltesers Christmas Bark!

    Please scroll to the recipe card at the bottom of the post for ingredient quantities and the full Thermomix method.

    The ingredients for a chocolate Christmas bark.
    • White Chocolate - choose a good quality white chocolate such as Cadbury, Lindt, Nestle or Hersheys.
    • Christmas M&Ms - These red and green M&Ms can be bought from the supermarket in the lead up to Christmas. If you can't find the special Christmas packs of M&Ms, you can simply use the red and green M&Ms from a regular pack.
    • Mini Malteser Reindeers - These reindeer shaped chocolates are made by Mars and can be purchased from the supermarket or grocer before Christmas.

    Step By Step Instructions

    Just 3 simple steps is all it takes to make our Christmas bark!

    Please scroll to the recipe card at the bottom of the post for ingredient quantities and the full Thermomix method.

    Step 1 - Melt The Chocolate

    Grate the chocolate in the Thermomix and then melt until smooth and creamy.

    Grated white chocolate in a Thermomix bowl.
    White chocolate being melted in a Thermomix bowl.

    Step 2 - Add The Reindeers

    Spread the melted chocolate across the prepared baking tray.

    Melted white chocolate on a baking tray.

    Add the mini Malteser reindeers.

    Malteser reindeers on white chocolate.

    Step 3 - Sprinkle With M&Ms

    Add the red and green M&Ms and chill in the fridge until set.

    M&Ms and Christmas chocolate on top of melted white chocolate.

    Expert Tips & FAQ

    It couldn't be easier to make our Thermomix White Chocolate and Maltesers Christmas Bark. Follow our simple tips for a delicious Christmas treat...

    Use a good quality chocolate

    As the white chocolate is the main ingredient in the recipe, ensure you use a good quality brand (such as Hersheys, Cadbury, Lindt etc).

    What can I use if I can't find Christmas M&Ms?

    Simply use the red and green M&Ms from a regular packet of M&Ms.

    Storing

    Store in an airtight container in the fridge and consume within a week.

    Freezing

    Freeze in an airtight container for up to 1 month. Allow to defrost in the fridge before consuming. Note: the M&Ms will lose some of their colour once frozen and defrosted.

    A stack of Christmas bark.

    Related Recipes

    Christmas is one of our very favourite times of the year!

    Here's a few more of our all-time favourite Christmas recipes...

    • Pieces of white chocolate slice with pistachios and cranberries.
      Thermomix Christmas Hedgehog Slice
    • Thermomix Christmas Fudge sliced on a white bench.
      Thermomix Christmas Fudge

    Thermomix Christmas Cookbooks

    Browse our collection of festive Thermomix cookbooks!

    All hardcopy cookbooks come with a FREE eBook version emailed immediately upon purchase.

    A collection of Thermomix Christmas cookbooks.
    A stack of Christmas bark.
    Print Recipe
    5 from 2 votes

    Thermomix White Chocolate and Maltesers Christmas Bark

    Thermomix White Chocolate and Maltesers Christmas Bark takes just 5 minutes to prepare and is made from 3 ingredients! A delicious Christmas baking activity that the kids will love.
    Prep Time5 minutes mins
    Cook Time1 hour hr
    Total Time1 hour hr 5 minutes mins
    Course: Christmas
    Cuisine: dessert
    Servings: 8 serves
    Calories: 340kcal
    Author: Lucy & Lauren
    Cost: $10

    Equipment

    • Thermomix

    Ingredients

    • 200 g white chocolate
    • 100 g red & green Christmas M&Ms
    • 8 mini Malteser reindeers

    Instructions

    • Line a flat baking tray with baking paper and set aside.
    • Place the white chocolate into your Thermomix bowl. Mix for 5 seconds, Speed 8. Melt for 4 minutes, 50 degrees, Speed 2 or until melted.
    • Pour the melted chocolate onto the prepared baking tray and move the tray around to get a thin layer of chocolate.
    • Place the mini Malteser reindeers onto the melted chocolate and sprinkle the M&Ms over the top.
    • Place the tray into the fridge for 1 hour or until set.
    • Remove from the fridge and cut or break into large pieces.

    Notes

    RECIPE NOTES & TIPS
    • White Chocolate - choose a good quality white chocolate such as Cadbury, Lindt, Nestle or Hersheys.
    • Christmas M&Ms - These red and green M&Ms can be bought from the supermarket in the lead up to Christmas. If you can't find the special Christmas packs of M&Ms, you can simply use the red and green M&Ms from a regular pack.
    • Mini Malteser Reindeers - These reindeer shaped chocolates are made by Mars and can be purchased from the supermarket or grocer before Christmas.
    • Storing - Store in an airtight container in the fridge and consume within a week.
    • Freezing - Freeze in an airtight container for up to 1 month. Allow to defrost in the fridge before consuming. Note: the M&Ms will lose some of their colour once frozen and defrosted.

    Nutrition

    Calories: 340kcal | Carbohydrates: 39g | Protein: 3g | Fat: 22g | Saturated Fat: 13g | Polyunsaturated Fat: 1g | Monounsaturated Fat: 7g | Cholesterol: 5mg | Sodium: 29mg | Potassium: 189mg | Fiber: 2g | Sugar: 36g | Vitamin A: 8IU | Vitamin C: 1mg | Calcium: 59mg | Iron: 1mg

    Thermomix Chicken and Zucchini Nuggets

    December 1, 2015

    Crunchy chicken and zucchini nuggets in a pile with a bowl of relish beside.

    I don't know about you, but I just can't help myself when it comes to eating waaaay too much this time of year!  In between all of the Christmas parties, BBQ's and catching up with friends, there is always so much yummy food on offer and I always seem to overindulge.   These Thermomix Chicken and Zucchini Nuggets are the perfect 'lighter' party food (or easy dinner!) option and the kids won't even realise that they have veggies in them!

    Thermomix Chicken and Zucchini Nuggets

    These Chicken and Zucchini Nuggets are really simple to make and best of all you can make them in advance and then pop them into the freezer until you need them.  They are a great alternative to 'traditional' chicken nuggets and my boys just love gobbling down a few of their 'special nuggets'!

    A small bowl of relish next to a pile of golden crunchy nuggets made with chicken and zucchini.
    Print Recipe
    5 from 1 vote

    Thermomix Chicken and Zucchini Nuggets

    Our healthy Thermomix chicken and zucchini nuggets are perfect for fussy toddlers or kids! You'll never but frozen nuggets again!
    Prep Time15 minutes mins
    Cook Time15 minutes mins
    Total Time30 minutes mins
    Course: Snacks
    Cuisine: Western
    Servings: 24 nuggets
    Calories: 57kcal
    Author: Lucy & Lauren
    Cost: $5

    Equipment

    • Thermomix
    • Oven

    Ingredients

    • 500 g of chicken breast mince
    • 1 zucchini
    • ½ teaspoon of mild paprika (optional)
    • ½ cup of grated parmesan cheese
    • ½ cup of breadcrumbs
    • 1 tablespoon of fresh parsley
    • ½ cup of very finely grated parmesan cheese - extra
    • Salt and pepper

    Instructions

    • Preheat oven to 190 degrees celsius and chop the parsley finely and place it along with the bread crumbs and ½ cup of finely grated parmesan cheese into a small bowl and set aside until needed.
    • Place the zucchini into your Thermomix bowl and blitz on Turbo until finely grated - you may need to scrape down the sides of the bowl.
    • Transfer the grated zucchini into a strainer and squeeze out any excess liquid.
    • Add the chicken mince, zucchini, paprika, parmesan cheese and a sprinkle of salt and pepper into your Thermomix bowl and mix on Reverse Speed 5 for 15 seconds or until completely combined.
    • Use a metal spoon to scoop the chicken mixture and roll into balls with your hands.
    • Place the chicken balls into the bowl with the breadcrumb mixture and lightly toss to cover the entire ball.
    • Place the coated chicken balls onto a lined baking tray and using the palm of your hand, slightly flatten the ball before using the knuckle of your thumb to indent the side – giving you the shape of a ‘traditional’ chicken nugget. Repeat this process until all the chicken mixture has been used.
    • Place the baking tray into the oven and cook for 12 - 15 minutes or until your Chicken and Zucchini Nuggets are golden brown and cooked through when tested.
    • Please note your cooking time will vary depending on the size of your Chicken and Zucchini Nuggets.

    Nutrition

    Calories: 57kcal | Carbohydrates: 2g | Protein: 6g | Fat: 3g | Saturated Fat: 1g | Polyunsaturated Fat: 0.4g | Monounsaturated Fat: 1g | Trans Fat: 0.01g | Cholesterol: 21mg | Sodium: 96mg | Potassium: 140mg | Fiber: 0.2g | Sugar: 0.4g | Vitamin A: 83IU | Vitamin C: 2mg | Calcium: 56mg | Iron: 0.4mg

    Crunchy chicken and zucchini nuggets in a pile with a bowl of relish beside.

    Thermomix Spinach Cob Loaf

    November 26, 2015

    Overhead view of a spinach cob loaf on a white oval platter with toasted bread pieces around it.
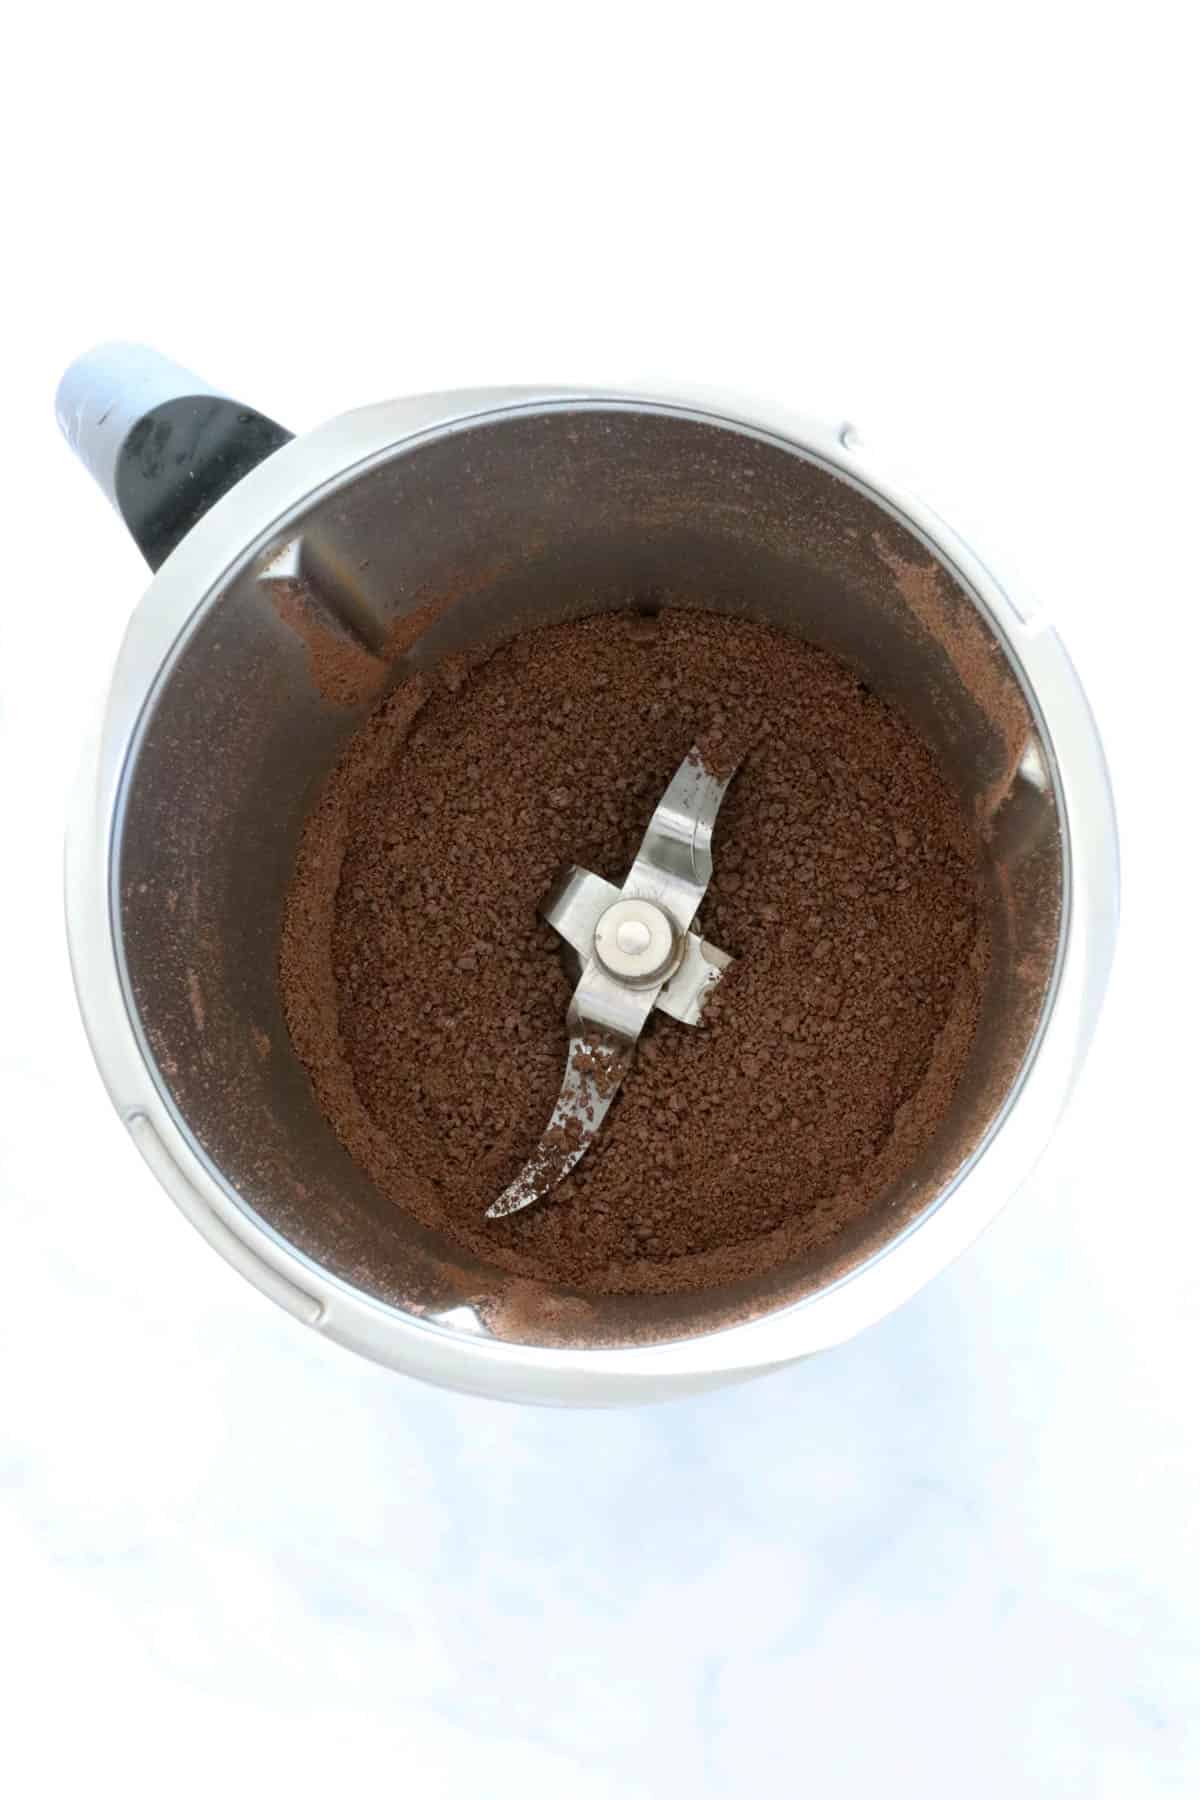
    Our Thermomix Spinach Cob Loaf recipe is made using just SIX ingredients and takes less than 15 minutes to prepare. You can make the creamy spinach dip filling a day or two in advance and then simply add to your cob loaf when it's time to heat up and enjoy.

    Overhead view of a spinach cob loaf on a white oval platter with toasted bread pieces around it.

    Making a cob loaf in your Thermomix couldn't be easier - or more delicious! This classic cob loaf recipe is always popular with my friends and family - it's also perfect for your next special occasion.

    Why you will love this recipe:

    This Spinach Cob Loaf is made with just SIX ingredients!

    Easy to put together: It takes less than 15 minutes to put this creamy spinach dip recipe together and then all you need to do is pop it into the oven to cook.

    Versatile - Don't have any mozzarella cheese? You can use a mixture of tasty cheese, cheddar cheese and you can even add some parmesan cheese to give your cob loaf a little extra bite.

    Make ahead - the dip can be prepared a day or two in advance and stored in the fridge until needed.

    Adult scooping up spinach dip from a cob loaf, there are strings of melted cheese hanging between the dip and the piece of bread.

    Ingredients:

    To make this Thermomix Spinach Cob Loaf, you will need:

    Spinach - we like to use baby spinach leaves however you can also use frozen spinach.

    Mozzarella cheese

    Sour Cream

    Cream Cheese

    French Onion Soup Mix

    Cob Loaf

    Ingredients to make spinach cob loaf dip on a bench.

    How to make Spinach Cob Loaf Dip in your Thermomix:

    Step 1. Cut a round hole on top of your cob loaf and remove the bread from the inside. Set aside until needed.

    Hollowed out cob loaf on a white bench.

    Step 2. Cut the mozzarella cheese into 3cm pieces and mix until grated.

    Grated cheese in a Thermomix bowl.

    Step 3. Add the cream cheese and mix until combined.

    Step 3. Scrape down the sides of the Thermomix bowl and add the sour cream and French onion soup mix. Mix to combine.

    Combined cheeses in a thermomix bowl.

    Step 4. Add the spinach and use your spatula to mix through.

    Spinach Dip in a Thermomix bowl.

    Step 5. Transfer the spinach dip to the hollowed out cob loaf and place the 'lid' on top.

    Spinach cob loaf sitting on a baking tray lined with greaseproof paper.

    Step 6. Cover with foil and bake.

    Cob loaf covered with foil ready to go into the oven.

    Step 7. Remove the foil and the 'lid' before adding the extra bread pieces and bake until golden.

    Side view of spinach cob loaf dip on a white platter with bread pieces around it.

    Tips for making the BEST Thermomix Cob Loaf!

    Cut the mozzarella cheese into 3-4cm pieces before grating.

    Either fresh or frozen spinach leaves can be used.. If using frozen, just make sure to squeeze any liquid out of the leaves prior to adding to the dip.

    The baby spinach leaves can be added whole or roughly chopped if you prefer.

    It is best to use the spatula to stir the spinach through.

    The spinach dip can be prepared up to two days in advance and stored in the fridge until needed.

    To speed up the cooking time, warm the dip in the microwave prior to adding to the cob loaf.

    This recipe is best enjoyed straight from the oven. Leftover cob loaf can be stored in the fridge and heated up to enjoy within two days.

    Frequently Asked Questions

    What do you serve cob loaf with?

    We like to enjoy this Spinach Cob Loaf with bread pieces, veggie sticks and crackers.

    Do you use fresh or frozen spinach to make a cob loaf?

    Either fresh or frozen spinach can be used to make this spinach cob loaf. We do recommend squeezing out the excess liquid if using frozen spinach.

    Overhead view of a spinach cob loaf on a white oval platter with toasted bread pieces around it.

    You may also enjoy these delicious recipes:

    • Bacon and Cheese Cob Loaf
    • Thermomix Sausage Rolls
    • Chocolate Ripple Cake
    • Thermomix Mars Bar Cheesecake Recipe
    • Spinach and Cheese Rolls
    • Veggie Packed Thermomix Vegetarian Sausage Rolls
    Overhead view of a spinach cob loaf on a white oval platter with toasted bread pieces around it.
    Print Recipe
    4.89 from 9 votes

    Thermomix Spinach Cob Loaf

    This Thermomix Spinach Cob Loaf is made with just SIX Ingredients and is a simple recipe perfect for entertaining.
    Prep Time10 minutes mins
    Cook Time45 minutes mins
    Total Time55 minutes mins
    Course: Sides
    Cuisine: Australian
    Servings: 8 people
    Calories: 220kcal
    Author: Lucy & Lauren

    Equipment

    • Thermomix
    • Baking Tray

    Ingredients

    • 1 cob loaf
    • 100 grams mozzarella cheese
    • 300 grams sour cream
    • 250 grams cream cheese – softened
    • 1 pack french onion soup
    • 100 grams baby spinach leaves
    • salt and pepper

    Instructions

    • Line a tray with baking paper and preheat your oven to 190 degrees celsius (fan-forced).
    • Cut a circle on top of your Cobb Loaf and carefully remove the ‘lid’. Scoop out the soft bread inside the Cobb Loaf and set aside.
    • Place the mozzarella cheese into your Thermomix bowl and mix for 10 seconds, speed 9 to grate.
    • Add the softened cream cheese and mix for 15 seconds, speed 4 to combine.
    • Add the sour cream, french onion soup mixture, along with salt and pepper into your Thermomix bowl and combine for 20 seconds on speed 3.
    • Scrape down the sides and mix for a further 5 seconds on speed 3 or until all ingredients have combined.
    • Add the baby spinach leaves and use a spatula to combine.
    • Spoon the dip mixture into the Cob Loaf and put the lid back on. Cover the top of the Cobb Loaf with foil and place it onto the prepared baking tray and into the oven to bake for 40 minutes.
    • After 40 minutes, remove the foil and add the bread pieces to the tray. Bake for a further 10 – 15 minutes or until the bread pieces turn golden brown.
    • Serve immediately.

    Notes

    Cut the mozzarella cheese into 3-4cm pieces before grating.
    Either fresh or frozen spinach leaves can be used.. If using frozen, just make sure to squeeze any liquid out of the leaves prior to adding to the dip.
    The baby spinach leaves can be added whole or roughly chopped if you prefer.
    It is best to use the spatula to stir the spinach through.
    The spinach dip can be prepared up to two days in advance and stored in the fridge until needed.
    To speed up the cooking time, warm the dip in the microwave prior to adding to the cob loaf.
    This recipe is best enjoyed straight from the oven. Leftover cob loaf can be stored in the fridge and heated up to enjoy within two days.

    Nutrition

    Calories: 220kcal | Carbohydrates: 3g | Protein: 6g | Fat: 21g | Saturated Fat: 12g | Polyunsaturated Fat: 1g | Monounsaturated Fat: 5g | Cholesterol: 64mg | Sodium: 220mg | Potassium: 176mg | Fiber: 1g | Sugar: 2g | Vitamin A: 1910IU | Vitamin C: 4mg | Calcium: 147mg | Iron: 1mg

    Looking for even more?

    You can find more simple and delicious Thermomix recipes in our books and eBooks, shop the range here.

    Image of 13 ThermoBliss recipes books on a marble look background.

    Healthy Thermomix Acai Bowl

    November 25, 2015

    A spoon scooping from a berry acai bowl topped with banana and coconut.

    Our 5 ingredient Thermomix Acai Bowl is fast, healthy and super nutritious... plus it's dairy-free!

    A spoon scooping from a berry acai bowl topped with banana and coconut.

    Thermomix Acai Bowls are one of my favourite breakfast options to enjoy - particularly in summer!

    All you need is 5 minutes + 5 ingredients + any of your favourite toppings!

    The Thermomix makes the most delicious acai bowls in absolutely no time at all!

    Looking for more yummy breakfast recipes?

    Try our Thermomix Banana Pancakes, English Muffins or our easy Porridge recipe.

    Why You're Going To Love This Recipe

    • Quick & Easy - from start to finish, this recipe takes just 5 minutes to prepare (perfect for busy mornings!)
    • Versatile - choose your favourite frozen berries and add any of your favourite toppings (see below for topping ideas!)
    • Smoothie vs Sorbet Texture - if you like a smoothie texture with your acai bowls, follow our recipe as it is. If you'd prefer a more sorbet-like texture, reduce the amount of coconut water used.
    • Make Ahead Of Time - you can prepare the Thermomix acai bowl ahead of time and freeze the mixture in an airtight container until needed. Allow it to soften at room temperature for a few minutes before serving.
    An overhead shot of a acai bowl with banana and coconut.

    What You Need

    Our Thermomix Acai Bowls are made using just 5 ingredients!

    Please scroll to the recipe card at the bottom of the post for ingredient quantities and the full detailed method.

    The ingredients for an acai bowl.
    • Acai Powder - you can buy acai powder from the health food section of any major supermarket or from any health food store. I use Nature's Way brand available at Coles.
    • Frozen Berries - use whatever frozen berries you have on hand (or a combination!). Strawberries, blueberries, raspberries and blackberries are all great options! It's important to use frozen berries (not fresh).
    • Coconut Water - or substitute with almond milk. Use less coconut water if you'd like your acai bowl to have a more sorbet-like texture.
    • Honey
    • Frozen Bananas - it's important to use frozen bananas (not fresh).

    Step By Step Instructions

    Our simple 2 step Thermomix Acai Bowl recipe could NOT be easier to make!

    Please scroll to the recipe card at the bottom of the post for ingredient quantities and the full detailed method.

    Step 1 - Mix

    Place all of the ingredients into the Thermomix bowl and mix.

    The ingredients for an acai bowl in a Thermomix.

    Scrape down the sides of the bowl and continue mixing until smooth.

    Acai smoothie in a Thermomix.

    Step 2 - Serve

    Serve immediately (or freeze for later!) with your favourite toppings.

    A berry smoothie bowl with banana and coconut on top.

    Expert Tips

    • Optional toppings: fresh berries, sliced banana, chia seeds, muesli, coconut flakes, fresh cut fruit, honey, goji berries etc.
    • More a thicker (sorbet-like) texture, use less coconut water.
    • Make ahead of time and freeze until needed (optional). Allow to sit at room temperature for a few minutes to soften.
    • Ensure you use frozen berries and bananas (not fresh)
    • Use any flavour of frozen berries you like (or a combo)
    Coconut and banana on a berry smoothie bowl.

    FAQs

    Where can I buy acai powder?

    You can buy acai powder from the health food section of any major supermarket or from any health food store. I use Nature's Way brand available at Coles.

    Can I make different flavour acai bowls?

    Absolutely! You can easily vary the types of frozen berries you use to make different flavours.

    In your photos, the acai bowl mixture looks like it's frozen. Is this how it should be?

    When you follow the recipe below, your acai bowl will have the texture of a smoothie. I followed the recipe exactly, but I froze my acai bowl for an hour or so before I took the photos (hence why it looks frozen!). I would allow this to sit at room temp for a few more minutes before serving.

    A spoon scooping from a berry acai bowl topped with banana and coconut.

    Related Recipes

    Got lots of frozen bananas or berries sitting in your freezer?

    Try these yummy recipes:

    • A spoonful of chocolate ice-cream.
      Healthy Thermomix Chocolate Ice Cream
    • Side view of a mango smoothie sitting on a pink towel.
      Thermomix Mango Smoothie
    • Pieces of banana bread wrapped in a tea towel.
      Thermomix Banana Bread
    • A glass of raspberry drink with mint.
      Thermomix Raspberry Gin Cocktail

    SHOP OUR RANGE OF THERMOMIX COOKBOOKS

    Browse our collection of hardcopy Thermomix cookbooks here.

    There's everything from family dinners to kids snacks, desserts to cookies, slices to Christmas recipes, cocktails to chocolate recipes and more!

    A bundle of 15 Thermomix Cookbooks.
    A spoon scooping from a berry acai bowl topped with banana and coconut.
    Print Recipe
    4.67 from 3 votes

    Healthy Thermomix Acai Berry Bowl

    Our Healthy Thermomix Acai Berry Bowl is the perfect way to start the day! Nutritious and delicious!
    Prep Time5 minutes mins
    Total Time5 minutes mins
    Course: Breakfast
    Cuisine: healthy recipes
    Servings: 2 serves
    Calories: 363kcal
    Author: Lucy & Lauren
    Cost: $10

    Equipment

    • Thermomix

    Ingredients

    • 2 tbs acai powder
    • 300 g frozen berries
    • 2 frozen bananas
    • 200 g coconut water (or alternatively you can use almond milk)
    • 1 tbs honey

    Instructions

    • Place all ingredients (except for toppings) into the Thermomix bowl.
    • Blend for 20 seconds, Speed 8.
      Scrape down the sides of the bowl and repeat for a further 30 seconds (using the spatula to help).
      *Add less coconut water if you would like your acai bowl to be more like a sorbet (rather than a smoothie texture).
    • Serve immediately with your favourite toppings.

    Notes

    RECIPE NOTES & TIPS
    • Optional toppings: fresh berries, sliced banana, chia seeds, muesli, coconut flakes, fresh cut fruit, honey, goji berries etc.
    • More a thicker (sorbet-like) texture, use less coconut water.
    • Make ahead of time and freeze until needed (optional). Allow to sit at room temperature for a few minutes to soften.
    • Ensure you use frozen berries and bananas (not fresh)
    • Use any flavour of frozen berries you like (or a combo)
     

    Nutrition

    Calories: 363kcal | Carbohydrates: 78g | Protein: 4g | Fat: 6g | Saturated Fat: 0.5g | Polyunsaturated Fat: 0.2g | Monounsaturated Fat: 0.1g | Sodium: 108mg | Potassium: 1215mg | Fiber: 13g | Sugar: 44g | Vitamin A: 172IU | Vitamin C: 26mg | Calcium: 38mg | Iron: 1mg

    The Best Thermomix Caramel Fudge Recipe

    November 24, 2015

    Pieces of fudge in a stack.

    Hands down the BEST Thermomix Caramel Fudge recipe you will ever make! Sweet, rich, creamy and oh-so-delicious. The perfect recipe for Christmas... or anytime of the year.

    Pieces of fudge in a stack.

    Our Thermomix Caramel Fudge recipe has been a favourite with our readers for years now!

    It's one of our most popular recipes at Christmas and during the festive season where it makes a delicious dessert or a special food gift for family and friends.

    A cake plate topped with pieces of caramel.

    Why You're Going To Love This Recipe

    What's not to love about this delicious Thermomix Caramel Fudge recipe:

    • 5 Ingredients - This sweet fudge is made using just 5 basic ingredients... which means no unnecessary trips to the supermarket.
    • Quick and Easy - Let the Thermomix do all the work and have your fudge chilling in the fridge in just 30 minutes.
    • Perfect For Christmas - Our caramel fudge makes the BEST food gift to give to friends, family, teachers and neighbours during the festive season.
    • Make Ahead - Caramel fudge lasts 2-3 weeks, making it a great option for preparing ahead of time.
    To pieces of fudge.

    What You Need

    Just 5 Ingredients! How easy is that!?

    Note: Please scroll to the recipe card at the bottom of the post for ingredient quantities and the full method.

    The ingredients for caramel fudge.

    • Butter - you can use either salted or unsalted butter for this recipe. Margarine is not suitable.

    • Sweetened Condensed Milk - it's important to use full fat sweetened condensed milk (not skim or light) as this helps to set the fudge firm. I find that Nestle brand also sets firmer than home brand versions.
    • Golden Syrup - a sweet and sticky liquid that helps to give the fudge it's delicious caramel flvaour.
    • Brown Sugar - choose either regular brown sugar or dark brown sugar for this recipe. I generally use regular brown sugar.
    • White Chocolate - choose white baking chocolate or chocolate melts for the best results.

    Step By Step Instructions

    This simple Thermomix caramel fudge couldn't be easier to make!

    Note: Please scroll to the recipe card at the bottom of the post for ingredient quantities and the full method.

    Step 1 - Grate The Chocolate

    Place the white chocolate into the Thermomix bowl and grate finely.

    Set aside in a seperate bowl.

    White chocolate in a Thermomix bowl.
    Grated chocolate in a jug.

    Step 2 - Melt

    Place the butter, sweetened condensed milk, golden syrup and brown sugar into the Thermomix bowl.

    Sweetened condensed milk, butter and brown sugar in a stainless jug.

    Heat for 8 minutes until melted and smooth.

    Caramel in a stainless bowl.

    Step 3 - Cook

    Cook the fudge for 20 minutes.

    Bubbling caramel in a Thermomix bowl.

    TIP: ensure the MC (measuring cup) is OFF during cooking this fudge.

    Step 4 - Add The Chocolate

    Add the grated chocolate to the fudge in the Thermomix bowl and mix together.

    Grated chocolate on top of caramel in a Thermomix.

    Working quickly, pour the fudge into a prepared tin and spread out with a spoon.

    Caramel fudge in a baking tray.

    NOTE: The fudge will be very thick at this stage.

    Step 5 - Chill

    Chill the fudge in the fridge for 6 hours or overnight.

    Remove from the fridge and cut into slices.

    FAQ & Expert Tips

    Keep the MC (measuring cup) OFF

    When heating and cooking the fudge, it's important to keep the MC off. This stops the majority of the condensation from dripping back onto the fudge.

    Use full fat sweetened condensed milk

    It's important to use full fat sweetened condensed milk (not light or skim) as it sets firmer.

    Storing

    Store the caramel fudge in an airtight container in the fridge for 2-3 weeks.
    Place sheets of baking paper between each layer.

    Freezing

    It's possible to freeze fudge in an airtight container for up to 2 months, however the texture and flavour may change. For best results, keep the fudge in the fridge and consume within 2-3 weeks.

    Two pieces of caramel fudge.

    Related Recipes

    It's no secret that I LOVE making fudge in my Thermomix!

    Here's some more of our favourite Thermomix fudge recipes:

    • Thermomix Peppermint Crisp Fudge - if you love Peppermint Crisp chocolate bars, then you're going to love this recipe!
    • Thermomix Jersey Caramel Fudge - little bursts of jersey caramels through this creamy fudge are just so additive.
    • Thermomix Chocolate Fudge - a classic fudge that you're going to love.
    • Thermomix White Chocolate Christmas Fudge - perfect for Christmas and the festive season.
    • Thermomix Mint Chocolate Fudge - this double layered fudge is an absolute showstopper.
    • Thermomix Rum & Raisin Fudge - and adults only fudge that is perfect for a late night snack.
    Caramel fudge on a white cake stand.

    Thermomix Christmas Cookbook

    Browse our range of hard copy and eBook cookbooks, including our Christmas cookbooks!

    Click to shop

    The cover of a recipe book - Thermobliss Christmas
    Pieces of fudge in a stack.
    Print Recipe
    4.82 from 107 votes

    The Best Thermomix Caramel Fudge Recipe

    This is the BEST Thermomix Caramel Fudge Recipe you'll ever make!
    Prep Time30 minutes mins
    Chilling Time6 hours hrs
    Total Time6 hours hrs 30 minutes mins
    Course: Slices
    Cuisine: Western
    Servings: 24 serves
    Calories: 177kcal
    Author: Lucy & Lauren

    Equipment

    • Thermomix

    Ingredients

    • 125 g butter
    • 395 g sweetened condensed milk see notes
    • 50 g golden syrup
    • 220 g brown sugar
    • 200 g white chocolate

    Instructions

    • Line a 28cm x 18cm slice tin with baking paper - ensure you leave some baking paper hanging over the edges to help you remove the fudge from the tin once it’s set.
    • Break the white chocolate into pieces and place into your Thermomix bowl. Chop for 5 seconds, Speed 7. Transfer to a bowl and set aside until needed.
    • Place the butter, golden syrup, sweetened condensed milk and brown sugar into your Thermomix bowl and cook for 8 minutes, 100 degrees, Speed 3 (with the measuring cup OFF).
    • Scrape the sides of your Thermomix bowl and cook for a further 20 minutes, Varoma temperature, Speed 3 (with the measuring cup OFF).
    • Add the chopped white chocolate and mix for 10 seconds, Speed 4 or until it’s melted and the mixture is smooth.
    • Working quickly, transfer the fudge to your prepared tin and smooth the surface.
    • Place the fudge into the fridge for 6 hours (preferably overnight) to set before cutting into pieces.

    Notes

    RECIPE NOTES & TIPS
    Ingredients Info:
    • Butter - you can use either salted or unsalted butter for this recipe. Margarine is not suitable.
    • Sweetened Condensed Milk - it's important to use full fat sweetened condensed milk (not skim or light) as this helps to set the fudge firm. I find that Nestle brand also sets firmer than home brand versions.
    • Golden Syrup - a sweet and sticky liquid that helps to give the fudge it's delicious caramel flvaour.
    • Brown Sugar - choose either regular brown sugar or dark brown sugar for this recipe. I generally use regular brown sugar.
    • White Chocolate - choose white baking chocolate or chocolate melts for the best results.
    More Recipe Tips: 
    Keep the measuring cup (MC) OFF - When heating and cooking the fudge, it's important to keep the MC off. This stops the majority of the condensation from dripping back onto the fudge.
    Storing - Store the caramel fudge in an airtight container in the fridge for 2-3 weeks.
    Place sheets of baking paper between each layer.
    Freezing - It's possible to freeze fudge in an airtight container for up to 2 months, however the texture and flavour may change. For best results, keep the fudge in the fridge and consume within 2-3 weeks.

    Nutrition

    Calories: 177kcal | Carbohydrates: 25g | Protein: 2g | Fat: 8g | Saturated Fat: 5g | Polyunsaturated Fat: 1g | Monounsaturated Fat: 2g | Trans Fat: 1g | Cholesterol: 19mg | Sodium: 68mg | Potassium: 98mg | Fiber: 1g | Sugar: 24g | Vitamin A: 177IU | Vitamin C: 1mg | Calcium: 72mg | Iron: 1mg

    Thermomix Caramel Nut Slice

    November 23, 2015

    A cake stand with nut caramel slice.

    Our super easy Thermomix Caramel Nut Slice recipe takes just 10 minutes to prepare! With a delicious buttery crumb base and layers of crunchy nuts, white chocolate chips and sweet caramel... you won't believe how simple it is!

    A cake stand with nut caramel slice.

    Our 'cheat's' Thermomix Caramel Nut Slice is made using a tin of sweetened condensed milk rather than preparing a homemade caramel.

    Simply pour over the sweetened condensed milk and bake until golden and set!

    It's just that simple.

    Just like our Thermomix Honey Almond Slice and Thermomix Snickers Slice, this caramel nut slice is sweet and delicious!

    For more yummy Thermomix slice recipes, browse our entire collection here.

    Why You're Going To Love This Recipe

    There's so much to love about our Thermomix Caramel Nut Slice!

    • Mix & Match - use any combination of nuts you like!
    • Cheat's Recipe - there's no need to prepare homemade caramel... simply pour over a tin of sweetened condensed milk and bake.
    • Freezer Friendly - Store any leftovers in the freezer for up to 3 months.
    • Versatile - use white chocolate chips or switch things up and use milk or dark chocolate chips instead. Or even replace them with sultanas, craisins or chopped dried apricots.
    A cake stand topped with pieces of a nut and caramel slice.

    What You Need

    Out Thermomix Caramel Nut Slice is made using pantry and fridge staples!

    Please scroll to the recipe card at the bottom of the post for ingredient quantities and the full detailed method.

    The ingredients for a nut and caramel slice.

    For The Base

    • Flour - we use a combination of plain flour and self raising flour
    • Butter - use salted or unsalted butter
    • Desiccated Coconut - use fine dried desiccated coconut
    • Caster Sugar - also known as superfine sugar

    For The Topping

    • Chocolate Chips - I generally use white chocolate chips, but milk or dark chocolate chips can also be used
    • Nuts - mix and match with your favourite nuts (pecans, almonds, peanuts, pistachios and walnuts are all great options)
    • Sweetened Condensed Milk - use full fat (not skim) sweetened condensed milk

    Step By Step Instructions

    It takes just a few minutes to prepare our Thermomix Caramel Nut Slice!

    Please scroll to the recipe card at the bottom of the post for ingredient quantities and the full detailed method.

    Step 1 - Prepare The Base

    Melt the butter in the Thermomix.

    Melted butter in a Thermomix.

    Add the plain and self raising flours, desiccated coconut and caster sugar and mix to combine.

    Slice base ingredients in a Thermomix.

    Press into a greased and lined 18cm X 28cm baking tin and bake for 10 minutes or until lightly golden.

    A baked slice base.

    Step 2 - Add The Toppings

    Sprinkle over the roughly chopped nuts and the white chocolate chips.

    Nuts and white chocolate chips in a slice tin.

    Pour the sweetened condensed milk evenly over the top of the nuts and chocolate chips.

    Sweetened condensed milk poured over nuts in a baking tin.

    Bake for 20 minutes or until the caramel is lightly golden and set.

    Expert Tips

    You're going to fall in love with our Thermomix Caramel Nut Slice recipe!

    • Mix and match with any of your favourite nuts - pecans, walnuts, almonds, peanuts and pistachios are all great options!
    • Full fat sweetened condensed milk sets firmer and has a better texture than skim sweetened condensed milk
    • Don't over bake the slice - cook just until the caramel has set and the top is a light golden.
    • Grease and line the slice tin with baking paper for easy removal.
    • Store in an airtight container at room temperature for up to 1 week.
    • Freeze for up to 3 months. Allow to defrost at room temperature before consuming.
    An overhead shot of caramel slice with nuts.

    FAQs

    Our Thermomix Caramel Nut Slice is so simple to make!

    Can I use skim sweetened condensed milk?

    You can use skim sweetened condensed milk, however, I find that full fat sweetened condensed milk sets firmer and has a creamier texture.

    Can I use an older version of the Thermomix to prepare this slice?

    Absolutely! Our recipe is suitable for use in all of the Thermomix models.

    Can I make this caramel nut slice without a Thermomix?

    Yes you can! You can use a food processor to mix the dough together instead.

    A hand holding a piece of nut slice.

    Related Recipes

    Craving caramel recipes? We've got you covered!

    • Thermomix Caramel Custard
    • Pieces of fudge in a stack.
      The Best Thermomix Caramel Fudge Recipe
    • An overhead shot of a Cadbury Caramello slice.
      Thermomix Caramello Slice
    • A stack of three Caramel Cookies sitting on a decorative plate with gold edging.
      Thermomix Caramel Cookies

    OUR RANGE OF THERMOMIX COOKBOOKS

    Browse our collection of hardcopy Thermomix cookbooks here.

    There's everything from family dinners to kids snacks, desserts to cookies, slices to Christmas recipes, cocktails to chocolate recipes and more!

    ThermoBliss complete set
    A cake stand with nut caramel slice.
    Print Recipe
    4.91 from 11 votes

    Thermomix Caramel Nut Slice

    A super easy Thermomix Caramel Nut Slice with a 'cheat's' caramel layer!
    Prep Time10 minutes mins
    Cook Time35 minutes mins
    Total Time45 minutes mins
    Course: Slices
    Cuisine: Western
    Servings: 16 serves
    Calories: 307kcal
    Author: Lucy & Lauren
    Cost: $5

    Equipment

    • Thermomix
    • Oven

    Ingredients

    • 100 g butter
    • 75 g plain flour
    • 75 g self raising flour
    • 40 g desiccated coconut
    • 100 g caster sugar
    • 100 g white chocolate chips
    • 200 g nuts pecans, peanuts, almonds etc
    • 395 g sweetened condensed milk

    Instructions

    • Preheat oven to 180 degrees (fan forced). Grease and line an 18X28cm rectangular slice tin with baking paper.
    • Place the butter into the Thermomix bowl and melt for 2 minutes, 80 degrees, Speed 2.
    • Add the plain flour, self raising flour, coconut and caster sugar and mix for 15 seconds, Speed 4.
    • Scrape down the sides of the bowl and mix for a further 20 seconds, Speed 4. Note: the mixture will be very crumbly.
    • Press the mixture into the prepared tin and press down firmly.
    • Bake for 10 minutes and then remove from the oven.
    • Sprinkle over the white chocolate chips and the nuts.
    • Pour the can of sweetened condensed milk over the top of the nuts (ensuring all parts are covered).
    • Bake for a further 20-25 minutes or until golden.
    • Set aside to cool before placing into the fridge for 3-4 hours (preferably overnight). Cut into slices to serve.

    Notes

    RECIPE NOTES & TIPS
    • Mix and match with any of your favourite nuts - pecans, walnuts, almonds, peanuts and pistachios are all great options!
    • Full fat sweetened condensed milk sets firmer and has a better texture than skim sweetened condensed milk
    • Don't over bake the slice - cook just until the caramel has set and the top is a light golden.
    • Grease and line the slice tin with baking paper for easy removal.
    • Store in an airtight container at room temperature for up to 1 week.
    • Freeze for up to 3 months. Allow to defrost at room temperature before consuming.

    Nutrition

    Calories: 307kcal | Carbohydrates: 34g | Protein: 6g | Fat: 17g | Saturated Fat: 8g | Polyunsaturated Fat: 2g | Monounsaturated Fat: 6g | Trans Fat: 0.2g | Cholesterol: 23mg | Sodium: 80mg | Potassium: 209mg | Fiber: 2g | Sugar: 24g | Vitamin A: 226IU | Vitamin C: 1mg | Calcium: 95mg | Iron: 1mg
    « Previous Page
    Next Page »

    Primary Sidebar

    Hi, We're Lauren and Lucy! We're two mums who love to cook and want to show you how easy it is to make delicious family meals, baking treats and lunch box snacks in your Thermomix..

    More about us →

    Thermomix Christmas Recipes

    • Baked gingerbread biscuits on a wire rack.
      The Best Thermomix Gingerbread Recipe
    • Shards of chocolate reindeer inspired bark.
      Thermomix Reindeer Bark
    • Side view of Brandy Custard in a black bowl sitting on a wooden board. In the background is a bottle of brandy.
      Thermomix Brandy Custard
    • Round shortbread biscuits on a white cake stand.
      Thermomix Shortbread

    Thermomix Midweek Meals

    • Cooked Pasta bake with a couple of scoops removed, a gold spoon is sticking out to the side.
      Thermomix Beef and Vegetable Pasta Bake
    • A slice of egg and bacon quiche.
      Thermomix Egg & Bacon Quiche
    • Overhead view of a large spoon scooping up a Chicken Parma Ball.
      Thermomix Chicken Parma Balls
    • Overhead view of Bowl of Thermomix Zucchini Pea and Bacon risotto sitting on a black hand towel with a gold fork next to it. in the background is a zucchini and a white bowl with cheese in it.
      Thermomix Zucchini, Pea and Bacon Risotto

    Thermomix Lunch Box Fillers

    • Egg and bacon pastries.
      Thermomix Egg & Bacon Quiches
    • Glazed cinnamon and apple scrolls.
      Thermomix Apple & Cinnamon Scrolls
    • A bowl of chia, currant and weet-bix balls.
      Thermomix Weet-Bix Balls
    • Front side view of Two slices of Orange butter cake on a white plate. in the background is the rest of the cake on a white serving platter.
      Thermomix Orange Butter Cake Recipe

    Popular Thermomix Cookbooks

    • Complete set o 16 ThermoBliss recipe books.
      ThermoBliss Complete Cookbook Set | 16 Books
    • Front cover images of ThermoBliss 4 book snack and lunch box set.
      ThermoBliss Lunch Box and Kids Snacks Cookbook Bundle | 4 Books
    • A bundle of Thermomix Cocktails and Entertaining Cookbooks.
      Thermomix Entertaining and Cocktails 1, 2 & 3 Cookbook Bundle
    • Image of ThermoBliss Month of Thermomix Dinners 3 Book Bundle Set.
      A Month of Thermomix Dinners 1, 2 & 3 Bundle

    Footer

    ↑ back to top

    About

    • Privacy Policy
    • About Us
    • Terms Of Use

    Newsletter

    • Sign Up for emails and updates

    Contact

    • hello@thermobliss.com

    Please note the content including images and recipes contained within the ThermoBliss website and recipe books are protected by copyright 2024. Adding and/or sharing of content from the ThermoBliss website or recipe books to third party websites or platforms is prohibited.

    Copyright © 2024 ThermoBliss

    Copyright 2024 Brunch Pro on the Brunch Pro Theme

    Manage Cookie Consent
    To provide the best experiences, we use technologies like cookies to store and/or access device information. Consenting to these technologies will allow us to process data such as browsing behavior or unique IDs on this site. Not consenting or withdrawing consent, may adversely affect certain features and functions.
    Functional Always active
    The technical storage or access is strictly necessary for the legitimate purpose of enabling the use of a specific service explicitly requested by the subscriber or user, or for the sole purpose of carrying out the transmission of a communication over an electronic communications network.
    Preferences
    The technical storage or access is necessary for the legitimate purpose of storing preferences that are not requested by the subscriber or user.
    Statistics
    The technical storage or access that is used exclusively for statistical purposes. The technical storage or access that is used exclusively for anonymous statistical purposes. Without a subpoena, voluntary compliance on the part of your Internet Service Provider, or additional records from a third party, information stored or retrieved for this purpose alone cannot usually be used to identify you.
    Marketing
    The technical storage or access is required to create user profiles to send advertising, or to track the user on a website or across several websites for similar marketing purposes.
    • Manage options
    • Manage services
    • Manage {vendor_count} vendors
    • Read more about these purposes
    View preferences
    • {title}
    • {title}
    • {title}

    Rate This Recipe

    Your vote:


    A rating is required
    A name is required
    An email is required