Our classic Thermomix Hummus recipe takes just 2 minutes to prepare and is made from 6 pantry staple ingredients.
Once you've made homemade hummus in your Thermomix, you'll never buy store-bought hummus again!
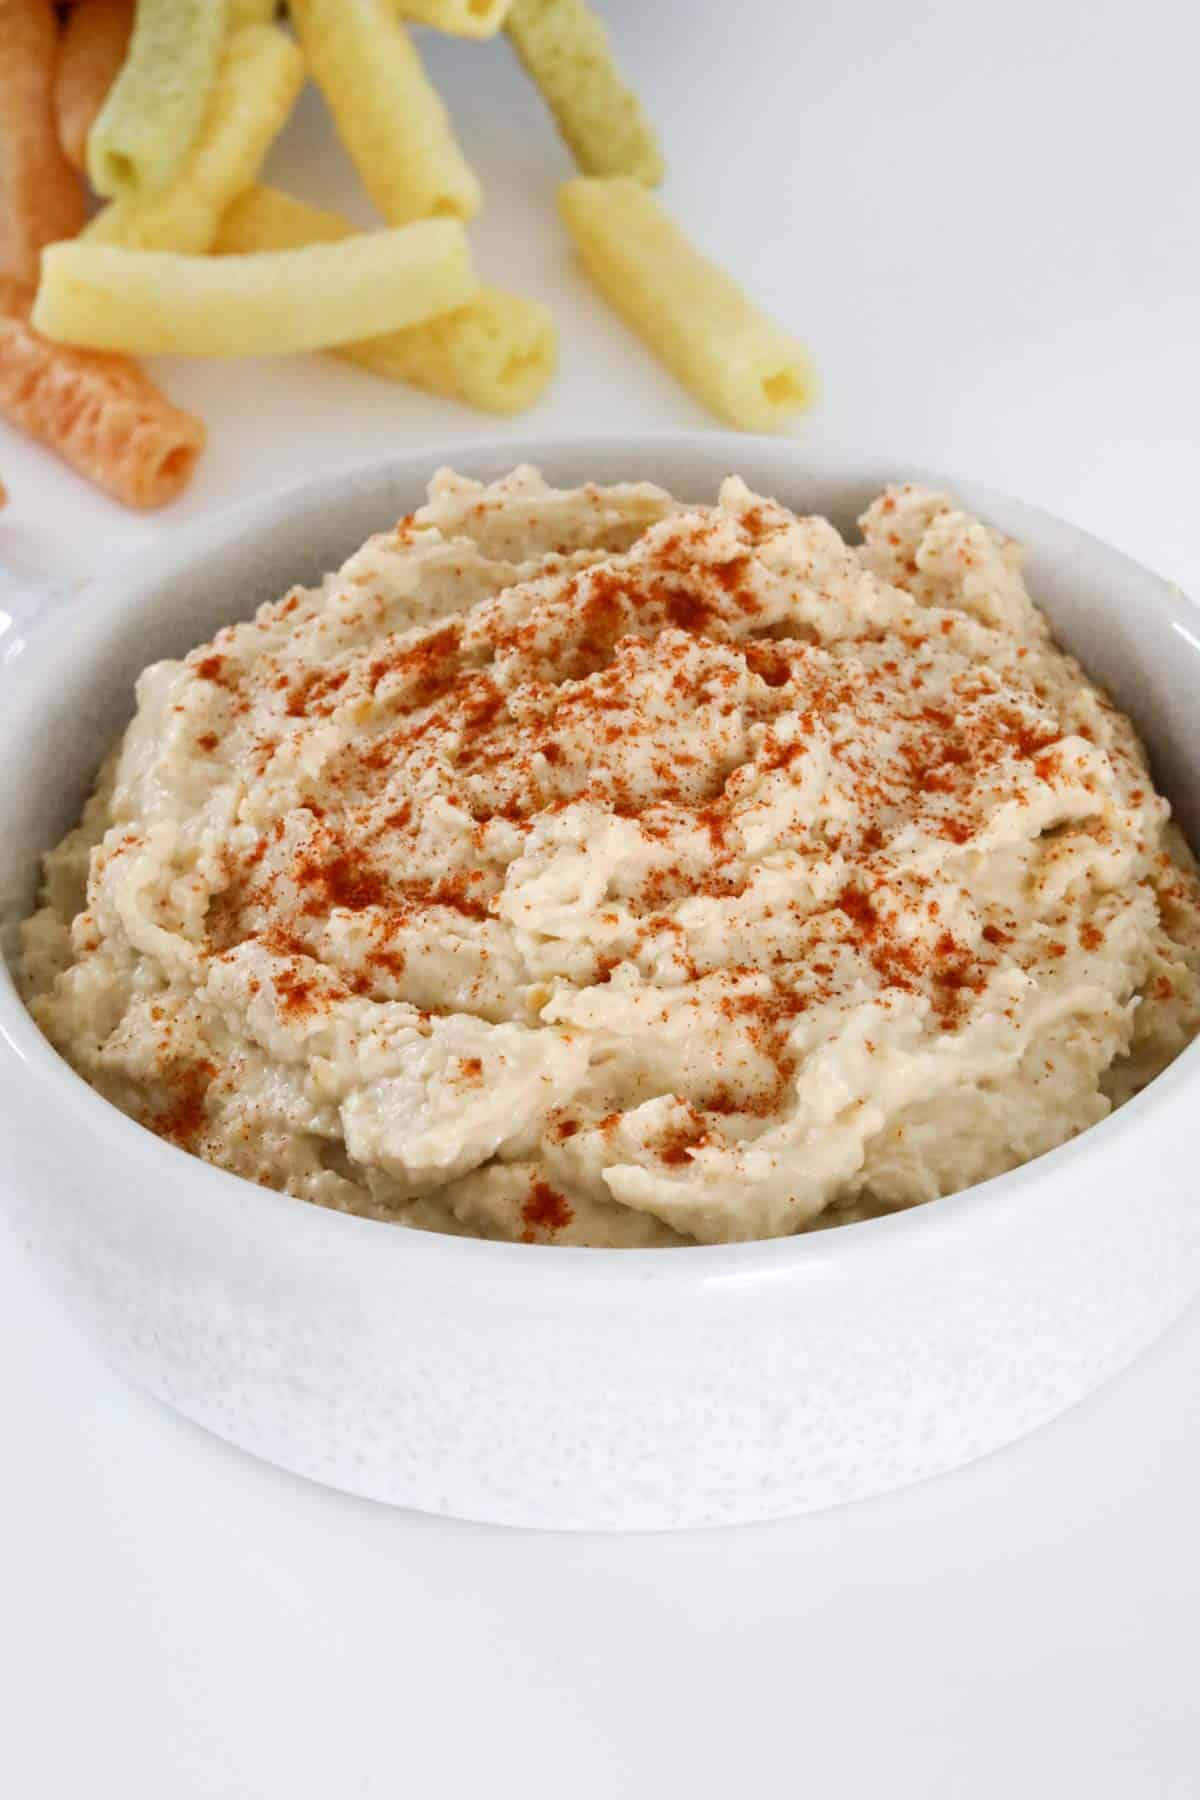
One of my favourite things about the Thermomix is how easy it is to make healthy and homemade dips!
From our Thermomix Baba Ghanoush to Creamy Sweet Chilli Dip, Tzatziki to Roasted Pumpkin Dip and more!
These tasty dips are perfect for entertaining!
Why You're Going To Love This Thermomix Dip
Once you've made your own hummus, you'll never buy the store-bought versions again.
Here's why it's so popular:
- Quick & Easy - It takes just 2 minutes to prepare hummus using your Thermomix!
- Budget-Friendly - Made using basic (cheap) ingredients, you'll love how cost effective it is to make homemade hummus.
- Makes A Big Batch - Forget about the tiny little tubs of hummus at the supermarket, this makes a big 400g batch!
- Versatile - There are SO many uses for Thermomix hummus - from adding it to your favourite cheese platter to serving with salad or roast vegetables, using in place of butter... and so many more! For more ideas, scroll down to browse my list of serving suggestions.
What You Need
Thermomix Hummus is made using just a few basic ingredients!
Note: Please scroll to the recipe card at the bottom of the post for ingredient quantities and the full detailed method.
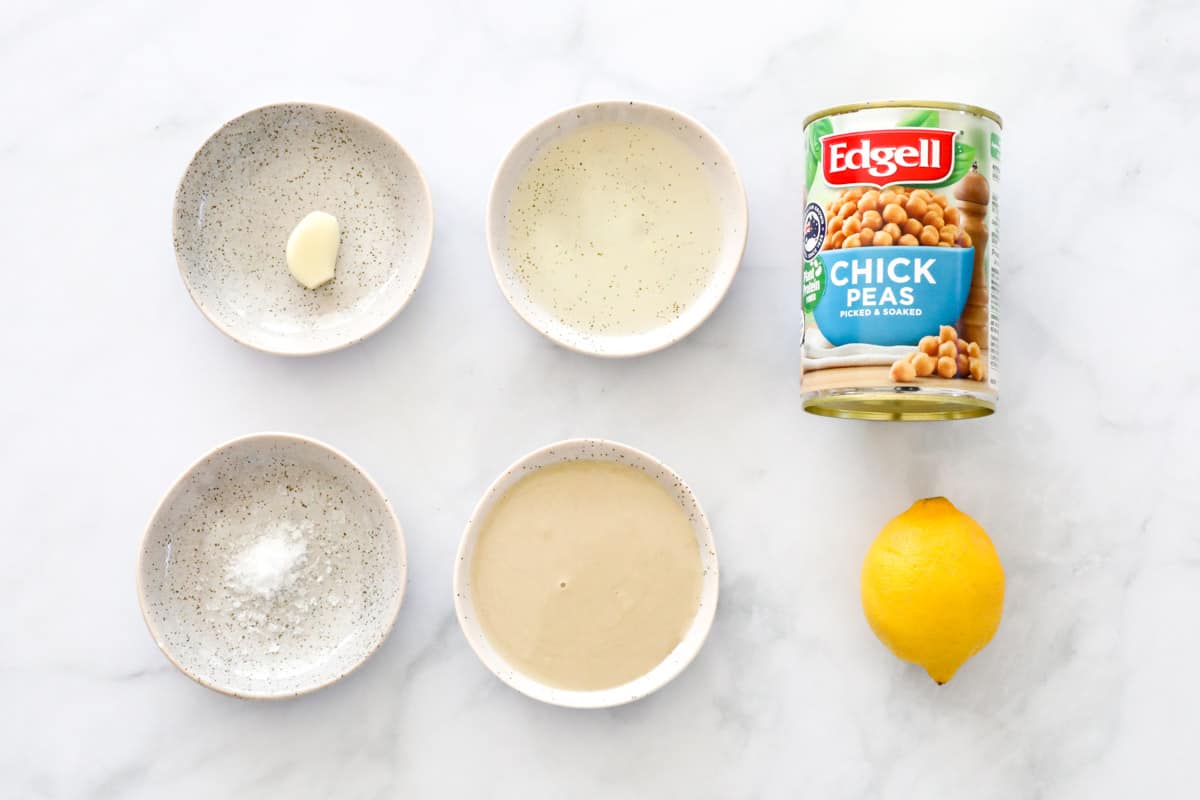
- Garlic - use 1 garlic clove (or 1 teaspoon minced garlic)
- Chickpeas - drain the can of chickpeas - but reserve the liquid for a smoother hummus (see recipe)
- Tahini - this can be bought from the health food aisle of the supermarket
- Lemon Juice - use the juice of 1 lemon (approx 45g)
- Olive Oil - use a mild olive oil
- Sea Salt - add a pinch to season
Step By Step Instructions
It takes just 2 minutes to make Thermomix hummus!
Note: Please scroll to the recipe card at the bottom of the post for ingredient quantities and the full detailed method.
Step 1 - Chop The Garlic
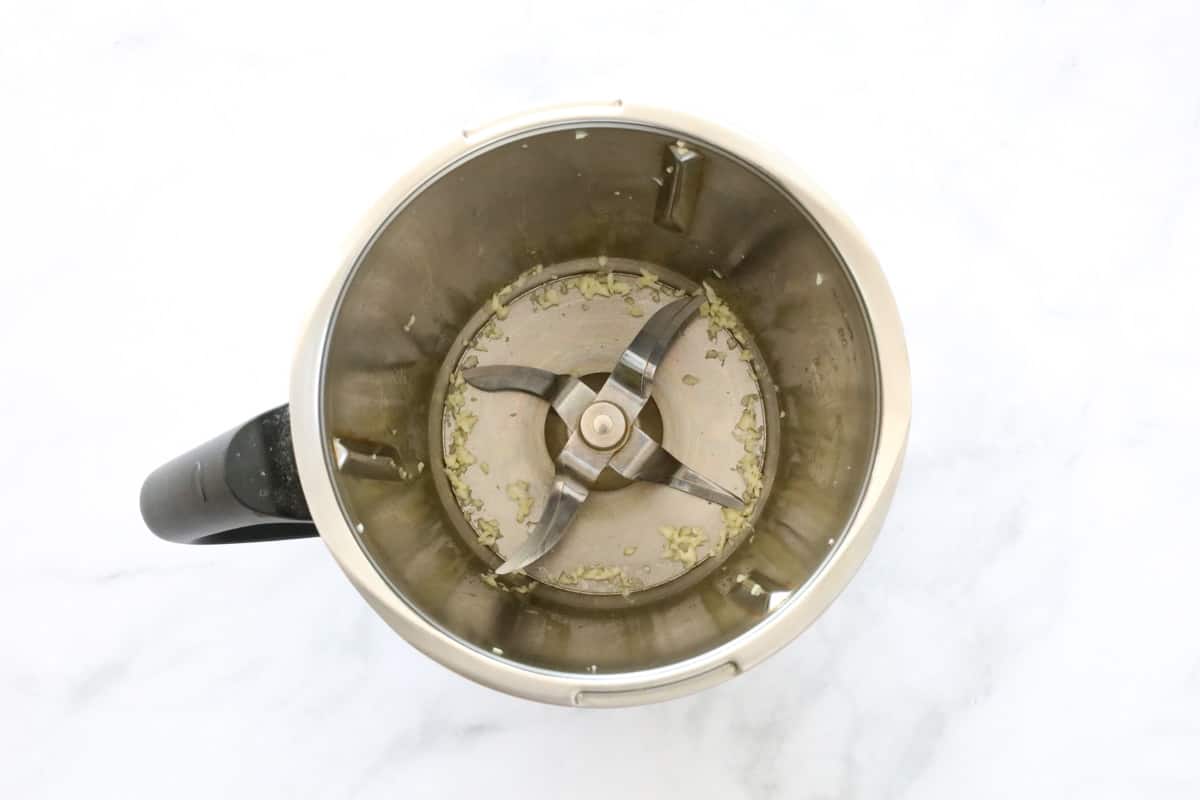
Place the garlic clove into the Thermomix bowl and mix to finely chop.
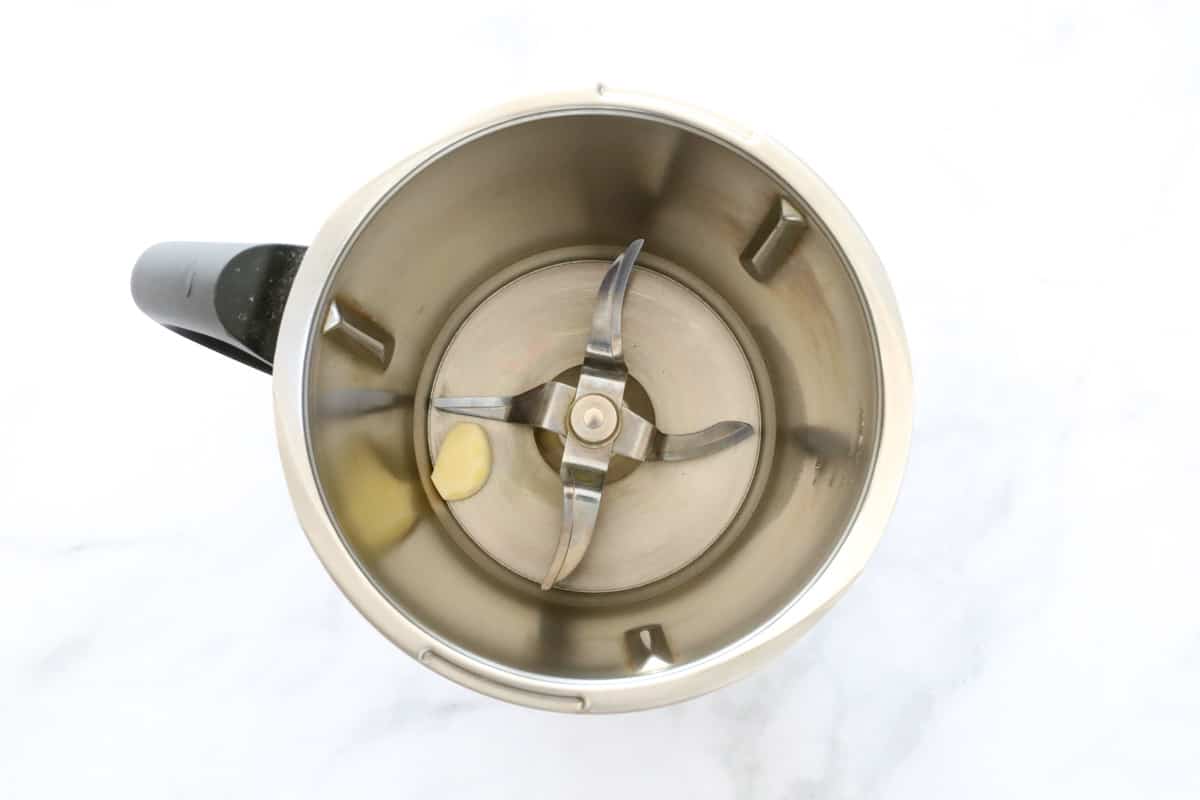
Scrape down the sides of the bowl.
Step 2 - Mix
Add the remaining ingredients and mix.
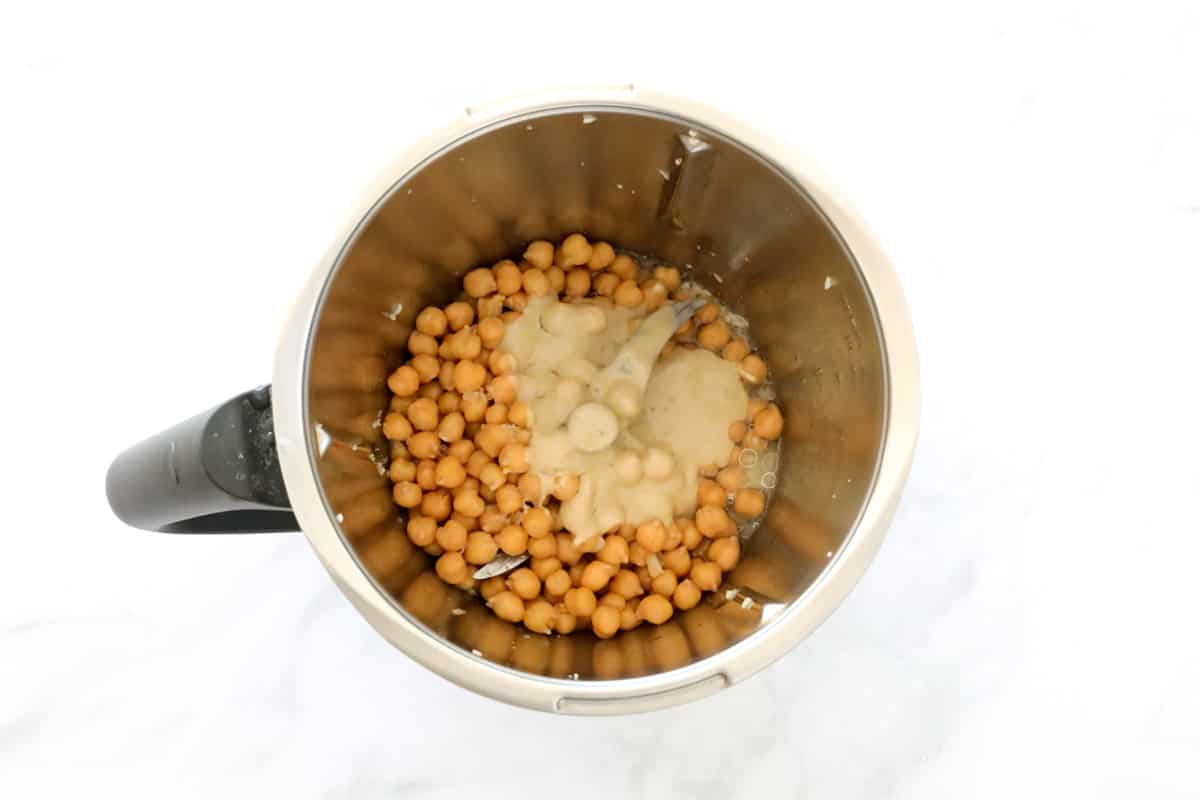
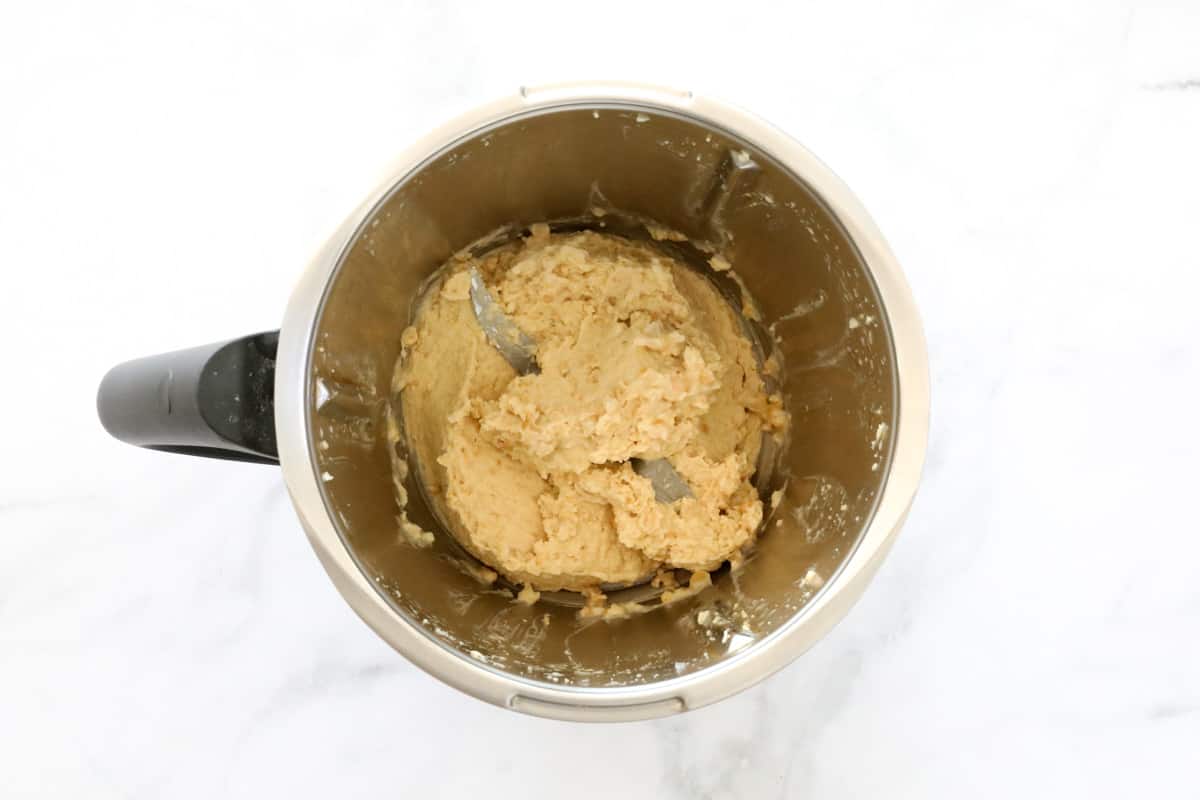
Scrape down the sides of the bowl and mix again.
Step 3 - Add A Small Amount Of Reserved Liquid (optional)
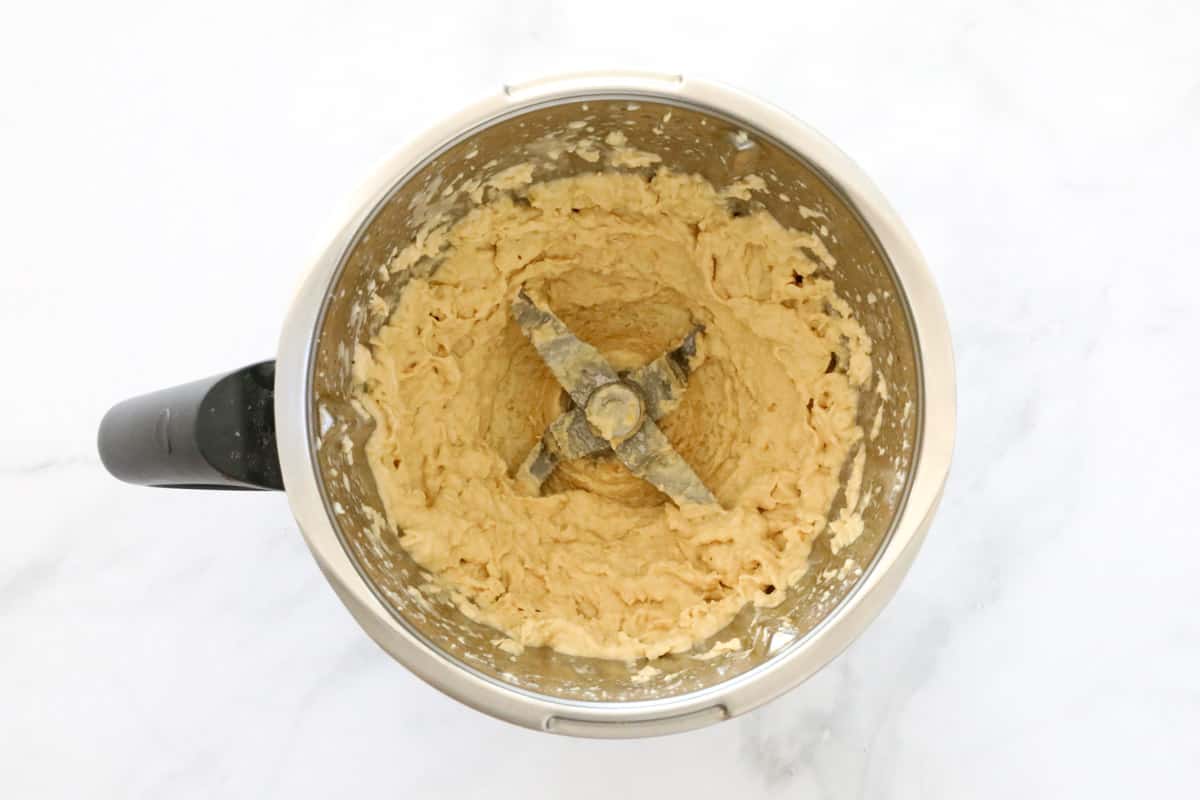
If you would like a smoother hummus, simply add 1-2 tablespoons of the reserved chickpea liquid and mix again.
Serving Suggestions
There are so many different ways to serve hummus!
Here's a few of my favourites:
- as a dip with vegetable sticks
- on sandwiches in place of butter
- on toasted Turkish pides
- with falafels
- on top of tabbouleh or a grain salad
- with a cheese platter
- with pita chips
- with roast vegetables
- on top of a salad
- mixed with eggs or chicken for a tasty sandwich filler
- with lamb kebabs
- on toast with avocado (my fave!!)
- on top of a pizza base
Expert Tips
- For a smoother hummus, add 1-2 tablespoons of the reserved chickpea liquid and mix through.
- Scrape down the sides of the bowl between mixing.
- Store in an airtight container in the fridge for 3-4 days.
- While hummus can technically be frozen for up to 4 months, it does lose it's flavour and texture the longer it is frozen.
- It is best consumed fresh within 4 days.
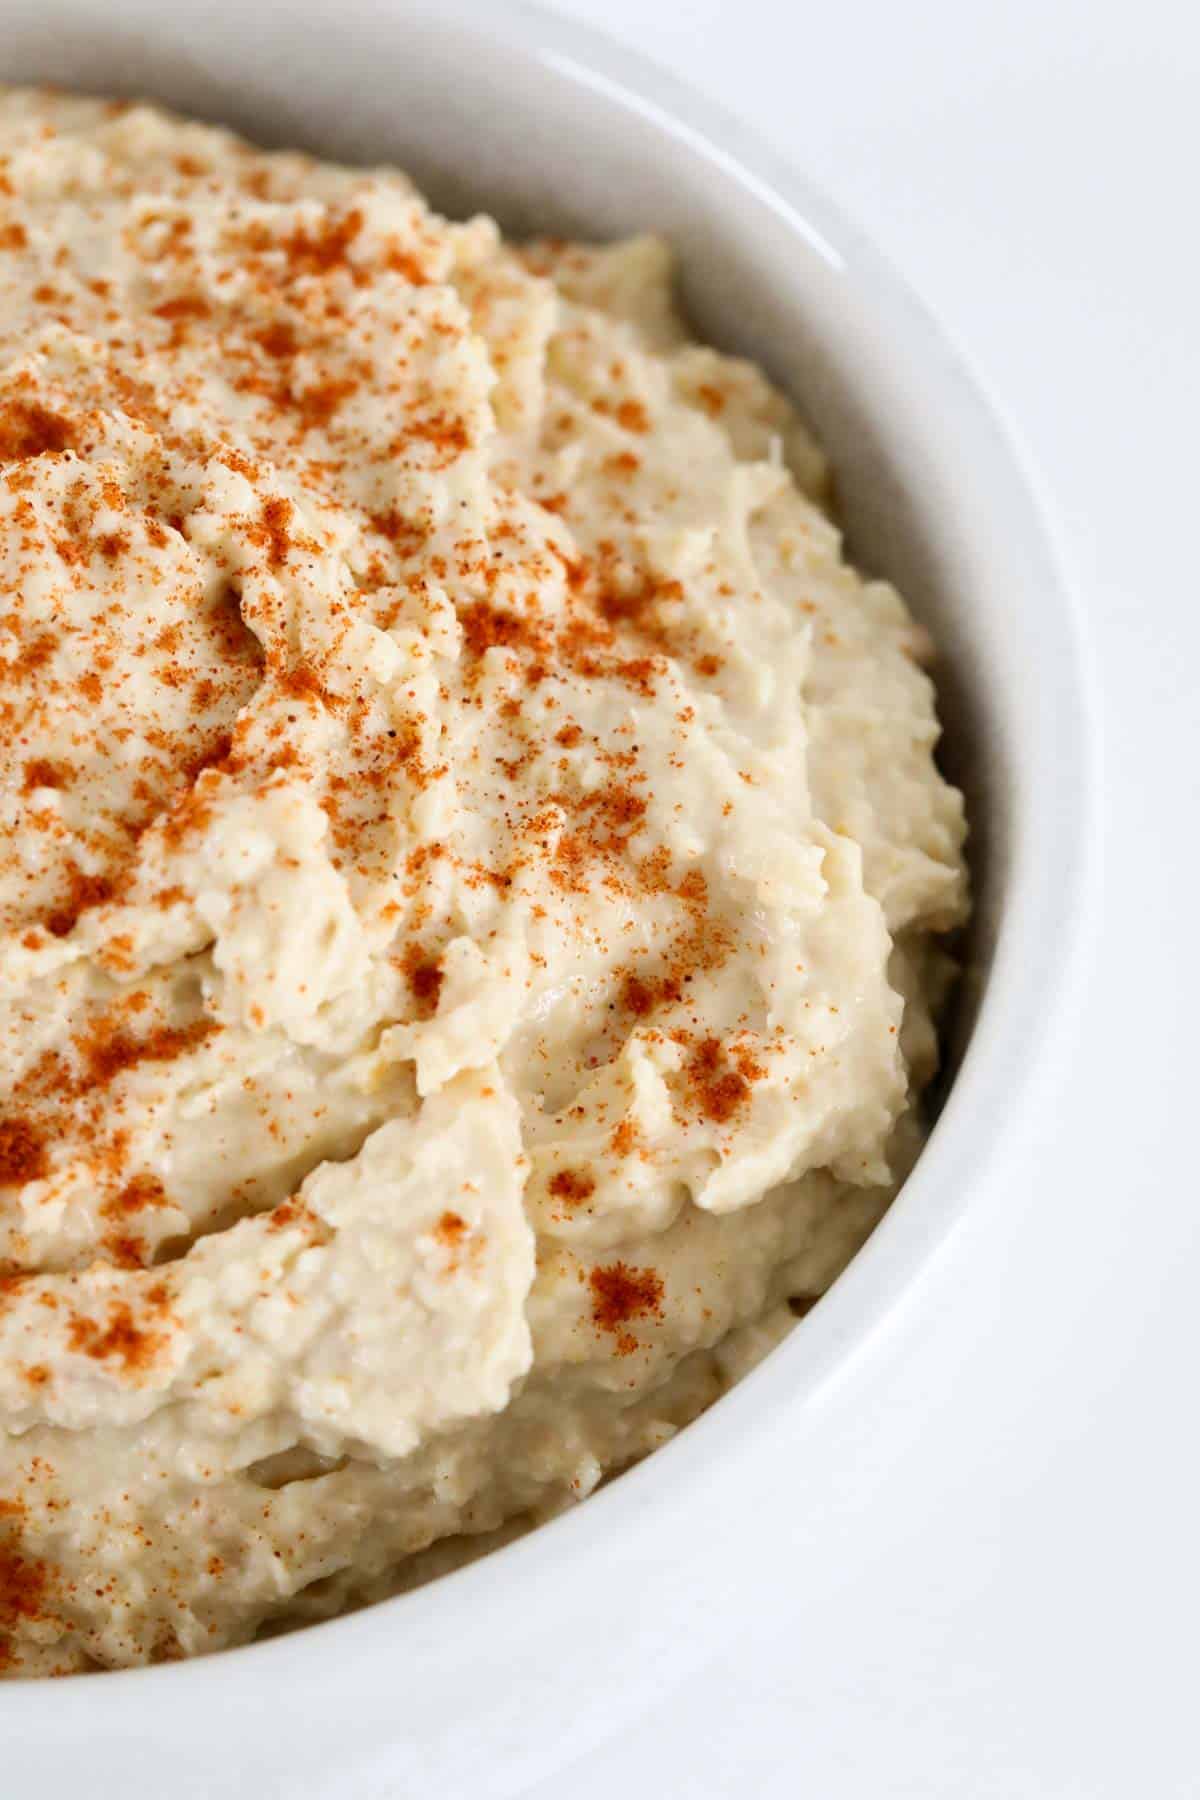
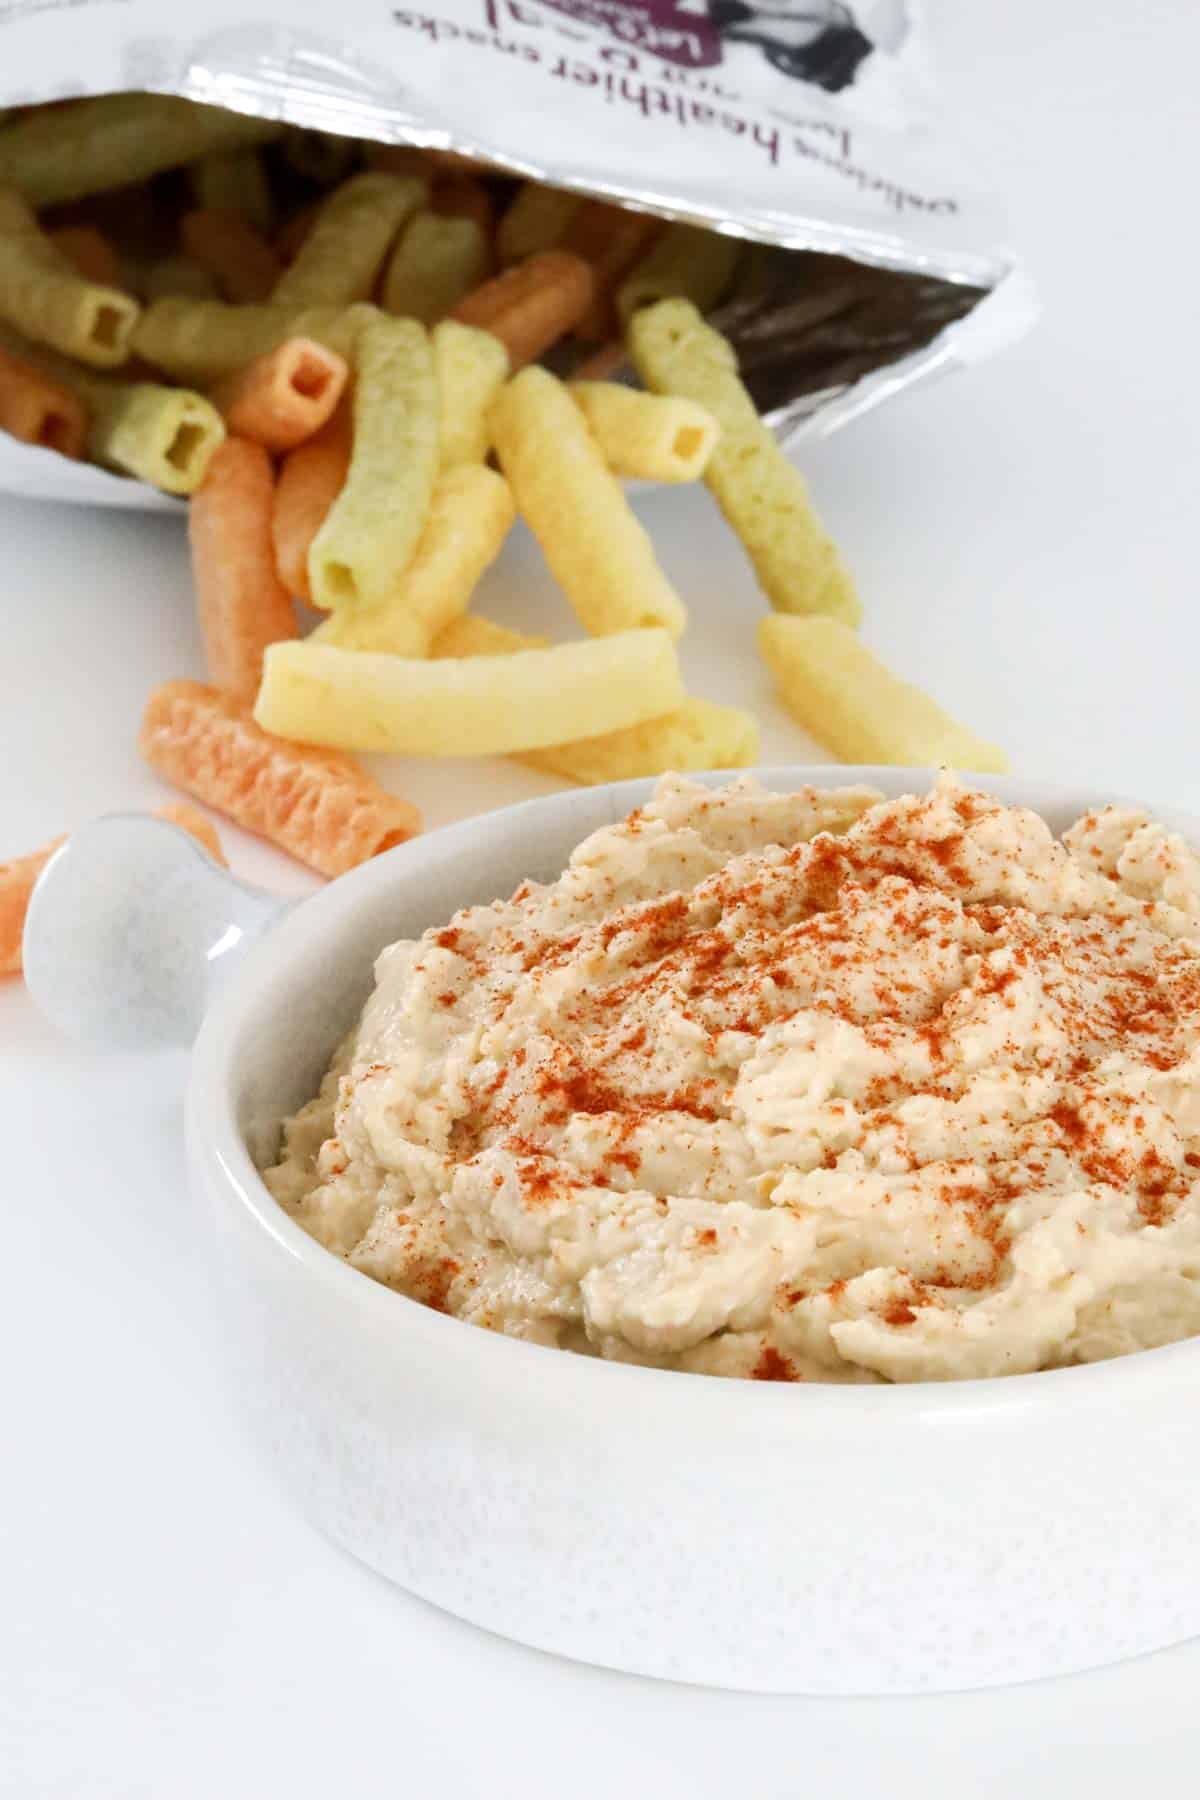
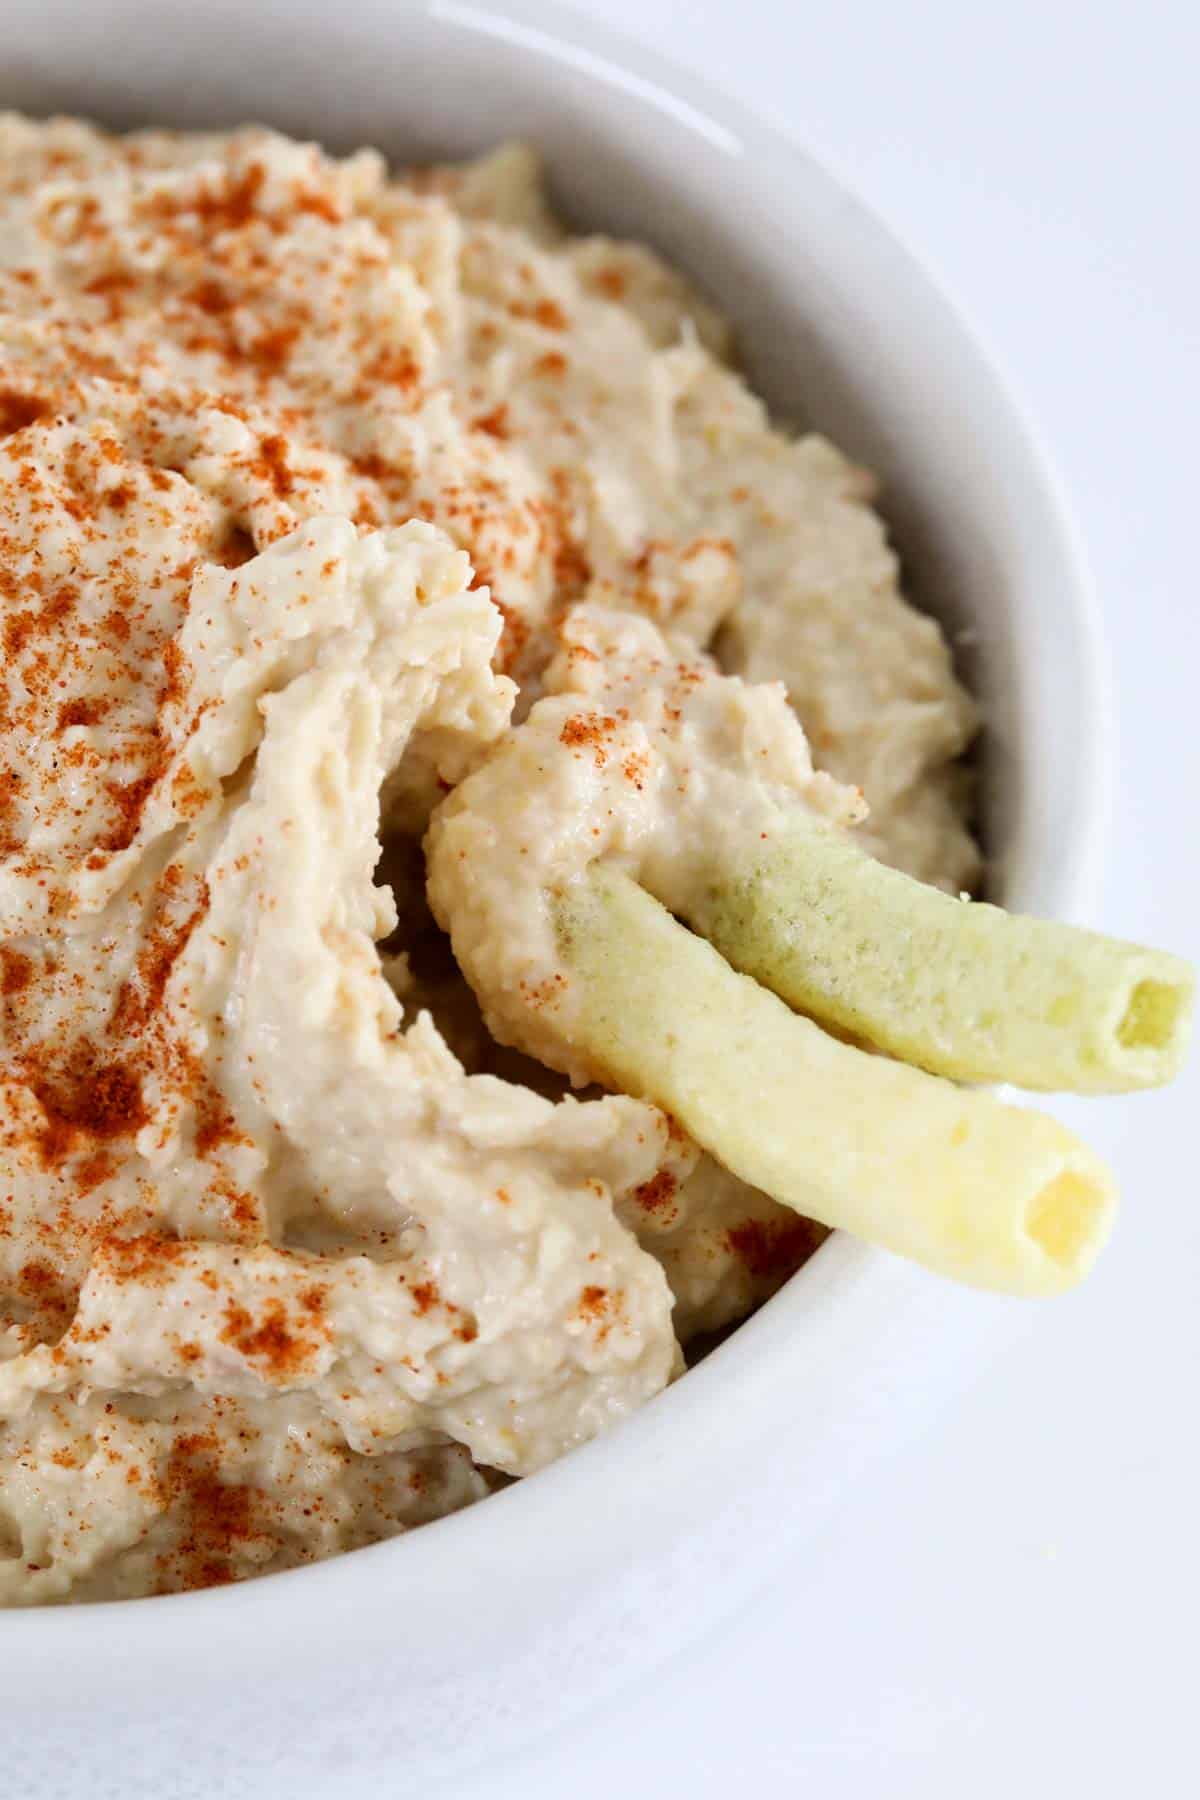
- Serve with a drizzle of olive oil and a sprinkle of paprika (optional)
FAQ
Absolutely! Hummus is a healthy and nutritious dip that is packed with vitamins and minerals.
There are 67 calories per serve.
Yes you can! You can use a food processor instead.
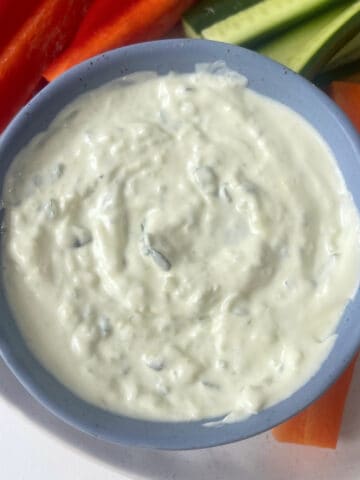
More Thermomix Dip Recipes
Making dips in your Thermomix, couldn't possibly be any easier.
Here's a few of our most popular Thermomix dip recipes:
Thermomix Recipe Cookbooks
Our range of printed Thermomix cookbooks include everything from family dinners to lunch box snacks, slices to cocktails, Christmas recipes to chocolate... and so much more!
All of our printed cookbooks also come with a free eBook version emailed immediately upon purchase.
Shop our range of Thermomix cookbooks here

Thermomix Hummus
Equipment
- Thermomix
Ingredients
- 1 clove garlic or 1 teaspoon minced garlic
- 400 g can chickpeas drained (keep the liquid aside)
- 1 ½ tbs tahini
- juice of 1 lemon (approx 30g)
- 20 g olive oil
- ½ teaspoon sea salt
Instructions
- Place the garlic clove into the Thermomix bowl and chop for 5 seconds, Speed 6. Scrape down the bowl.
- Add all of the remaining ingredients to the Thermomix bowl. Mix for 20 seconds on Speed 4. Scrape down the sides.
- Mix for a further 20 seconds on Speed 4. Check the consistency - If you would like a smoother hummus, add a 1-2 tbs of the reserved chickpea liquid and mix for a further 20 seconds on Speed 4.
- Serve drizzled with olive oil and sprinkled with paprika (optional).
Notes
- For a smoother hummus, add 1-2 tablespoons of the reserved chickpea liquid and mix through.
- Scrape down the sides of the bowl between mixing.
- Store in an airtight container in the fridge for 3-4 days.
- While hummus can technically be frozen for up to 4 months, it does lose it's flavour and texture the longer it is frozen.
- It is best consumed fresh within 4 days.
- Serve with a drizzle of olive oil and a sprinkle of paprika (optional)





Claire says
Can this be frozen ?
Thanks in advance
Lucy Mathieson says
Hi Claire, I personally wouldn't freeze hummus. 🙂
Trish says
I freeze hummus in smallish containers all the time, and just grab one when I have run out. Have been doing this for years as I usually make or buy it in bulk, and have never had a problem. It does not affect the taste.
Lucy says
That's fantastic - thanks Trish!
james says
what do you normally use the drained liqliquidud for ?
Lucy Mathieson says
Hi James, you can use a tablespoon or 2 when mixing the dip if it's a little bit dry and too thick. Otherwise you discard it. 🙂
Abi says
Google aquafaba..there's loads of ways you can use it up! 🙂
Anne Marie Barrow says
With morrocan meatballs
Oria says
How long does the hummus last once made?? And how do I store it?
Thanks
Lauren Matheson says
Hi Oria, I store our homemade hummus in an airtight container in the fridge and don't normally keep it any longer than 5 days after making it 🙂