• Skip to primary navigation
  • Skip to main content
  • Skip to primary sidebar
  • Thermomix Recipes
  • Christmas
  • Sweet
    • Slices, Brownies & Bars
    • Cookies & Biscuits
    • Cakes & Cupcakes
    • Chocolate
    • Desserts
    • Breakfast & Brunch
    • Healthy Treats
    • Drinks & Smoothies
    • Sweet Breads & Muffins
    • Easter
    • Celebrations
  • Savoury
    • Savoury Thermomix Lunchbox Recipes
    • Main Dishes
    • Sides & Salads
    • Snacks
    • Soups
    • Savoury Breads & Muffins
  • Lunch Box
    • Kids/Toddlers
  • Family Meals
  • Store
    • Shop All
    • Categories
      • Thermomix Recipe Books
      • Thermomix Recipe eBooks
  • Contact

Thermobliss

menu icon
go to homepage
subscribe
search icon
Homepage link
  • Thermomix Recipes
  • Sweet Recipes
  • Savoury Recipes
  • Family Recipes
  • Cookbook Shop
  • Cookbook Index
    • Facebook
    • Instagram
    • Pinterest
  • ×
    Home » All Posts

    All Posts

    Thermomix Rice Bubble Bars

    February 12, 2015

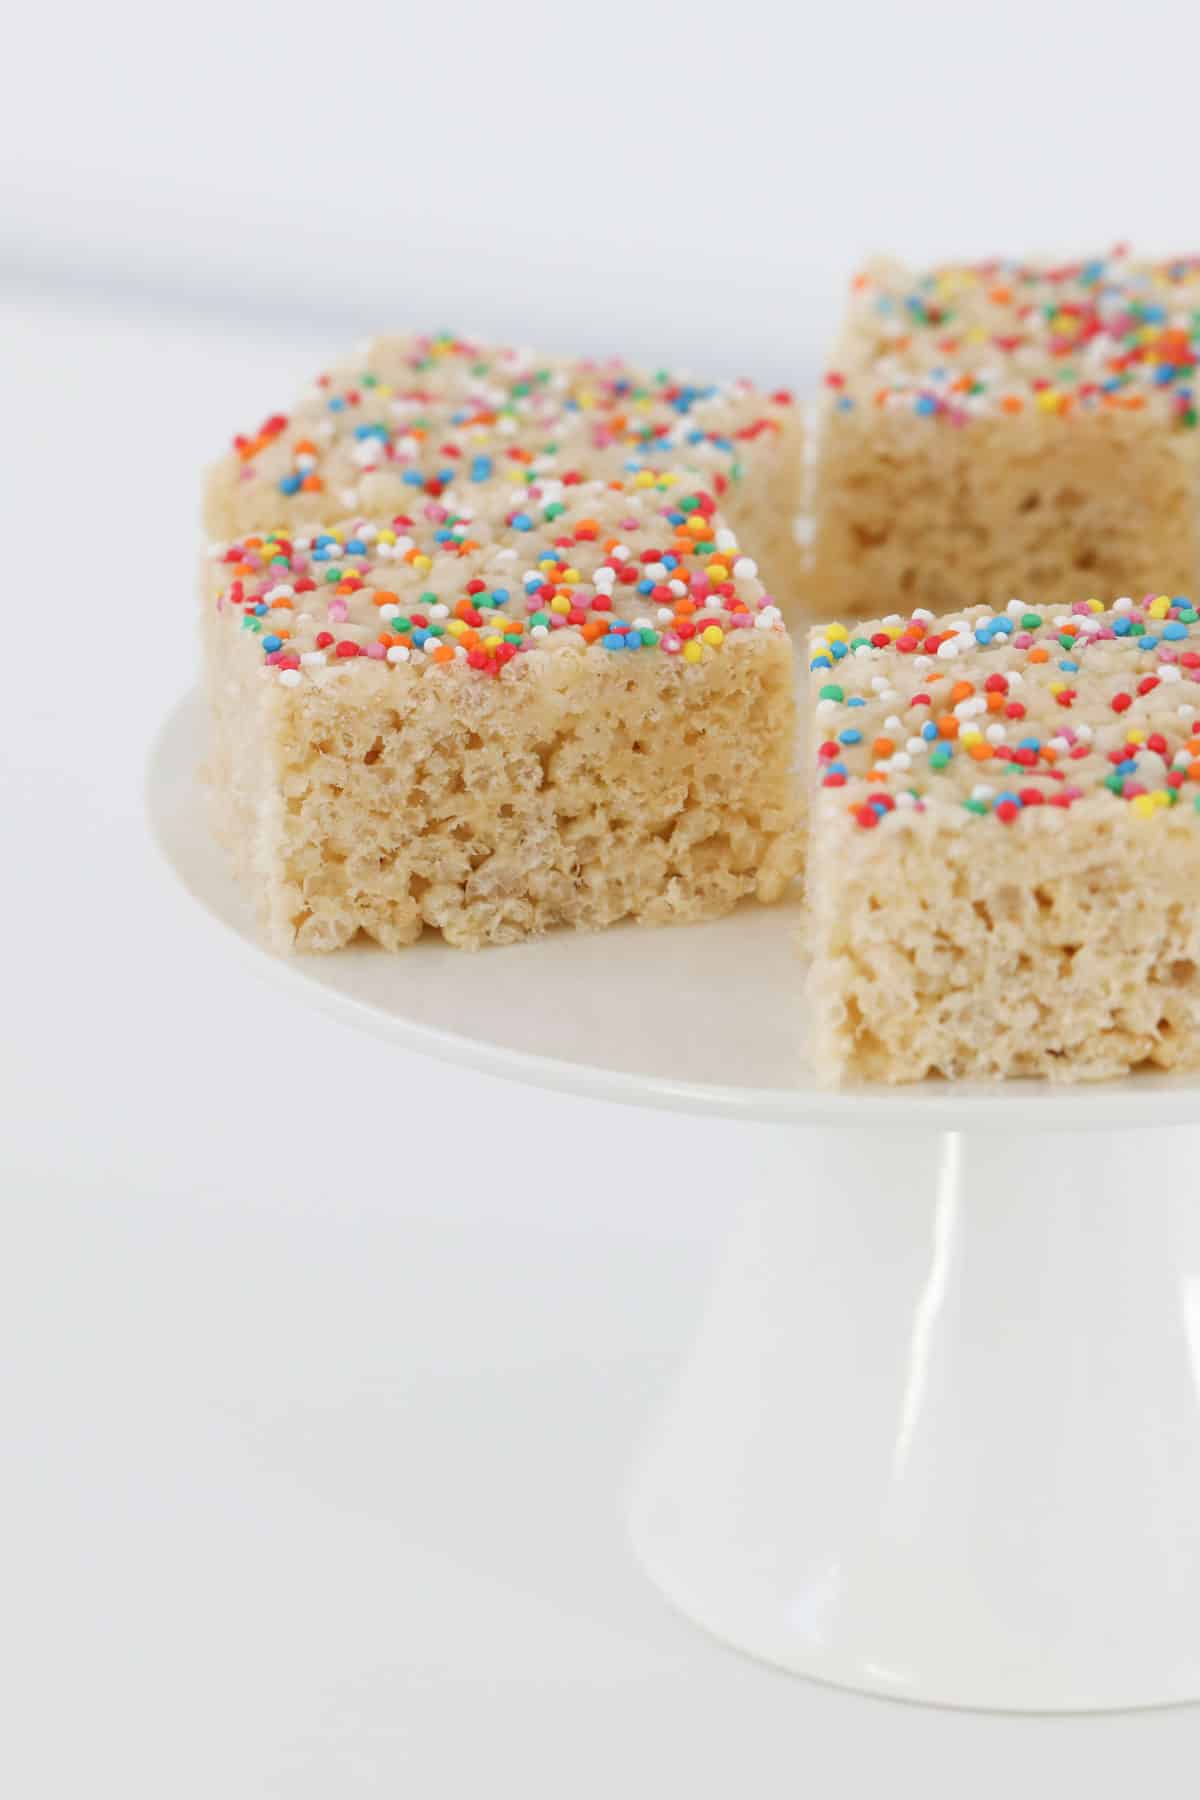
    Sprinkles on top of rice krispie slice.

    Our 3 ingredient Thermomix Rice Bubble Bars taste just like store-bought LCM bars! Made from rice bubbles, marshmallows and butter and prepped in just 15 minutes... don't forget to add sprinkles for a fun (and kid-approved touch!).
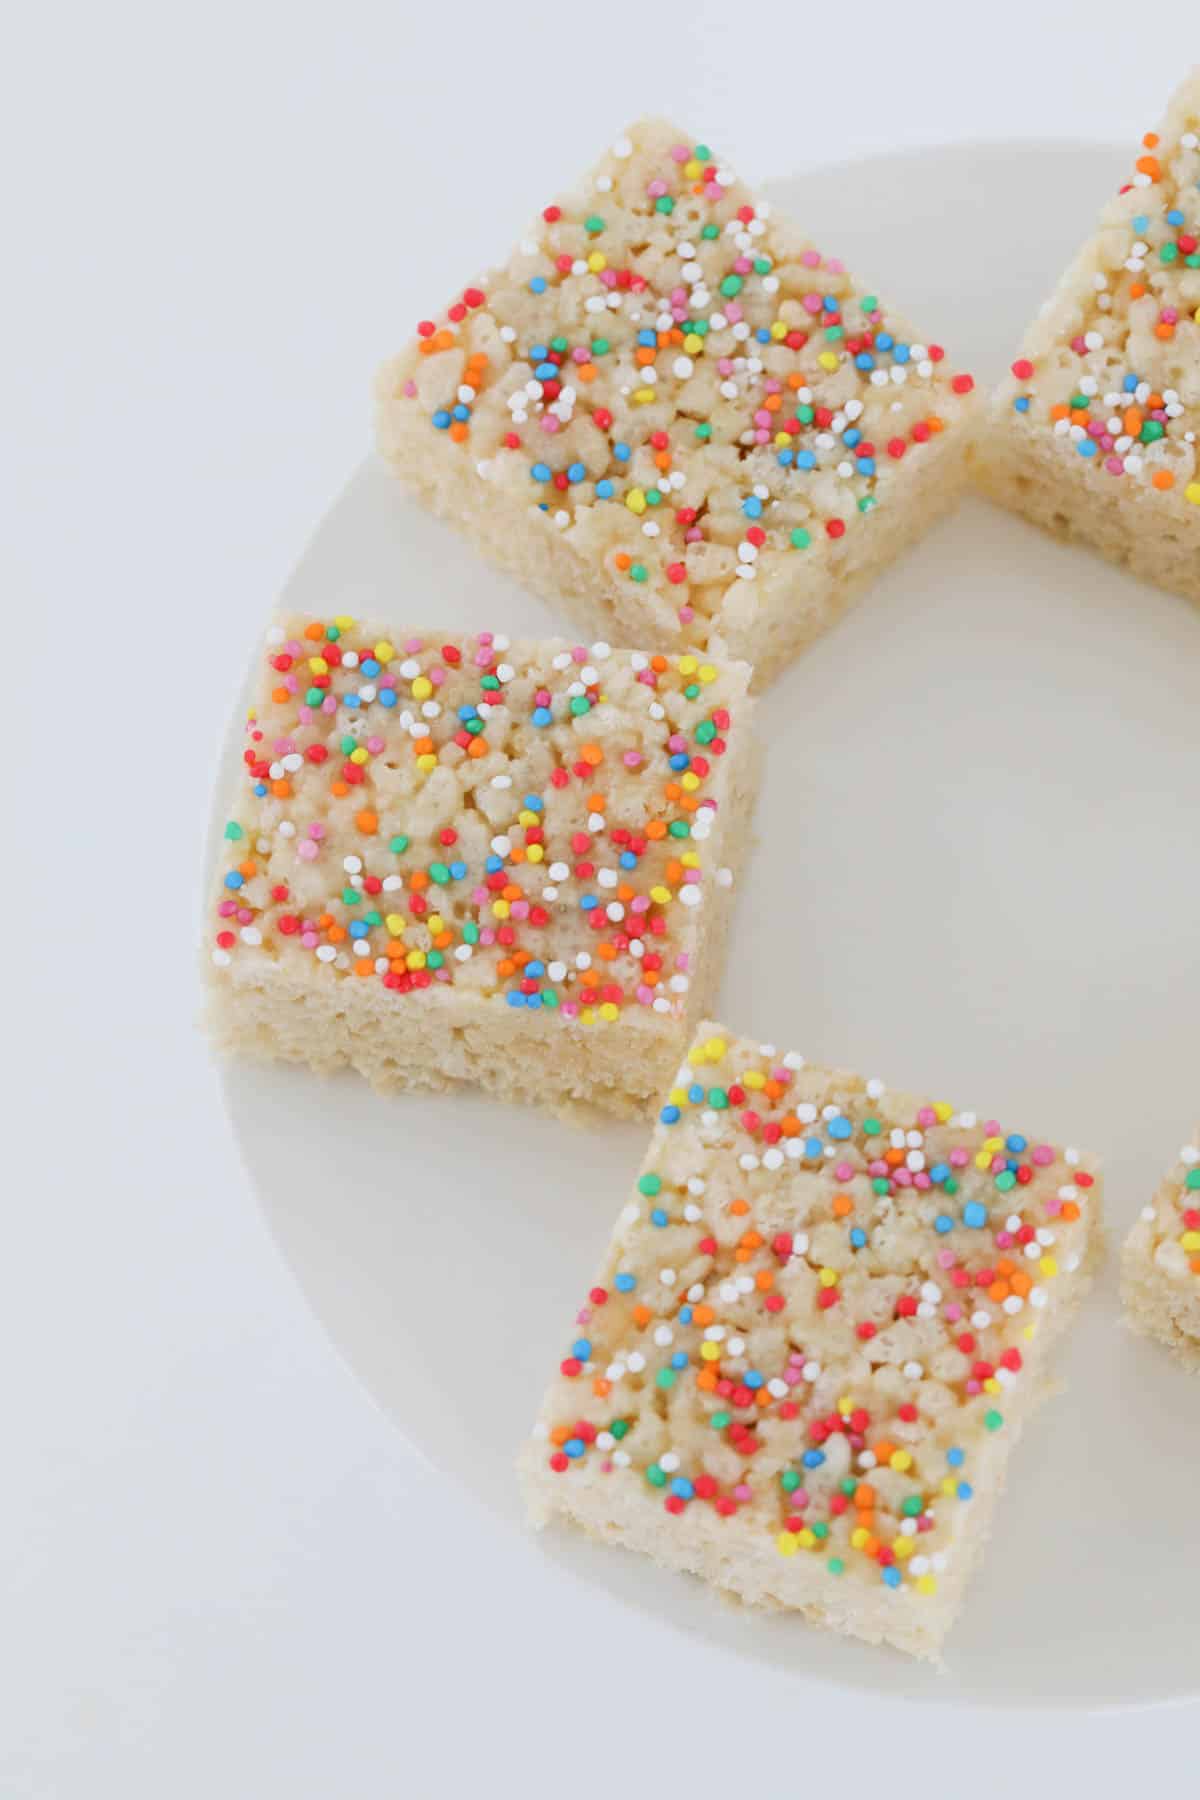
    Sprinkles on top of rice krispie slice.

    When you have hungry little mouths to feed, quick and easy recipes are just what you need!

    And it doesn't get any easier than these Thermomix Rice Bubble Bars. Not only do they taste delicious, they're perfect for school lunchboxes!

    An all-time favourite with the kids!

    Why You're Going To Love This Recipe

    If your kids love store-bought LCM bars, they'll love the homemade version too!

    • 3 Ingredients - Made from just rice bubbles, marshmallows and butter (plus optional sprinkles!), these Thermomix Rice Bubble Bars are perfect for last-minute snacks.
    • 15 Minutes Prep Time - So quick and easy to make! Plus the kids will love helping with this recipe (and licking the spoon!).
    • Perfect For Lunch Boxes - These bars hold their shape in lunchboxes and stay perfectly crunchy all day long.
    • Freezer-Friendly - Pop any leftovers in the freezer for 'grab and go' snacks. You can place pieces of the frozen slice directly into lunchboxes and they will have defrosted by recess time.
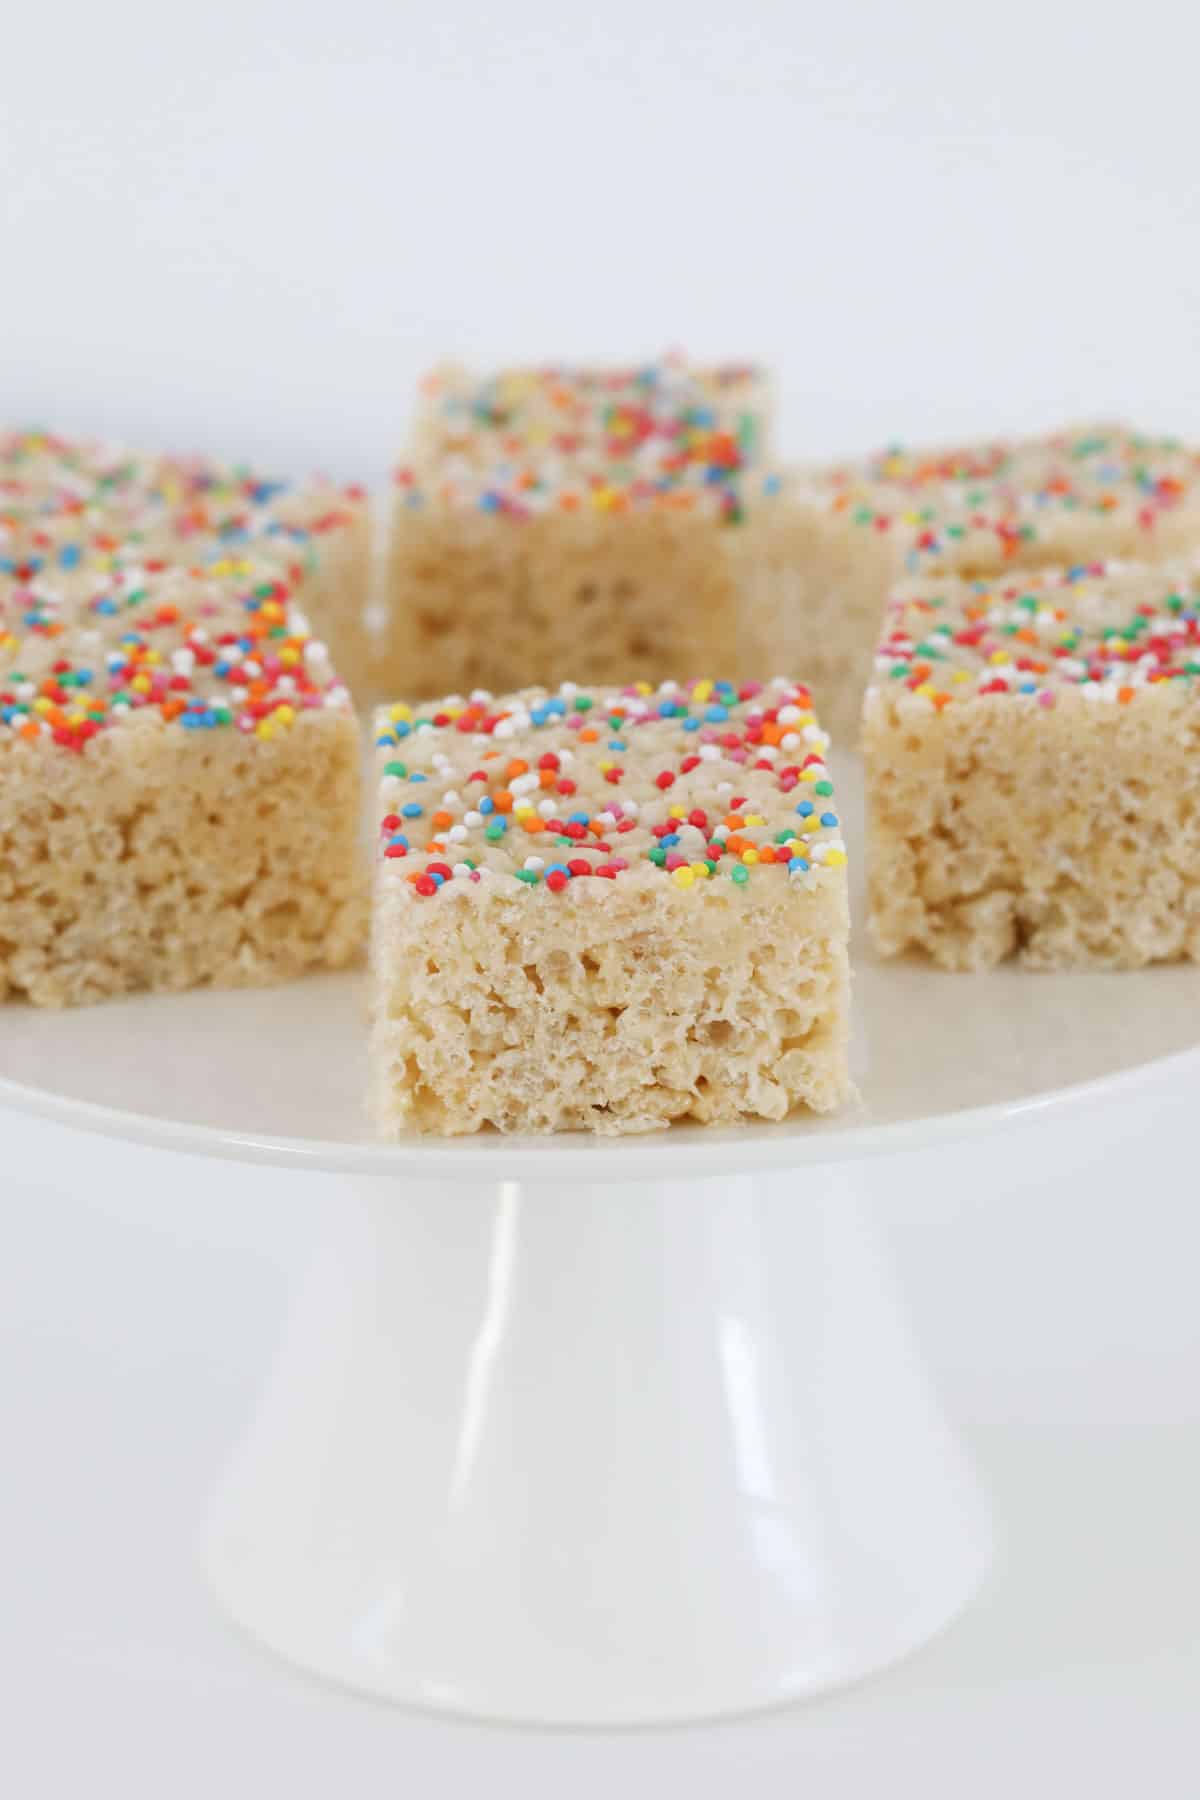
    Puff rice and marshmallow slice.

    What You Need

    Just 3 Ingredients!!!

    That's right... just 3 ingredients (plus sprinkles if you want a colourful pop to the slice!).

    Note: Please scroll to the recipe card at the bottom of the post for ingredient quantities and the full detailed method.

    The ingredients for rice bubble bars.
    • Rice Bubbles - also known as Rice Krispies. You can use any brand (or home-brand) puffed rice you like.
    • Marshmallows - if you want your Thermomix Rice Bubble Bars to look just like LCM bars, then use only white marshmallows. If you're not fussed with the look, you ca use a combo of white and pink marshmallows. I generally use the Pascall's brand of marshmallows.
    • Butter - salted or unsalted is fine to use.
    • Optional - sprinkles or 100s and 1000s give the slice a fun, bright pop of colour that the kids love.

    Step By Step Instructions

    It is SO quick and easy to make our Thermomix Rice Bubble Bars!

    Note: Please scroll to the recipe card at the bottom of the post for ingredient quantities and the full detailed method.

    Step 1 - Melt

    Place the marshmallows and butter into the Thermomix bowl.
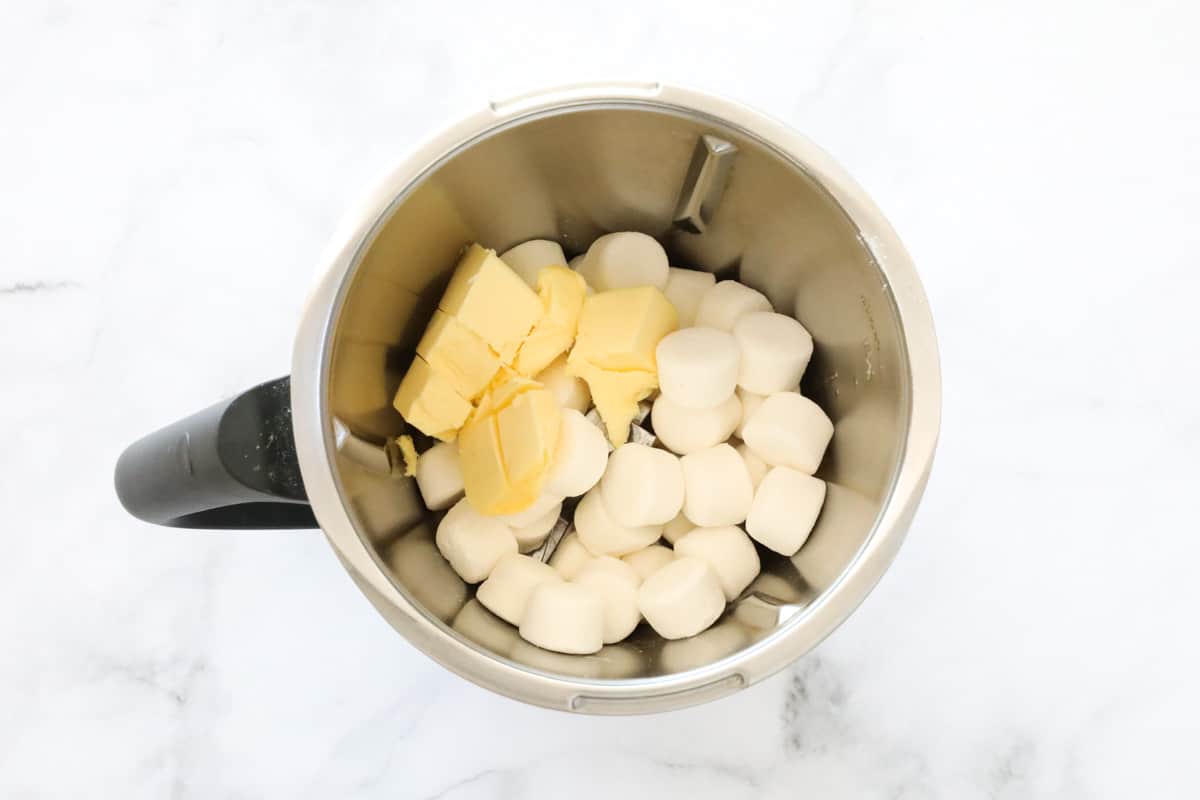
    Marshmallows and butter in a stainless jug.

    Melt until smooth (a few small lumps of marshmallow are ok!).
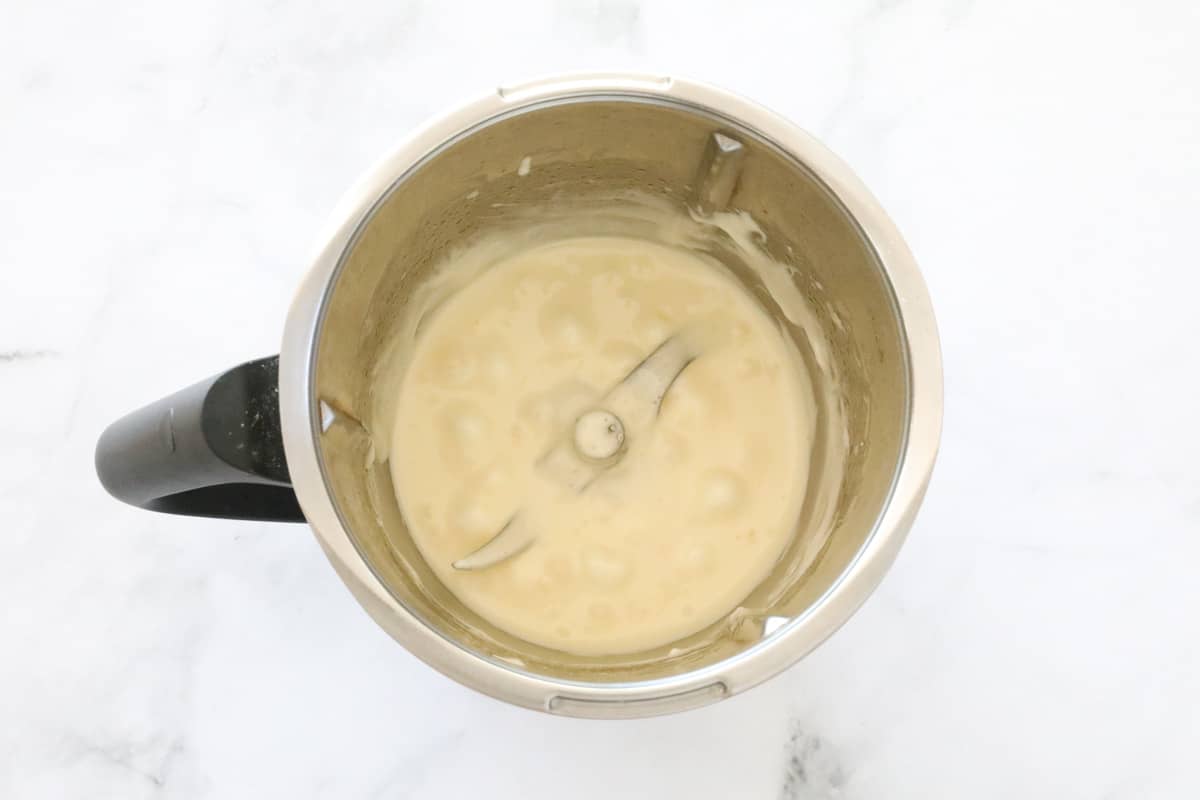
    Melted marshmallows and butter in a Thermomix.

    Step 2 - Mix

    Add the rice bubbles to the Thermomix bowl and mix until all of the rice bubbles are completely and combined with the marshmallow mixture.

    Note: you will need to insert the Thermomix spatula through the MC hole to help mix.
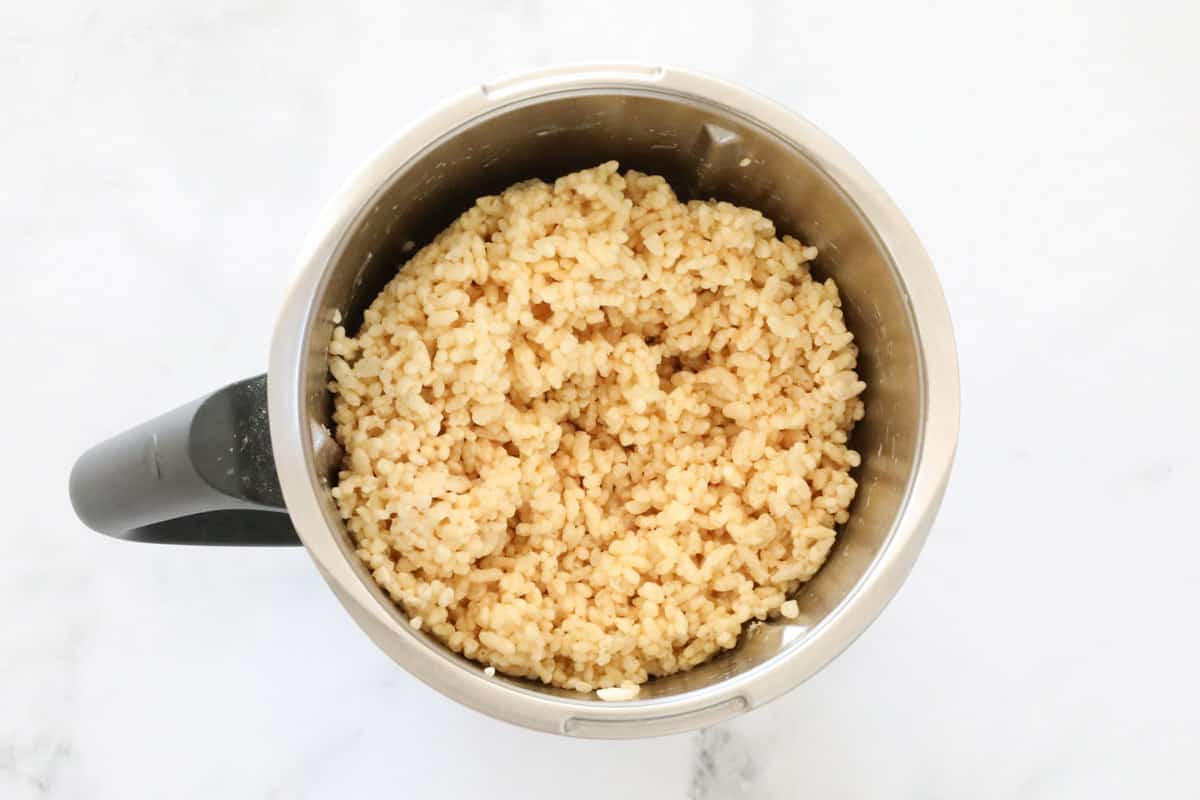
    Rice bubble slice mixture in a Thermomix.

    Step 3 - Chill

    Press the mixture VERY firmly into a greased and lined baking tin.

    Add sprinkles or 100s and 1000s (optional).

    Chill for 2 hours or until set. Use a sharp knife to cut into small pieces.
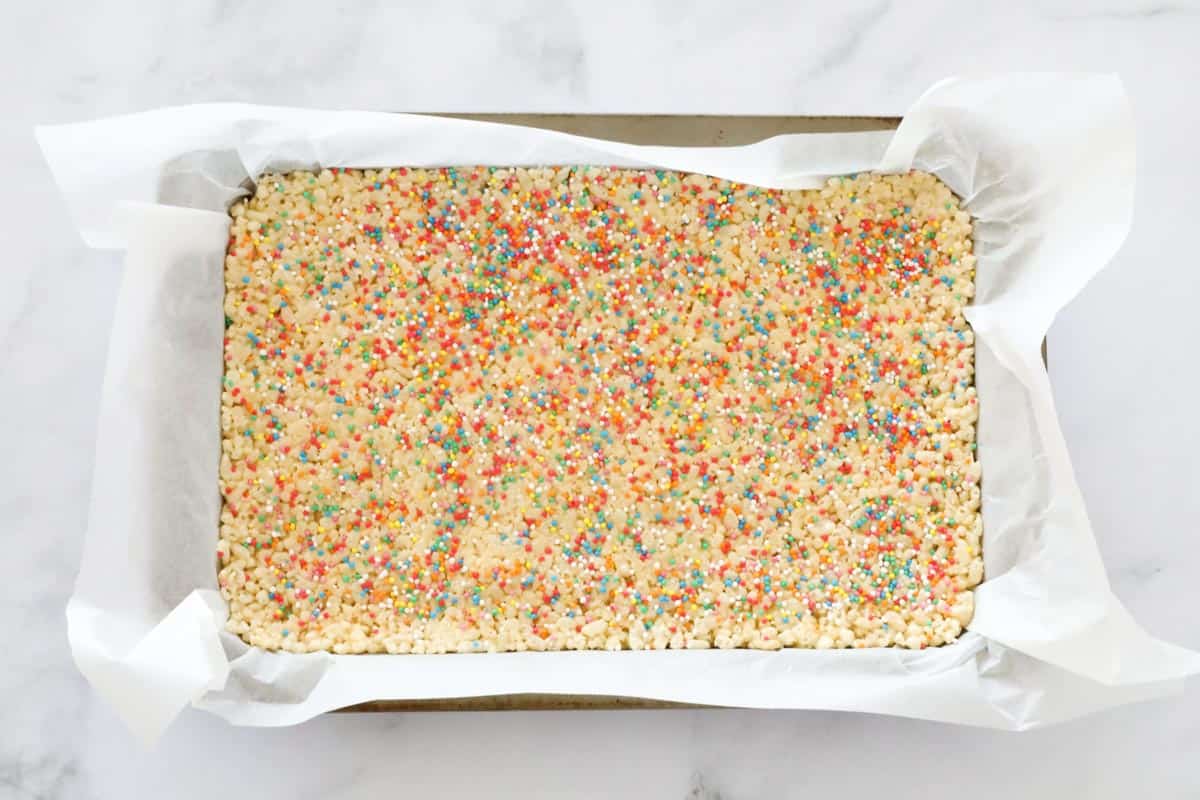
    Spinkles on top of rice bubble slice.

    Expert Tips

    • You can use a mixture of pink and white marshmallows if you prefer.
    • Use regular sized marshmallows (like Pascalls brand).
    • Use a new box of rice bubbles (to avoid stale rice bubbles).
    • Insert the Thermomix spatula through the MC hole and stir to to help mix the rice bubbles through the marshmallow mixture. 
    • Press the mixture VERY firmly into the slice tin. Use the back of a large spoon and press down firmly.
    • Store the slice in the fridge for up to 1 week (keeping it in the fridge ensures it stays crunchy!)
    • Freeze for up to 3 months. 
    Rice bubble slice with sprinkles.

    FAQs

    What sized slice tin should I use?

    We recommend using a standard sized rectangular slice tin (18 X 28cm). Ensure it is greased and lined with baking paper before adding the mixture.

    How can I make sure all of the mixture has combined?

    It's important to insert your Thermomix spatula through the MC hole when the rice bubbles are being mixed through the marshmallow mixture. Use the spatula to help combine while the blades are turning.

    Why do I have to use the REVERSE function when the rice bubbles have been added?

    Using the REVERSE function will ensure that the rice bubbles are mixed gently rather than crushed!
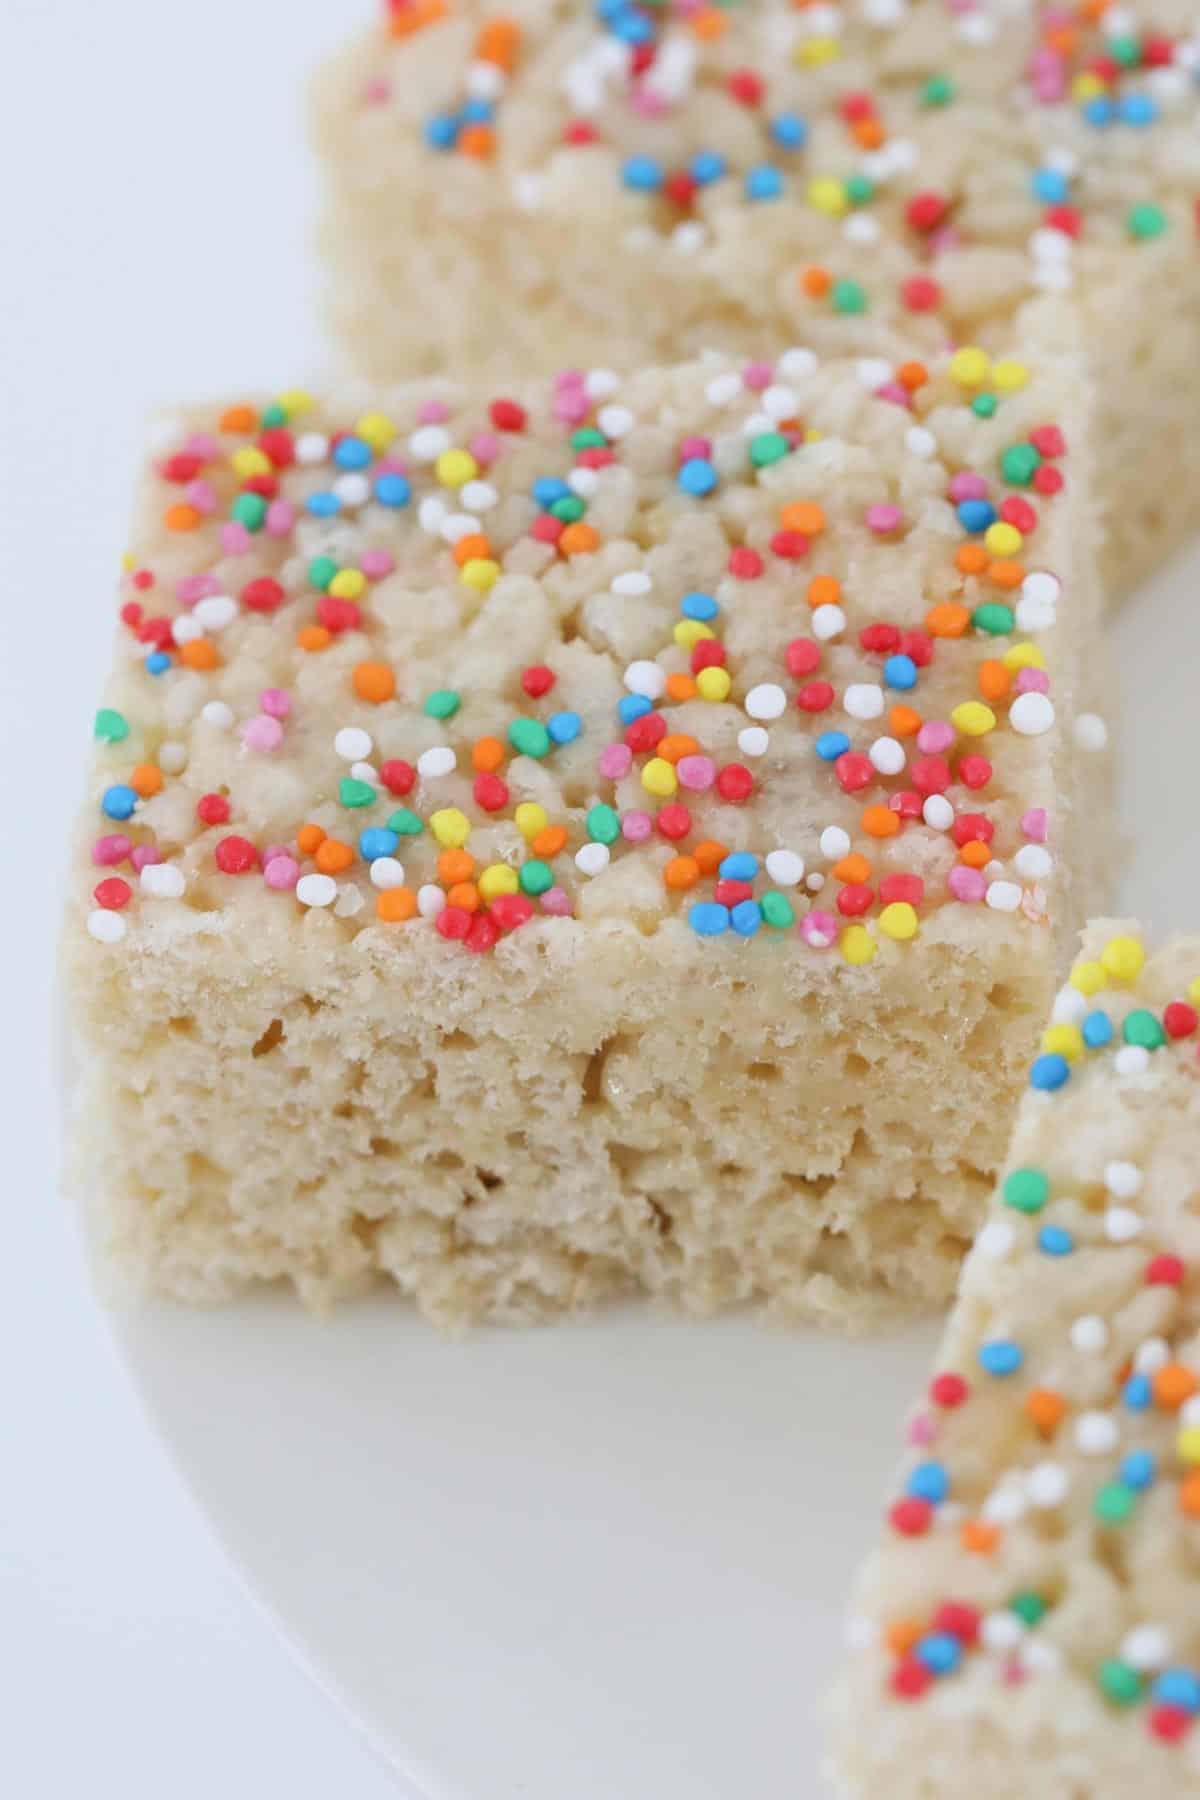
    Sprinkles on top of rice krispie slice.

    Related Recipes

    Browse some of our most popular lunch box slices here!

    • Pieces of chocolate slice with sprinkles on top.
      Thermomix Weet-Bix Slice
    • Pieces of hedgehog slice on a white stand.
      Thermomix Hedgehog Slice
    • Pieces of lemon coconut slice on a board.
      Thermomix Lemon & Coconut Slice
    • Pieces of strawberry jelly slice.
      Jelly Slice Recipe by Thermobliss

    Thermomix Lunch Box Cookbooks

    For more great lunch box recipes, check out our Thermomix Lunch Box Bundle of hardcopy cookbooks!

    The bundle includes:

    • Thermomix Lunch Box
    • Thermomix Kids Snacks Volume 1
    • Thermomix Kids Snacks Volume 2

    Check out the bundle here!

    Front Covers of Kid Snacks Volume 1 and 2 plus lunch box snacks book
    Sprinkles on top of rice krispie slice.
    Print Recipe
    4.82 from 11 votes

    Three Ingredient Rice Bubble Bars

    Our 3 ingredient Thermomix Rice Bubble Bars taste just like store-bought LCM bars! Made from rice bubbles, marshmallows and butter and prepped in just 15 minutes... don't forget to add sprinkles for a fun (and kid-approved touch!).
    Prep Time15 minutes mins
    Cook Time2 hours hrs
    Total Time2 hours hrs 15 minutes mins
    Course: Snacks
    Cuisine: Australian
    Servings: 24 serves
    Calories: 81kcal
    Author: Lucy & Lauren
    Cost: $5

    Equipment

    • Thermomix

    Ingredients

    • 75 g butter
    • 200 g white marshmallows see notes
    • 200 g rice bubbles or any puffed rice (approx 6 cups)
    • 100s & 1000s to decorate, optional

    Instructions

    • Line the base and sides of an 18 X 28cm rectangular slice tin with baking paper - leave the baking paper hanging over the sides.
    • Place the marshmallows and butter into the Thermomix bowl and cook for 4 minutes, 80 degrees, Speed 1 or until melted and combined. After approximately 2 minutes, use the spatula to scrape down the sides.
    • Add the rice bubbles to the bowl and mix for 1 minute 20 seconds, Speed 1, Reverse, or until mixture has combined. Use the spatula to help mix.
    • Pour the mixture into the prepared slice tin and use the flat side of a large spoon to spread across the tin and push down very firmly.
    • If decorating, sprinkle the 100s and 1000s over the top of the slice.
      Place in the fridge for two hours or until set.
    • Remove the slice from the fridge and cut into pieces.

    Notes

    RECIPE NOTES & TIPS
    • You can use a mixture of pink and white marshmallows if you prefer.
    • Use regular sized marshmallows (like Pascalls brand)
    • Use a new box of rice bubbles (to avoid stale rice bubbles)
    • Store the slice in the fridge for up to 1 week (keeping it in the fridge ensures it stays crunchy!)
    • Insert the Thermomix spatula through the MC hole and stir to to help mix the rice bubbles through the marshmallow mixture. 
    • Press the mixture VERY firmly into the slice tin. Use the back of a large spoon and press down firmly.
    • Freeze for up to 3 months. 

    Nutrition

    Calories: 81kcal | Carbohydrates: 14g | Protein: 1g | Fat: 3g | Saturated Fat: 2g | Polyunsaturated Fat: 0.1g | Monounsaturated Fat: 1g | Trans Fat: 0.1g | Cholesterol: 7mg | Sodium: 27mg | Potassium: 11mg | Fiber: 0.1g | Sugar: 5g | Vitamin A: 78IU | Calcium: 2mg | Iron: 0.3mg

    What was your favourite lunch box treat growing up?

    Thermomix Chocolate Coconut Balls | Rum Balls

    February 11, 2015

    A plate of coconut balls made with cocoa, biscuits and sweetened condensed milk.

    Our easy Thermomix Chocolate Coconut Balls take just 4 ingredients to make... and are perfect for lunch boxes!

    A white cake stand with balls made from biscuits and coconut.

    These simple Thermomix Chocolate Coconut Balls (also known as rum balls) are by FAR one of the most popular recipes on ThermoBliss!

    Once you make them, you'll fall in love too!

    Why You're Going To Love This Recipe

    These old fashioned chocolate coconut balls are the BEST!

    Here's why you're going to love them:

    • 4 ingredients - all you need is sweetened condensed milk, plain biscuits (cookies), coconut and cocoa powder
    • budget-friendly - forget about expensive snacks.. these cost next to nothing (and taste amazing)
    • kid-friendly - take it from me, the kids love to make and eat these simple little balls
    • no-bake - there's no need to turn the oven on to make these easy no bake chocolate coconut balls
    A rum ball coated in coconut in a bowl of coconut.

    What You Need

    Just 4 ingredients!!

    • sweetened condensed milk - I recommend using full fat sweetened condensed milk (rather than skim sweetened condensed milk) as it sets firmer
    • coconut - choose desiccated coconut for this recipe
    • plain sweet biscuits - known as cookies in the US. You can use any type of plain sweet biscuit/cookie you like. I like to use Arnott's Marie biscuits for this recipe
    • cocoa powder - or substitute for cacao powder or Milo (malted milk powder)

    How To Make Chocolate Coconut Balls In A Thermomix

    These super easy no-bake chocolate coconut balls take just 3 steps to make!

    Step 1 - Crush The Biscuits

    Place the plain sweet biscuits into the Thermomix and crush until fine crumbs remain (see recipe below).

    Step 2 - Add The Remaining Ingredients

    Add the sweetened condensed milk, cocoa powder and coconut and mix to combine.

    Step 3 - Roll Into Balls

    Roll the mixture into heaped teaspoon sized balls. Coat in the extra coconut and chill in the fridge.

    A bowl of chocolate coconut crumbs with a white plate of rum balls in the background.

    Recipe Tips

    • Use full fat sweetened condensed milk - skim condensed milk does not set as firm as full fat sweetened condensed milk
    • Cocoa powder - you can substitute this for cacao powder or Milo (malted milk powder).
    • Coconut - for a coconut-free version, omit the coconut and add a little extra crushed biscuits. Roll the balls in cocoa powder, cacao powder or
    • Storage - Store the chocolate coconut balls in an airtight container for up to 1 week.
    • Freezing - Freeze the balls for up to 3 months in an airtight container.

    Thermomix Kids Snacks Cookbooks

    For more great lunch box recipes, check out our Thermomix Lunch Box Bundle of hardcopy cookbooks!

    The bundle includes:

    • Thermomix Lunch Box
    • Thermomix Kids Snacks Volume 1
    • Thermomix Kids Snacks Volume 2

    Check out the bundle here!

    Front Covers of Kid Snacks Volume 1 and 2 plus lunch box snacks book

    A plate of coconut balls made with cocoa, biscuits and sweetened condensed milk.
    Print Recipe
    4.99 from 54 votes

    Thermomix Chocolate Coconut Balls

    Our easy Thermomix Chocolate Coconut Balls take just 4 ingredients to make... and are perfect for lunch boxes!
    Prep Time5 minutes mins
    Chilling Time1 hour hr
    Total Time5 minutes mins
    Course: Snacks
    Cuisine: Western
    Servings: 30 serves
    Calories: 108kcal
    Author: Lucy & Lauren

    Equipment

    • Thermomix

    Ingredients

    • 250 g plain sweet biscuits (like Marie biscuits)
    • 395 g sweetened condensed milk
    • 100 g desiccated coconut
    • 25 g cocoa powder
    • extra coconut, for rolling

    Instructions

    • Place the plain sweet biscuits into the Thermomix bowl. Crush on Turbo for 10 seconds or until the biscuits resemble fine crumbs.
    • Add the cocoa powder, desiccated coconut and sweetened condensed milk. Mix for 20 seconds, Reverse, Speed 3, seconds or until well combined (you may need to scrape the bowl down halfway through mixing).
    • Roll heaped teaspoons of the mixture into balls.
    • Roll in the extra coconut to coat. Chill in the fridge.

    Notes

    RECIPE TIPS
    • Use full fat sweetened condensed milk – skim condensed milk does not set as firm as full fat sweetened condensed milk
    • Cocoa powder – you can substitute this for cacao powder or Milo (malted milk powder).
    • Coconut – for a coconut-free version, omit the coconut and add a little extra crushed biscuits. Roll the balls in cocoa powder, cacao powder or
    • Storage – Store the chocolate coconut balls in an airtight container for up to 1 week.
    • Freezing – Freeze the balls for up to 3 months in an airtight container.

    Nutrition

    Calories: 108kcal | Carbohydrates: 14g | Protein: 2g | Fat: 5g | Saturated Fat: 3g | Cholesterol: 6mg | Sodium: 62mg | Potassium: 88mg | Fiber: 1g | Sugar: 9g | Vitamin A: 42IU | Vitamin C: 1mg | Calcium: 42mg | Iron: 1mg

    Thermomix Oreo Fudge

    February 10, 2015

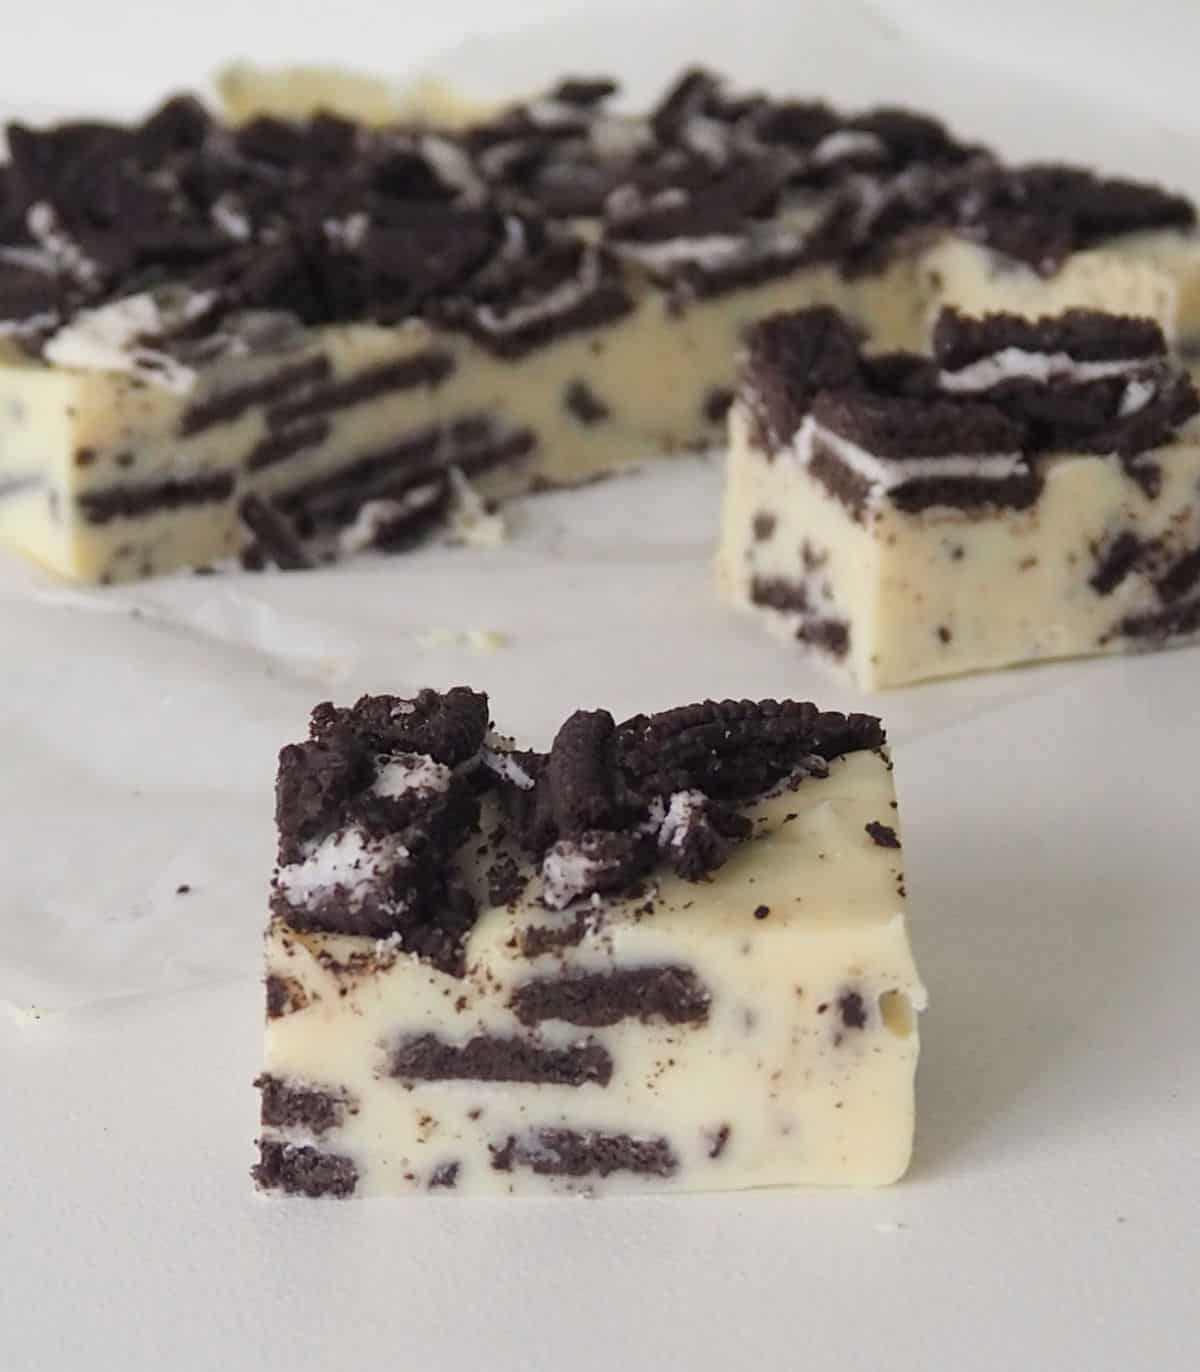
    slices of Oreo fudge on a piece of white baking paper and white bench top.

    Our simple and delicious Thermomix Oreo Fudge could not be easier to make! It is packed with Oreo pieces which pair perfectly with the smooth, soft white fudge. This recipe will take you less than 15 minutes to prepare using your Thermomix and then all you need to do is wait for it to set - how simple is that?!

    side view of slices of Oreo fudge on a piece of white baking paper and white bench top.

    White Chocolate and Oreos are such a yummy combination, and it's almost impossible to stop at just one slice.

    Why you will love this recipe:

    • 3 Ingredients.
    • Make ahead - this Thermomix Oreo Fudge can be stored in the fridge for up to two weeks.
    • Quick to prepare - it will take just over 10 minutes to prepare this fudge in your Thermomix.
    • Homemade gift idea - this fudge is perfect to gift to friends, family and teachers.
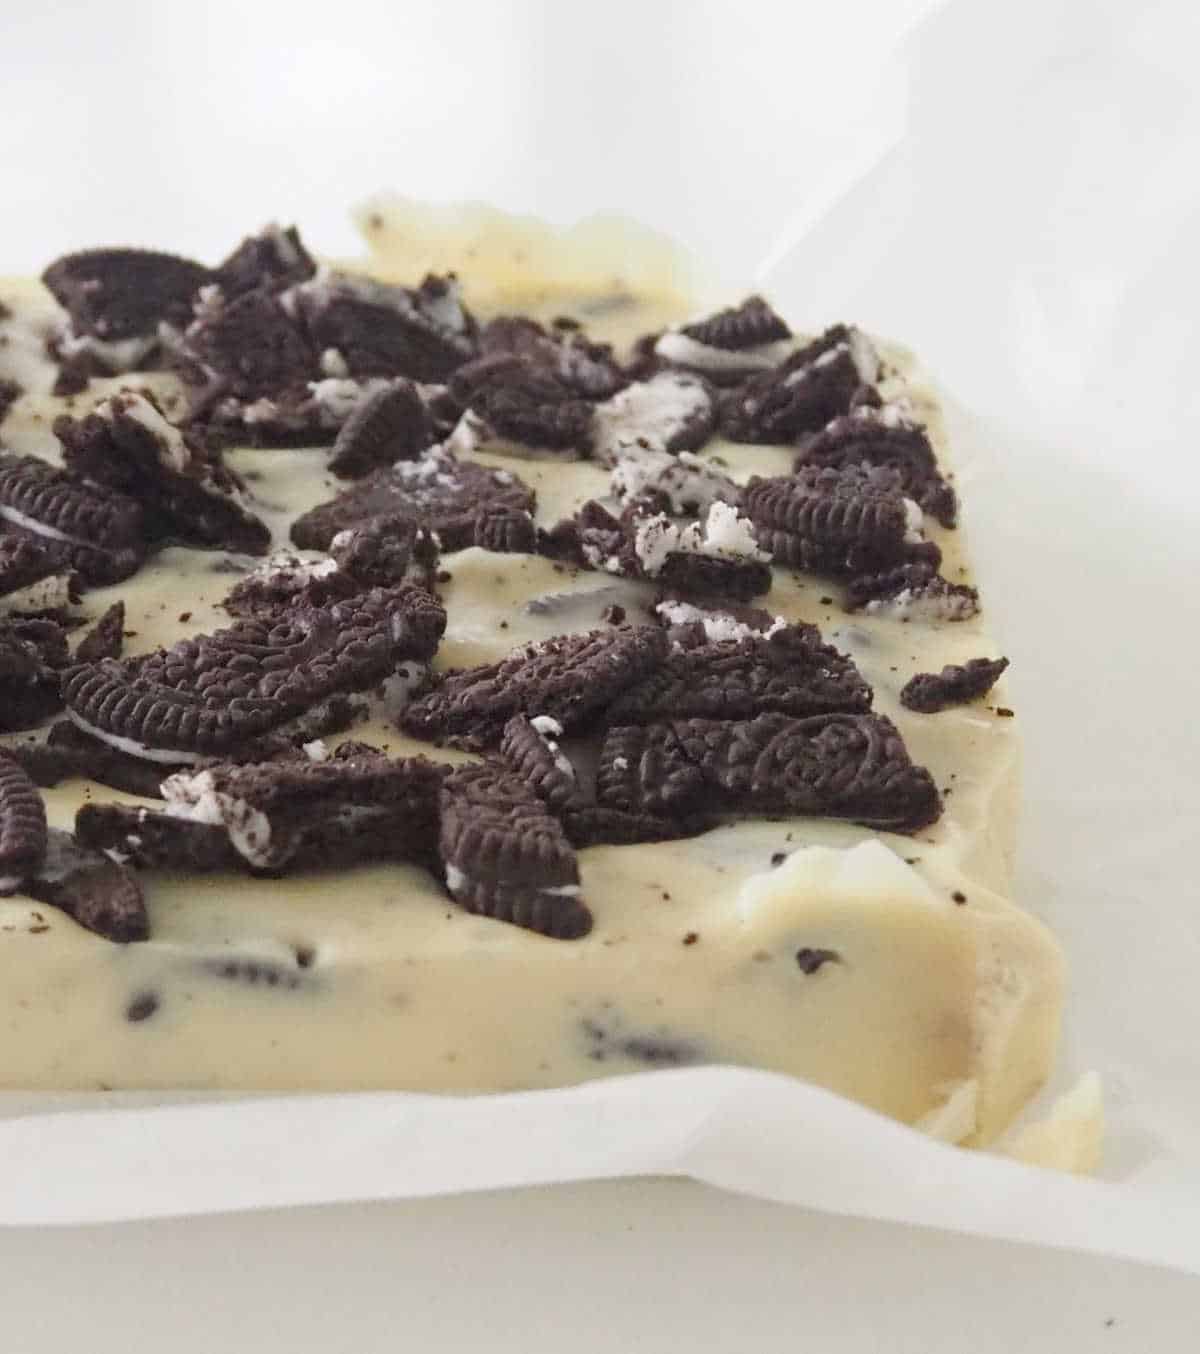
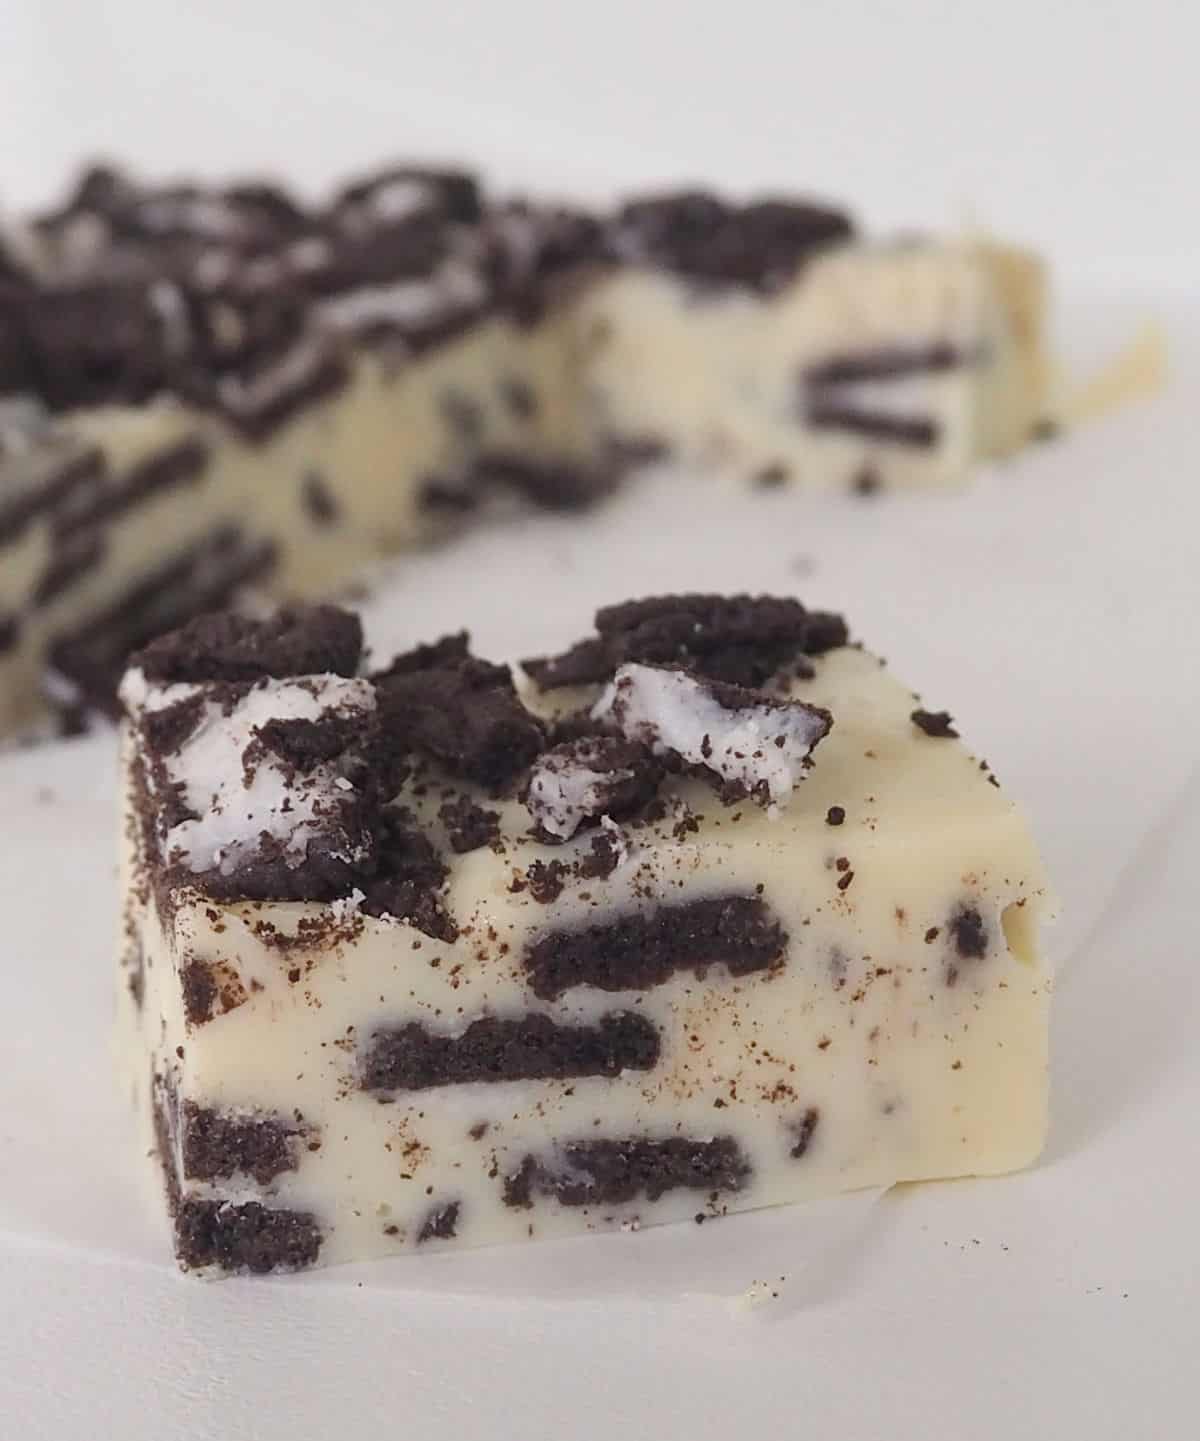
    side view of block of Thermomix Oreo fudge.

    Ingredients:

    Please note you will find the full list of ingredients and method in the recipe card below.

    • White Chocolate - for best results, use a good quality white chocolate such as Cadbury or Lindt.
    • Oreos - you will need 2 x 130g packs for this recipe.
    • Sweetened condensed milk - do not use light/low fat alternatives.
    Thermomix Oreo fudge ingredients

    How to Make Oreo Fudge:

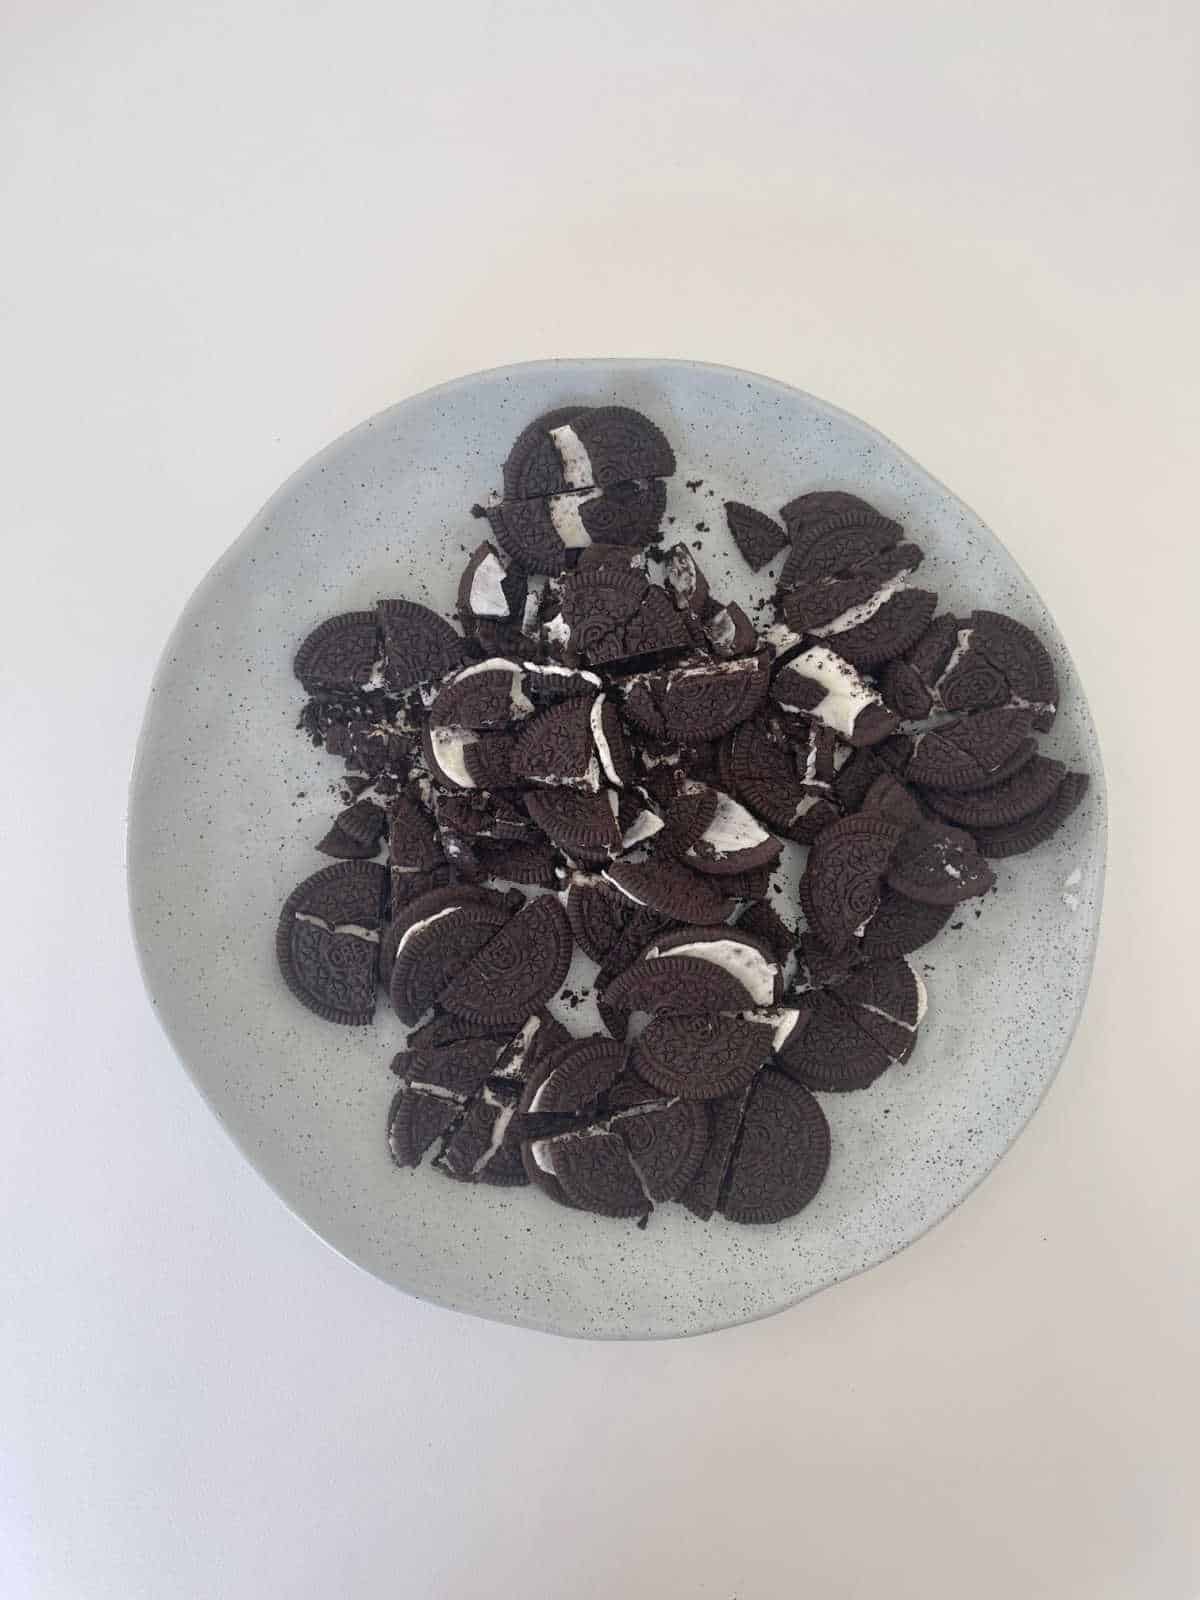
    1. Roughly chop the Oreos and set aside until needed.

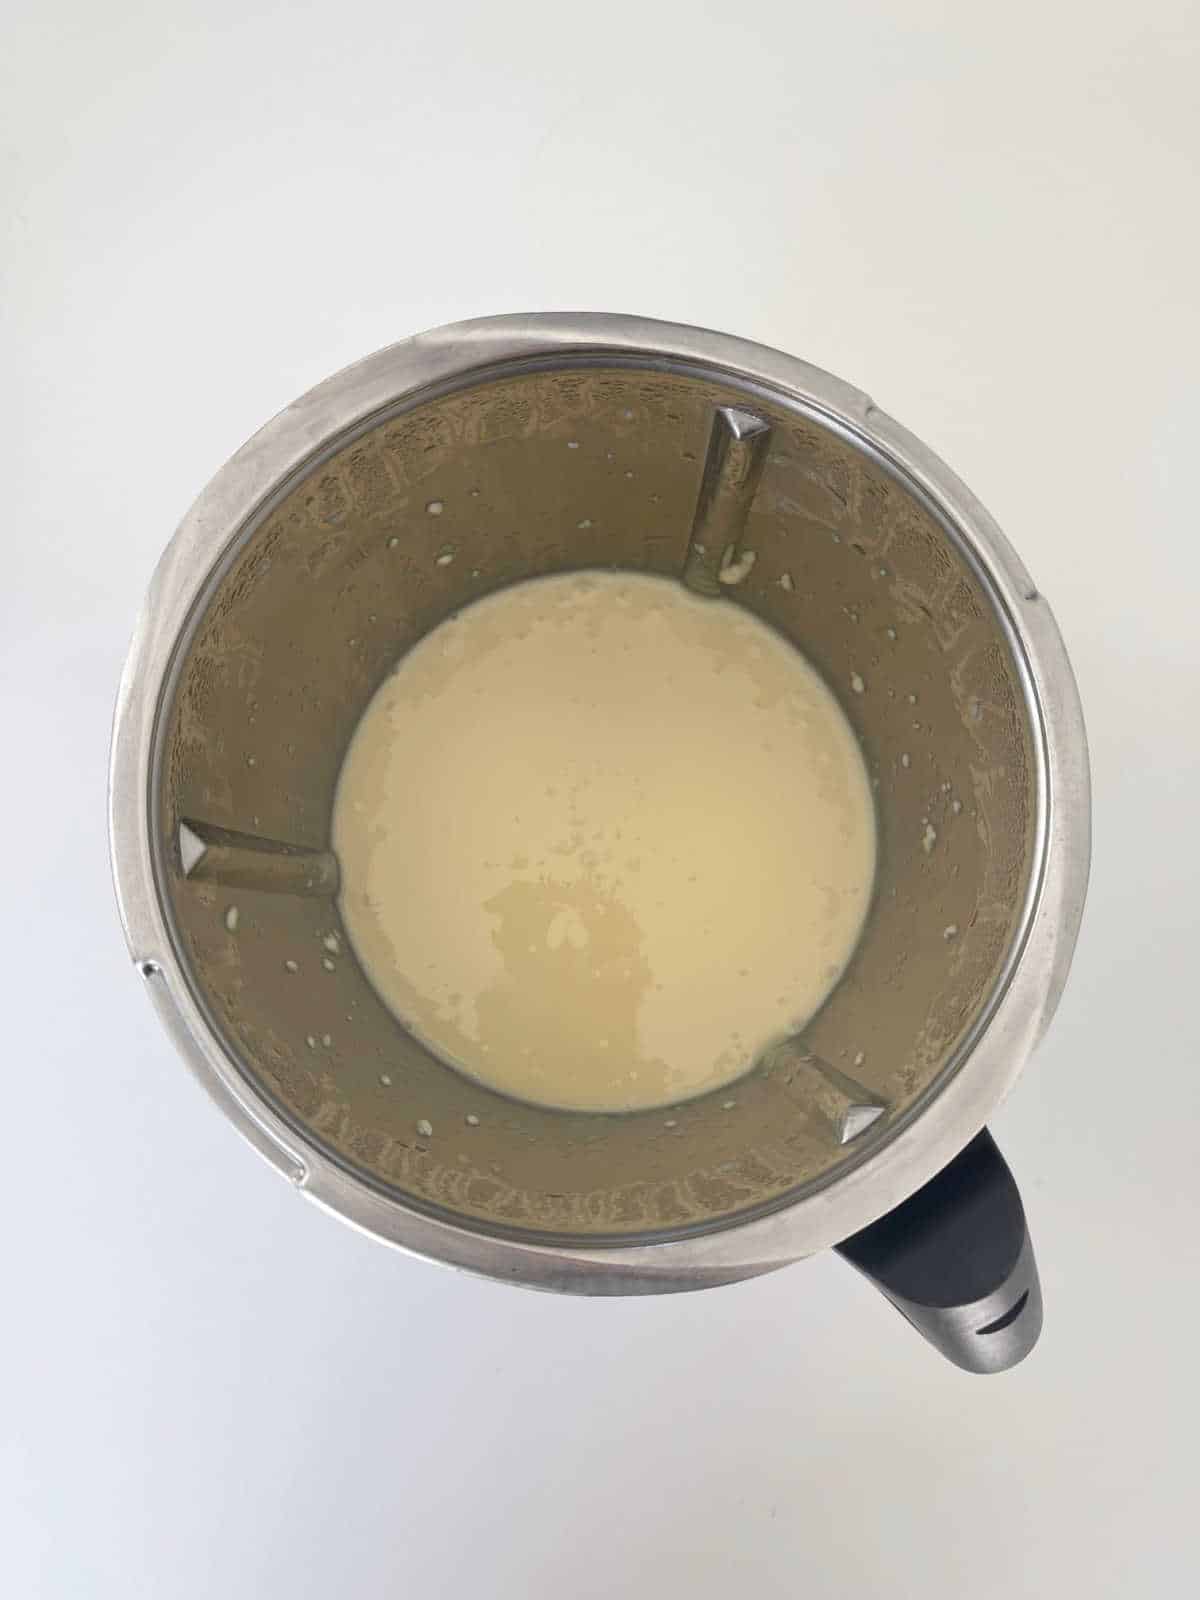
    2. Place the white chocolate and sweetened condensed milk into Thermomix bowl and cook.

    white chocolate and condensed milk melted in a Thermomix bowl.

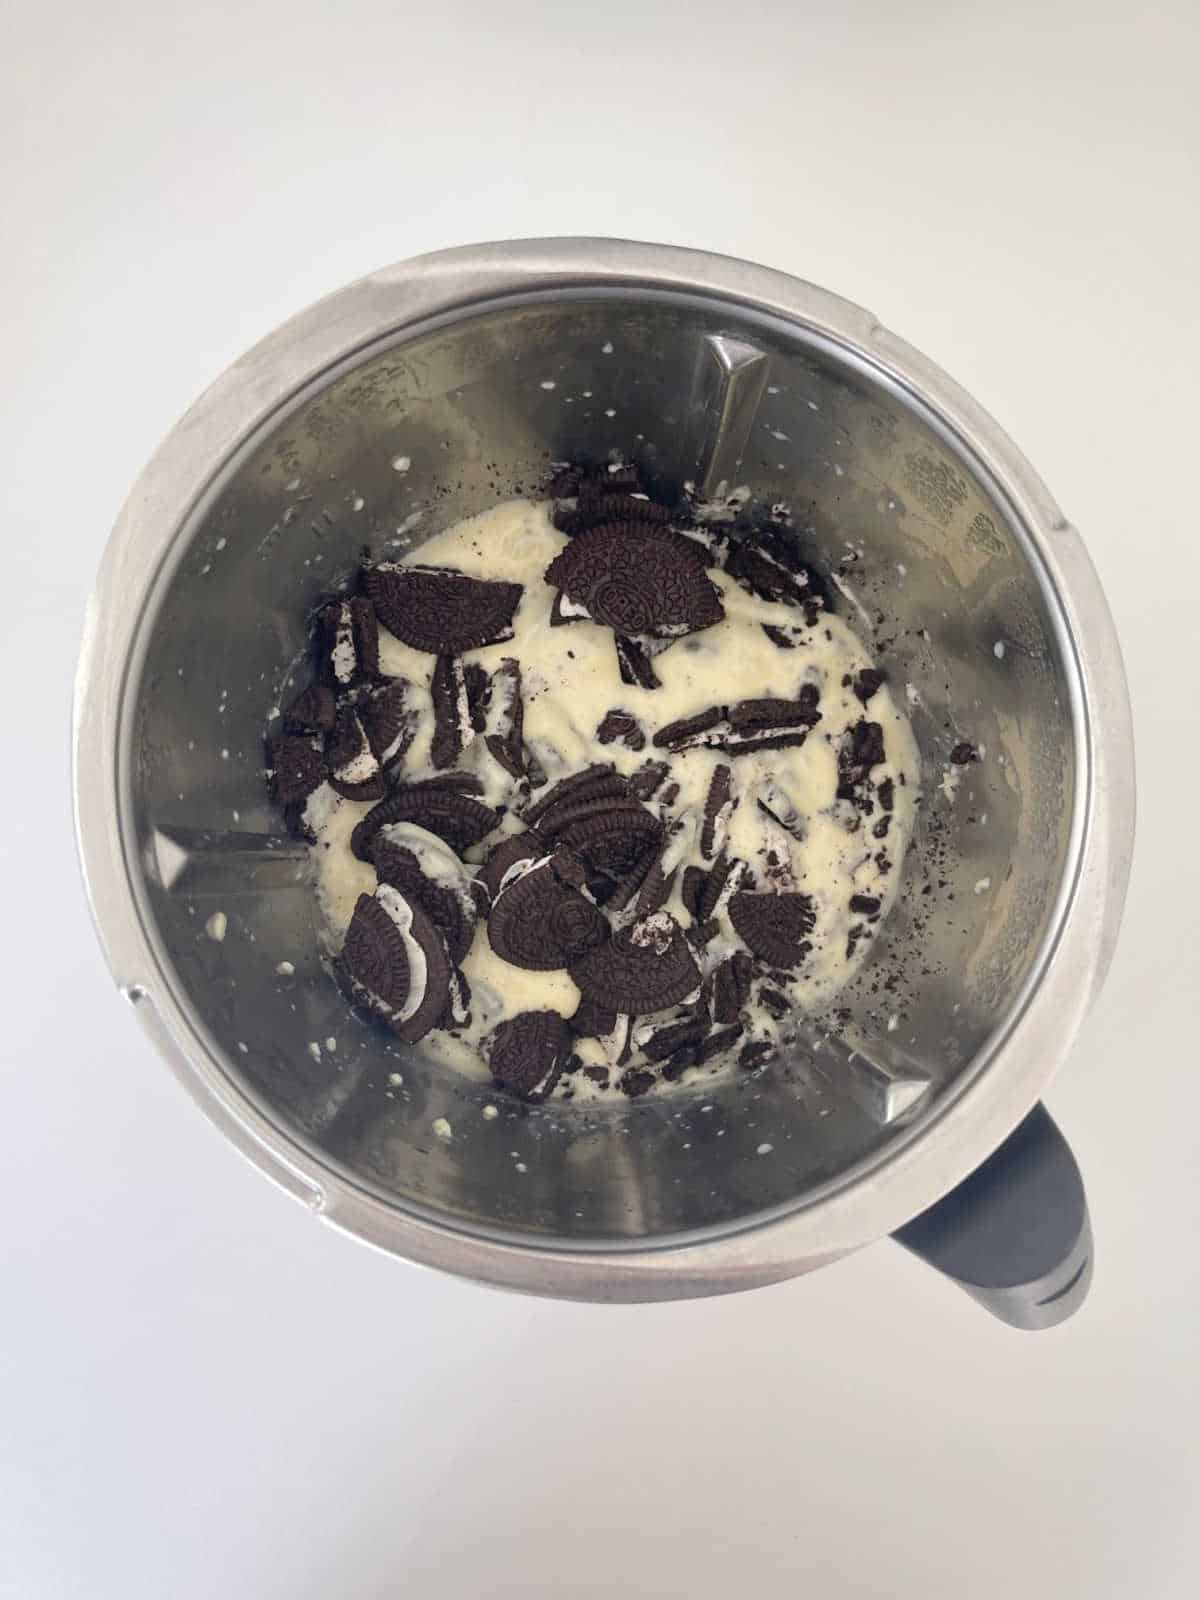
    3. Add the Oreo pieces (setting aside approximately ½ cup if you want to decorate the top with more pieces) and combine.

    Oreo pieces and white chocolate fudge mixture in a Thermomix bowl.

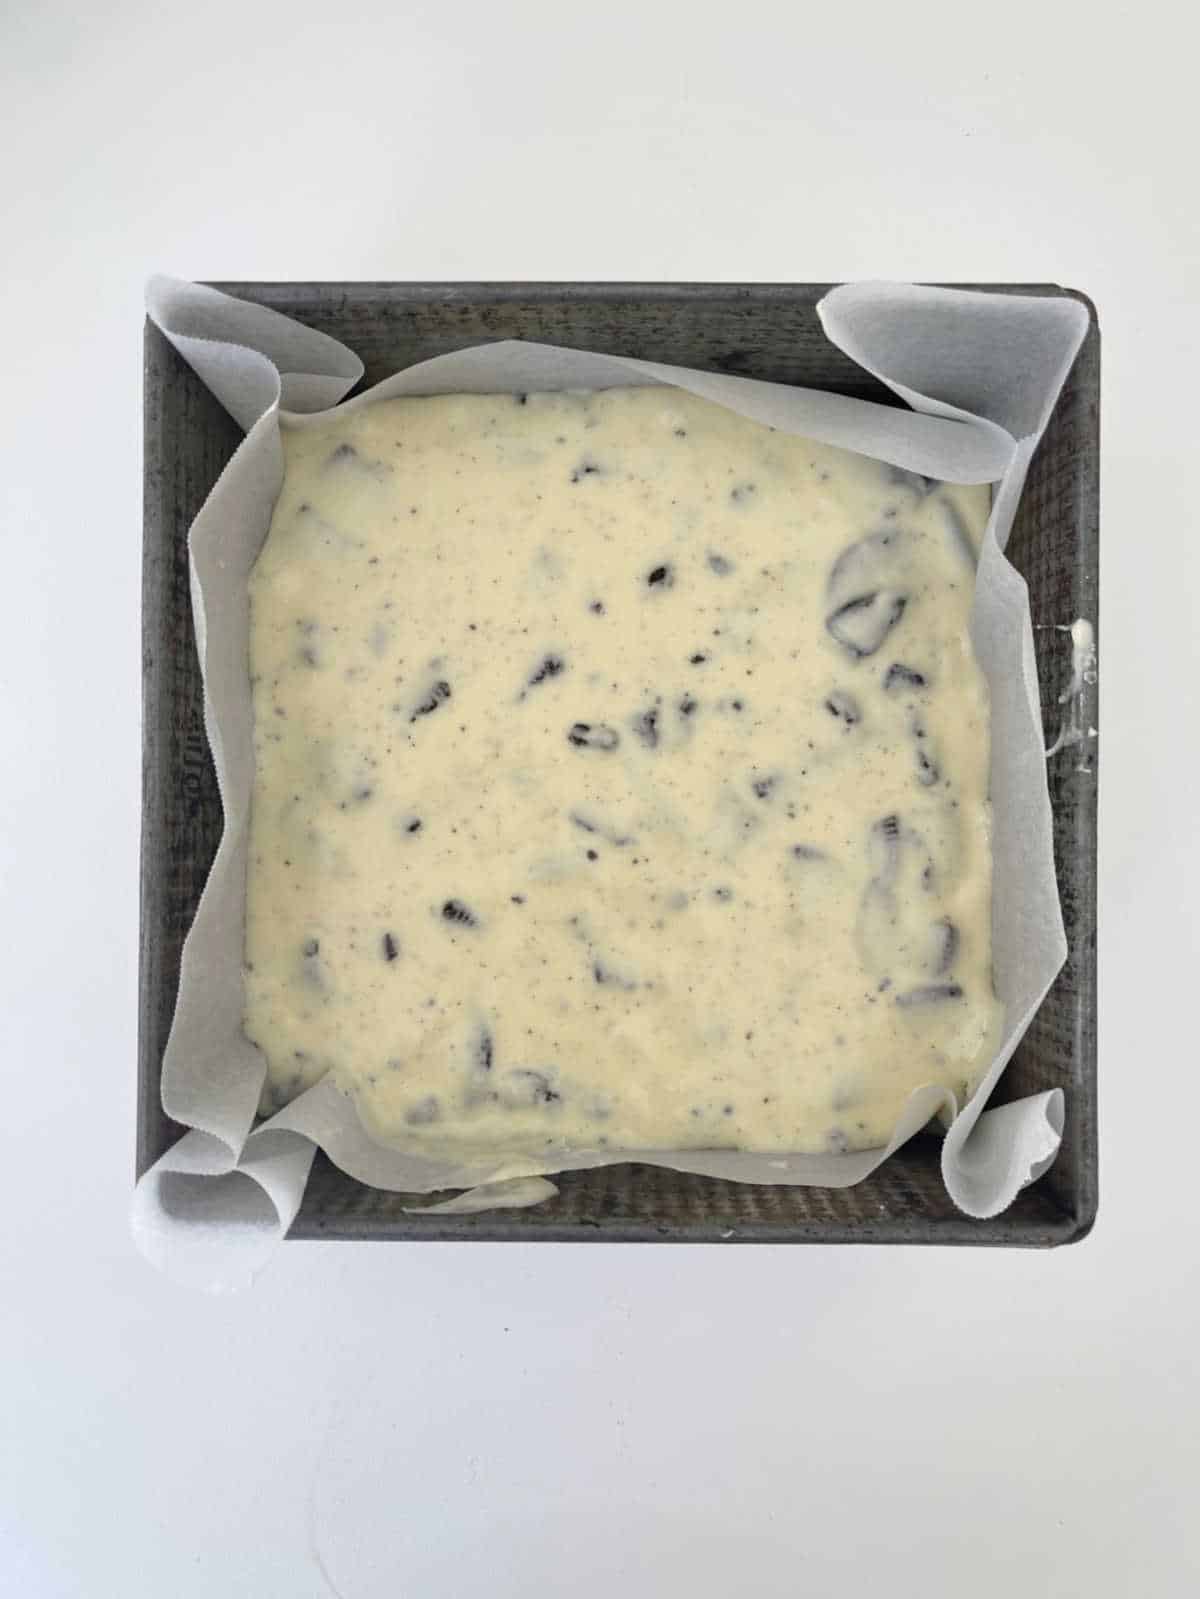
    4. Transfer to prepared baking dish and sprinkle with reserved Oreo pieces - optional.

    Thermomix Oreo fudge mixture in baking dish.

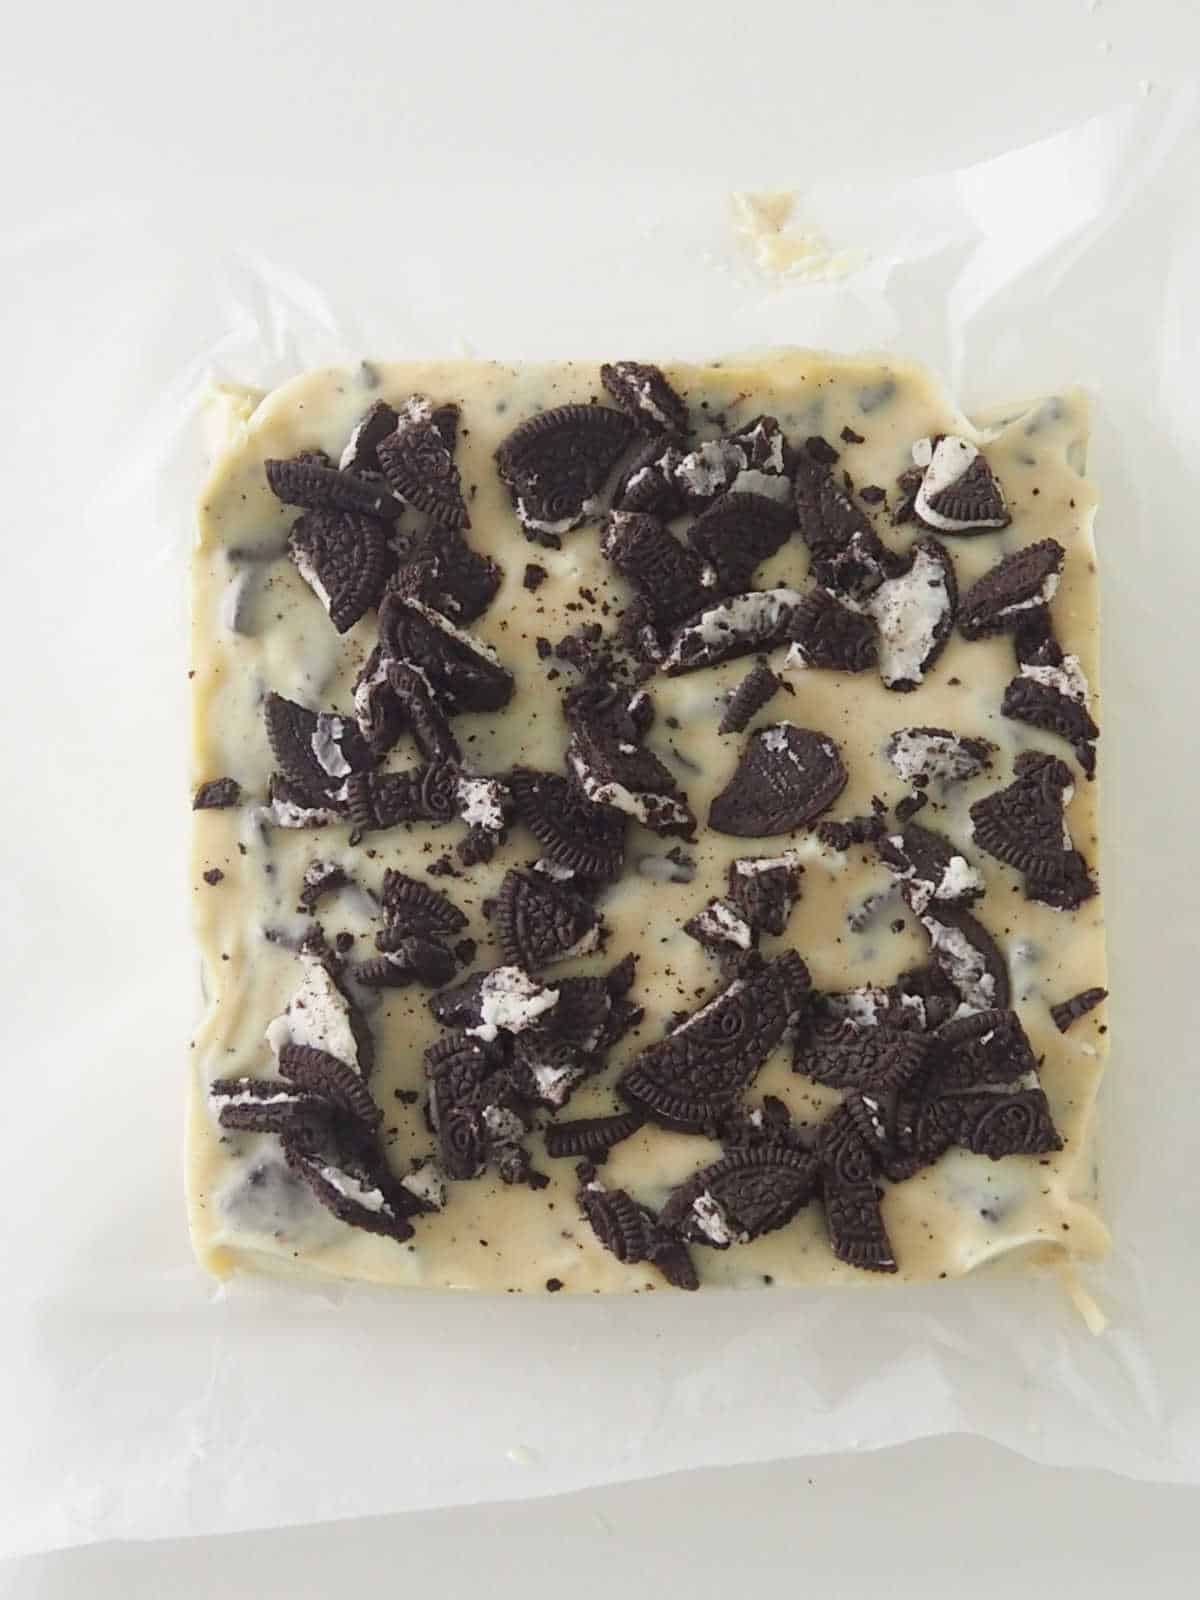
    5. Place into the fridge to set (preferably overnight) before slicing into pieces.

    overhead view of block of Thermomix Oreo fudge.

    Expert Tips:

    • I strongly recommend using a good quality white chocolate for this recipe, I use Cadbury or Lindt.
    • Please follow your machine's instructions for cooking at high temperatures for this recipe.
    • Use full fat sweetened condensed milk for this recipe as the light/no fat alternatives will not set as well.
    • This fudge will begin to set quickly, make sure your baking dish is lined and ready before starting the recipe.
    • Different sized tins can be used, however the depth of the fudge will differ.
    • You can find conventional cooking instructions here.
    slices of Oreo fudge on a piece of white baking paper and white bench top.
    slices of Oreo fudge on a piece of white baking paper and white bench top.
    Print Recipe
    5 from 5 votes

    Thermomix Oreo Fudge

    Our easy Thermomix Oreo Fudge is made with just 3 ingredients and takes 10 minutes to prepare!
    Prep Time15 minutes mins
    Chilling Time12 hours hrs
    Total Time12 hours hrs 15 minutes mins
    Course: Desserts
    Cuisine: Australian
    Servings: 20 pieces
    Calories: 258kcal
    Author: Lucy & Lauren

    Equipment

    • 1 Thermomix
    • 1 20cm square baking dish
    • Baking Paper

    Ingredients

    • 500 grams white chocolate
    • 395 grams sweetened condensed milk
    • 260 grams Oreos

    Instructions

    • Line a 20cm square cake tin with baking paper, making sure to leave some paper hanging over the edges.
    • Break the white chocolate into pieces and place in the Thermomix bowl.
    • Add the condensed milk and cook for 10 minutes, 100 degrees on speed 3.
    • Add the Oreo (reserve ½ cup if you wish to sprinkle some over the top as well) and mix for 20 seconds on reverse, speed 1.
    • Working quickly, pour the fudge into the prepared pan and place in the fridge for 9 hours (preferably overnight) to set.
    • Remove fudge from the fridge and cut into small pieces.

    Notes

    • I strongly recommend using a good quality white chocolate for this recipe, I use Cadbury or Lindt.
    • Please follow your machine's instructions for cooking at high temperatures for this recipe.
    • Use full fat sweetened condensed milk for this recipe as the light/no fat alternatives will not set as well.
    • This fudge will begin to set quickly, make sure your baking dish is lined and ready before starting the recipe.
    • Different sized tins can be used, however the depth of the fudge will differ.

    Nutrition

    Calories: 258kcal | Carbohydrates: 35g | Protein: 4g | Fat: 12g | Saturated Fat: 7g | Polyunsaturated Fat: 1g | Monounsaturated Fat: 4g | Trans Fat: 0.01g | Cholesterol: 12mg | Sodium: 98mg | Potassium: 175mg | Fiber: 0.4g | Sugar: 31g | Vitamin A: 60IU | Vitamin C: 1mg | Calcium: 109mg | Iron: 2mg

    Looking for even more?
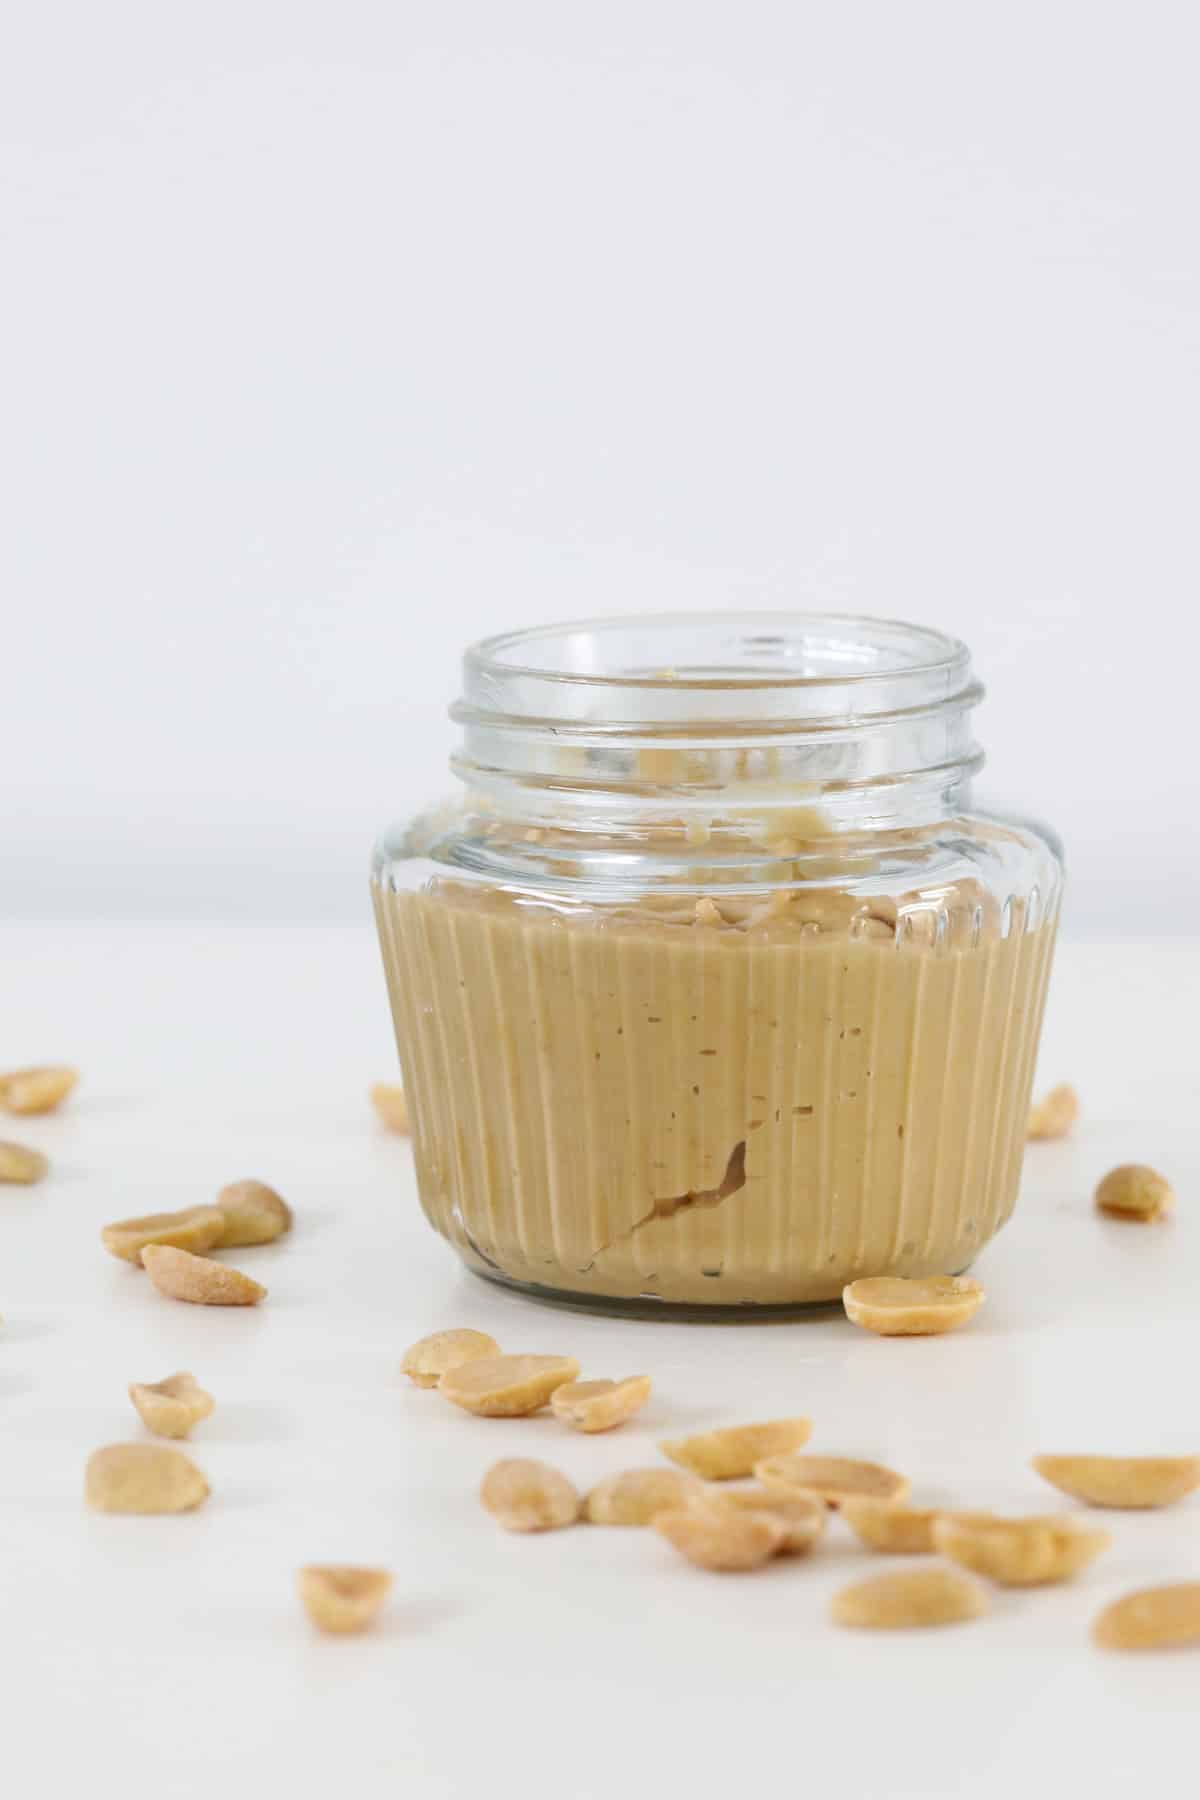
    You can find even more simple recipes in our books and eBooks - shop the full range here.

    ThermoBliss complete set


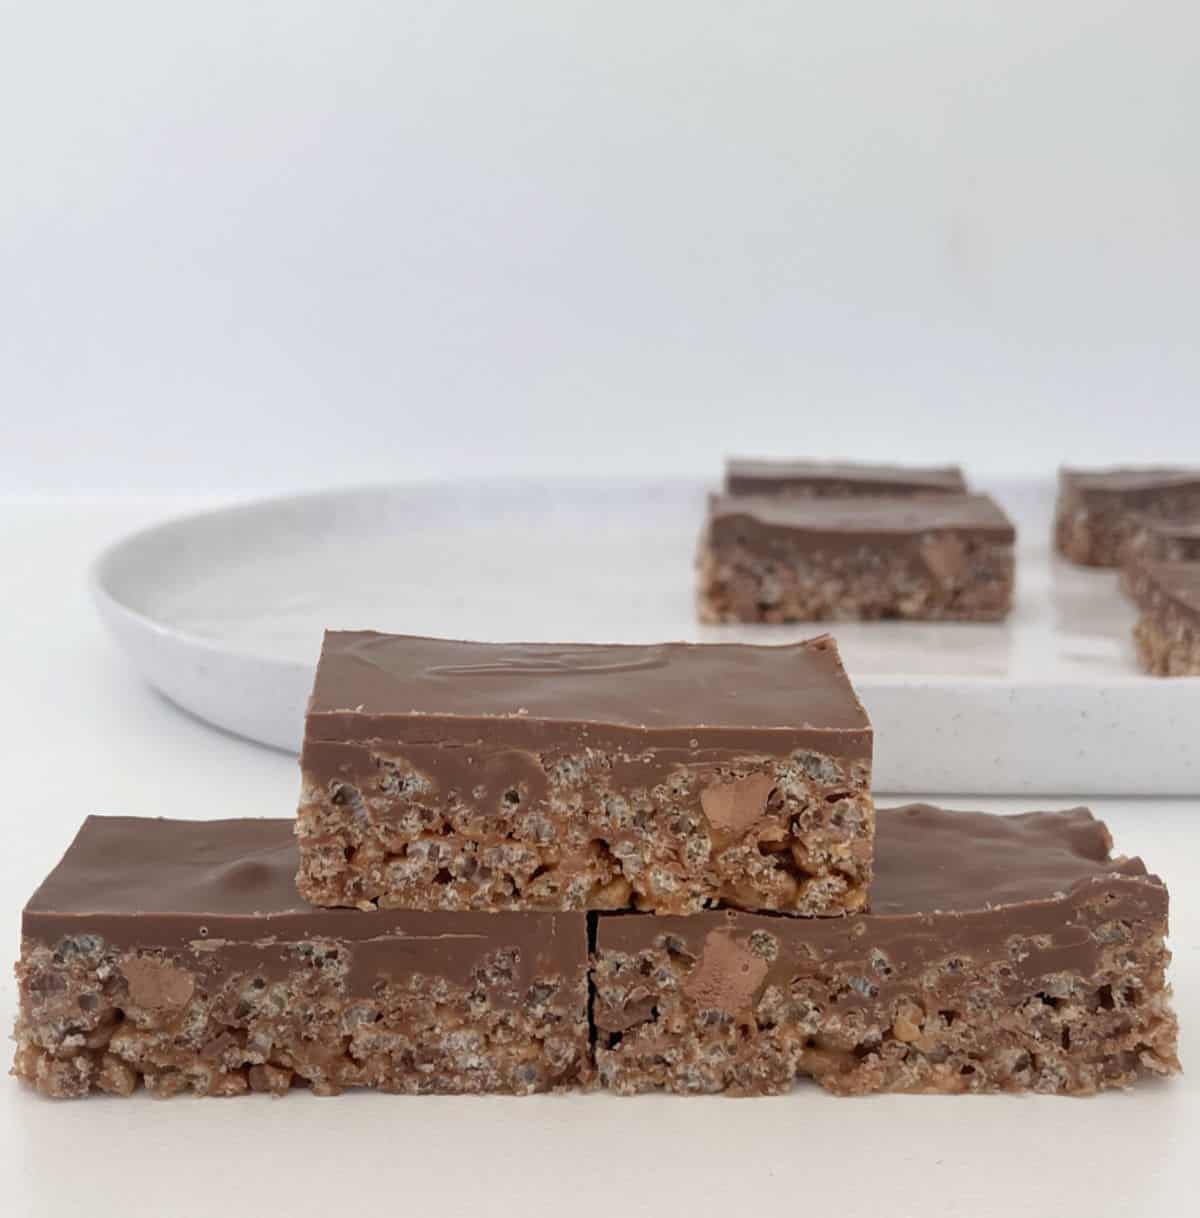
    Thermomix Mars Bar Slice

    February 9, 2015

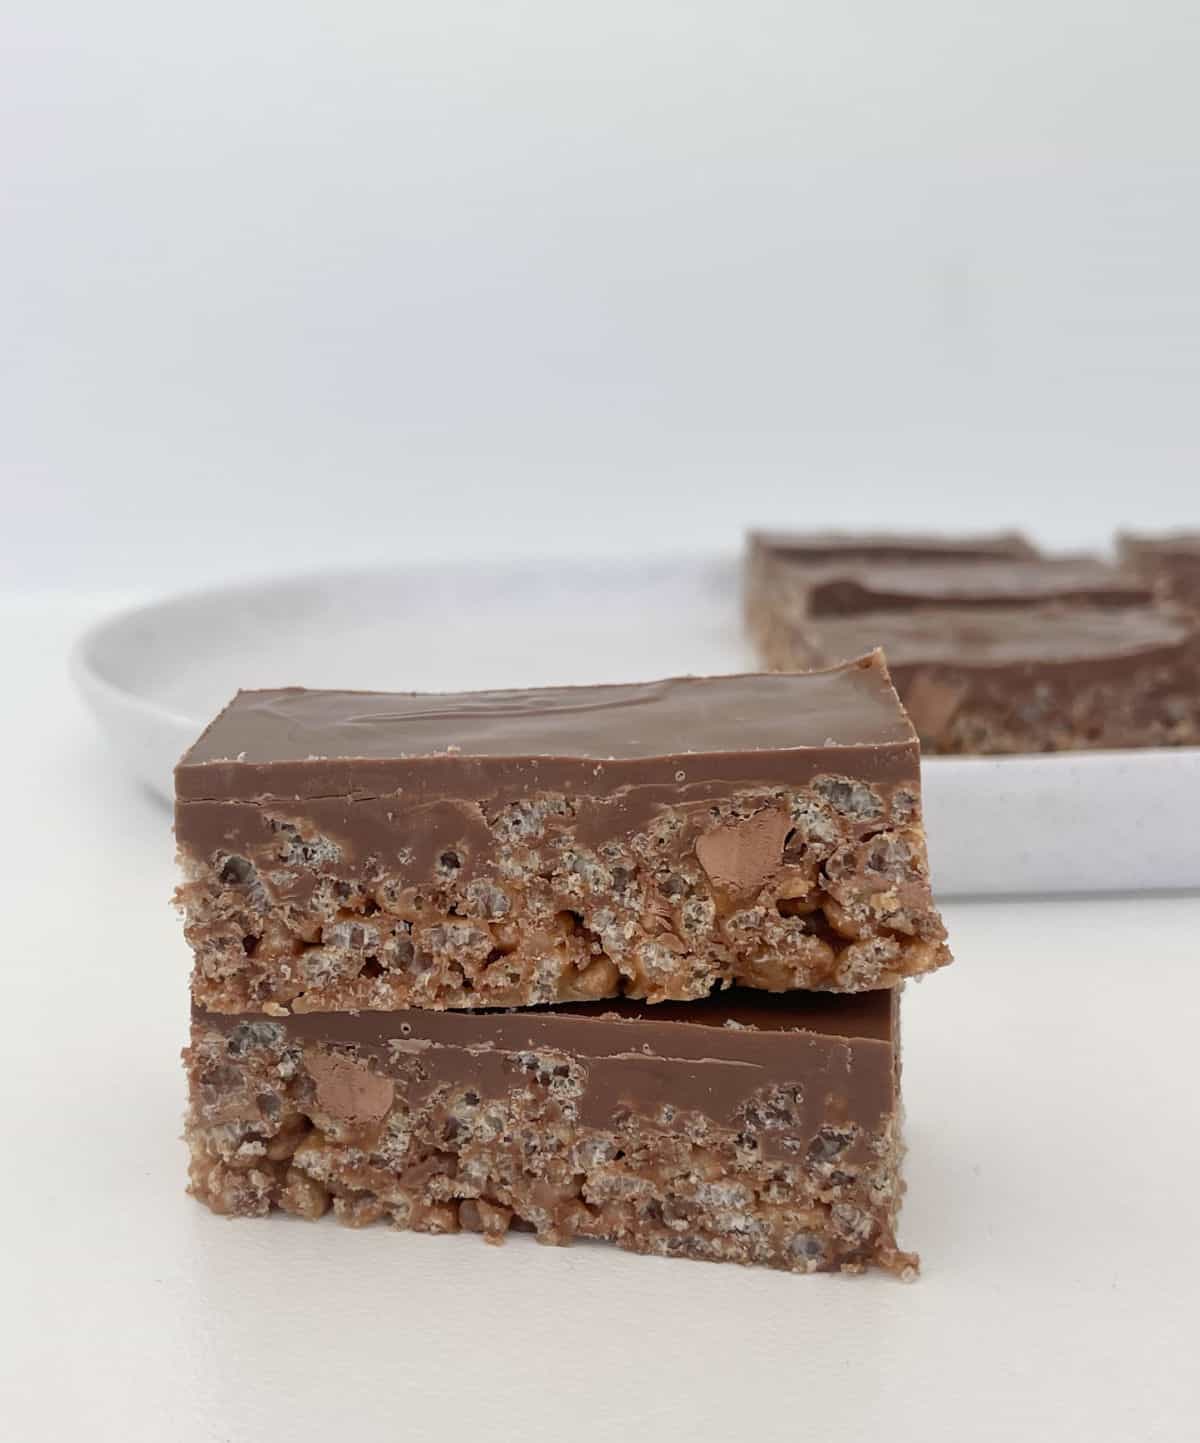
    Two pieces Mars Bar Slice sitting on top of each other.

    Our famous Thermomix Mars Bar Slice recipe is made with just FIVE ingredients and takes less than 10 minutes to prepare!

    This slice is the perfect snack for your next party or special occasion and will be a hit with your family and friend.

    Two pieces Mars Bar Slice sitting on top of each other.

    It really takes no time at all to make this Mars Bar Slice, the hardest part of the recipe is waiting for the slice to set in the fridge!

    Why you will love this recipe

    • Little prep time - It will take you less than 10 minutes to prepare this recipe.
    • Make ahead - Our Mars Bar Slice can be stored in the fridge for up to one week.
    • Few ingredients - You will only need FIVE ingredients to put this recipe together.
    • Party favourite - Everyone will LOVE this sweet slice, making it perfect for your next party or special occasion.
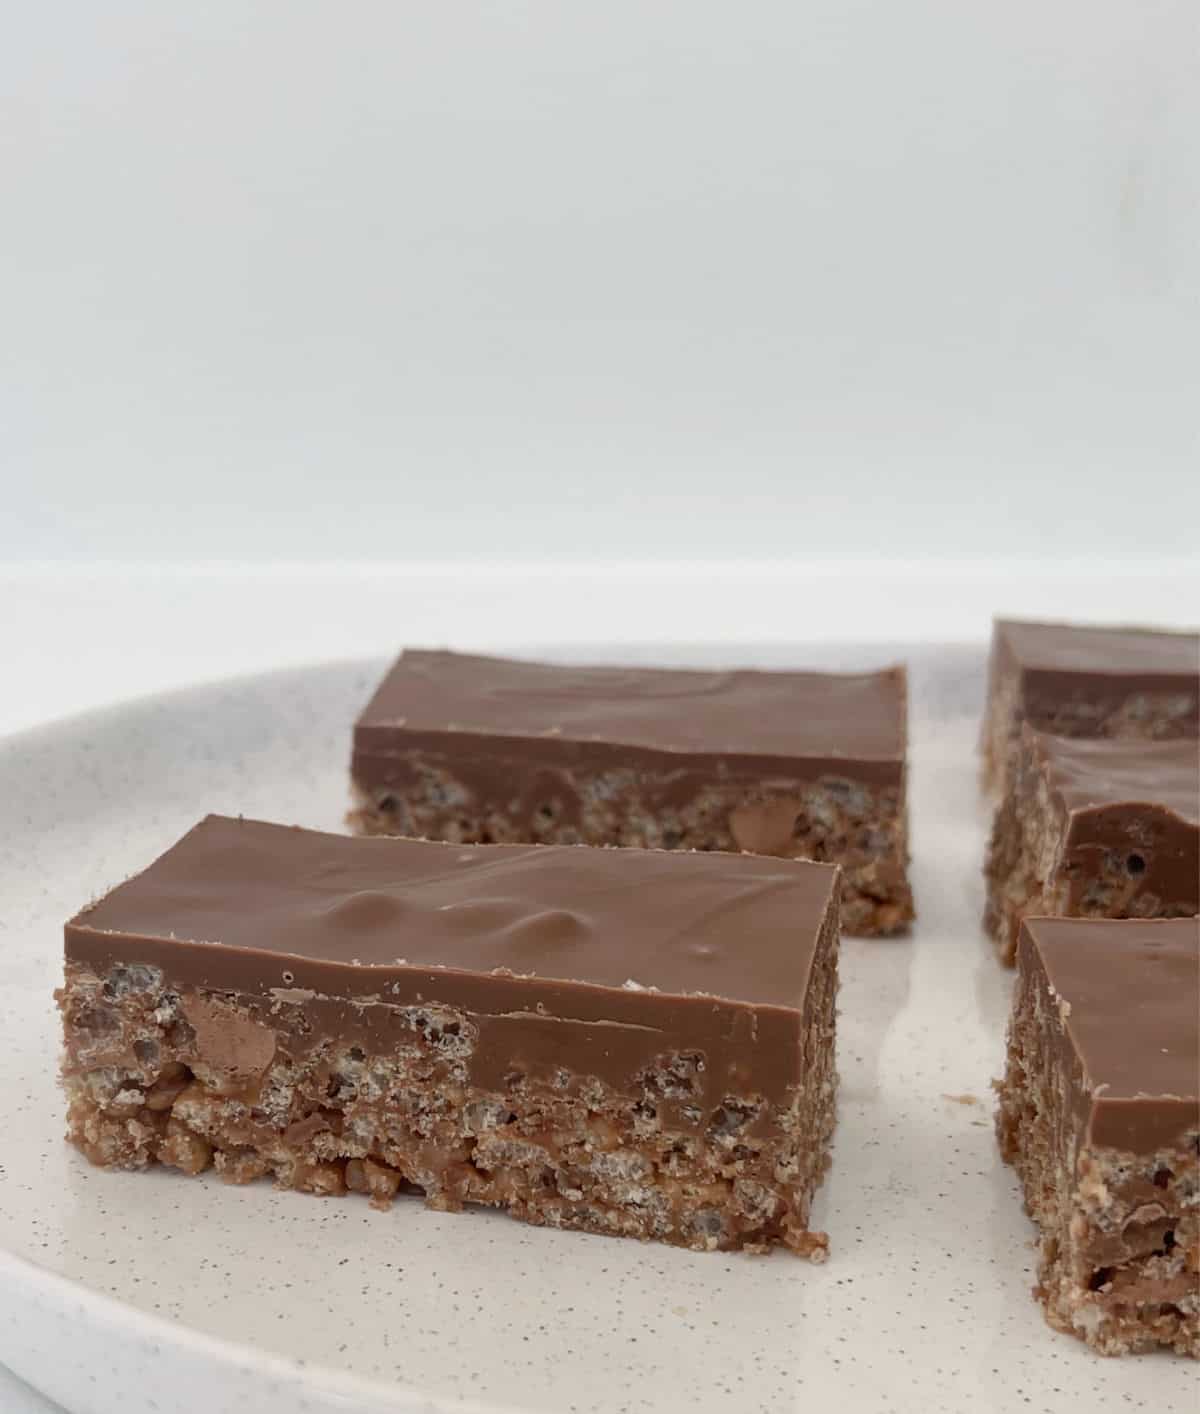
    Side view of Mars Bar Slices pieces sitting on a white serving tray.

    Ingredients

    Please note you will find the full list of ingredients with their quantities plus the method in the recipe card below.

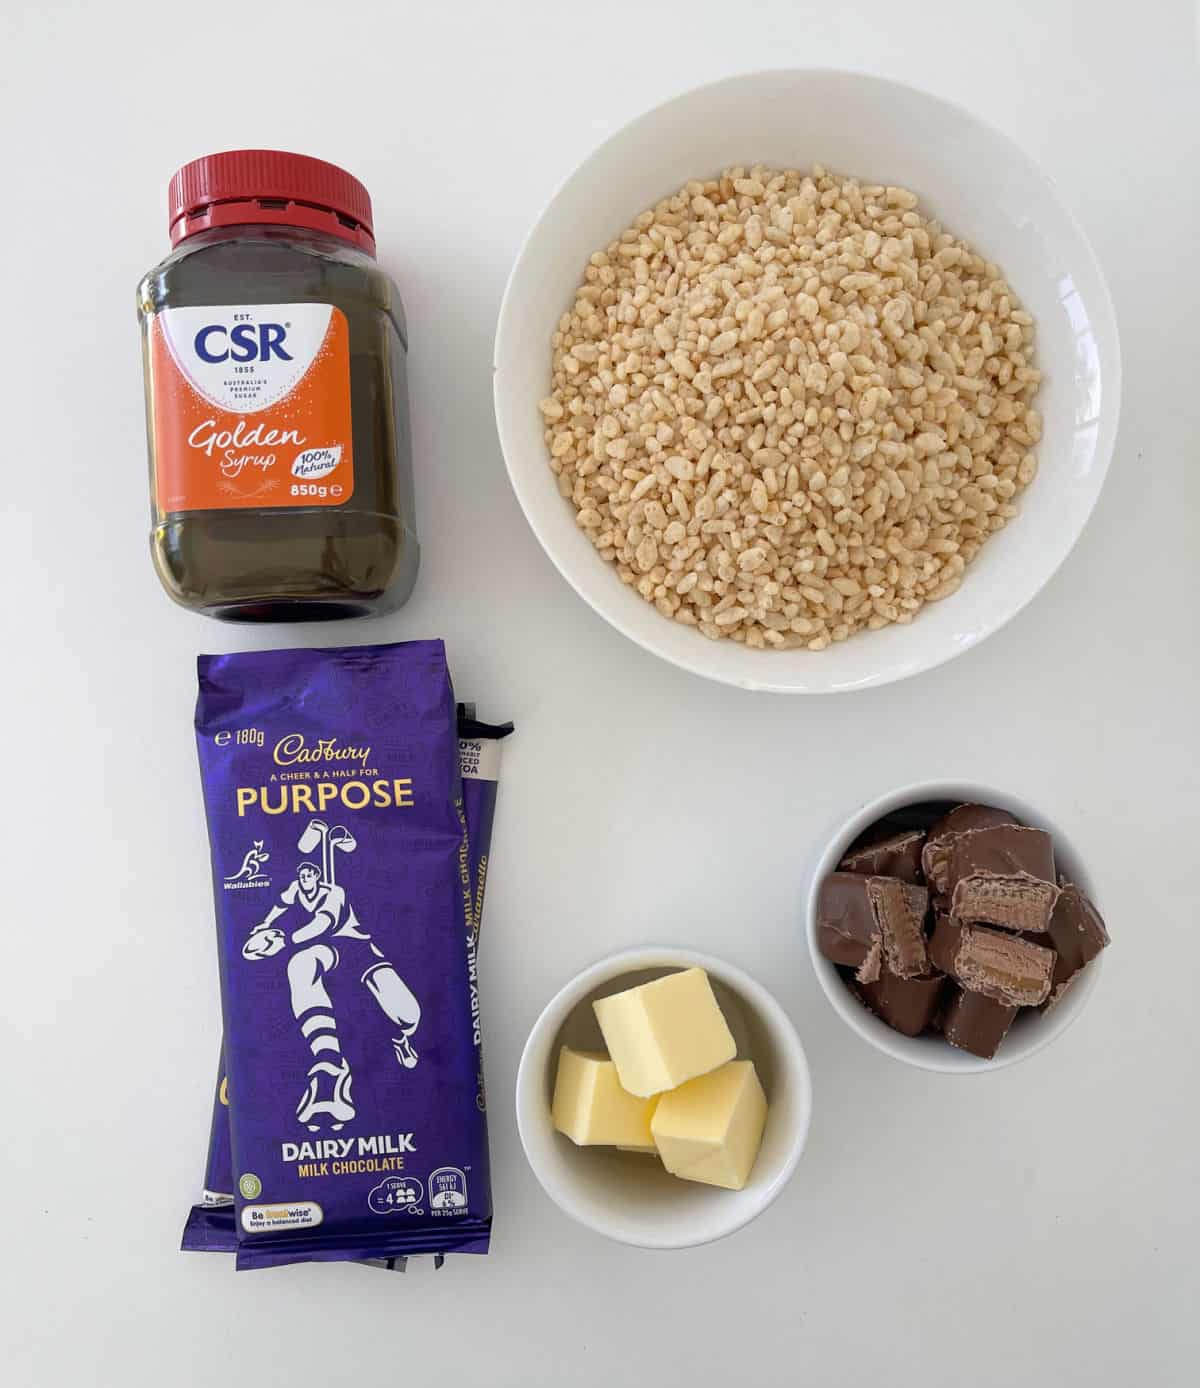
    • Mars Bars - you will need 4 x 47gram Mars Bars for this recipe. You can use the same quantity of fun size Mars Bars.
    • Butter - we use unsalted butter.
    • Rice Bubbles - any brand of rice cereal can be used.
    • Golden Syrup - although honey can be used, we recommend using Golden Syrup.
    • Milk Chocolate - either a block of chocolate or chocolate melts can be used.
    Ingredients to make Mars Bar Slice

    Method

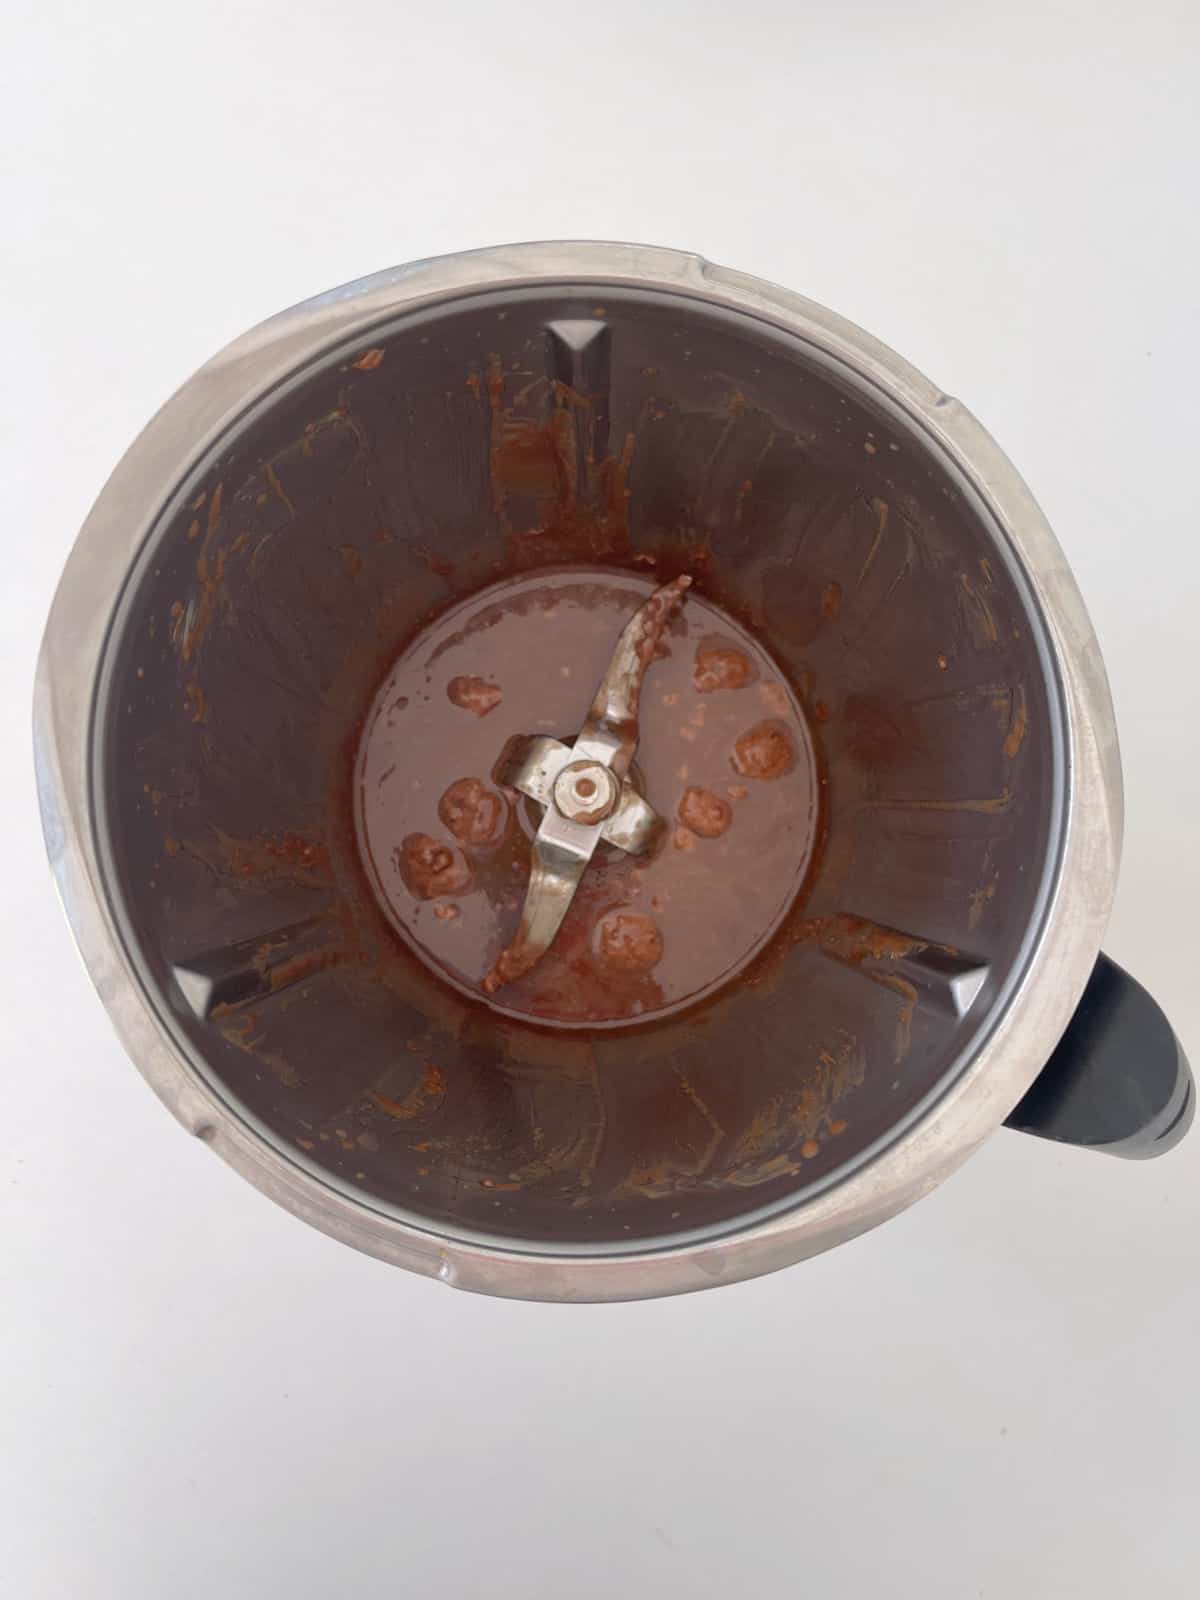
    Step 1. Melt the butter, golden syrup and 3 of the Mars Bars in your Thermomix bowl.

    Melted butter, golden syrup and mars bars in a thermomix bowl.

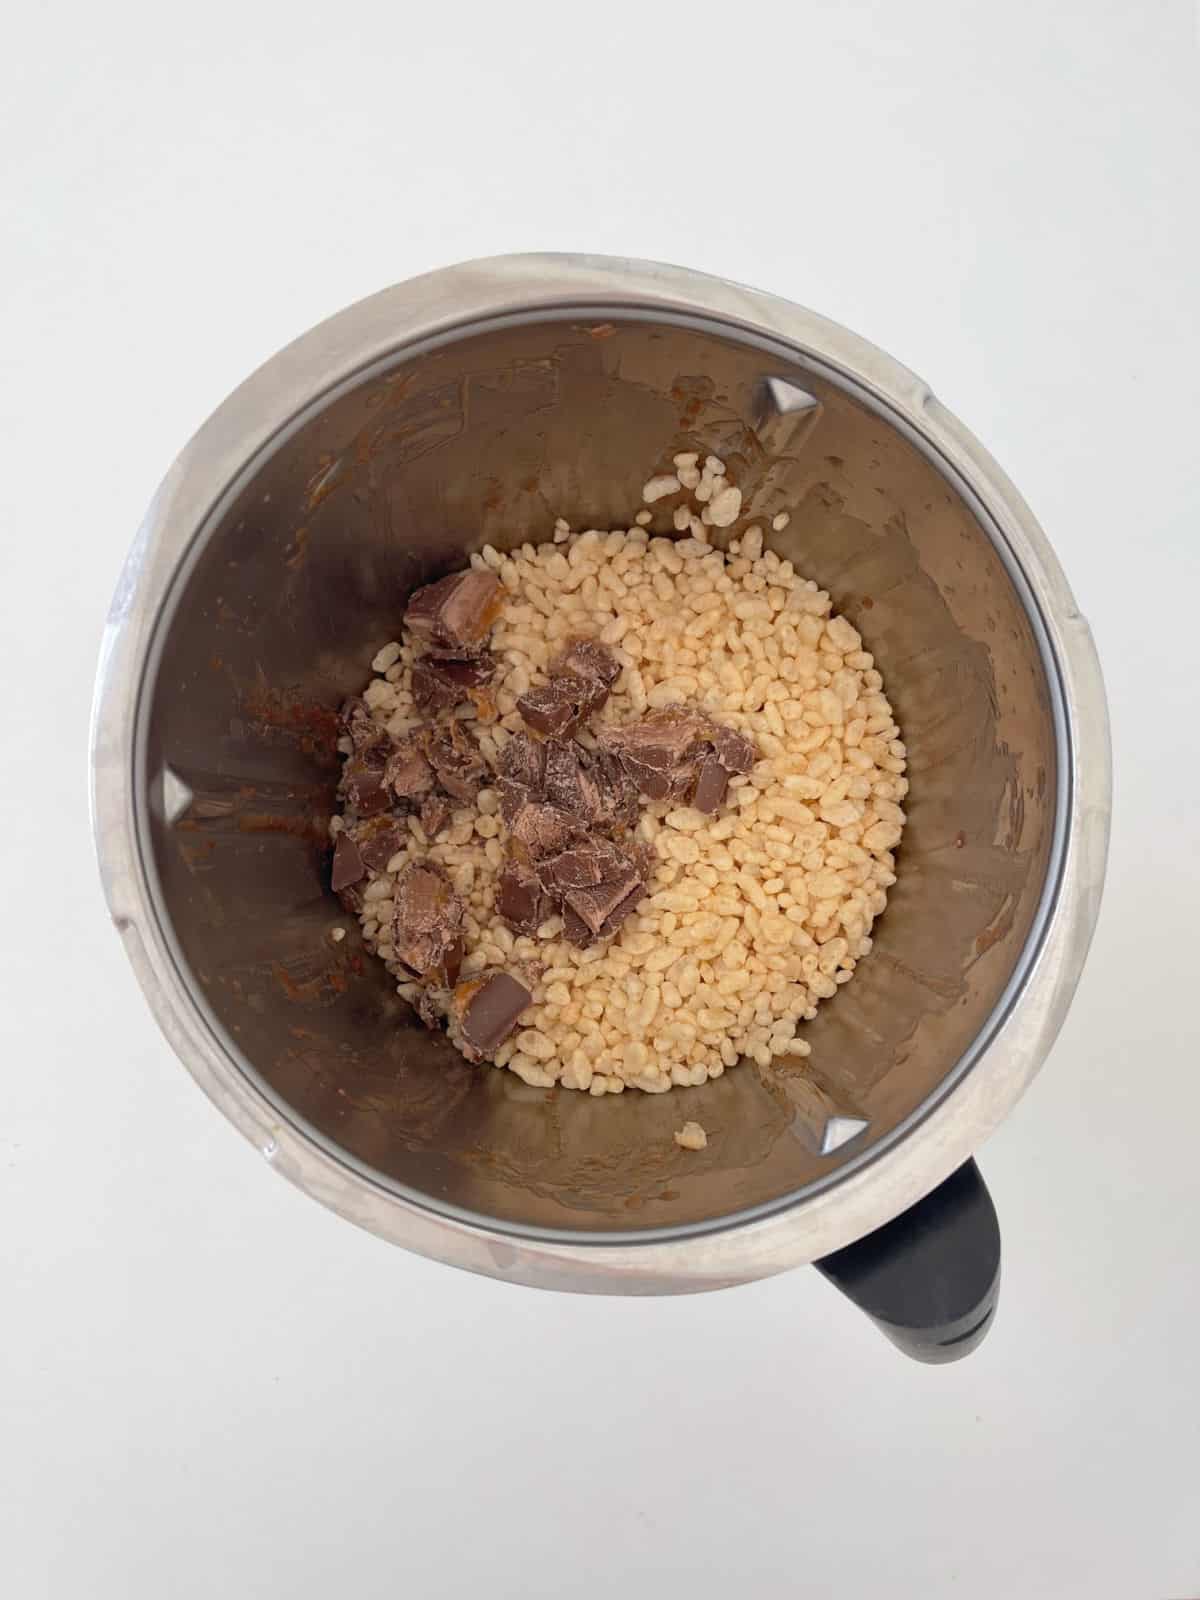
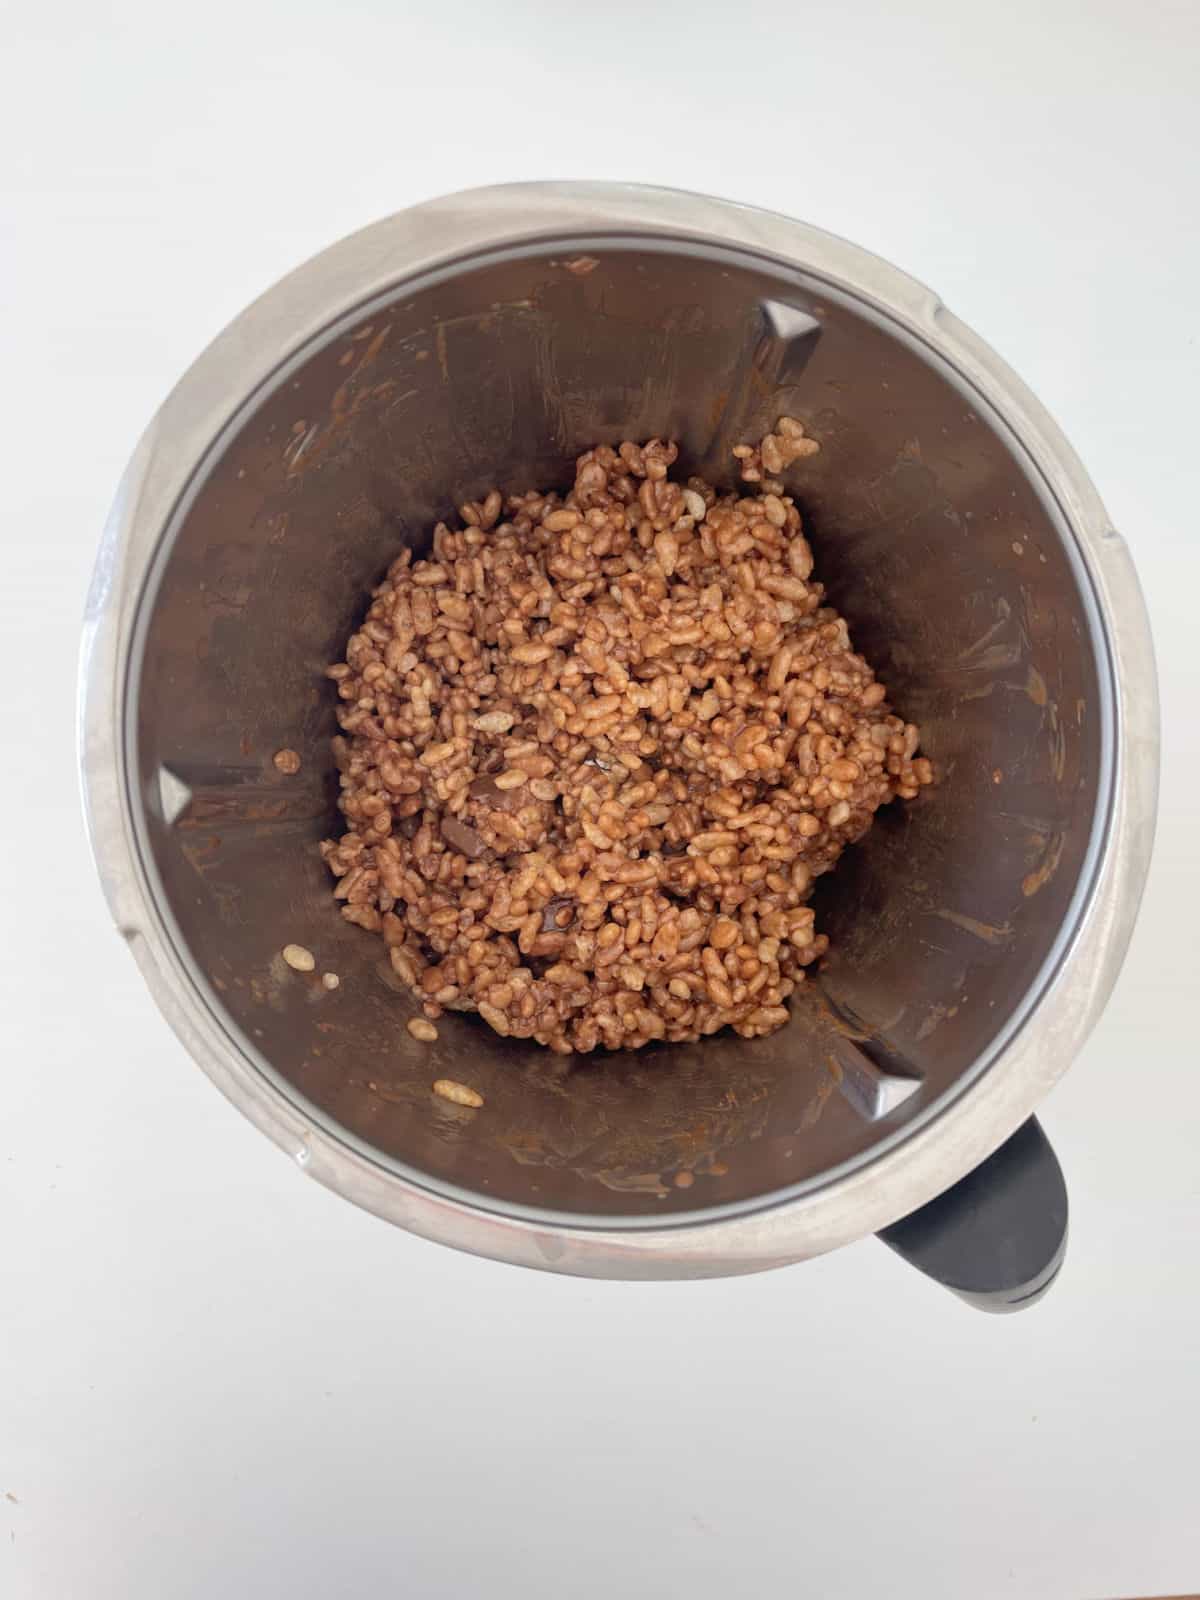
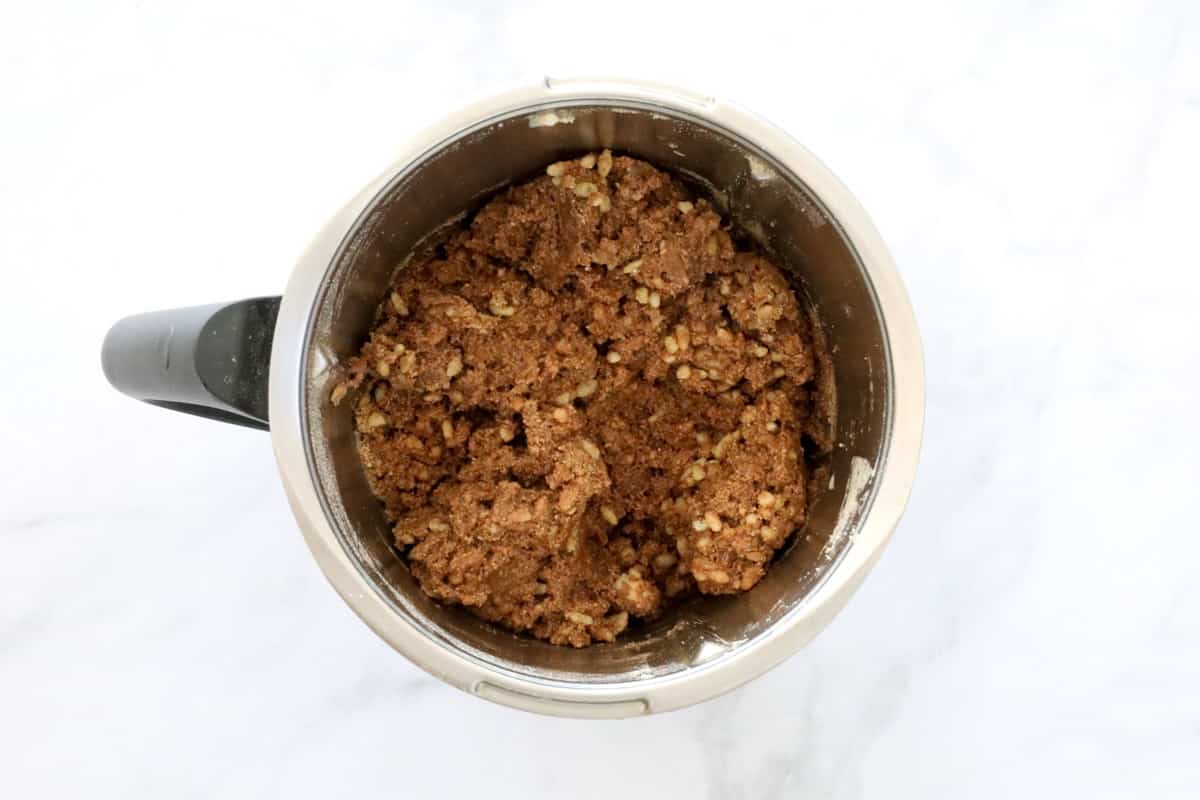
    Step 2. Add the remaining chopped Mars Bar and the rice bubbles and mix to combine.

    Mars Bar Slice ingredients in a thermomix bowl before being combined.
    Combined Mars Bar Slice ingredients in a thermomix bowl.

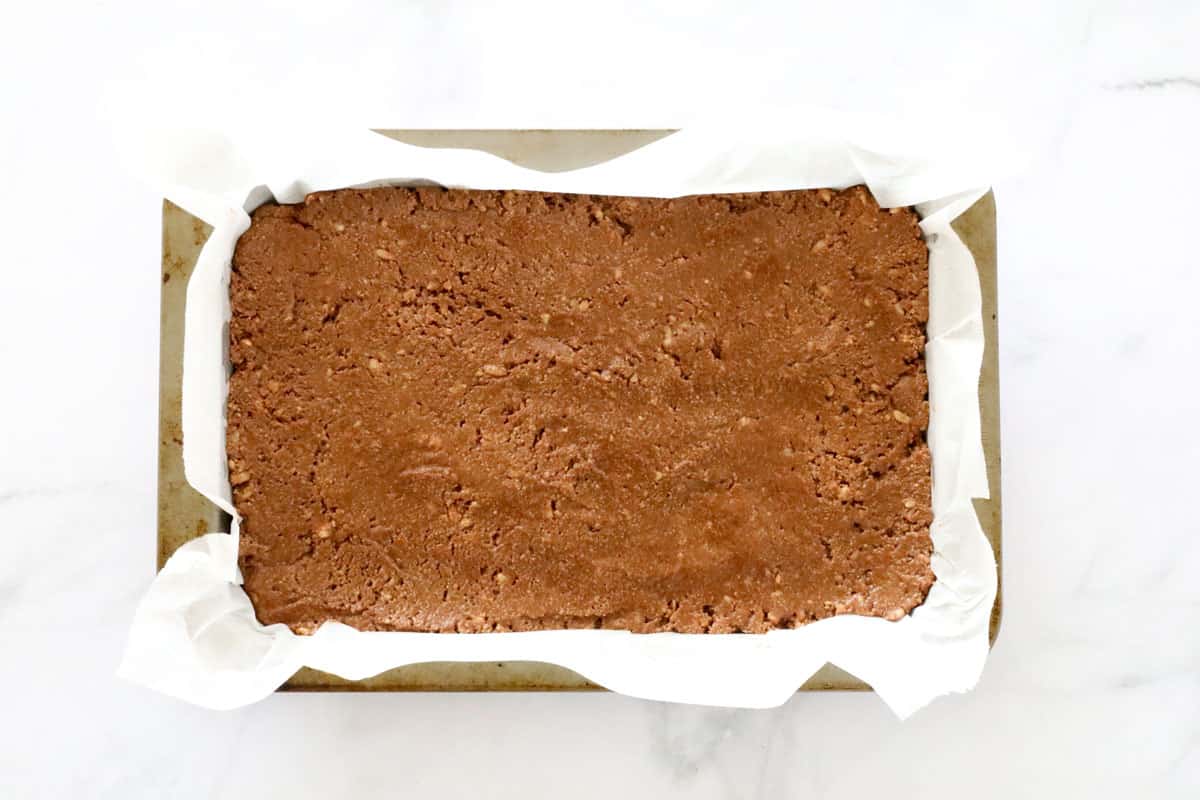
    Step 3. Transfer the slice to a lined slice tray and gently smooth the surface.

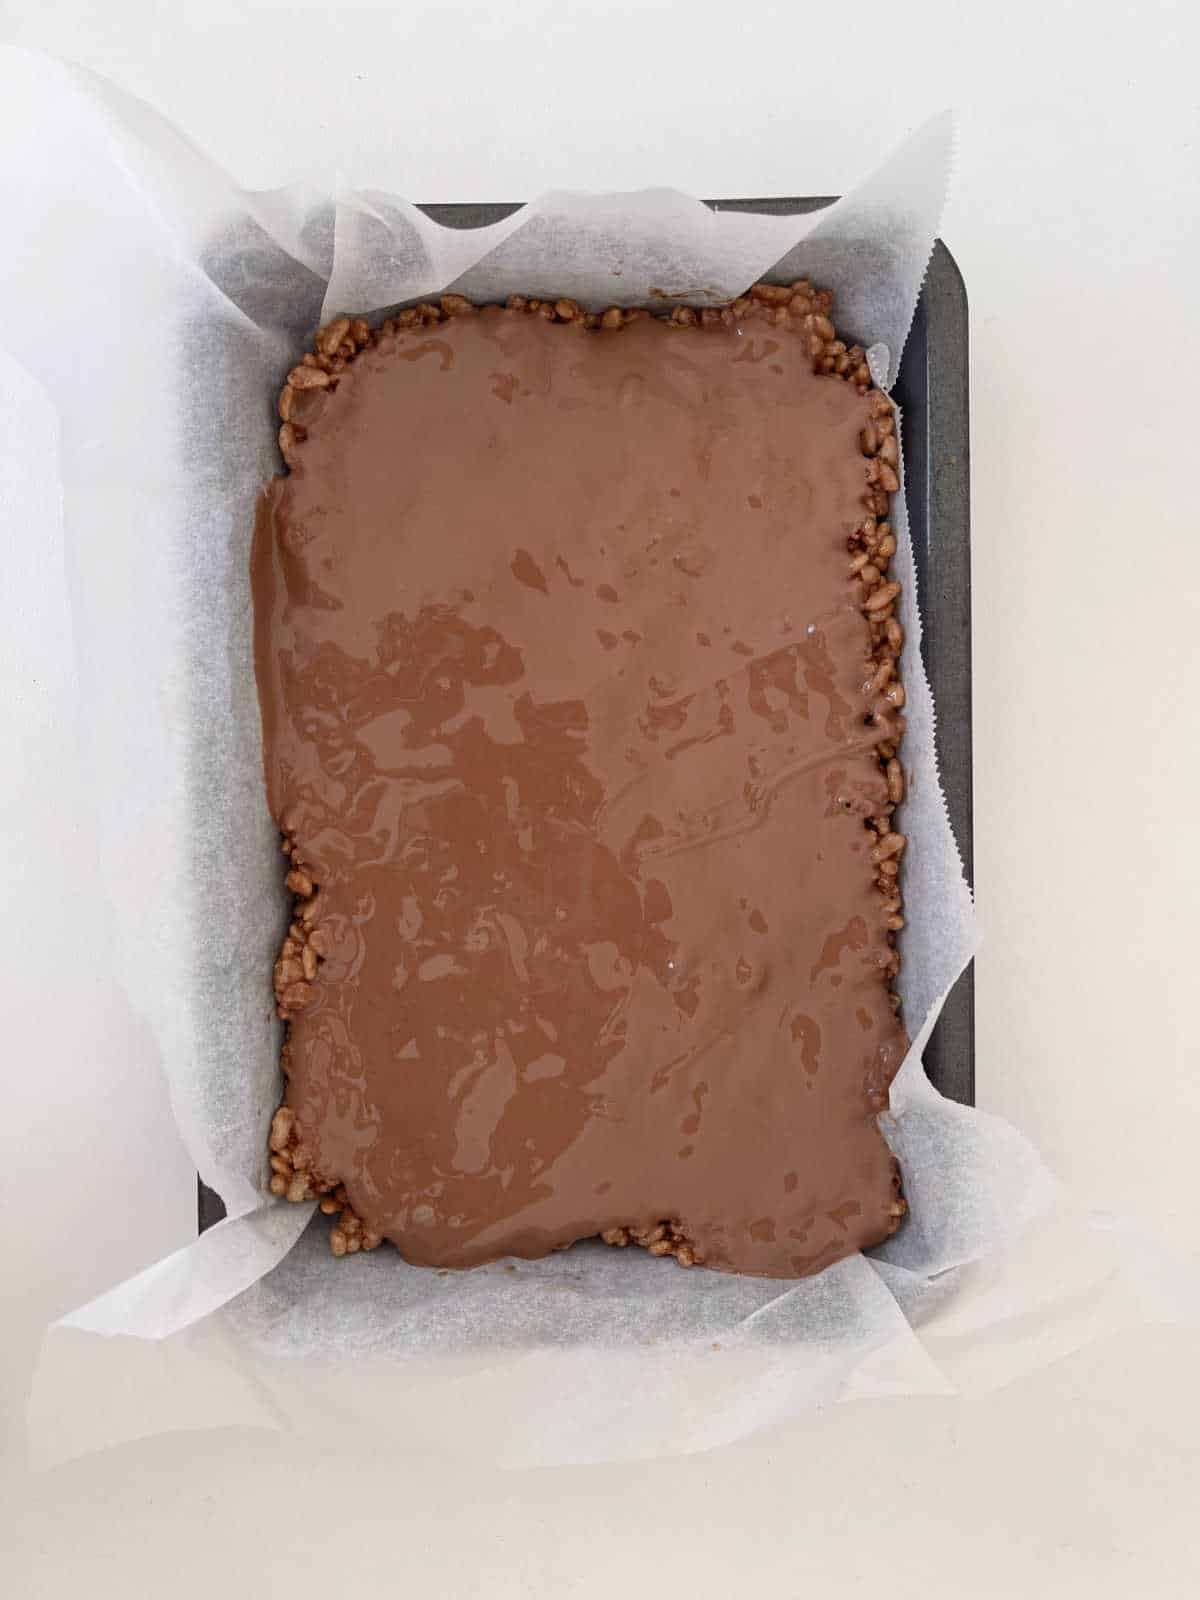
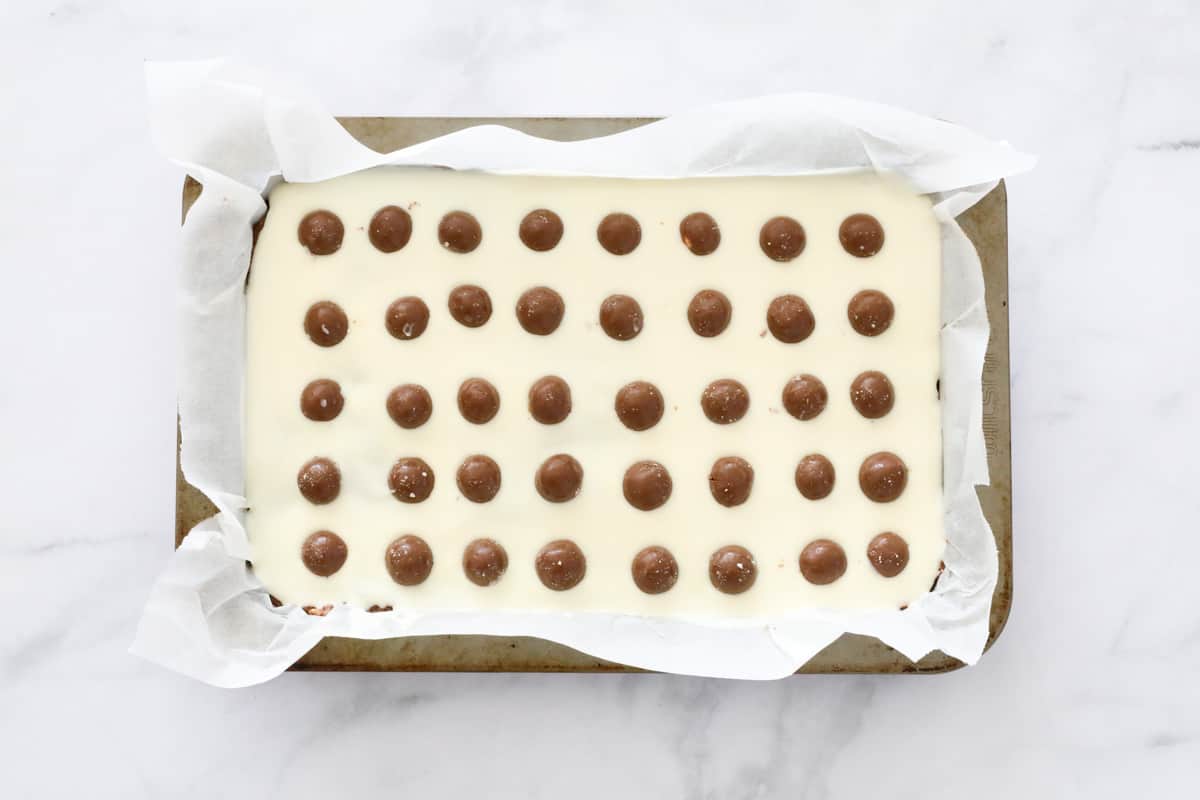
    Step 4. Pour melted chocolate onto the slice and place into the fridge to set.

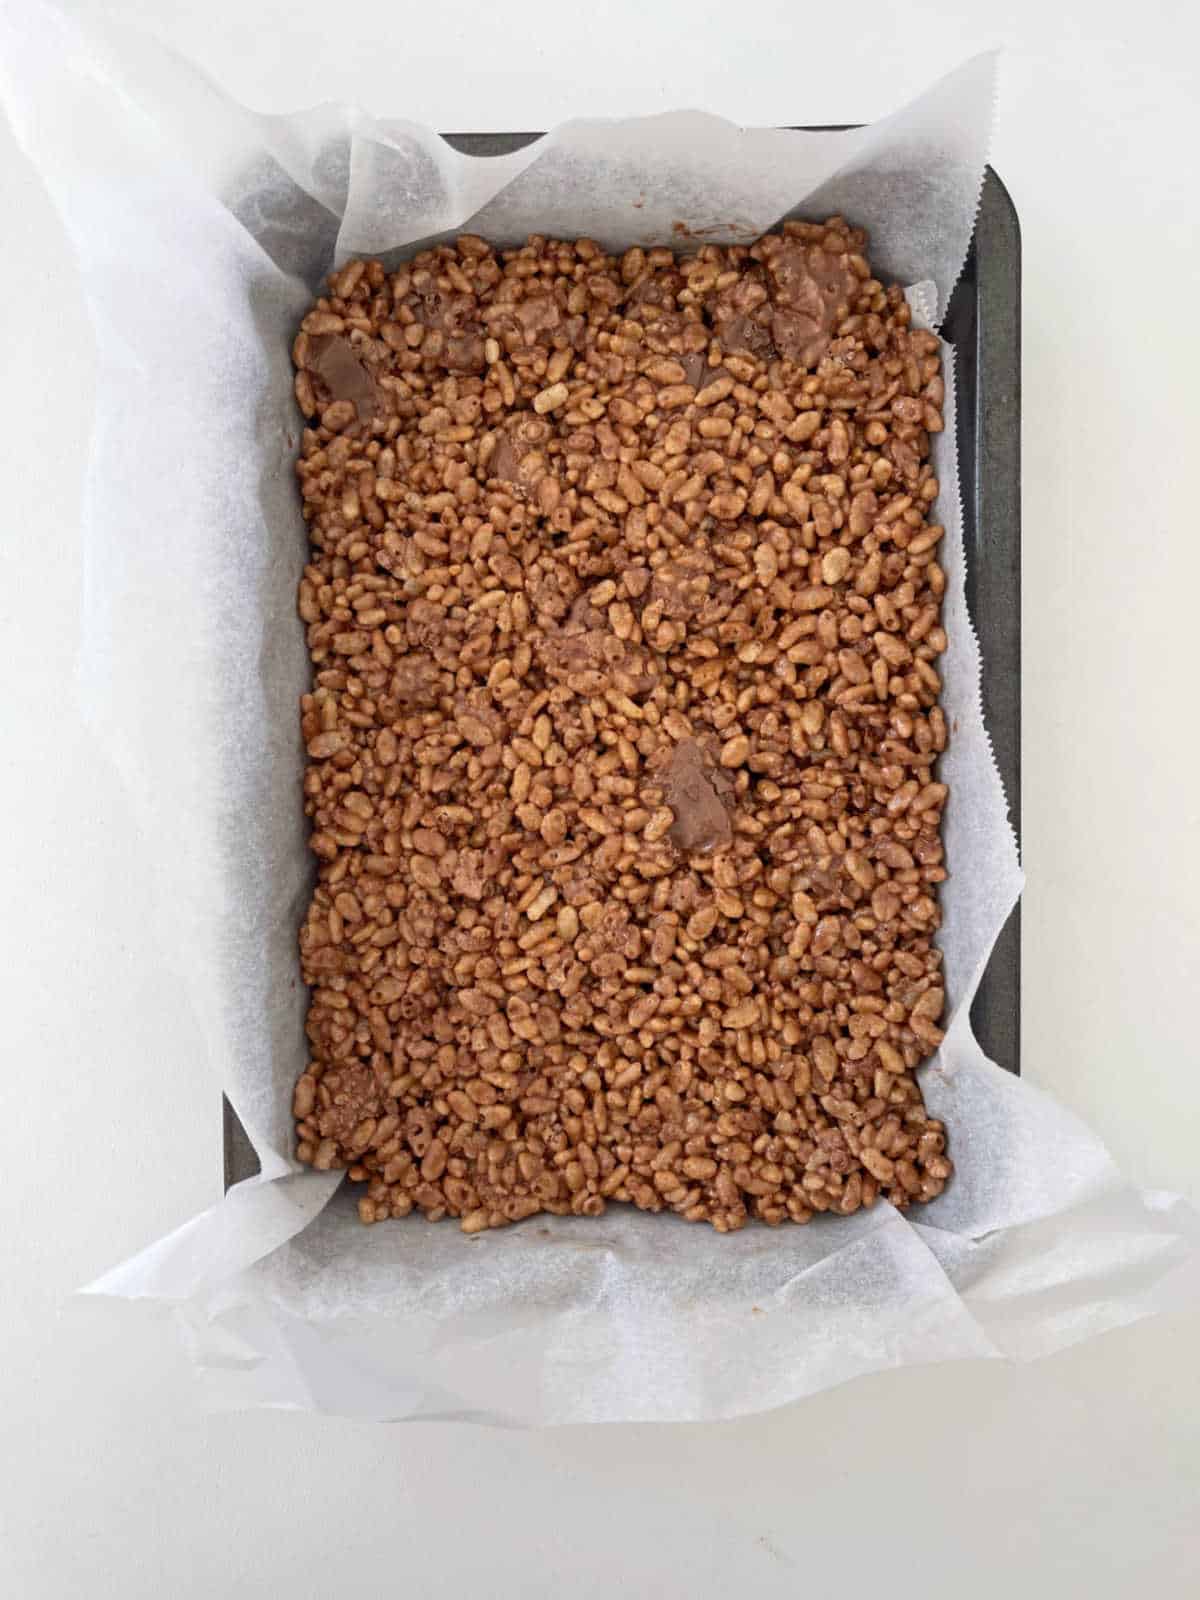
    Mars bar slice in a lined baking dish ready to be topped with chocolate.
    Mars Bar Slice in a baking dish ready to go into the fridge.

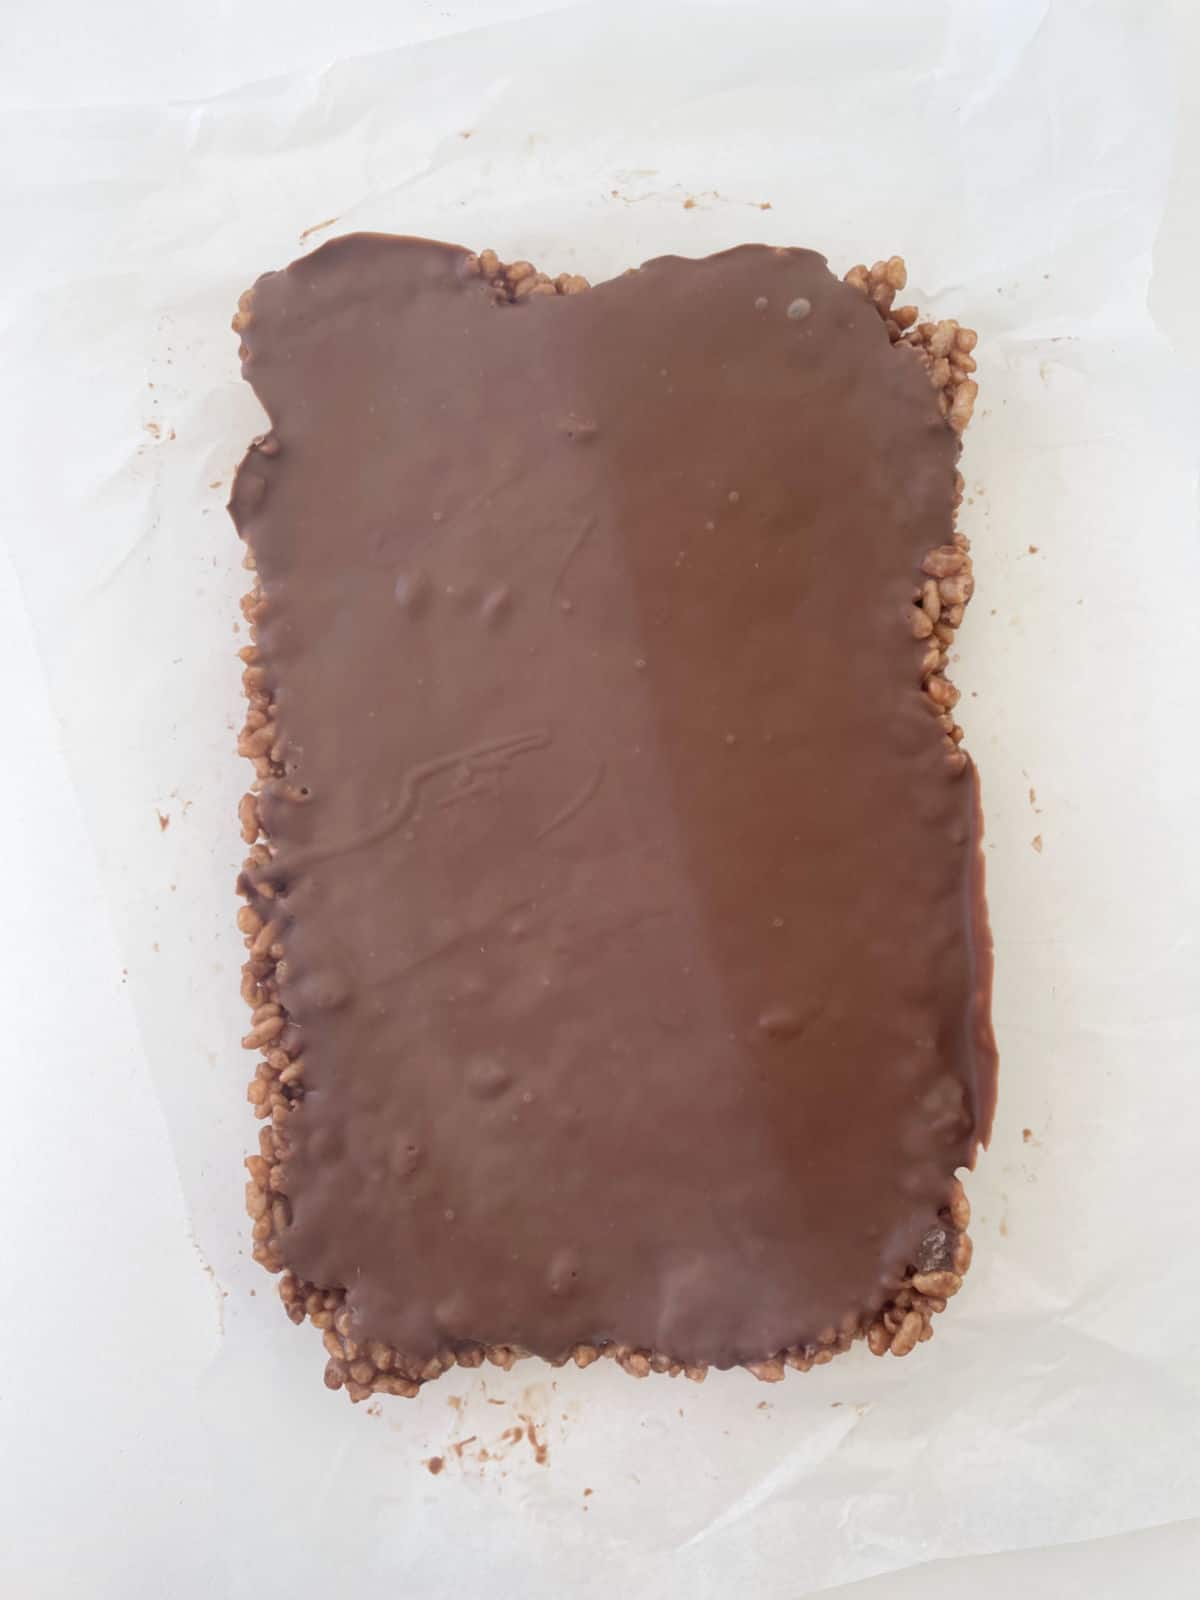
    Step 5. Remove the slice from the fridge once set. Allow it to sit at room temperature for 20 minutes.

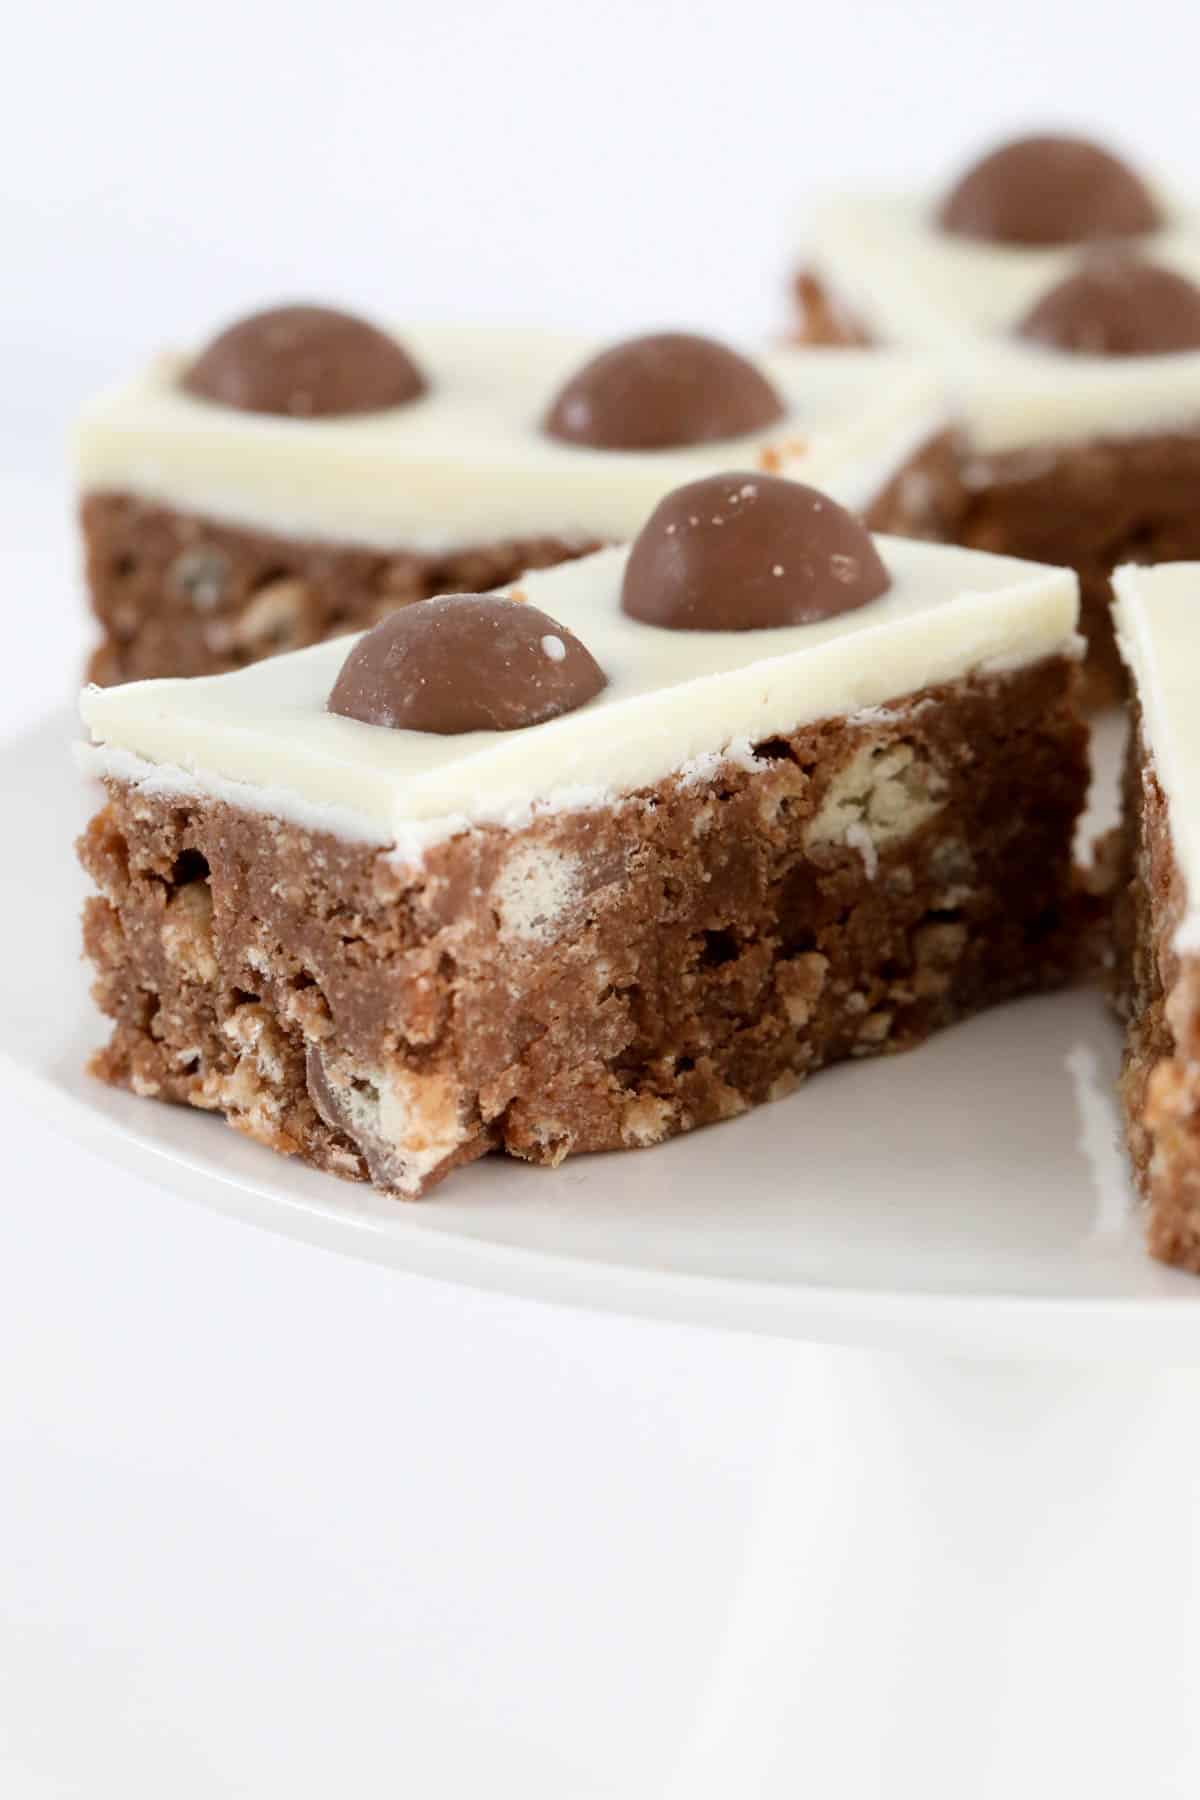
    Set slab of Mars Bar Slice before being cut into pieces.

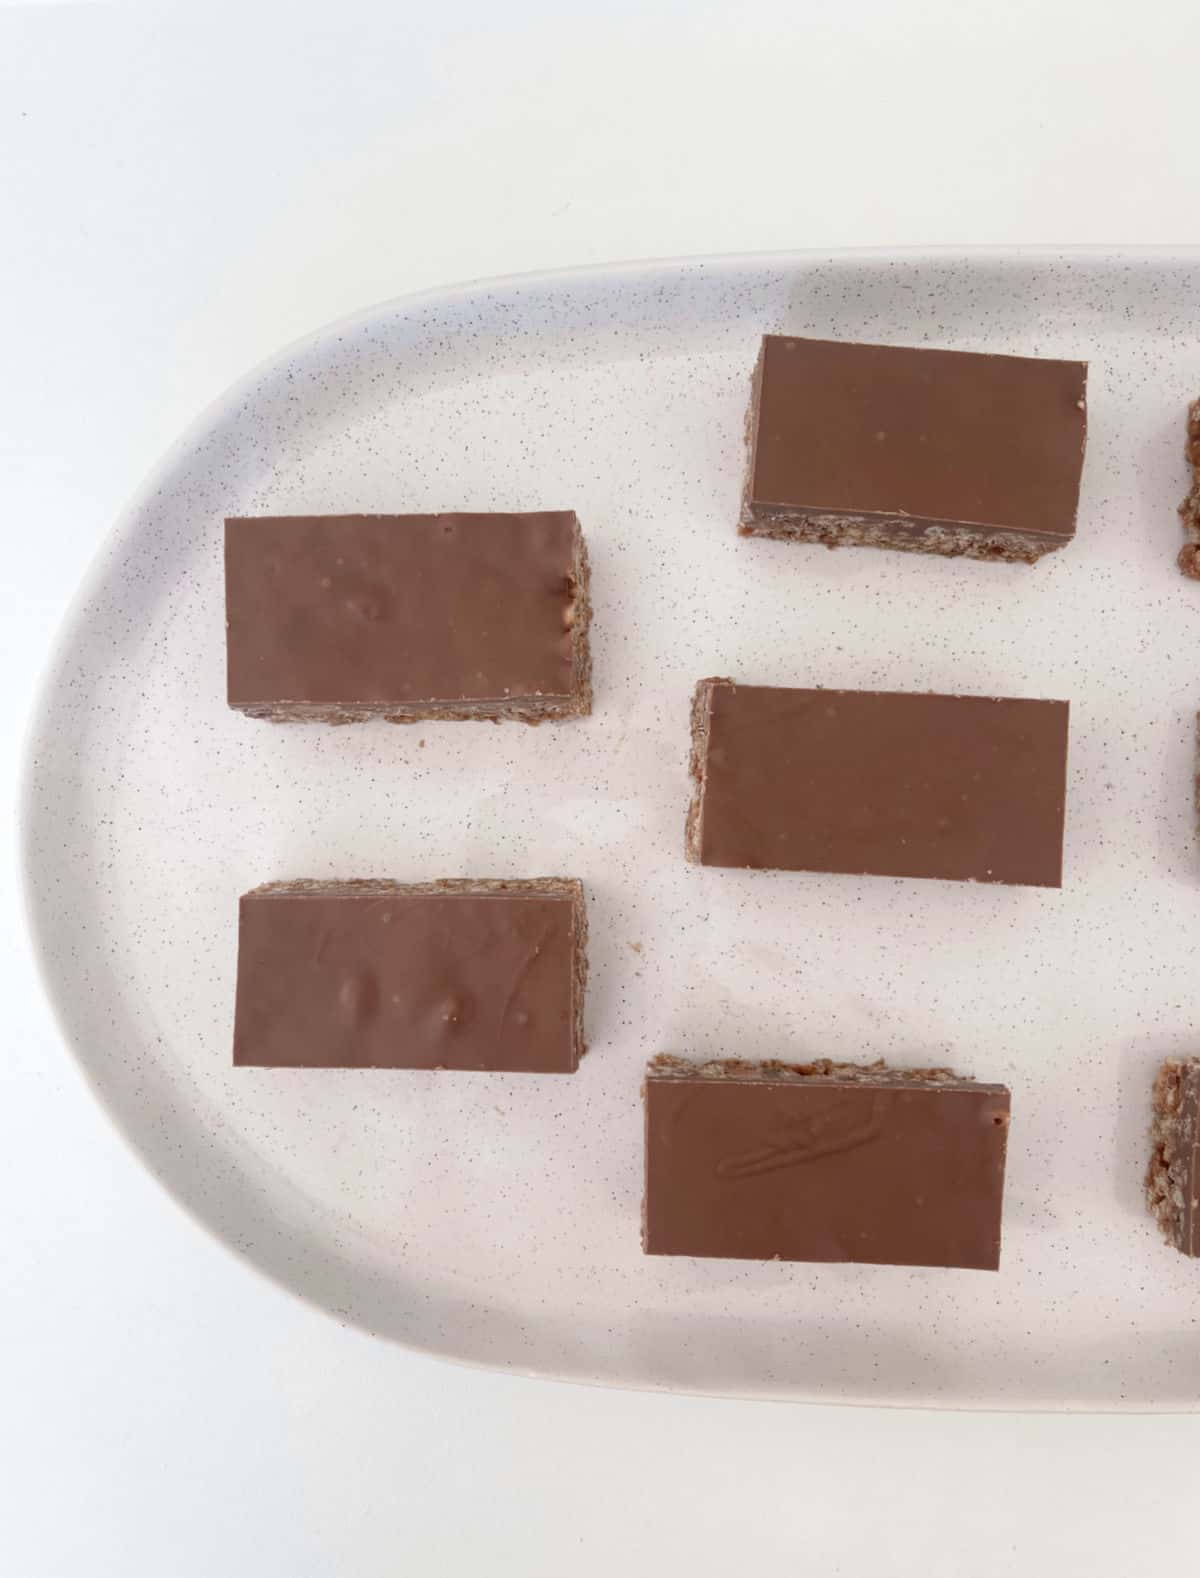
    Step 6. Slice into pieces and store in the fridge until needed.

    Overhead view of mars bar slices pieces sitting on a white speckled serving tray.

    Recipe Hints and Tips

    • The same quantity of fun sized Mars Bars can also be used.
    • Any type of puffed rice cereal can be used for this recipe.
    • Either chocolate melts or a block of chocolate can be used.
    • You can use different sized/shaped baking dishes for this recipe, please note this will change the depth of the slice and also the time it takes to set.
    • We like to remove the Mars Bar Slice from the fridge about 20 minutes before slicing, as this makes it less likely for the chocolate layer to crack when cutting into small pieces.
    • We also recommend using a small and slightly serrated knife to get those perfect little slices.
    • To store, place in an airtight container and store in the fridge for up to one week.
    • This slice is NOT freezer friendly.
    Why is my Mars Bar Slice too hard?
    To assist cutting into small pieces without cracking, let the Mars Bar Slice sit at room temperature for 20 minutes before cutting. We also recommend doing this before consuming.

    How long will Mars Bar Slice keep in the fridge?

    Keep this Mars Bar Slice in the fridge for up to one week.

    Three pieces of Mars Bar Slice sitting on top of each other.

    You may also enjoy:

    • Thermomix Snickers Slice
    • Thermomix Honey Almond Slice
    • Thermomix Rice Bubble Bars
    • Licorice Allsort Slice
    • Jelly Slice Recipe by Thermobliss
    • Thermomix Coconut Ice
    • Easy Peppermint Slice
    Two pieces Mars Bar Slice sitting on top of each other.
    Print Recipe
    5 from 10 votes

    Mars Bar Slice

    With 10 minutes prep time and just five ingredients, you are going to LOVE our Thermomix Mars Bar Slice recipe!
    Prep Time10 minutes mins
    Setting Time2 hours hrs
    Total Time10 minutes mins
    Course: Desserts
    Cuisine: Australian
    Servings: 16 pieces
    Calories: 180kcal
    Author: Lucy & Lauren

    Equipment

    • 1 x 18x28cm Slice Tray

    Ingredients

    • 90 grams rice bubbles
    • 4 Mars Bars 47 gram bars
    • 75 grams butter
    • 1 teaspoon golden syrup
    • 200 grams milk chocolate

    Instructions

    • Grease and line an 18 x 28cm slice tray with baking paper.
    • Roughly chop 3 of the Mars Bars and place in Thermomix bowl along with the butter and golden syrup/
    • Cook for 3 minutes, 60 degrees, speed 2. Scrape down the sides of the bowl.
    • Chop the remaining Mars Bar in to small pieces and add it along with the rice bubbles to the Thermomix bowl. Mix for 15 seconds, speed 2, REVERSE or until completely combined.
    • Transfer the mixture to the prepared slice tin and gently press down to smooth the surface.
    • Add the chocolate to a clean Thermomix bowl. Cook for 3 minutes, 50 degrees, speed 2 or until melted.
    • Pour the melted chocolate over the slice and place into the fridge for 2 hours or until set.
    • Once set, allow the slice to sit at room temperature for 20 minutes before cutting into pieces.

    Notes

    • The same quantity of fun sized Mars Bars can also be used.
    • Any type of puffed rice cereal can be used for this recipe.
    • Either chocolate melts or a block of chocolate can be used.
    • Different sized/shaped baking dishes can be used for this recipe, please note this will change the depth of the slice and also the time it takes to set.
    • We like to remove the Mars Bar Slice from the fridge about 20 minutes before slicing, as this makes it less likely for the chocolate layer to crack when cutting into small pieces.
    • We also recommend using a small and slightly serrated knife to get those perfect little slices.
    • To store, place in an airtight container and store in the fridge for up to one week.
    • This slice is NOT freezer friendly.

    Nutrition

    Calories: 180kcal | Carbohydrates: 22g | Protein: 1g | Fat: 10g | Saturated Fat: 6g | Polyunsaturated Fat: 0.3g | Monounsaturated Fat: 3g | Trans Fat: 0.2g | Cholesterol: 11mg | Sodium: 54mg | Potassium: 60mg | Fiber: 1g | Sugar: 15g | Vitamin A: 131IU | Vitamin C: 0.1mg | Calcium: 20mg | Iron: 1mg

    Looking for more?

    You can find more simple and delicious recipes in our books and eBooks, shop the range here.

    ThermoBliss complete set

    Thermomix Peanut Butter Recipe | 1 Ingredient

    February 4, 2015

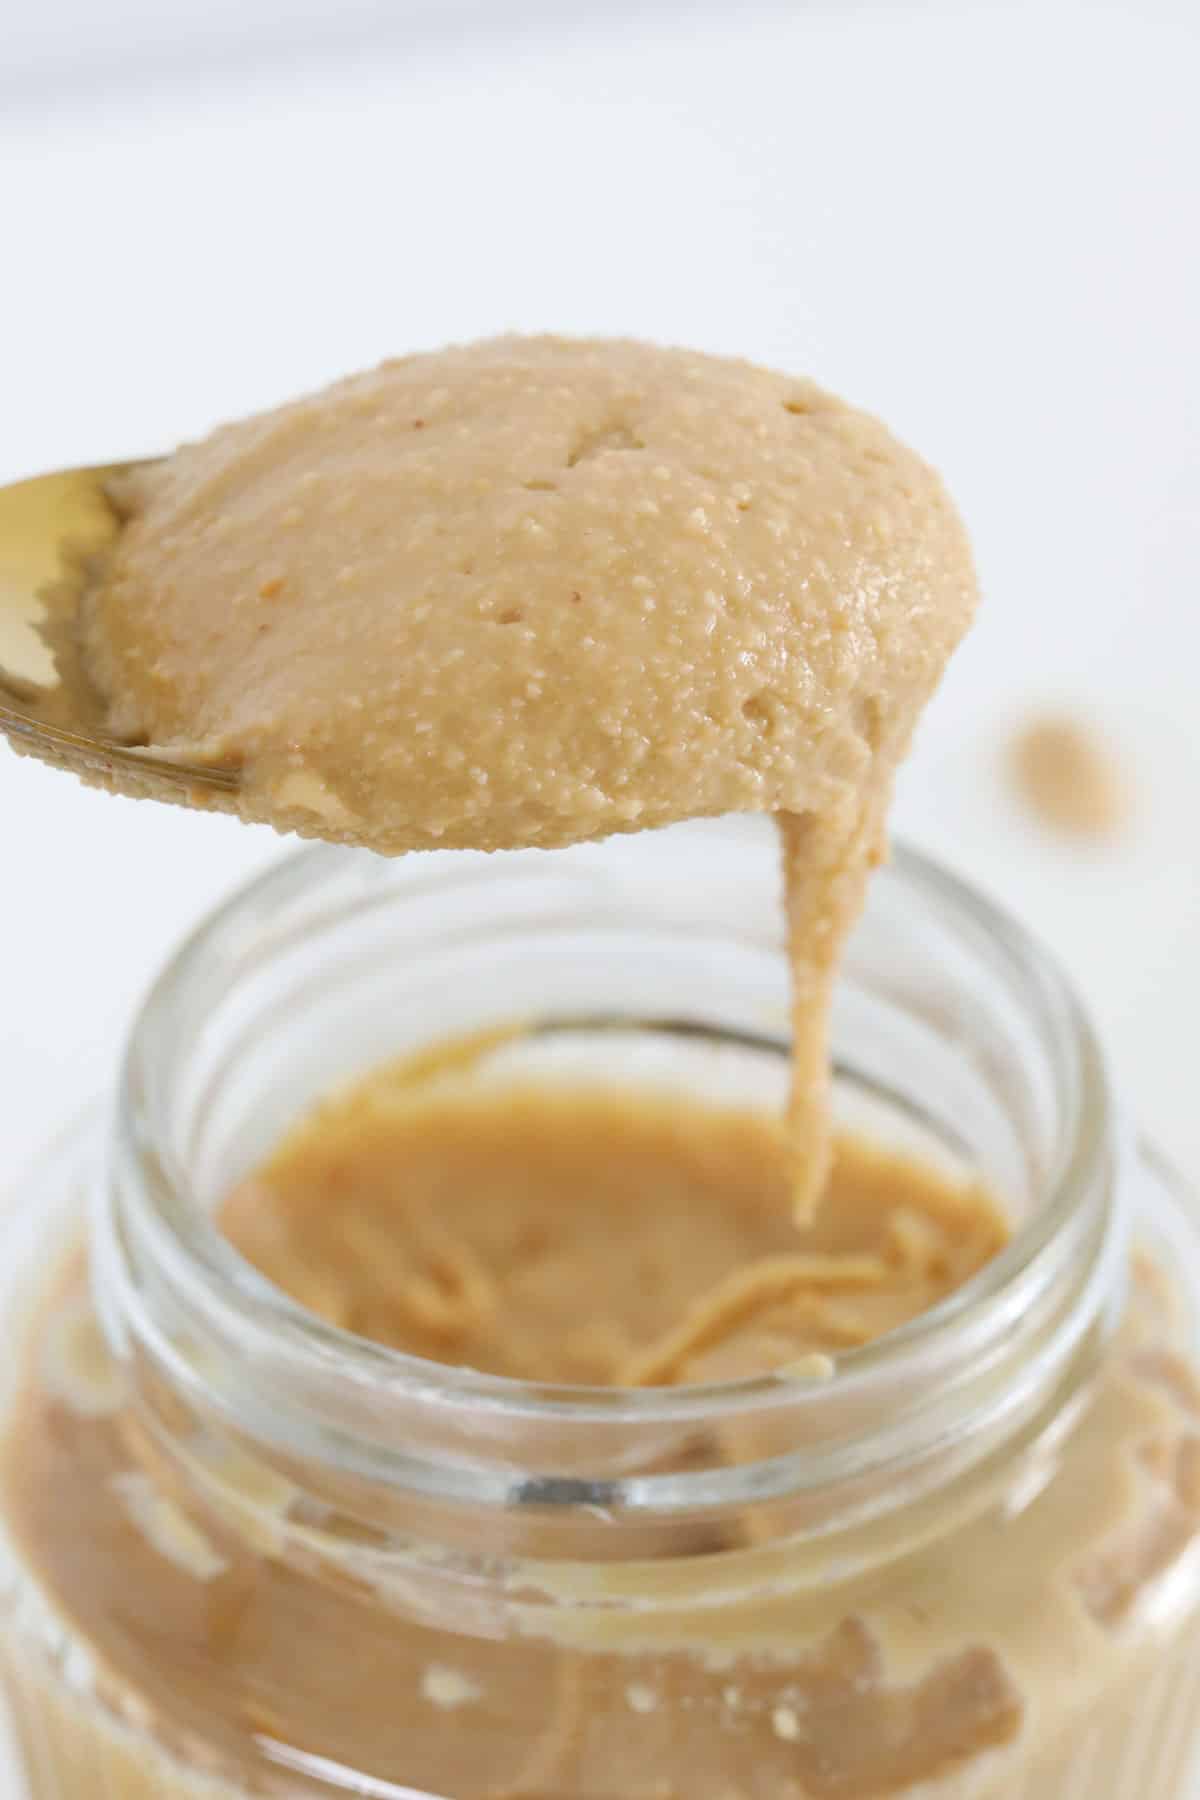
    Smooth peanut butter falling off a spoon.

    Introducing the EASIEST and healthiest Thermomix peanut butter recipe ever!

    All you need is 5 minutes prep time and 1 ingredient.

    That's right... just 1 ingredient... PEANUTS!!!!

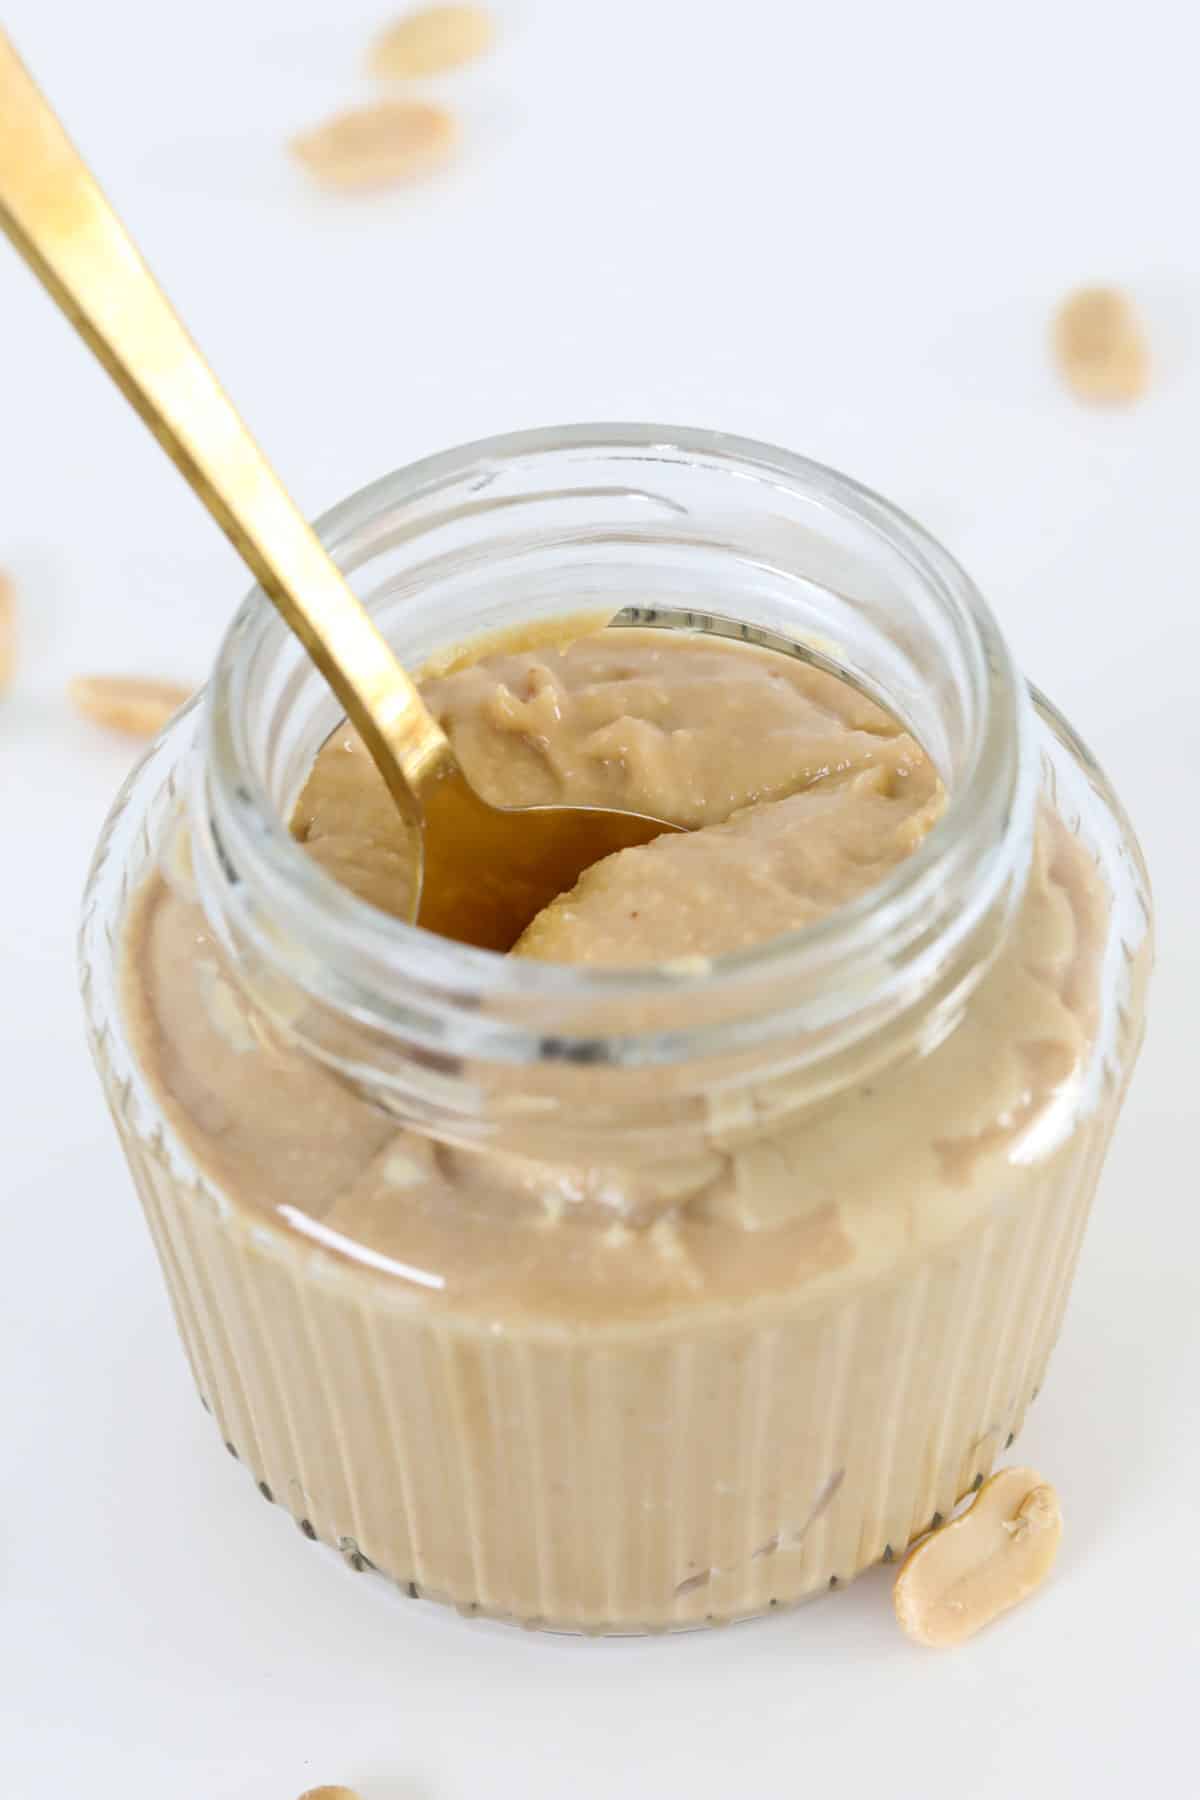
    A gold spoon in a jar of homemade peanut butter.

    Many homemade peanut butter recipes call for extra oil. But... we're here to tell you that you definitely do not need to add any oil when making peanut butter in the Thermomix. All you need is peanuts!

    The peanuts naturally contain enough oil all on their own to create the most delicious butter.

    Our smooth and creamy peanut butter is perfect for spreading on your favourite sourdough or loaf of bread, or add it to your next baking session... it's the perfect ingredient for cakes, slices and biscuits!

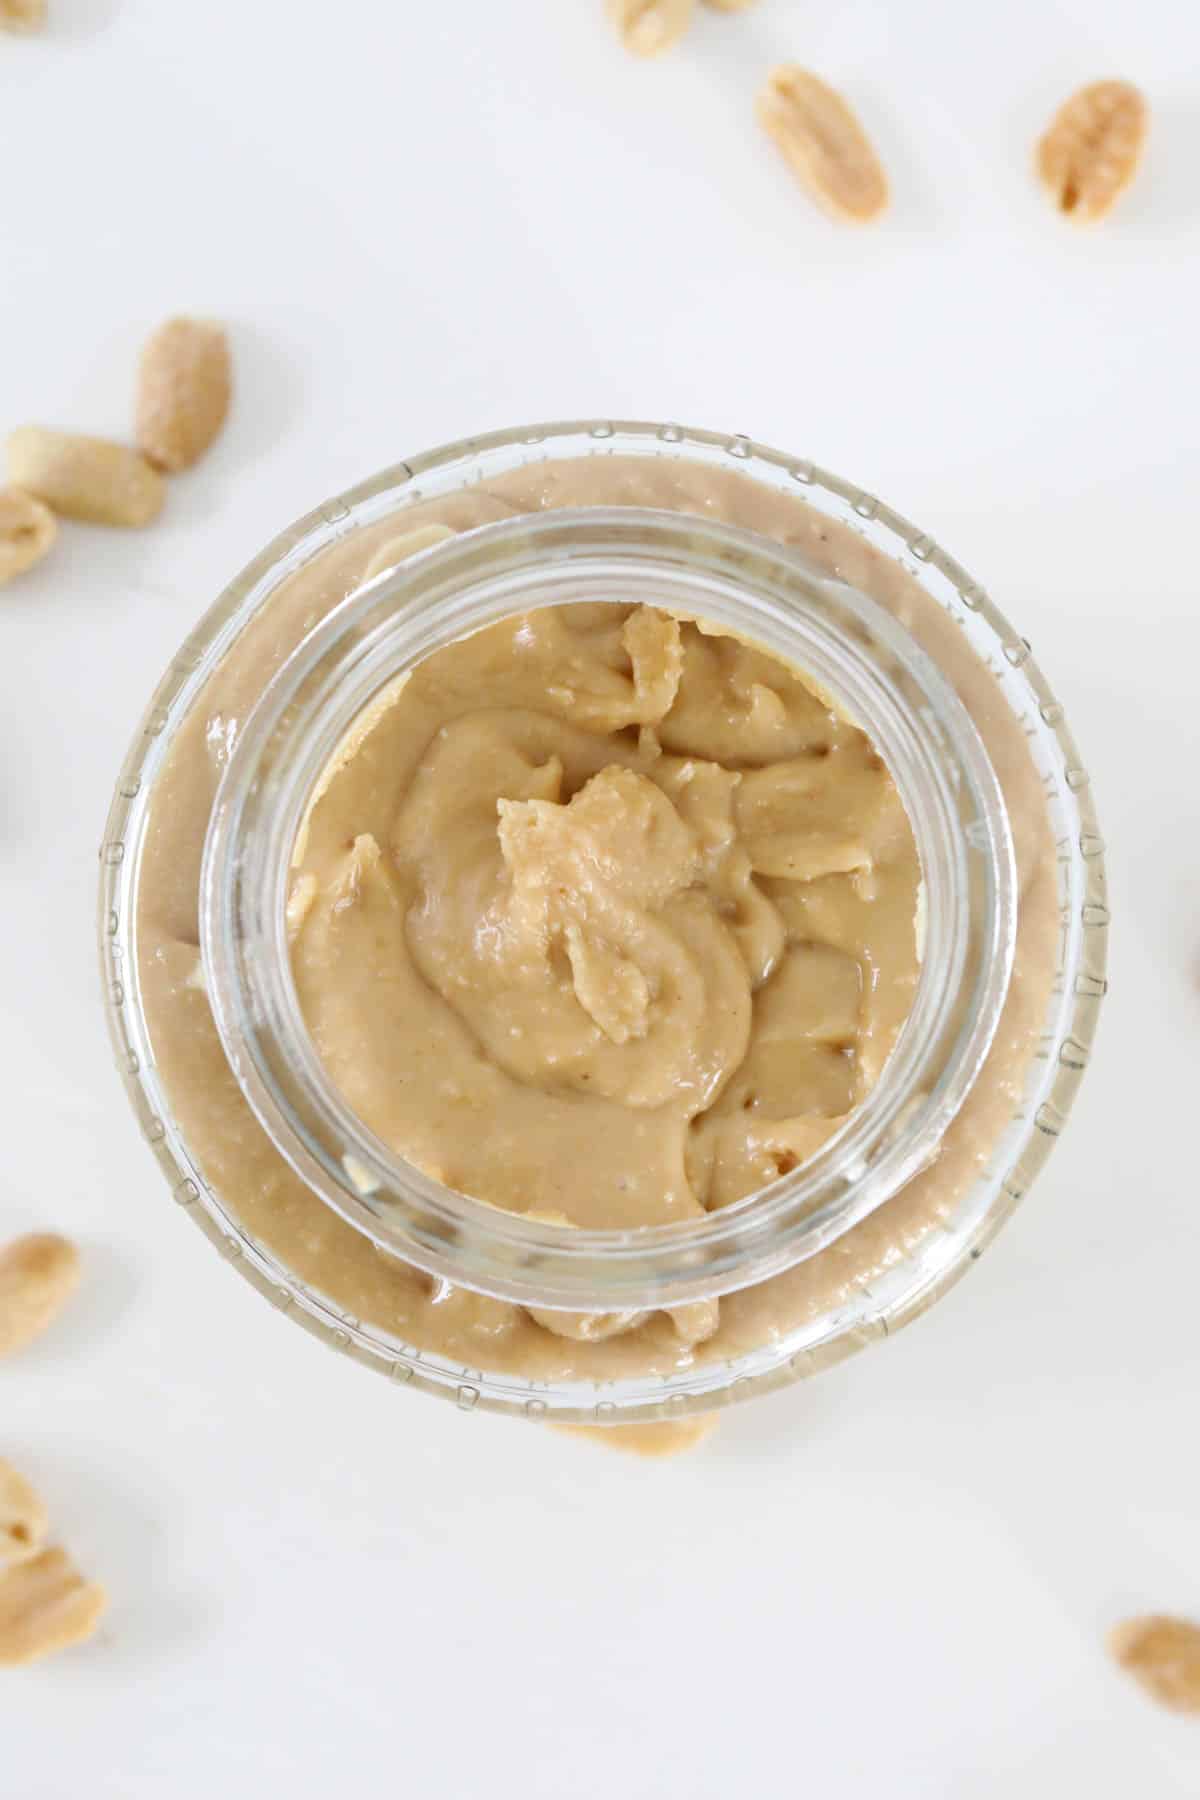
    An overhead shot of a jar of Thermomix peanut butter.

    Why You're Going To Love This Recipe

    What's not to love about simple homemade Thermomix peanut butter!

    • One ingredient - all you need is roasted peanuts!
    • No added oil - many peanut butter recipes call for extra oil to be added, but our recipe requires absolutely NO extra oil at all!
    • 5 minutes prep time - enjoy deliciously creamy and smooth peanut butter in 5 minutes!
    • Versatile - use your peanut butter as a spread on toast or sandwiches, swirl it through your favourite cakes, muffins and slices, or enjoy with celery or in your favourite satay dish.

    What You Need

    You need JUST ONE INGREDIENT to make peanut butter!

    Please scroll to the recipe card at the bottom of the post for ingredient quantities and the full detailed method.

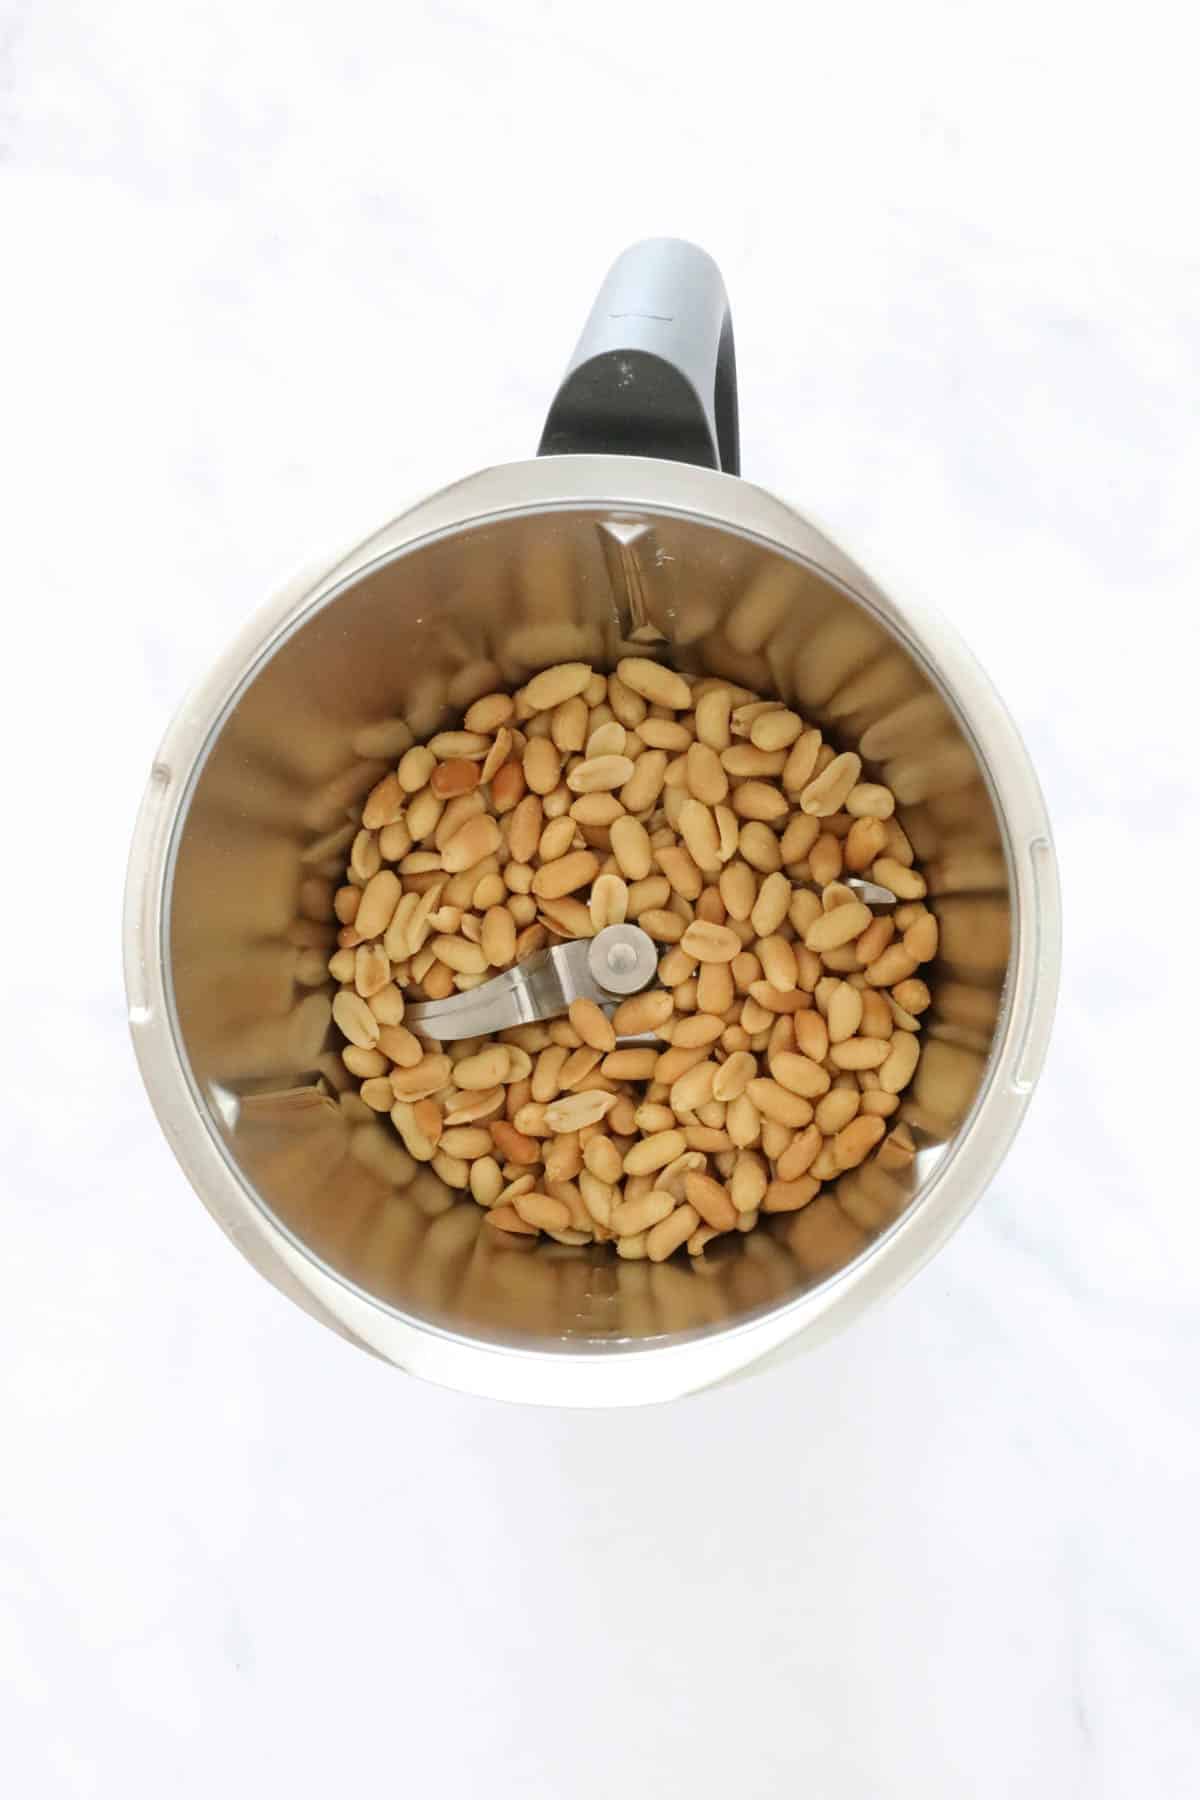
    Peanuts in a Thermomix
    • Peanuts - choose roasted peanuts (not natural). You can use either unsalted or salted peanuts (the choice is yours). If using your Thermomix peanut butter in baking recipes, it's best to use unsalted peanuts so that you can control the saltiness of the recipe.

    Step By Step Instructions

    It's so easy to make Thermomix peanut butter!

    Please scroll to the recipe card at the bottom of the post for ingredient quantities and the full detailed method.

    Step 1 - Chop The Peanuts

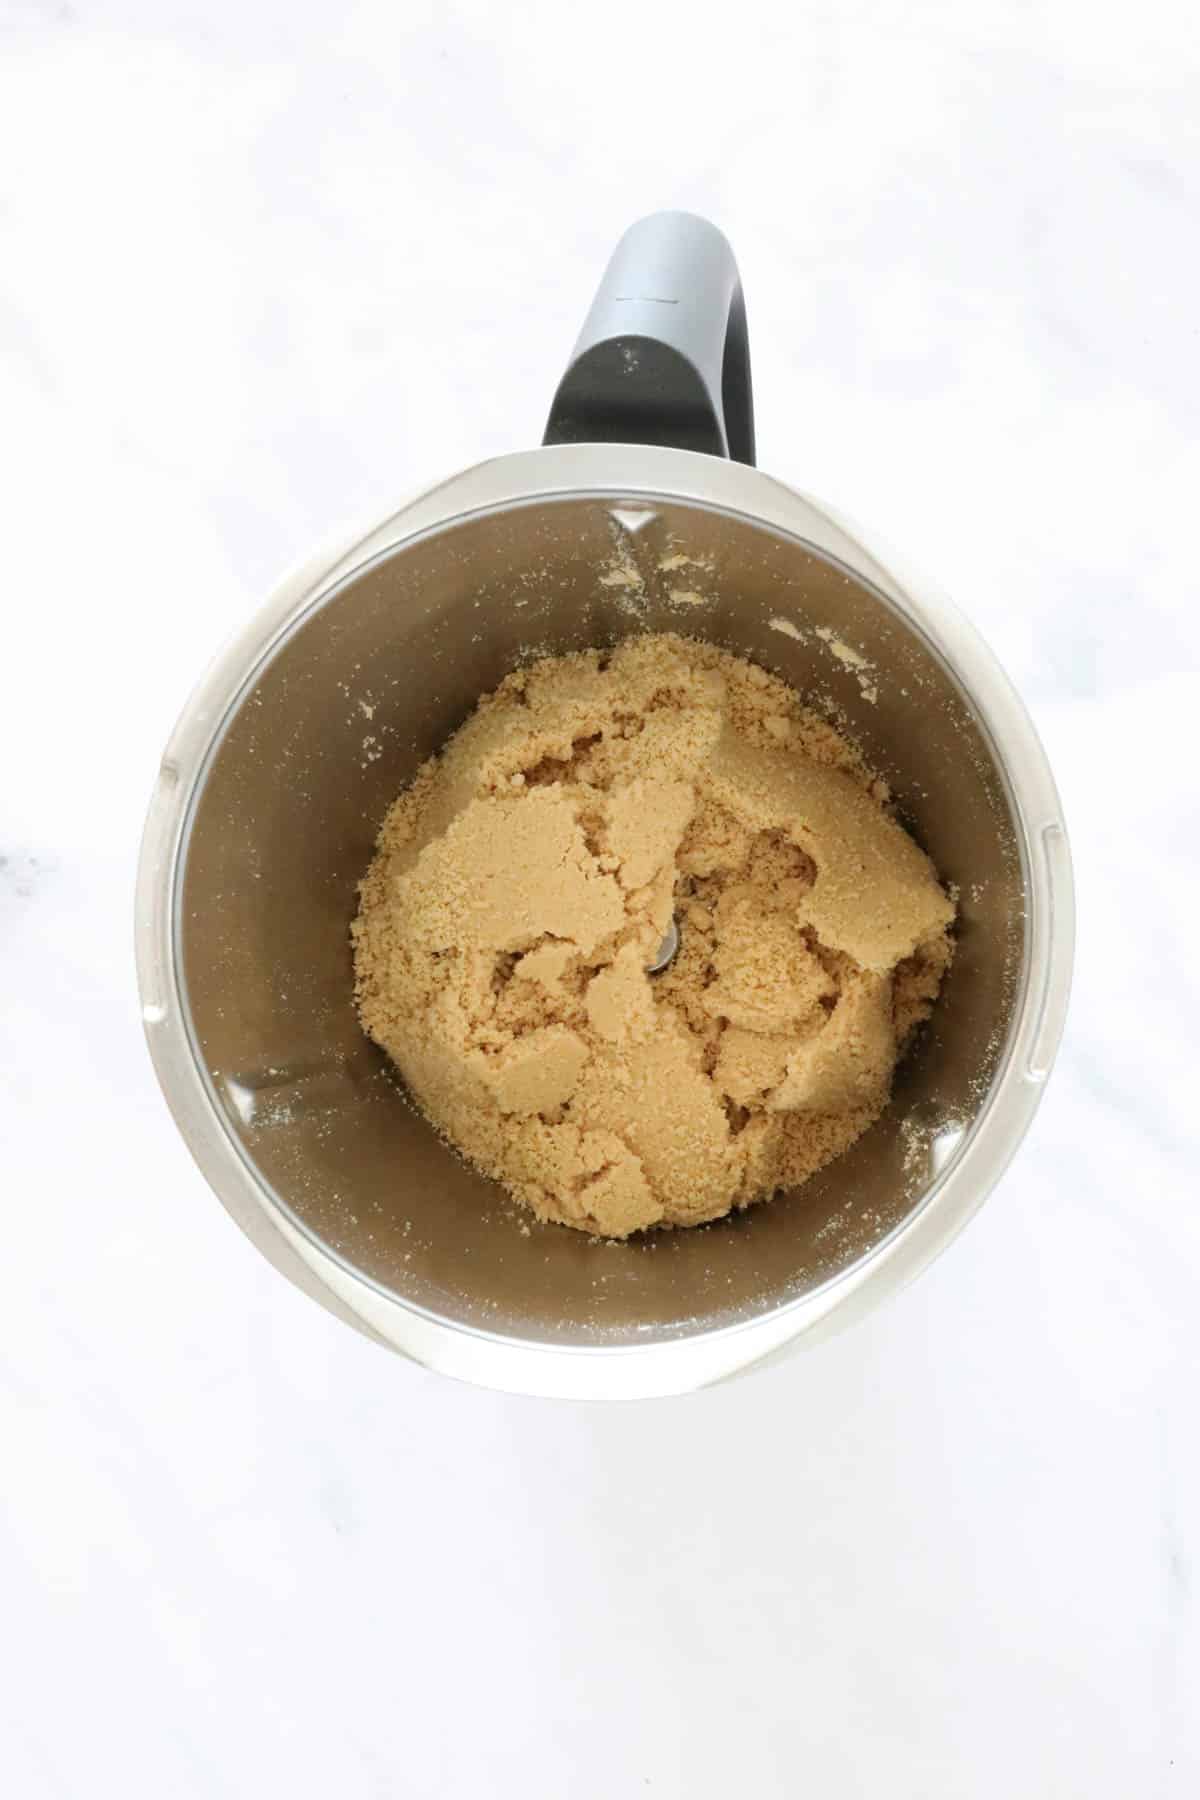
    Place the peanuts into the Thermomix bowl and chop for 10 seconds. Scrape down the sides of the bowl.

    Peanut crumbs in a Thermomix.

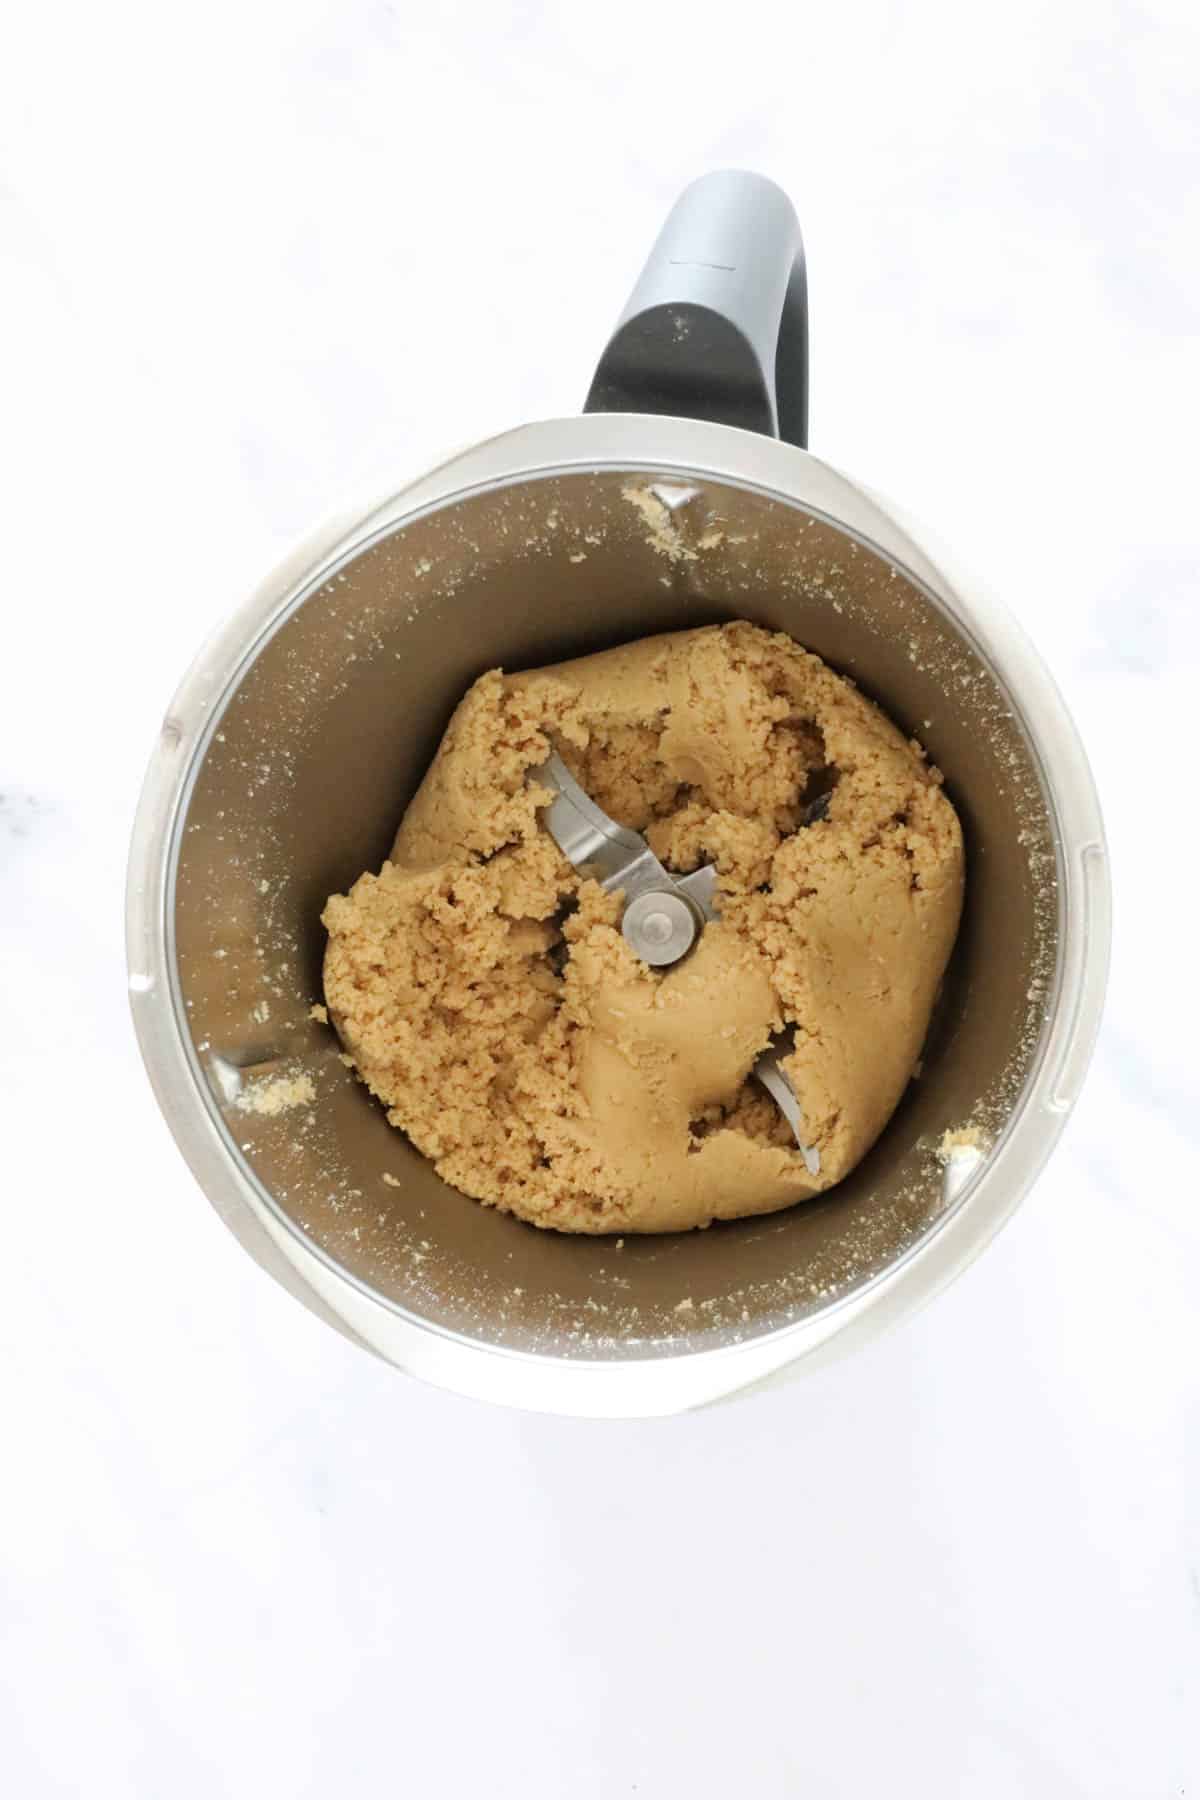
    Step 2 - Mix Until You've Achieved The Desired Consistency

    Mix again, this time on Speed 6 for 20 seconds. Check the consistency.

    Scrape down the sides of the bowl.

    Chopped peanuts in a Thermomix.

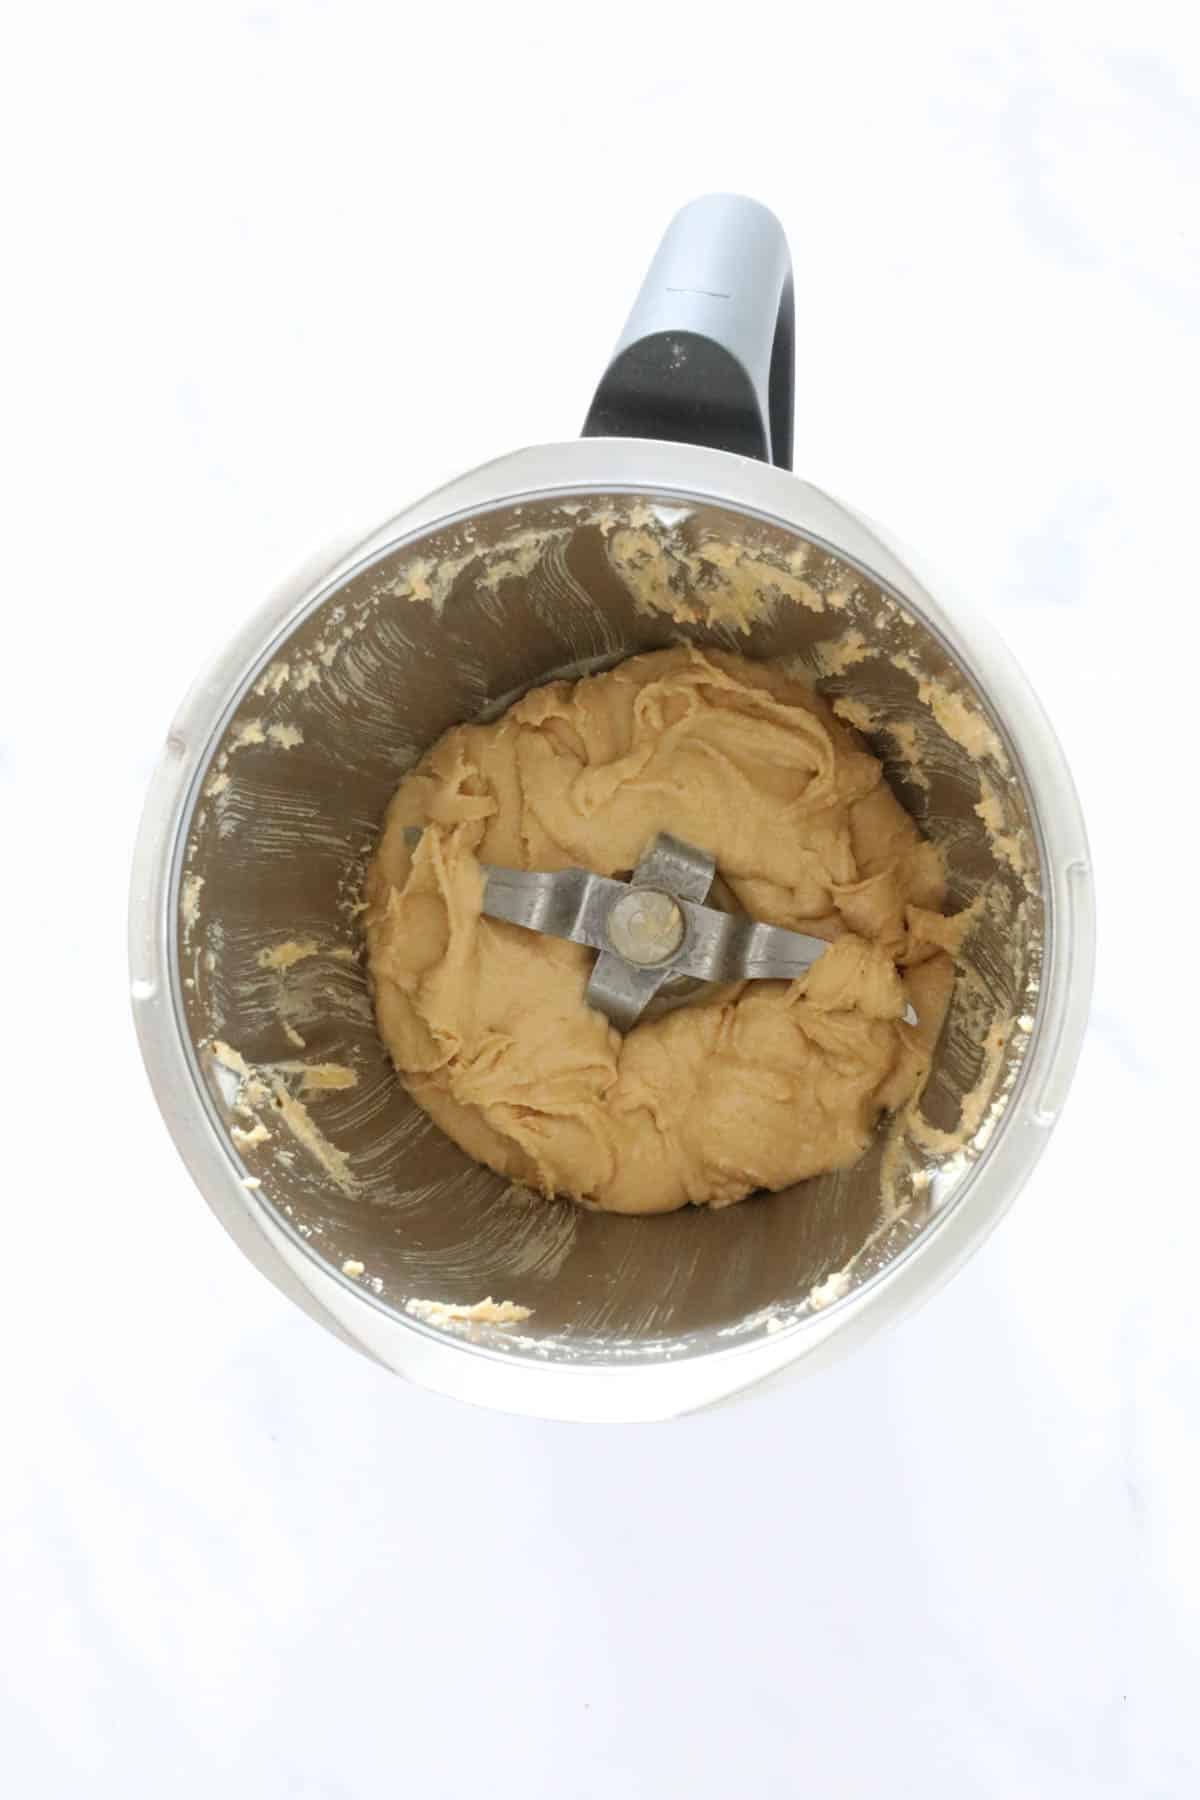
    For a smooth peanut butter, continue mixing on Speed 7 for 1-2 minutes.

    TIP: Continue scraping down the sides of the bowl every 30 seconds.

    Smooth peanut butter in a Thermomix.

    Expert Tips

    • Use roasted peanuts - ensure you use roasted (not natural peanuts) for the ultimate flavour and texture. You can buy roasted peanuts from the supermarket or roast your own.
    • Salted or unsalted peanuts are both fine to use - the choice is yours! I tend to use salted peanuts as I love the flavour, but if you prefer, unsalted peanuts work just as well.
    • For smooth peanut butter mix longer - the smoother you'd like your peanut butter to be, the longer you'll need to mix it. For chunkier peanut butter, mix for a shorter period of time.
    • Scrape down the sides of the bowl regularly - this helps to mix the peanut butter evenly.
    • Store - in an airtight container in the fridge for up to 1 month or at room temperature for up to 2 weeks.
    • Freezing - you can freeze homemade peanut butter in ice cube trays for up to 3 months. Pop out of the tray and allow to defrost at room temperature before using.
    A jar of homemade nut butter.

    FAQs

    Can I use any model of the Thermomix to make this peanut butter recipe?

    Yes! Absolutely! This recipe is suitable to all Thermomix models.

    Can I double this recipe?

    Yes - this recipe can be doubled. You may need to increase the mixing time if doubling the quantity (depending on how chunky or smooth you like your peanut butter).

    I like really smooth peanut butter. Will this recipe work for me?

    Yes! Simply mix the peanut butter for longer on Speed 7 (until it's the smooth and runny consistency you would like).

    Smooth peanut butter falling off a spoon.

    Related Recipes

    Now that you've got your yummy batch of homemade Thermomix peanut butter, it's time to use it in some baking!

    Here's a few of our favourite Thermomix recipes using peanut butter:

    • M&M cookies in a cup.
      Thermomix M&M, Oat & Peanut Butter Cookies
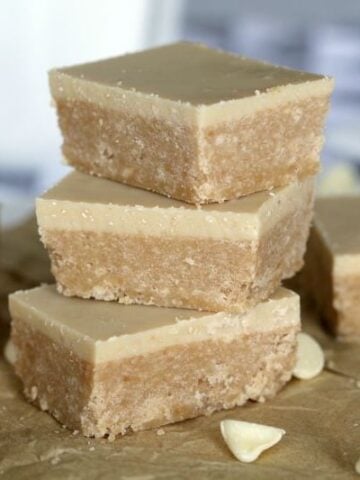
    • A stack of pieces of a slice made with peanut butter with a peanut butter and white chocolate topping.
      Thermomix Peanut Butter Slice | 5 Ingredients
    • A plate of peanut butter chocolate slice.
      Thermomix Chocolate Peanut Butter Slice
    • An overhead shot of peanut butter chocolate ice cream.
      Thermomix Healthy Peanut Butter & Chocolate Ice Cream
    Smooth peanut butter falling off a spoon.
    Print Recipe
    5 from 13 votes

    Thermomix Peanut Butter | 1 Ingredient Recipe

    Introducing the EASIEST and healthiest Thermomix peanut butter recipe ever! All you need is 5 minutes prep time and 1 ingredient - PEANUTS!!!
    Prep Time5 minutes mins
    Total Time5 minutes mins
    Course: Basics
    Cuisine: Western
    Servings: 300 g
    Calories: 7kcal
    Author: Lucy & Lauren
    Cost: $5

    Equipment

    • Thermomix

    Ingredients

    • 350 g roasted peanuts (salted or unsalted)

    Instructions

    • Place the peanuts into the Thermomix bowl. Chop for 10 seconds, Speed 8. Scrape down the sides of the bowl.
    • Mix for a further 20 seconds, Speed 6 (check if it's the consistency you would like).
      Scrape down the sides.
    • For a smooth peanut butter, slowly increase to Speed 7 for 1-2 minutes (scraping down the sides every 30 seconds).

    Notes

    RECIPE NOTES & TIPS
    • Use roasted peanuts - ensure you use roasted (not natural peanuts) for the ultimate flavour and texture.
    • Salted or unsalted peanuts are both fine to use - the choice is yours! I tend to use salted peanuts as I love the flavour, but if you prefer, unsalted peanuts work just as well.
    • For smooth peanut butter mix longer - the smoother you'd like your peanut butter to be, the longer you'll need to mix it. For chunkier peanut butter, mix for a shorter period of time.
    • Scrape down the sides of the bowl regularly - this helps to mix the peanut butter evenly.
    • Store - in an airtight container in the fridge for up to 1 month or at room temperature for up to 2 weeks.
    • Freezing - you can freeze homemade peanut butter in ice cube trays for up to 3 months. Pop out of the tray and allow to defrost at room temperature before using.

    Nutrition

    Calories: 7kcal | Carbohydrates: 0.2g | Protein: 0.3g | Fat: 1g | Saturated Fat: 0.1g | Polyunsaturated Fat: 0.2g | Monounsaturated Fat: 0.3g | Sodium: 5mg | Potassium: 9mg | Fiber: 0.1g | Calcium: 1mg | Iron: 0.03mg

    Thermomix Fruit & Nut Muesli Bars

    February 2, 2015

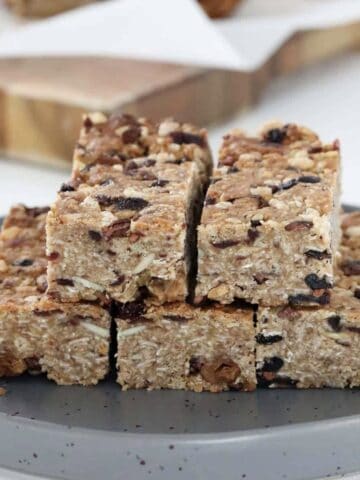
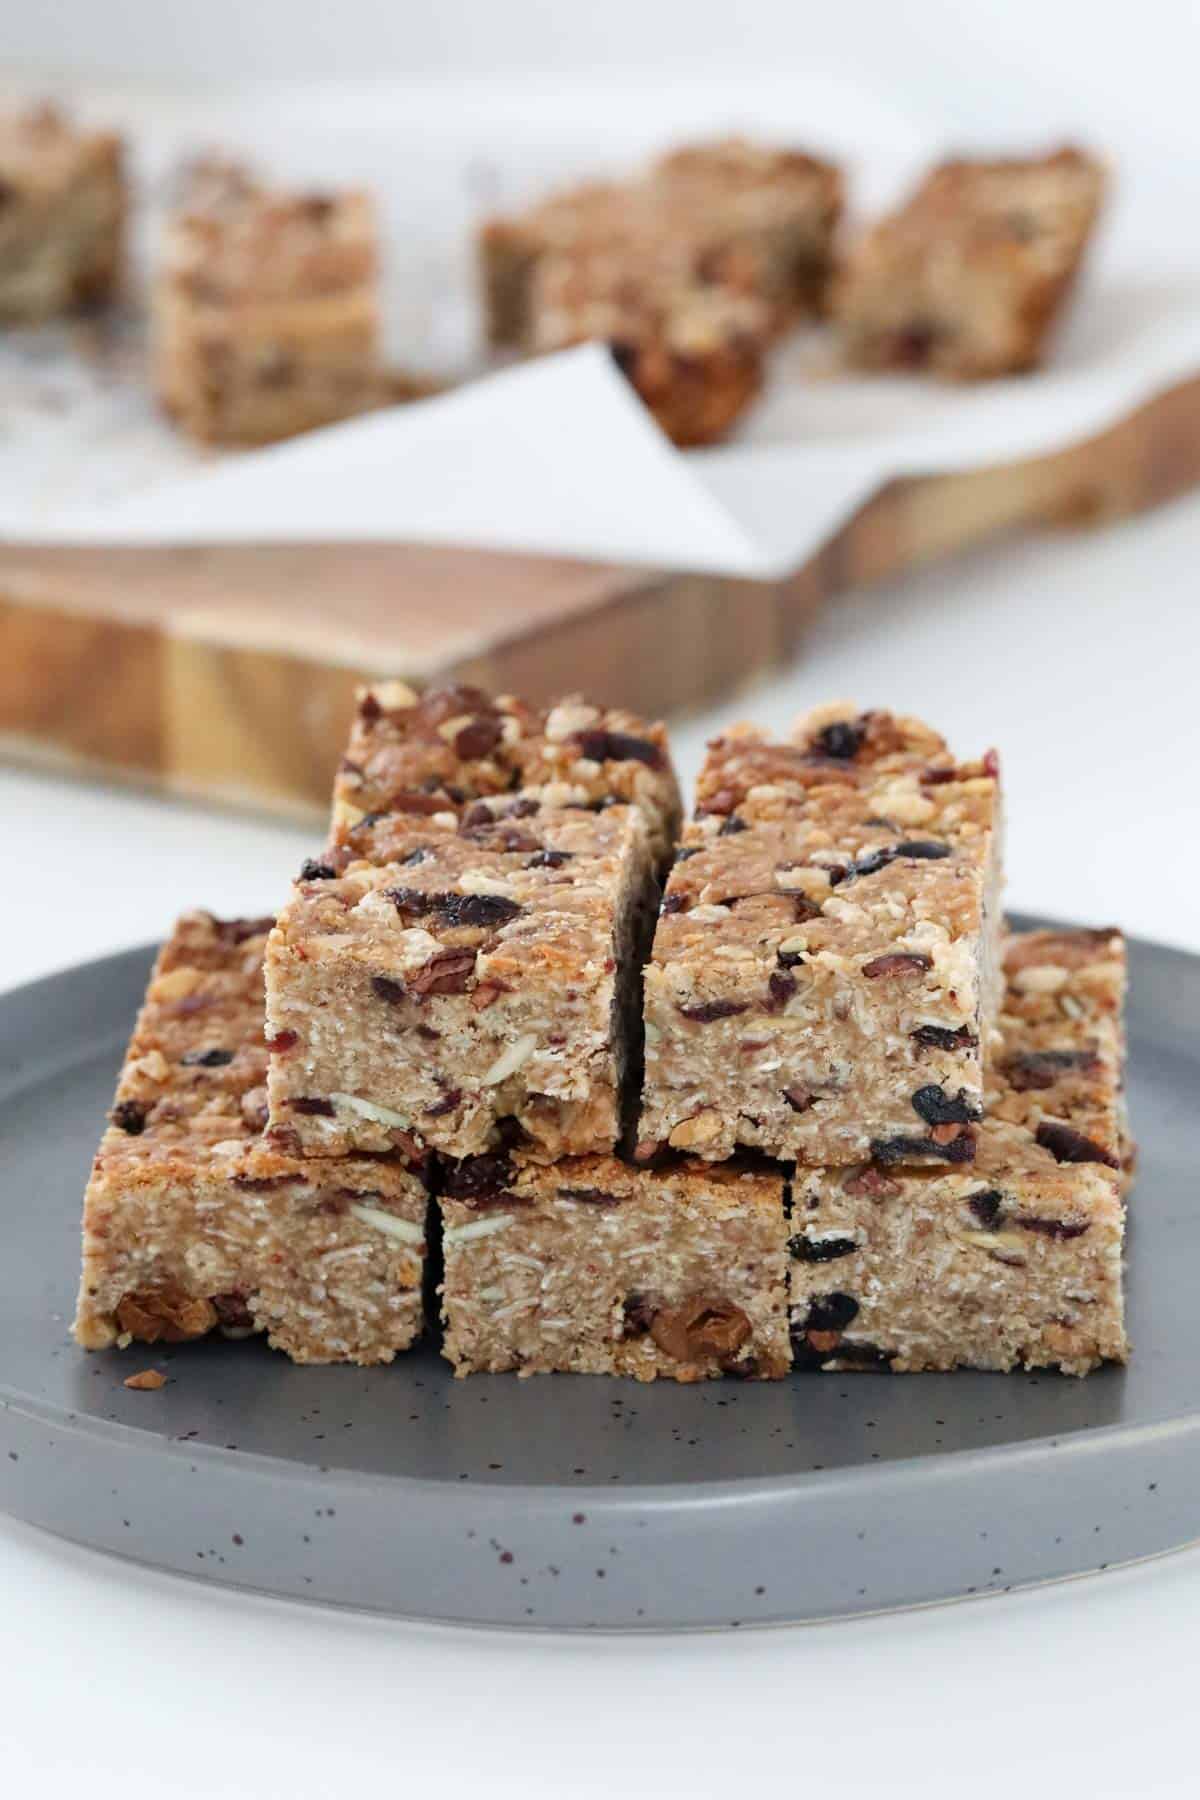
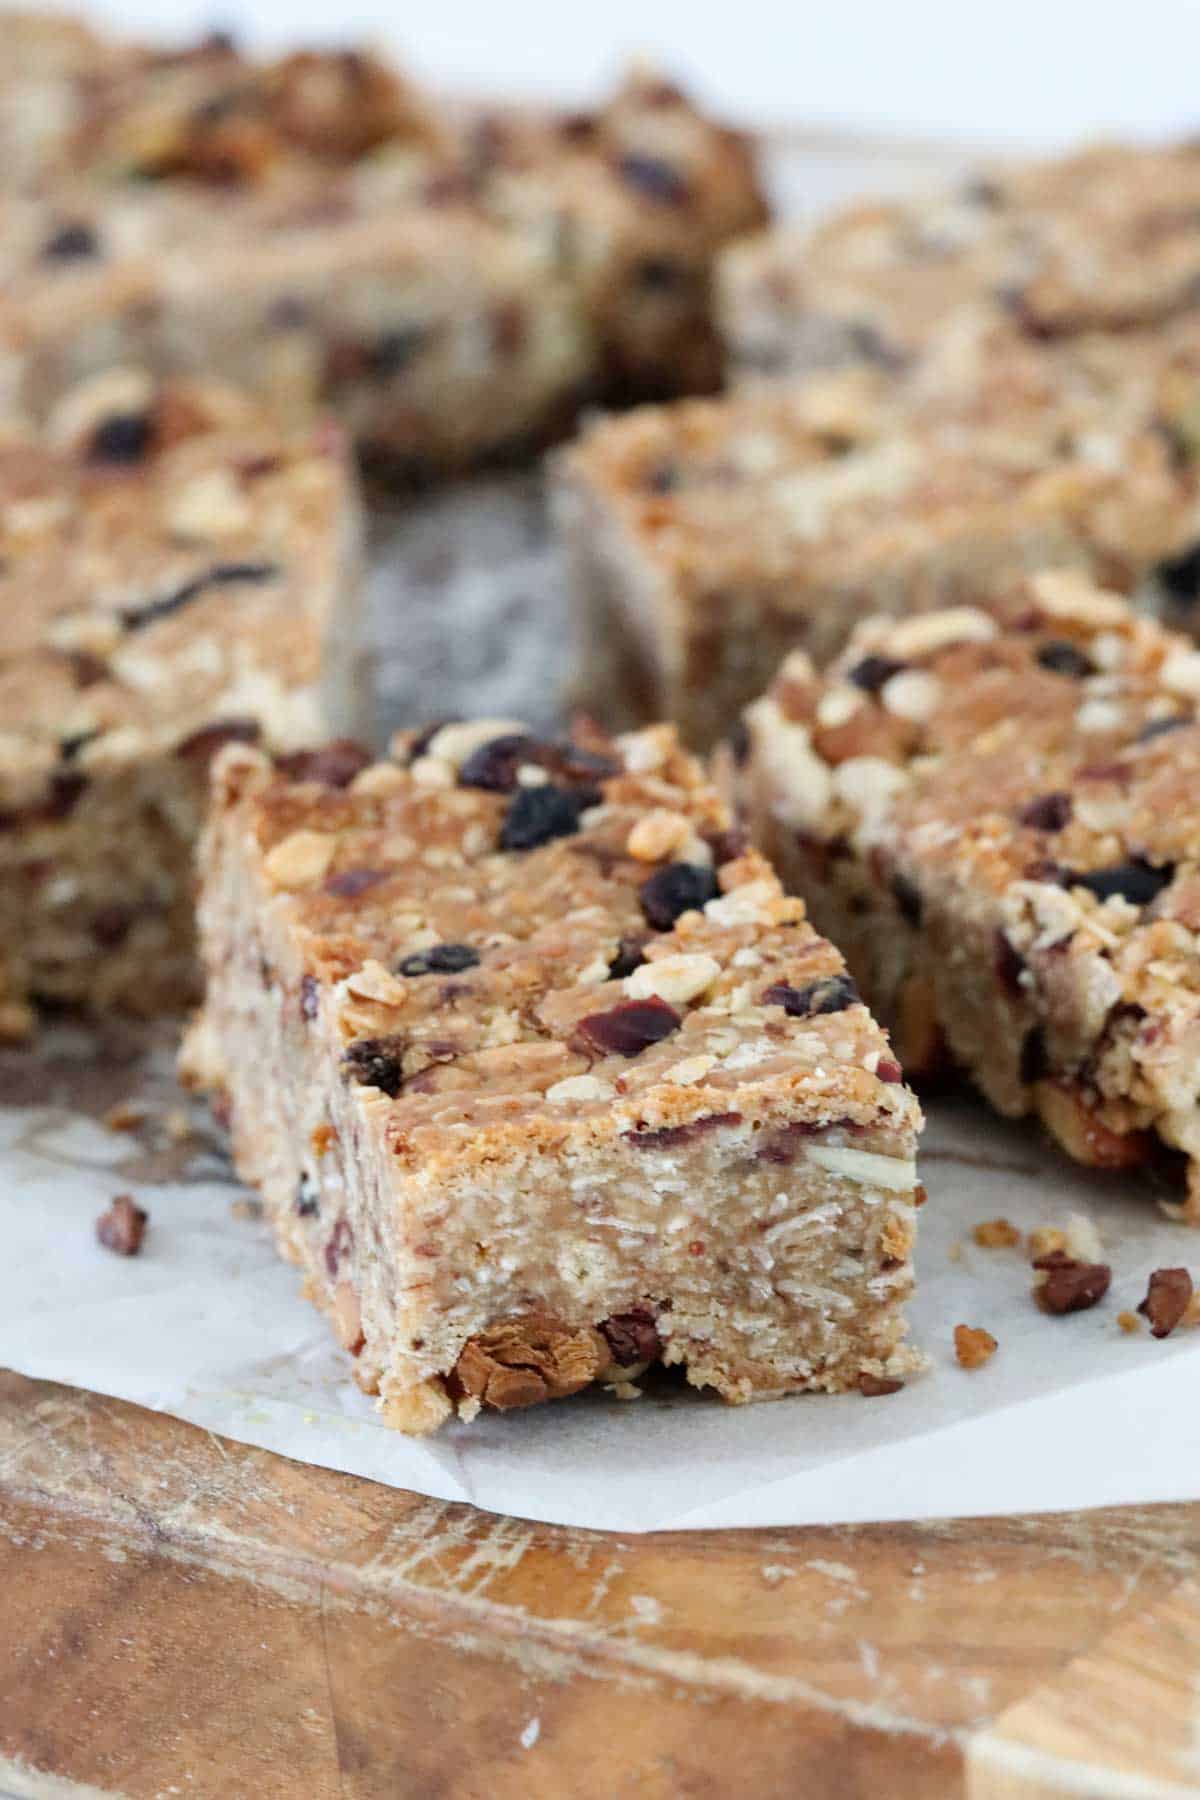
    Rolled oats muesli slice with nuts.

    Our Thermomix Fruit & Nut Muesli Bars are packed full of seeds, nuts, dried fruits, puffed rice and oats!

    Just 10 minutes prep time is all it takes to prepare these sweet, crunchy and nutty bars.

    Rolled oats muesli slice with nuts.

    Looking for a yummy lunch box snack or mid morning treat to enjoy with a cuppa?

    Our Thermomix Fruit & Nut Muesli Bars are just what you need!

    Just like our Anzac Slice, Honey & Oat Bars and Bircher Muesli, these muesli bars take a simple ingredient (oats) and turn it into a delicious snack!

    Oat and puffed rice muesli bars.

    Why You're Going To Love This Recipe

    This is my family's all-time favourite Thermomix muesli bar recipe!

    It's crunchy, sweet, nutty and all kinds of delicious.

    • Versatile - mix and match with any of your favourite dried fruits, nuts and seeds. As long as you stick to the quantities listed, you can change the ingredients up as much as you like!
    • Healthy - packed full of oats, nuts and seeds, these Thermomix fruit and nut muesli bars are nutritious!
    • Energy Boosting - the nuts and oats make these muesli bars a great after school snack or post-gym pick me up!
    • Suitable For Use In All Models Of The Thermomix - including the TM31, TM5 and TM6.
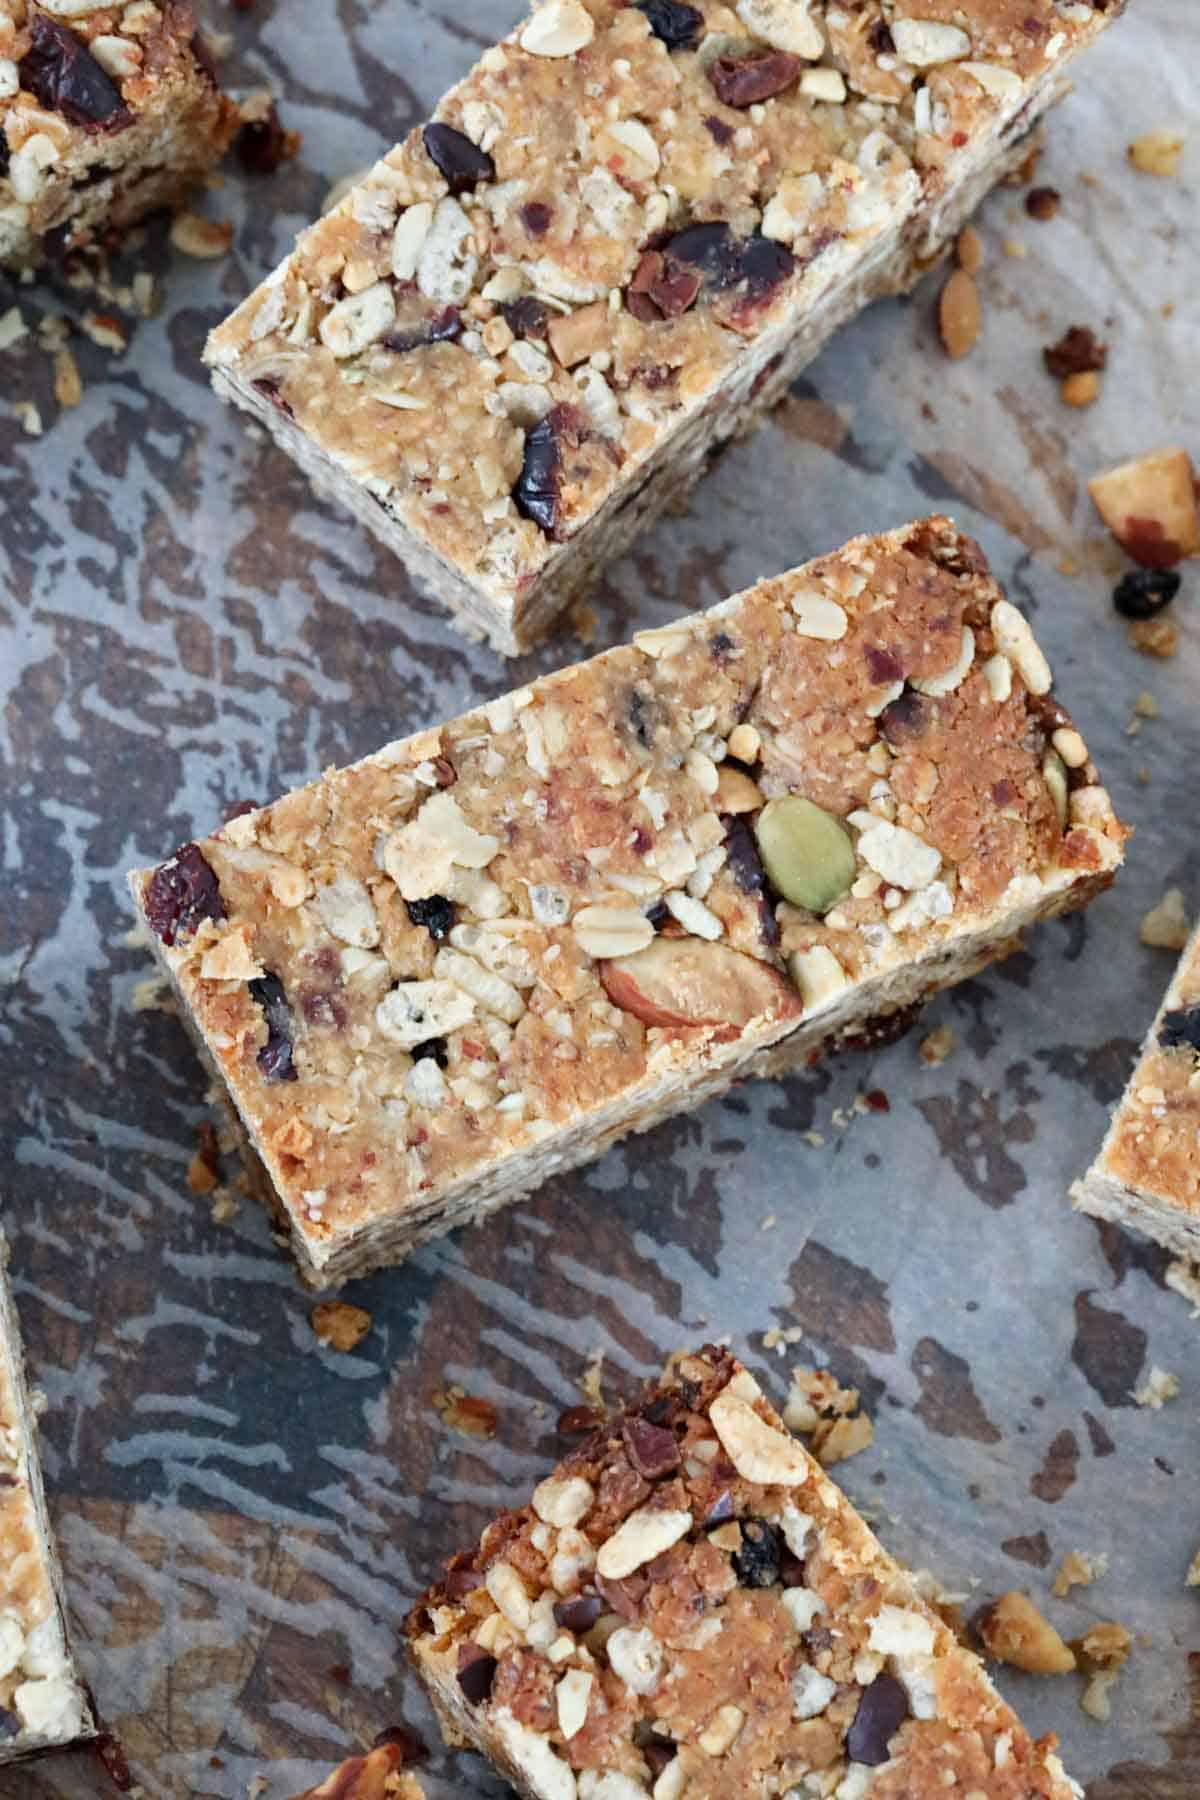
    An overhead shot of a nut and seed bar.

    What You Need

    Our Thermomix Fruit & Nut Muesli Bars are packed full of nuts, dried fruits, rice bubbles and oats!

    Please scroll to the recipe card at the bottom of the post for ingredient quantities and the full detailed method.

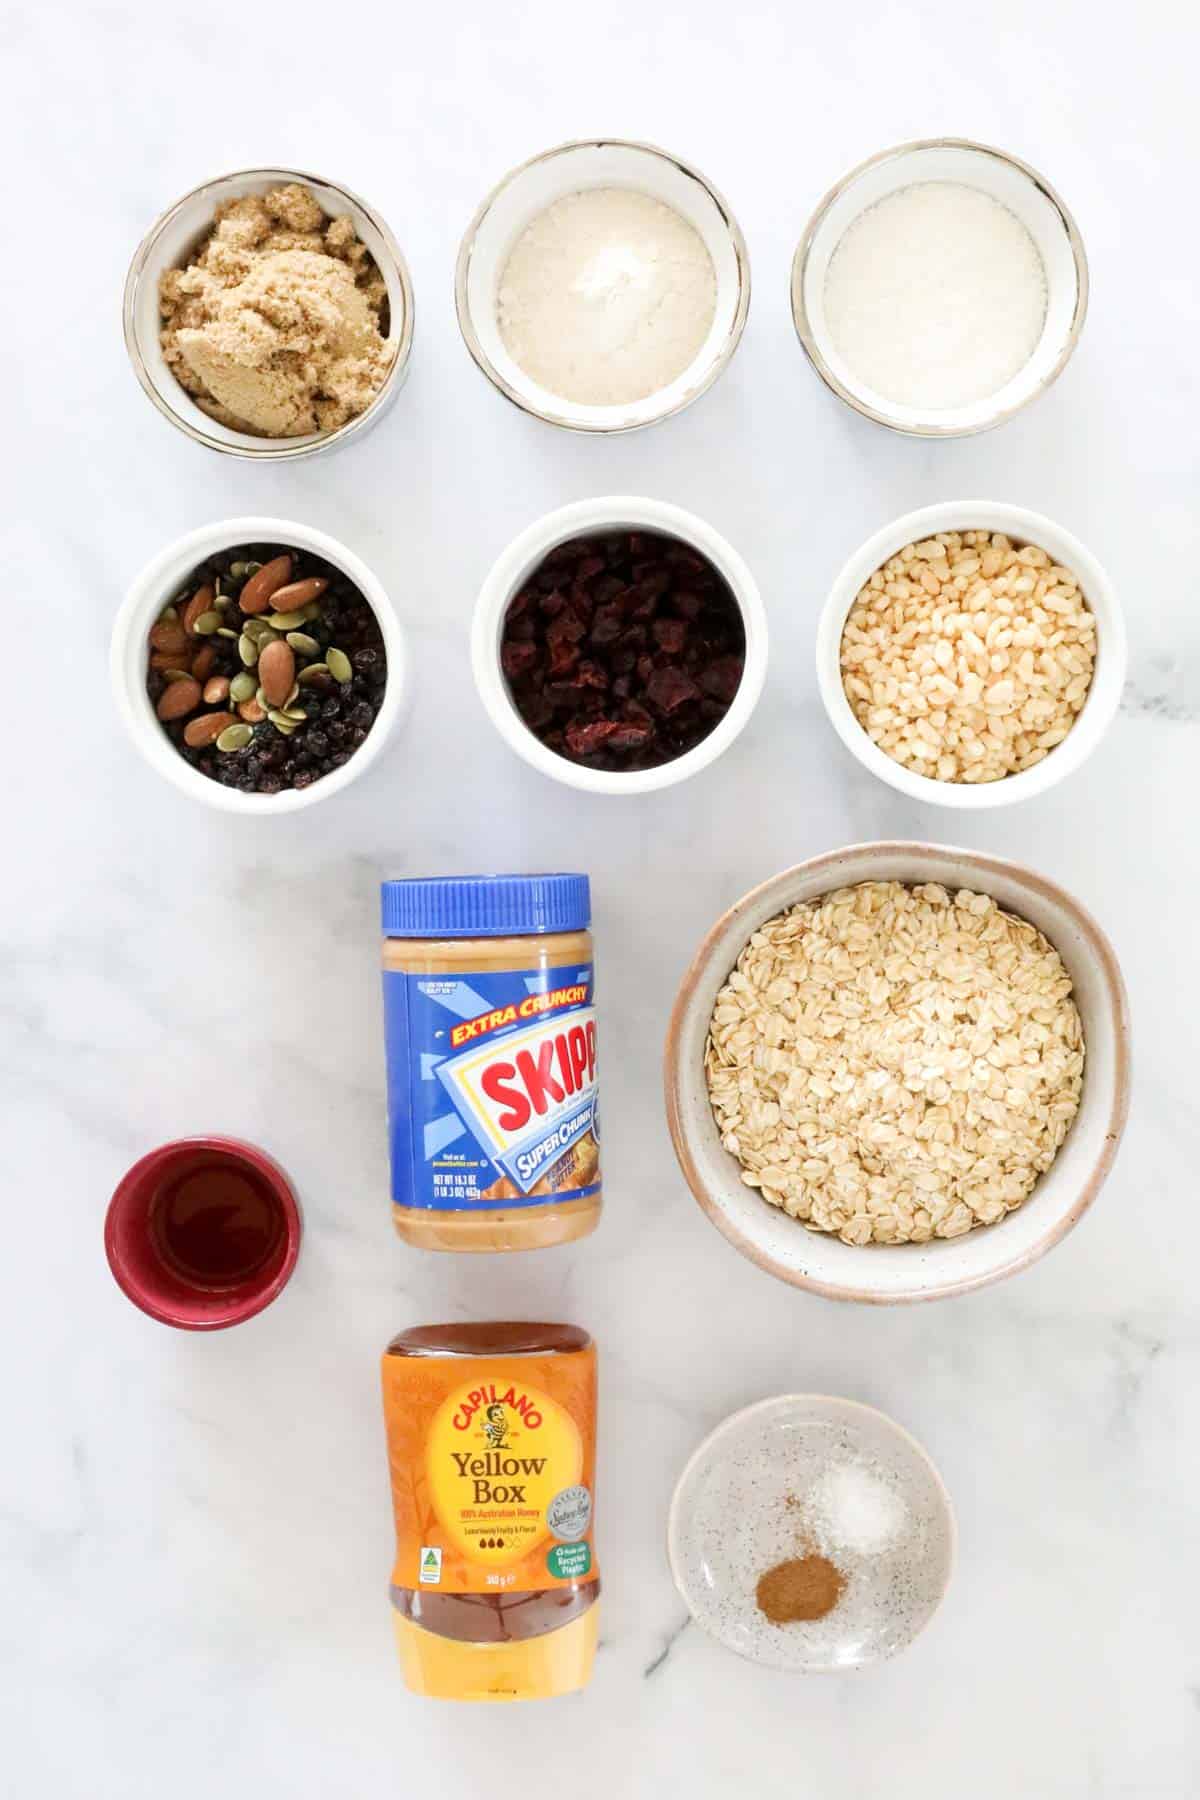
    The ingredients for fruit and nut muesli slice.
    • Coconut Oil - this gives the muesli bars their crunchy texture. However, you can substitute the coconut oil with butter if you prefer
    • Peanut Butter - or any nut butter
    • Rice Malt Syrup - or honey.
    • Pinch of salt
    • Ground Cinnamon
    • Brown Sugar - use regular brown sugar or dark brown sugar
    • Vanilla Extract - or vanilla essence
    • Rolled Oats - or quick oats
    • Plain Flour - also known as all purpose flour
    • Desiccated Coconut - fine, dried coconut
    • Seed & Nut Trail Mix - use a store-bought trail mix or make your own using your favourite seeds, nuts and dried fruits
    • Dried Cranberries - craisins
    • Rice Bubbles - or any puffed rice
    • Cacao Nibs or Chocolate Chips - optional. I recommend using cacao nibs as they don't melt when mixed through the muesli bar mixture

    Step By Step Instructions

    Our melt and mix Thermomix Fruit & Nut Muesli Bars take just 10 minutes to prepare!

    Please scroll to the recipe card at the bottom of the post for ingredient quantities and the full detailed method.

    Step 1 - Melt

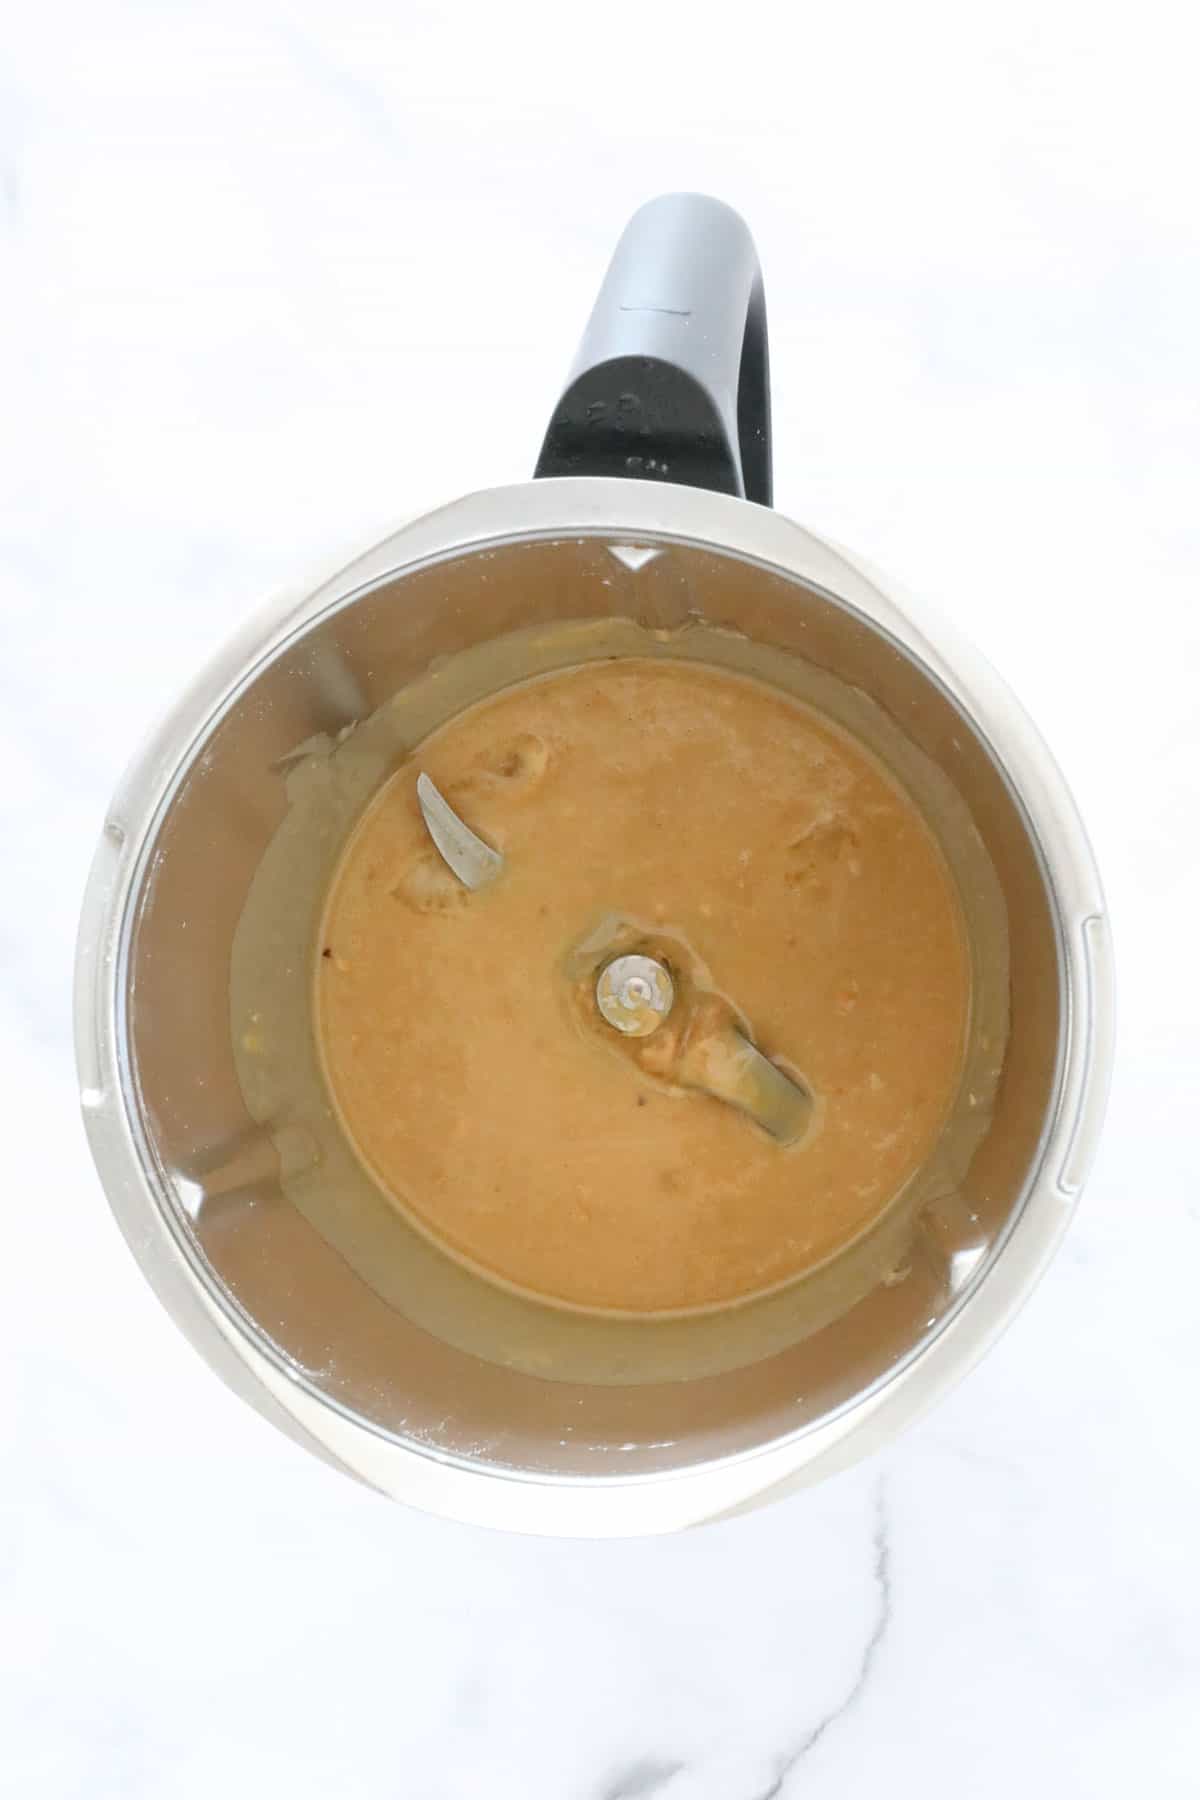
    Place the coconut oil, peanut butter and rice malt syrup (or honey) into the Thermomix bowl.

    Heat until melted and smooth.

    Melted peanut butter and honey in a Thermomix.

    Step 2 - Mix

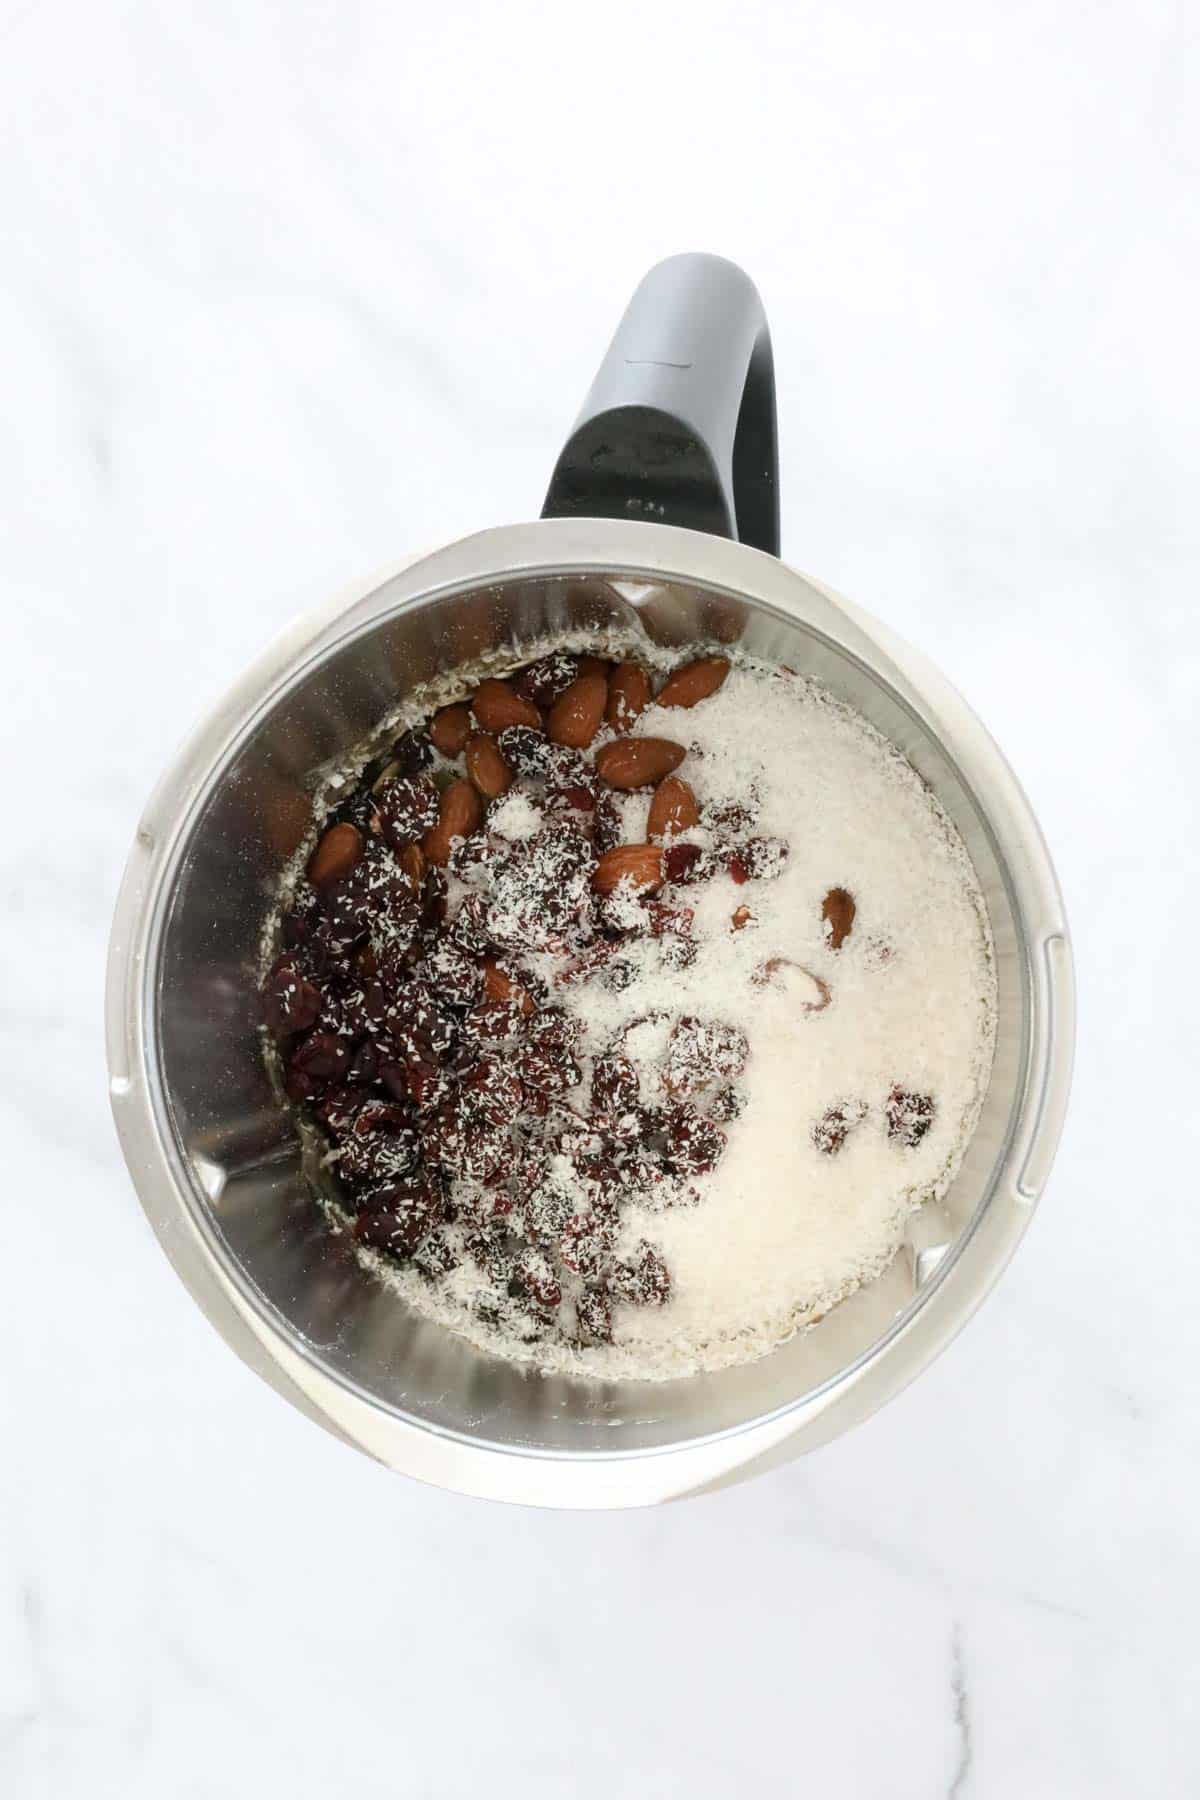
    Add the salt, cinnamon, brown sugar and vanilla extract and mix until combined.

    Add the rolled oats, flour, coconut, trail mix and dried fruit and mix on REVERSE to combine.

    Ingredients in a Thermomix bowl.

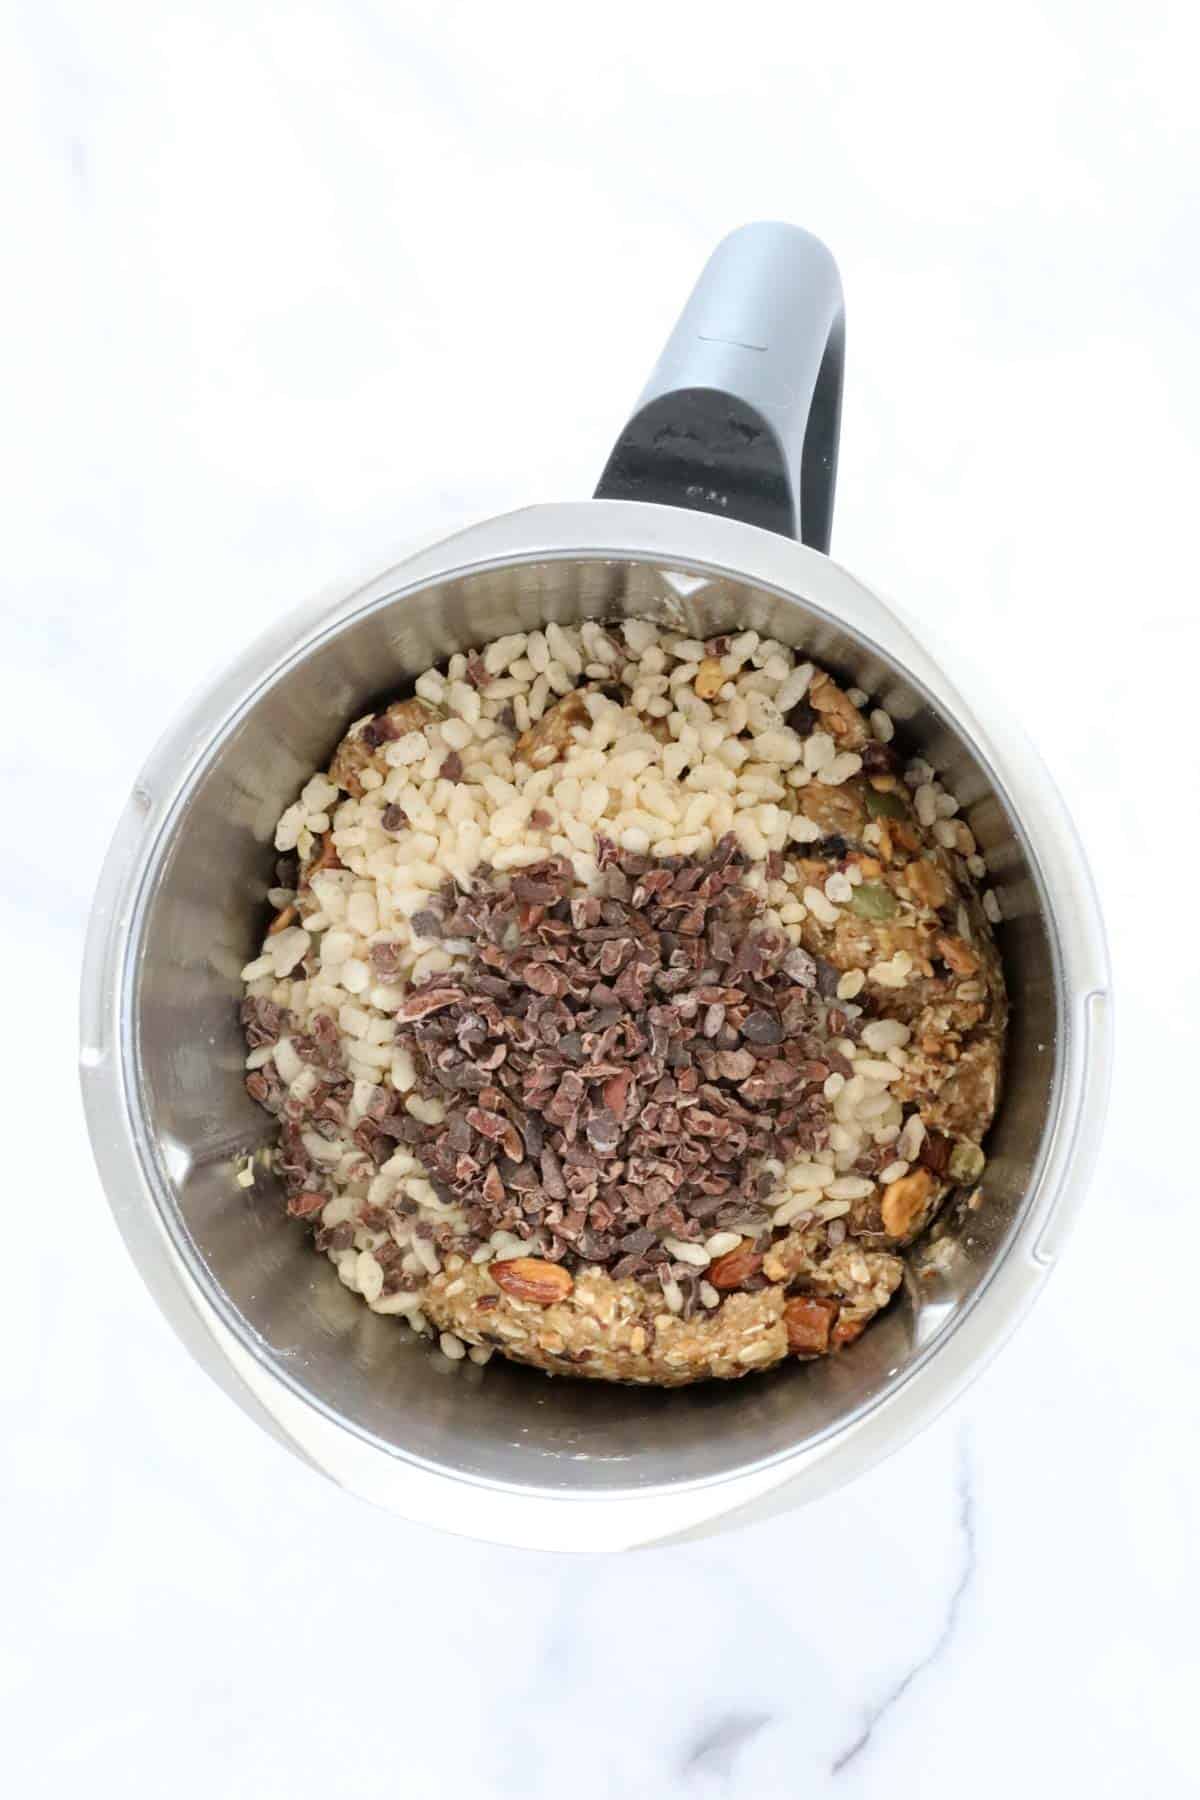
    Add the rice bubbles and cacao nibs (or chocolate chips) and mix on REVERSE until combined.

    Puffed rice and cacao nibs in a Thermomix.
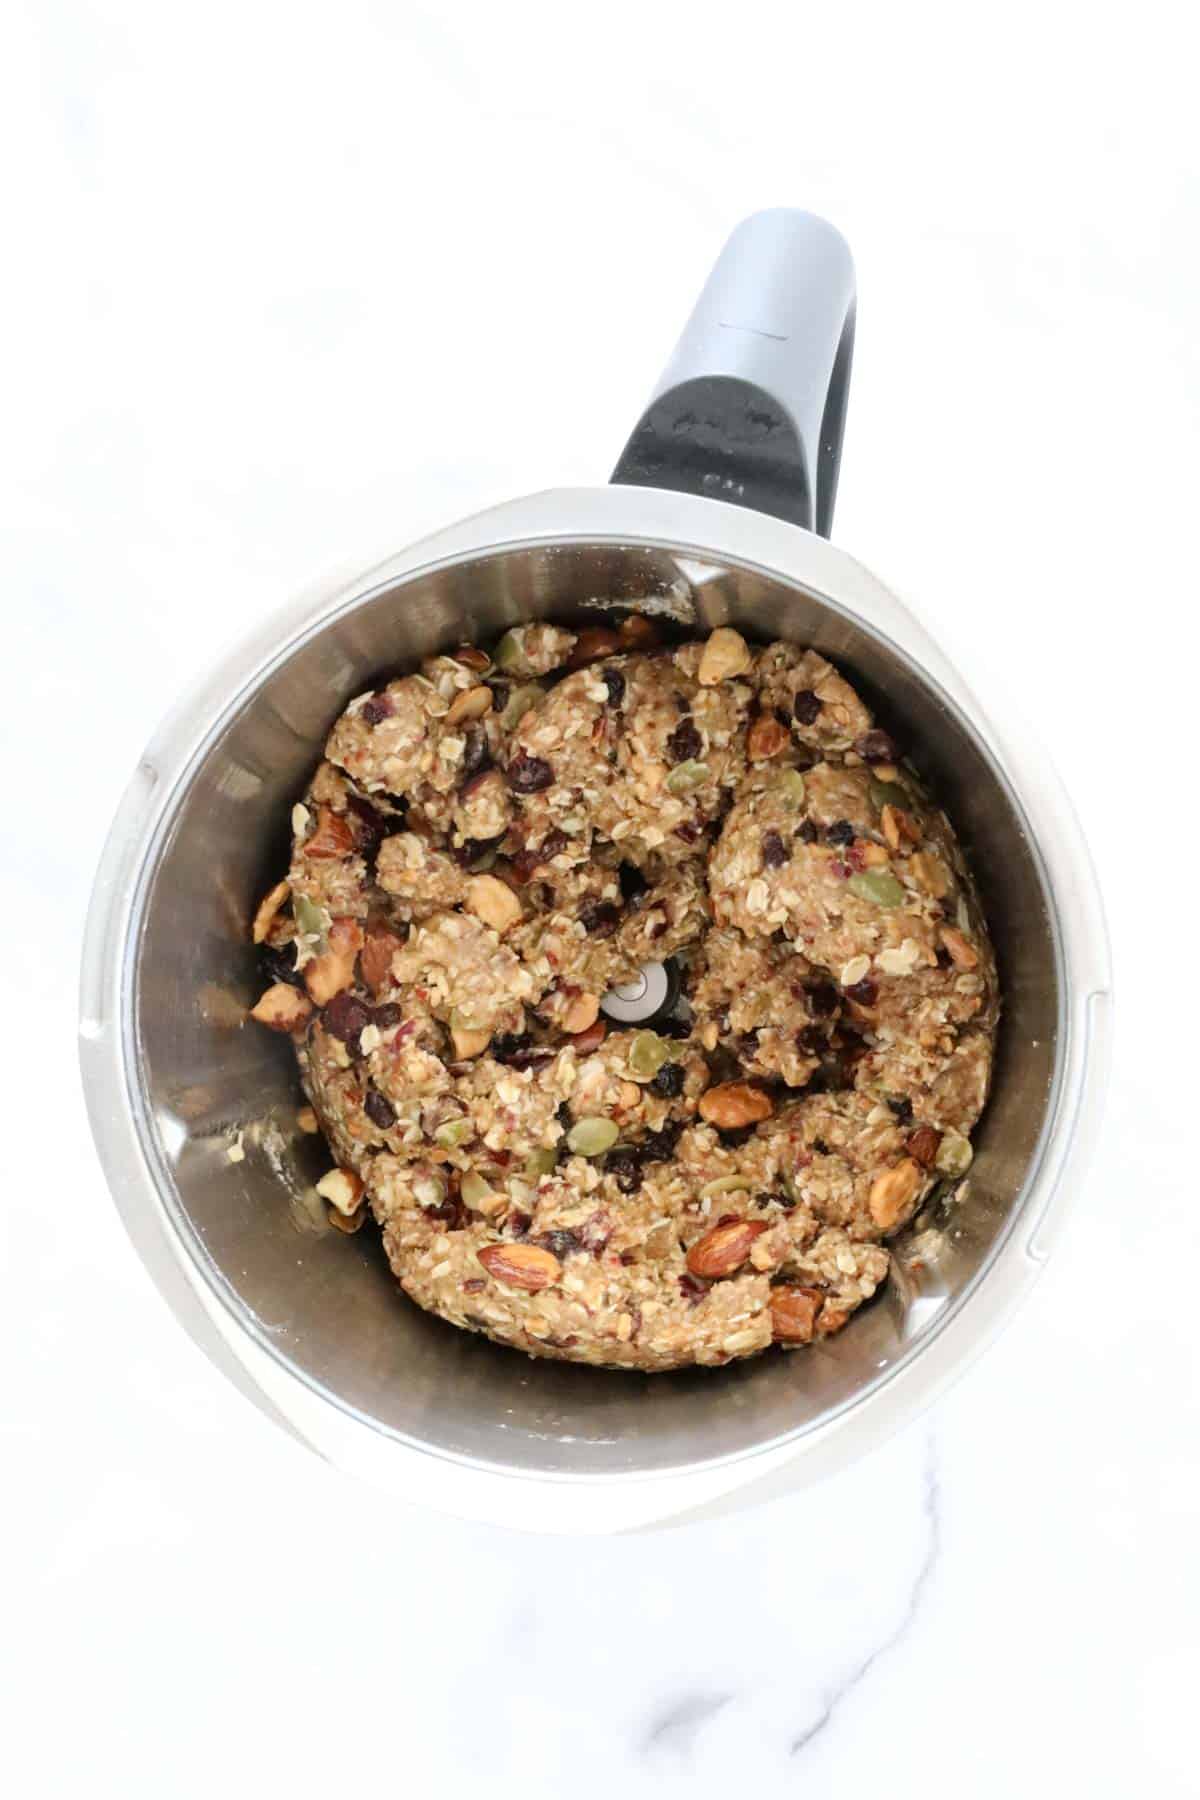
    Muesli bar mixture in a Thermomix.

    Step 3 - Bake

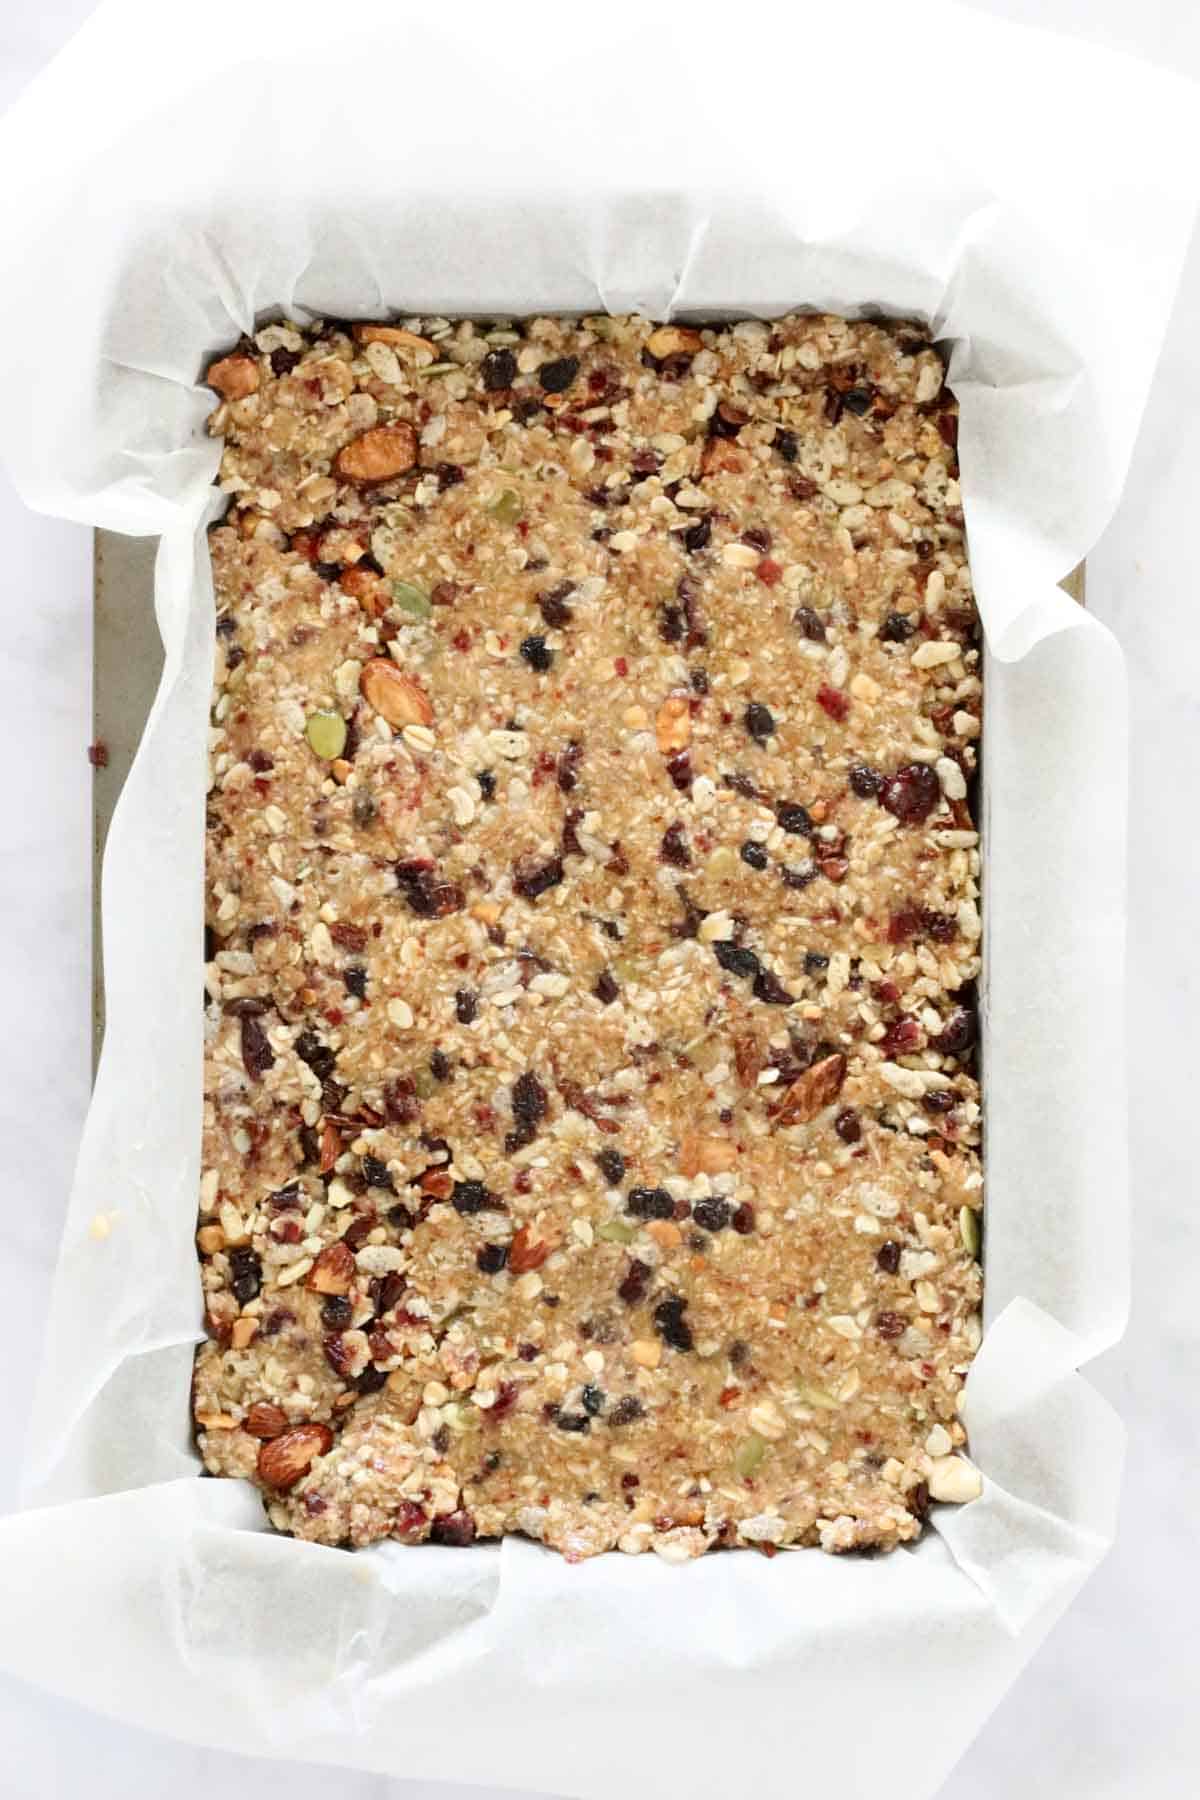
    Press the mixture firmly into a prepared baking tin and cook for 30 minutes or until the edges start to golden.

    A muesli slice pressed into a slice tin.

    Expert Tips

    • Use any of your favourite nuts, seeds and dried fruits (as long as the weight is equal to that listed in the recipe card).
    • Coconut oil is used to give the muesli bars the ultimate crunch! However, you can substitute with butter.
    • Substitute the rice malt syrup for honey.
    • You can substitute the peanut butter with any nut butter.
    • The cacao nibs/chocolate chips are entirely optional.
    • Allow the Thermomix fruit & nut muesli bars to cool completely before cutting into pieces.
    • For super neat slices, I recommend placing the slice in the fridge for a few hours/overnight before using a sharp knife to cut into pieces.
    • Store in an airtight container in the fridge for up to 5 days.
    • Freeze for up to 3 months. Allow to defrost in the fridge before consuming.
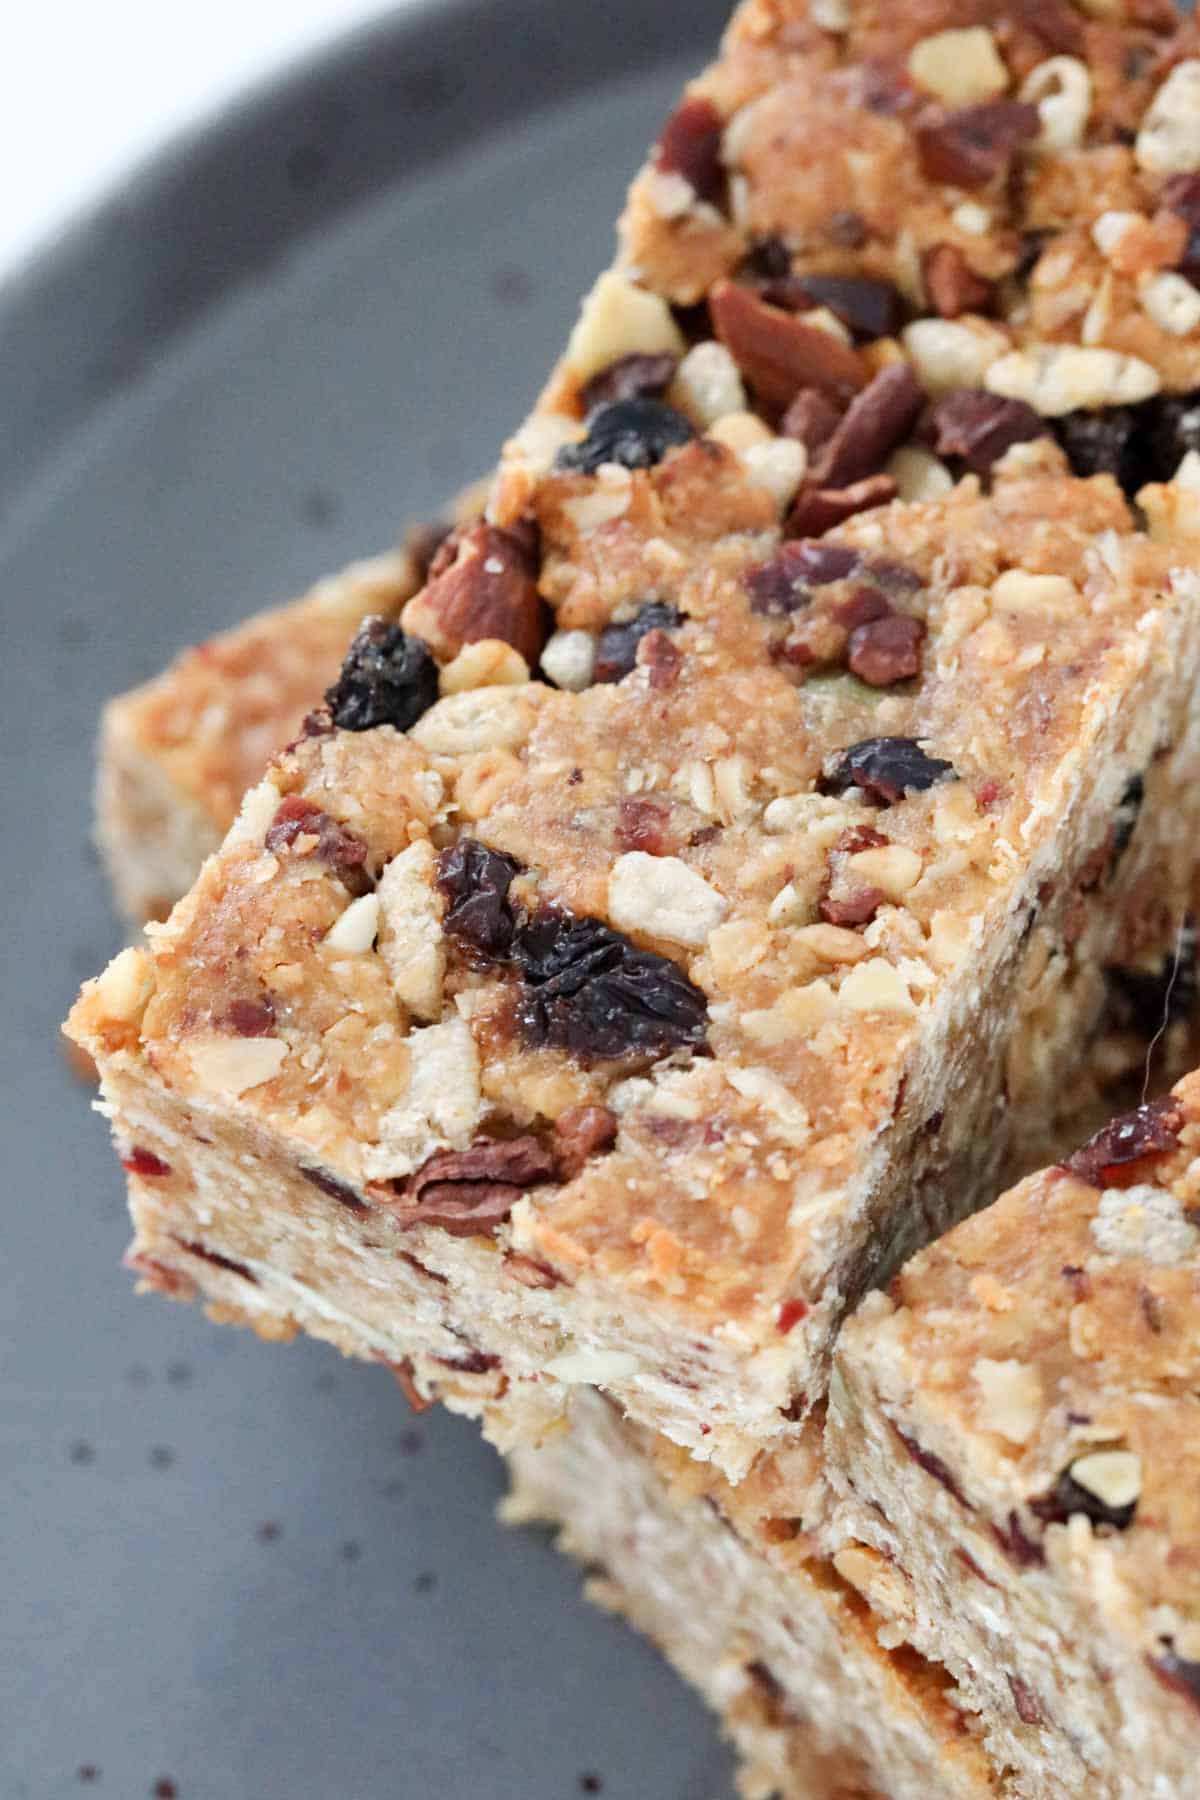
    Cranberries and dried fruit in a muesli bar.

    FAQs

    Can I replace the peanut butter with almond butter?

    Yes absolutely! Any nut butter can be used in this recipe.

    What is trail mix?

    Trail mix is a combination of nuts, seeds and dried fruit. You can use a store-bought trail mix or make your own using your favourite nuts, seeds and dried fruits.

    Do you recommend cacao nibs or chocolate chips?

    Either are fine (and they're both optional). I personally prefer cacao nibs in this recipe as they don't melt!

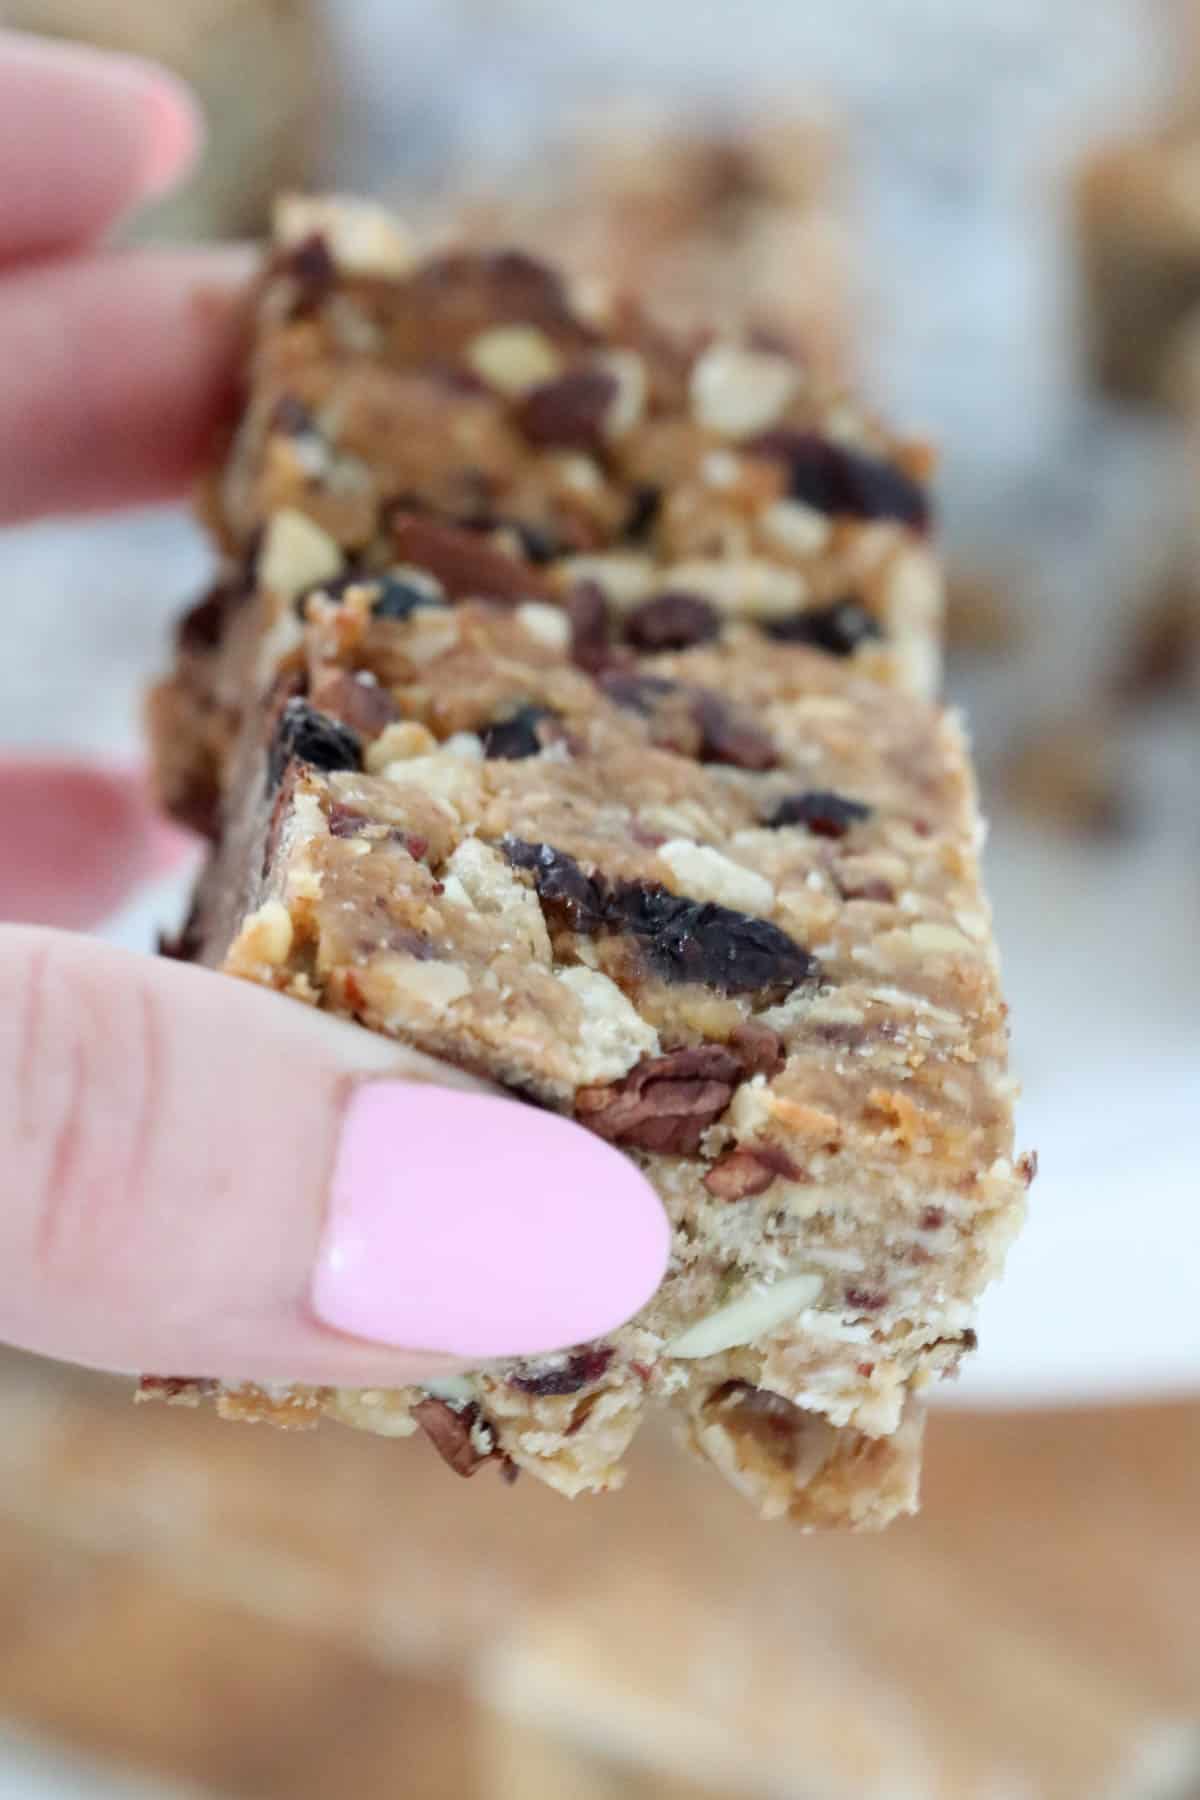
    A hand holding a muesli bar.

    Related Recipes

    Fill up your kids lunchboxes with our tasty Thermomix muesli bars and slices!

    • Seed and oat muesli bars.
      Healthy Thermomix Muesli Bars
    • Pieces of chocolate slice with sprinkles on top.
      Thermomix Weet-Bix Slice
    • Two pieces of Apricot and Coconut Slice stacked on top of each other. In the background are dried apricots.
      Two Ingredient Thermomix Apricot and Coconut Slice

    OUR RANGE OF THERMOMIX COOKBOOKS

    Browse our collection of hardcopy Thermomix cookbooks here.

    There's everything from family dinners to kids snacks, desserts to cookies, slices to Christmas recipes, cocktails to chocolate recipes and more!

    ThermoBliss complete set
    Rolled oats muesli slice with nuts.
    Print Recipe
    5 from 2 votes

    Thermomix Fruit & Nut Muesli Bars

    Our Thermomix Fruit & Nut Muesli Bars are packed full of seeds, nuts, dried fruits, puffed rice and oats!
    Prep Time10 minutes mins
    Cook Time30 minutes mins
    Total Time40 minutes mins
    Course: healthy snacks
    Cuisine: Western
    Servings: 16 serves
    Calories: 463kcal
    Author: Lucy & Lauren
    Cost: $5

    Equipment

    • Thermomix
    • Oven

    Ingredients

    • 110 g coconut oil (or butter)
    • 125 g peanut butter or any nut butter
    • 165 g rice malt syrup (or honey)
    • ½ teaspoon salt
    • ¼ teaspoon cinnamon
    • 120 g brown sugar
    • 1 teaspoon vanilla extract
    • 180 g rolled oats
    • 50 g plain flour
    • 45 g desiccated coconut
    • 150 g seed and nut trail mix
    • 90 g dried cranberries sultanas or other dried fruit
    • 30 g rice bubbles (or any puffed rice)
    • 95 g cacao nibs (or chocolate chips)

    Instructions

    • Preheat the oven to 170 degrees celsius (160 if using fan forced).
    • Line a rectangular slice tin with baking paper.
    • Leave some paper hanging over the edge so that the bars will be easier to remove from the pan.
    • Melt the coconut oil, peanut butter and rice malt syrup for 3 minutes, 90 degrees, Speed 2.
    • Add in the salt, cinnamon, brown sugar and vanilla extract and mix for 1 minute, 90 degrees, Speed 2, or until the sugar has dissolved.
    • Add the rolled oats, flour, coconut, trail mix and dried fruit and mix on for 20 seconds, Reverse, Speed 4.
    • Add the rice bbbles and cacao nibs and gently mix together for 20 seconds, Reverse, Speed 2 (you may need to use the spatula to make sure it is all mixed together.
    • Press the mixture firmly and evenly into the pan.
    • Bake for about 30 minutes or until the edges are golden brown.
    • Cool completely before removing from the pan and cutting into bars.

    Notes

    RECIPE NOTES & TIPS
    • Use any of your favourite nuts, seeds and dried fruits (as long as the weight is equal to that listed in the recipe card).
    • Coconut oil is used to give the muesli bars the ultimate crunch! However, you can substitute with butter.
    • Substitute the rice malt syrup for honey.
    • You can substitute the peanut butter with any nut butter.
    • The cacao nibs/chocolate chips are entirely optional.
    • Allow the Thermomix fruit & nut muesli bars to cool completely before cutting into pieces.
    • For super neat slices, I recommend placing the slice in the fridge for a few hours/overnight before using a sharp knife to cut into pieces.
    • Store in an airtight container in the fridge for up to 5 days.
    • Freeze for up to 3 months. Allow to defrost in the fridge before consuming.

    Nutrition

    Calories: 463kcal | Carbohydrates: 50g | Protein: 9g | Fat: 28g | Saturated Fat: 15g | Polyunsaturated Fat: 3g | Monounsaturated Fat: 8g | Sodium: 159mg | Potassium: 233mg | Fiber: 5g | Sugar: 25g | Vitamin A: 2IU | Vitamin C: 0.1mg | Calcium: 42mg | Iron: 2mg

    Thermomix Malteser Slice

    January 18, 2015

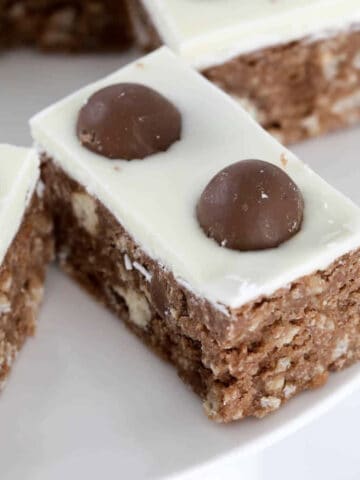
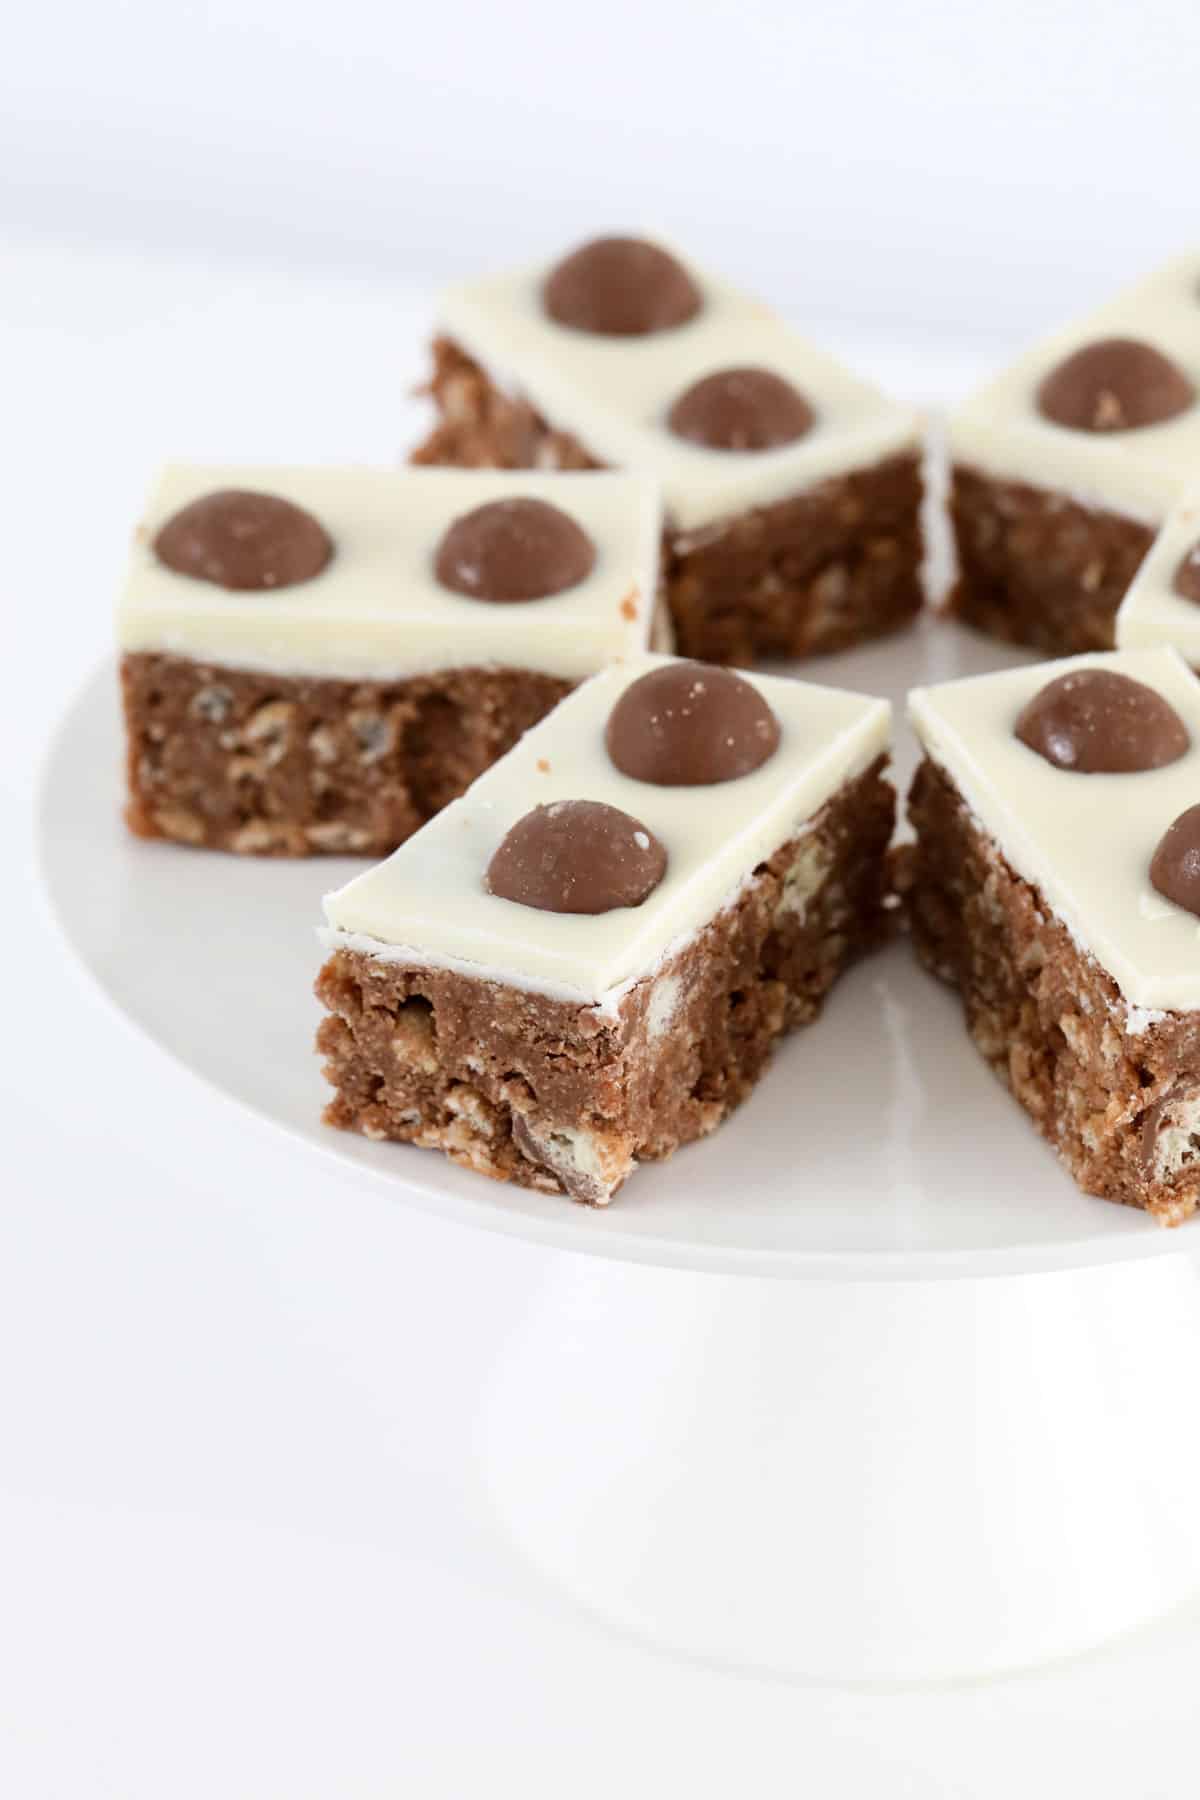
    Maltesers on top of a white chocolate topped slice.

    Our famous Thermomix Malteser Slice recipe takes just 10 minutes to prepare!

    Completely no-bake... simply let the Thermomix do all of the hard work for you! From crushing to melting, mixing and more!

    Maltesers on top of a white chocolate topped slice.

    When it comes to popular slice recipes, it doesn't get much better than our Thermomix Malteser Slice!

    Just like our Thermomix Clinkers Slice, Thermomix Jelly Slice and Thermomix Hedgehog Slice, this simple no-bake slice is always a winner - at birthday parties, in lunch boxes, at bake sales or for afternoon tea!

    Why You're Going To Love This Thermomix Slice

    Our Thermomix Malteser Slice is one of our most popular recipes ever!

    Here's why it's so loved by our readers:

    • No-Bake - Forget about turning on the oven, our Thermomix Malteser Slice recipe is prepared entirely in the Thermomix and then chilled in the fridge. That's it!
    • Quick & Easy - 10 minutes is all it takes to prepare this slice. The hardest part is waiting for it to chill in the fridge.
    • Great For Lunch Boxes, Bake Sales & Cake Stalls - Malteser Slice is always the first to disappear at fundraisers and cake stalls... and it certainly wont come home in school lunch boxes!
    • Freezer-Friendly - If you have any leftovers, you can freeze the slice in an airtight container for up to 3 months.
    Pieces of Malteser Slice on a white cake stand.

    What You Need

    Thermomix Malteser Slice is made using 7 delicious ingredients (perfect for the chocoholics out there!).

    Note: Please scroll to the recipe card at the bottom of the post for ingredient quantities and the full detailed method.

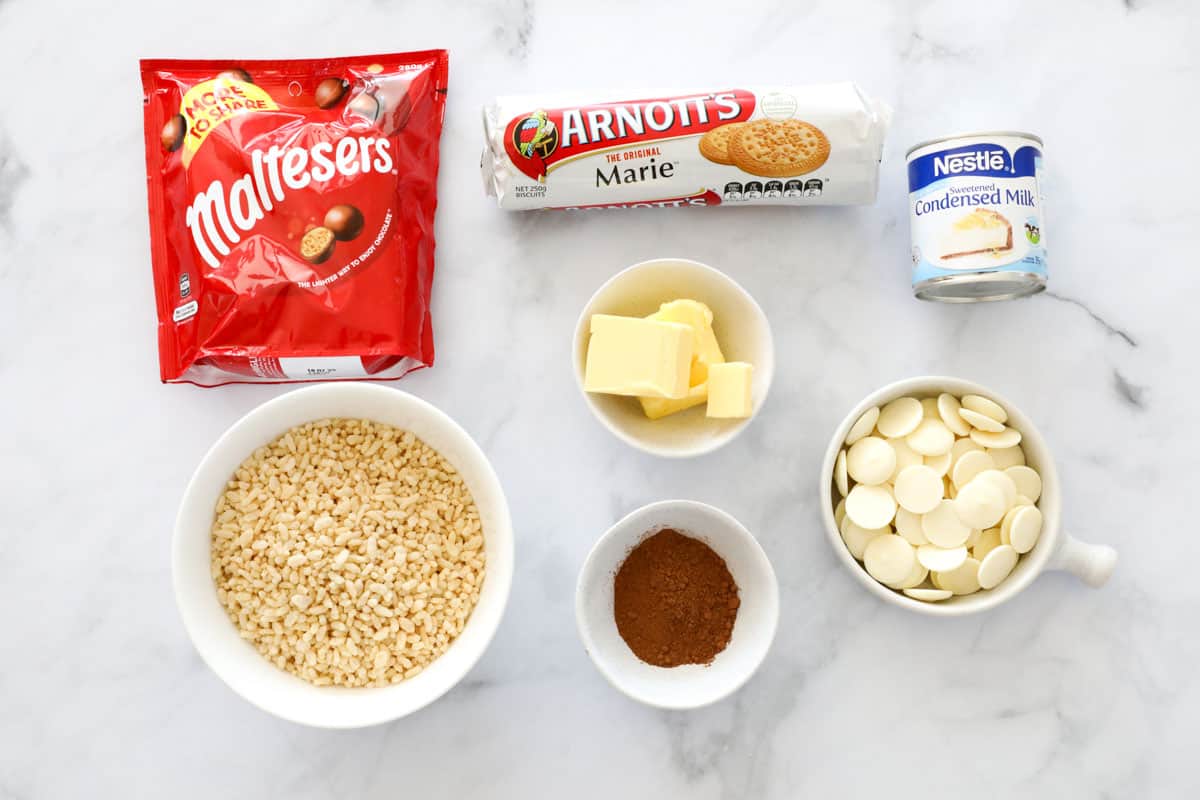
    The ingredients for Malteser chocolate slice.
    • Plain Sweet Biscuits - known as cookies in the US. You can use any type of plain sweet biscuits you like. I generally use Arnotts Marie biscuits, which are popular here in Australia.
    • Rice Bubbles - also known as Rice Krispies. You can use any brand of puffed rice you like. Ensure you use a brand new (unopened) packet of Rice Bubbles to avoid stale tasting slice!
    • Butter - you can use either salted or unsalted butter in this recipe.
    • Sweetened Condensed Milk - use full fat (not skim or light) sweetened condensed milk.
    • Cocoa Powder - unsweetened cocoa powder.
    • Maltesers - also known as Whoppers in the US. Cut in half before using in this recipe.
    • White Chocolate - use white chocolate melts or baking chocolate (not chocolate chips as they don't melt as well).
    • Coconut Oil (optional) - this helps to stop the chocolate from cracking when it's cut into slices.

    Step By Step Instructions

    It couldn't be easier to make our Thermomix Malteser Slice recipe!

    Note: Please scroll to the recipe card at the bottom of the post for ingredient quantities and the full detailed method.

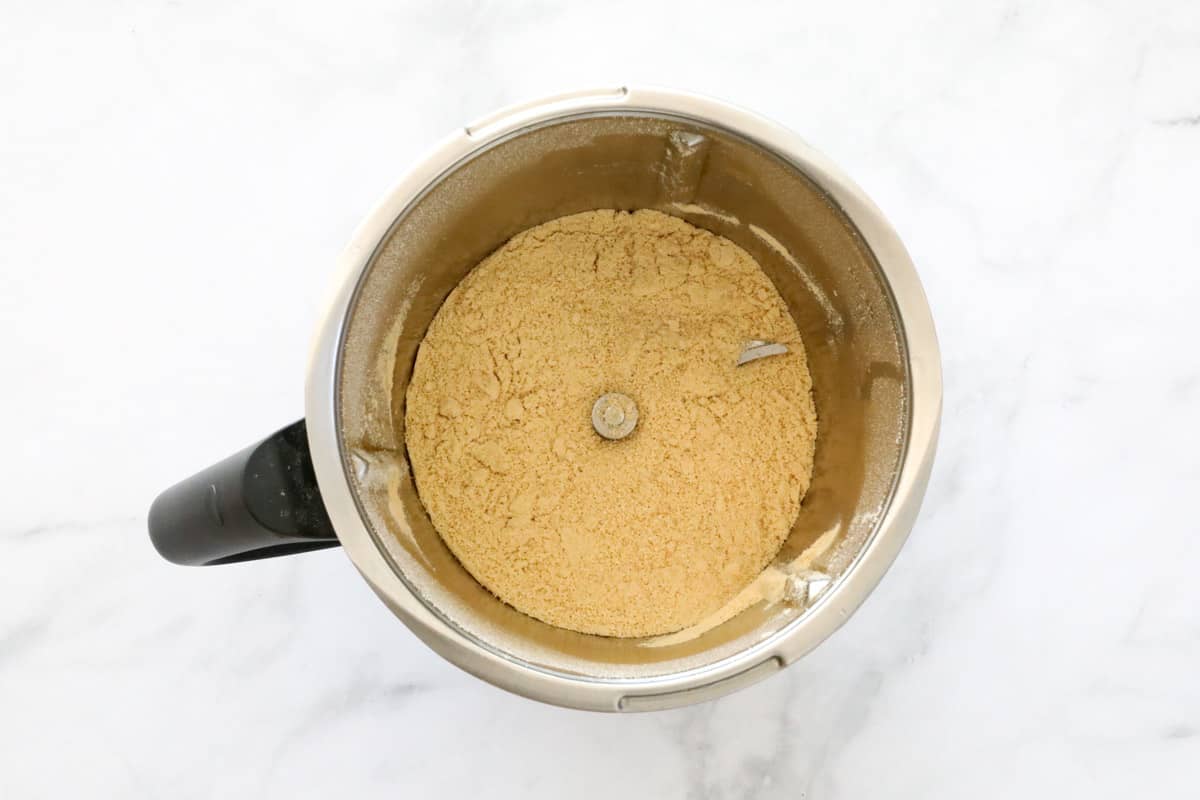
    Step 1 - Crush The Biscuits

    Place the biscuits into a clean and dry Thermomix bowl.

    Crush until fine crumbs remain. Set aside in a seperate bowl.

    Crushed biscuits in a Thermomix.

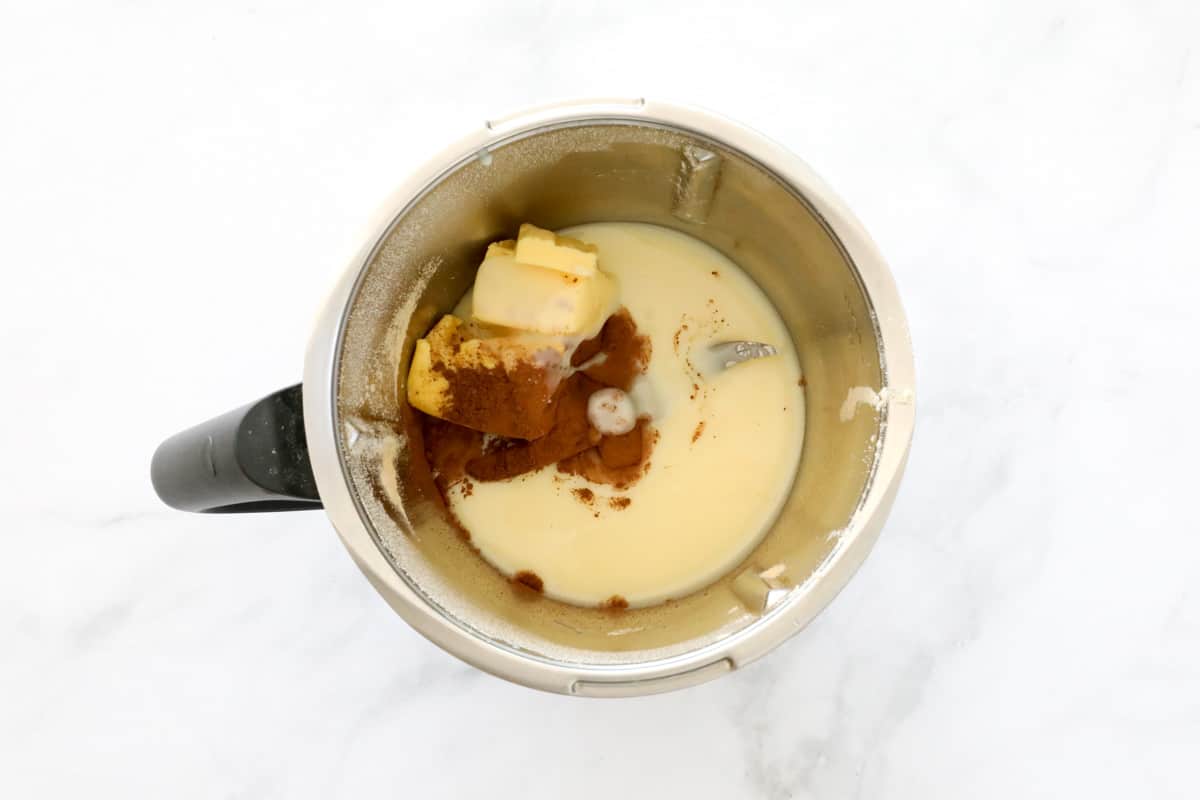
    Step 2 - Melt

    Place the butter, sweetened condensed milk and cocoa powder into the Thermomix bowl (there's no need to wash it after crushing the biscuits.

    Condensed milk, butter and cocoa in a jug.

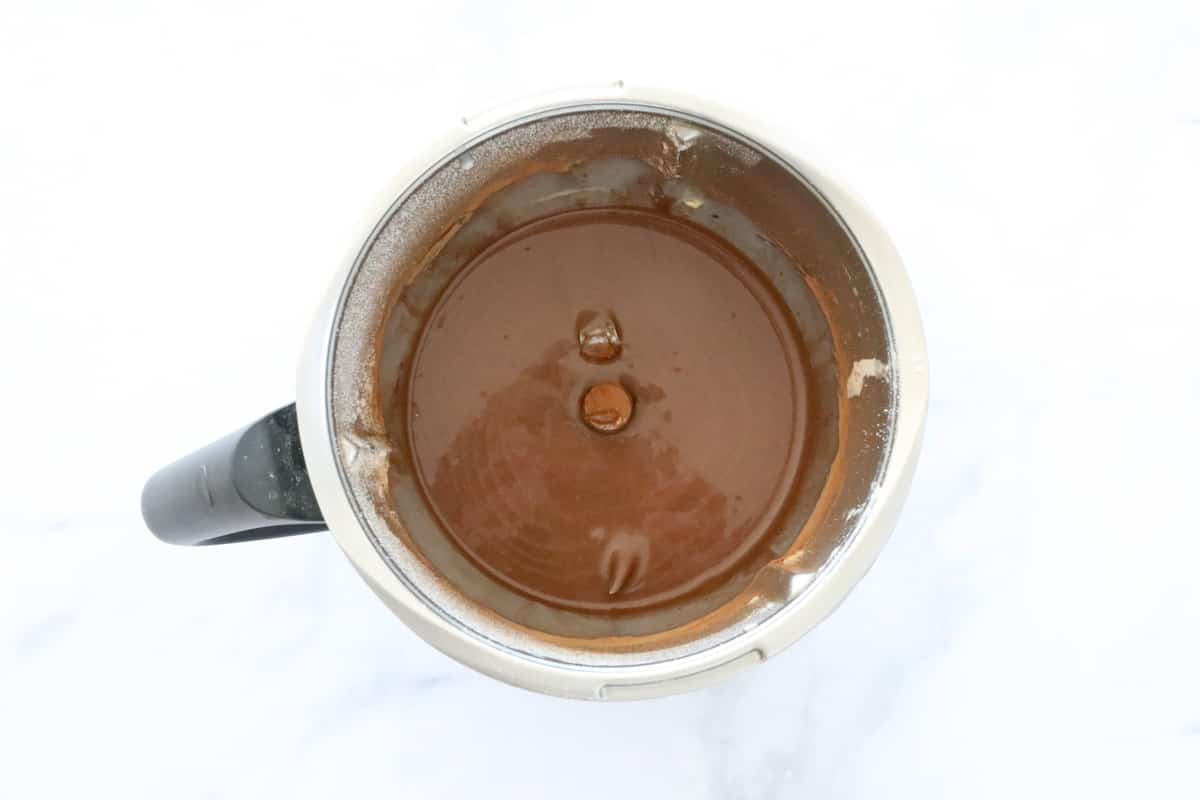
    Cook until smooth and melted.

    Chocolate liquid in a stainless jug.

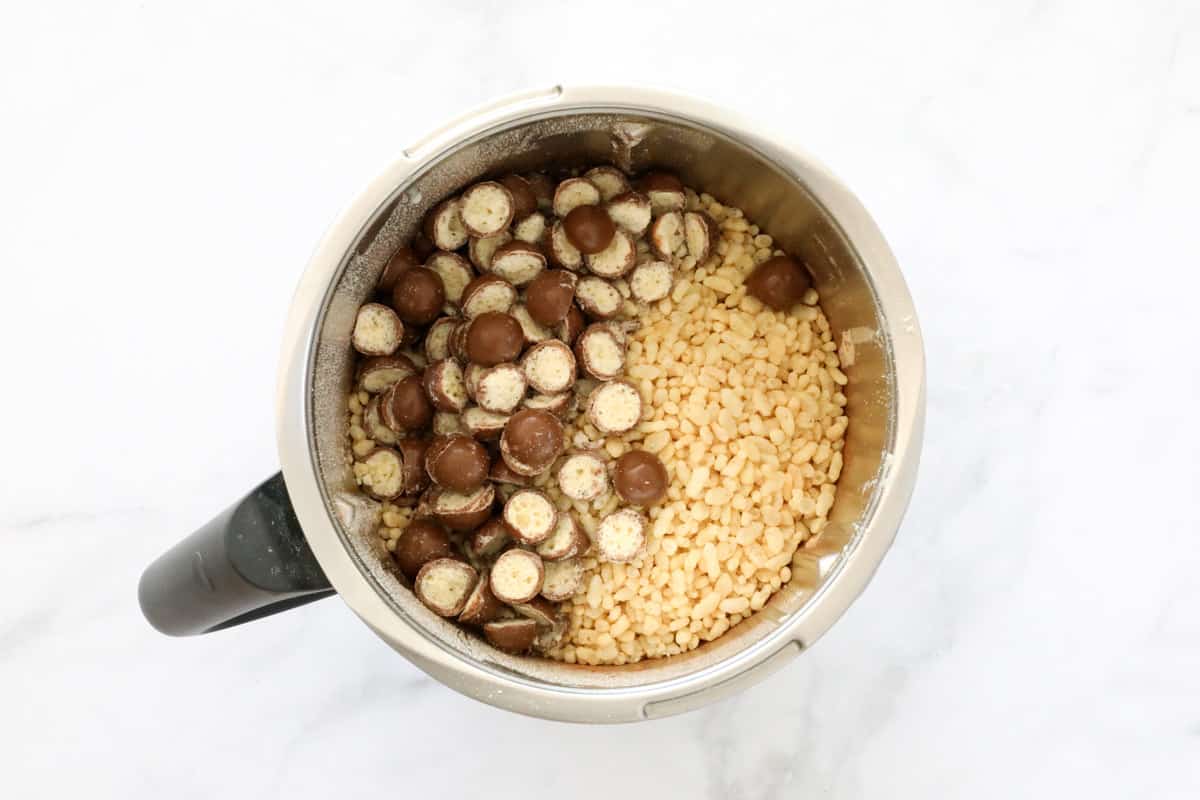
    Step 3 - Mix

    Add the reserved biscuit crumbs, the Rice Bubbles and half of the Maltesers (cut in half).

    Maltesers and rice bubbles in a Thermomix.

    Mix on REVERSE until combined (use the spatula through the MC hole to help mix.

    Malteser Slice mixture in a Thermomix.

    Step 4 - Chill

    Press into the prepared baking tin and chill in the fridge.

    Chocolate slice in a baking tin.

    Step 5 - Add The Melted Chocolate & Extra Maltesers

    Melt the white chocolate and coconut oil (if using) in a clean and dry Thermomix bowl. Spread over the top of the slice and decorate with the remaining halved Maltesers.

    Maltesers on top of white chocolate in a slice tin.

    Note: Place the Maltesers cut side down to keep them crunchy.

    Chill in the fridge for a minimum of 2 hours (preferably overnight).

    Expert Tips

    • Use an unopened box of Rice Bubbles - this ensures the slice doesn't taste stale!
    • Place the Maltesers decorating the top of the slice cut side facing down to keep them crunchy.
    • Store in the fridge - to keep the slice crunchy!
    • Remove from the fridge 20 minutes before cutting into slices.
    • Store in an airtight container in the fridge for up to 1 week.
    • Freeze in an airtight container for up to 3 months. Allow to defrost in the fridge before consuming.
    Chocolate slice with Maltesers.

    FAQs

    What are Maltesers?

    Maltesers are a malted milk ball coated in milk chocolate. They are similar to Hersheys Whoppers. Maltesers are a popular chocolate here in Australia.

    Do I need to store this slice in the fridge?

    It is best to store this Thermomix Malteser Slice in the fridge in order to keep it crunchy!

    How many calories are in Malteser Slice?

    There are 286 calories per serve in Malteser Slice.

    More Thermomix Slice Recipes

    Here's a few more of our most popular Thermomix no-bake slice recipes:

    • Pieces of hedgehog slice on a white stand.
      Thermomix Hedgehog Slice
    • Pieces of strawberry jelly slice.
      Jelly Slice Recipe by Thermobliss
    • Squares of Clinkers Slice.
      Thermomix Clinkers Slice
    • Pieces of lemon coconut slice on a board.
      Thermomix Lemon & Coconut Slice

    Thermomix Recipe Cookbooks

    Our range of printed Thermomix cookbooks include everything from family dinners to lunch box snacks, slices to cocktails, Christmas recipes to chocolate... and so much more!

    All of our printed cookbooks also come with a free eBook version emailed immediately upon purchase.

    Shop our range of Thermomix cookbooks here

    ThermoBliss Cookbook full set.
    Maltesers on top of a white chocolate topped slice.
    Print Recipe
    4.80 from 5 votes

    Thermomix Malteser Slice

    Our famous Thermomix Malteser Slice recipe takes just 10 minutes to prepare! Completely no-bake... simply let the Thermomix do all of the hard work for you! From crushing to melting, mixing and more!
    Prep Time10 minutes mins
    Chilling Time2 hours hrs
    Total Time2 hours hrs 10 minutes mins
    Course: Slices
    Cuisine: Australian
    Servings: 20 serves
    Calories: 286kcal
    Author: Lucy & Lauren
    Cost: $10

    Equipment

    • Thermomix

    Ingredients

    • 250 g plain sweet biscuits like Arnotts Marie biscuits
    • 70 g rice bubbles
    • 125 g butter
    • 395 g sweetened condensed milk full fat (not skim)
    • 15 g cocoa powder
    • 185 g Maltesers cut in half
    • 200 g white chocolate
    • 15 g coconut oil optional

    Instructions

    • Line a standard 18 X 28 cm rectangular slice tin with baking paper. Set aside.
    • Place the biscuits into the Thermomix bowl and crush for 10 seconds, Speed 8. Set aside in a seperate bowl.
    • Place the butter, sweetened condensed milk and cocoa powder into the Thermomix bowl and melt for 3 minutes, 50 degrees, Speed 2 (or until completely melted).
    • Add the crushed biscuits, rice bubbles and ½ of the halved Maltesers.
    • Mix for 15 seconds, Reverse, Speed 3 or until completely combined. Use the spatula to help mix.
    • Press firmly into the prepared tin.
    • Break the white chocolate into a clean and dry Thermomix bowl and add the coconut oil. Melt for 3 minutes, Speed 2, 50 degrees.
    • Pour the melted chocolate over the slice.
    • Press the remaining halved Maltesers into the melted chocolate.
    • Refrigerate for a minimum of 2 hours before cutting into slices (preferably overnight).

    Notes

    RECIPE NOTES & TIPS
    • Use an unopened box of Rice Bubbles - this ensures the slice doesn't taste stale!
    • Place the Maltesers decorating the top of the slice cut side facing down to keep them crunchy.
    • Store in the fridge - to keep the slice crunchy!
    • Remove from the fridge 20 minutes before cutting into slices.
    • Store in an airtight container in the fridge for up to 1 week.
    • Freeze in an airtight container for up to 3 months. Allow to defrost in the fridge before consuming.

    Nutrition

    Calories: 286kcal | Carbohydrates: 36g | Protein: 4g | Fat: 15g | Saturated Fat: 8g | Polyunsaturated Fat: 1g | Monounsaturated Fat: 4g | Trans Fat: 0.2g | Cholesterol: 22mg | Sodium: 136mg | Potassium: 187mg | Fiber: 1g | Sugar: 26g | Vitamin A: 233IU | Vitamin C: 1mg | Calcium: 86mg | Iron: 1mg

    Thermomix Double Chocolate Brownie Bliss Balls

    January 16, 2015

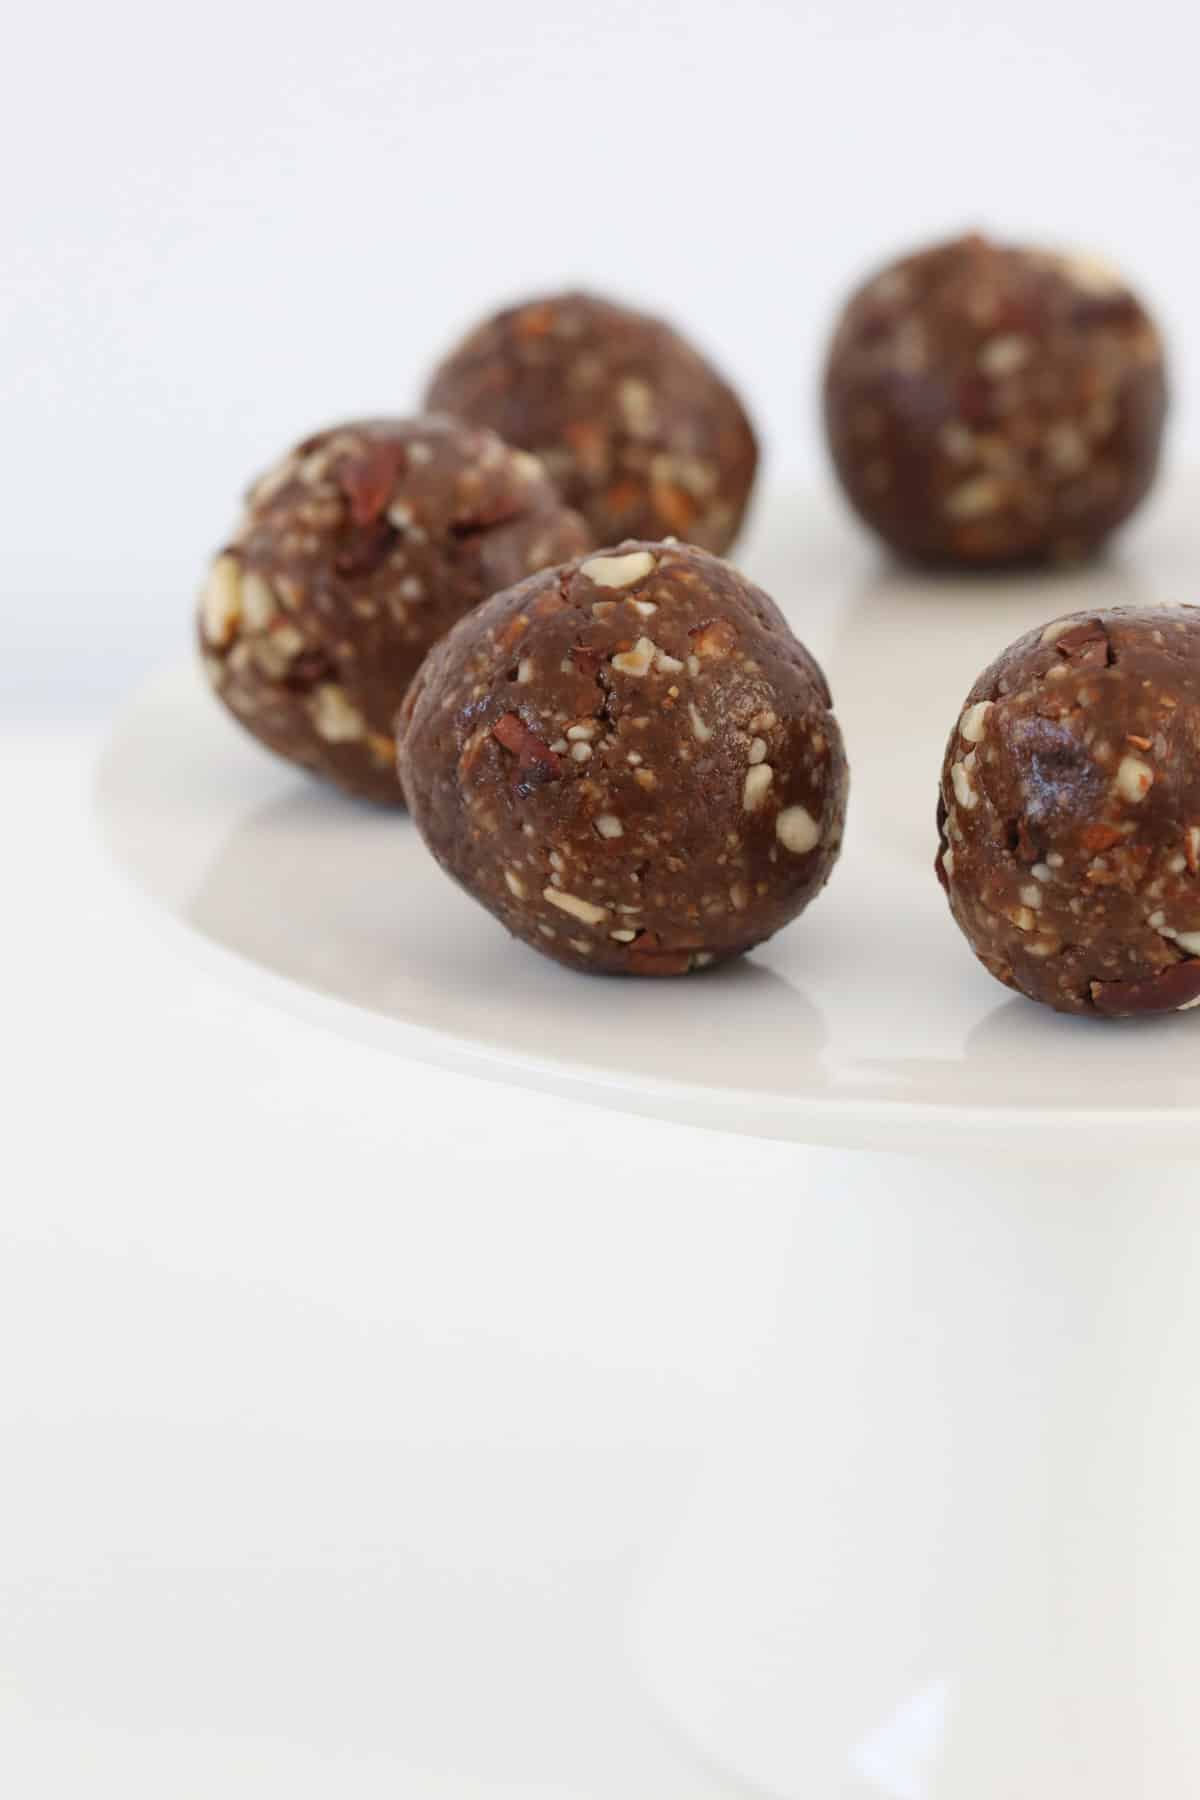
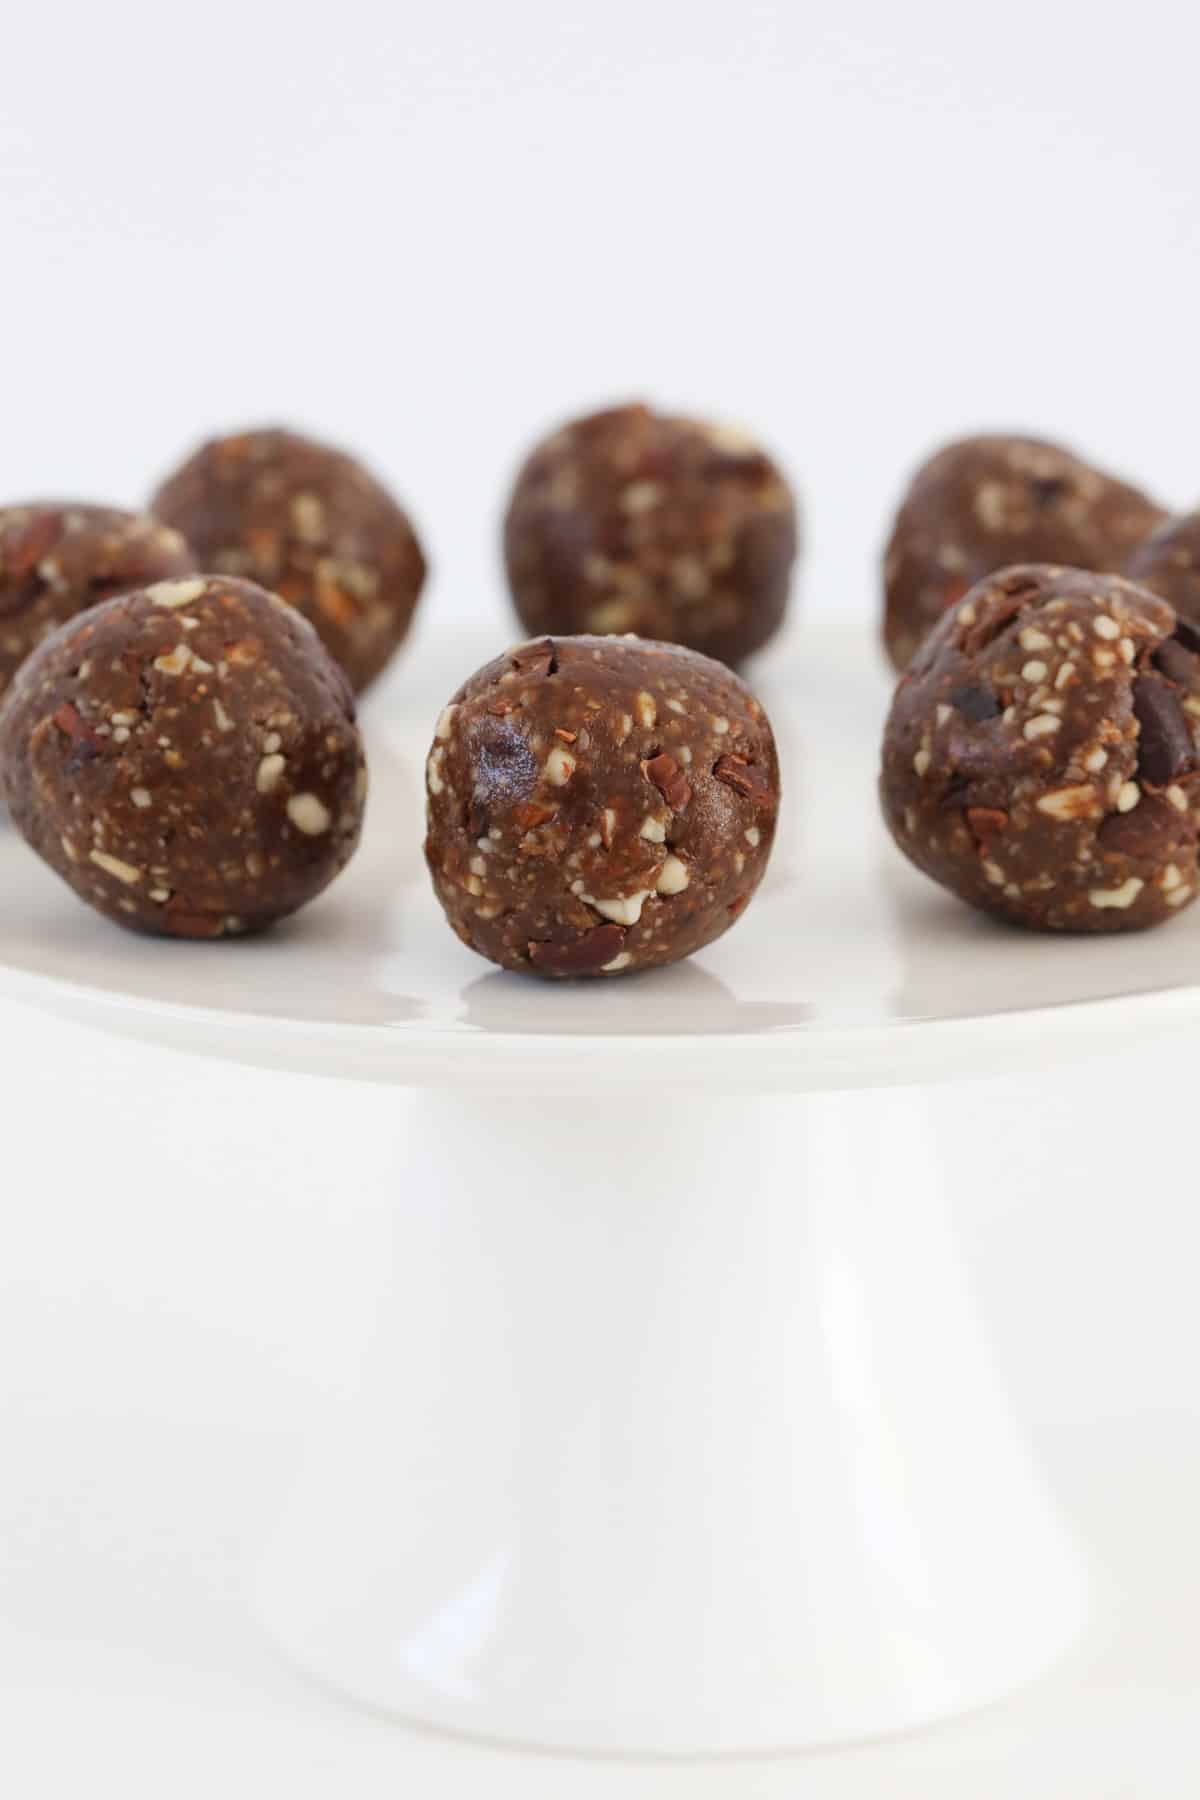
    Round bliss balls on a cake stand.

    Our Thermomix Double Chocolate Brownie Bliss Balls are made from just 6 ingredients and are a healthy energy-boosting snack.

    Perfect for school lunchboxes, an after school treat or post-gym pick-me-up!

    Round bliss balls on a cake stand.

    When you're craving something sweet, but are trying to eat healthy, then a bliss ball is the answer!

    These Thermomix Double Chocolate Brownie Bliss Balls are a chocoholics answer to a guilt-free treat.

    Just like our chocolate bliss balls, Weet-Bix balls and apricot balls, this version is super delicious AND healthy!

    A plate of chocolate brownie bliss balls.

    Why You're Going To Love These Bliss Balls

    • Quick & Easy - These bliss balls can be whipped up in no time at all in the Thermomix... and they'll disappear just as quickly!
    • Double Chocolate - The cacao powder gives the balls a beautiful chocolate brownie flavours and the cacao nibs add the most delicious chocolate crunch.
    • Energy Boosting Snack - These Thermomix Double Chocolate Brownie Bliss Balls make a fantastic mid afternoon pick-me-up, after school treat or lunchbox snack.

    What You Need

    Just 6 ingredients are needed to make Thermomix Double Chocolate Brownie Bliss Balls!

    Please scroll to the recipe card at the bottom of the post for ingredient quantities and the full detailed method.

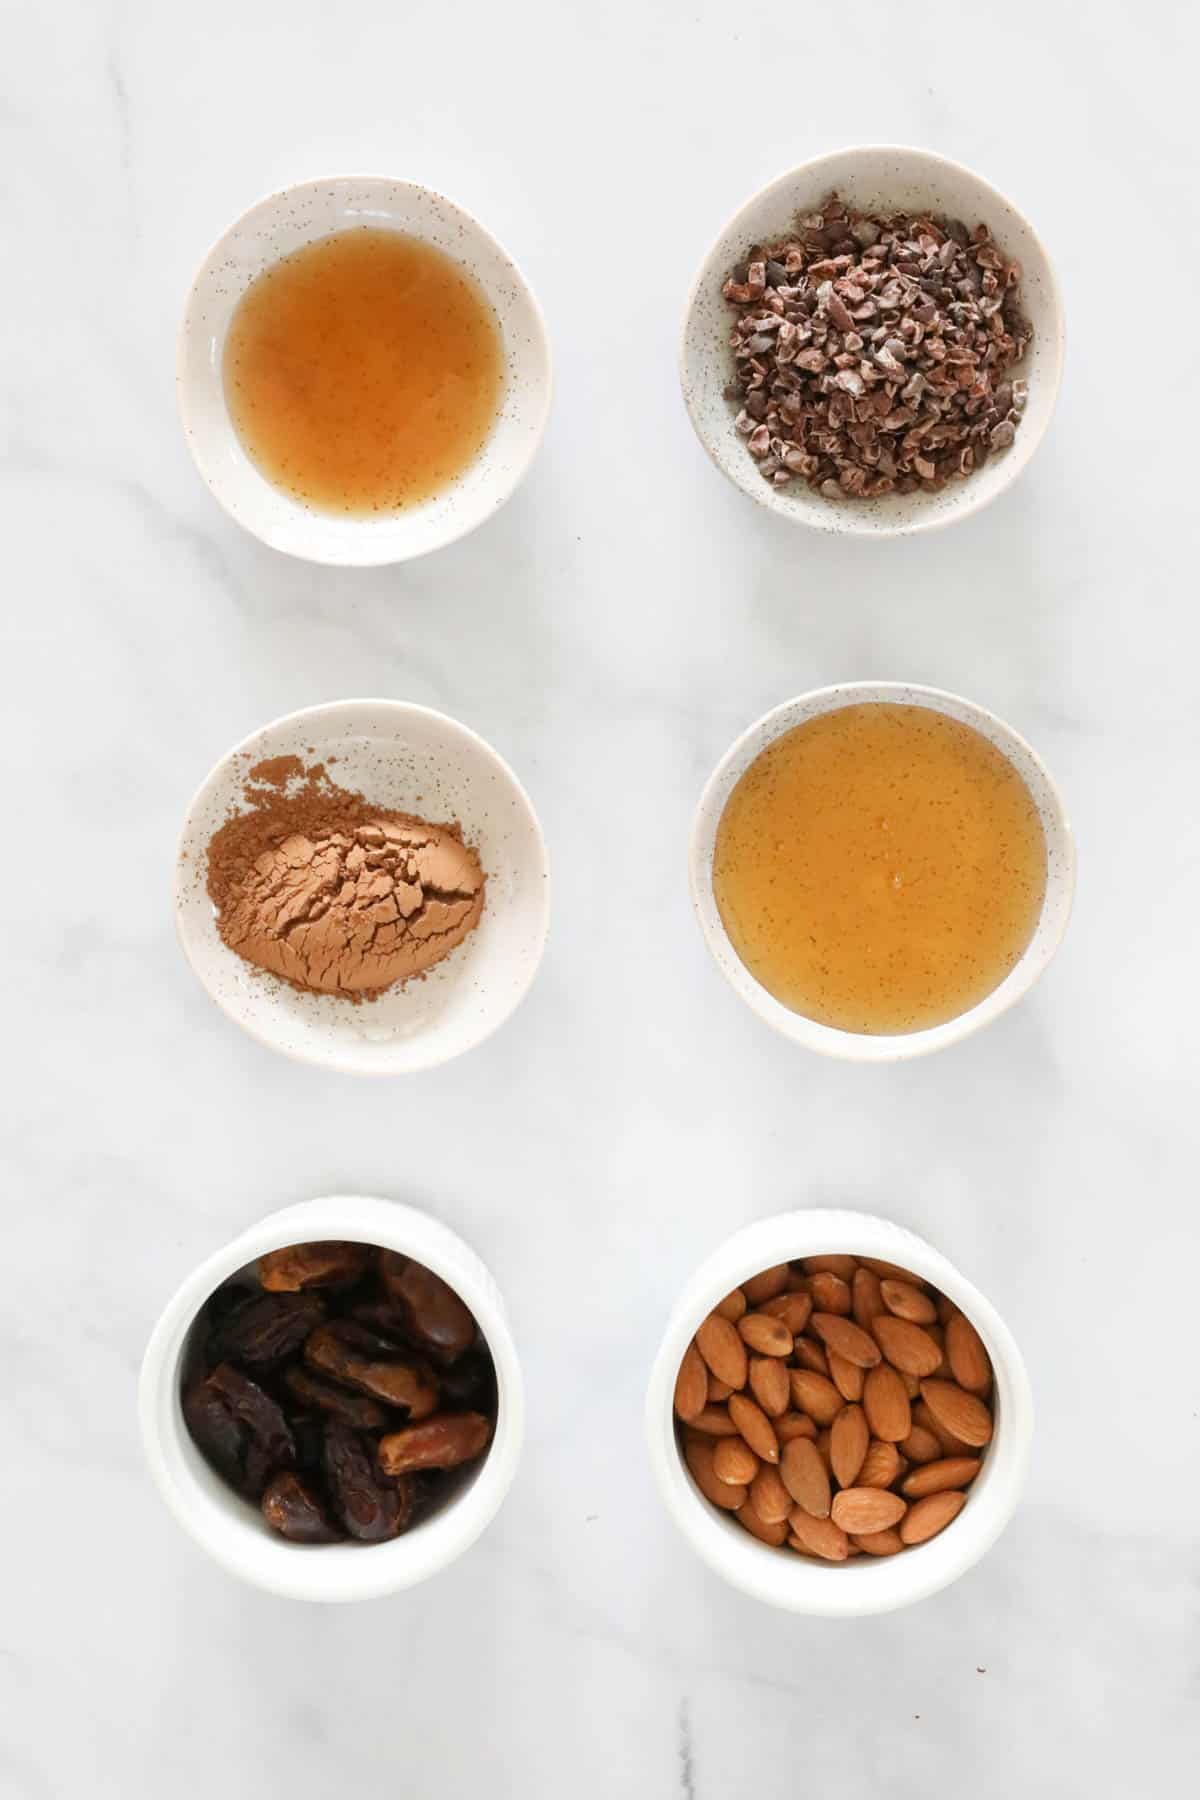
    The ingredients for brownie bliss balls.
    • pitted dates - use dried pitted dates or medjool dates
    • agave syrup - or substitute with honey or rice malt syrup
    • vanilla extract - or vanilla essence
    • cacao powder - or cocoa powder
    • raw almonds
    • cacao nibs - optional. Or substitute for chocolate chips.

    Step By Step Instructions

    It takes just 5 minutes to prepare our Thermomix Double Chocolate Brownie Bliss Balls!

    Please scroll to the recipe card at the bottom of the post for ingredient quantities and the full detailed method.

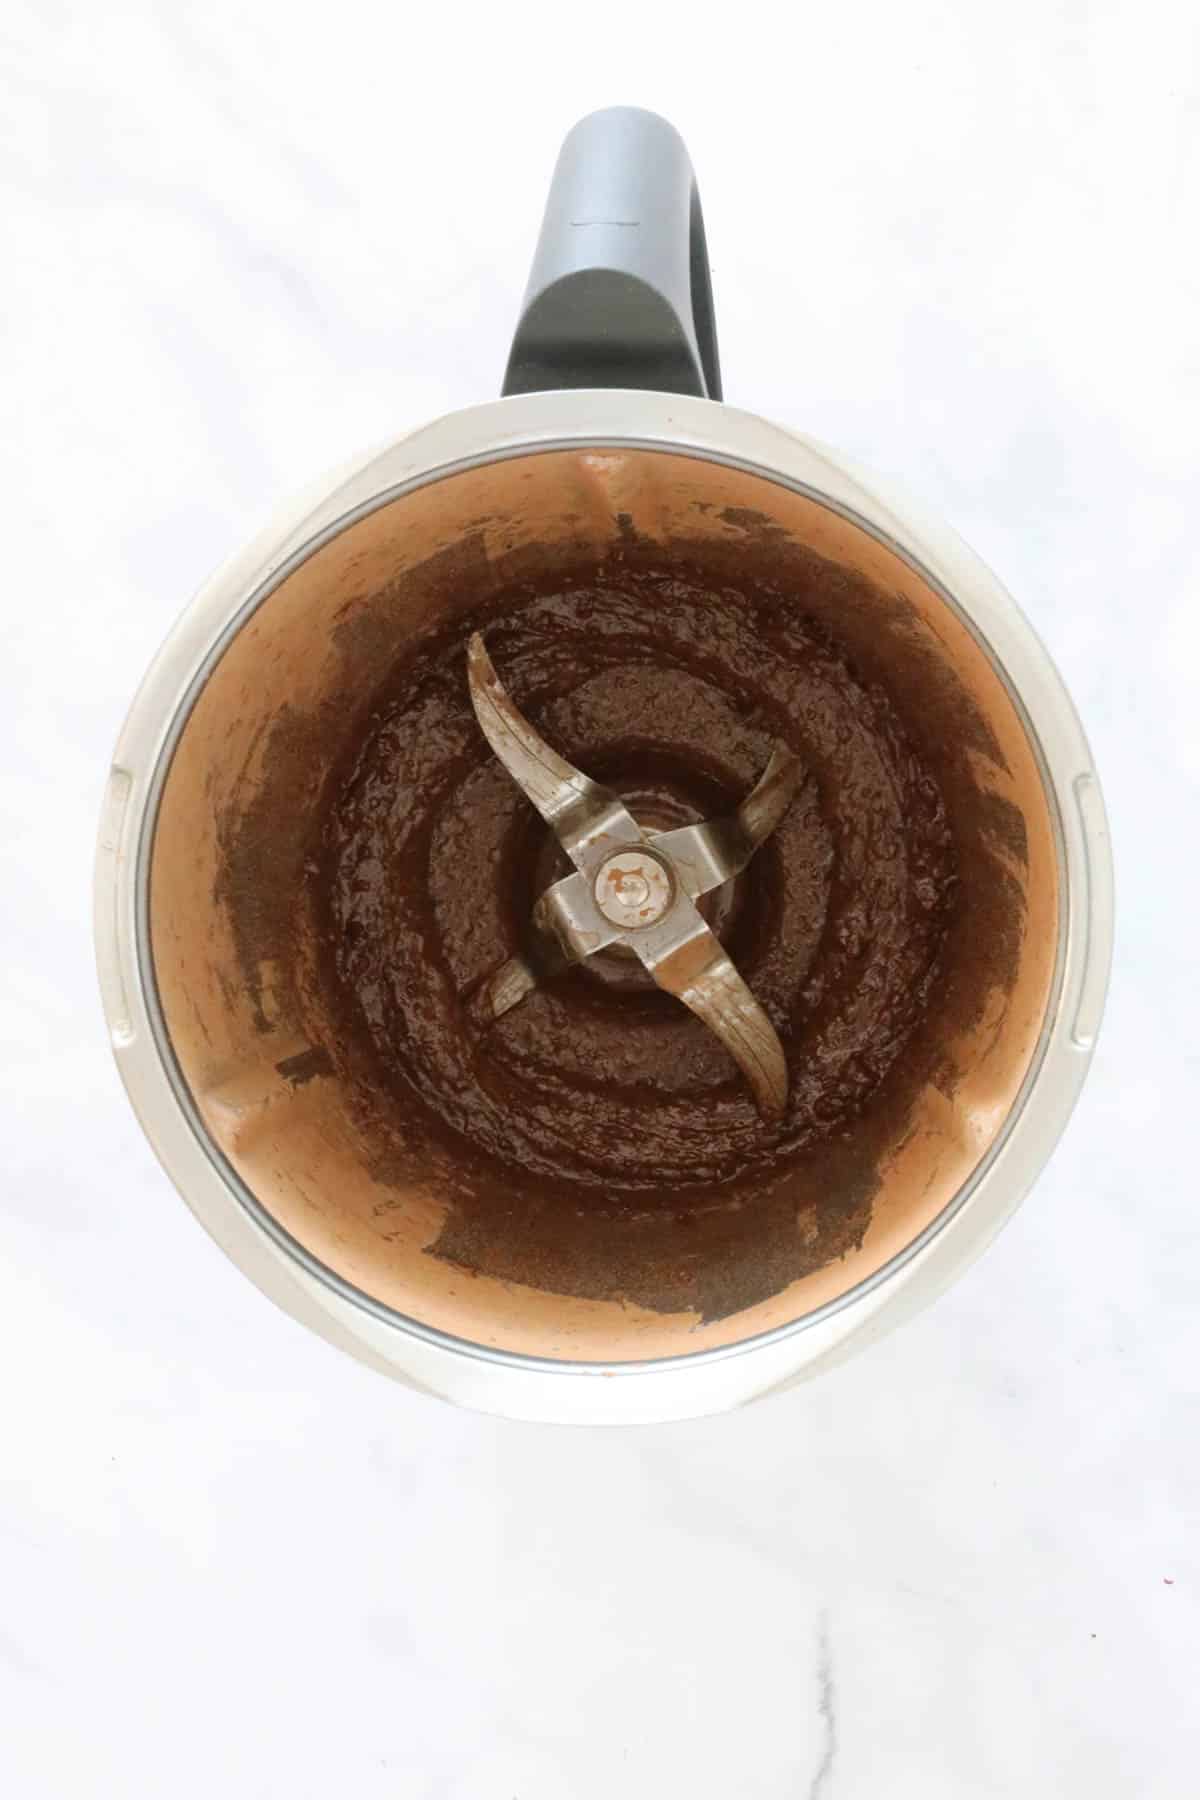
    Step 1 - Make A Paste

    Place the dates, agave syrup, vanilla extract and cacao powder into the Thermomix and mix to form a paste.

    A date paste in a jug.

    Step 2 - Add The Almonds

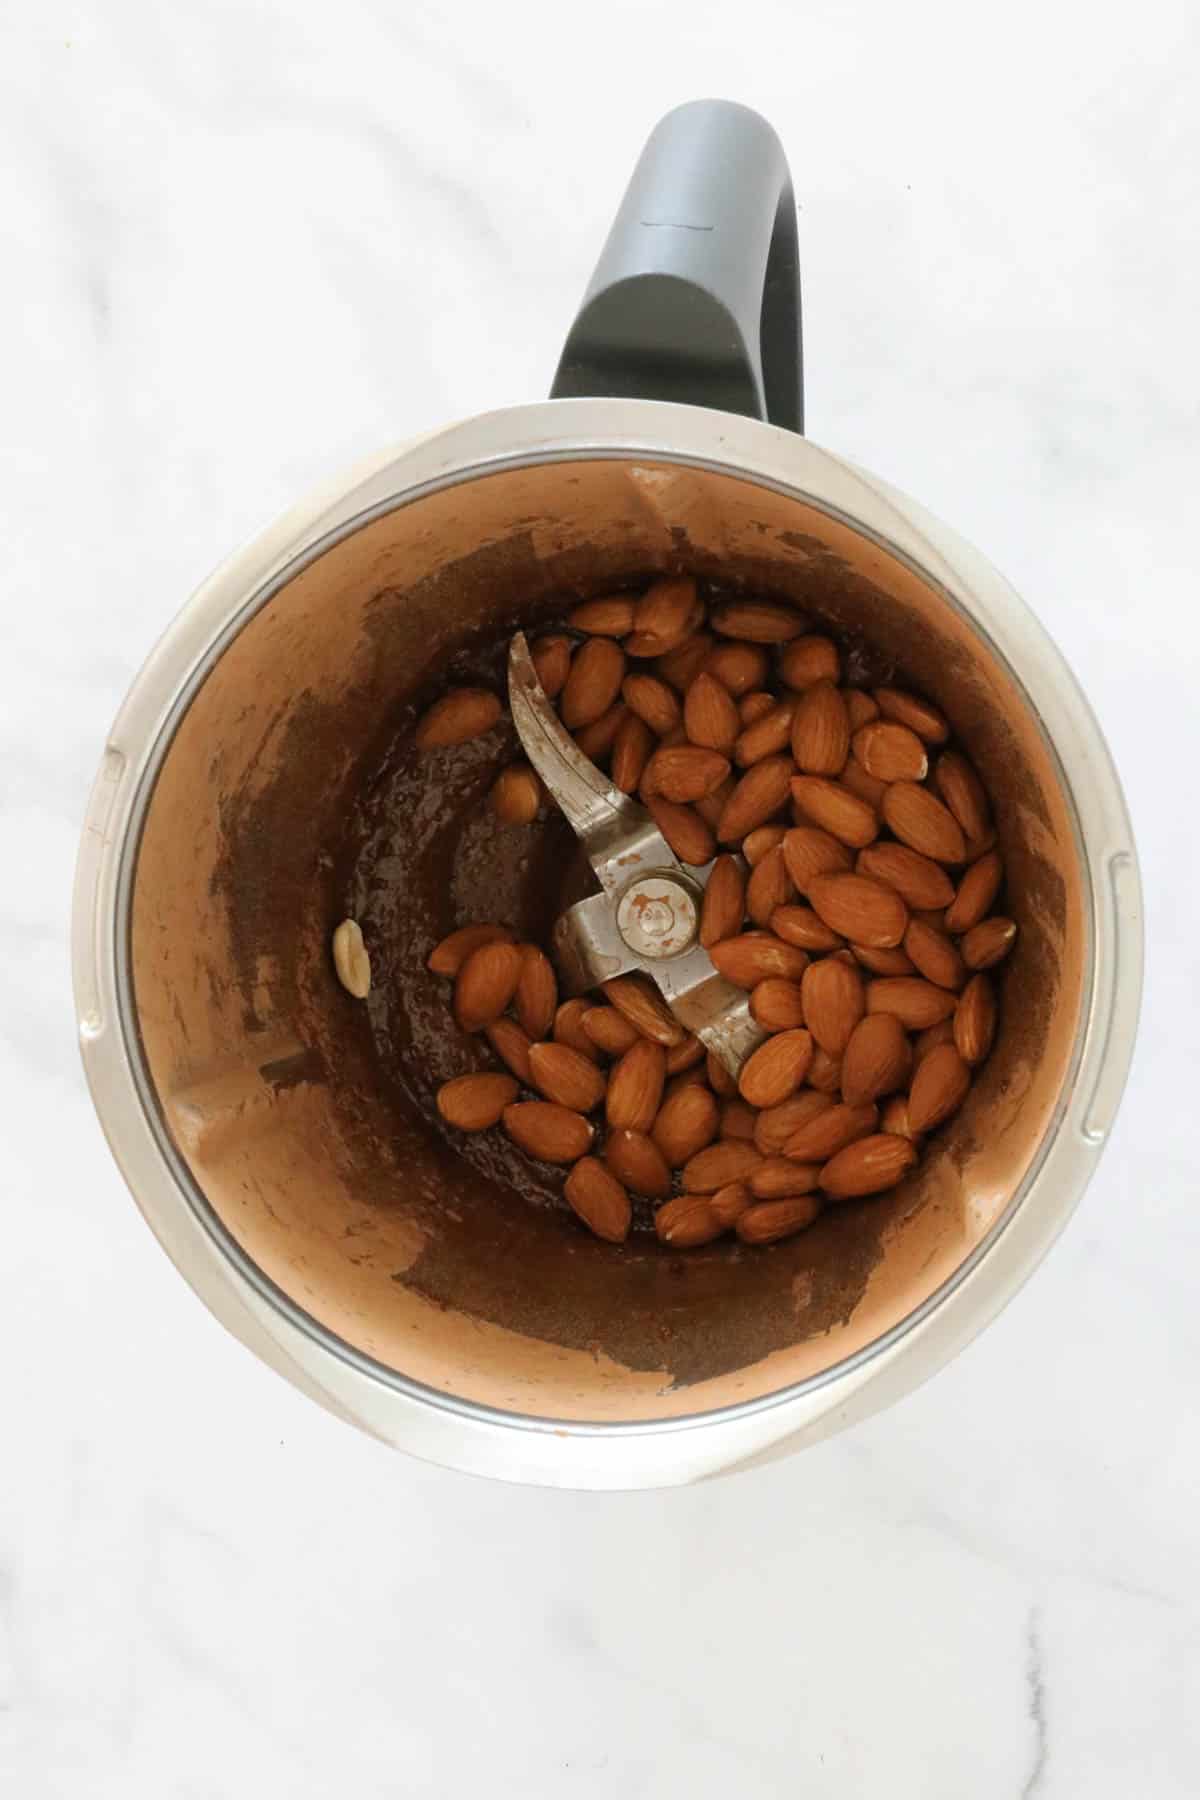
    Add the almonds and mix until well combined.

    Almonds in a stainless jug.

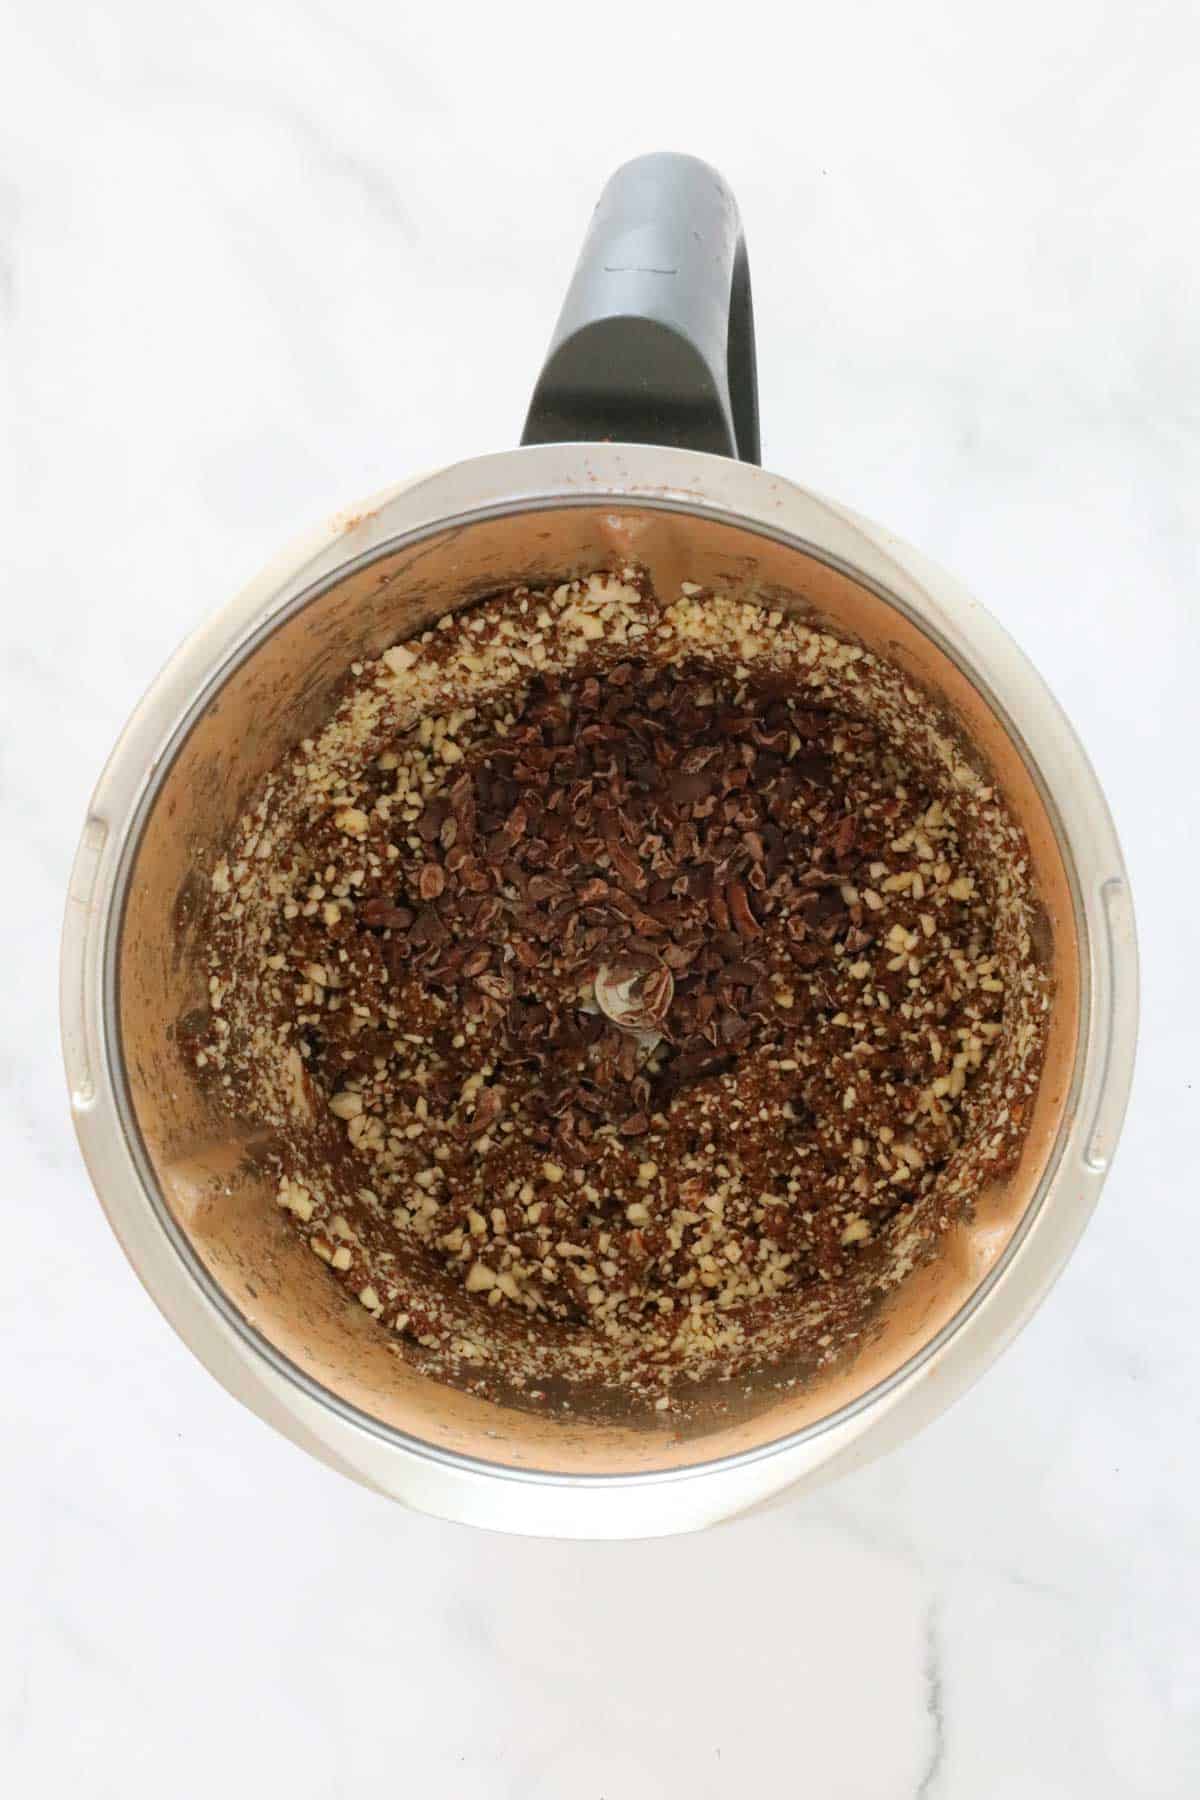
    Step 3 - Mix Through The Cacao Nibs

    Add the cacao nibs and mix on Reverse to combine.

    Almond and date mixture in a Thermomix.

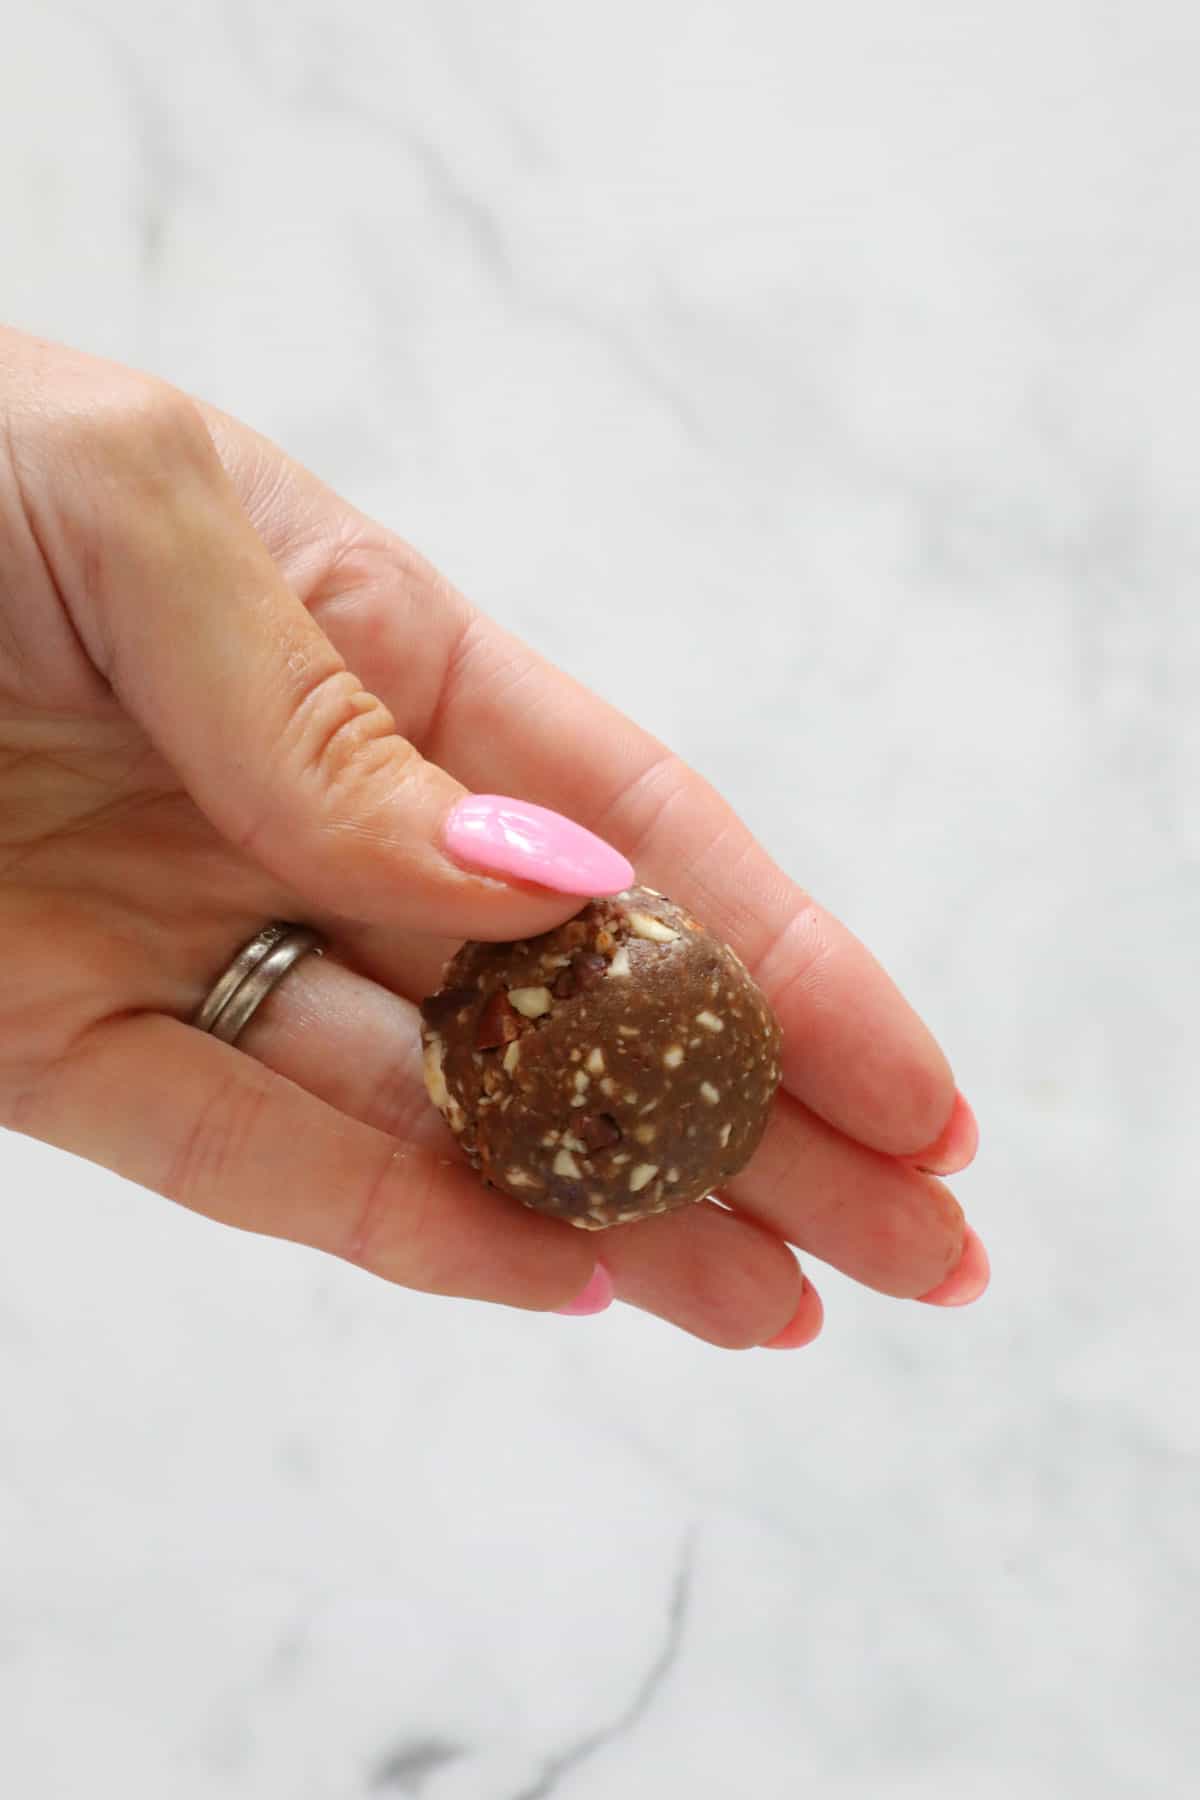
    Step 4 - Roll Into Balls

    Use your hands to roll the mixture into tablespoon sized balls.

    A hand rolling a bliss ball.

    Expert Tips

    • Ensure you use pitted dates or remove the pits before mixing
    • This recipe is suitable for use in all Thermomix models
    • You can double or triple our Thermomix Double Chocolate Brownie Bliss Balls recipe
    • Store in an airtight container in the fridge for up to 1 week
    • Freeze for up to 3 months
    • Frozen bliss balls can be placed straight into lunchboxes and will be defrosted by recess
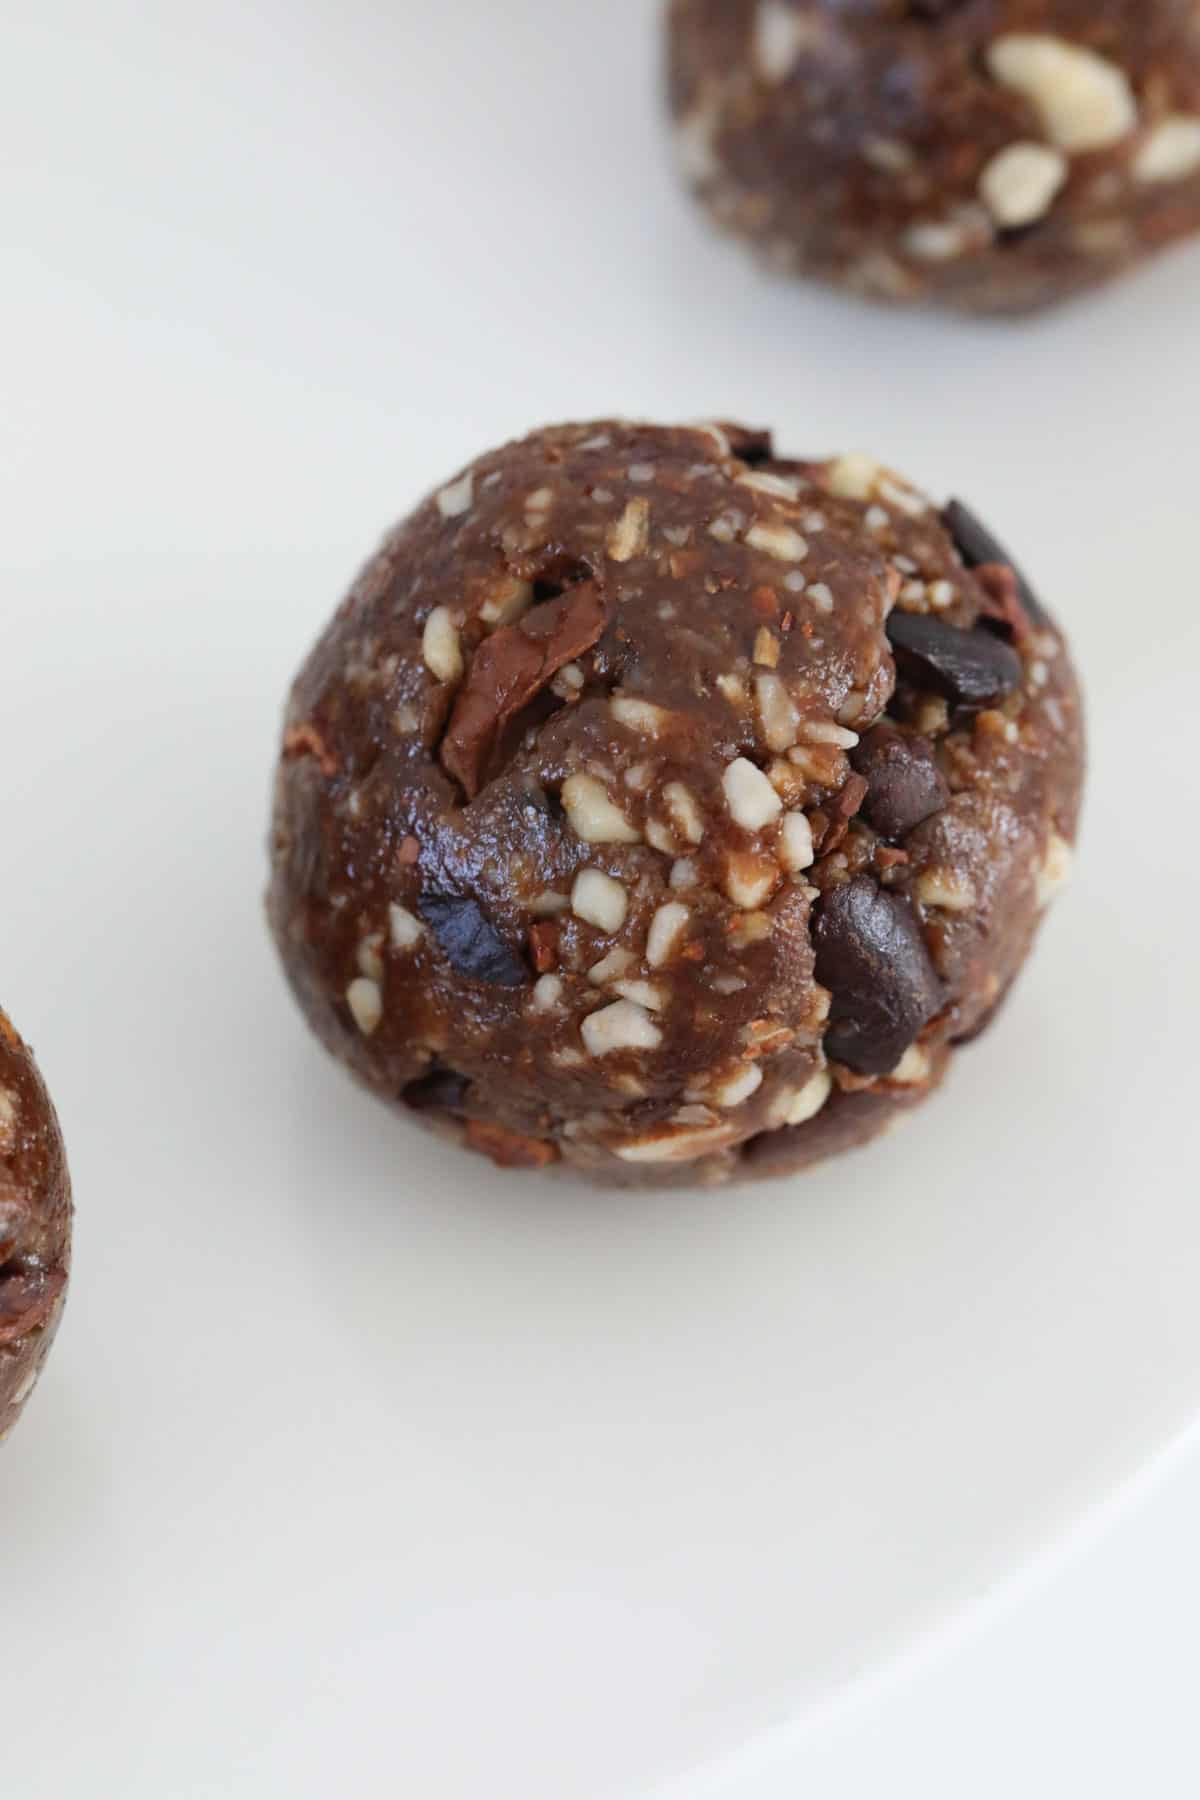
    A chocolate date ball.

    FAQs

    What can I use instead of agave?

    Honey or rice malt syrup can be substituted for the agave syrup.

    What do I do if my mixture is too soft or too dry?

    If your mixture is too soft to roll into balls, add some extra almonds and mix to combine.
    If your mixture is too dry, add an extra tablespoon of agave syrup (or honey/rice malt syrup).

    Can I omit the cacao nibs?

    Yes you can! While they give the Thermomix Double Chocolate Brownie Bliss Balls a delicious crunch, they can be omitted (or substituted with chocolate chips).

    A half eaten protein ball.

    Related Recipes

    Looking for more healthy Thermomix snacks?

    Here's some of our most popular recipes:

    • A spoonful of chocolate ice-cream.
      Healthy Thermomix Chocolate Ice Cream
    • Seed and oat muesli bars.
      Healthy Thermomix Muesli Bars
    • Date loaf on a timber platter sliced.
      Thermomix Date Loaf
    • A bowl of chia, currant and weet-bix balls.
      Thermomix Weet-Bix Balls

    Shop Our Range Of Thermomix Cookbooks

    Browse our collection of hardcopy Thermomix cookbooks here.

    There's everything from family dinners to kids snacks, desserts to cookies, slices to Christmas recipes, cocktails to chocolate recipes and more!

    ThermoBliss complete set
    Round bliss balls on a cake stand.
    Print Recipe
    4.88 from 8 votes

    Thermomix Double Chocolate Brownie Bliss Balls

    Our most popular bliss ball recipe! Inspired by the flavours of a chocolate brownie... but in a healthy little bliss ball!
    Prep Time5 minutes mins
    Total Time5 minutes mins
    Course: healthy snacks
    Cuisine: Western
    Servings: 12 serves
    Calories: 122kcal
    Author: Lucy & Lauren
    Cost: $5

    Equipment

    • Thermomix

    Ingredients

    • 100 g pitted dates
    • 15 g agave syrup (honey or rice malt syrup could also be used)
    • 1 teaspoon vanilla extract
    • 10 g cacao powder or cocoa powder
    • 130 g raw almonds
    • 60 g cacao nibs or dark chocolate nibs

    Instructions

    • Place the dates, agave syrup, vanilla extract and cacao powder into the Thermomix.
      Mix on Speed 6, 10 seconds or until the mixture resembles a paste.
    • Add in the almonds and mix on Speed 8 until your desired texture is achieved.
      *If the mixture is too dry, add an extra tablespoon of agave syrup (or honey/rice malt syrup).
    • Add in the cacao nibs and mix on Reverse, 10 seconds, Speed 3.
    • Roll into tablespoon sized balls.

    Notes

    RECIPE NOTES & TIPS
    • Ensure you use pitted dates or remove the pits before mixing
    • This recipe is suitable for use in all Thermomix models
    • You can double or triple our Thermomix Double Chocolate Brownie Bliss Balls recipe
    • Store in an airtight container in the fridge for up to 1 week
    • Freeze for up to 3 months
    • Frozen bliss balls can be placed straight into lunchboxes and will be defrosted by recess

    Nutrition

    Calories: 122kcal | Carbohydrates: 11g | Protein: 3g | Fat: 8g | Saturated Fat: 2g | Polyunsaturated Fat: 1g | Monounsaturated Fat: 3g | Trans Fat: 0.002g | Sodium: 1mg | Potassium: 147mg | Fiber: 3g | Sugar: 7g | Vitamin A: 1IU | Vitamin C: 0.2mg | Calcium: 34mg | Iron: 1mg

    Thermomix Sausage Rolls |Classic Recipe

    December 10, 2014

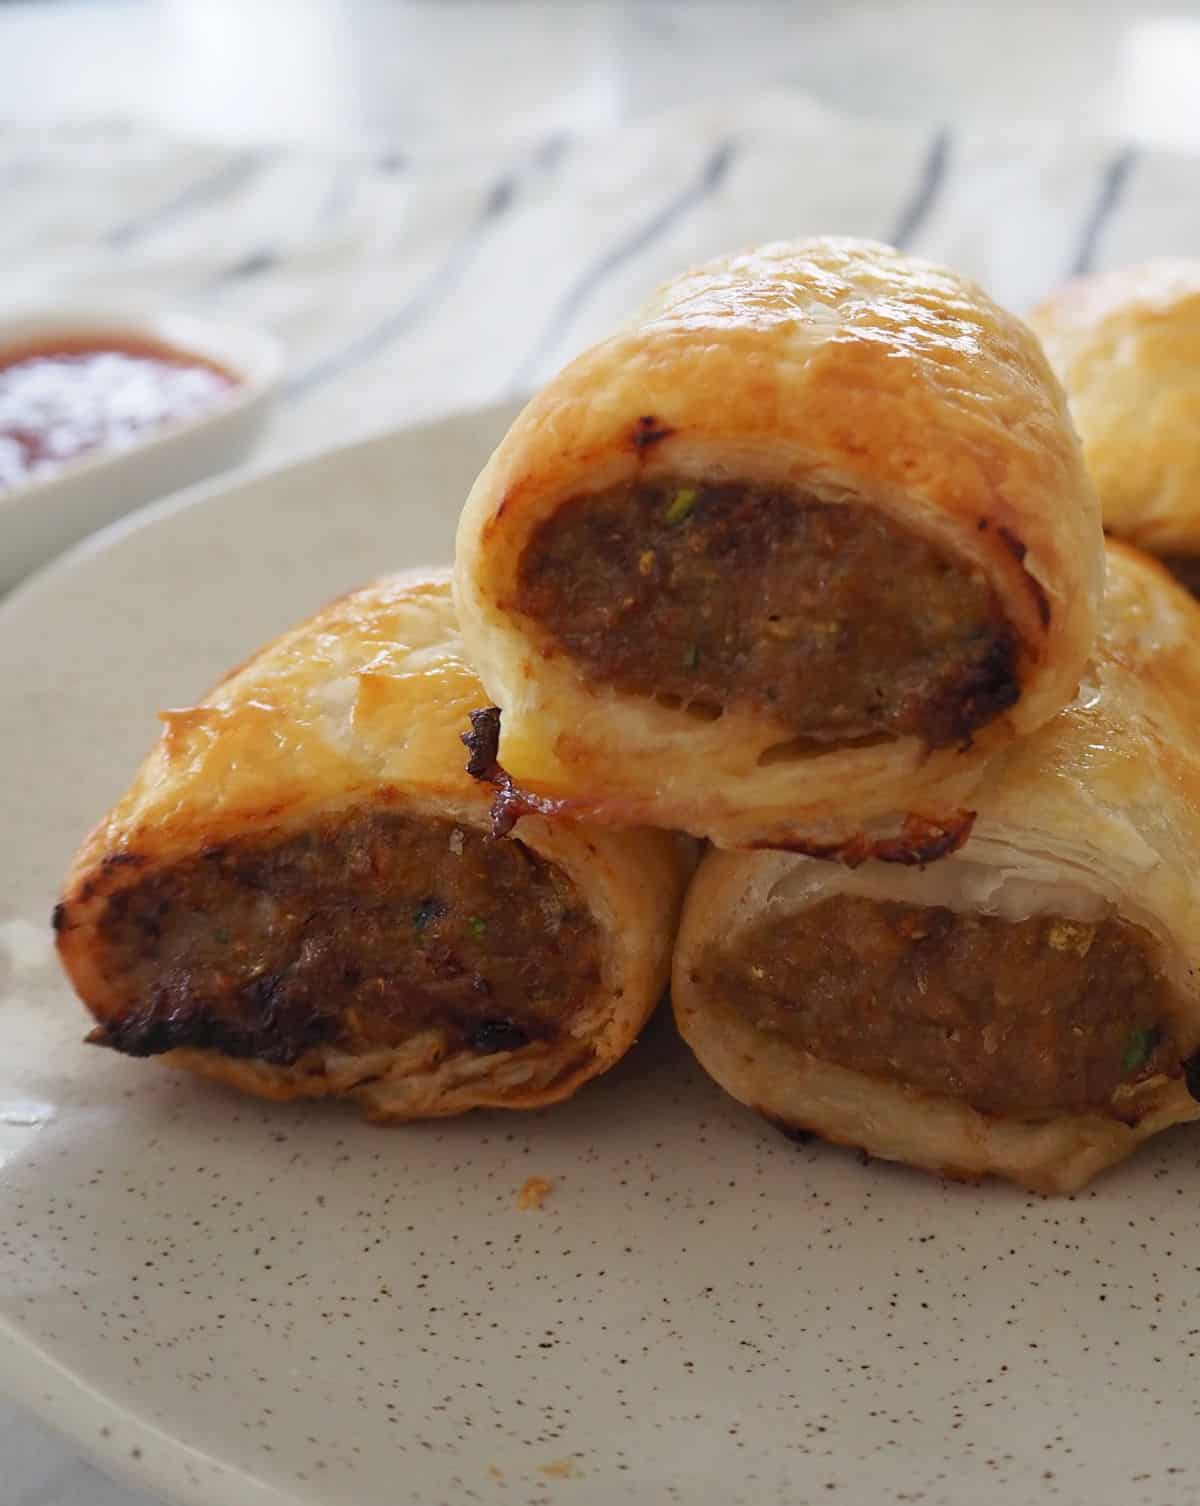
    sideview of stack of homemade sausage rolls

    Our homemade Thermomix Sausage Rolls recipe is just like the classic Sausage Rolls that you grew up with. Best of all, they can be ready to enjoy within an hour, it doesn't get much better than that!

    Side view of stack of homemade sausage rolls

    Why you will love this recipe

    • Budget friendly - these homemade Sausage Rolls can be made with ingredients you most likely already have at home.
    • Family friendly - you can modify this recipe to suit your tastes, eg add some extra veggies or cut into sizes to suit your family.
    • Freezer Friendly - these Sausage Rolls can be frozen for up to three months.
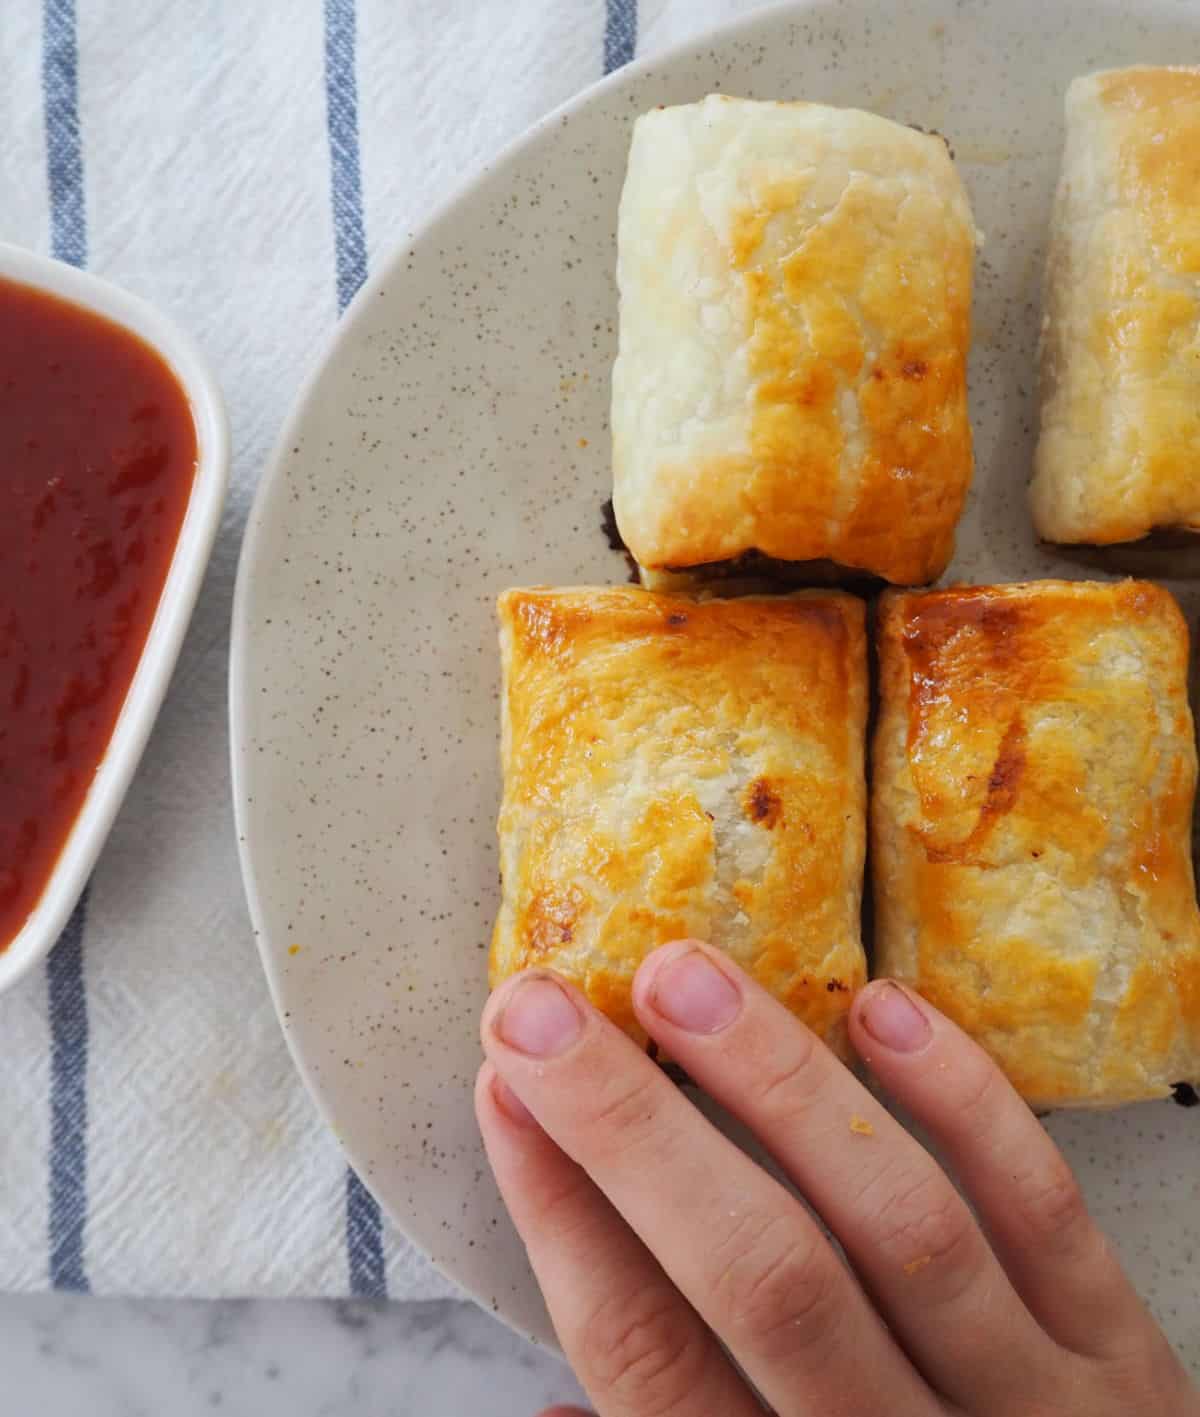
    Child's hand reaching for sausage roll on a plate

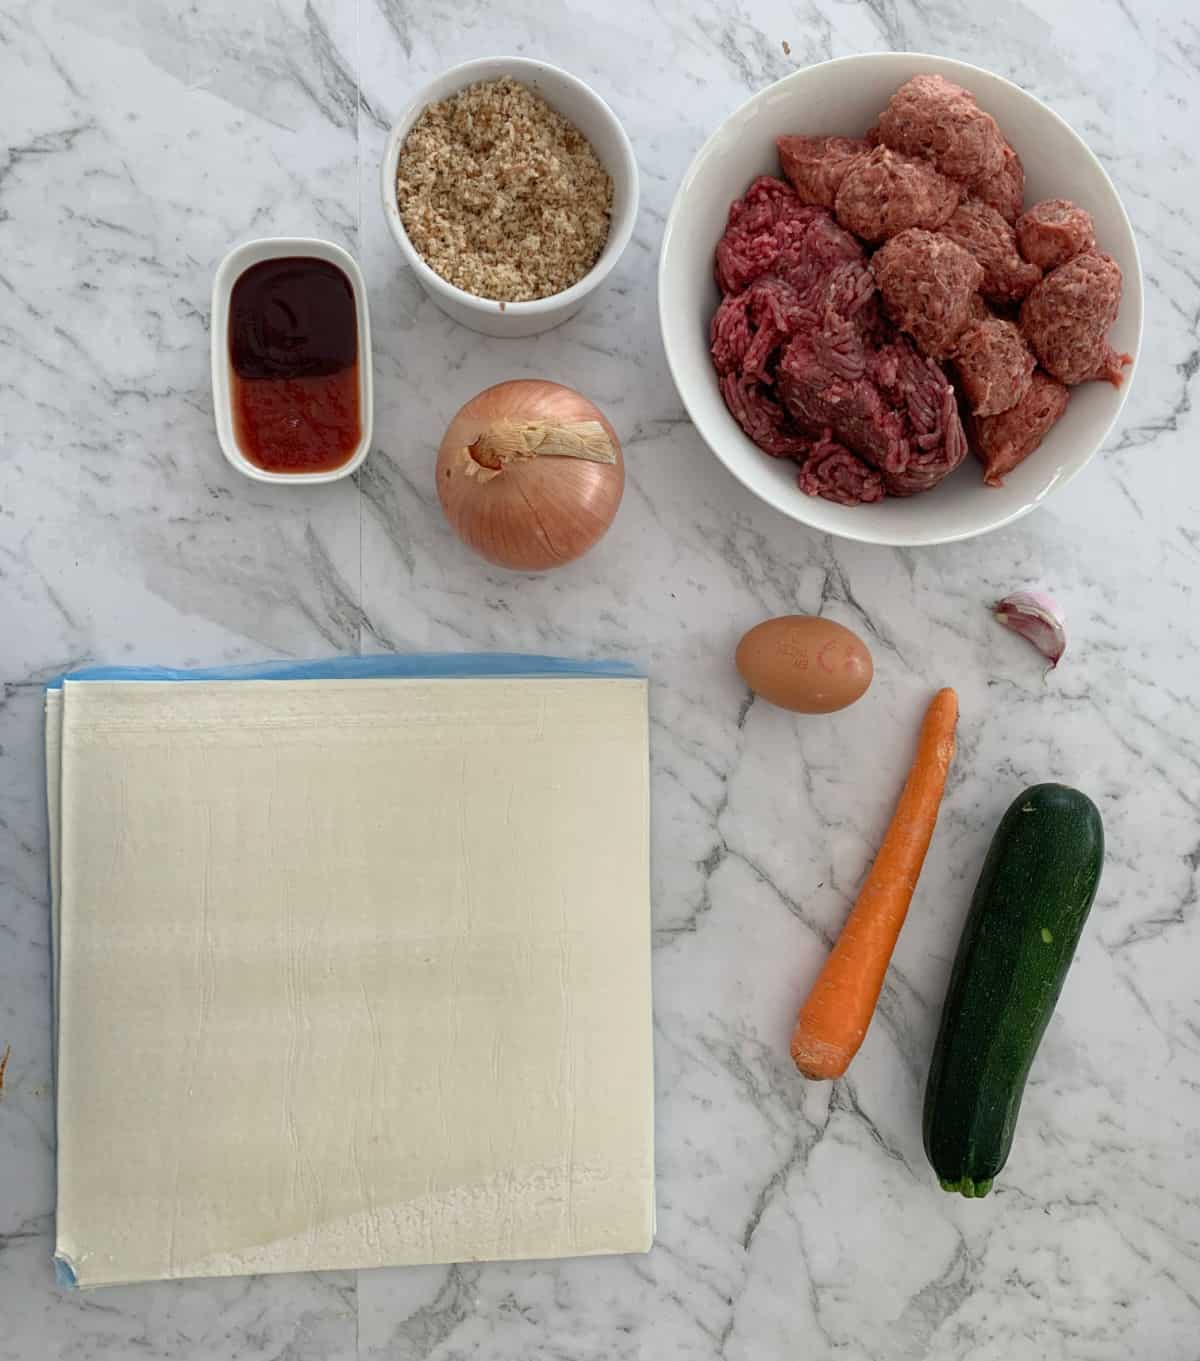
    Thermomix Sausage Roll Ingredients

    • Sausage Mince - you can purchase this prepackaged from the supermarket, however you can also use your favourite sausages for this recipe by simply squeezing the meat from the cases.
    • Mince - we usually use beef mince for this recipe, however you can also use pork, lamb or veal mince if you wish.
    • Zucchini - you will need approximately 100 grams of zucchini for this recipe. If you use any more the extra moisture may make your pastry turn a little soggy.
    Sausage Roll Ingredients

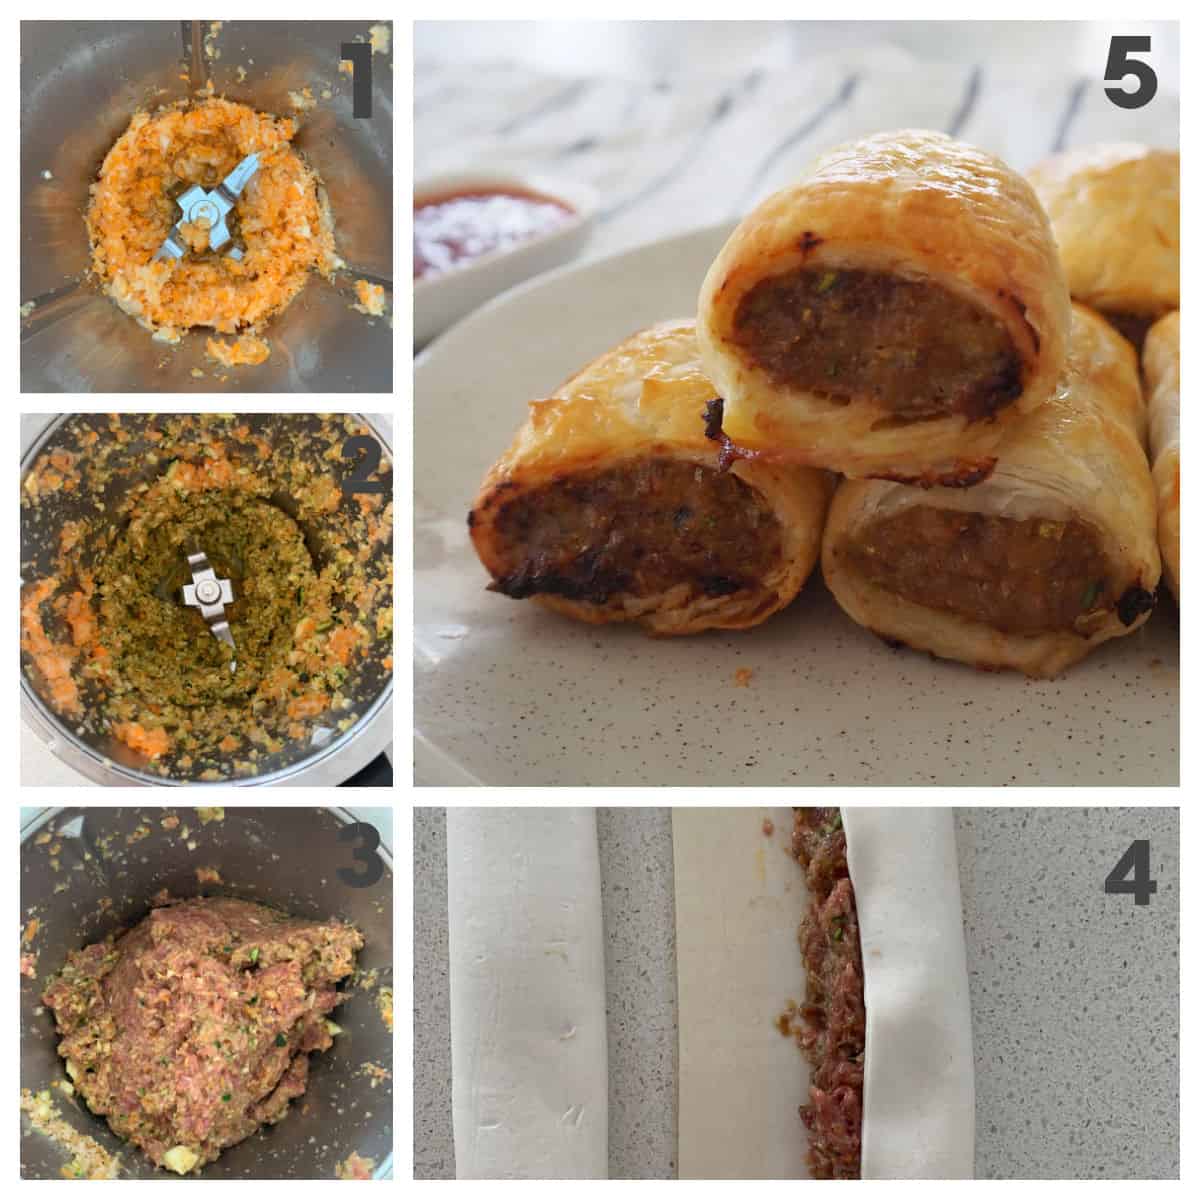
    How to Make Thermomix Sausage Rolls

    It could't be easier to make your own Sausage Rolls in the Thermomix!

    1. Grate the vegetables
    2. Add the remaining ingredients and mix to combine.
    3. Cut the pastry in half and add the filling.
    4. Roll to enclose the filling and cut into pieces.
    5. Lightly brush with egg
    6. Bake and enjoy!
    Steps for making sausage rolls in a Thermomix

    Recipe Tips

    • These Sausage Rolls are a great way to get some extra veggies into the kids, we like to add a carrot and small zucchini, however you can add other vegetables such as sweet potato or even capsicum for a little kick.
    • To store, place the Sausage Rolls into an airtight container and store in the fridge for up to three days.
    • You can freeze any leftover cooked sausage rolls. Place in a freezer safe container and freeze for up to three months.
    • To reheat from frozen, bake in an oven which has been heated to 180 degrees celsius (fan-forced) and cook for 10 - 12 minutes.
    • Sausage Rolls can also be frozen raw. Skip the egg wash step and place into the freezer. To cook, bake as per the recipe, however you will need to add an extra 10 minutes.
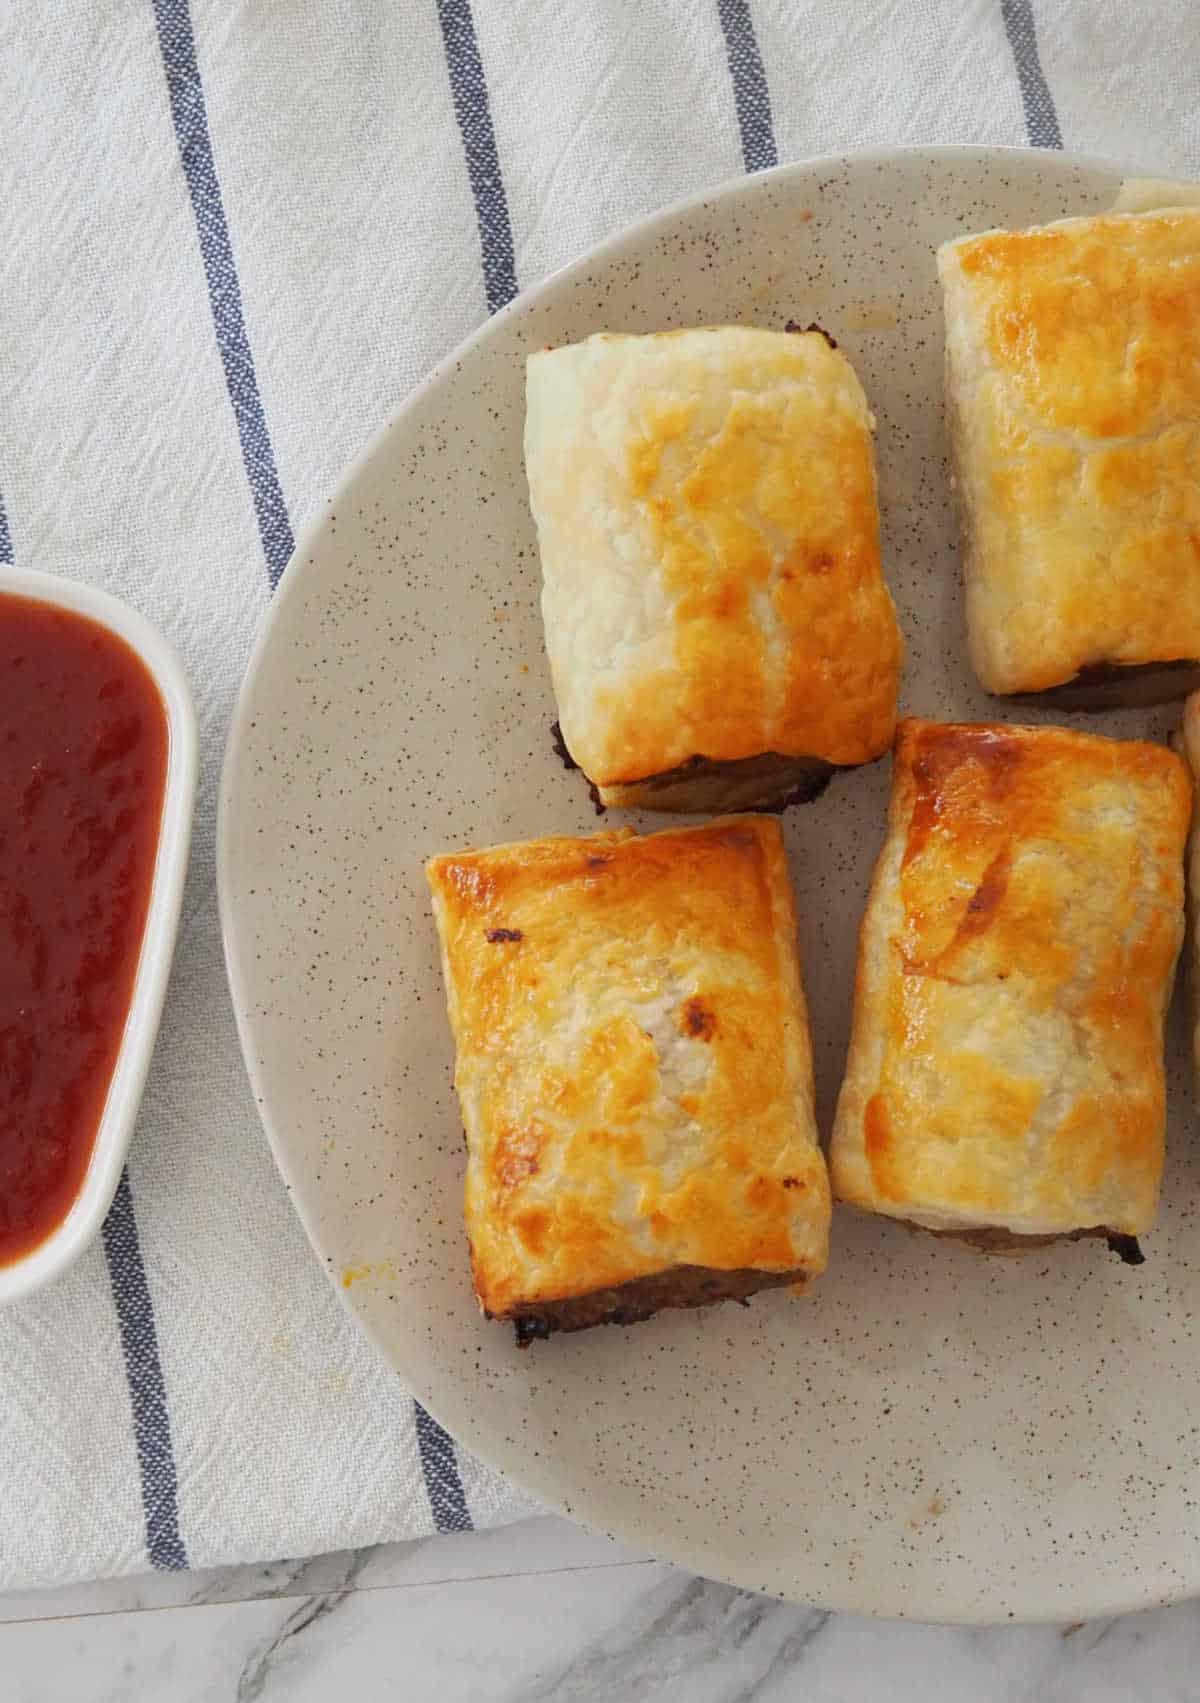
    Overhead shot of Thermomix Sausage Rolls

    Frequently Asked Questions

    How do you keep Sausage Rolls from getting soggy on the bottom?

    The key is to cook your Sausage Rolls on a high temperature so that the pastry (and filling) cooks quickly.

    What can I use instead of breadcrumbs?

    You can use Panko crumbs if you prefer. It's also fine to leave the breadcrumbs out, however you may find some 'liquid' spills from the ends of the sausage rolls during baking.

    Can you freeze Sausage Rolls?

    Yes! You can freeze both raw and cooked sausage rolls. To reheat cooked sausage rolls, bake at 180 degrees celsius (fan-forced) for 10 - 12 minutes and to cook frozen raw sausage rolls, follow the recipe instructions and add an extra 10 minutes cooking time.

    You might also enjoy these recipes:

    • Veggie Packed Thermomix Vegetarian Sausage Rolls
    • Thermomix Pizza Scrolls
    • Thermomix Beef Pies | Pie Maker Recipe
    • Chicken and Cheese Sausage Rolls
    • Thermomix Spinach and Cheese Pie
    • Thermomix Egg & Bacon Quiches

    You can also find more easy snack and dinner recipes in our books and eBooks, shop the range here.

    sideview of stack of homemade sausage rolls
    Print Recipe
    4.78 from 18 votes

    Thermomix Sausage Rolls Recipe

    Our homemade Thermomix Sausage Rolls recipe is just like the classic Sausage Rolls that you grew up with. Best of all, they can be ready to enjoy within an hour, it doesn't get much better than that!
    Prep Time15 minutes mins
    Cook Time25 minutes mins
    Total Time40 minutes mins
    Course: Snacks
    Cuisine: Australian
    Servings: 24 sausage rolls
    Calories: 329kcal
    Author: Lucy & Lauren

    Equipment

    • Baking Trays
    • Thermomix

    Ingredients

    • 50 grams breadcrumbs
    • 400 grams sausage mince see notes
    • 250 grams beef mince see notes
    • 1 clove garlic
    • 1 onion
    • 1 carrot
    • 1 zucchini 100 grams
    • 2 tablespoons BBQ sauce
    • 2 tablespoons tomato sauce
    • 1 egg
    • 4 sheets puff pastry

    Extra

    • 1 egg lightly beaten
    • 3 tbs sesame seeds

    Instructions

    • Preheat oven to 220°C/200°C fan-forced.
    • Line 2 large baking trays with baking paper.
    • Place garlic, onion and carrot in bowl for 4 seconds on speed 7.
    • Add the zucchini for a further 3 seconds on speed 5.
    • Add in the sauces, egg, breadcrumbs and sausage mince and pork/veal/lamb or chicken mince and mix 10-15 seconds on reverse speed 4 until combined.
    • Cut pastry sheets in half.
    • Place a long narrow strip of the sausage mix along the edge of the pastry.
    • Brush opposite edge with the beaten egg.
    • Roll up pastry to enclose filling and cut into thirds.
    • Place, seam-side down, on prepared tray.
    • Repeat with remaining mixture and pastry.
    • Brush sausage roll tops with beaten egg.
    • Sprinkle with sesame seeds.
    • Bake for 20 to 25 minutes or until golden and puffed.
    • Cool on tray for 5 minutes.

    Notes

    • These Sausage Rolls are a great way to get some extra veggies into the kids, we like to add a carrot and small zucchini, however you can add other vegetables such as sweet potato or even capsicum for a little kick.
    • To store, place the Sausage Rolls into an airtight container and store in the fridge for up to three days.
    • You can freeze any leftover cooked sausage rolls. Place in a freezer safe container and freeze for up to three months.
    • To reheat from frozen, bake in an oven which has been heated to 180 degrees celsius (fan-forced) and cook for 10 - 12 minutes.
    • Sausage Rolls can also be frozen raw. Skip the egg wash step and place into the freezer. To cook, bake as per the recipe, however you will need to add an extra 10 minutes.

    Nutrition

    Serving: 0g | Calories: 329kcal | Carbohydrates: 22g | Protein: 8g | Fat: 23g | Saturated Fat: 6g | Trans Fat: 1g | Cholesterol: 33mg | Sodium: 259mg | Potassium: 152mg | Fiber: 1g | Sugar: 2g | Vitamin A: 483IU | Vitamin C: 2mg | Calcium: 27mg | Iron: 2mg

    Thermomix Zucchini Slice

    December 10, 2014

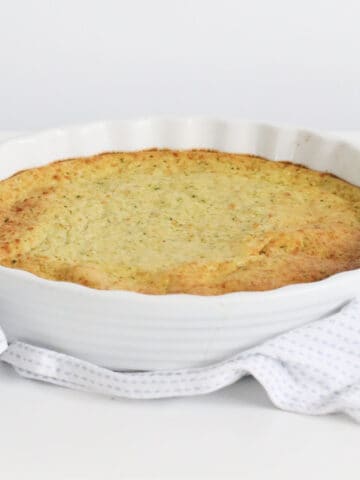
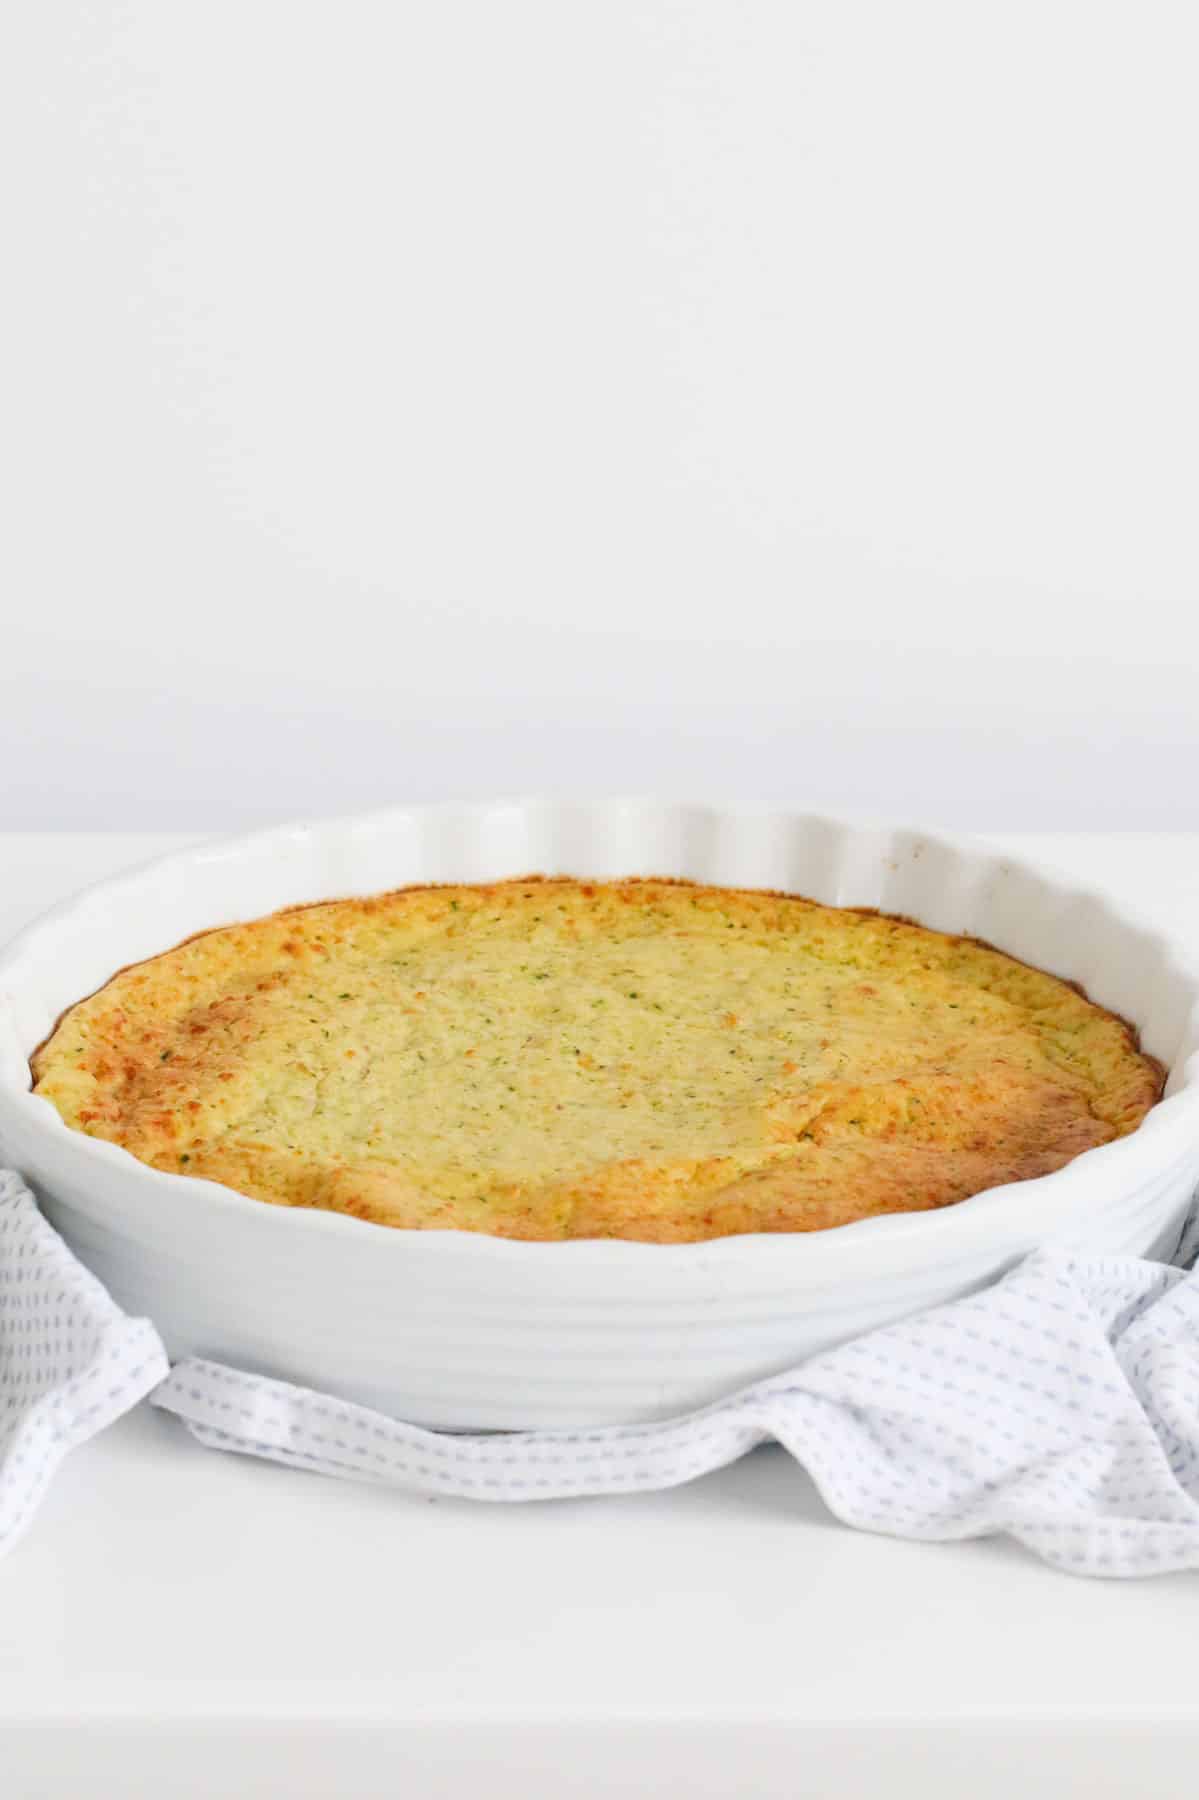
    Zucchini slice in a round white baking dish.

    A classic Thermomix Zucchini Slice made with bacon, eggs, cheese and zucchini. A fast and healthy family lunch or dinner.

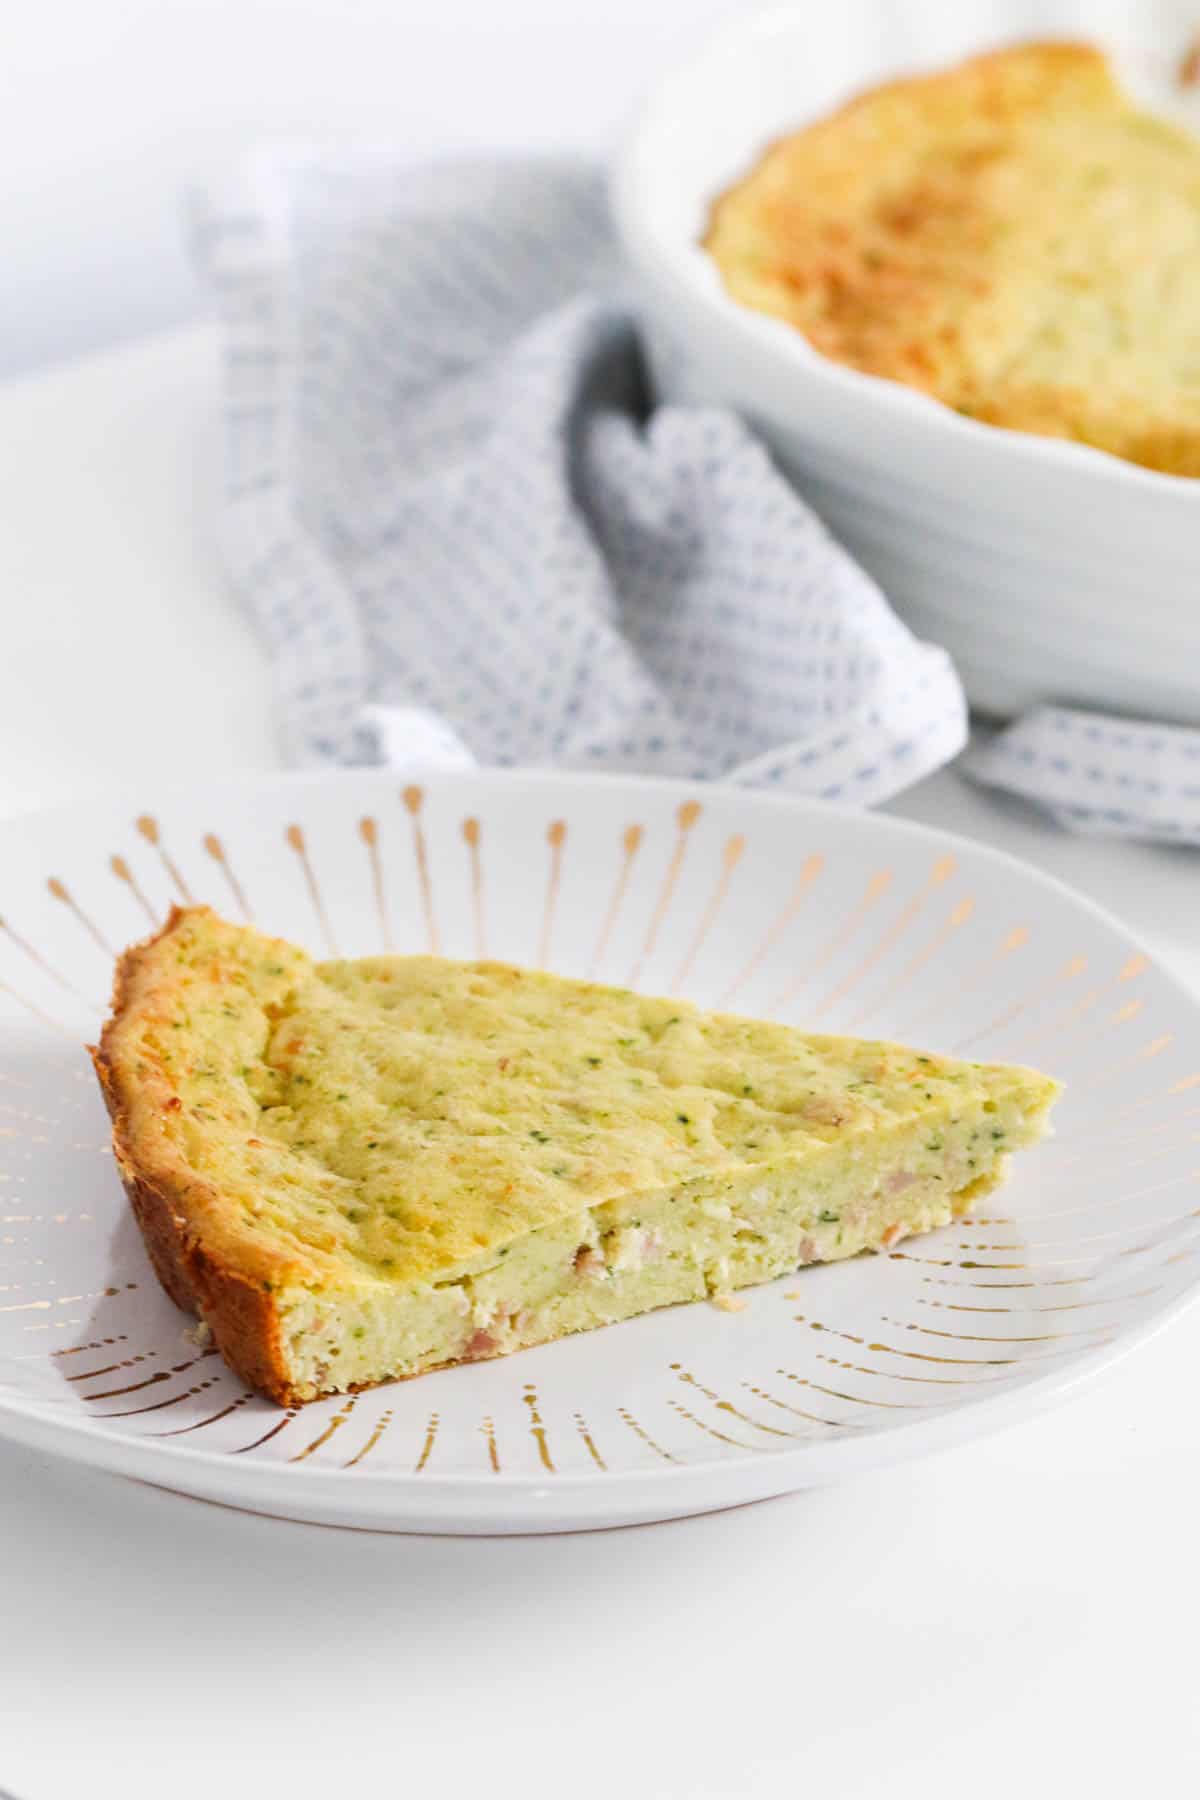
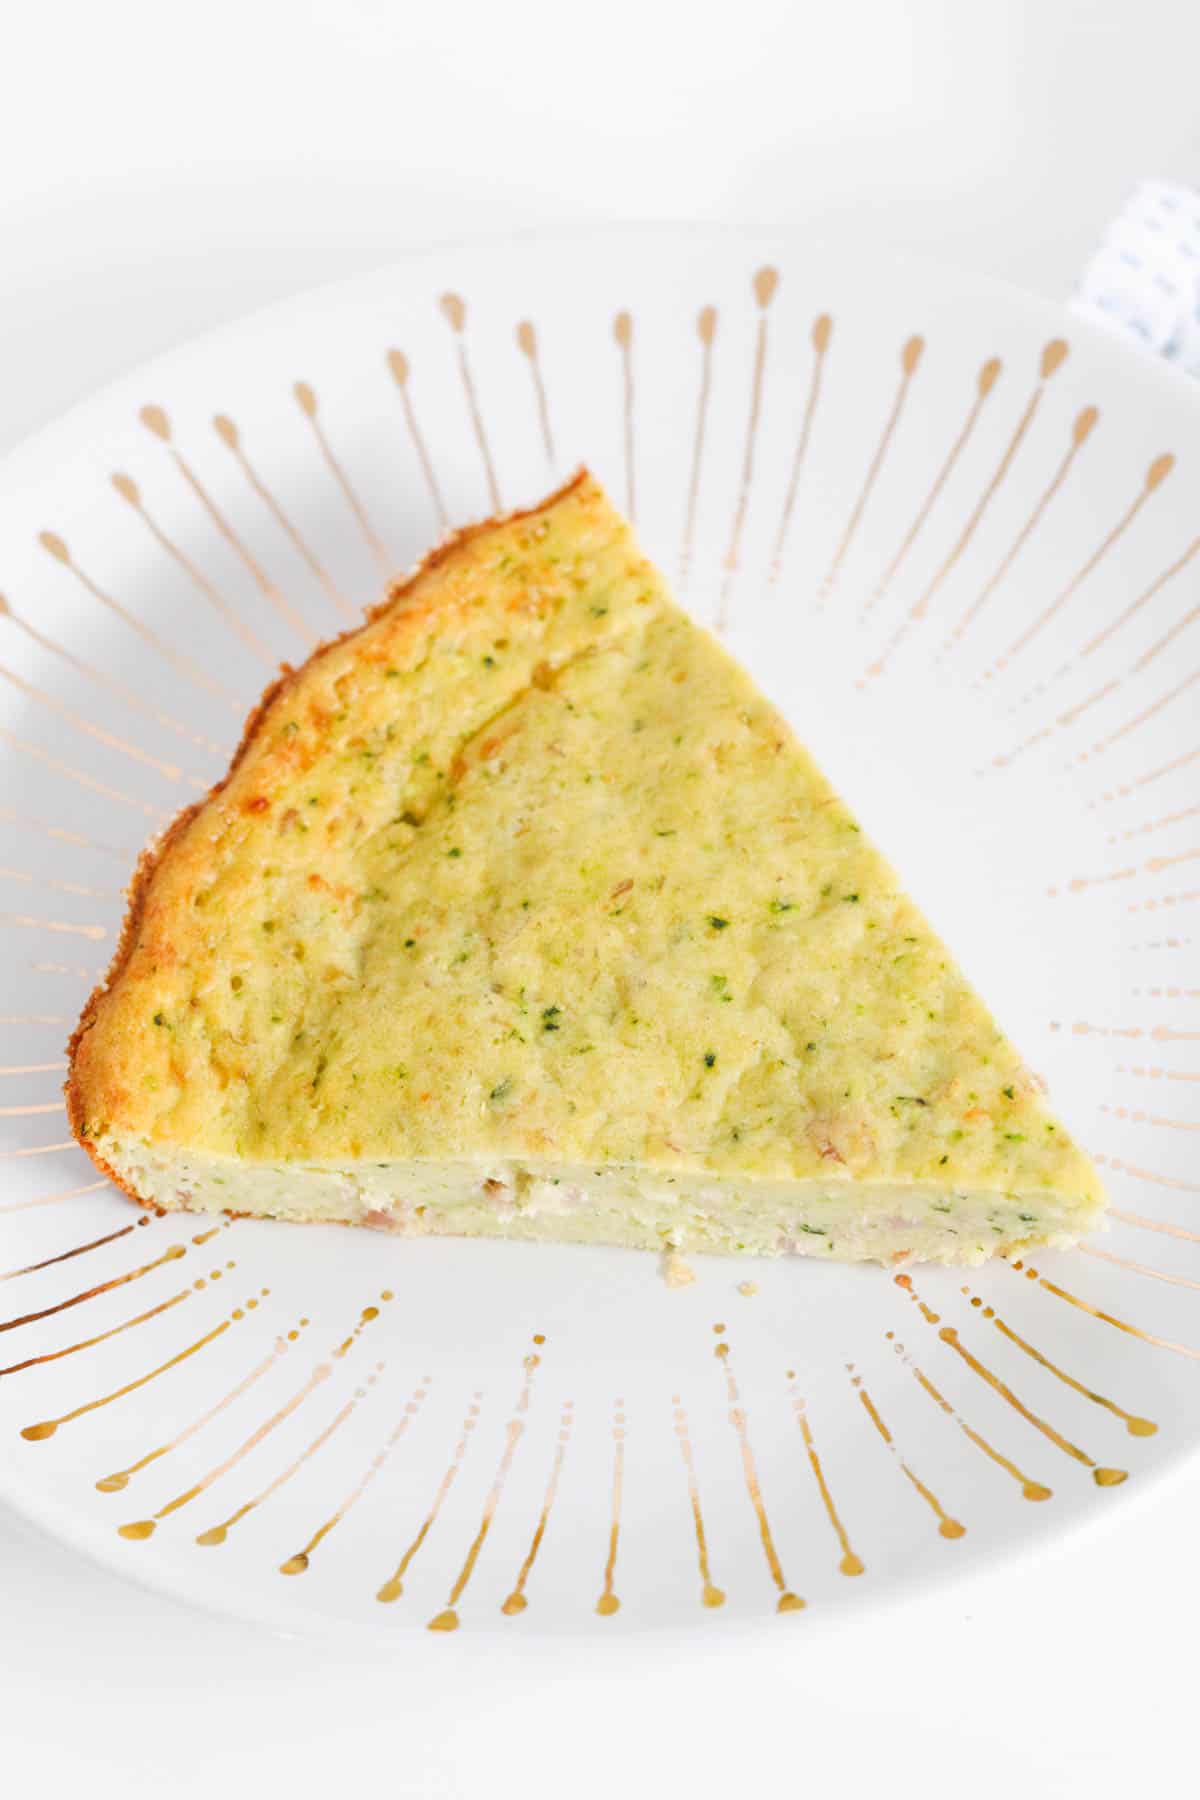
    A piece of zucchini slice in a white and gold plate.

    We all have a handful of Thermomix recipes on hand that we make over and over again!

    This Thermomix Zucchini Slice is on high rotation on our house, along with my favourite pizza dough, sausage rolls and homemade sourdough loaf.

    Why You're Going To Love This Recipe

    Once you make this Thermomix Zucchini Slice, it's going to become a favourite in your house too:

    • Quick and Easy - Ready to eat in just 45 minutes, this is such a great option for a simple midweek meal or a lazy weekend lunch.
    • Kid-Friendly - The perfect recipe for kids (even the fussiest of eaters!). The zucchini is grated so the veggies are virtually undetectable!
    • Budget Recipe - Use zucchinis when they're in season and this recipe will cost you next to nothing.
    • Freezer-Friendly - Make a double batch and freeze the leftovers for a quick and easy lunch.
    Zucchini slice in a round white baking dish.

    What You Need

    This Thermomix Zucchini Slice is made from pantry and fridge staples, so there's no need to make an extra trip to the supermarket!

    Note: Please scroll to the recipe card at the bottom of the post for the ingredient quantities and the full detailed method.

    • cheese - choose a tasty or cheddar cheese for this recipe
    • zucchini - also known as courgette
    • onion - choose a brown or yellow onion
    • bacon - choose streaky, shortcut or middle rasher bacon
    • eggs - approx 60g per egg
    • flour - use a self raising flour. If you don't have self raising flour, you can make your own by sifting 2 teaspoon of baking powder through every 1 cup of plain all purpose flour
    • vegetable oil - this is a mild oil that adds texture to the slice without adding a strong flavour

    Step By Step Instructions

    With just 10 minutes prep time, this Thermomix Zucchini Slice is just so incredibly easy!

    Note: Please scroll to the recipe card at the bottom of the post for the ingredient quantities and the full detailed method.

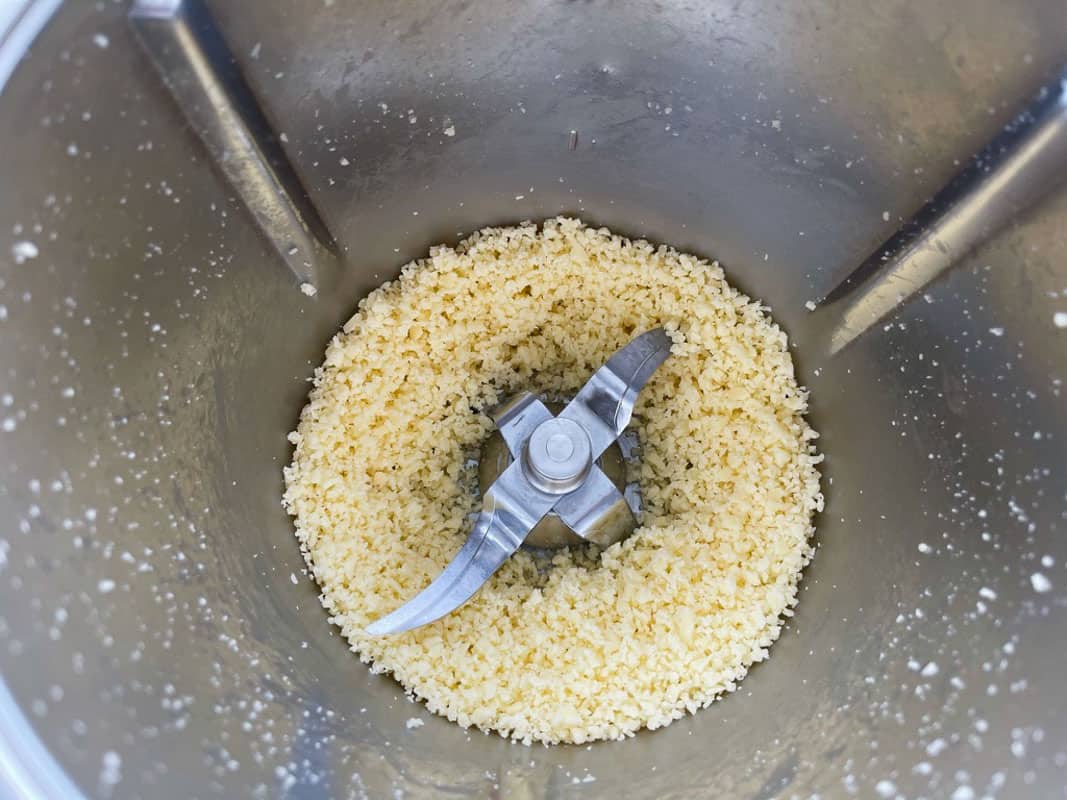
    Step 1 - Grate The Cheese

    Grate the cheese finely and then set aside.

    Grated cheese in a Thermomix bowl.

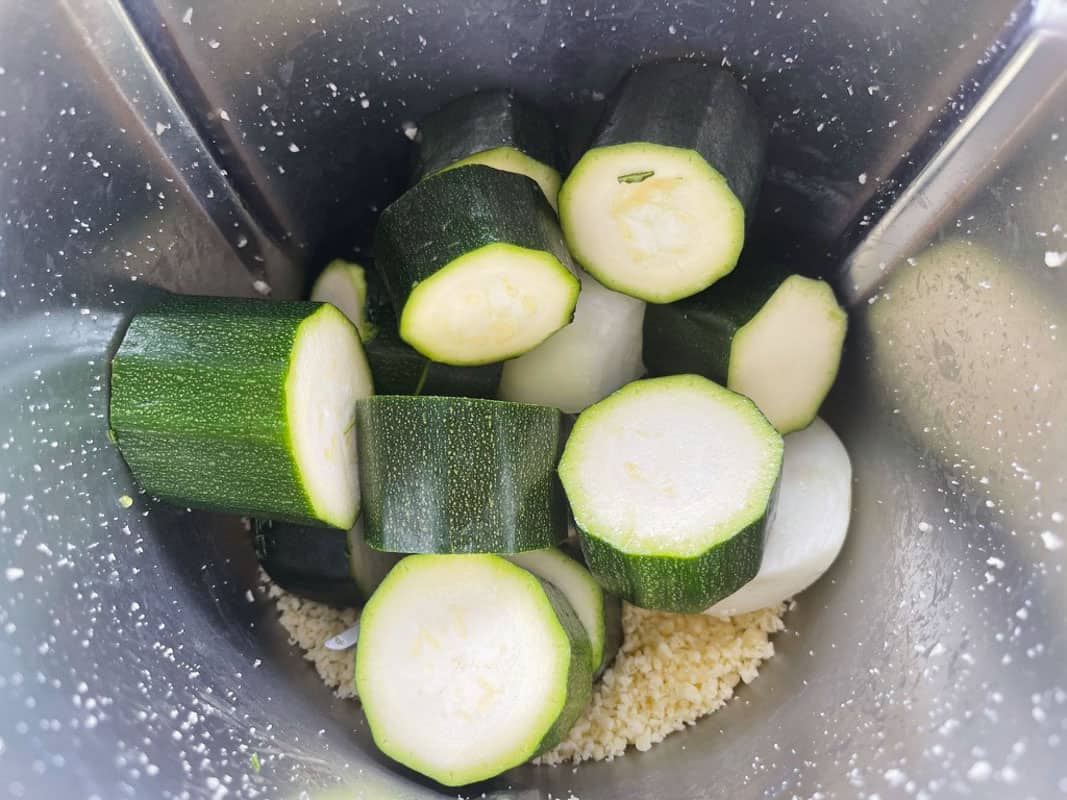
    Step 2 - Grate The Zucchini & Onion

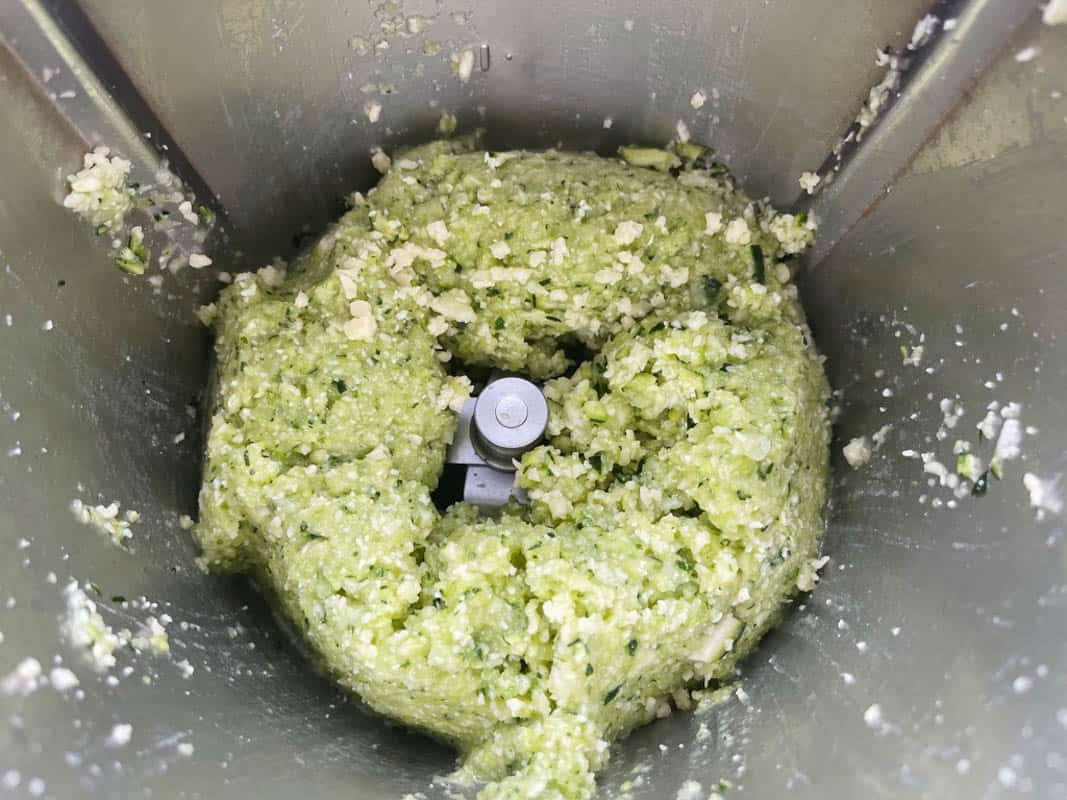
    Add the zucchini and onion and mix in the Thermomix until finely grated.

    Chunks of zucchini in a Thermomix.
    Zucchini slice mixture in a Thermomix.

    Step 3 - Add The Bacon

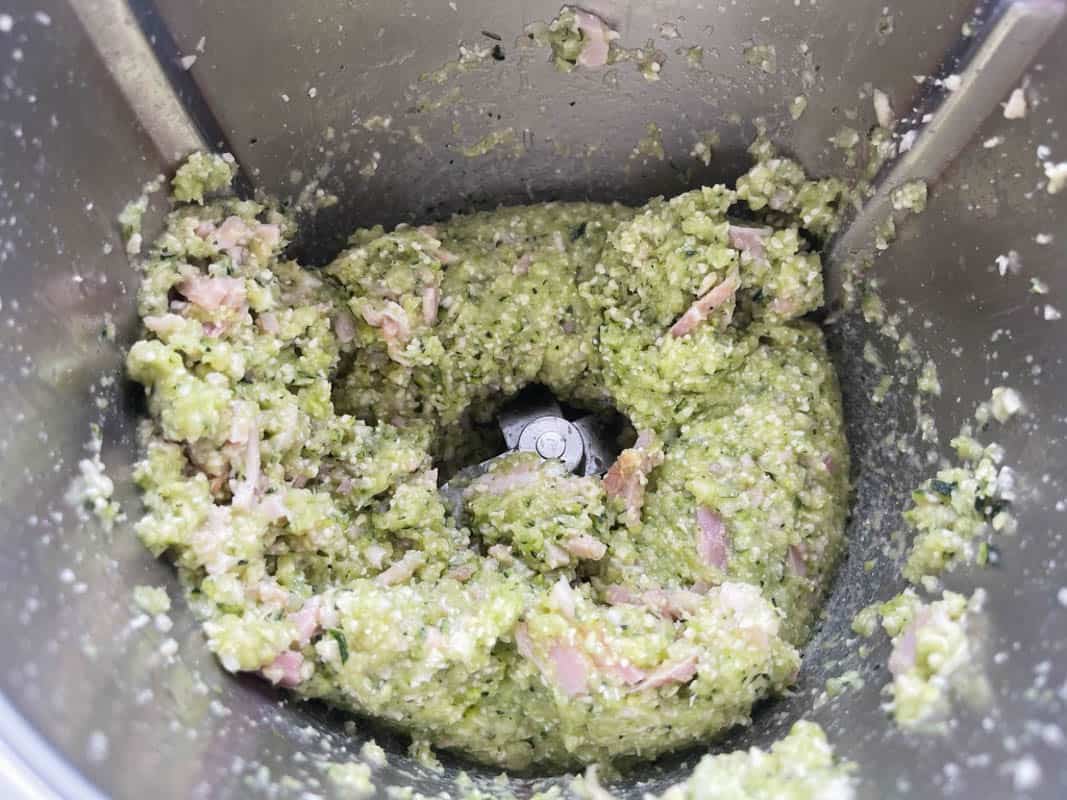
    Mix again until finely grated.

    Bacon and zucchini mixture grated in a Thermomix.

    Step 4 - Add The Remaining Ingredients

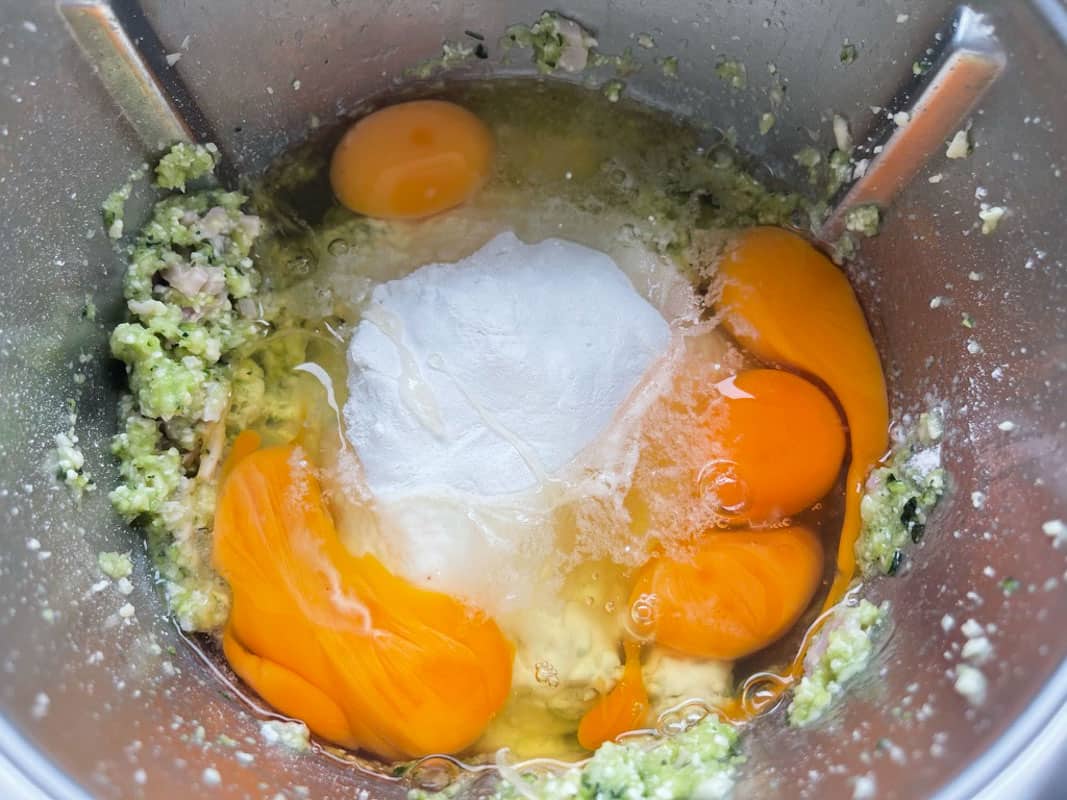
    Add all of the remaining ingredients and mix together.

    Eggs, flour and zucchini mixture in a Thermomix.

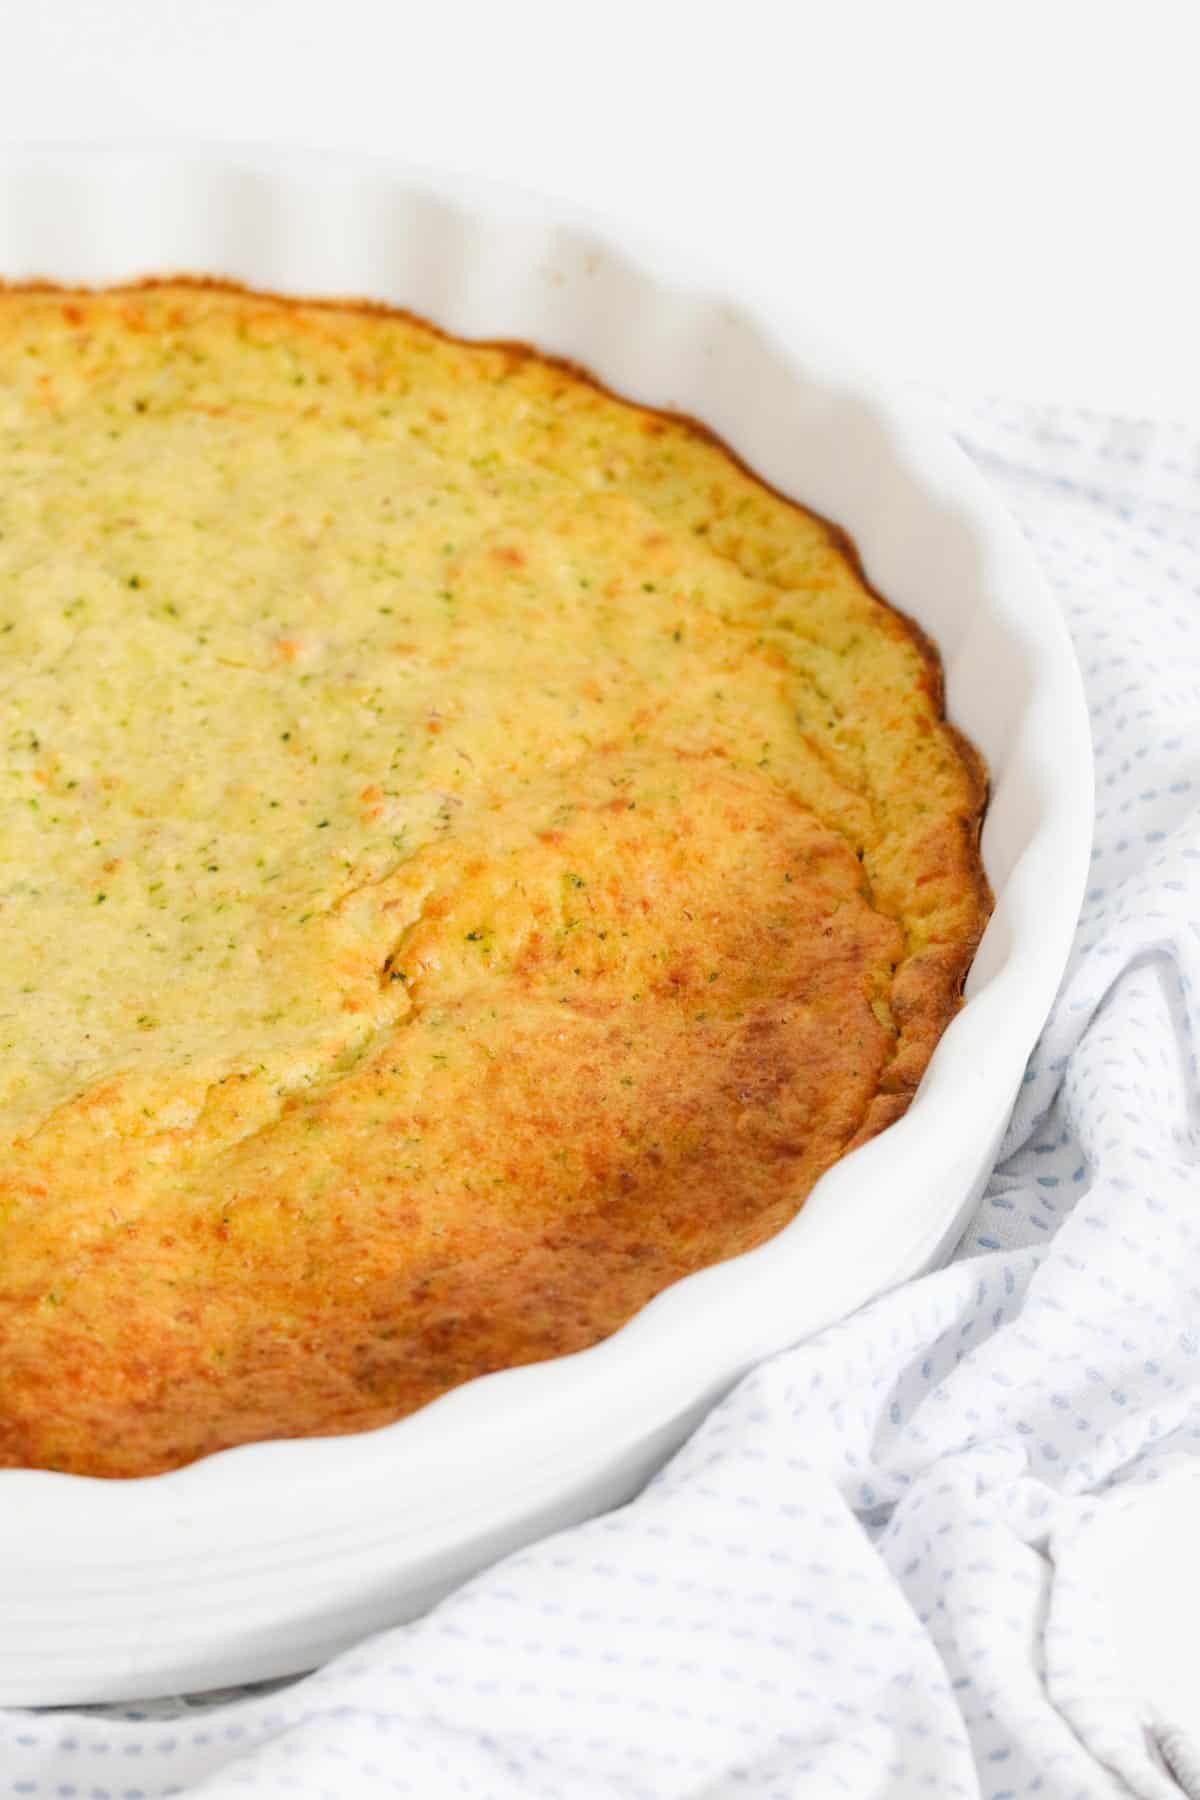
    Pour into the prepared baking tin and bake.

    A zucchini slice in a round white baking dish.

    Expert Tips & FAQ

    This is one of our easiest recipes... you're going to love it!

    Is this recipe versatile?

    Absolutely! Here's some ideas:
    - Use ham in place of the bacon
    - Add grated sweet potato to the recipe
    - Place halved cherry tomatoes on top of the slice
    - Use mozzarella in place of the cheddar
    - Add peas and corn

    Storing

    Store in an airtight container in the fridge for up to 3 days.

    Freezing

    Freeze for up to 3 months in an airtight container. Allow to defrost in the fridge and then reheat or reheat directly from frozen.

    A triangular piece of zucchini slice on a plate.

    Related Recipes

    If you're looking for quick and family-friendly Thermomix snacks, here's a few of my favourites:

    • Thermomix Pizza Scrolls - everyones favourite lunchbox snack couldn't be easier to make!
    • Thermomix Sushi - forget about buying takeaway Japanese sushi, the homemade version using the Thermomix is equally as delicious.
    • Thermomix Egg & Bacon Quiches - hello to everyone's favourite party food! This is the BEST for kids parties, footy grand finals or school fetes.
    • Thermomix Chicken & Chorizo Empanadas - we absolutely LOVE this flakey, crunchy and delicious pastries.
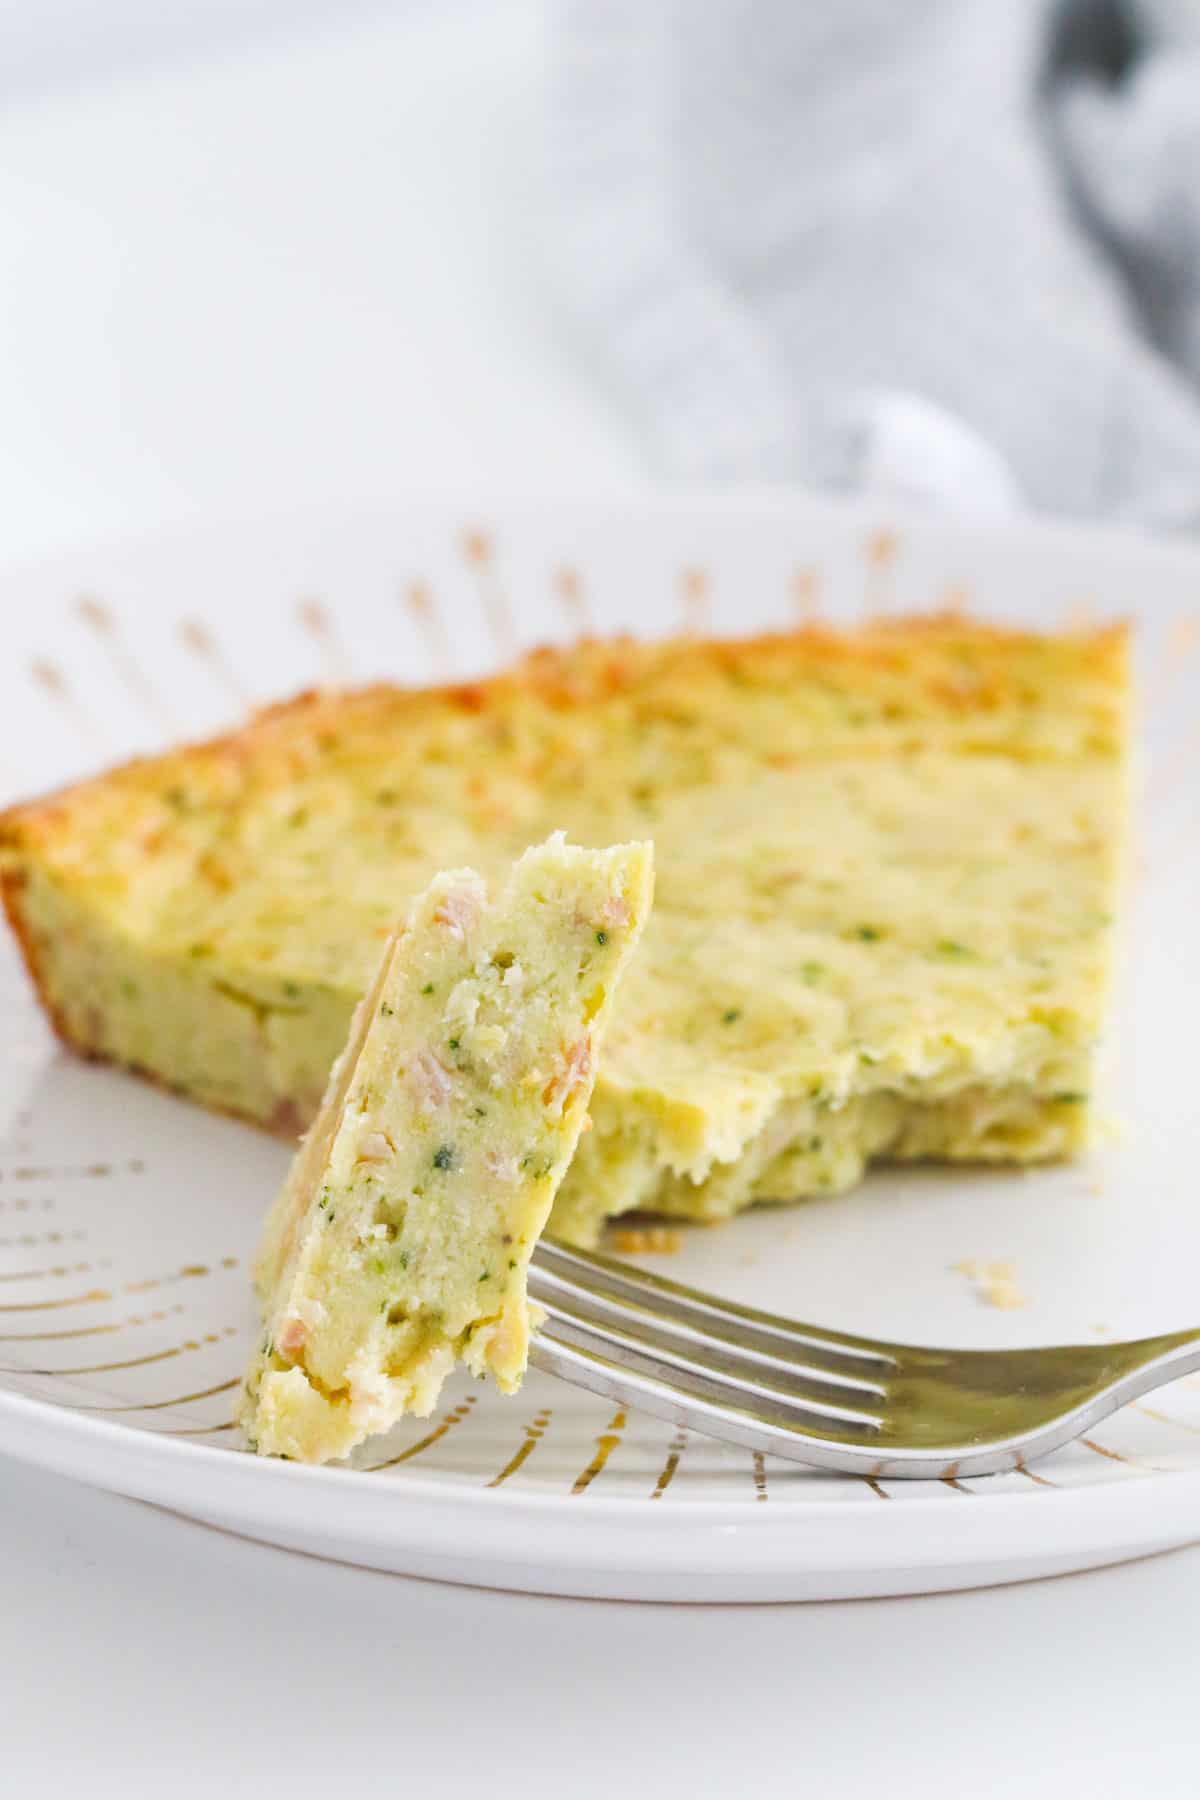
    A fork with a piece of zucchini slice on it.

    Thermomix Dinners Cookbooks

    If you hadn't already guessed, we LOVE simple family dinners that you can cook in your Thermomix!

    Click here to browse our range of printed Thermomix dinner cookbooks (that also come with free eBook versions).

    Thermomix dinners cookbooks.
    Zucchini slice in a round white baking dish.
    Print Recipe
    4.67 from 3 votes

    Thermomix Zucchini Slice

    A classic Thermomix Zucchini Slice made with bacon, eggs, cheese and zucchini. A fast and healthy family lunch or dinner.
    Prep Time10 minutes mins
    Cook Time35 minutes mins
    Total Time45 minutes mins
    Course: Dinner
    Cuisine: Western
    Servings: 12 serves
    Calories: 307kcal
    Author: Lucy & Lauren

    Equipment

    • Thermomix

    Ingredients

    • 100 g cheddar cheese cubed
    • 375 g zucchini roughly chopped
    • 1 brown onion halved
    • 200 g bacon roughly chopped
    • 5 eggs
    • 150 g self raising flour
    • 60 g vegetable oil
    • salt and pepper to season

    Instructions

    • Grease a 30cm round baking dish or a 20 x 30cm rectangular baking tin and set aside.
    • Preheat the oven to 180 degrees celsius (fan-forced).
    • Place the cheese into the Thermomix bowl and mix for 5 seconds, Speed 8. Set aside in a seperate bowl.
    • Place the zucchini and halved onion into the bowl (no need to wash it) and mix for 5 seconds, Speed 6.
    • Add the bacon and mix for 5 seconds, Speed 6.
    • Add the eggs, self-raising flour, oil, grated cheese and salt and pepper. Mix for 15 seconds, Speed 4 (use the spatula to help mix).
    • Pour into the prepared baking tin and cook for 30-40 minutes or until lightly golden on top cooked through (test by inserting a skewer into the middle).

    Notes

    RECIPE NOTES & TIPS
    Substitutions
    - Use ham in place of the bacon
    - Add grated sweet potato to the recipe
    - Place halved cherry tomatoes on top of the slice
    - Use mozzarella in place of the cheddar
    - Add peas and corn
     
    Storing - Store in an airtight container in the fridge for up to 3 days.
     
    Freezing - Freeze for up to 3 months in an airtight container. Allow to defrost in the fridge and then reheat or reheat directly from frozen.

    Nutrition

    Calories: 307kcal | Carbohydrates: 11g | Protein: 6g | Fat: 26g | Saturated Fat: 13g | Trans Fat: 1g | Cholesterol: 93mg | Sodium: 106mg | Potassium: 141mg | Fiber: 1g | Sugar: 1g | Vitamin A: 245IU | Vitamin C: 6mg | Calcium: 79mg | Iron: 1mg
    « Previous Page

    Primary Sidebar

    Hi, We're Lauren and Lucy! We're two mums who love to cook and want to show you how easy it is to make delicious family meals, baking treats and lunch box snacks in your Thermomix..

    More about us →

    Thermomix Christmas Recipes

    • Baked gingerbread biscuits on a wire rack.
      The Best Thermomix Gingerbread Recipe
    • Shards of chocolate reindeer inspired bark.
      Thermomix Reindeer Bark
    • Side view of Brandy Custard in a black bowl sitting on a wooden board. In the background is a bottle of brandy.
      Thermomix Brandy Custard
    • Round shortbread biscuits on a white cake stand.
      Thermomix Shortbread

    Thermomix Midweek Meals

    • Cooked Pasta bake with a couple of scoops removed, a gold spoon is sticking out to the side.
      Thermomix Beef and Vegetable Pasta Bake
    • A slice of egg and bacon quiche.
      Thermomix Egg & Bacon Quiche
    • Overhead view of a large spoon scooping up a Chicken Parma Ball.
      Thermomix Chicken Parma Balls
    • Overhead view of Bowl of Thermomix Zucchini Pea and Bacon risotto sitting on a black hand towel with a gold fork next to it. in the background is a zucchini and a white bowl with cheese in it.
      Thermomix Zucchini, Pea and Bacon Risotto

    Thermomix Lunch Box Fillers

    • Egg and bacon pastries.
      Thermomix Egg & Bacon Quiches
    • Glazed cinnamon and apple scrolls.
      Thermomix Apple & Cinnamon Scrolls
    • A bowl of chia, currant and weet-bix balls.
      Thermomix Weet-Bix Balls
    • Front side view of Two slices of Orange butter cake on a white plate. in the background is the rest of the cake on a white serving platter.
      Thermomix Orange Butter Cake Recipe

    Popular Thermomix Cookbooks

    • Complete set o 16 ThermoBliss recipe books.
      ThermoBliss Complete Cookbook Set | 16 Books
    • Front cover images of ThermoBliss 4 book snack and lunch box set.
      ThermoBliss Lunch Box and Kids Snacks Cookbook Bundle | 4 Books
    • A bundle of Thermomix Cocktails and Entertaining Cookbooks.
      Thermomix Entertaining and Cocktails 1, 2 & 3 Cookbook Bundle
    • Image of ThermoBliss Month of Thermomix Dinners 3 Book Bundle Set.
      A Month of Thermomix Dinners 1, 2 & 3 Bundle

    Footer

    ↑ back to top

    About

    • Privacy Policy
    • About Us
    • Terms Of Use

    Newsletter

    • Sign Up for emails and updates

    Contact

    • hello@thermobliss.com

    Please note the content including images and recipes contained within the ThermoBliss website and recipe books are protected by copyright 2024. Adding and/or sharing of content from the ThermoBliss website or recipe books to third party websites or platforms is prohibited.

    Copyright © 2024 ThermoBliss

    Copyright 2024 Brunch Pro on the Brunch Pro Theme

    Manage Cookie Consent
    To provide the best experiences, we use technologies like cookies to store and/or access device information. Consenting to these technologies will allow us to process data such as browsing behavior or unique IDs on this site. Not consenting or withdrawing consent, may adversely affect certain features and functions.
    Functional Always active
    The technical storage or access is strictly necessary for the legitimate purpose of enabling the use of a specific service explicitly requested by the subscriber or user, or for the sole purpose of carrying out the transmission of a communication over an electronic communications network.
    Preferences
    The technical storage or access is necessary for the legitimate purpose of storing preferences that are not requested by the subscriber or user.
    Statistics
    The technical storage or access that is used exclusively for statistical purposes. The technical storage or access that is used exclusively for anonymous statistical purposes. Without a subpoena, voluntary compliance on the part of your Internet Service Provider, or additional records from a third party, information stored or retrieved for this purpose alone cannot usually be used to identify you.
    Marketing
    The technical storage or access is required to create user profiles to send advertising, or to track the user on a website or across several websites for similar marketing purposes.
    • Manage options
    • Manage services
    • Manage {vendor_count} vendors
    • Read more about these purposes
    View preferences
    • {title}
    • {title}
    • {title}

    Rate This Recipe

    Your vote:


    A rating is required
    A name is required
    An email is required