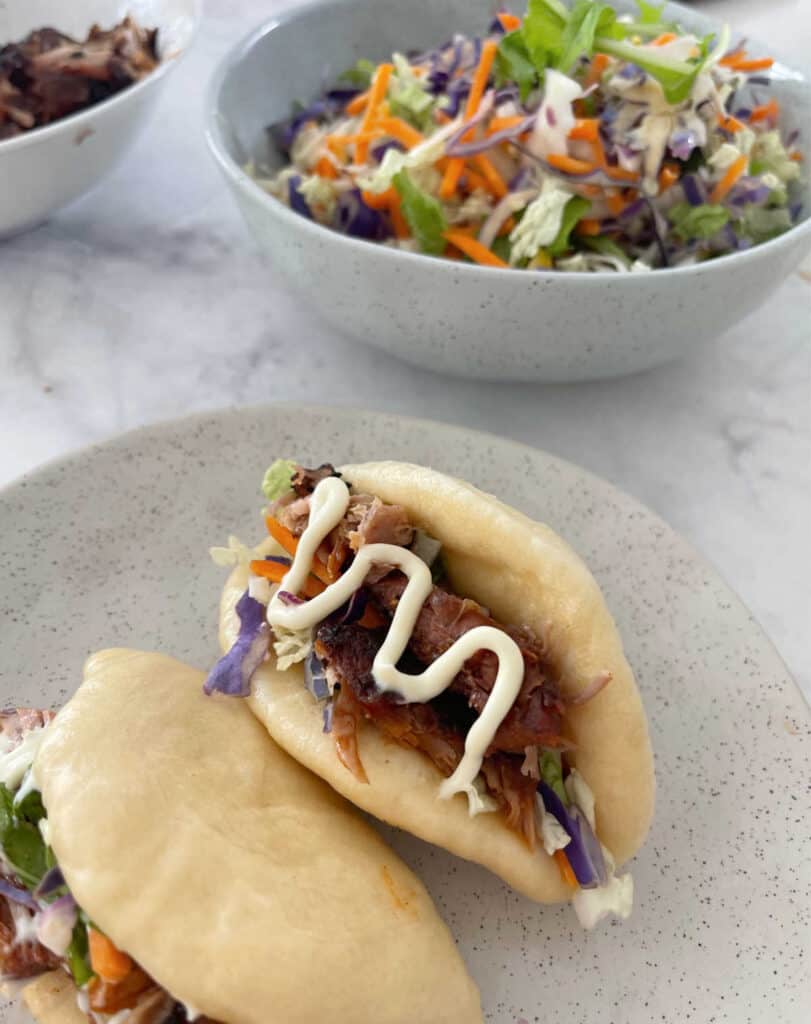
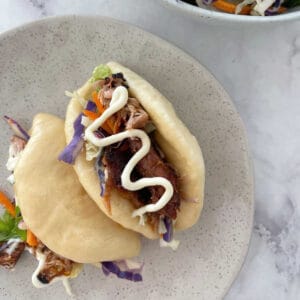
Our soft and fluffy Thermomix Bao Buns are one of the most popular recipes on our website! Why not try them served with leftover roast pork and crunchy Asian slaw to make the perfect family dinner.
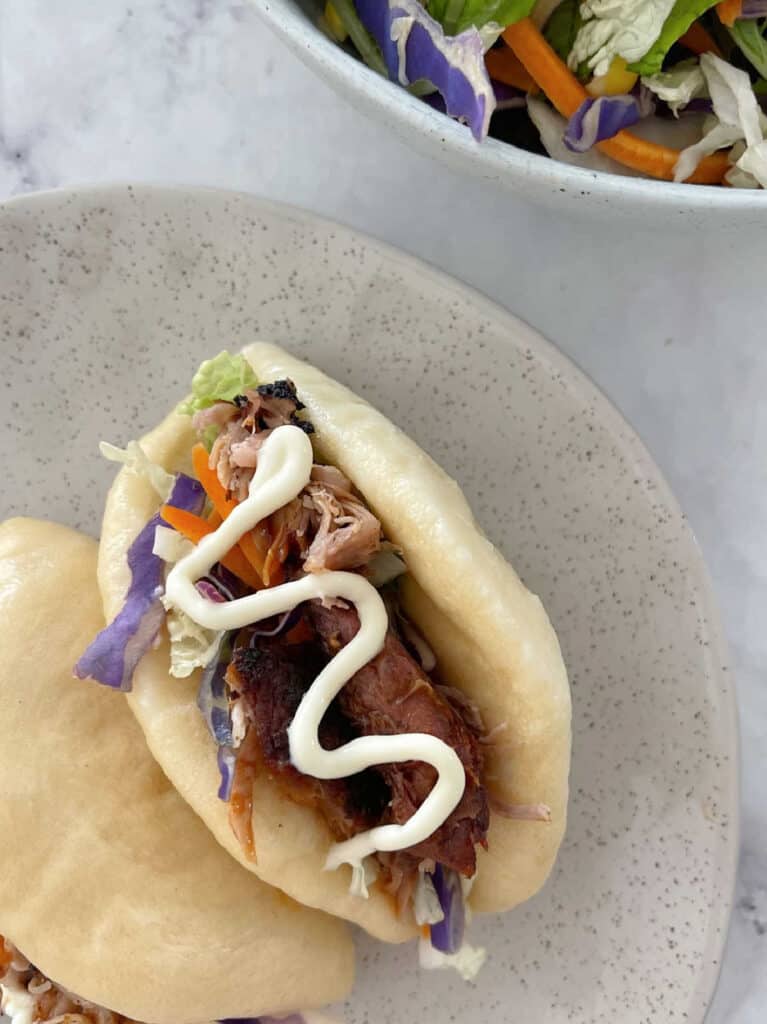
If you're looking for a yummy new dinner to make in your Thermomix, this is it!!! Our Thermomix Bao Buns are always a massive hit with the whole family. I like to make these buns whenever I have leftover roast pork or pulled pork sitting in the fridge. Add some fresh crunchy slaw, some creamy mayo and you've got a delicious meal waiting for you!
Why you will love this recipe:
- Simple to make - these Bao Buns require around 20 minutes of prep time.
- Family friendly - serve these buns alongside your family's favourite fillings and watch them help themselves!
- Freezer friendly - you can freeze any leftover dough for up to two months.
Thermomix Bao Bun Ingredients:
Please note you will find the full recipe including ingredient list in the recipe card below.
- Sugar
- Yeast
- Bakers flour
- Baking Powder
- Water
- Extra virgin olive oil
- Salt

How to Make Bao Buns in a Thermomix:
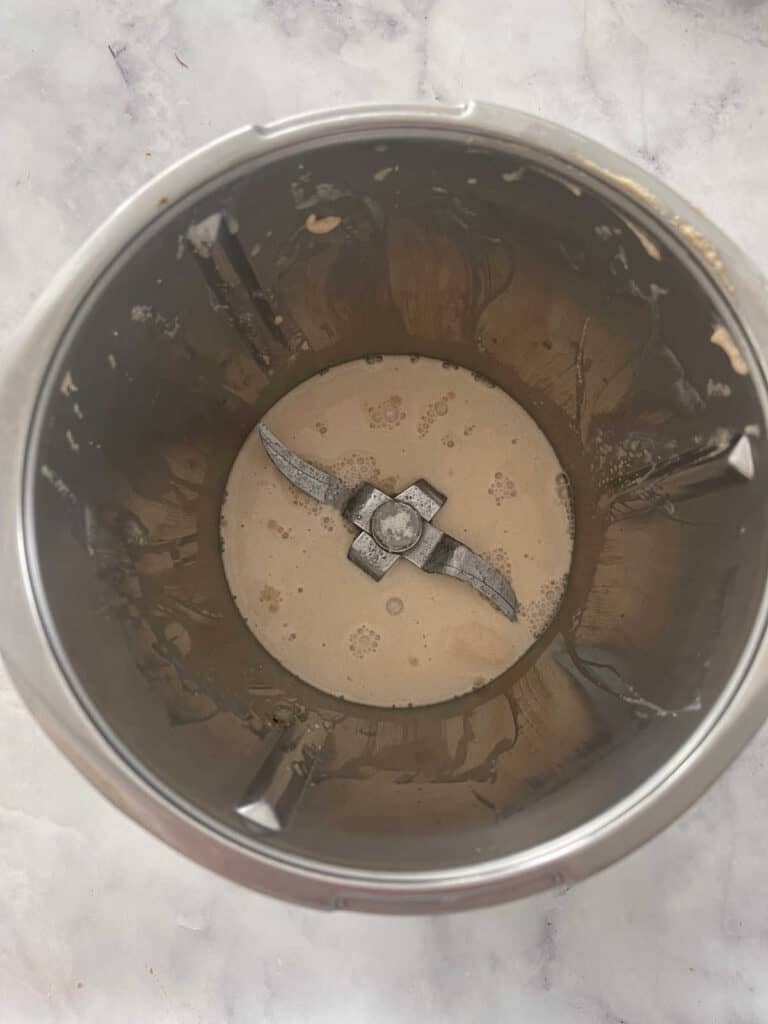
- Place the water, sugar and yeast into a Thermomix bowl and mix before allowing to rest.
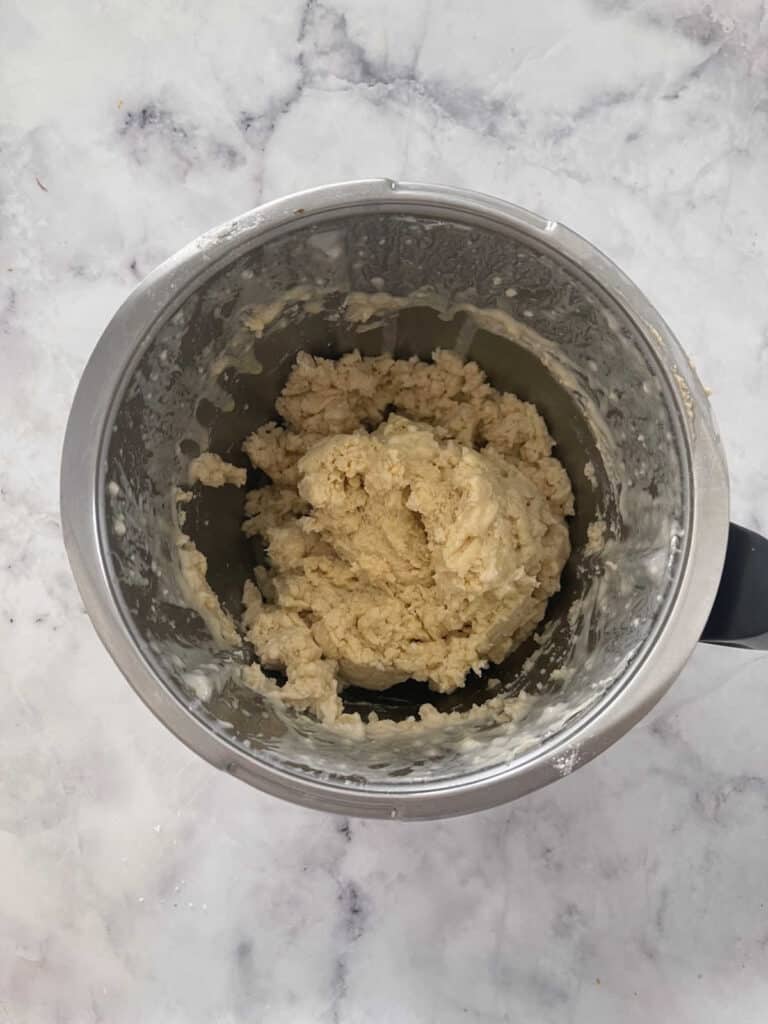
2. Add the flour, olive oil, salt and baking powder and combine.
3. Allow the dough to rest for 45 minutes.
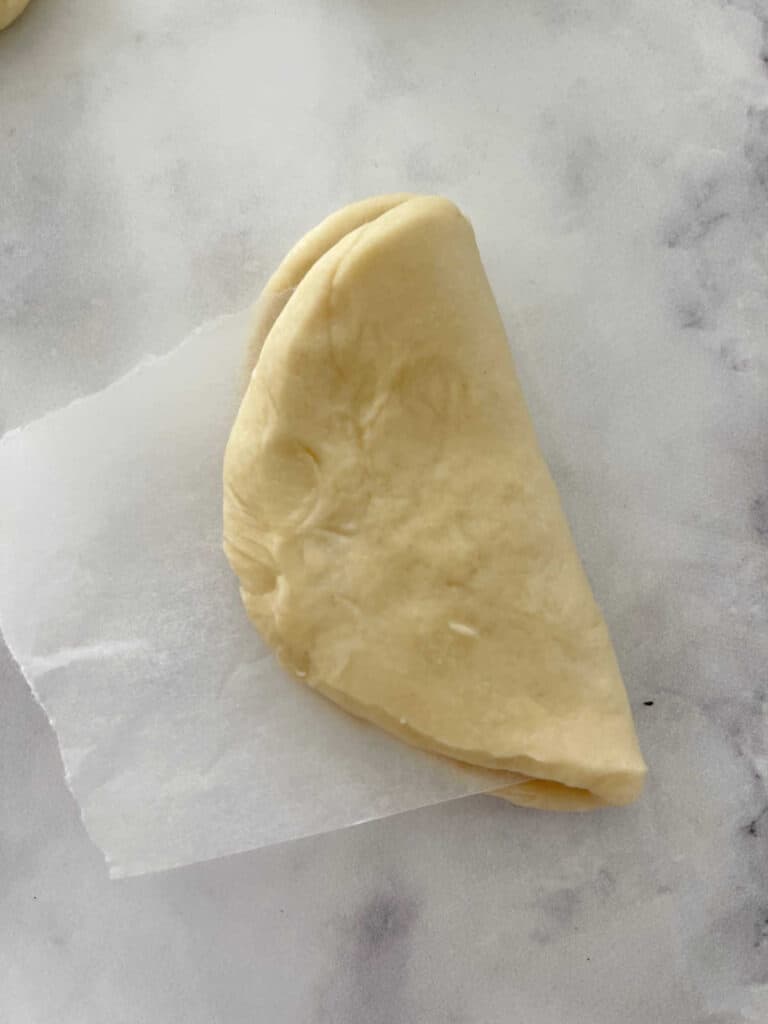
4. Roll the dough into small circles and place a strip of baking paper in the middle.
4. Place into Varoma Tray and cook.
5. Once cooked, serve immediately.
Tips for Making Bao Buns in a Thermomix:
- This recipe makes quite a lot of buns (around 15-18) so if you're only feeding a couple of people, you can freeze the extra dough for another time. We find that 2-3 buns is plenty for an adult (unless you're super hungry of course!!).
- You can use either plain or bakers flour for this recipe.
- These buns will be quite damp after cooking, this is normal.
- You can freeze any leftover dough for up to two months.
More Simple Meal Ideas:
- Thermomix Egg & Bacon Quiches
- Chicken Meatballs
- Thermomix Pesto & Cheese Scrolls
- Thermomix Sausage Rolls
- Mexican Beef Bowls
- Thermomix Arancini Balls
- Cheese and Zucchini Bites
- Thermomix Vegetable Fritters
Thermomix Bao Buns
Equipment
- 1 x Thermomix
- Rolling Pin
Ingredients
- 250 grams warm water
- 60 grams sugar
- 2 teaspoon dry yeast
- 520 grams plain flour
- 60 grams extra virgin olive oil
- 1 ½ tsps salt
- 1 tbs baking powder
- 500 grams extra water
To serve
- leftover roast pork (or pulled pork), slaw, Kewpie (Japanese) mayo and sesame seeds, to serve
Instructions
- To make the bun dough, place the water, sugar and yeast into the Thermomix bowl and mix for 8 seconds, Speed 3. Allow to rest for 5 minutes or until the mixture has turned frothy.
- Add the plain flour, olive oil, salt and baking powder into the Thermomix bowl and mix for 8 seconds, Speed 6 to combine. Knead for 10 minutes, Kneading Function.
- Place the dough into a greased ThermoServer or large bowl and set aside in a warm, dry place to rise for 45 minutes.
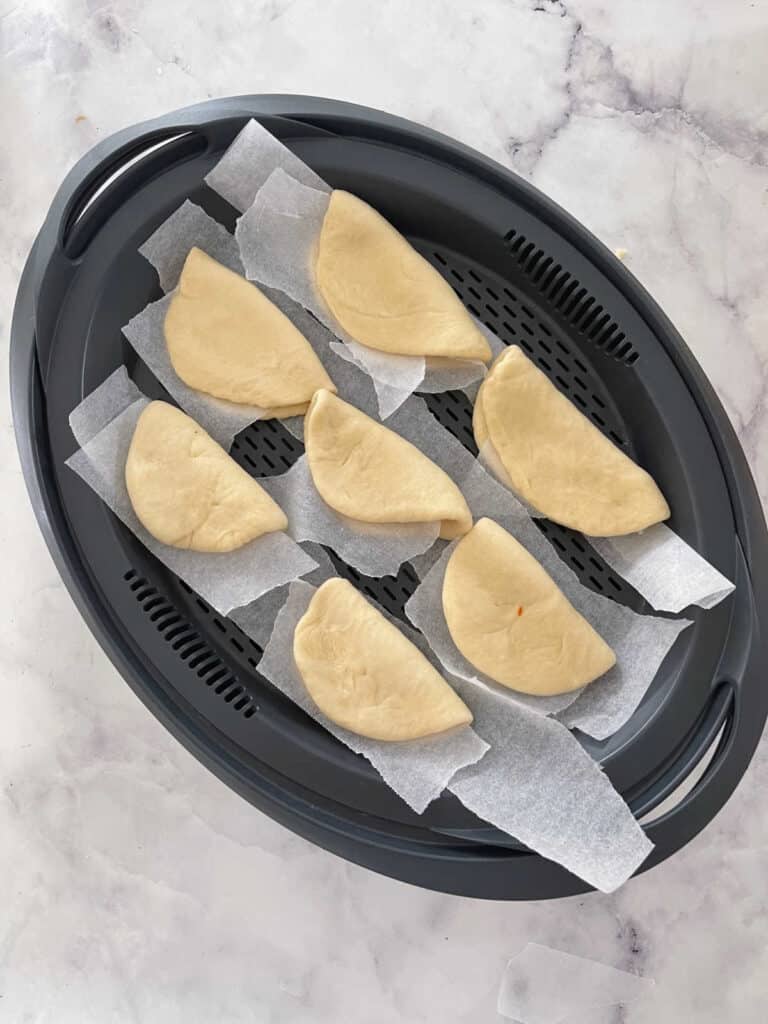
- Rip a piece of baking paper into strips and place over the 2 layers of the Varoma trays (leaving gaps in between to allow the steam to escape).
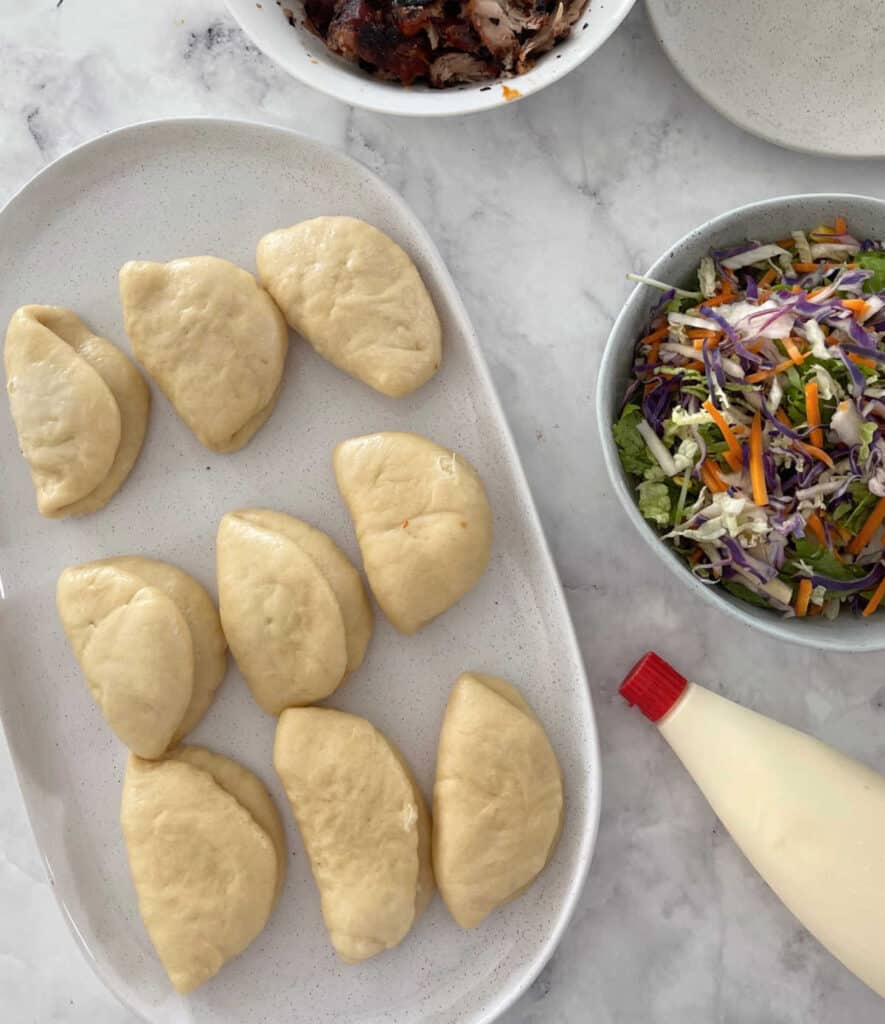
- Knead the dough on an oiled bench or board. Divide the dough into approximately 15 - 18 small pieces. Roll into balls and flatten down into a circle/oval shape. Place small pieces of baking paper onto half of each flattened oval and fold over (so that the baking paper is in between.
- Place the bao buns onto the 2 trays of the Varoma.
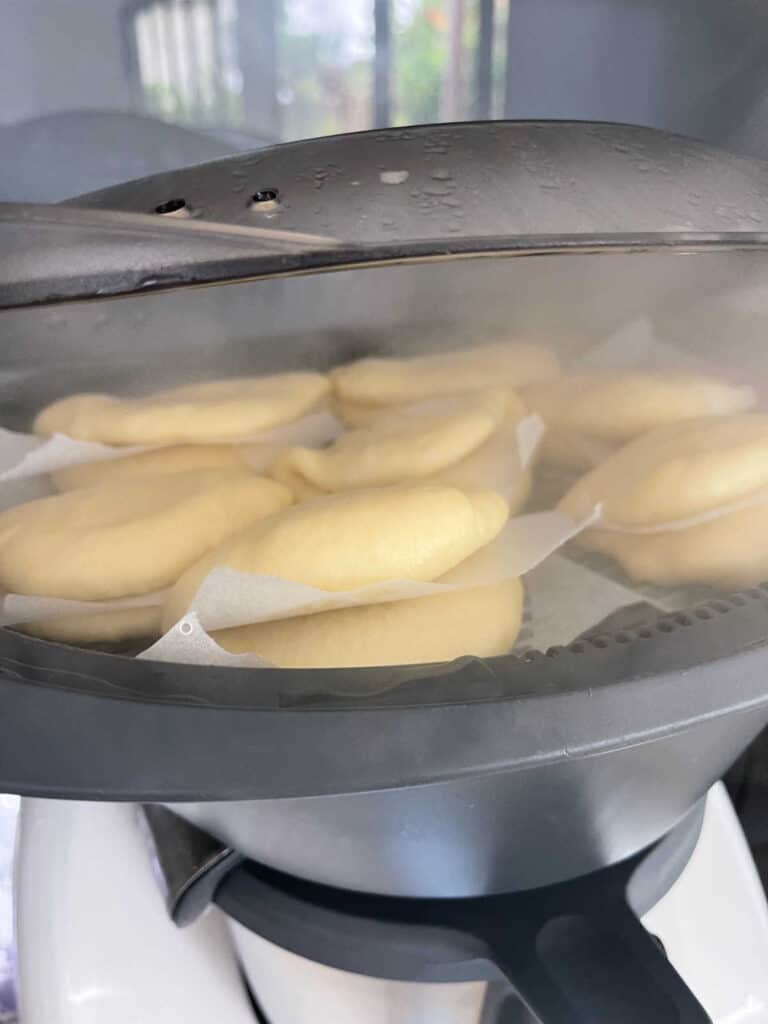
- Fill the Thermomix bowl with 500g of water and put the Varoma (with the 2 trays) in place. Cook for 30 minutes, Varoma temperature, Speed 4.
- Take the buns out (they will be quite wet and sticky) and serve immediately with leftover roast pork, slaw, Kewpie (Japanese) mayo and sesame seeds.
Notes
- This recipe makes quite a lot of buns (around 15-18) so if you're only feeding a couple of people, you can freeze the extra dough for another time. We find that 2-3 buns is plenty for an adult (unless you're super hungry of course!!).
- You can use either plain or bakers flour for this recipe.
- These buns will be quite damp after cooking, this is normal and they will dry quickly.
- You can freeze any leftover dough for up to two months.
Nutrition
Looking for even more?
You will find even more simple and delicious recipes in our books and eBooks - shop the full range here.


Michelle Nixon says
I made these bao buns last night and they were fantastic. I made them a little bit too big and fat but they were still amazing. Great recipe and instructions. Thank you
Lucy says
That's so great to hear!
rachelle leslie says
We love these chinese buns, my kids favourite food! They are so soft and delicious!
I don't bother with the baking paper at all. I find if I put them on an oiled bench, to divide them into buns they don't stick. We just cut them in half to serve.
We find the pulled pork recipe of https://www.delish.com/cooking/recipe-ideas/recipes/a58254/best-pulled-pork-recipe/ with my homemade BBQ sauce and some thickly sliced cucumbers is the best!
Jenny says
These are amazing I look like a chef when I cook these! So yummy ?
Lucy says
Fantastic!
Bec says
Hi, can you make the dough in advance in the morning to cook that evening or will it continue to rise and become tough??
Lucy says
Hi Bec, if you'd like to leave it longer - place it in the fridge once it's done the initial prove.
Keiren says
Dear god these are amazing!
Lucy says
Hehe thank you!
Tan says
Hi
I’m a bit confused as to what to do for step 4 with the ripped baking paper? Do the buns sit on this paper? Does anyone have a photo of what this step should look like. Thank you
Lucy says
Hi Tan, yes they do sit on the paper (but you need to leave gaps between the paper to allow the steam to get through and cook the buns). I'll take a photo next time I make them!
Andrew says
the bao in the top bowl came out great. the bottom side of those in the lower bowl were a bit doughy. any idea what I did wrong? maybe best to put all in the bottom shelf. anyhow, they were great, thank you for the recipe!
Lucy says
Hi Andrew, hmm the bottom shelf might have just needed another minute or two cooking time. Perhaps try removing the top ones at the stated cooking time and then giving the others a tiny bit longer next time. Good luck!
Andrew says
Thnk you...giod tip
Olivia says
Could you substitute with wholemeal flour?
Lucy says
I personally wouldn't recommend doing so as it will change the texture of the buns.
Irene Deu Espinar says
It looks so good and delicious, can’t wait to try to make them. Btw, what kind of yeast do you use? I love in Spain and we have those little tablets that we use to make bread or also the little packages used to make cakes and baked goods ( baking powder). Thank you!!
Lucy says
Hi Irene, sometimes I use the little packet ones, but generally I use a container of dried instant yeast (Lowan Whole Foods brand).
Julie says
My dough didn’t rise. Is it supposed to?
Lucy says
Hi Julie, it should rise due to the baking powder and the yeast. Perhaps check that your yeast is still active? xx
Joanna Shebson says
It would really help to have a picture of how to put the dough on the baking paper in the varoma dish.
Jasmine says
Agree ??
Michelle says
I have made these at least 3 or 4 times and I just love them! Making them tomorrow night for a casual girls dinner xx
Alison says
Please add the resting time to this recipe. There's another 50 minutes to allow for here. Total time is 90 minutes plus however long it takes to form the bun shapes.
Liz Williams says
Agree this has caught me out twice now.. the 45 minute dough proving time should be included.. otherwise amazing!
Tash says
It's been fixed - thanks for the feedback! 🙂
Karen says
Please can you tell me how you’d freeze the left over dough, I plan to only use 1/2. Would I freeze the excess portion in one piece or freeze individual rolled out buns with paper between? Thank you
Melly J says
can these be made ahead for a party?
Lucy Mathieson says
Hi Melly, you can freeze the dough (however, once they're cooked, they're best eaten immediately). xx
Victoria Halvorson says
Hi there,
I just substituted white wings gluten free plain flour for the plain flour in the recipe. Very tasty. Abit more dense but will play around with arrowroot powder next time ? thank you
Lucy says
Hi Victoria,
I know you’re post is 4 years old……. Just wondering if you have any more tips to make these gluten free? Thanks!!
Nikki says
Nic. Do you find these work with gluten free flour?
Lucy Mathieson says
Hi Nikki, I've never made them with gluten-free flour sorry!