Cooking sushi rice in your Thermomix couldn't be easier! Follow our step by step method for making perfect Thermomix sushi every time.

Sushi makes a simple midweek dinner, school lunch box snack or a yummy lunch alternative to a sandwich.
What You Need
- sushi rice - this can be bought from the Asian section or the rice section of any major supermarket. I generally use SunRice brand.
- water
- sushi rice seasoning - this can be bought from the Asian section of the supermarket. I like to use Obento brand that is a liquid and can be bought in a glass bottle.
- nori sheets - again, I like to use Obento brand which is available in the Asian section of the supermarket.
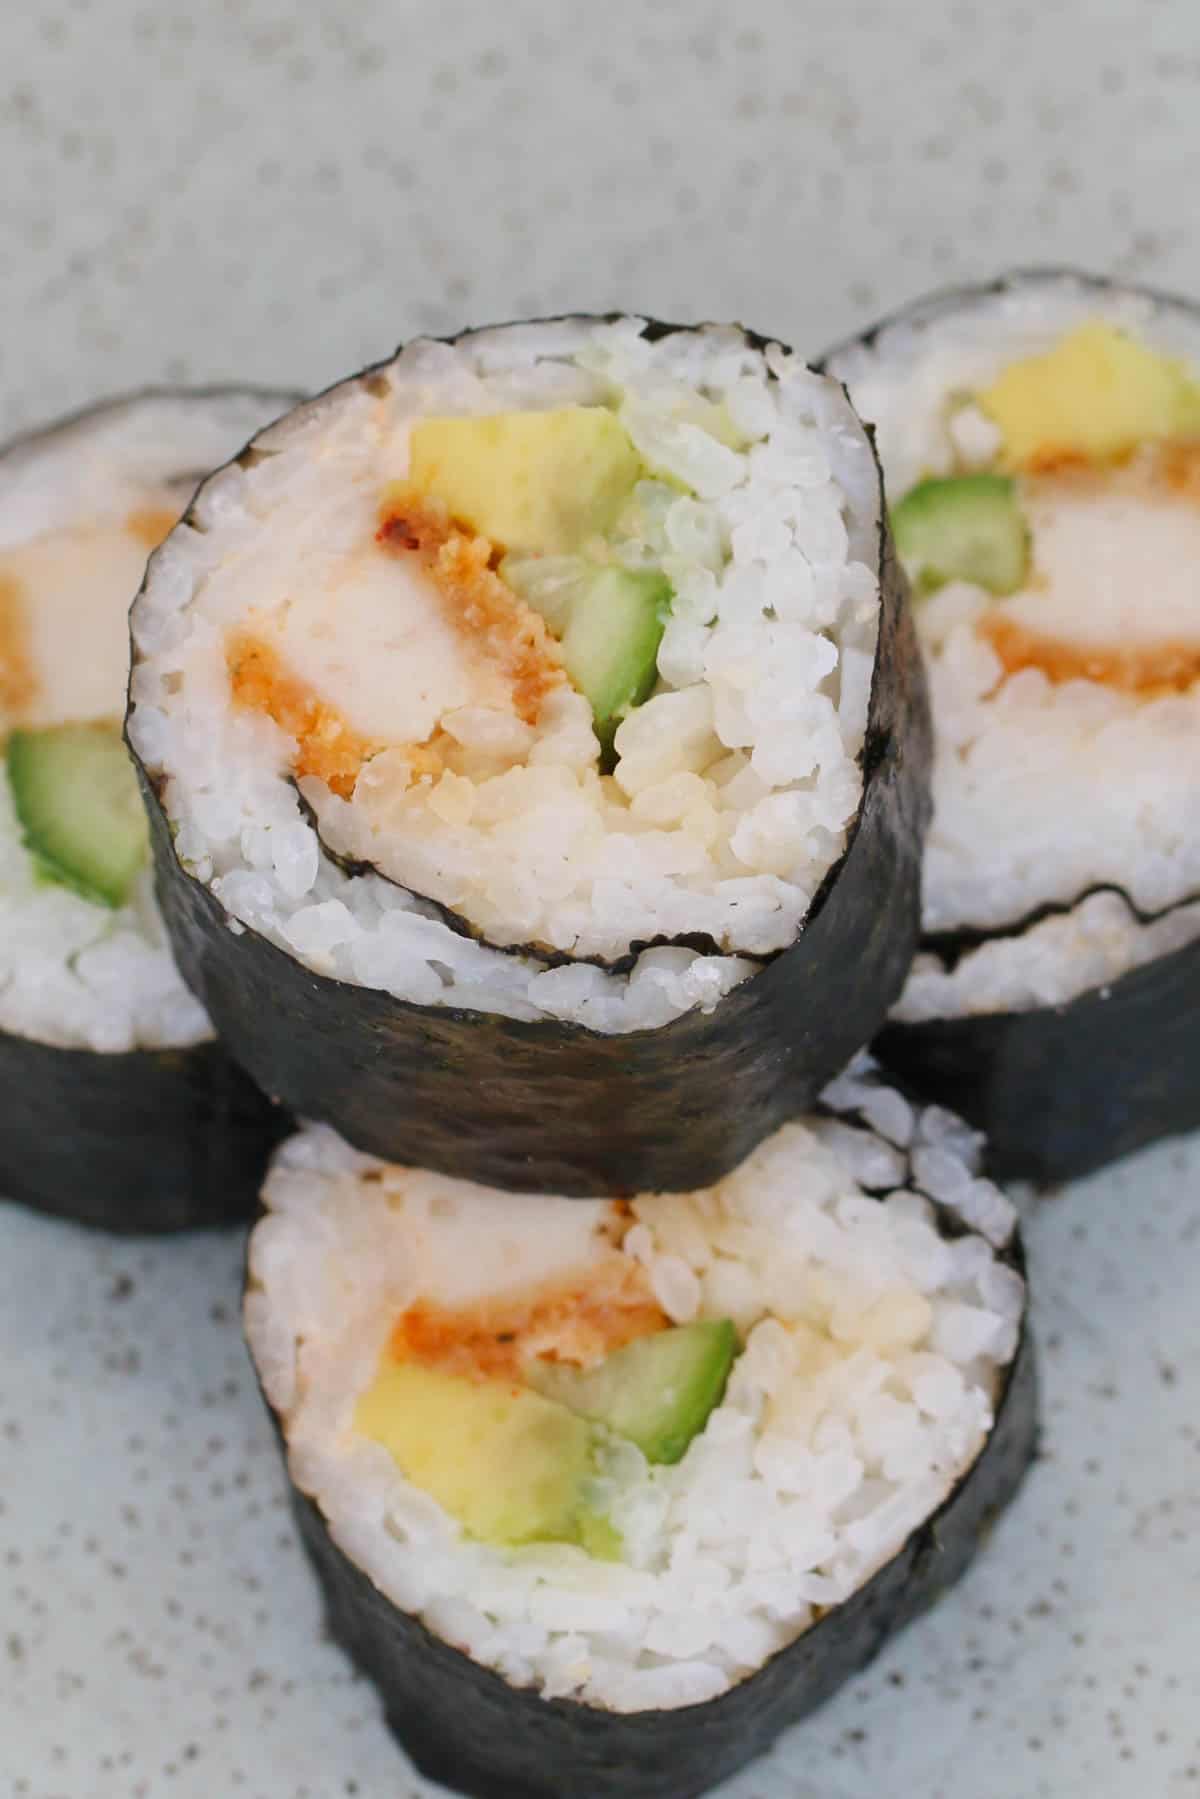
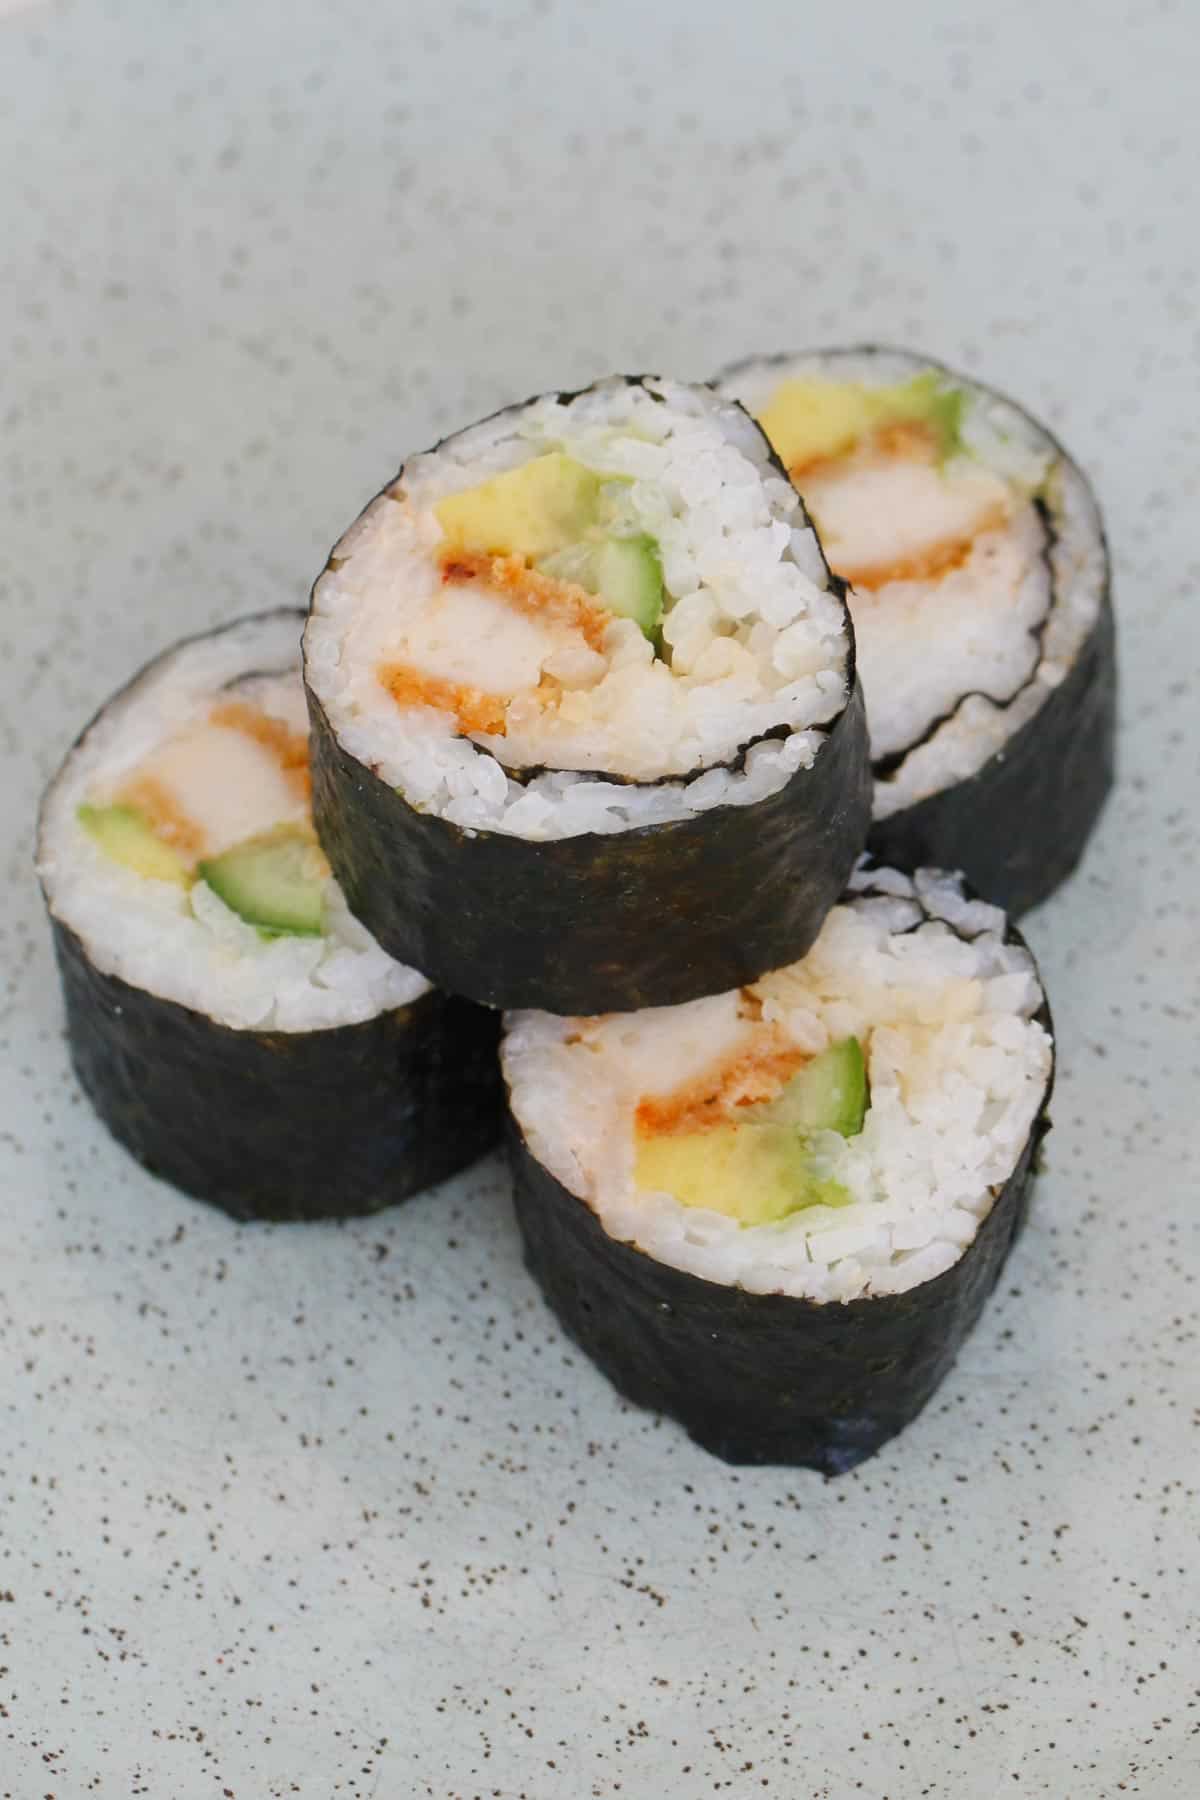
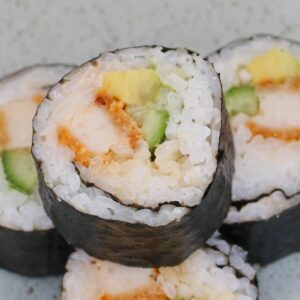
- your choice of fillings - cucumber, cooked chicken, lettuce, avocado, carrot, tuna etc.
How To Cook Sushi Rice In The Thermomix
Cooking sushi rice in the Thermomix is absolutely fool-proof!
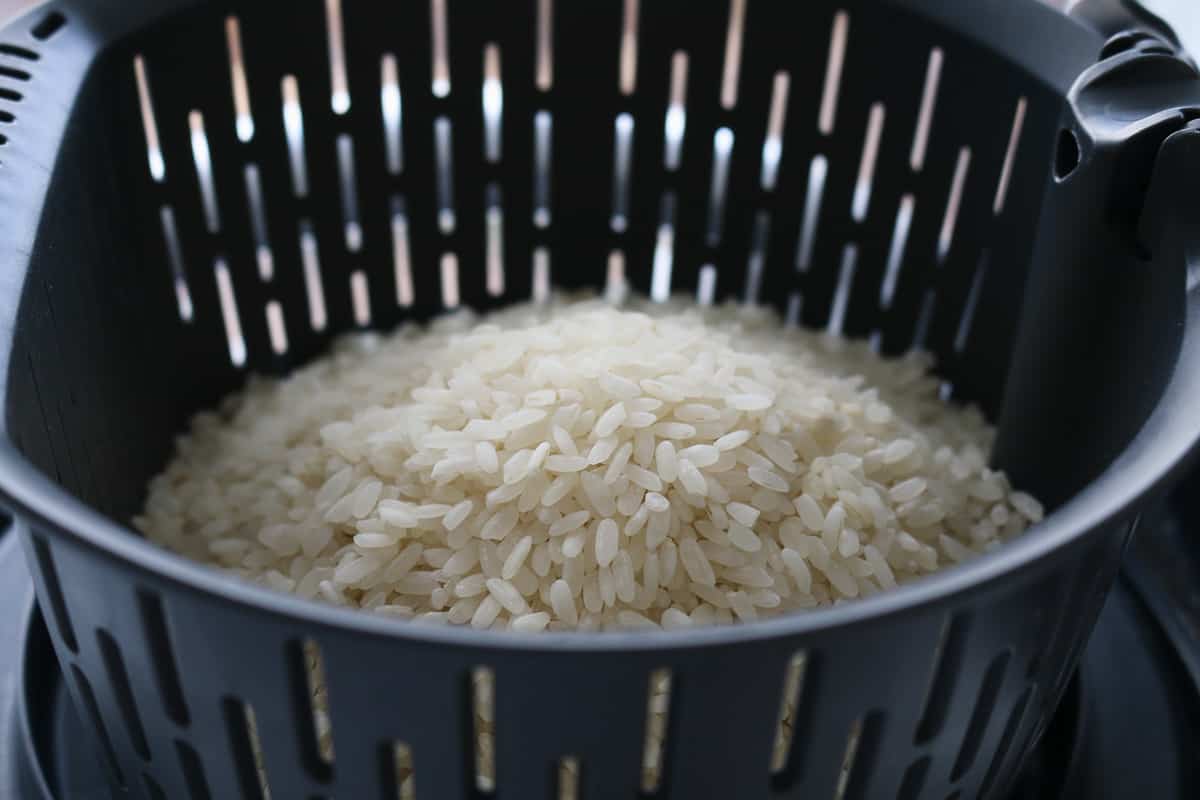
Step 1 - Weigh The Rice
Place the rice basket on top of the Thermomix and weigh in the sushi rice. Rinse under cold water.
Step 2 - Cook The Rice
Place the water into the Thermomix bowl, insert the rice basket, secure the lid and cook for 20 minutes, Varoma, Speed 4.

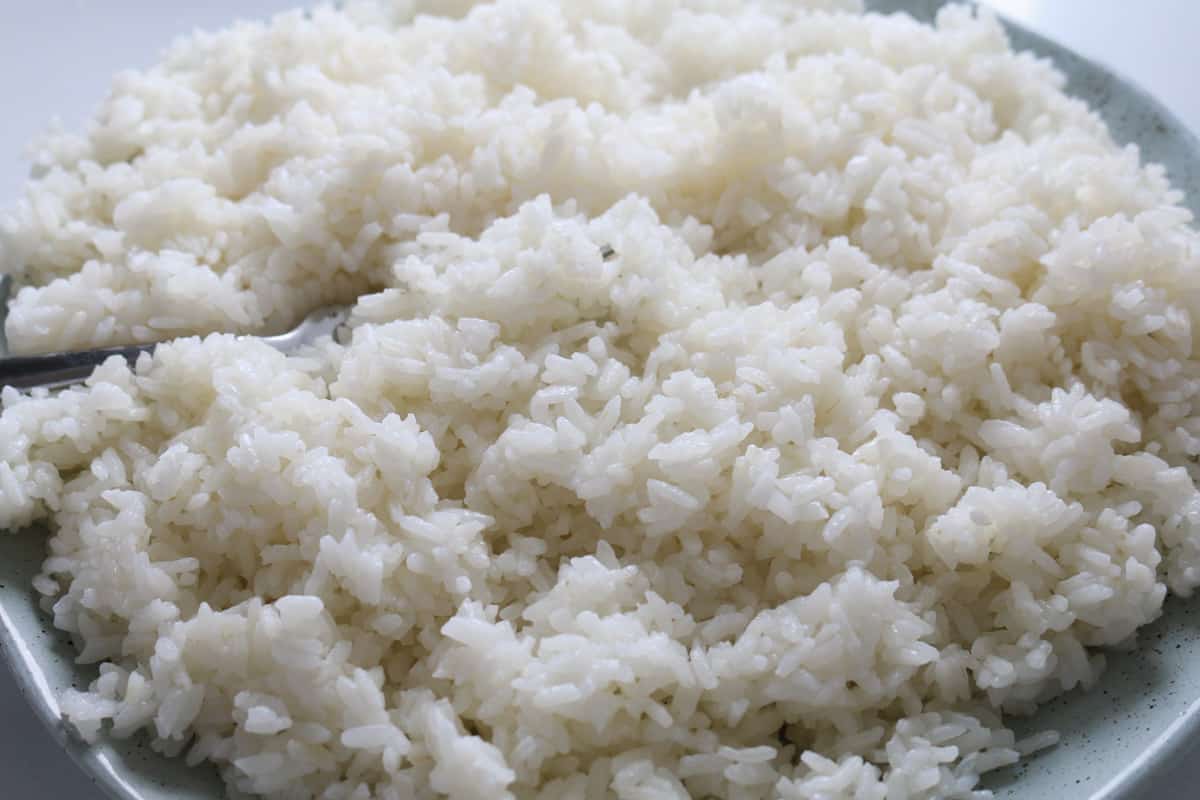
Step 3 - Add The Seasoning
Very carefully remove the rice basket from the Thermomix (it will be very hot!). Transfer to a large plate. Drizzle over the sushi seasoning and fluff with a fork.
Step 4 - Roll The Sushi
See below for my tips on rolling the sushi.
How To Roll Sushi
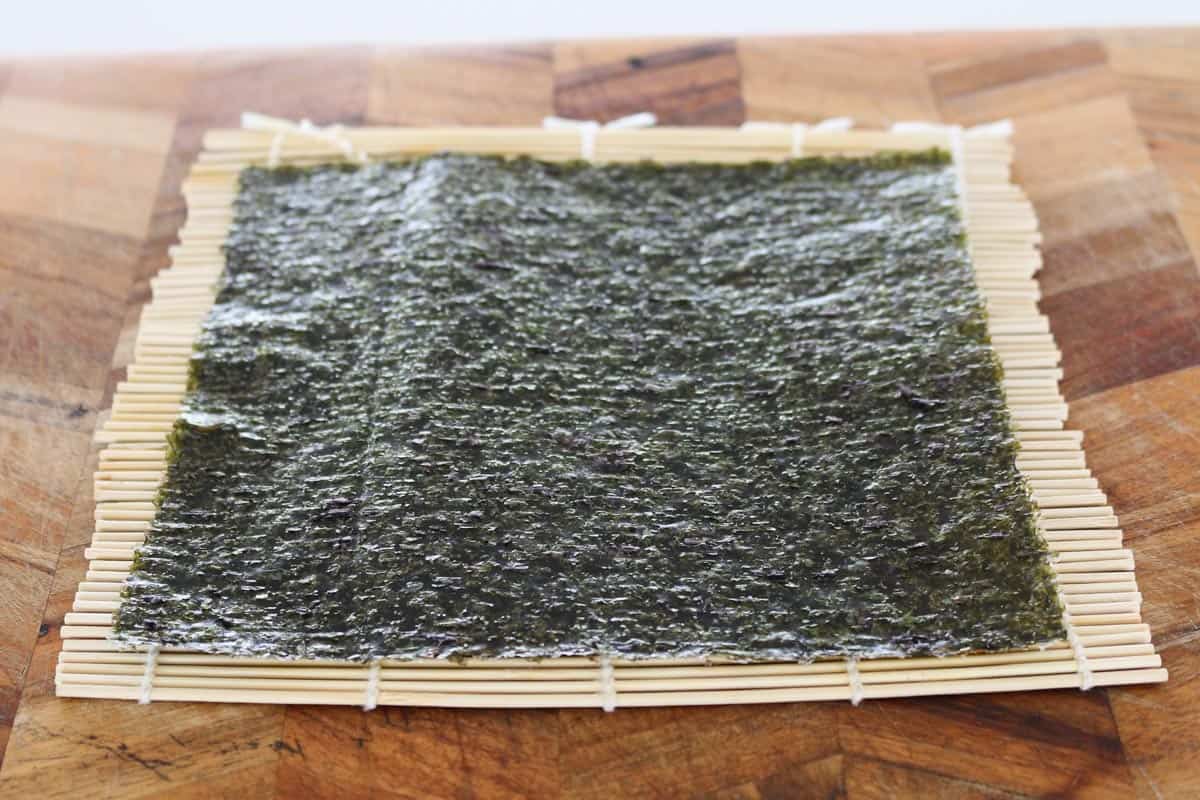
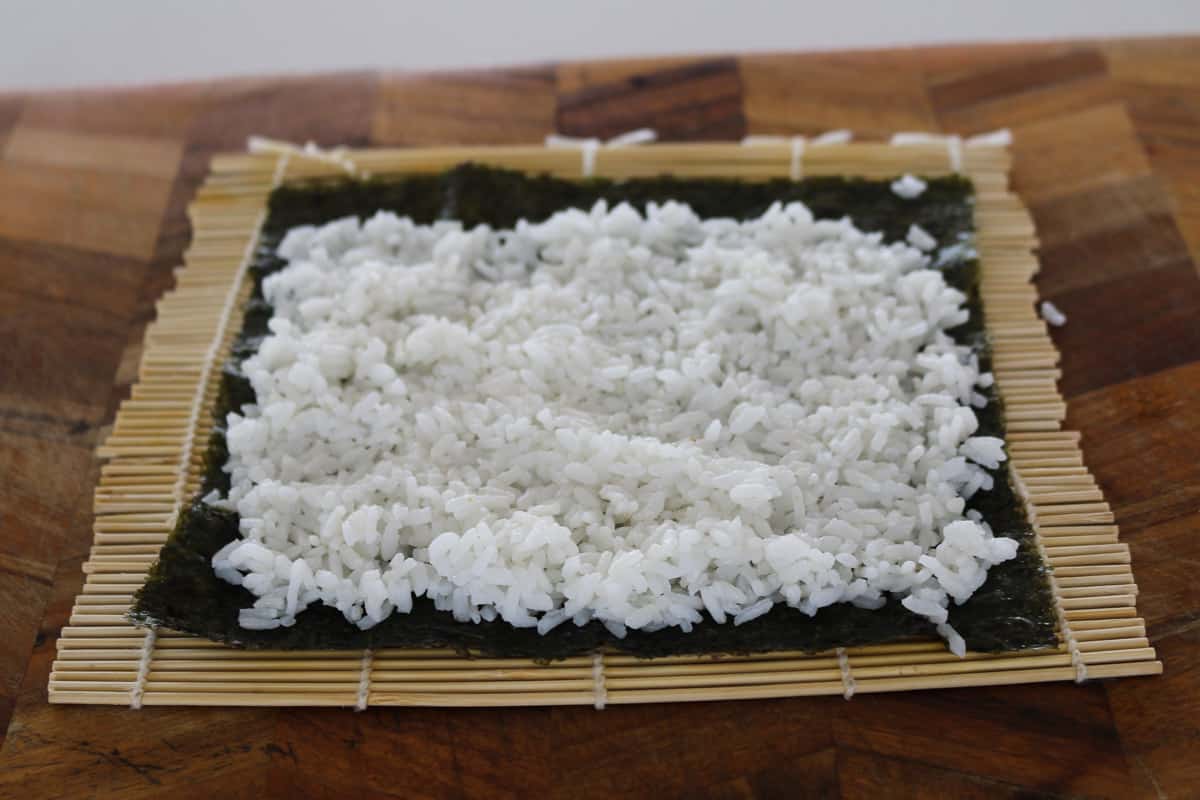
Place a sushi bamboo mat (these can be bought from the Asian section of the supermarket) onto a flat bench.
Place a nori sheet on top of the sushi mat with the rough side facing up.
Spread a thin layer of cooked sushi rice over the sheet of nori (leaving a 2cm gap at the top of the sheet - to assist with sealing).
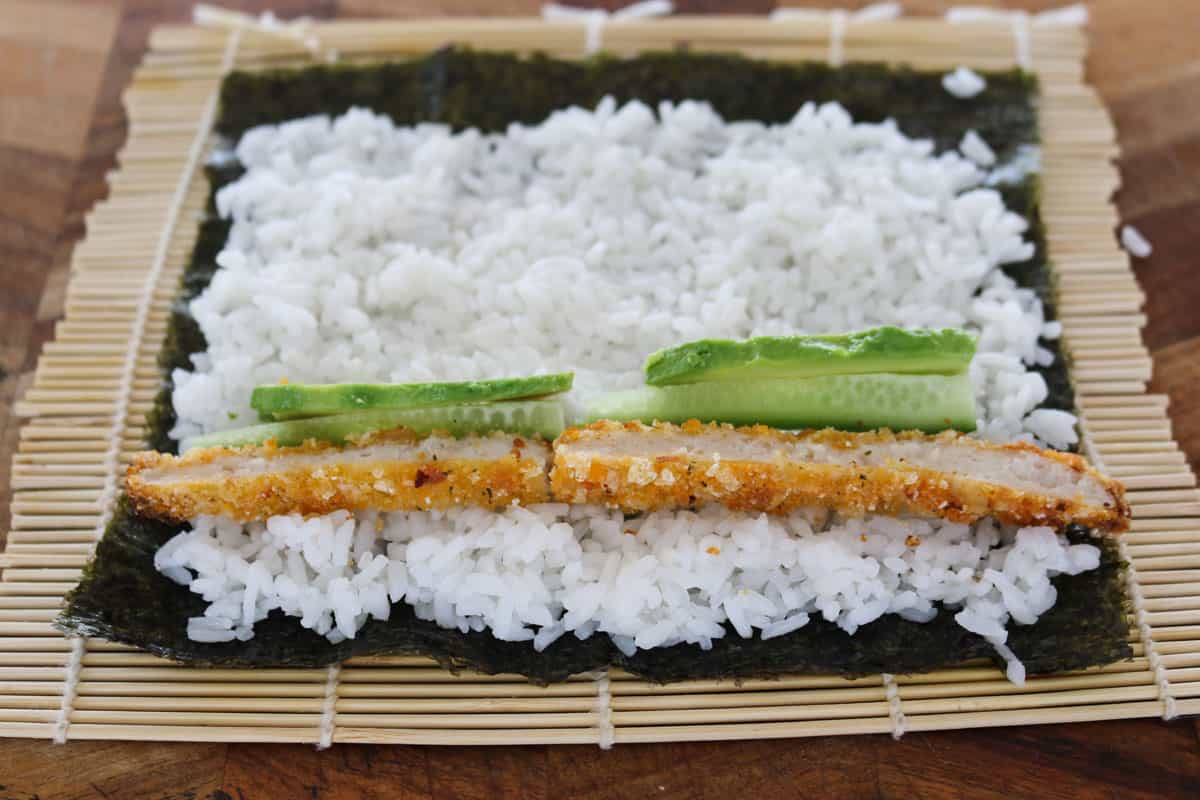
Place your filling in a thin line in the centre.
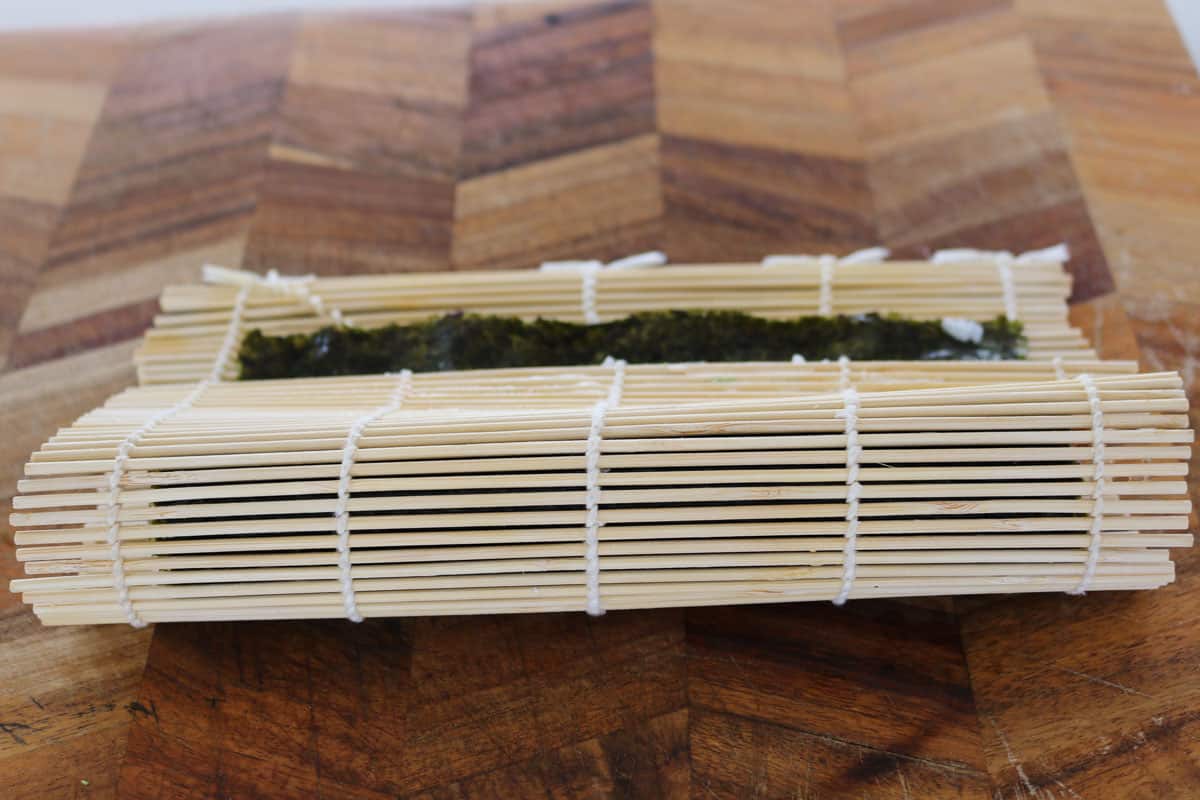
Start from the end without the gap, and roll tightly together (it takes a bit of practice).
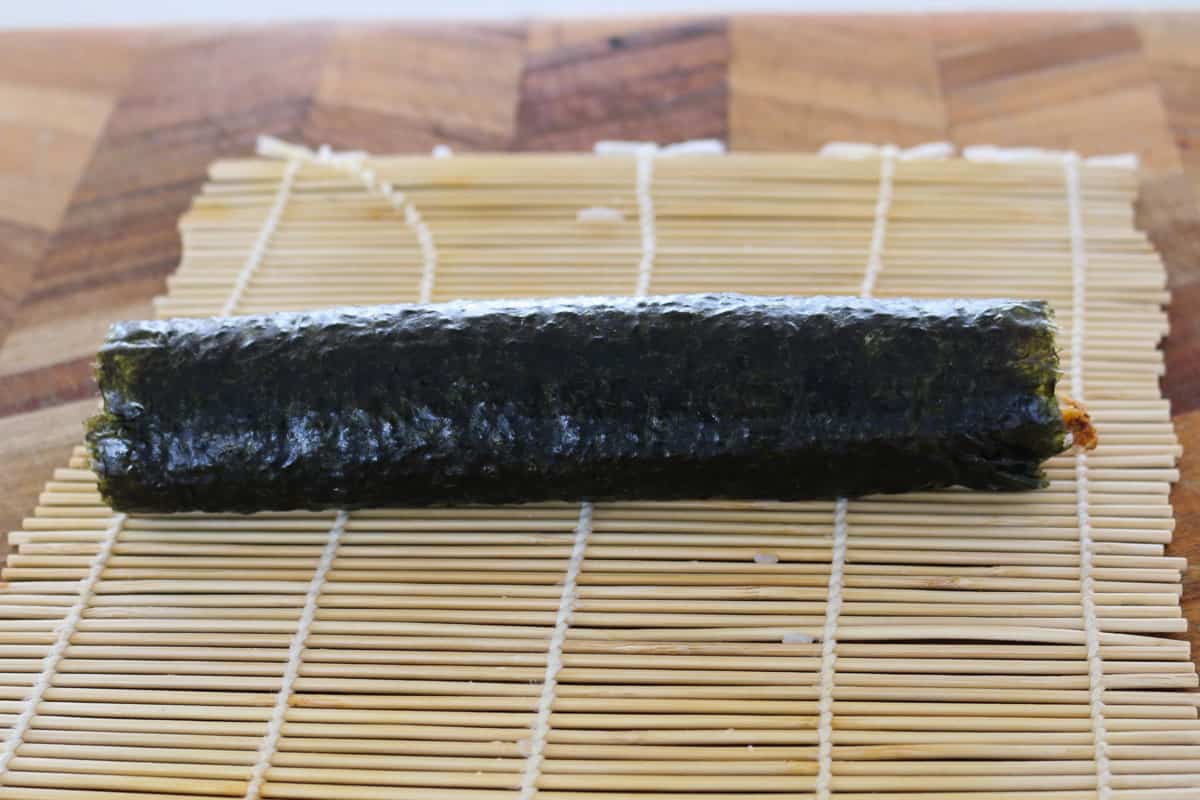
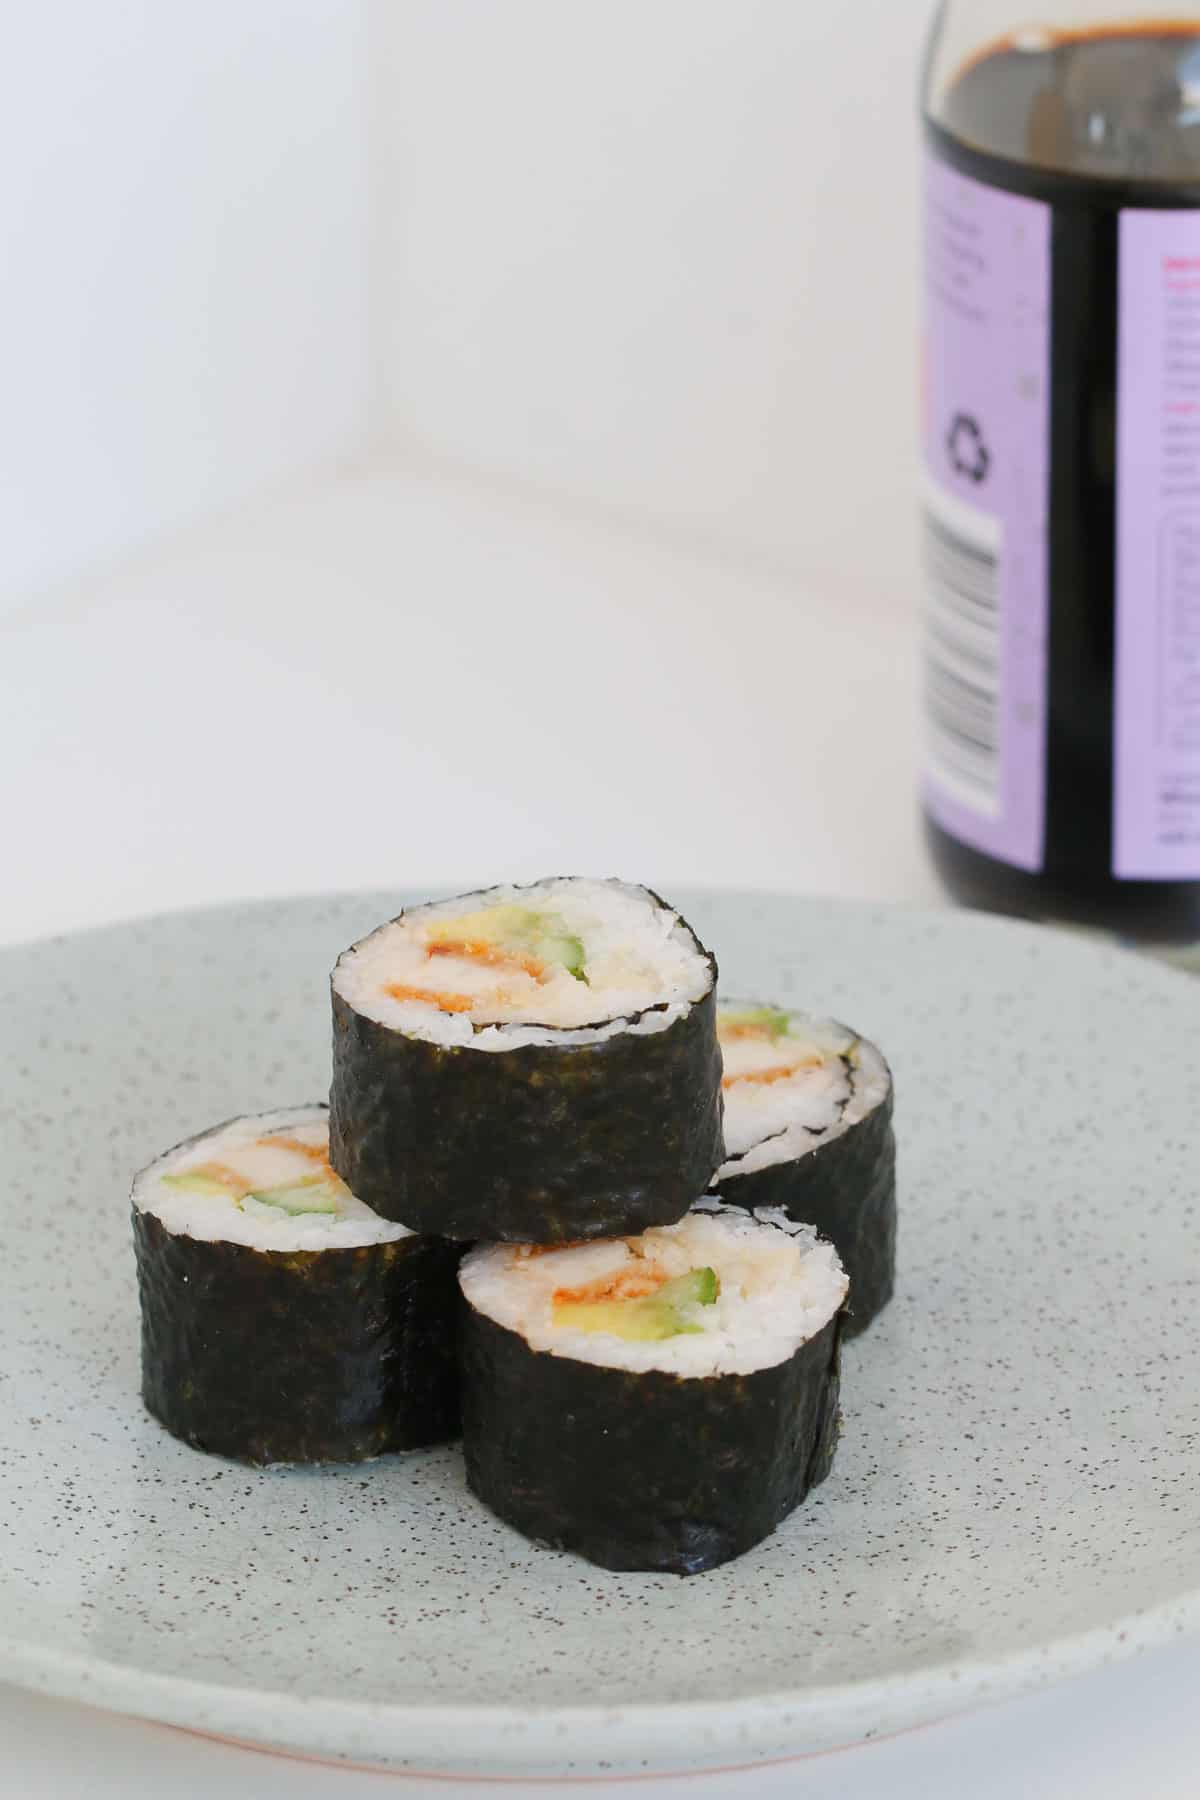
Cut into small pieces with a sharp knife and serve.

Sushi Filling Suggestions
There are SO many filling options for sushi. Here's a few of my favourites:
- crumbed chicken and avocado
- tuna and cucumber
- cucumber and carrot
- salmon and avocado
- crab meat
- thinly sliced beef and cucumber
Serve with soy sauce, kewpie mayonnaise, picked ginger and wasabi.
Tips For Making Thermomix Sushi
Remove the sushi rice from the basket once cooked - if you leave the sushi rice to sit in the rice basket after the cooking time, it will become gluggy.
Transfer the rice from the rice basket to a flat plate - this allow the rice to begin to cool and also makes it easier to drizzle with the sushi seasoning and fluff with a fork.
Fluff the rice with a fork - do this gently so as to seperate the rice grains and mix through the seasoning but without squishing the rice.
Place the rolls into the fridge for an hour before cutting - this allows the rolls to set making it easier to cut and serve.
Make the night before - save yourself time and make your sushi the night before. Store in the fridge until needed.
More Savoury Thermomix Snacks
For more delicious Thermomix savoury snacks, check our collection of recipes here.
We also have two hardcopy snacks cookbooks that are packed full of delicious snack recipes. Browse our snack cookbooks here.

Thermomix Sushi
Equipment
- Thermomix
Ingredients
- 400 g sushi rice
- 950 g water
- sushi rice seasoning to drizzle
- nori sheets
- your choice of fillings
Instructions
- Place the rice basket on top of the Thermomix and weigh in the sushi rice. Rinse under cold water.
- Place the water into the Thermomix bowl, insert the rice basket, secure the lid and cook for 20 minutes, Varoma, Speed 4.
- Very carefully remove the rice basket from the Thermomix (it will be very hot!). Transfer the rice to a large plate. Drizzle over the sushi seasoning and fluff with a fork up and allow to cool slightly.
- Place a sushi bamboo mat (these can be bought from the Asian section of the supermarket) onto a flat bench.
- Place a nori sheet on top of the sushi mat with the rough side facing up. Sprinkle it with a tiny amount of water.
- Spread a thin layer of cooked sushi rice (approximately ½ cup) over the sheet of nori (leaving a 2cm gap at the top of the sheet – to assist with sealing) and press down with the flat side of a spoon.
- Place your filling in a thin line in the centre. Dampen the uncovered end of the nori sheet with water.
- Start from the end without the gap and roll tightly together (it takes a bit of practice).
- Cut into small pieces with a sharp knife and serve.


Sharon AT says
I would like to cook the sushi rice in Thermomix. Can you substitute it for Arborio rice please?
Lauren Matheson says
Hi Sharon, You can use Arborio rice however the consistency will be different, it will be more creamy.
Melissa says
Hello!
Do you recommend putting the measuring cup in place while the rice cooks?
Thank you
Lucy says
Hi Melissa, no leave it off 🙂